This guide provides step-by-step instructions for assembling components and using your 100cm Lawn Leveller with Handle.
Product Information
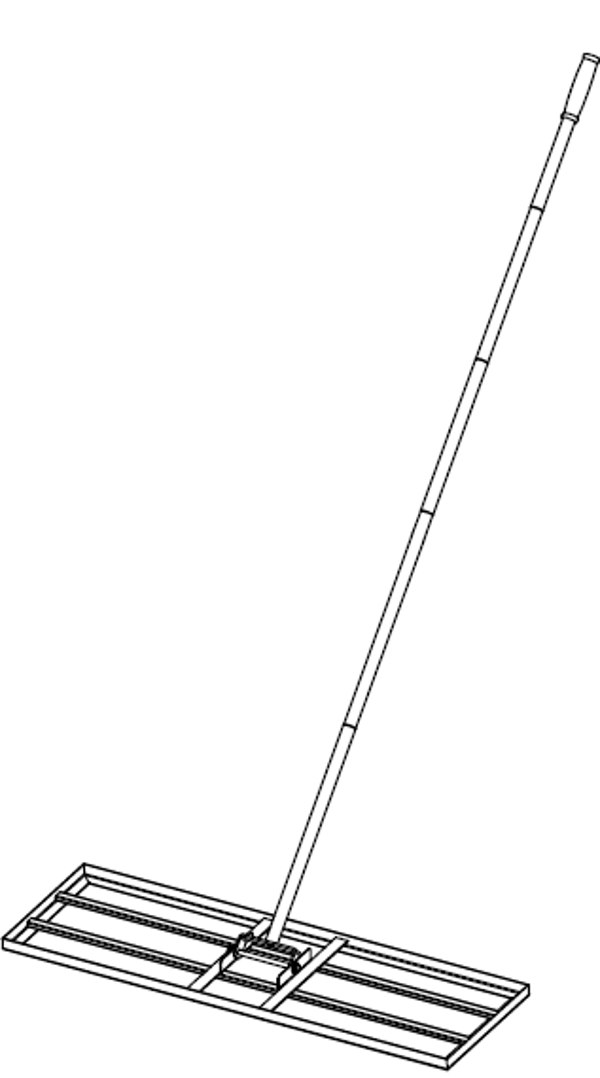
100cm Lawn Leveller with Handle
This lawn leveller is designed for efficient soil levelling and lawn preparation, featuring a durable polypropylene and steel construction with base plate. It includes a 5-section screw-in handle extending to 190 cm for improved reach, ergonomic and flexible use. The lightweight yet robust design ensures ease of handling and reliable performance for domestic garden maintenance.
SKU
216806
Specifications:
Attribute:
Width:
100cm
Depth:
32cm
Handle Length:
190cm (broken up in 5 sections, each sized at 50, 45, 30, 30 and 35cm)
Net Weight:
4.3kg
Gross Weight:
5kg
Material:
Polypropylene and Steel
GPSR Information
UK
Manufacturer: Monster Group UK Limited, Monster House 19-23 Alan Farnaby Way, Industrial Estate Sheriff Hutton, York YO60 6PG
Person Responsible: Rana Harvey, Monster Group UK Limited, Monster House 19-23 Alan Farnaby Way, Industrial Estate Sheriff Hutton, York YO60 6PG, England, +441347878880
EU
Manufacturer: Monster Group BV, Van Heemskerckweg 28A & B, Venlo 5928LL Netherlands +441347878880
Person Responsible: Rana Harvey, Monster Group BV, Van Heemskerckweg 28A & B, Venlo 5928LL, Netherlands, +441347878880
Parts
Part A - Base
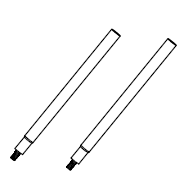
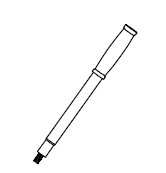
Part B - Handle Part
Part C - Handle Part
Part D - Handle Part
Part E - Handle Part
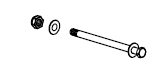
Part F - Fixing Kit
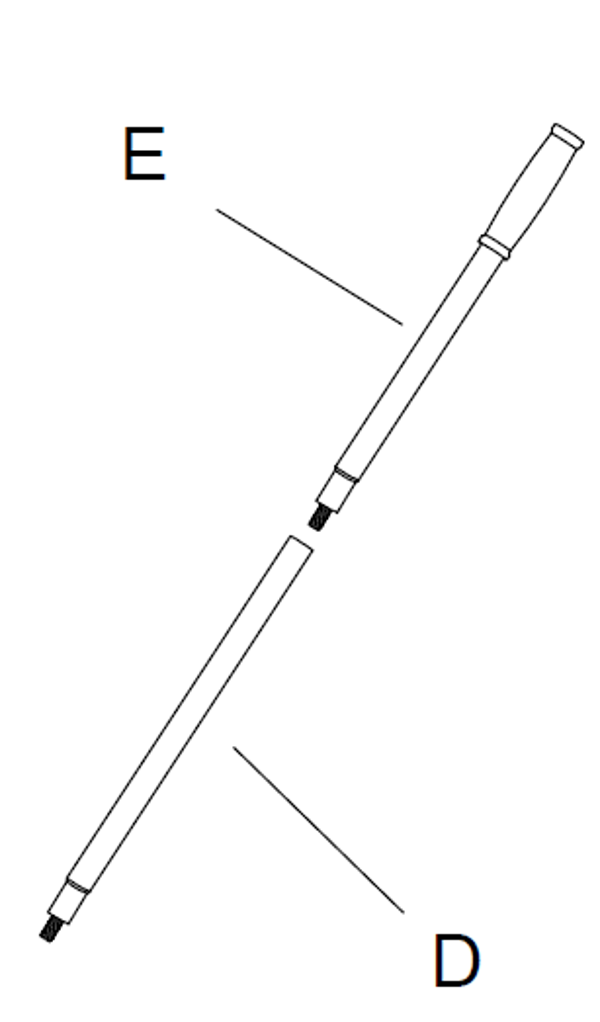
1. Step 1 - Attach Part E to Part D
Attach parts E and D together.
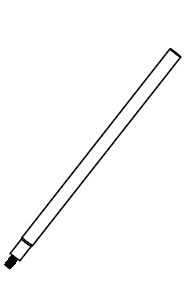
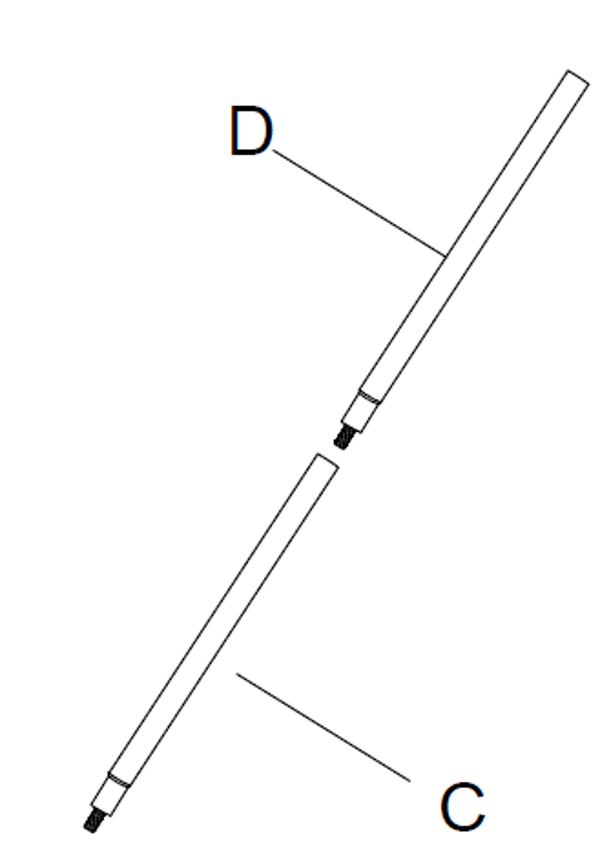
2. Step 2 - Attach Part C to Part D
Attach part C to the other part D.
3. Step 3 - Attach the Assembled Components
Attach the assembled parts E and D to the assembled parts D and C.
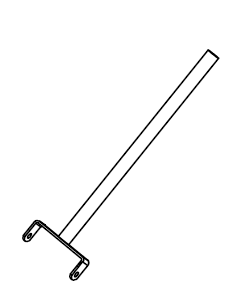
4. Step 4 - Assembling the Base
Attach part B to part A using part F.
5. Step 5 - Attaching the Base to the Handle
Attach the assembled handle to the base of the lawn leveller.
6. Maintenance
Clean the base plate after each use using water and a soft brush to remove soil, sand, and debris build-up.
Dry all components thoroughly after cleaning to prevent rust or corrosion on steel parts.
Inspect the base plate regularly for signs of bending, warping, or damage that could affect performance or safety.
Check all handle sections before and after use to ensure threads are clean, undamaged, and free from debris.
Tighten all handle connections securely before storage to prevent thread wear or misalignment.
Apply a light oil or lubricant to threaded joints periodically to maintain smooth assembly and prevent seizing.
Inspect the PP components for cracks, brittleness, or wear, particularly after prolonged use or exposure to sunlight.
Store the product in a dry, sheltered environment to protect against moisture and UV degradation.
Avoid prolonged exposure to rain or damp conditions when not in use.
Disassemble the handle if storing for extended periods to reduce stress on threaded connections.
Keep the tool off the ground during storage where possible to prevent unnecessary contact with moisture.
Replace the product if any structural damage, excessive corrosion, or compromised integrity is identified.
7. Troubleshooting
Please read through the guide below if you have any issues or faults with your device. The information covers and resolves the majority of frequently asked questions.
Q: There are parts missing from my order. A: If there appears to be any part missing from your package contact our Customer Support team via the details on the Contact Us page within 7 days of receipt.
For all other issues please contact our Customer Support department via the details on the Contact page.