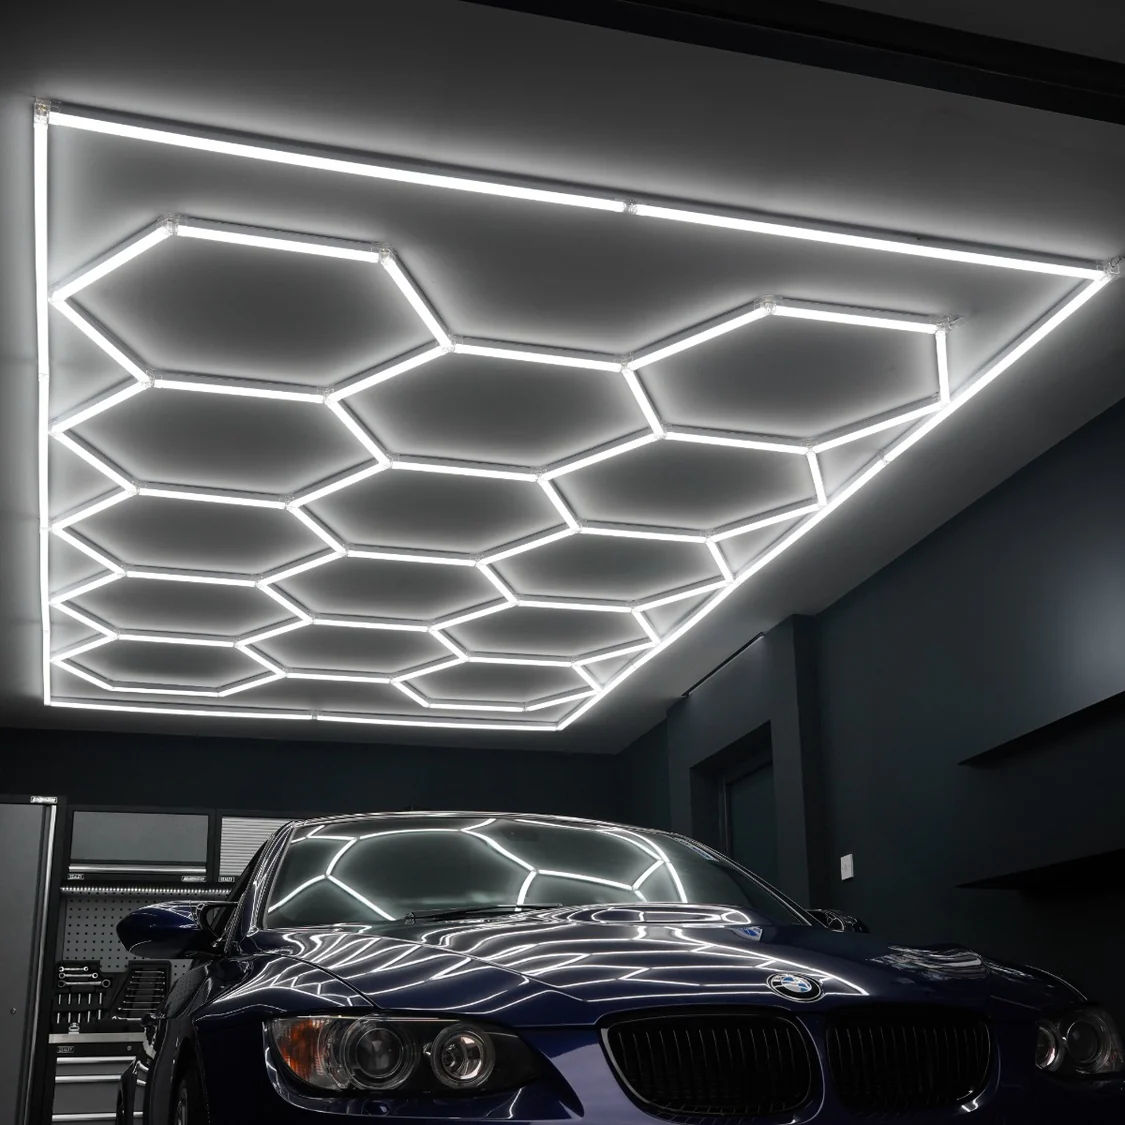
Transform your space with our innovative hexagon led lighting, the perfect solution for garages, gyms, workshops and more.
Product Information
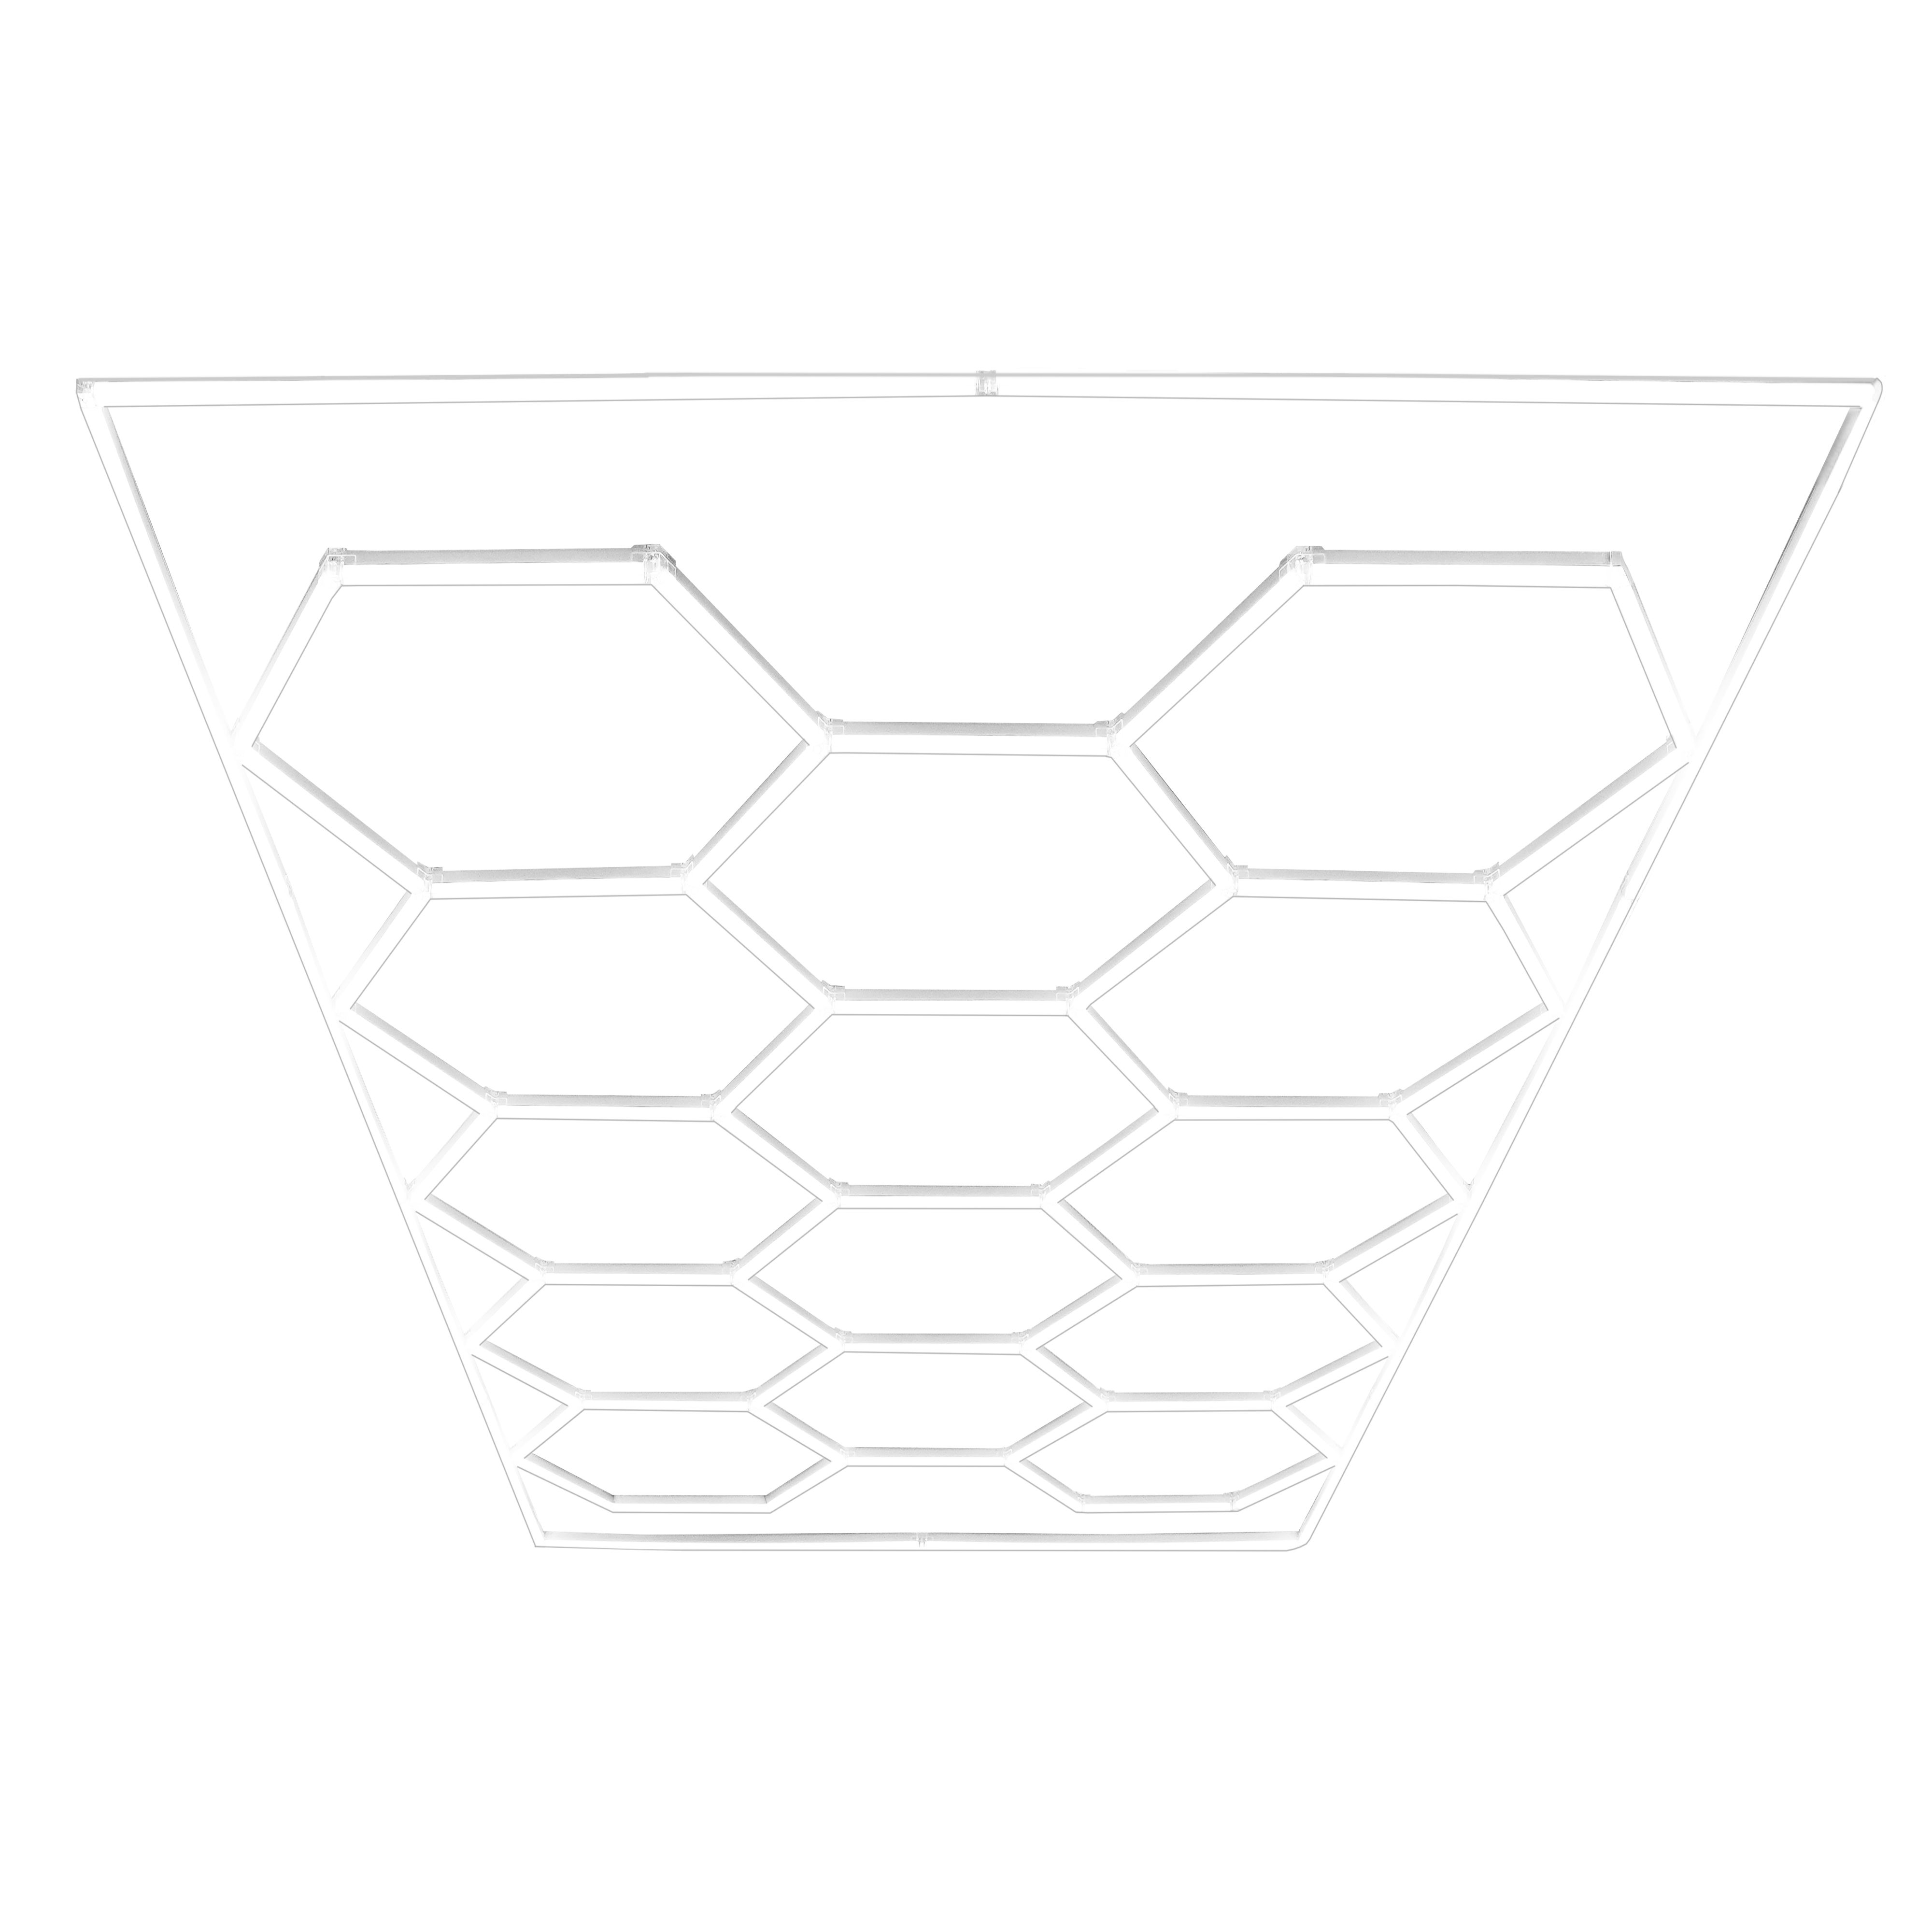
Hexagon LED Lighting x 14
These 14 honeycomb-shaped LED lights and border not only create a stunning visual effect but also deliver bright, pure white illumination that enhances any environment. With a colour temperature of 6000K and 1700 lumens per panel, our hexagon lighting provides optimal brightness, making it perfect for detailed tasks in workshops or creating a welcoming atmosphere in salons.
SKU
213507
Colour
White
Weight
8.3kg
Material
PVC
Length
486cm / 4.86m / 191.3”
Width
244cm / 2.44m / 96.1”
Depth
3.5cm / 0.035m / 1.4”
Power
17W
Voltage
100-230V AC
Lumen
1700
Colour Temperature
6000K
Light Working Temperature
20-50°C
Environmental Working Temperature
-20-45°C
Working Lifetime
20,000 Hours
Mounting Options
Screw, Grid or Suspended
CRI (Ra):
90
Colour Consistency (SDCM)
<8
GPSR Information
UK
Manufacturer:
Monster Group UK Limited, Monster House
19-23 Alan Farnaby Way,
Industrial Estate Sheriff Hutton,
York
YO60 6PG
Person Responsible:
Rana Harvey, Monster Group UK Limited,
Monster House
19-23 Alan Farnaby Way,
Industrial Estate Sheriff Hutton,
York
YO60 6PG,
England,
+441347878880
EU
Manufacturer:
Monster Group BV,
Van Heemskerckweg 28A & B,
Venlo 5928LL
Netherlands
+441347878880
Person Responsible:
Rana Harvey,
Monster Group BV,
Van Heemskerckweg 28A & B,
Venlo 5928LL,
Netherlands,
+44134787888
Parts
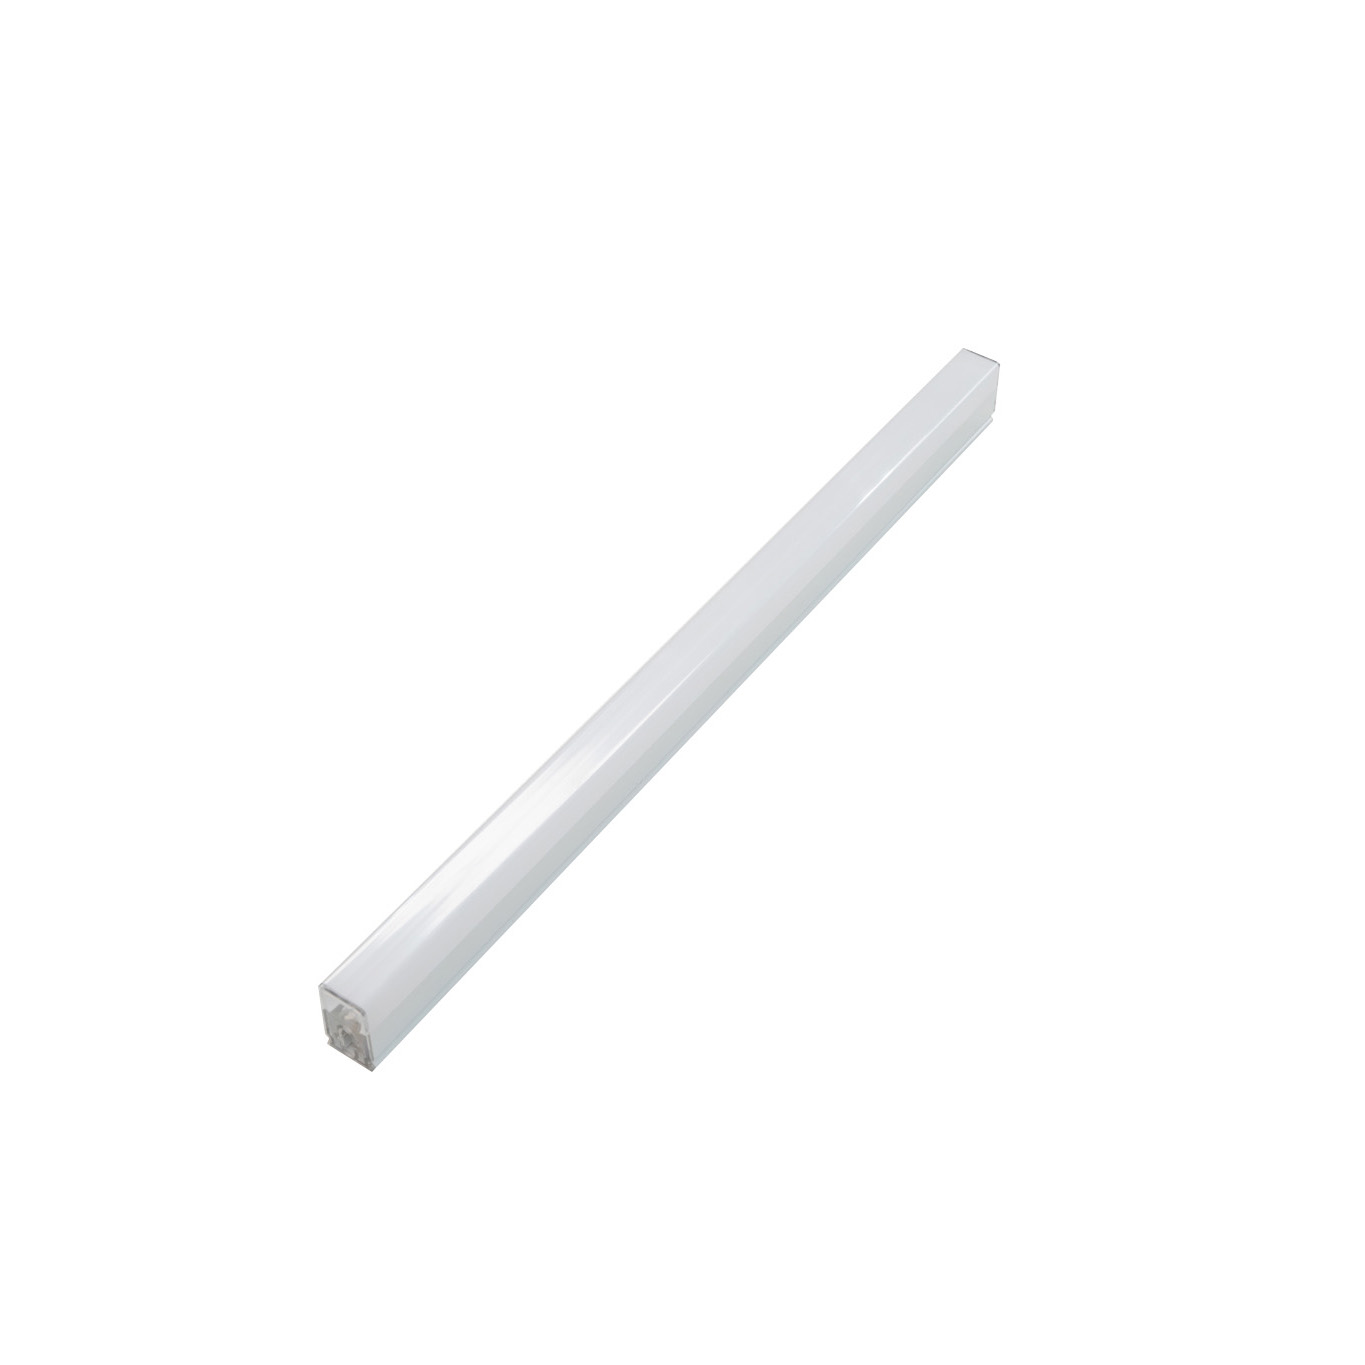
440mm Light Tube
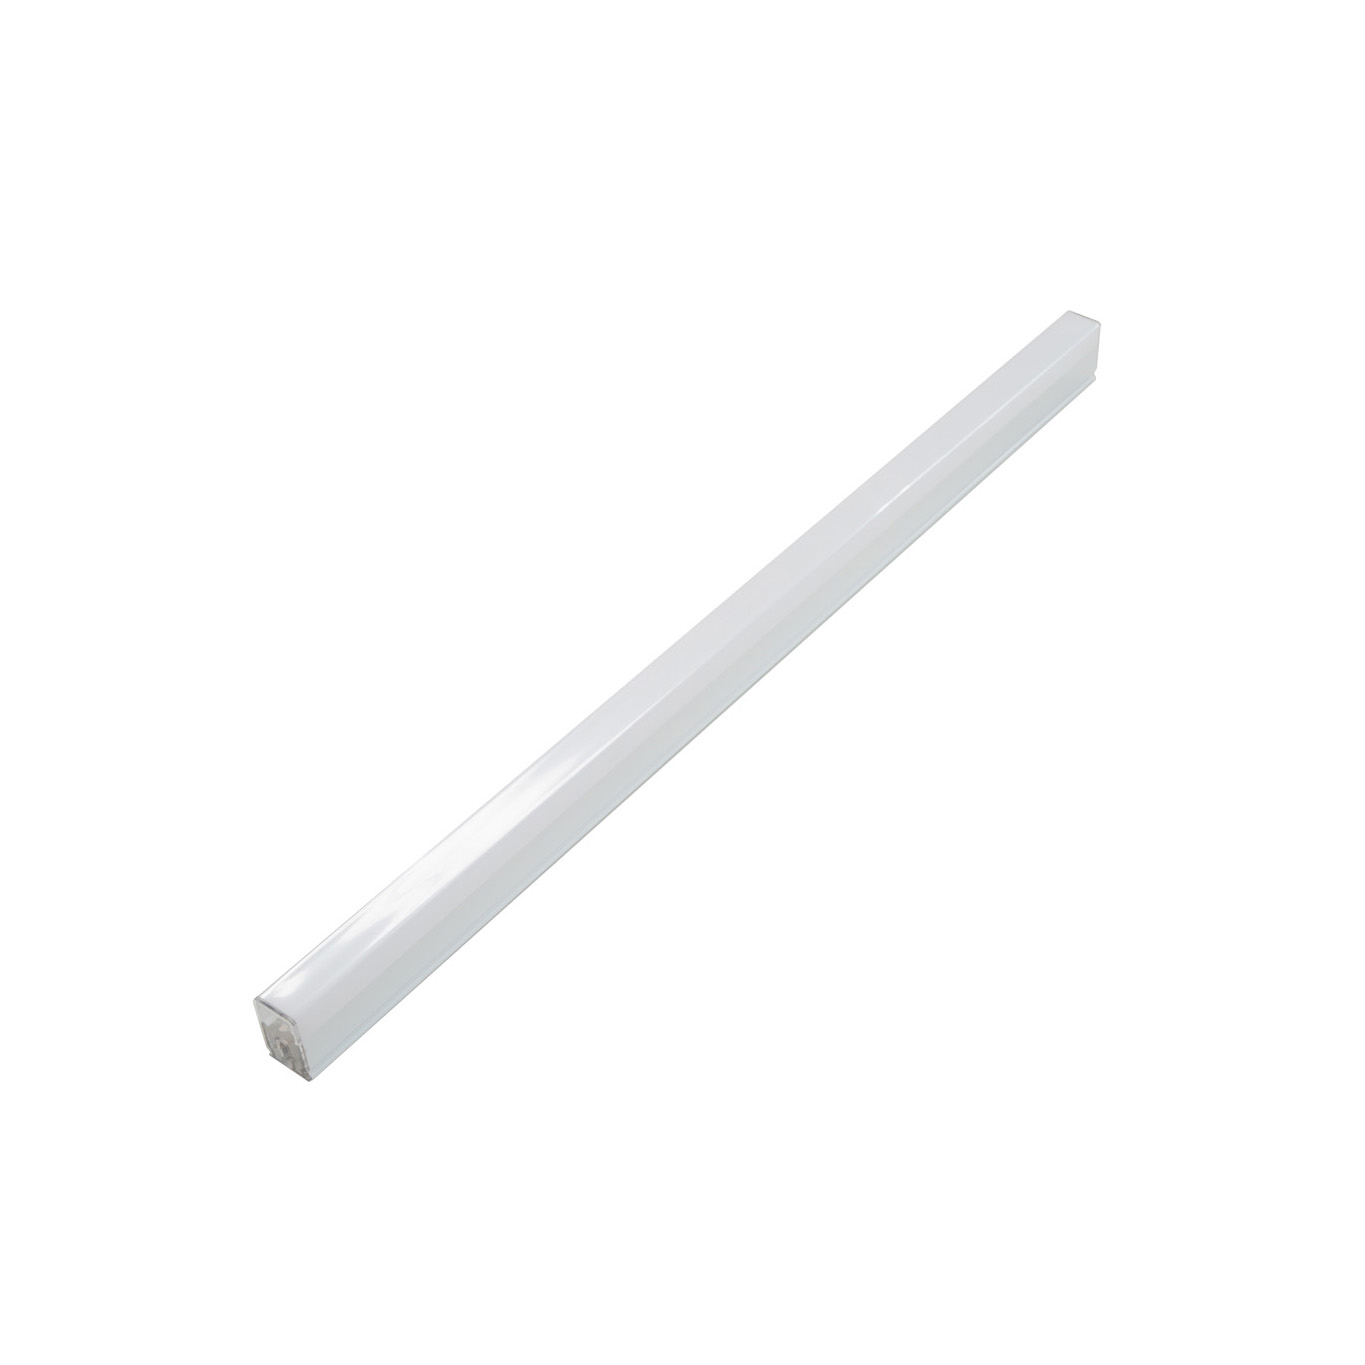
1175mm Light Tube
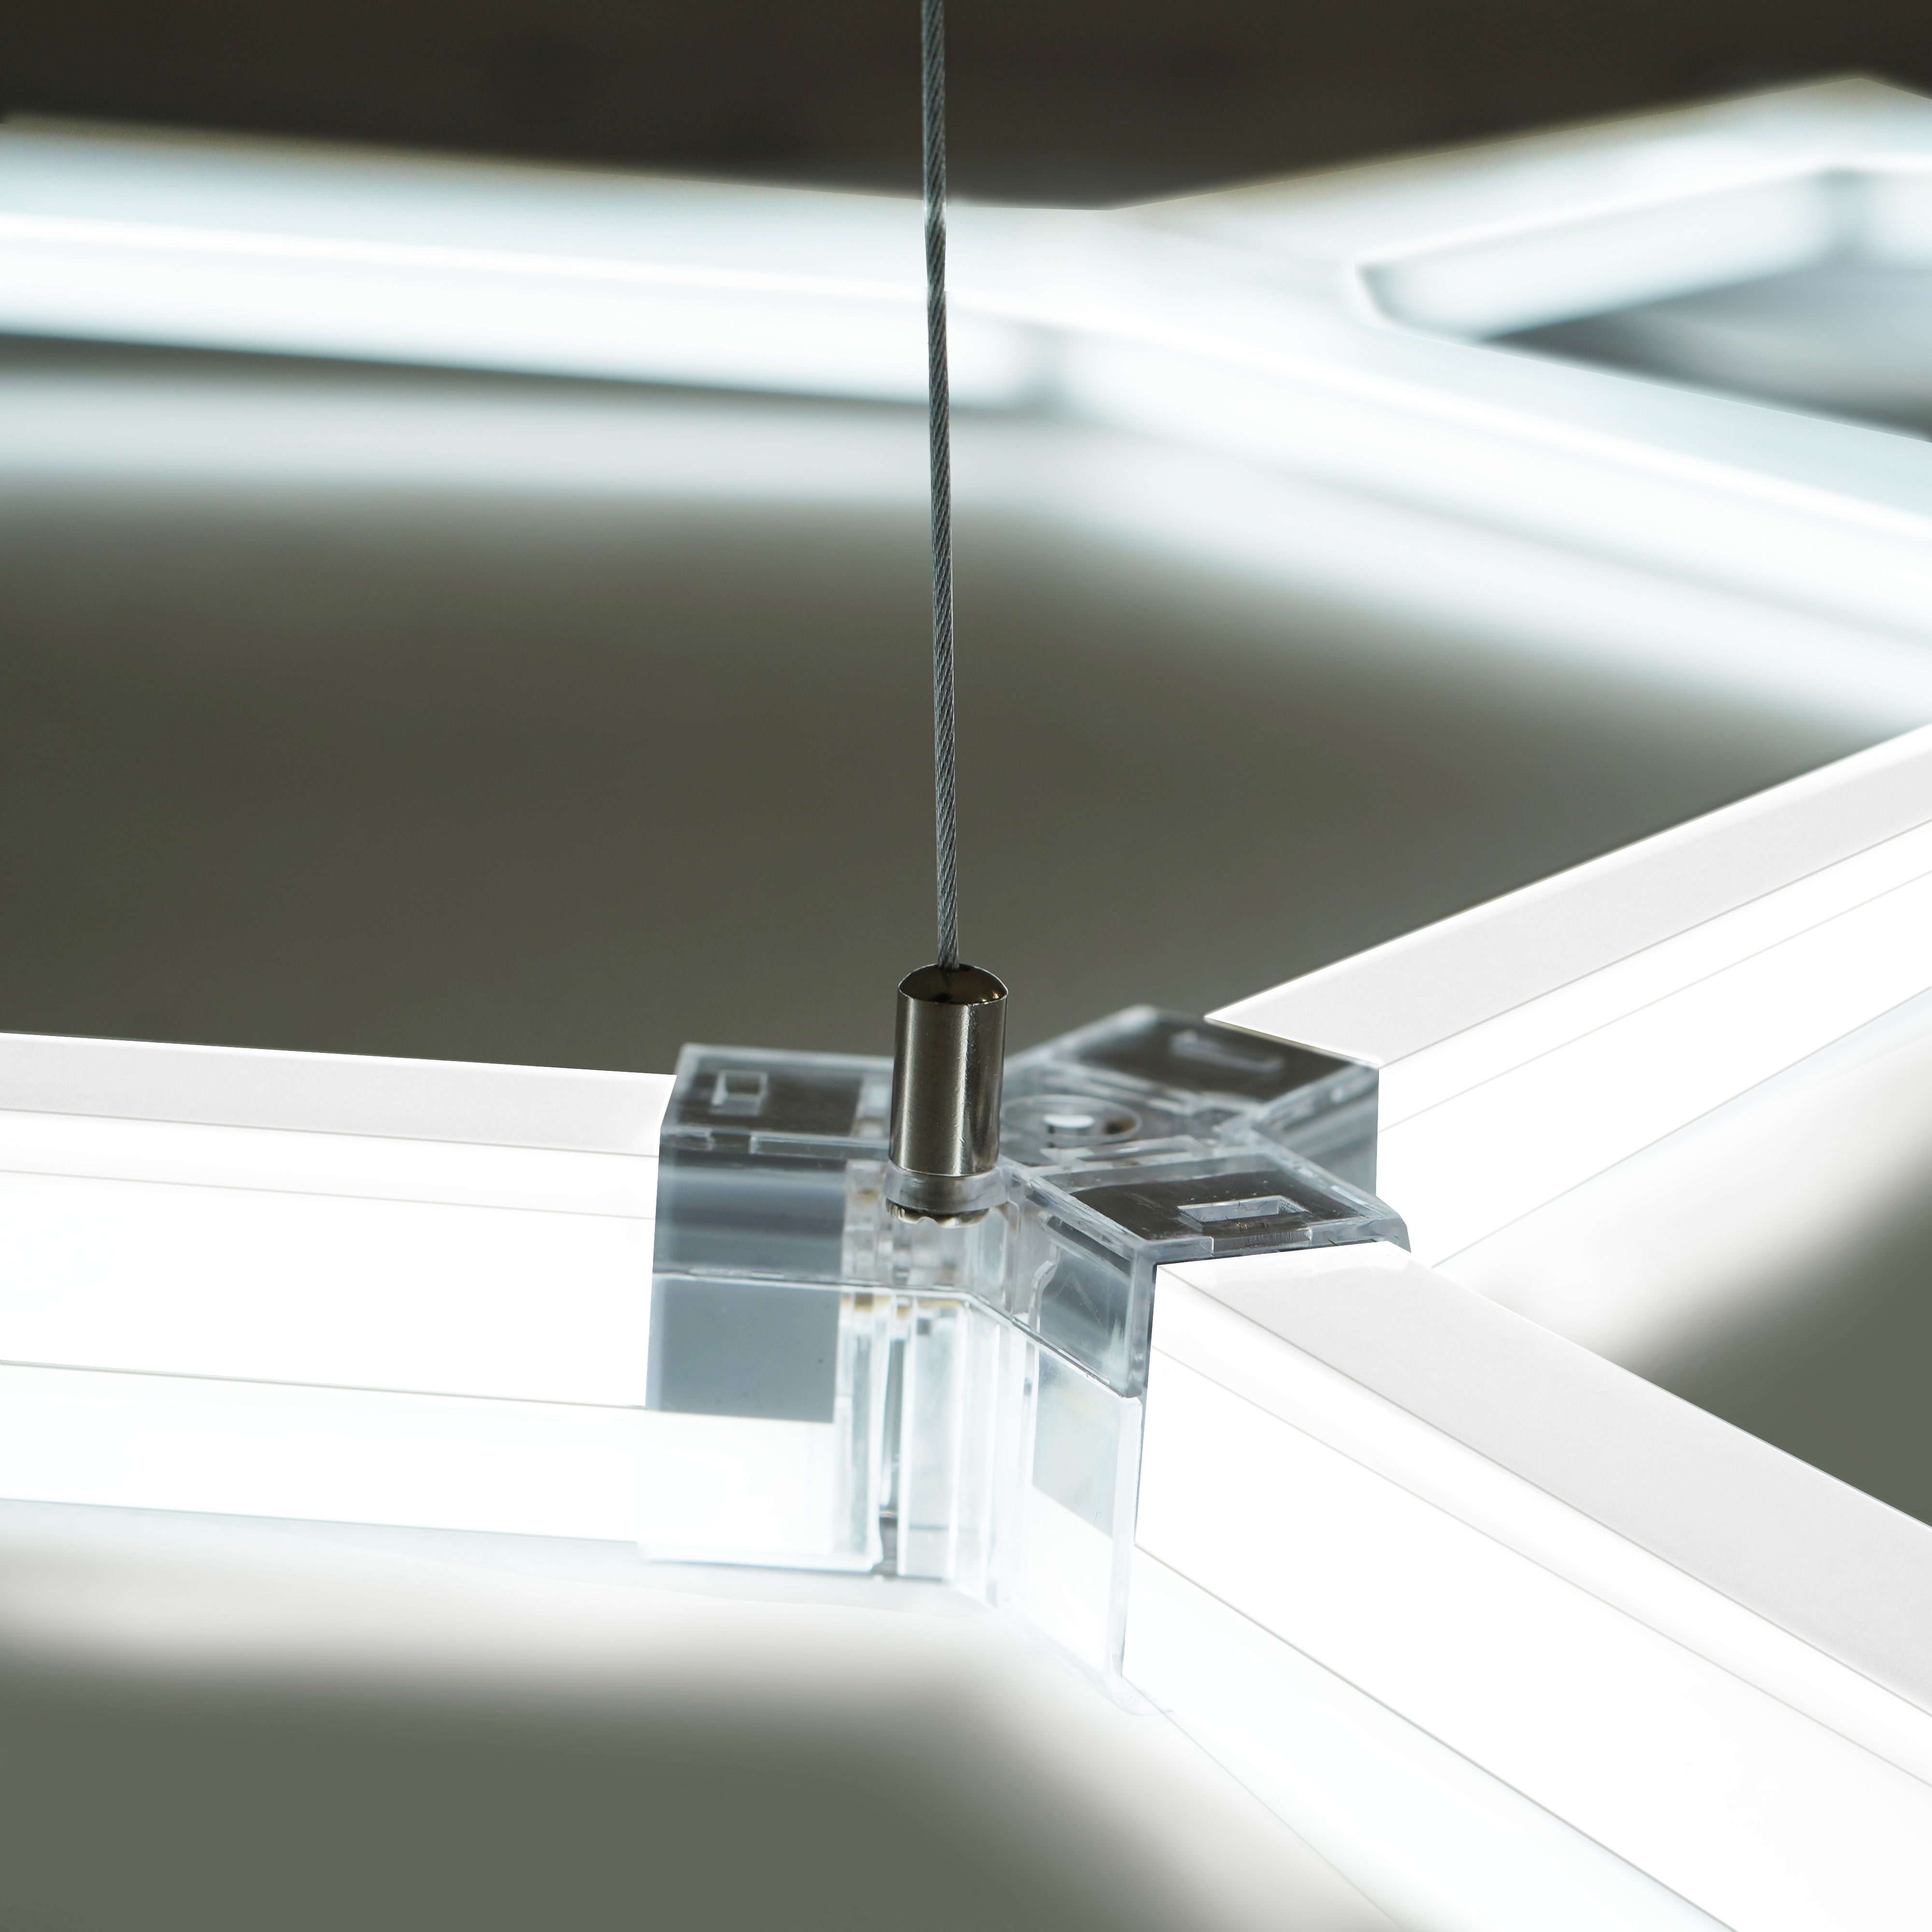
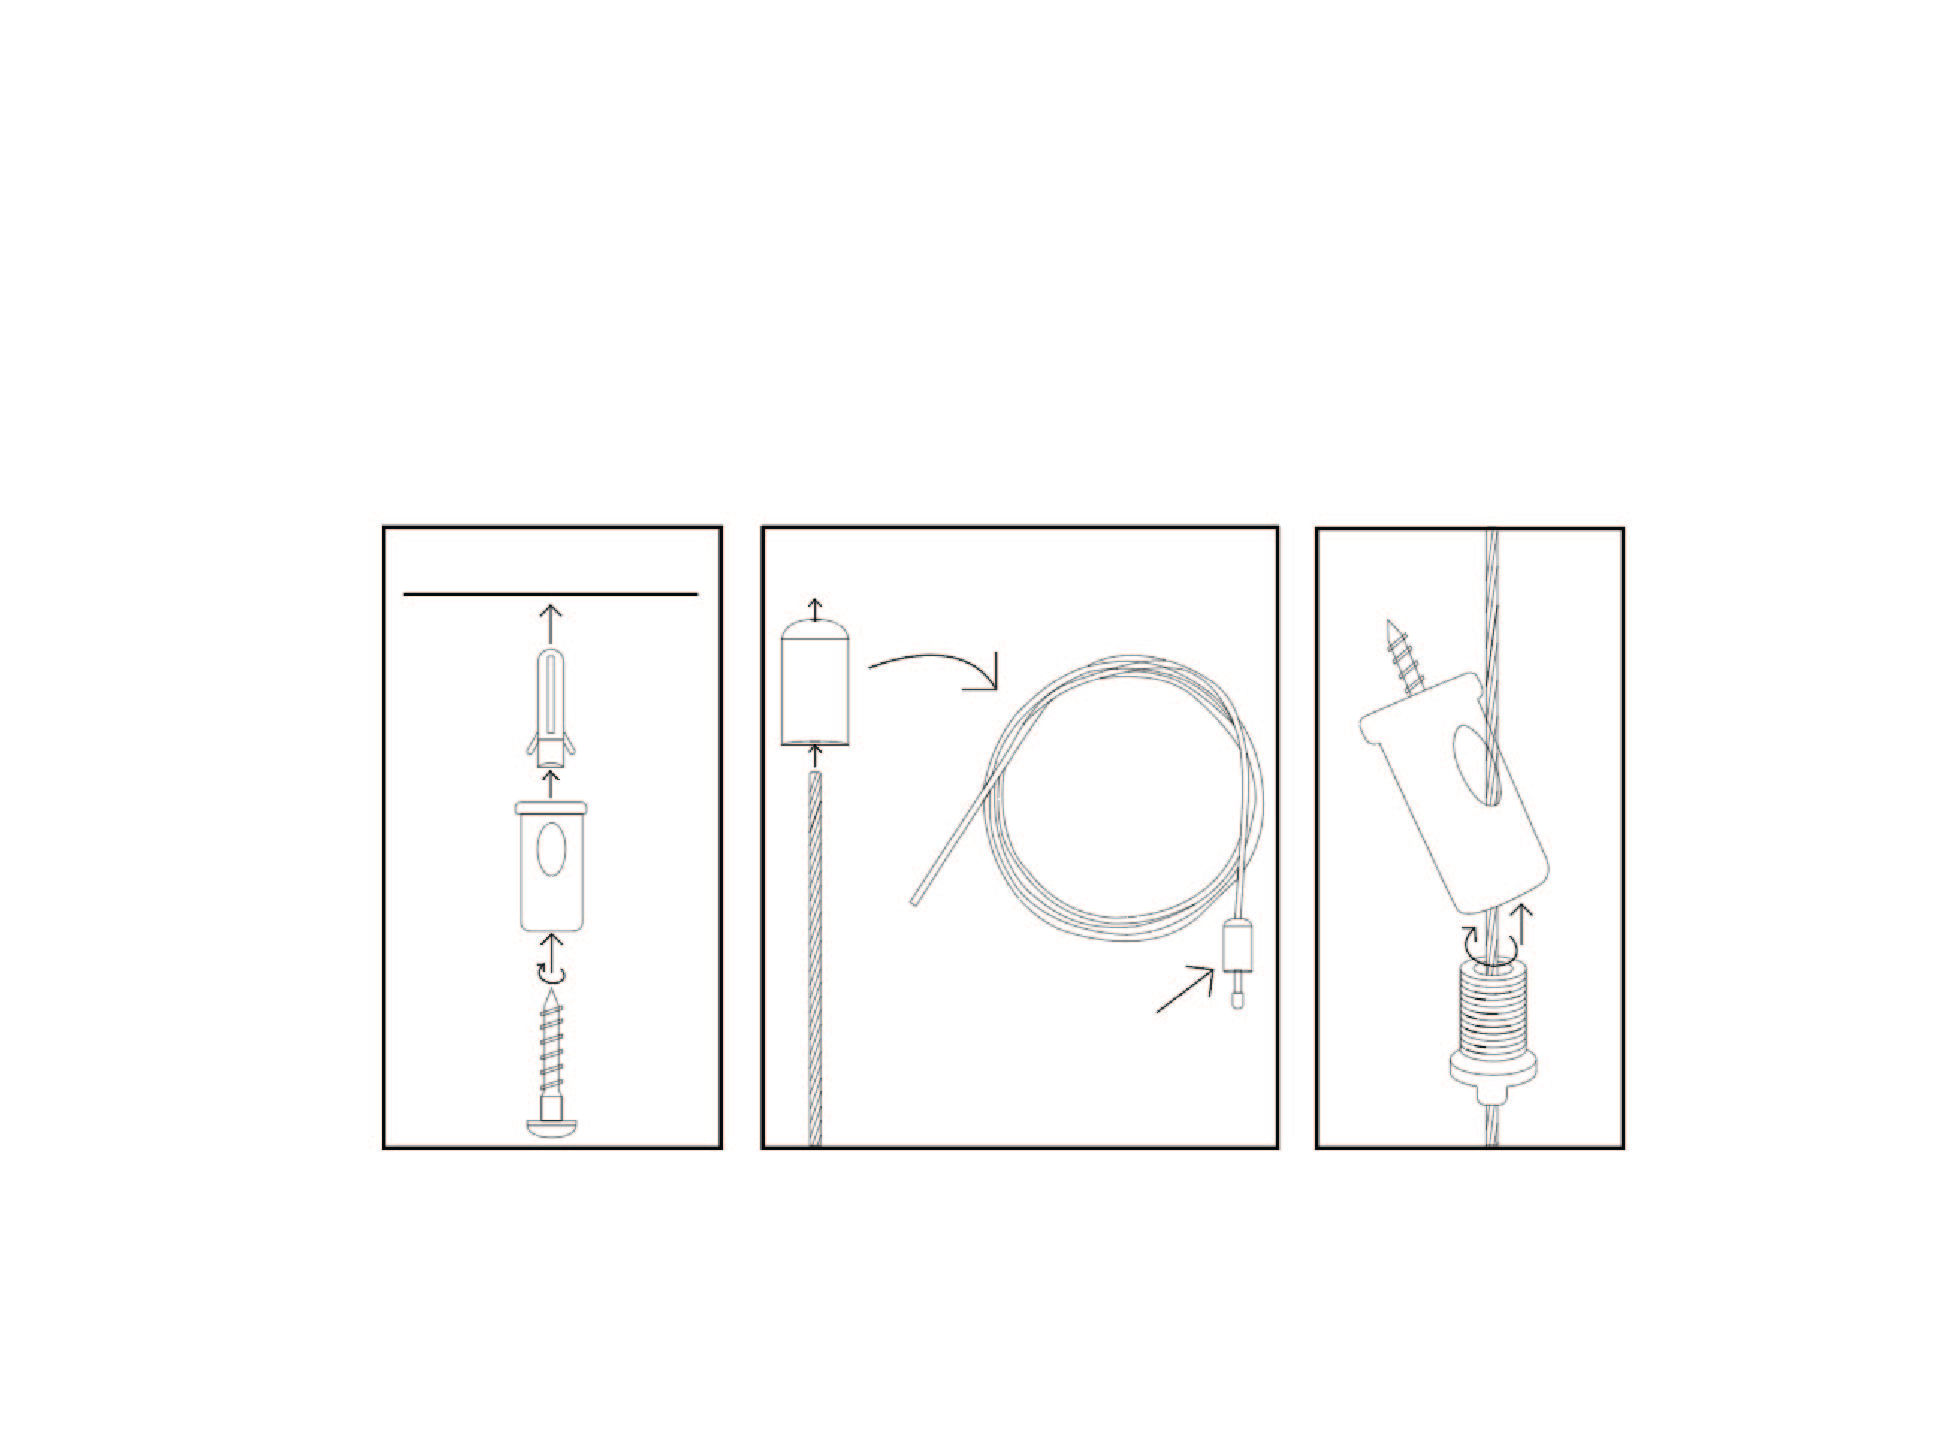
Ceiling Suspension Kit
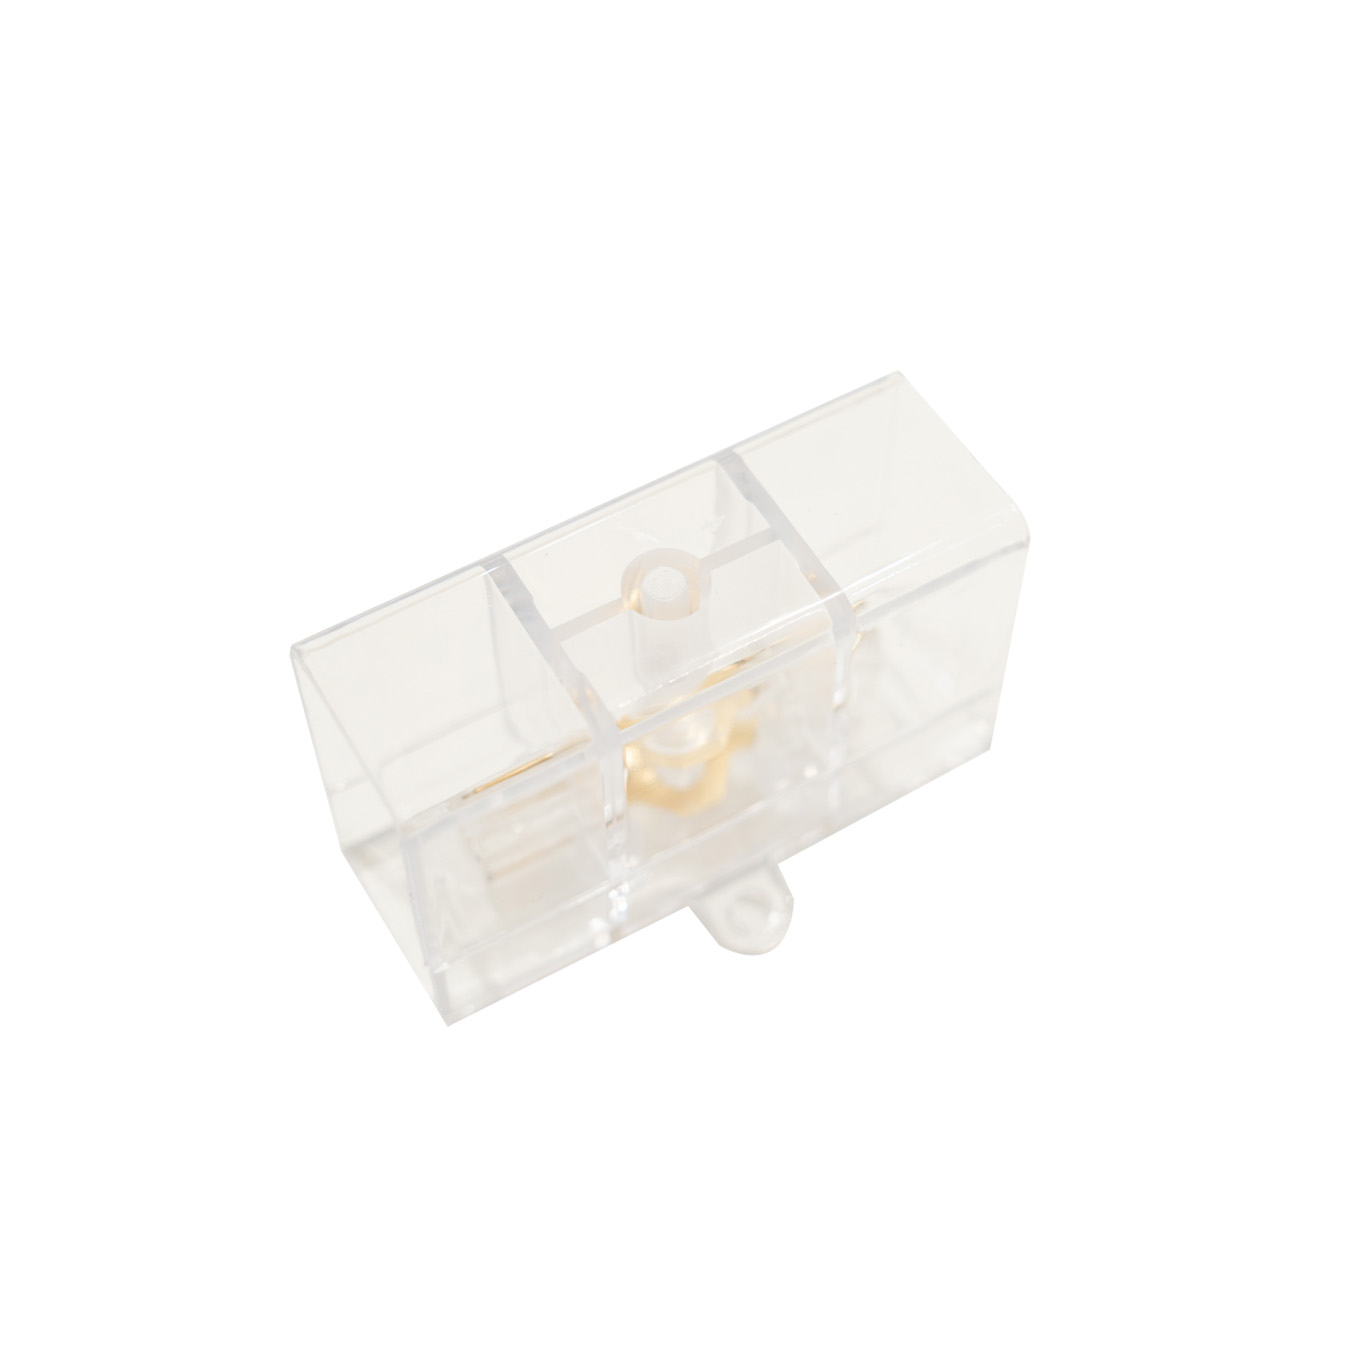
180° two-way connector
90° two-way connector
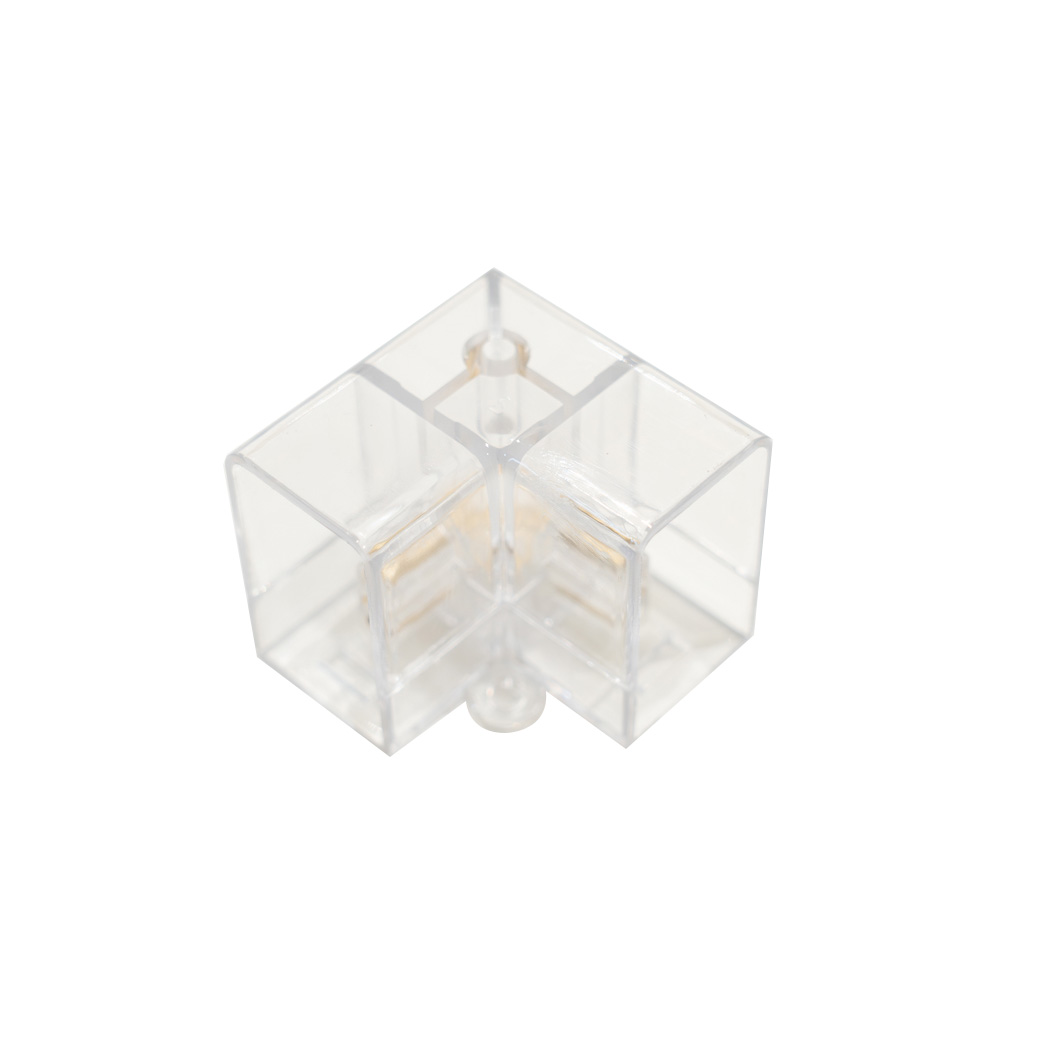
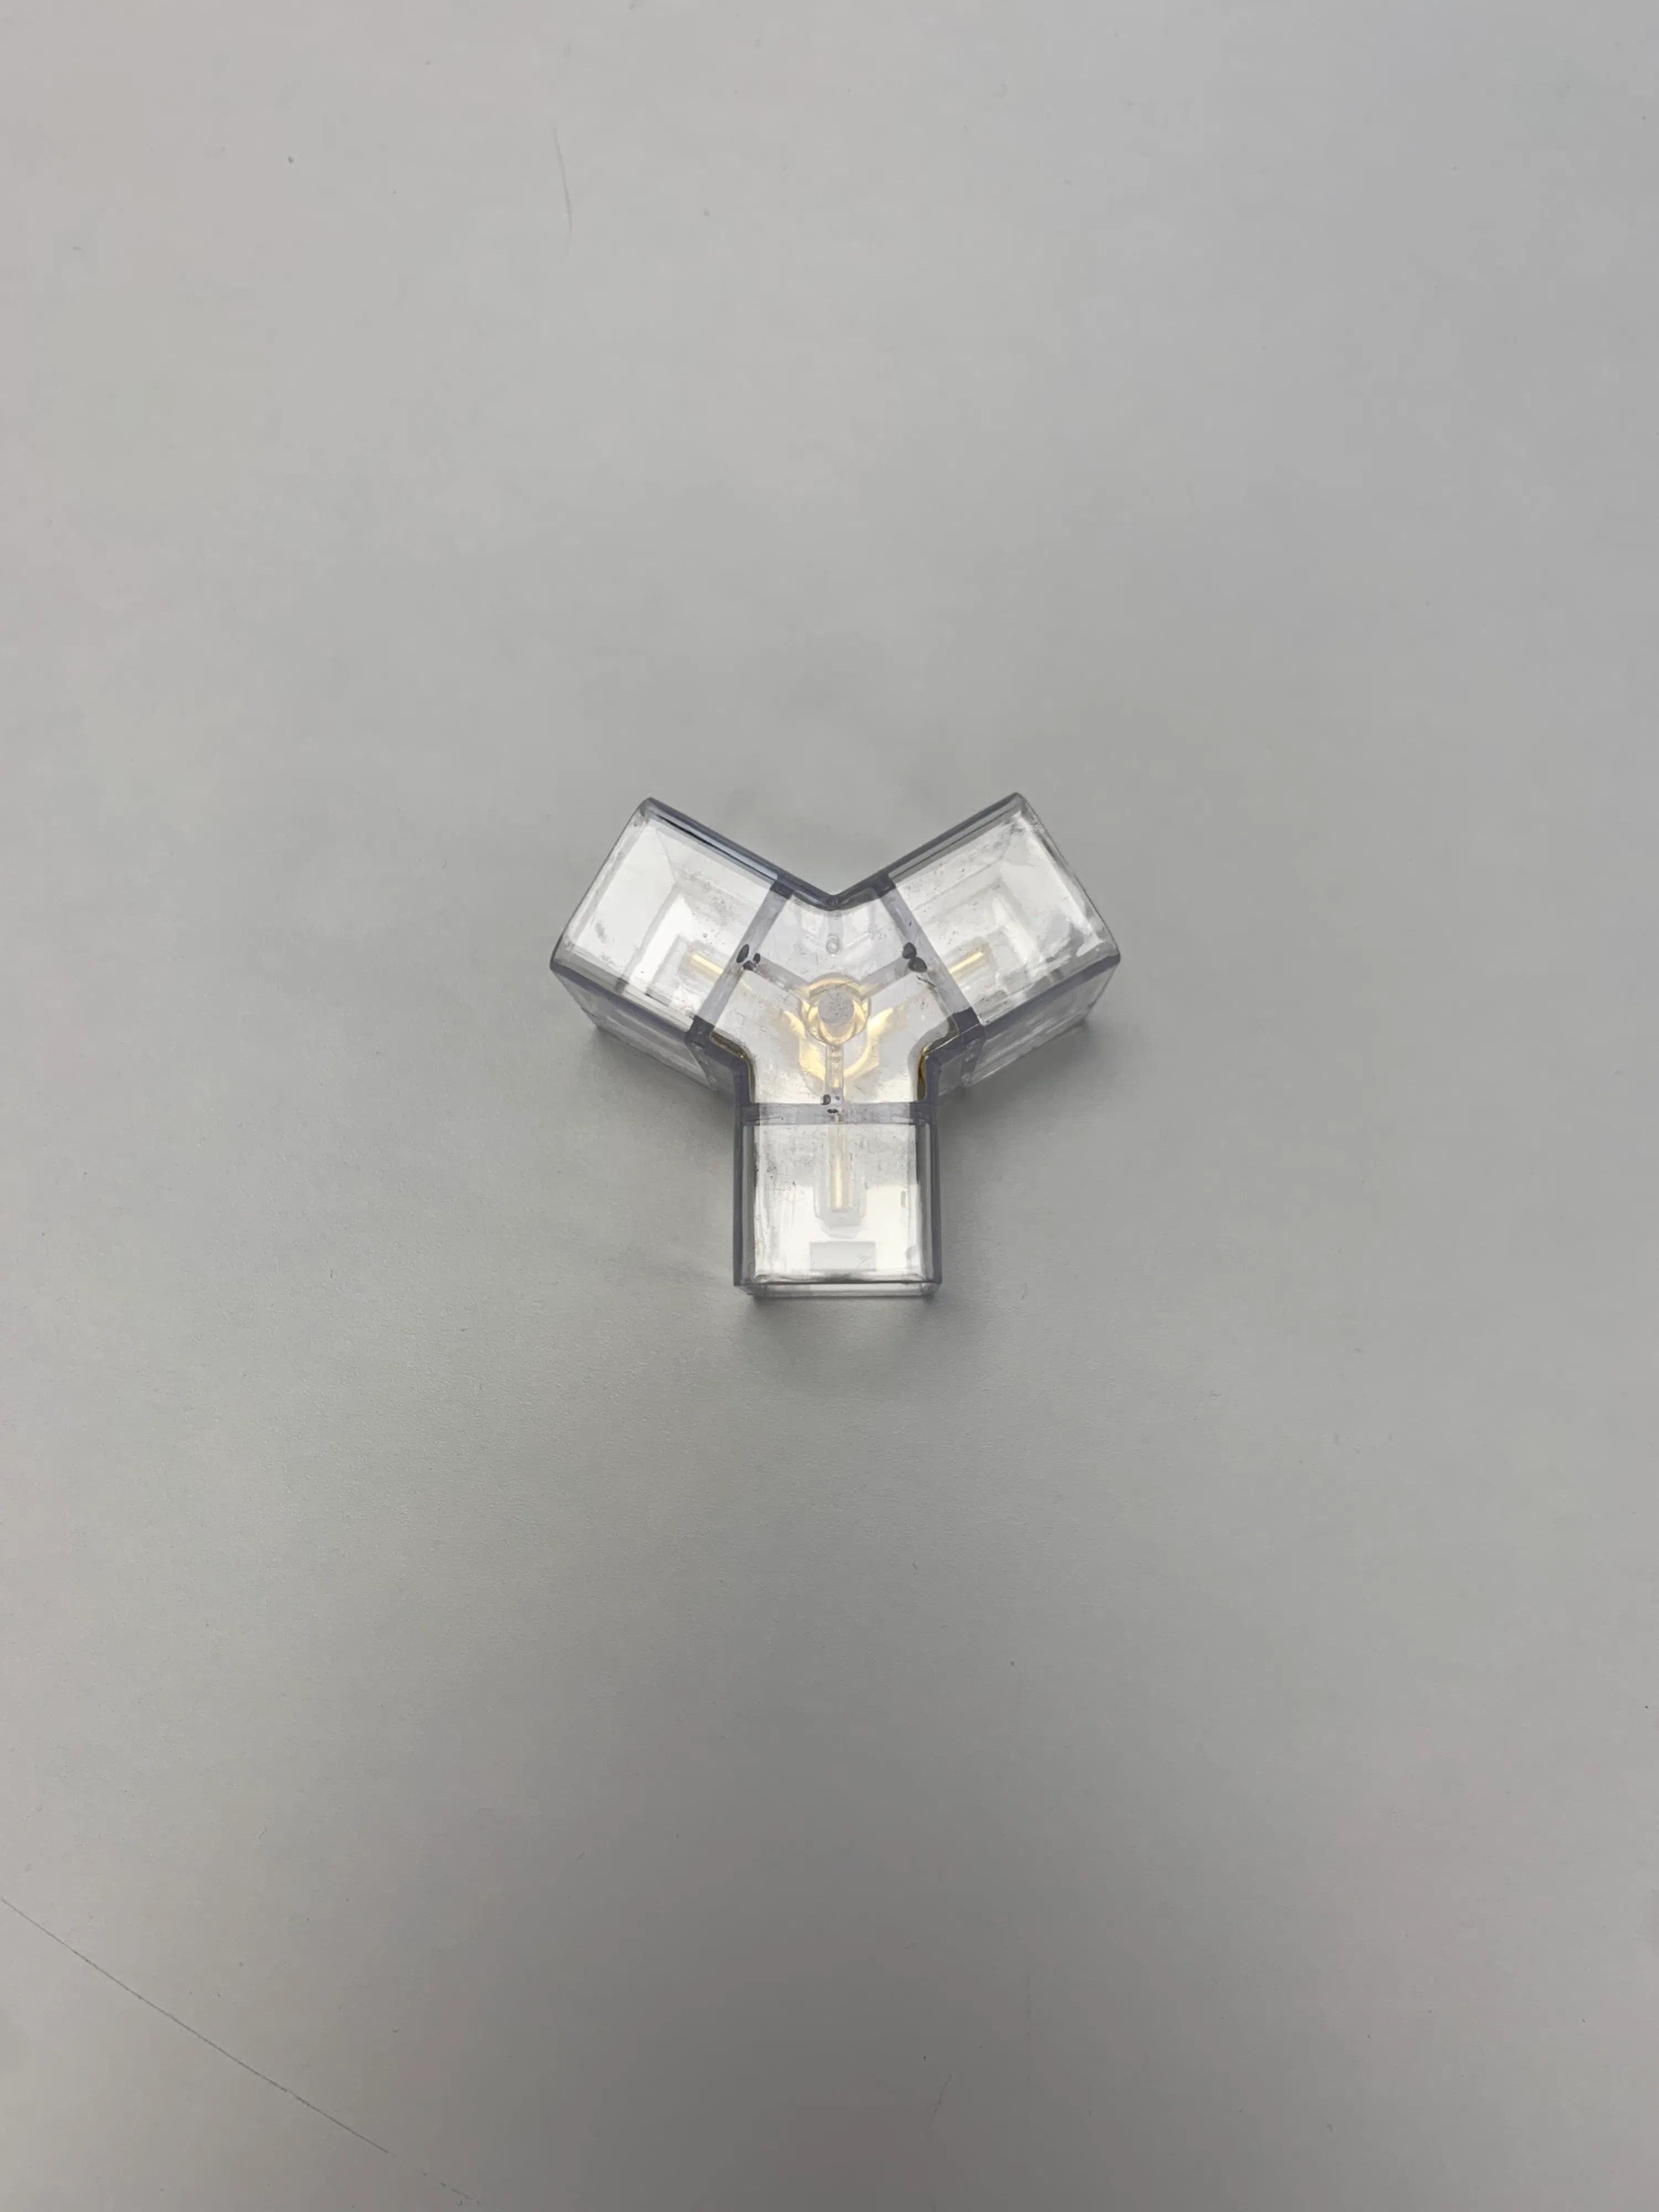
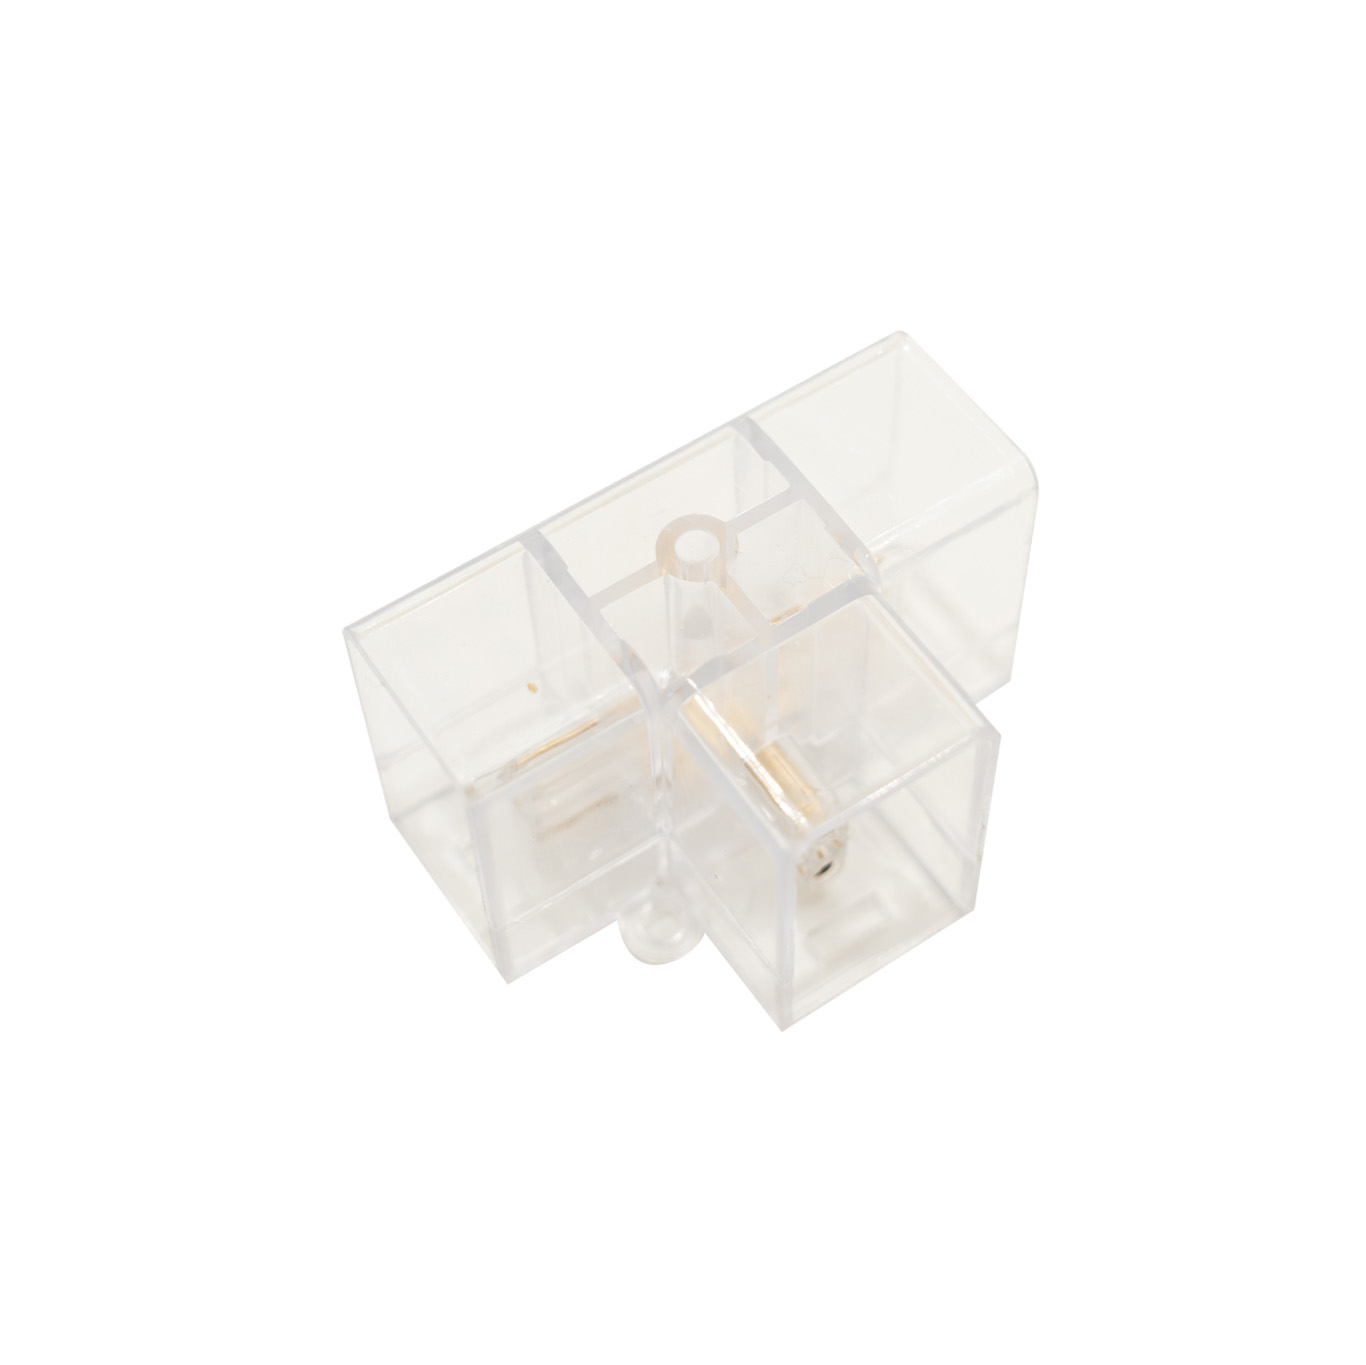
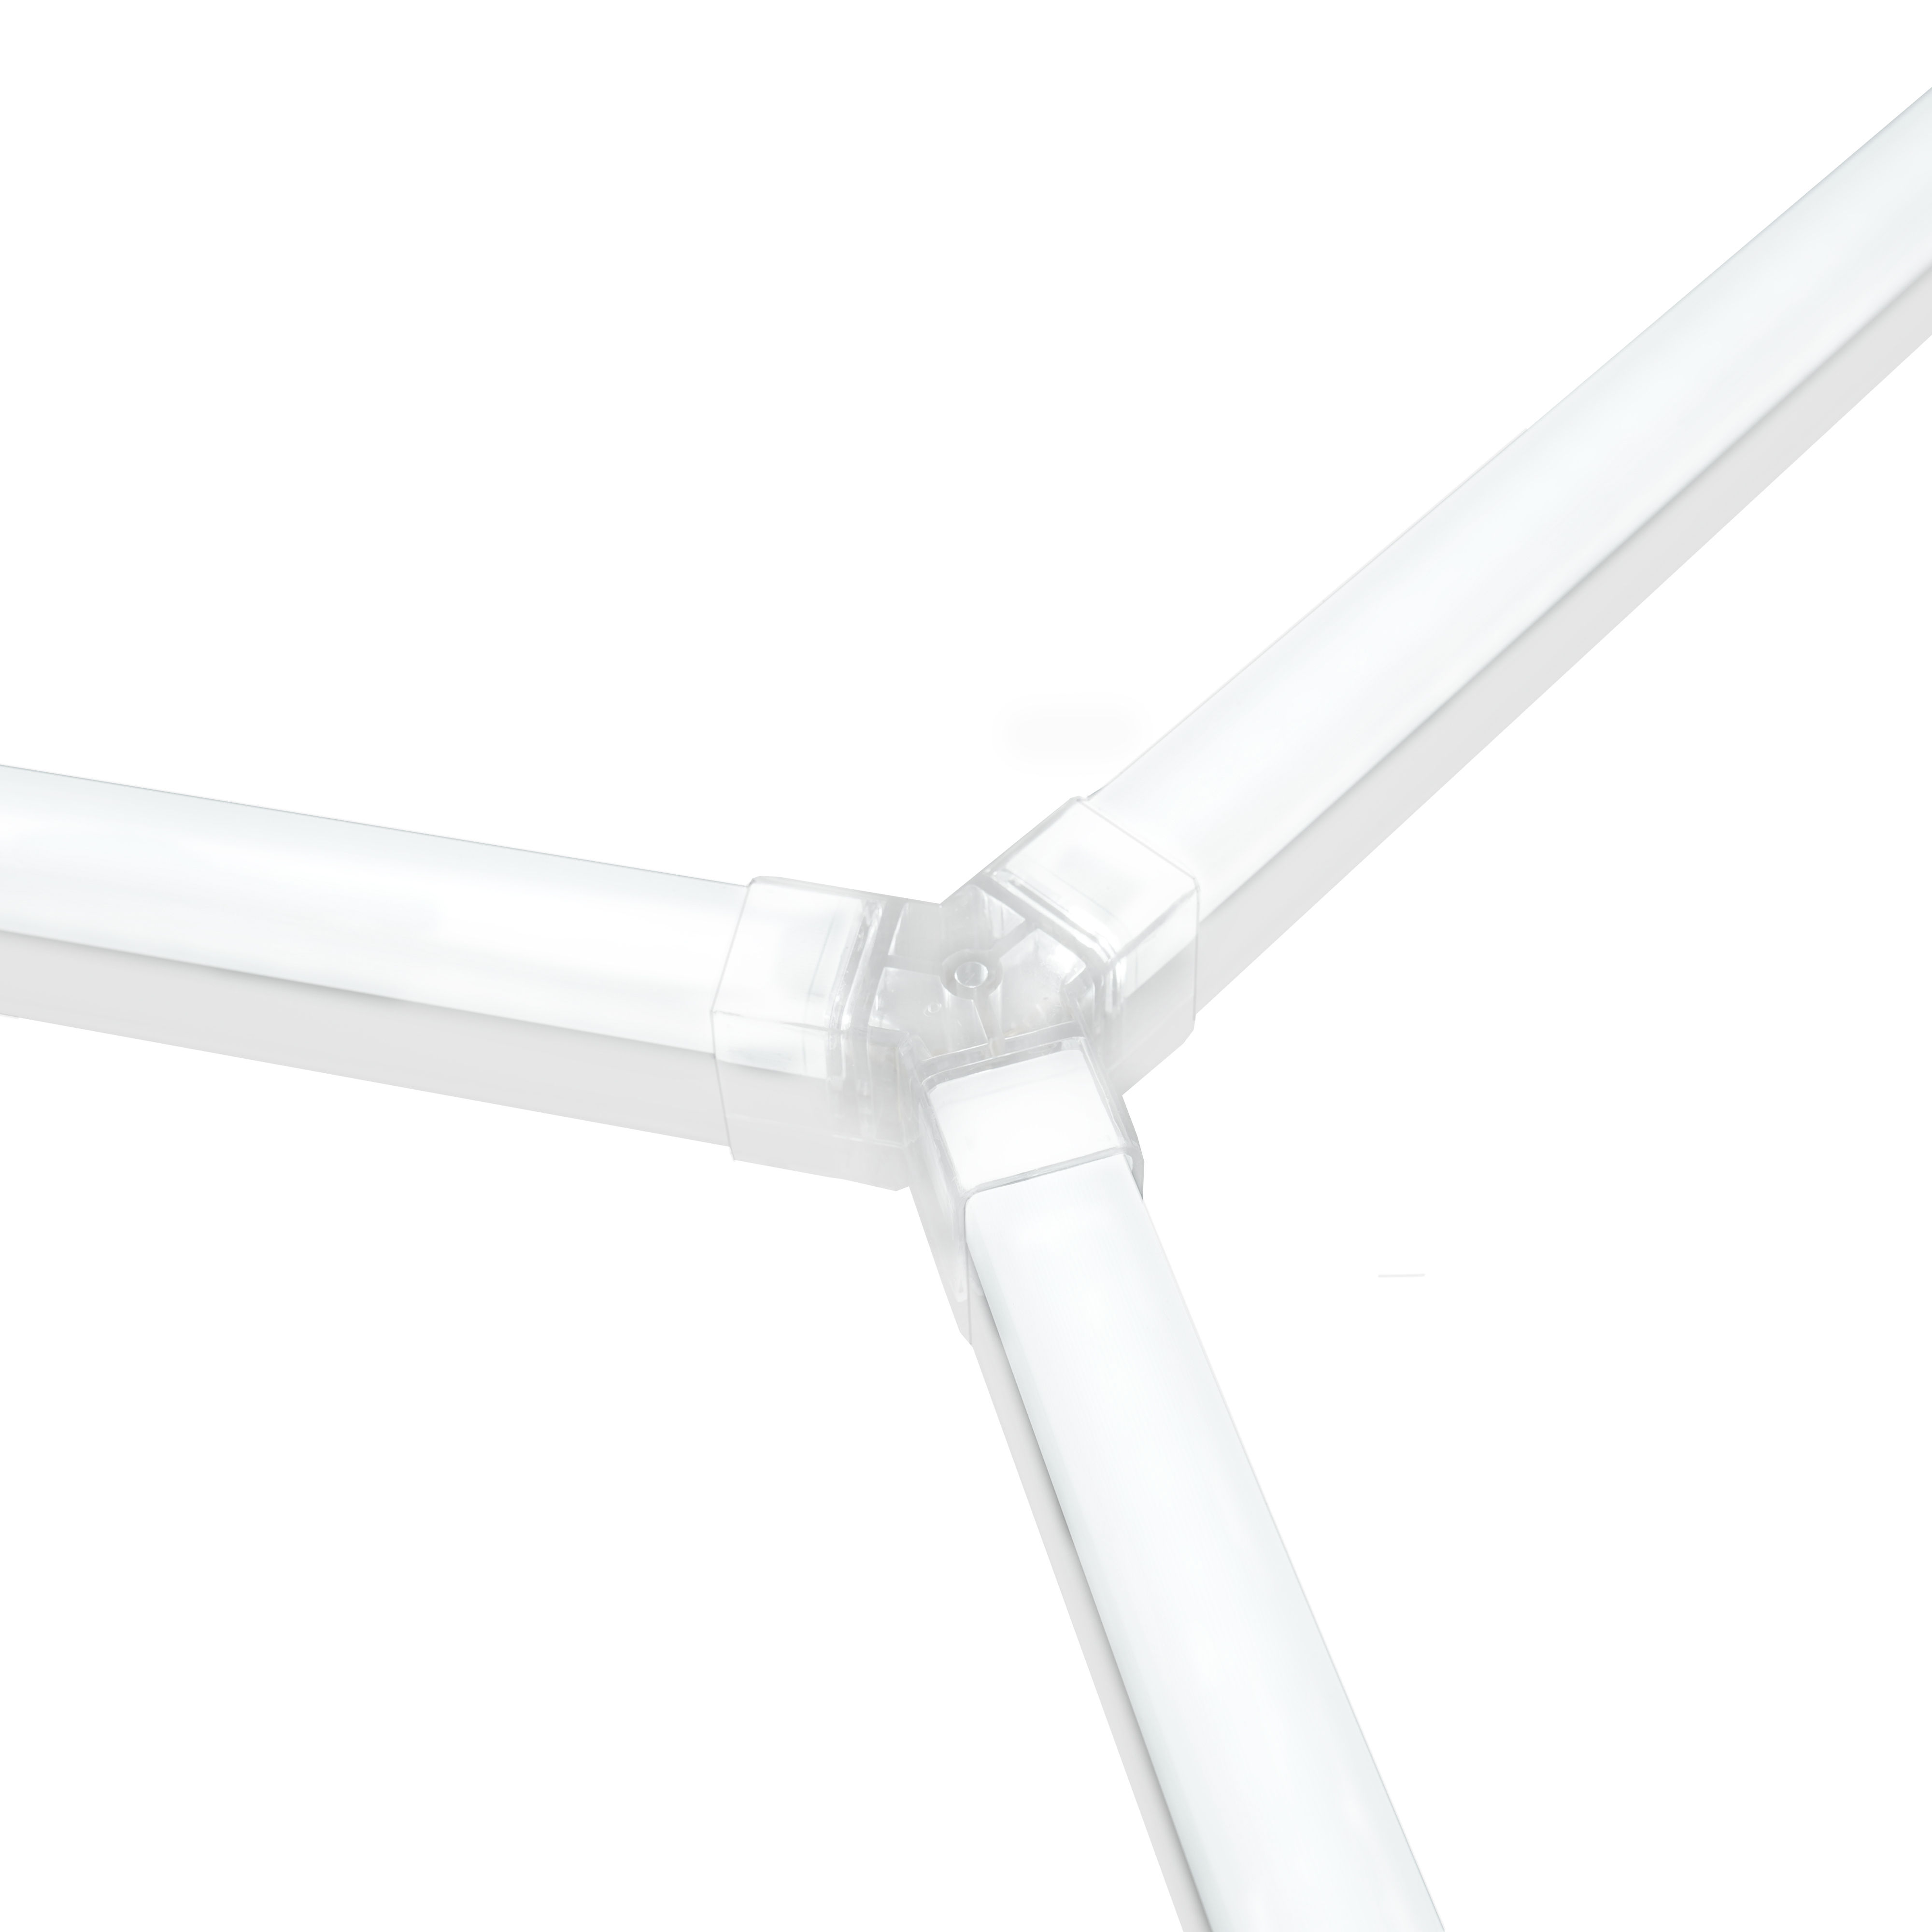
360° Y connector
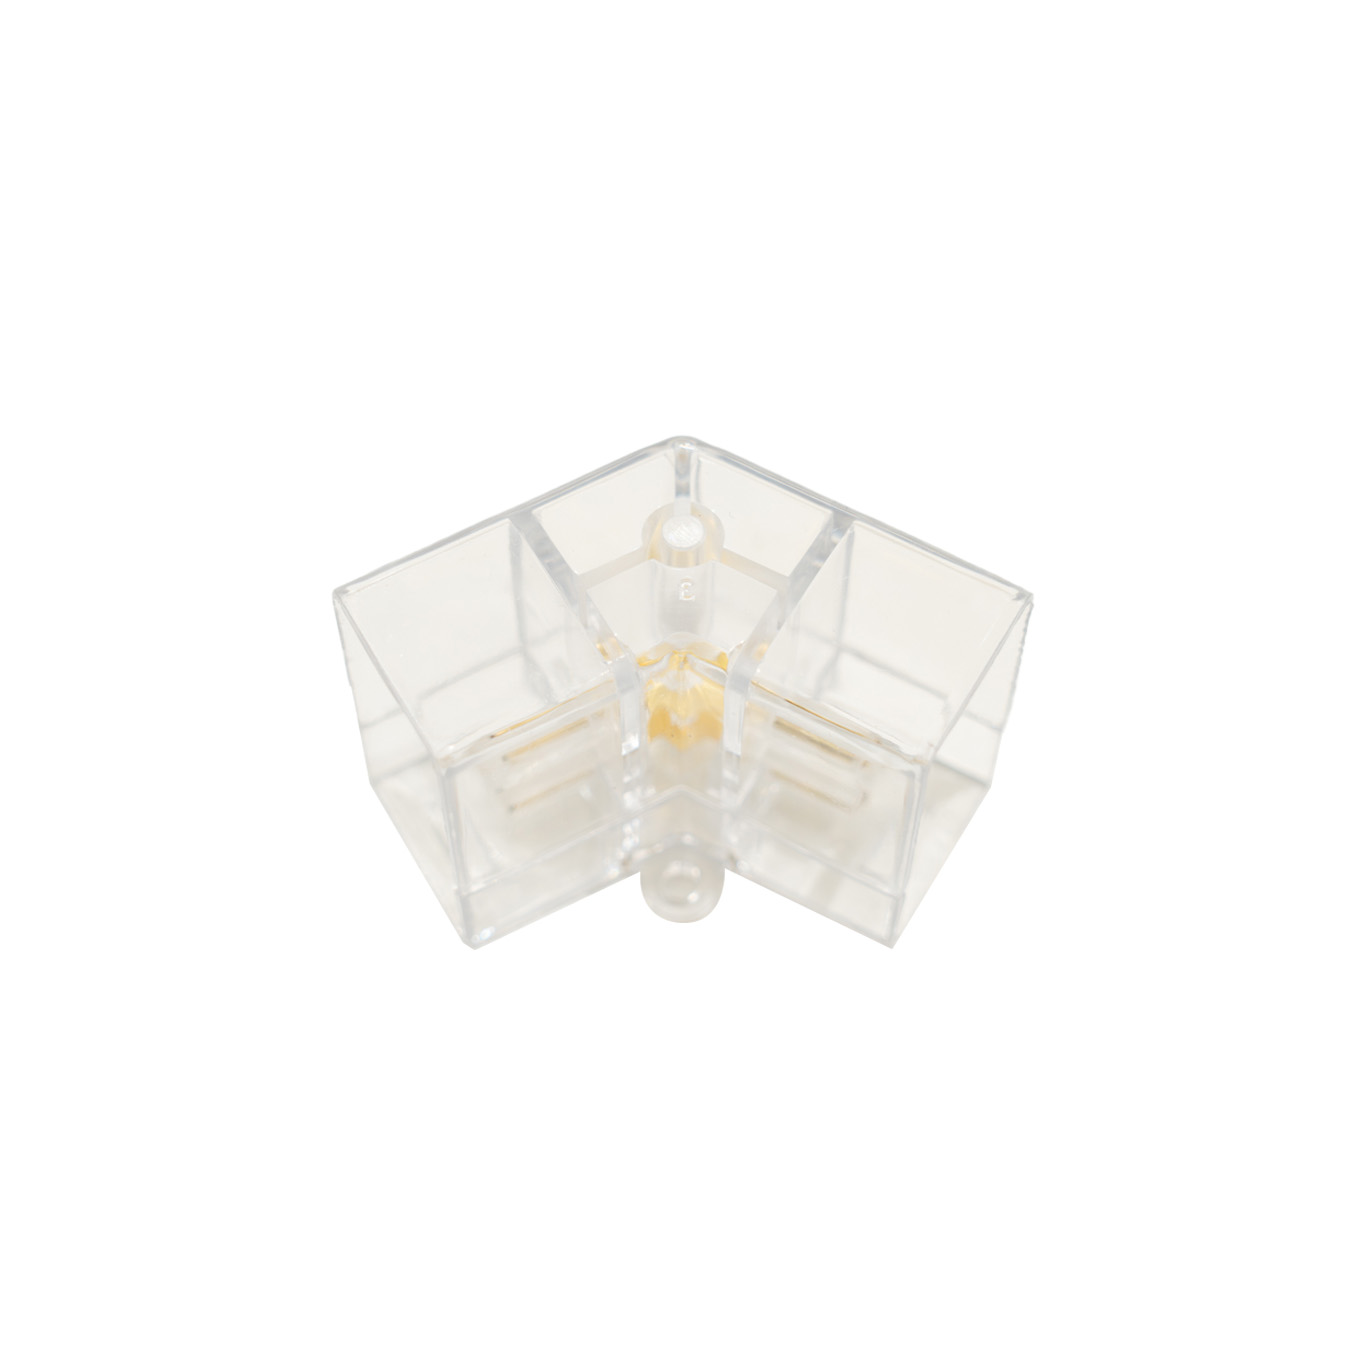
120° two-way connector
90° T connector
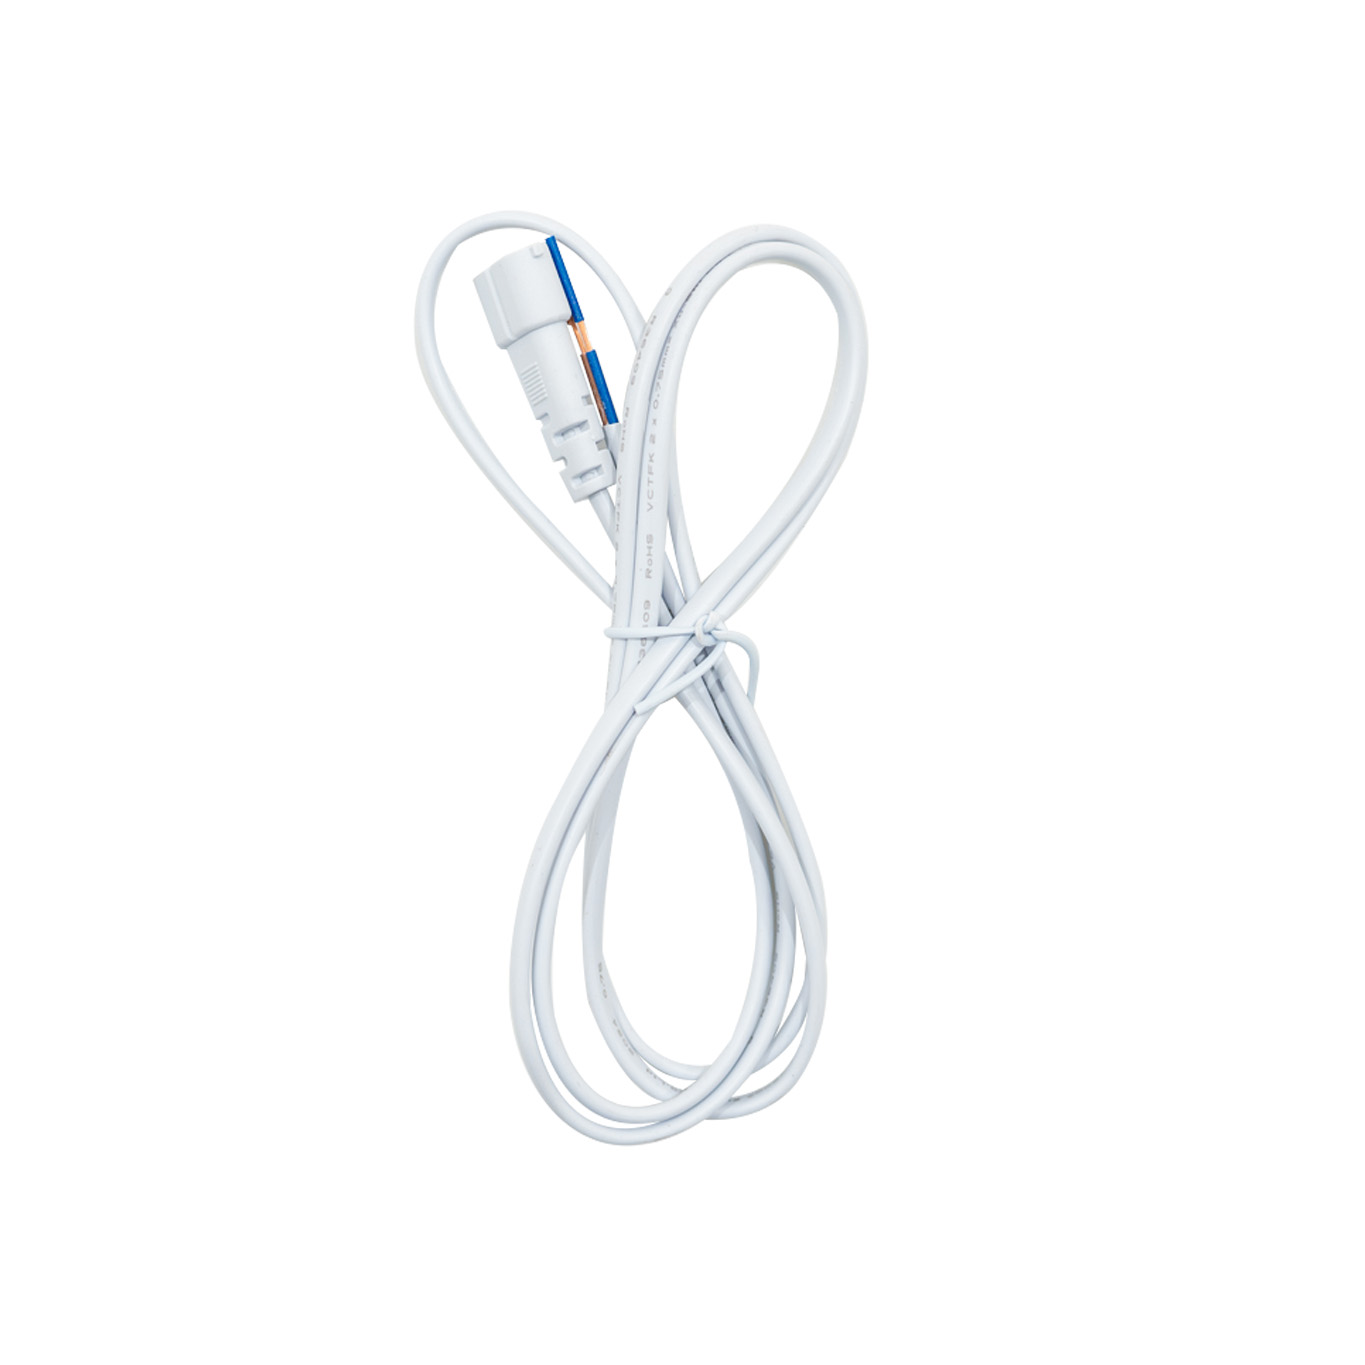
Power Cord
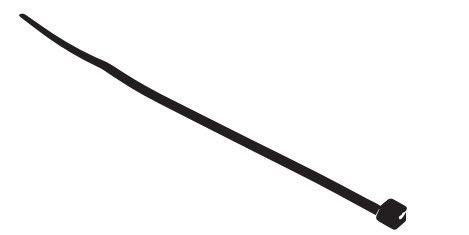
Cable Tie
1.
Begin by planning the entire lighting structure on the floor prior to mounting. We recommend laying it out before connecting it. The border should be constructed first, by joining the 1175mm LED tubes using the 180° straight and 90° corner two-way connectors. Install a T connector at the corner of the border designated for a power cable connection to the power supply. Ensure the tubes are fully inserted into the connectors for a secure fit.
2.
Now, start forming each hexagonal shape by connecting the 440mm LED tubes with 120° and 360° Y two-way connectors according to the pattern you desire. Ensure a 360° Y two-way connector in installed on the corner of one hexagon to allow for the second power cable connection.
3. Ceiling Installation
Raise and install to the ceiling either as a single unit or in separate sections. Use the appropriate wall plugs and screws to fix it to the ceiling, inserting them through the holes in the connectors.
4. Grid Installation
Secure the lighting structure evenly to the grids by threading the provided cable ties through the connector holes and fastening them tightly around the grid mesh.
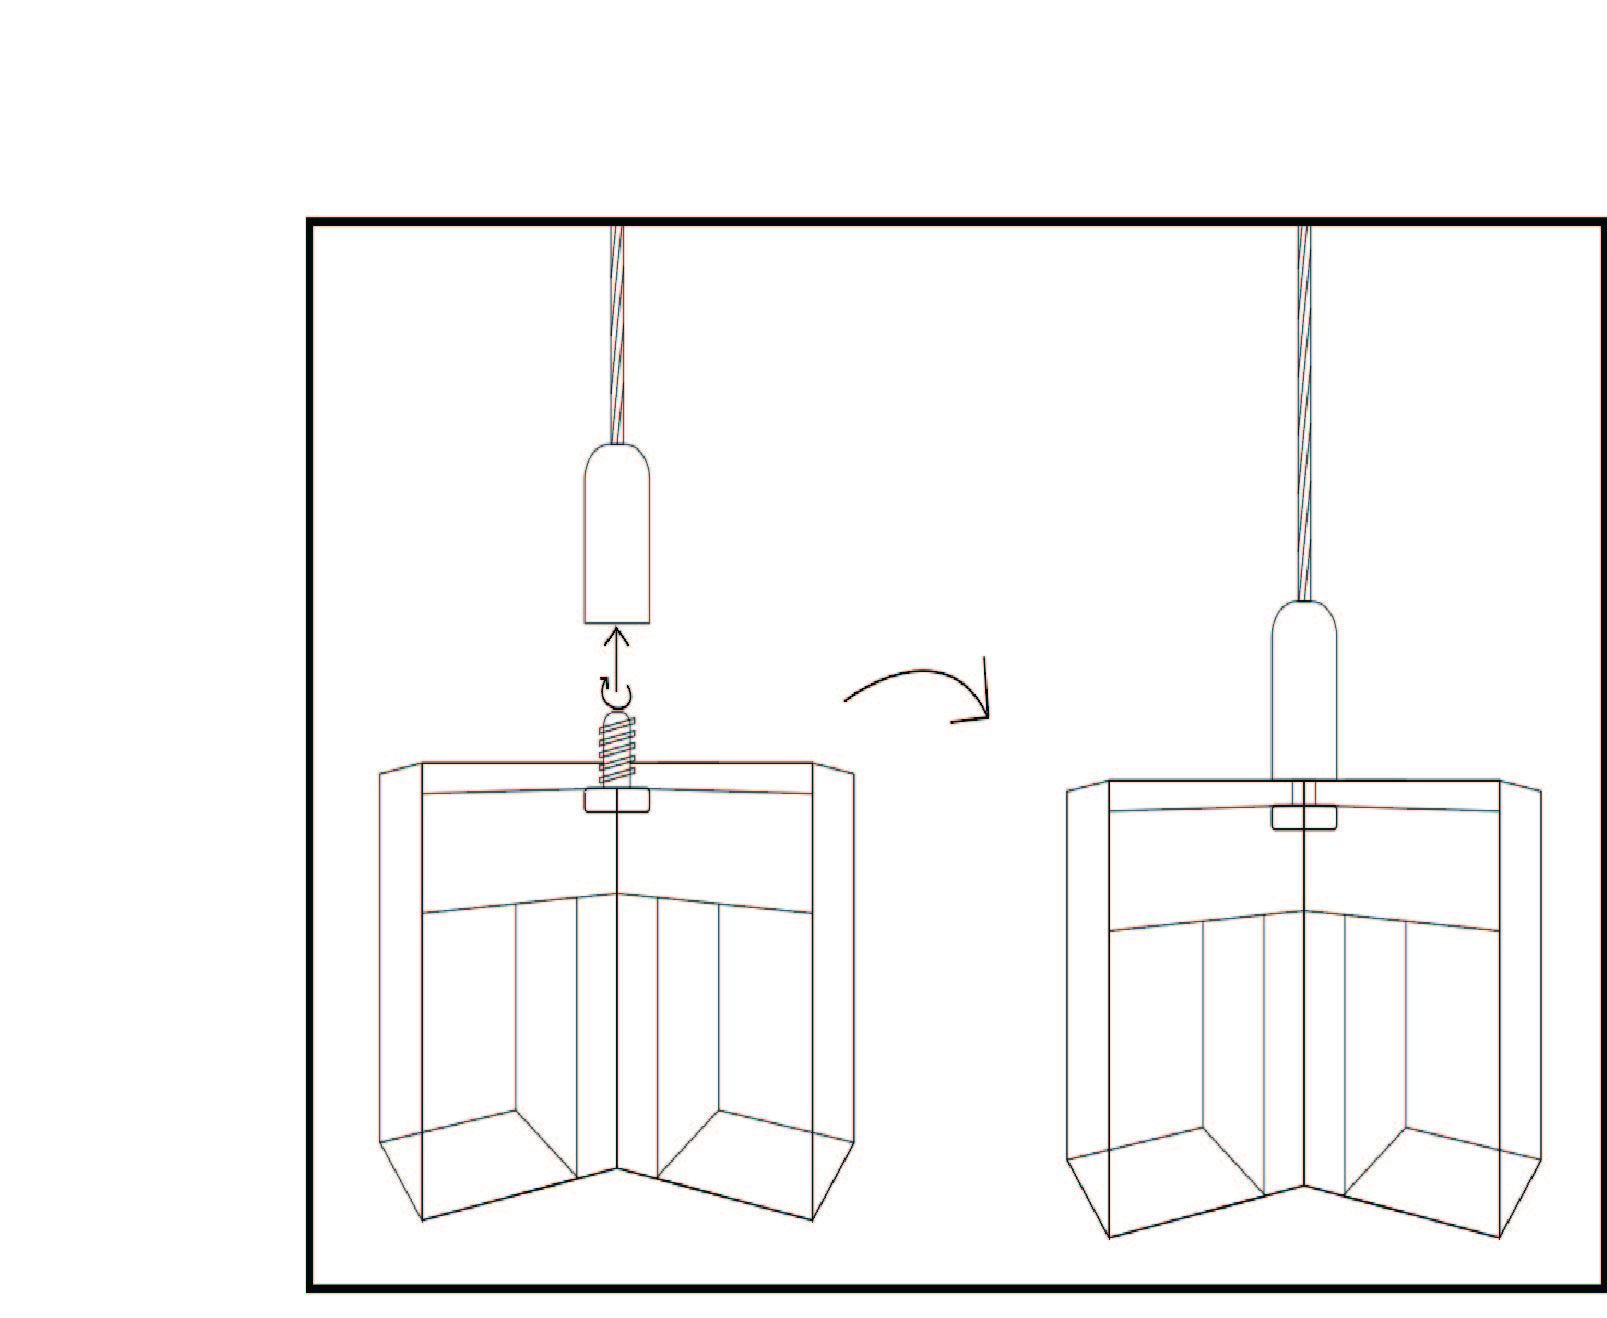
5. Ceiling Suspension Kit Installation
Make sure the ceiling suspension kit is attached uniformly across the LED light assembly to achieve an even distribution of weight.
Begin by laying out one suspension kit in the desired area for installation. Follow the diagrams below for each kit.
6. Maintenance
Clean the light fixture with a dry or slightly damp cloth. Do not use harsh chemicals or abrasive cleaners as they may damage the finish.
7. Troubleshooting
WHAT DO I DO IF THERE ARE MISSING PARTS FROM MY ORDER?
If there appears to be any part missing from your order, contact our friendly and helpful Customer Support Team within 7 days of receipt.
FOR ALL OTHER ISSUES, PLEASE CONTACT OUR CUSTOMER SUPPORT TEAM.