Detailed instructions for assembling, installing, and using the 3m Cantilever LED Parasol. It includes safety advice, a parts list, assembly instructions and storage tips to ensure proper setup and maintenance of the parasol for outdoor use.
Product Information
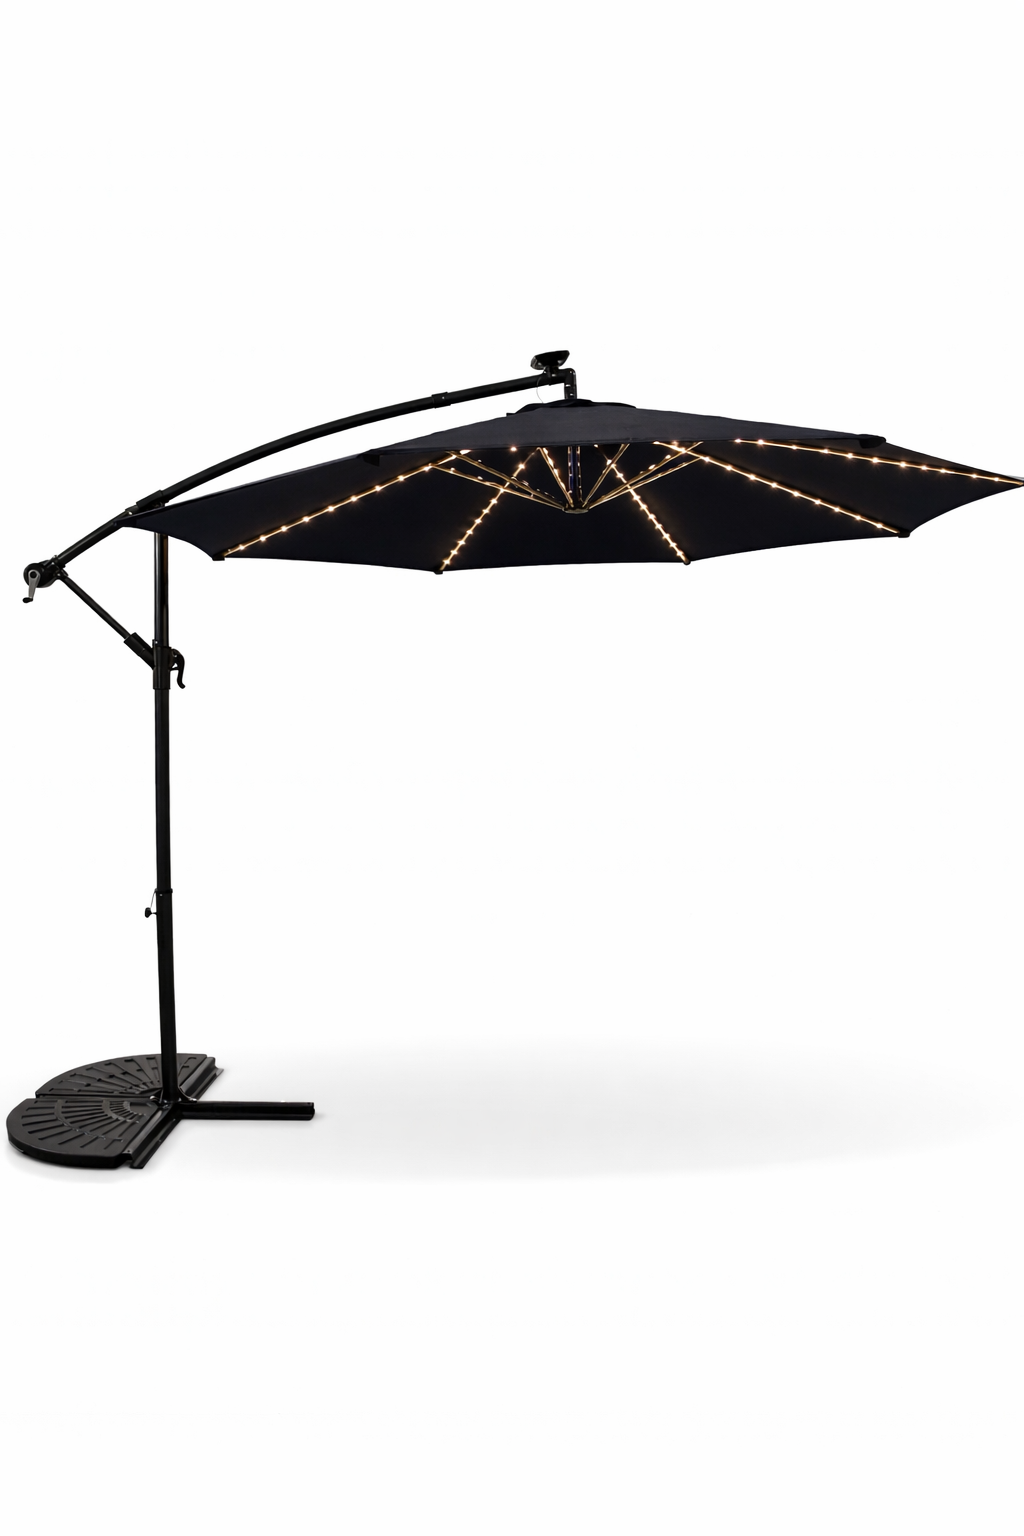
3m Cantilever LED Parasol
Add shade and evening ambience to your garden with the Jardi 3m Banana Hanging Parasol with LED lights. This cantilever-style umbrella provides wide coverage while keeping the pole away from your seating area.
Built with a durable steel frame and steel ribs, it features an easy crank handle for smooth opening and closing. The 3m polyester canopy offers great sun protection, while the integrated LED lights create a warm atmosphere for relaxing outdoors after sunset. It also includes a cross base and a black Oxford umbrella cover with zipper for protection when not in use.
SKU
216436,216437,216438,216439,216440
Product Height:
2.5 M
Product Depth:
2.8 M
Product Width:
2.9 M
Product Net Weight:
14 KG
Product Gross Weight:
15.5 KG
Extras:
Waterproof Rain Cover
Materials:
Steel, Polyester, LEDs
Power:
Solar Panel 1.2W / Battery 1.44 W / LED Lights 0.6 W
Voltage:
Solar Panel 5 V / Battery 1.2 V / LED Lights 3 V
Parts
Part A - Steel Ribs and Canopy
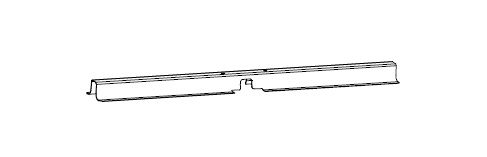
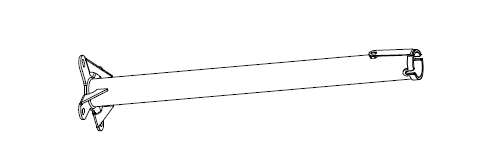
Part B - Cross-Base Frame
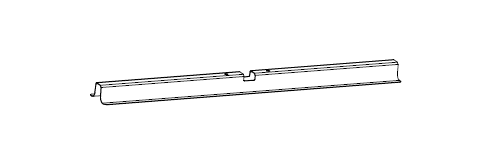
Part C - Cross-Base Frame
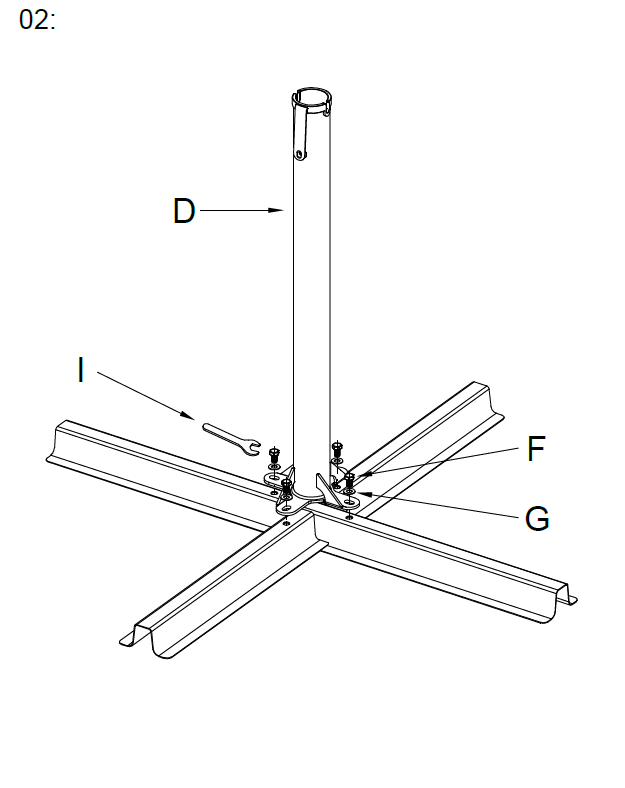
Part D - Stand
Part E - Knob
Part F - Bolts
Part G - Washer
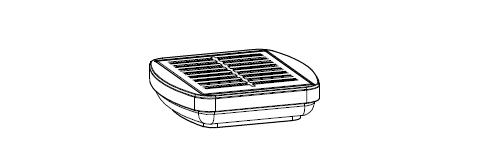
Part H - LED Light Component
Part I - Wrench
Part J - Waterproof Rain Cover
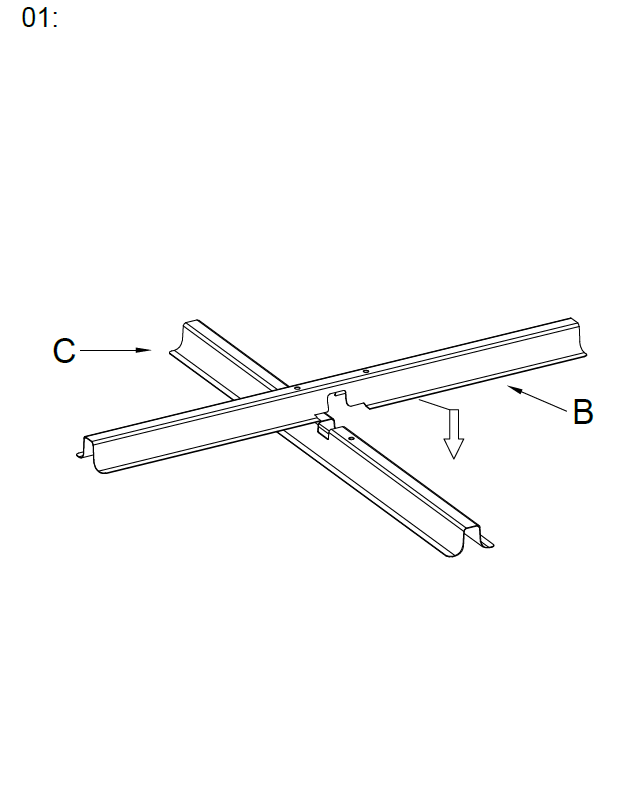
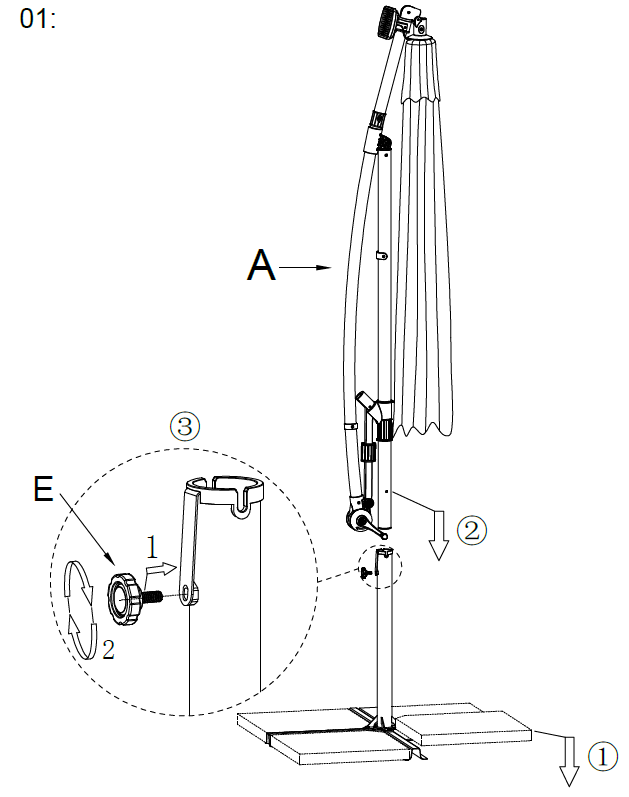
1. Step 1 - Assembling the Cross-Base Frame
Insert Part B into Part C to form the cross-base frame.
Ensure the components are aligned and securely connected.
2. Step 2 - Centre and Secure Component
Insert the stand (Part D) into the centre of the cross-base frame formed by Parts B and C.
Secure Part D using the bolts (Part F) and the washers (Part G).
Tighten the bolts with the wrench (Part I) to ensure stability.
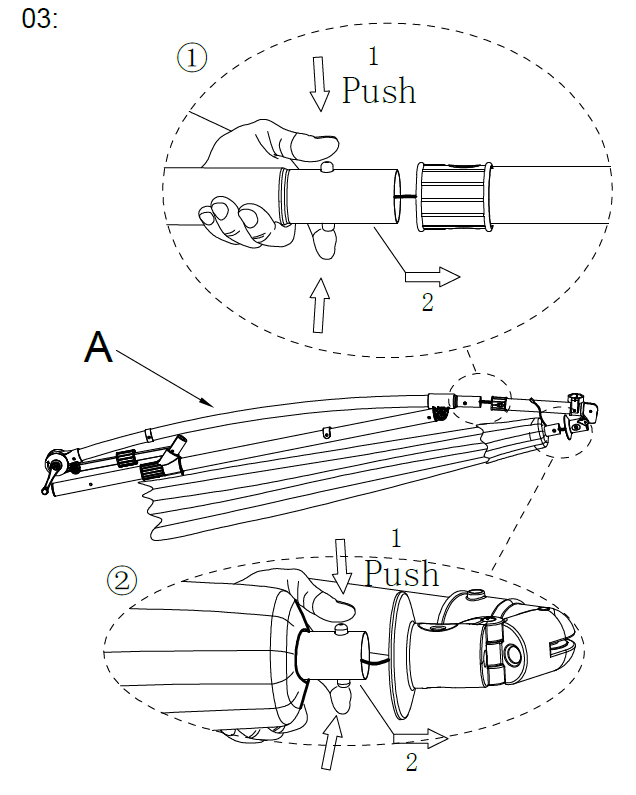
3. Step 3 -Component Insertion and Locking
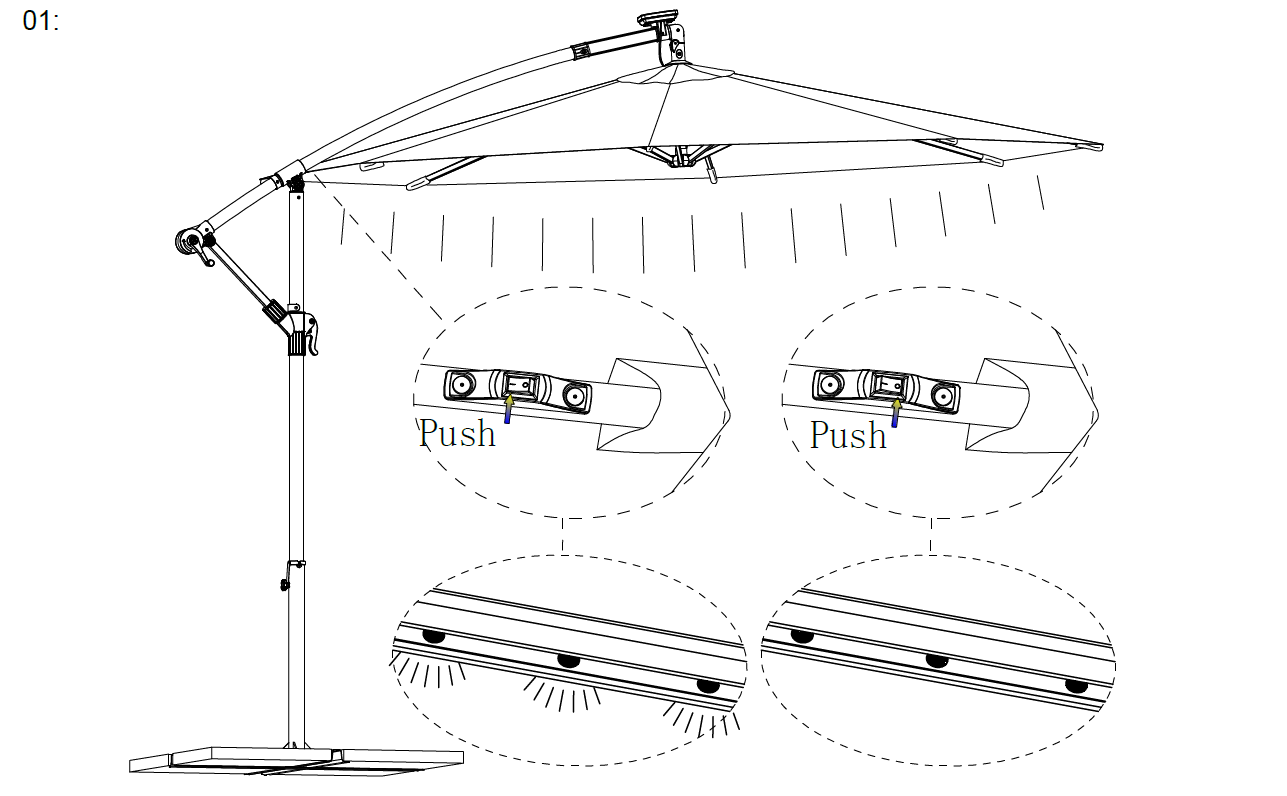
Insert the steel ribs and canopy (Part A) into the assembled structure by aligning it with the designated slot.
Push Part A into place until it clicks securely.
Ensure both ends are properly inserted and locked by pressing the push buttons as shown.
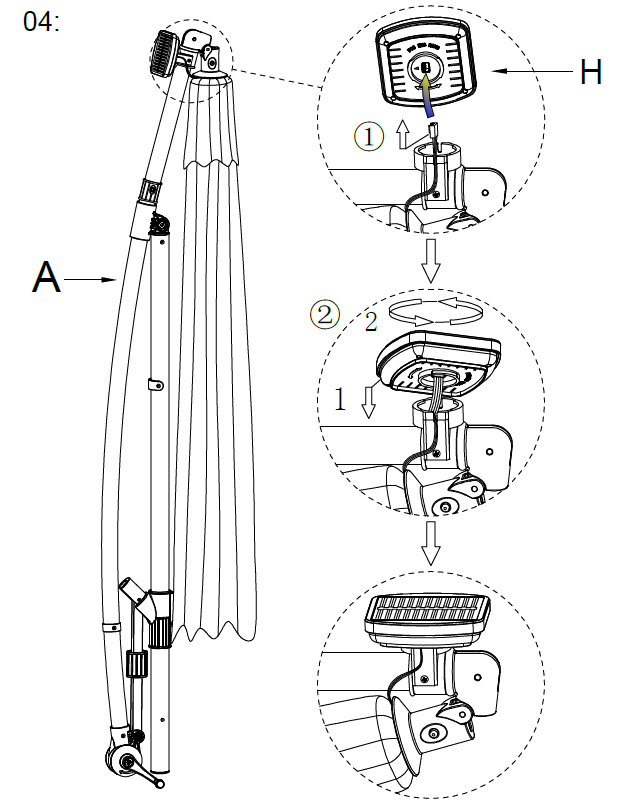
4. Step 4 -Component Installation and Alignment
Insert the LED light component (Part H) into the top of the steel ribs and canopy (Part A).
Use the wrench (Part I) to secure it by tightening the screw.
Ensure the component is aligned correctly, then rotate it clockwise to lock it into place.
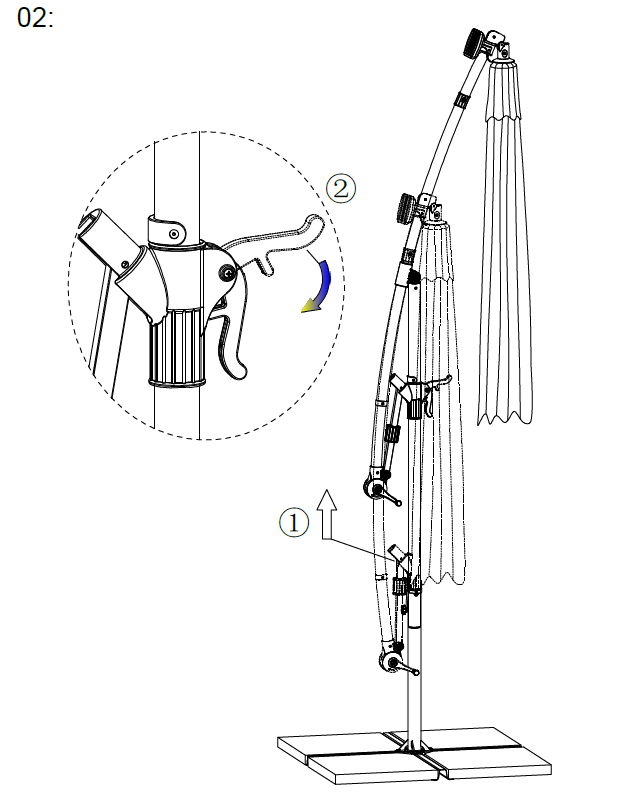
5. Step 5 -Component Insertion and Fastening
Slot the steel ribs and canopy (Part A) into the stand (Part D), then insert the knob (Part E) into the designated hole on Part D.
Ensure it is aligned correctly and secure by tightening the knob.
6. Canopy Height Adjustment and Locking
Lift the parasol canopy by using the handle (1) to raise it to the desired height.
Once positioned, secure the height by pulling the locking lever (2) down to lock it in place.
Ensure the mechanism is fully engaged to prevent movement.
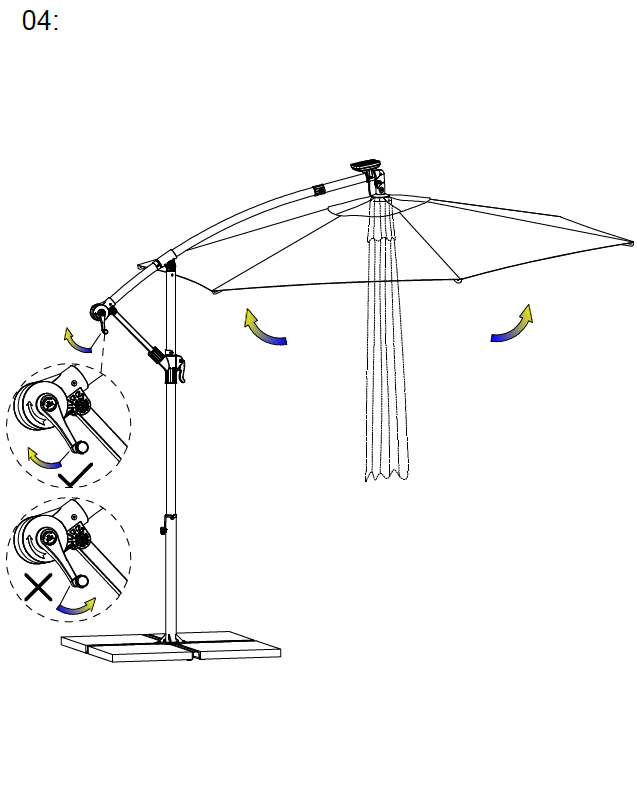
7. Canopy Opening and Positioning
Rotate the crank handle (1) to open the parasol canopy.
Adjust the tilt angle by using the tilt mechanism (2) to position the canopy as desired.
Finally, ensure the canopy is fully extended and secure by gently pulling the fabric (3) to confirm it is properly aligned and tensioned.
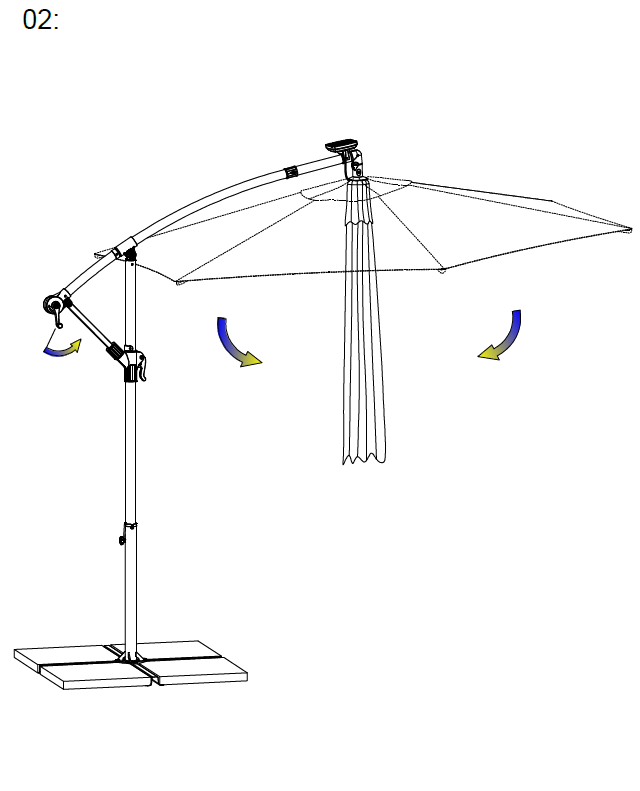
8. Canopy Extension and Alignment
Rotate the crank handle clockwise to fully open the parasol canopy.
Ensure the handle is turned until the canopy is completely extended and secure.
Adjust the tilt angle by using the tilt mechanism to achieve the desired position.
Confirm that the canopy is properly aligned and tensioned by gently pulling the fabric.
9. Activate and Verify Lighting
Push the buttons on the LED light component to activate the lighting.
Ensure the lights are functioning properly by checking the illumination along the canopy ribs.
10. Canopy Positioning and Adjustment
Push the buttons on the LED light component to turn off the lighting.
Rotate the crank handle anticlockwise to close the canopy.
Adjust the tilt angle by using the tilt mechanism to achieve the desired position.
Confirm that the canopy is properly aligned and tensioned by gently pulling the fabric.
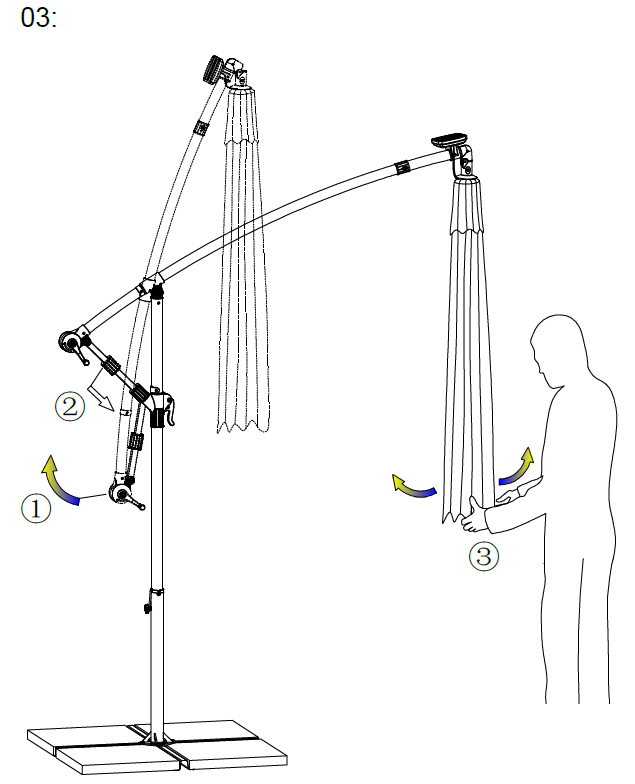
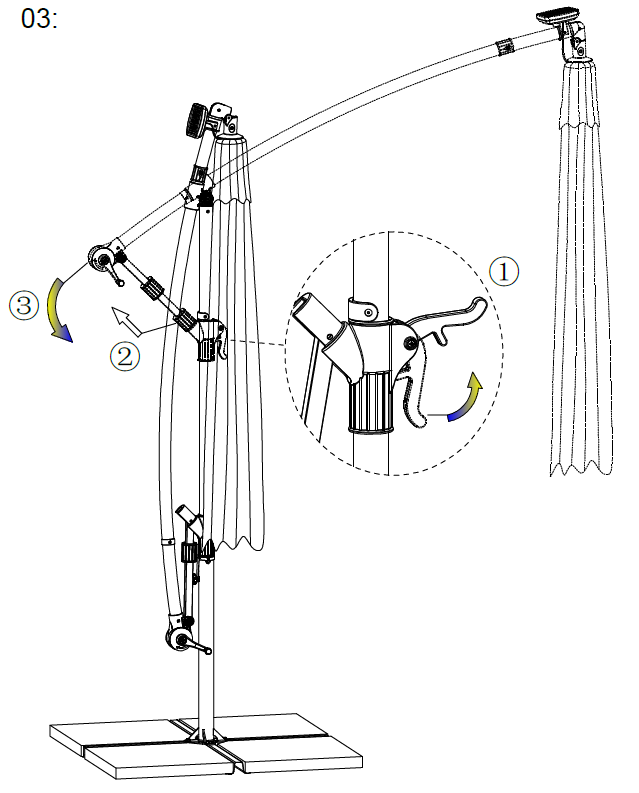
11. Canopy Angle Adjustment
Use the handle (1) to rotate the parasol arm to the desired position.
Adjust the angle by loosening the joint (2) and moving the arm (3) to achieve the preferred tilt.
Ensure all adjustments are secure by tightening the joint and confirming stability.
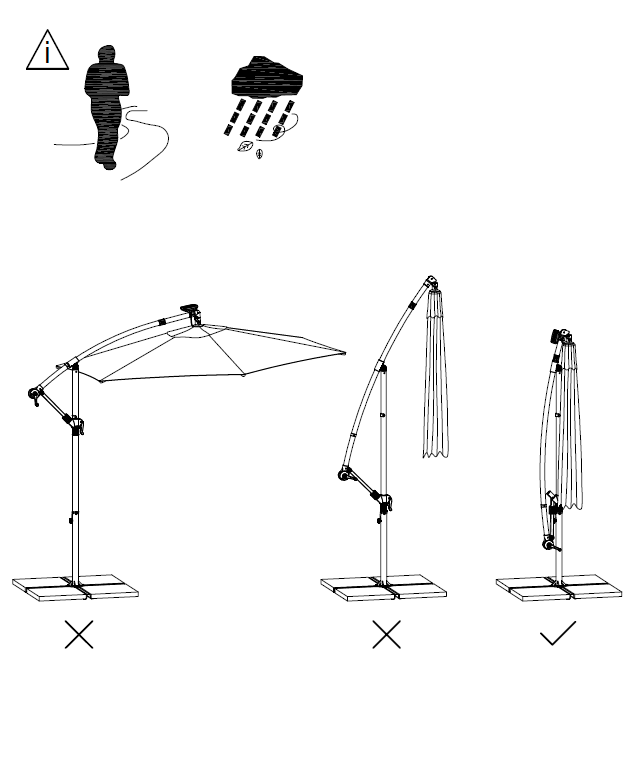
12. Canopy Closure and Protection
Close the parasol canopy by rotating the crank handle counter clockwise until the canopy is fully collapsed.
Ensure the parasol is in the upright position and secure all locking mechanisms.
Store the parasol in a dry, sheltered location to protect it from adverse weather conditions.
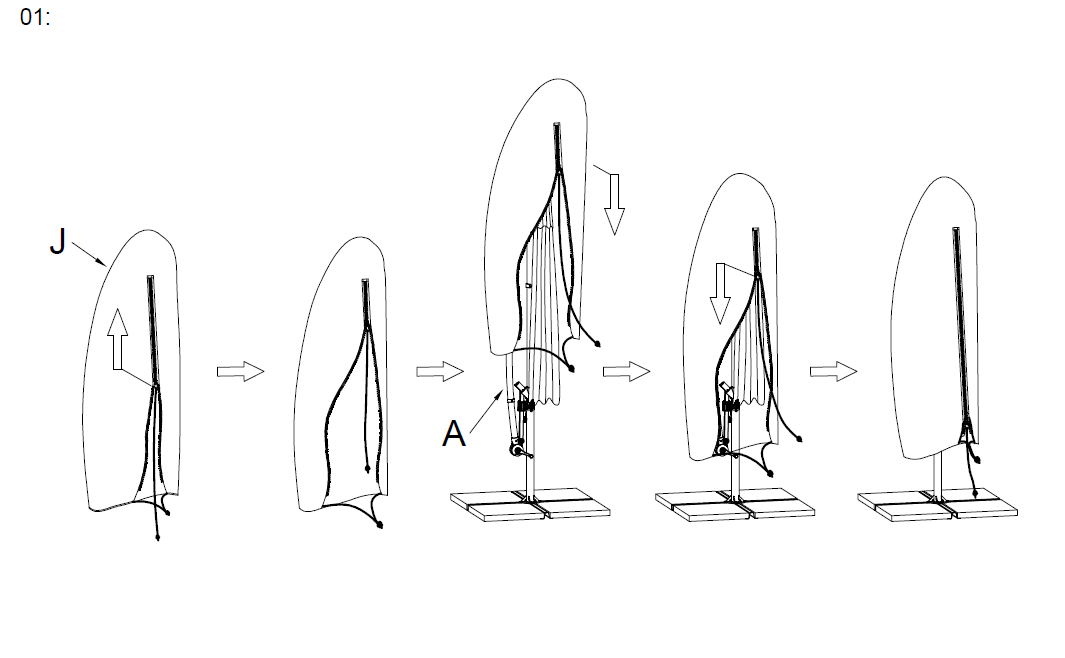
13. Rain Cover Installation
Slide the waterproof rain cover (Part J) over the collapsed parasol canopy, ensuring it is fully covered.
Secure the cover by pulling it down and fastening it at the base.
Ensure the steel ribs and canopy (Part A) is stable and the cover is properly aligned to protect the parasol from weather elements.
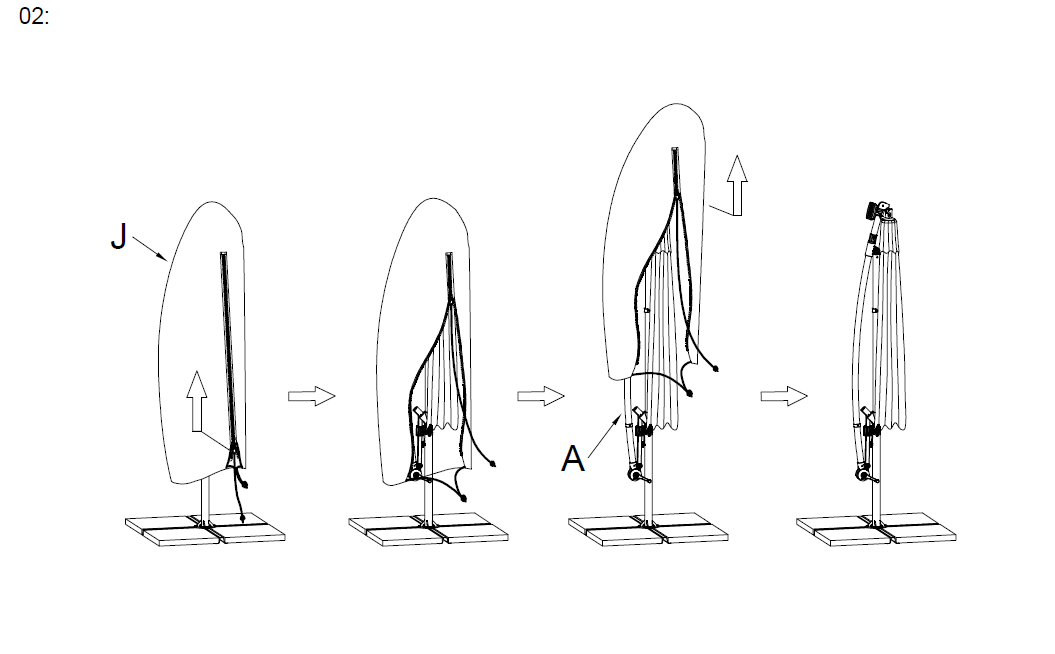
14. Rain Cover Removal
Begin by unfastening and sliding the waterproof rain cover (Part J), upwards to remove it from the parasol.
Ensure the steel ribs and canopy (Part A) are stable during this process.
Once the cover is fully removed, the parasol canopy is ready for further adjustments or use.
15. Maintenance
Electrical System
Always disconnect power before cleaning or maintenance
Keep all wiring and connectors dry and protected
Inspect cables regularly for wear or damage
Use only the supplied power source
LED Care
Avoid direct eye exposure to LED lights
Use dimming or switch off when not required
Cleaning
Clean canopy as per standard parasol care
Avoid water contact with electrical components
Mechanical Components
Inspect tilt, crank, and rotation systems regularly
Operate slowly and carefully to avoid pinching hazards
Stability and Safety
Ensure base is secure and weighted
Check all locking mechanisms before use
Do not use in windy conditions
Cable Management
Route cables away from walkways
Use outdoor cable covers if necessary to prevent trips
16. Troubleshooting
Please read through the guide below if you have any issues or faults with your device. The information covers and resolves the majority of frequently asked questions.
Q: There are parts missing from my order. A: If there appears to be any part missing from your package contact our Customer Support team via the details on the Contact Us page within 7 days of receipt.
For all other issues please contact our Customer Support department via the details on the Contact page.