Instructions and safety advice for the assembly and use of the 7-in-1 Games Table.
Product Information
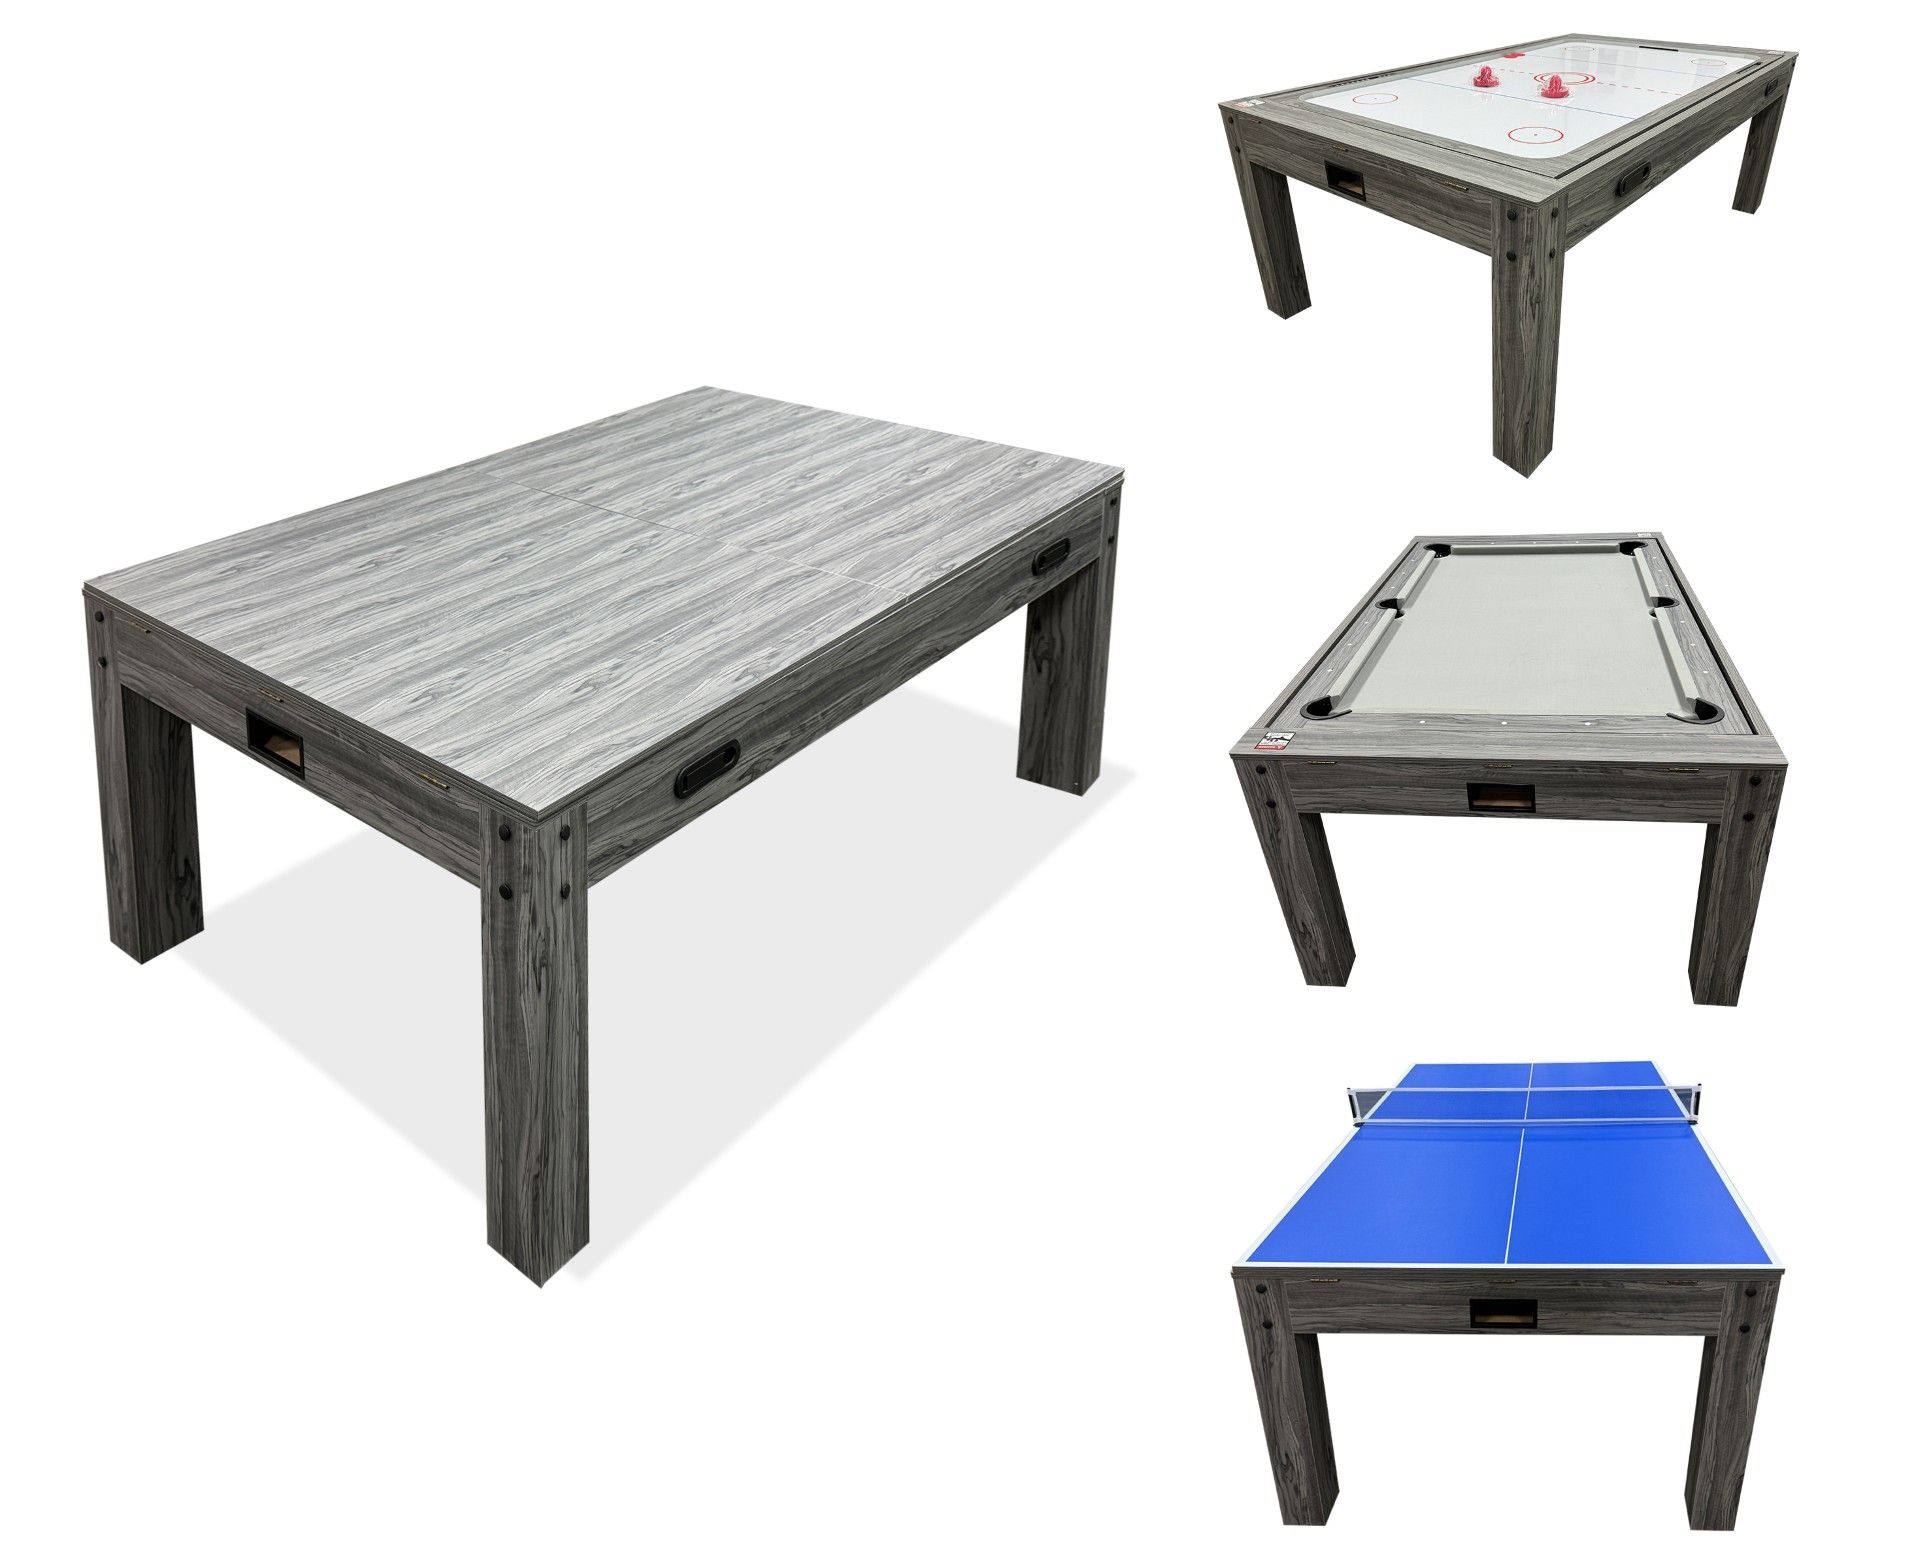
7-in-1 Games Table
The 7-in-1 Games Table is a versatile and space-saving solution that combines fun and functionality in one sleek design. Offering pool, table tennis, air hockey, chess, backgammon, shuffleboard and a dining table option, it’s perfect for both game nights and everyday use. Supplied with all necessary accessories, it’s available in a choice of grey or oak finishes and can be purchased with or without matching benches to suit your space and style.
SKU
216250,216252,216254,216257,216259,216261
Colors
Oak, Grey
Dimensions
L x W x H = 206cm x 112cm x 82cm
Materials
MDF, PVC Lamination, Metal Hardware
Weight
148kg
GPSR Information
UK
Manufacturer:
Monster Group UK Limited, Monster House
19-23 Alan Farnaby Way,
Industrial Estate Sheriff Hutton,
York
YO60 6PG
Person Responsible:
Rana Harvey, Monster Group UK Limited,
Monster House
19-23 Alan Farnaby Way,
Industrial Estate Sheriff Hutton,
York
YO60 6PG,
England,
+441347878880
EU
Manufacturer:
Monster Group BV,
Van Heemskerckweg 28A & B,
Venlo 5928LL
Netherlands
+441347878880
Person Responsible:
Rana Harvey,
Monster Group BV,
Van Heemskerckweg 28A & B,
Venlo 5928LL,
Netherlands,
+44134787888
Parts
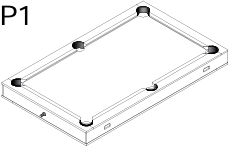
Rotating Pool Table / Air Hockey Table
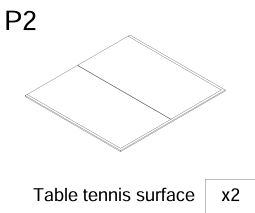
Table surface / Table Tennis surface
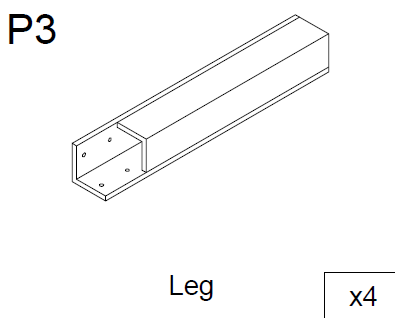
Leg
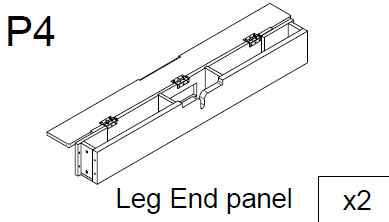
Leg End Panel
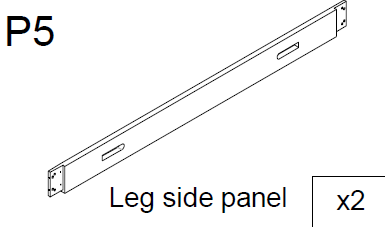
Leg Side Panel
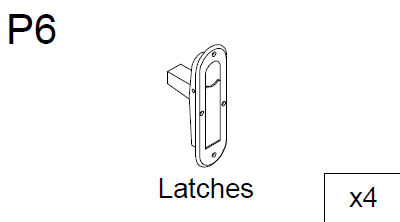
Latches
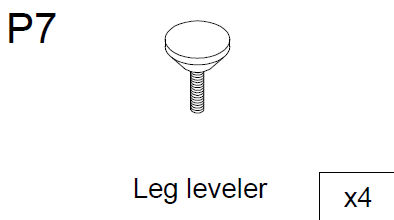
Leg Leveller
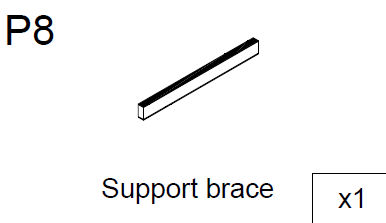
Support Brace
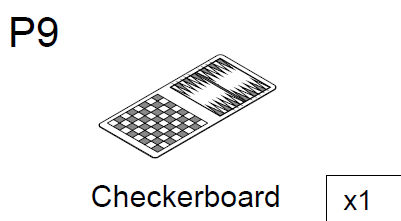
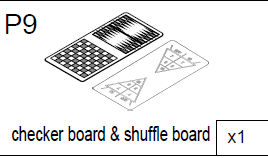
Chess, Backgammon & Shuffleboard Board
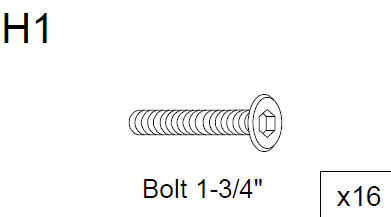
1-3/4" Bolt
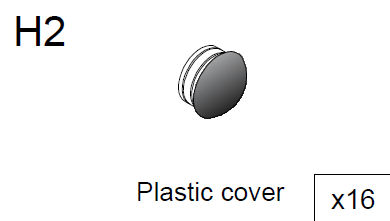
Plastic Cover
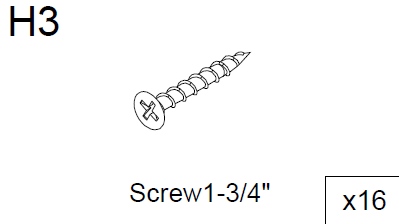
1-3/4" Screw
Plastic Barrel Nut
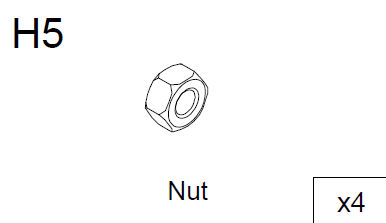
Nut
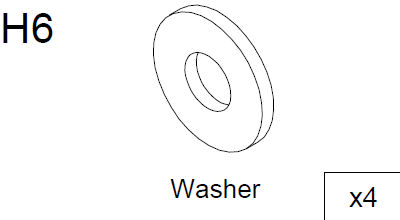
Washer
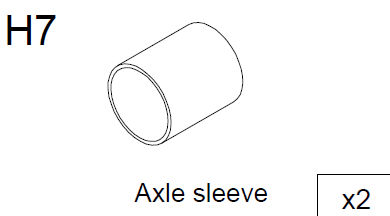
Axle Sleeve
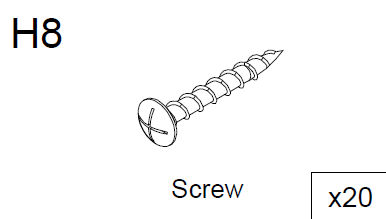
Screw
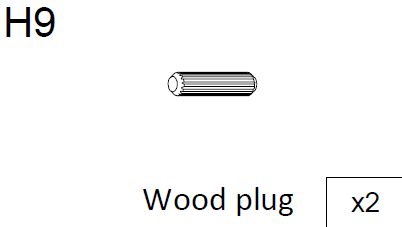
Wood Plug
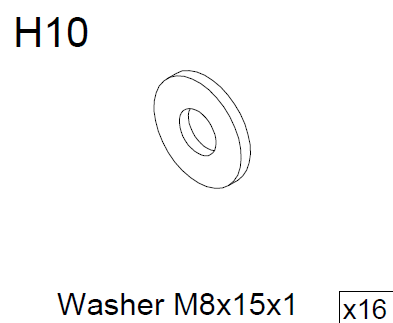
M8x15x1 Washer
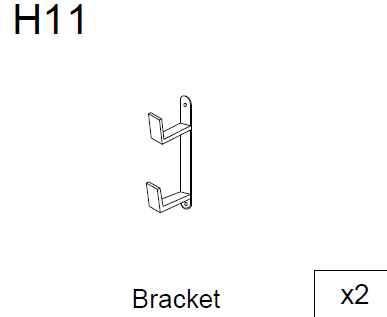
Bracket
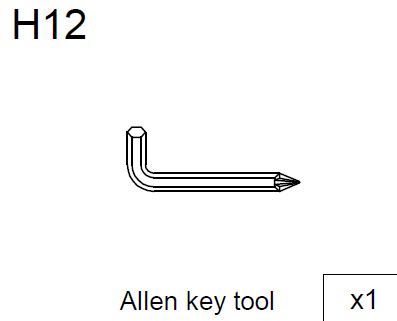
Allen Key Tool
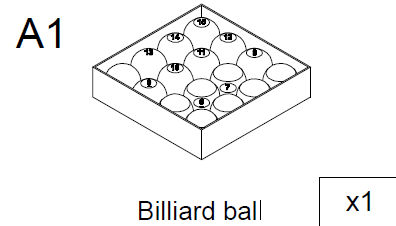
Billiard Ball Set
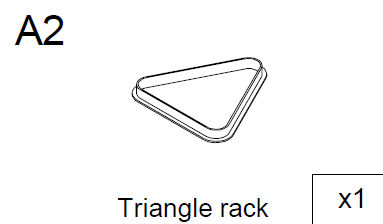
Triangle Rack
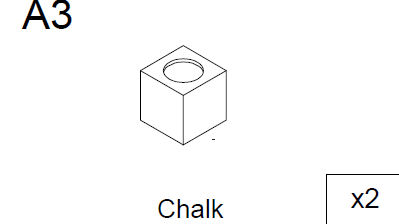
Chalk
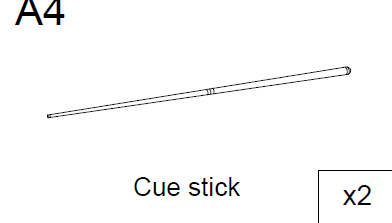
Cue Stick
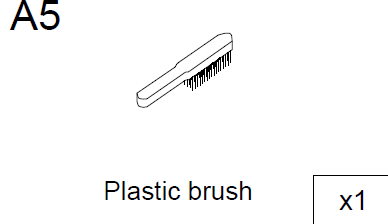
Plastic Brush
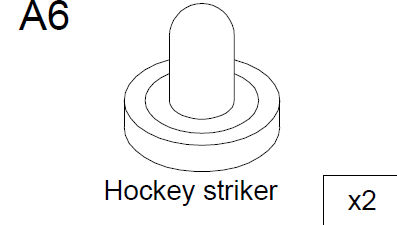
Hockey Striker
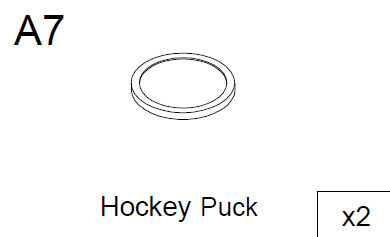
Hockey Puck
Table Tennis Paddle
Table Tennis Ball
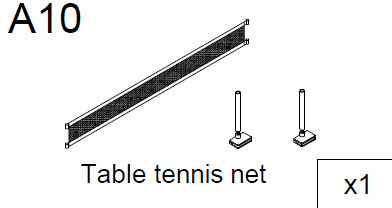
Table Tennis Net
Backgammon Set
Chess Set
Shuffle Board
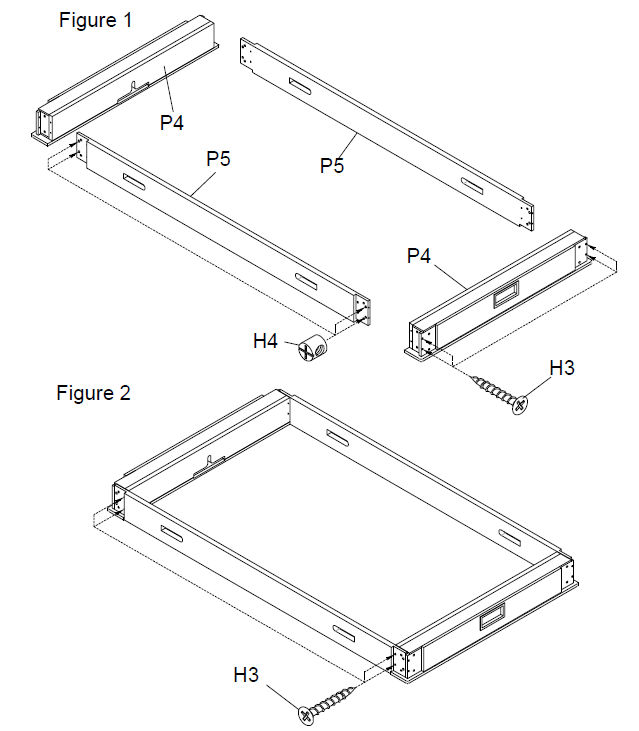
1. Assembling the Leg Panels
Align the Leg End Panels (P4) and Leg Side Panels (P5) to form the table base.
Use the plastic barrel nuts (H4) and 1-3/4" screws (H3) to connect the panels together as shown in Figure 1-2.
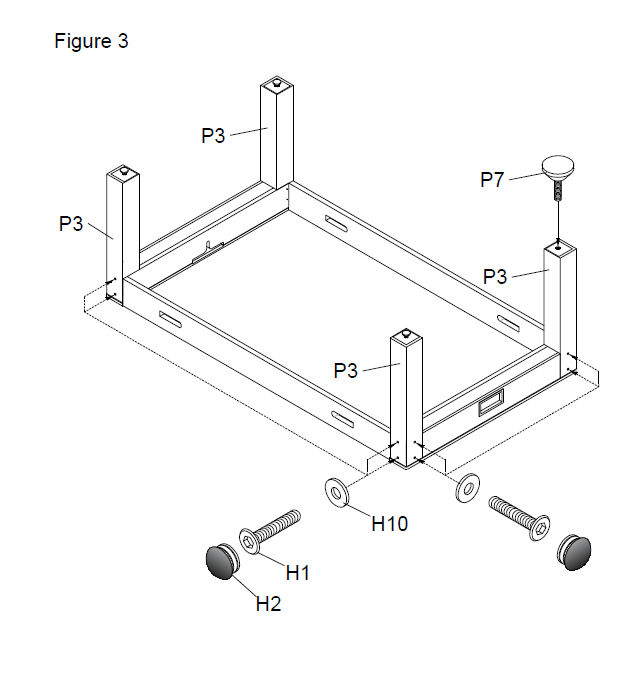
2. Installing the Legs
Attach the legs (P3) between the leg panels.
Secure each in place using M8x15x1 washer (H10), 1-3/4" bolt (H1) and plastic cover (H2) in the pre-drilled holes, as shown in Figure 3.
Check that all legs are straight and tightly secured before proceeding.
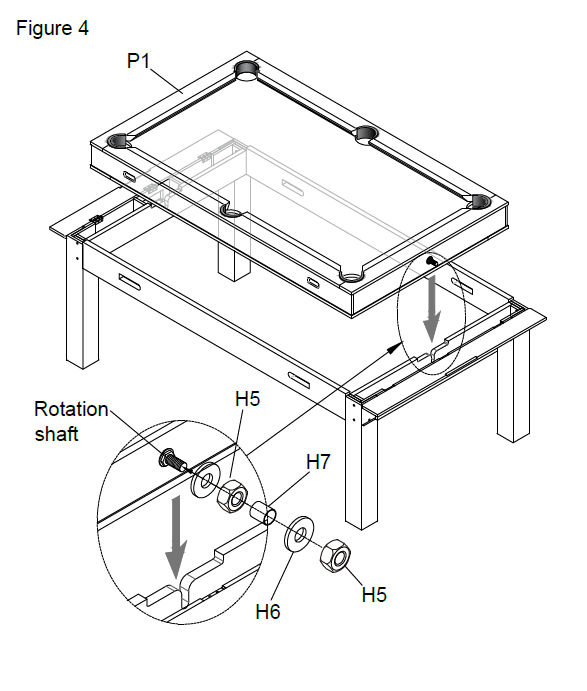
3. Attach Table top
Rotate the frame to be stood on its legs.
With assistance, lift the table top (P1) on top of it, ensuring that the rotation shaft slots into the hole on the leg end panel (see figure 4).
Attach a washer (H6), followed by a nut (H5), an axle sleeve (H7), then another washer (H6) and nut (H5) to the rotation shafts on either end.
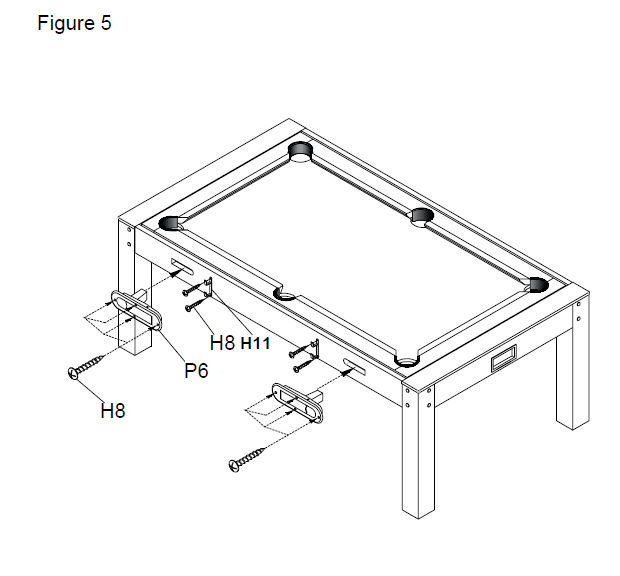
4. Fit the Latches
Attach the latches (P6) to the slots on the side panels (P5) using screws (H8).
These latches secure the interchangeable tops during play.
Attach the brackets (H11), using screws (H8), these brackets can be used to store cues.
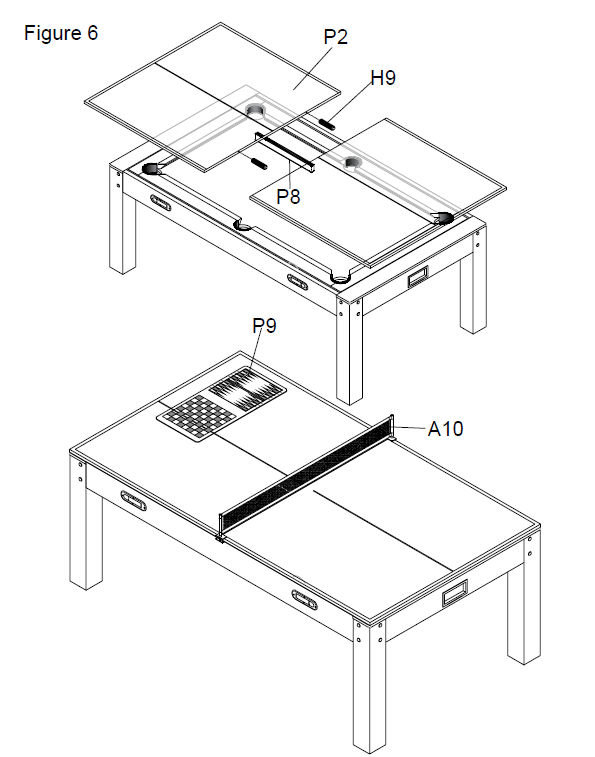
5. Attaching Table Tops and Games Accessories
Place the support brace (P8) onto the table before resting the double-sided Table Surface (P2) on top of the pool table frame. Choose between either the Dining Table or the Table Tennis Surface.
Insert wood plugs (H9) into the two holes on the edge on the table surface parts (P2) and join the two parts together (see figure 6).
Ensure it is properly centred before joining.
To switch between the table tennis and dining table set-up, simply flip the table surface (P2).
The table is now assembled. You can attach the included game accessories as needed, depending on which game you'd like to play!
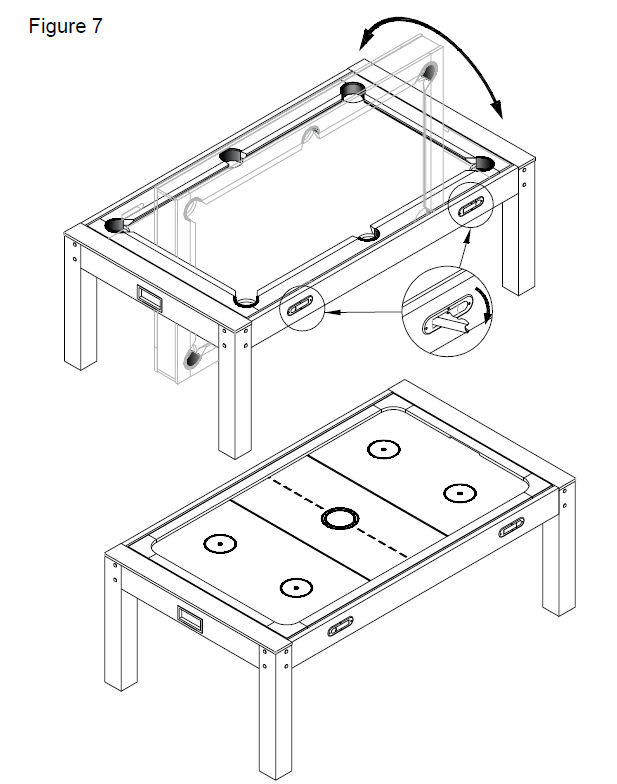
6. Table Rotation Instructions
To switch between the air hockey table and the pool table: (See figure 7)
Firstly, open the four latches (P6) on the side panels (P5).
Fully rotate the table panel until level again.
Close the latches to secure the table in place
Ensure all latches are firmly shut and table is secured before playing.
7.
Clean the table and accessories using a dry or slightly damp cloth only. Do not use abrasive or chemical cleaners.
Inspect the table and all accessories regularly for signs of damage or wear and replace any damaged components immediately.