1. Product Features
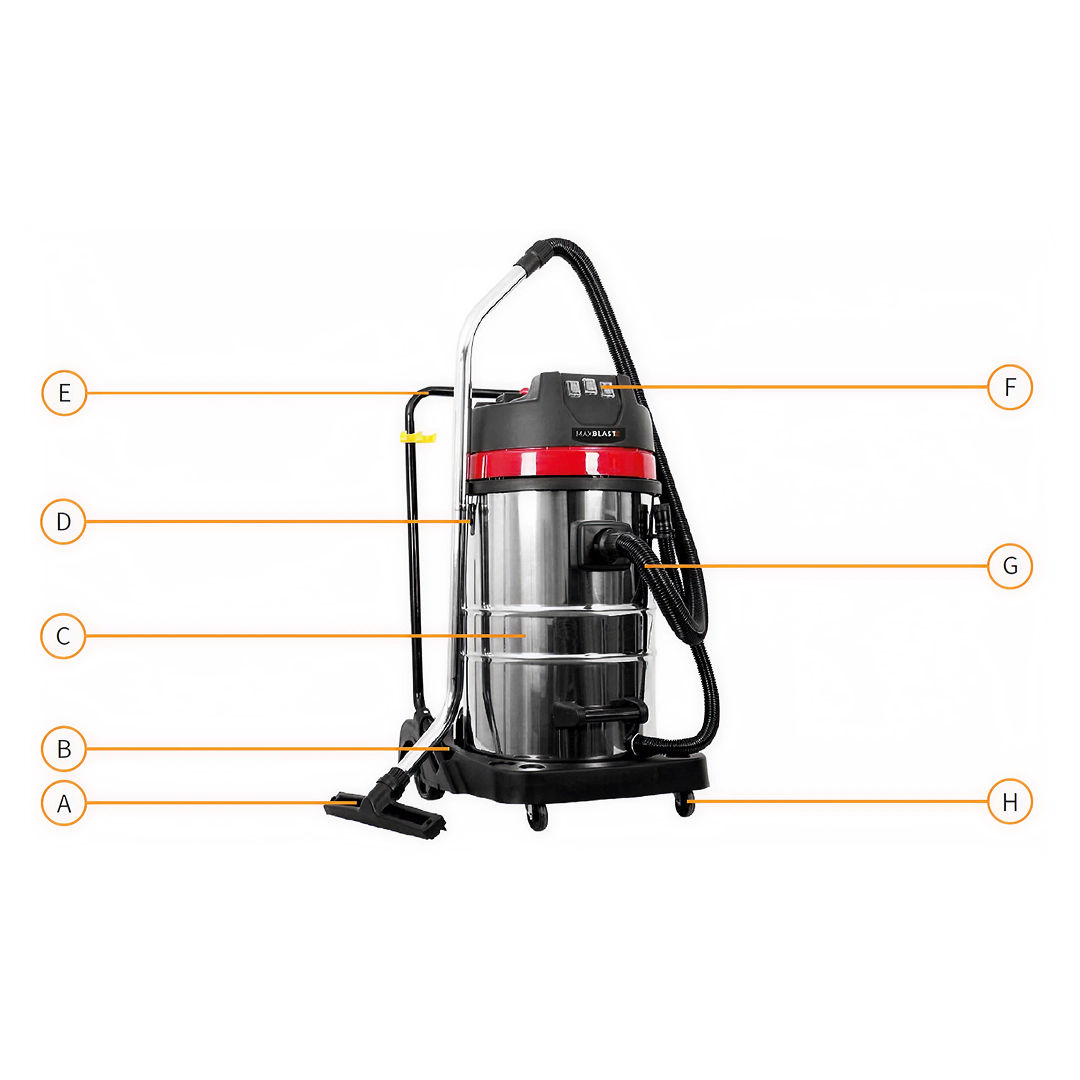
A. Vacuum Attachment
B. Pedestal
C. Stainless Steel Drum
D. Vacuum Hose
E. Handle
F. Power Switch
G. Drain Hose
H. Wheel
|
|
||||||||||||||||||||
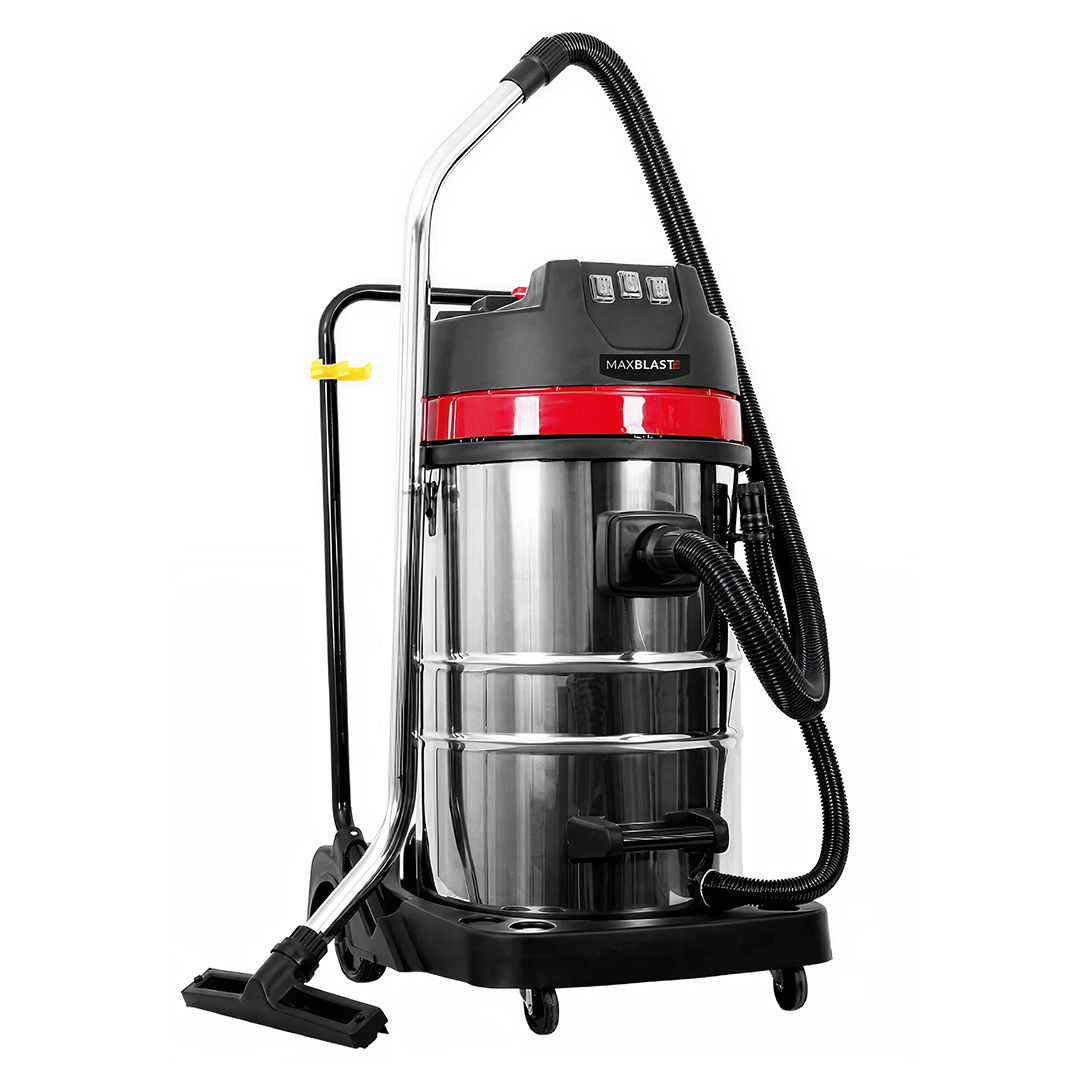 Instructions by monstershop 80L Industrial VacuumThis guide provides step-by-step instructions for assembling, operating, and maintaining your MAXBLAST Industrial Wet & Dry Vacuum. It covers setup, attachment use, and cleaning procedures to ensure safe and efficient performance across all models. Product Information80L Industrial VacuumKeep that warehouse not only organised, but now clean with
the Maxblast 80 Litre Industrial Vacuum. It is perfectly suited towards any industrial
environment, but can adapt to any location - as long as there's a power outlet for the plug
socket!
The highly powerful 3000 Watt motor can vacuum both wet and dry substances with one of its four
hose attachments. Choose from the two floor brushes, the bristle and crevice nozzle attachment.
Effortless to empty and fill the stainless steel drum, combined with the 80 Litre tank capacity
and easy to manoeuvre castor wheels means you really can clean every nook and cranny. View product (opens in new
tab)
GPSR InformationUK
EU
ToolsScrewdriver
Materials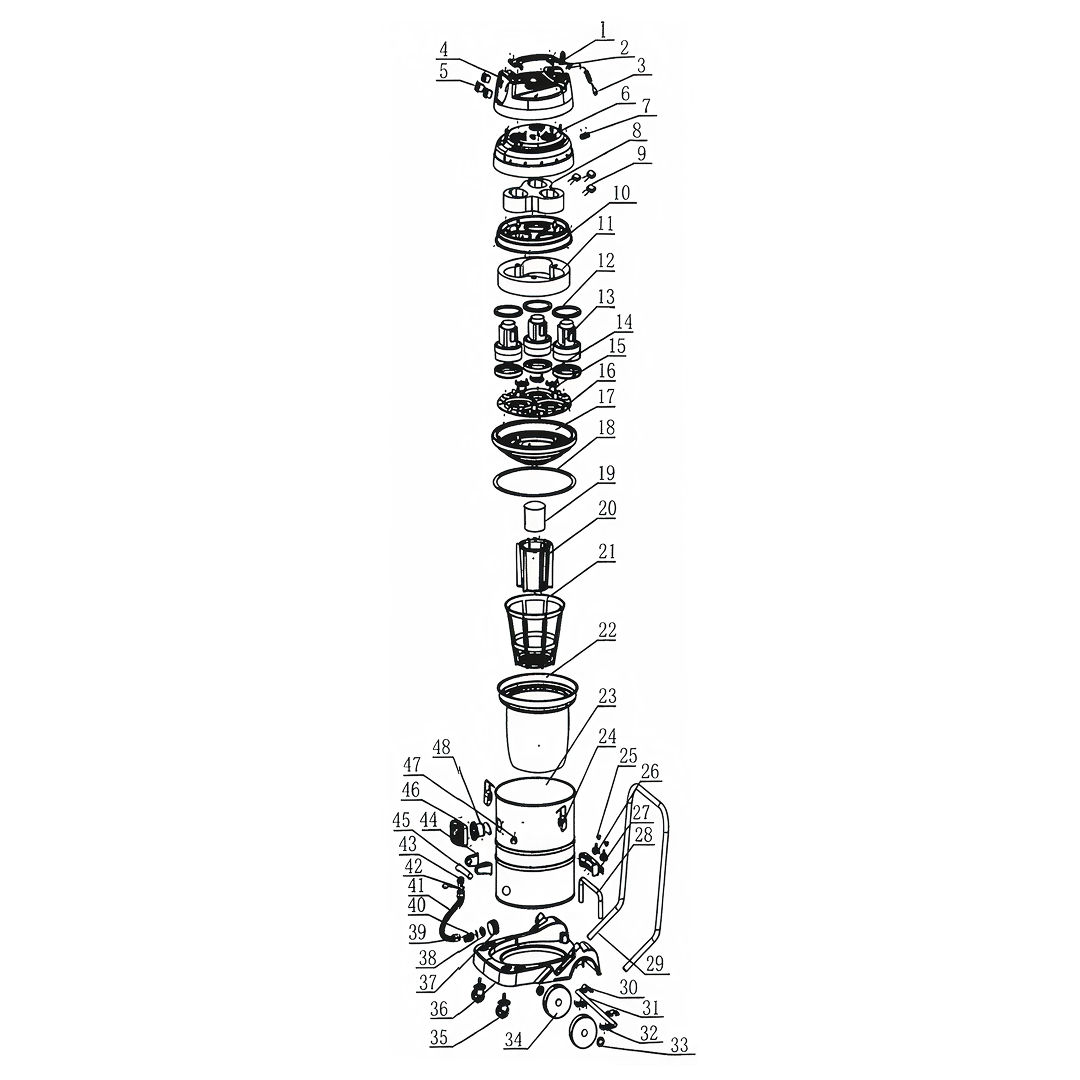 1Handle
2Coating
3Power Cable
4Top Cover
5Switch
6Middle Cover
7Pad
8Sponge
9Capacitor
10Middle Cover Gasket
11Air Outlet Sponge
12Upper Gasket
13Motor
14Lower Gasket
15Air Inlet Blocking Board
16Motor Pedestal
17Drum Cover
18Wind Tight Ring
19Protective Valve
20Pedestal Basket
21Support Basket
22Filter
23Drum
24Drum Lock
25Locking Block
26Turnover Part
27Turnover Shelf
28Turnover Support Shelf
29Base Big Handrail
30Axle Press-Cover
31Axle
32Axle Press-Bottom
33Cork
34Rubber Wheel
35Wheel
36Pedestal
37Tight Gasket
38Water Outlet
39Rubber Gasket
40Water Outlet Screw
41Water Outlet Hose
42Connector Ring
43Water Outlet Coating
44Handle Pedestal
45Stainless Steel Tube
46Suction Pedestal
47Ring
48Suction Value
1. Product FeaturesA. Vacuum Attachment B. Pedestal C. Stainless Steel Drum D. Vacuum Hose E. Handle F. Power Switch G. Drain Hose H. Wheel 2. Assembling the Wheels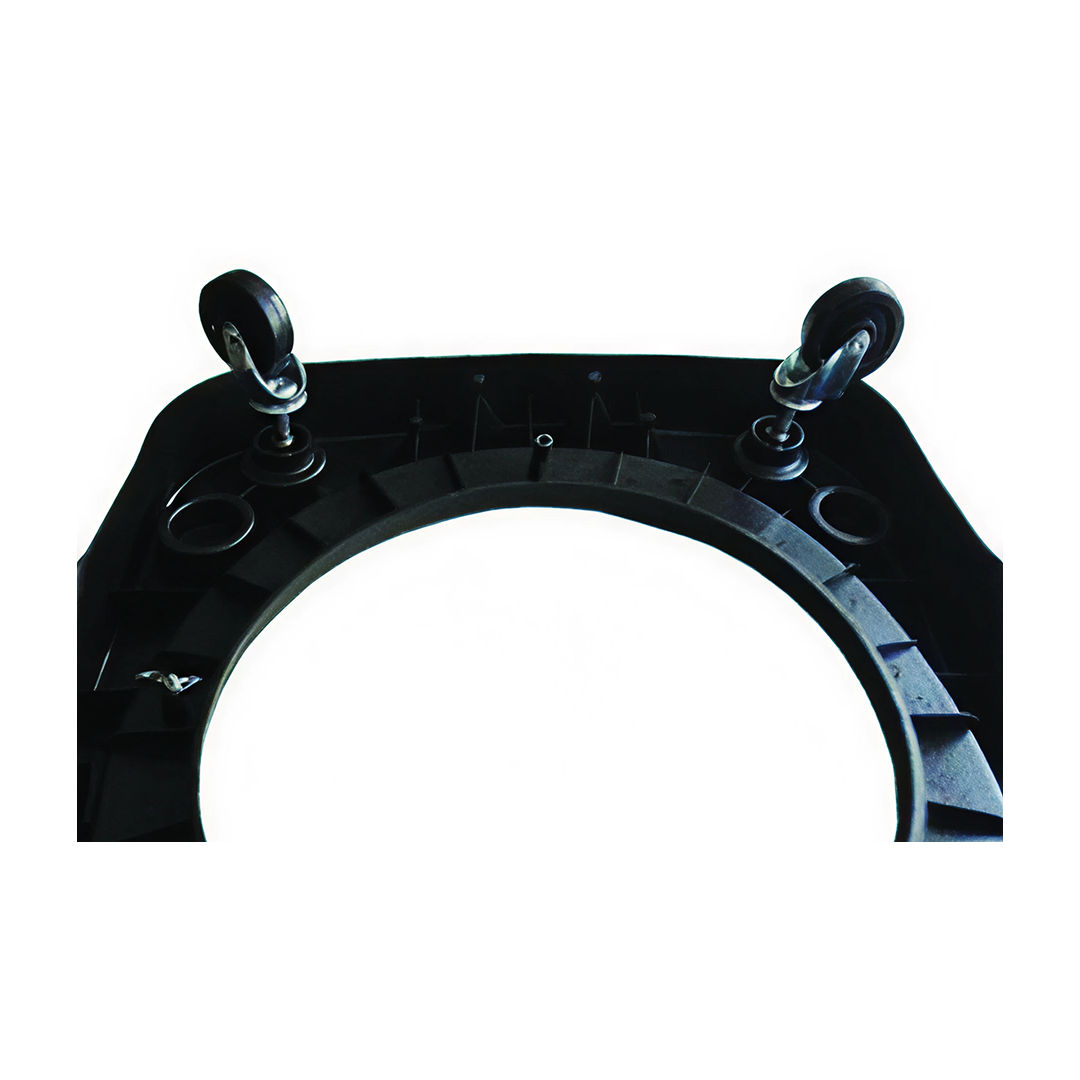 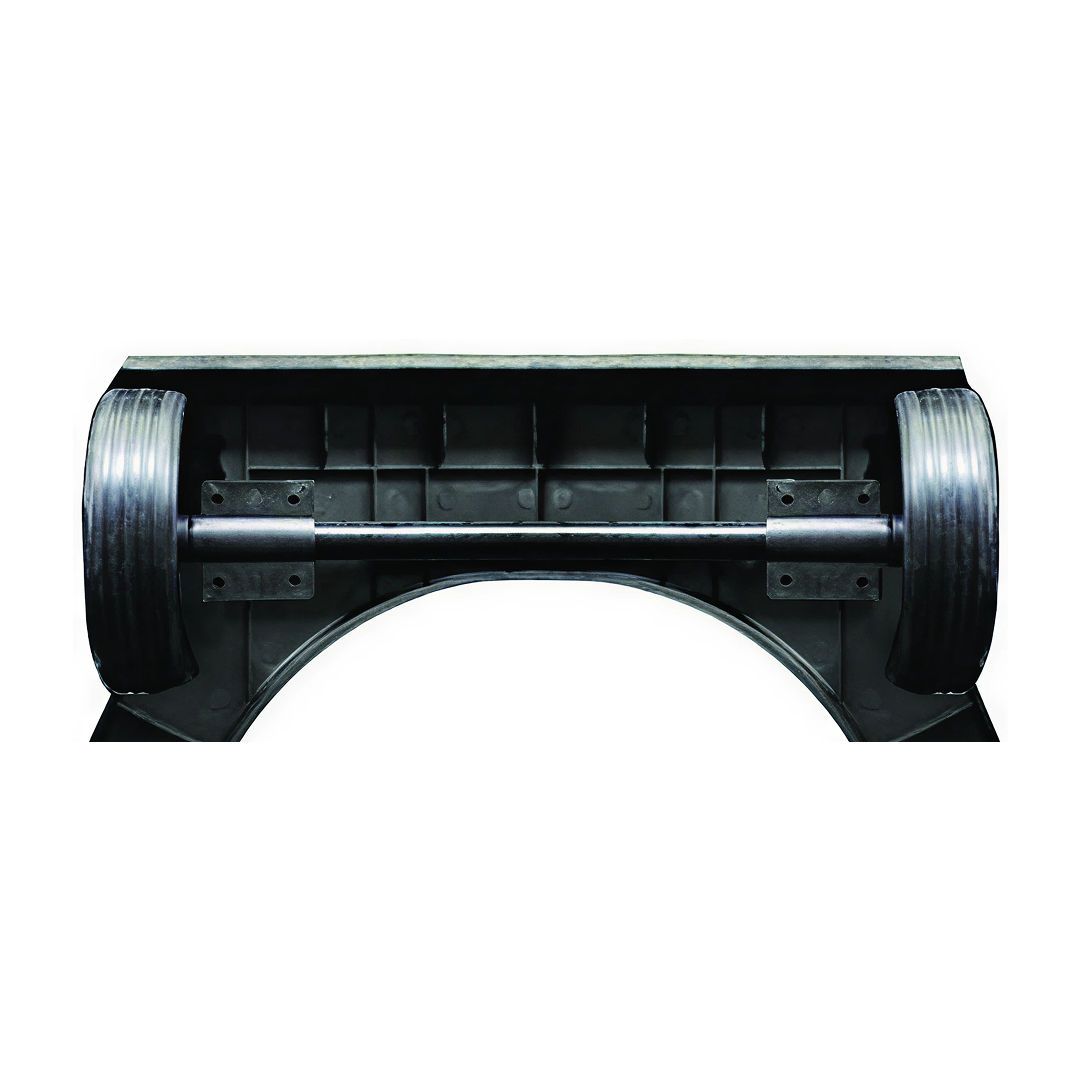 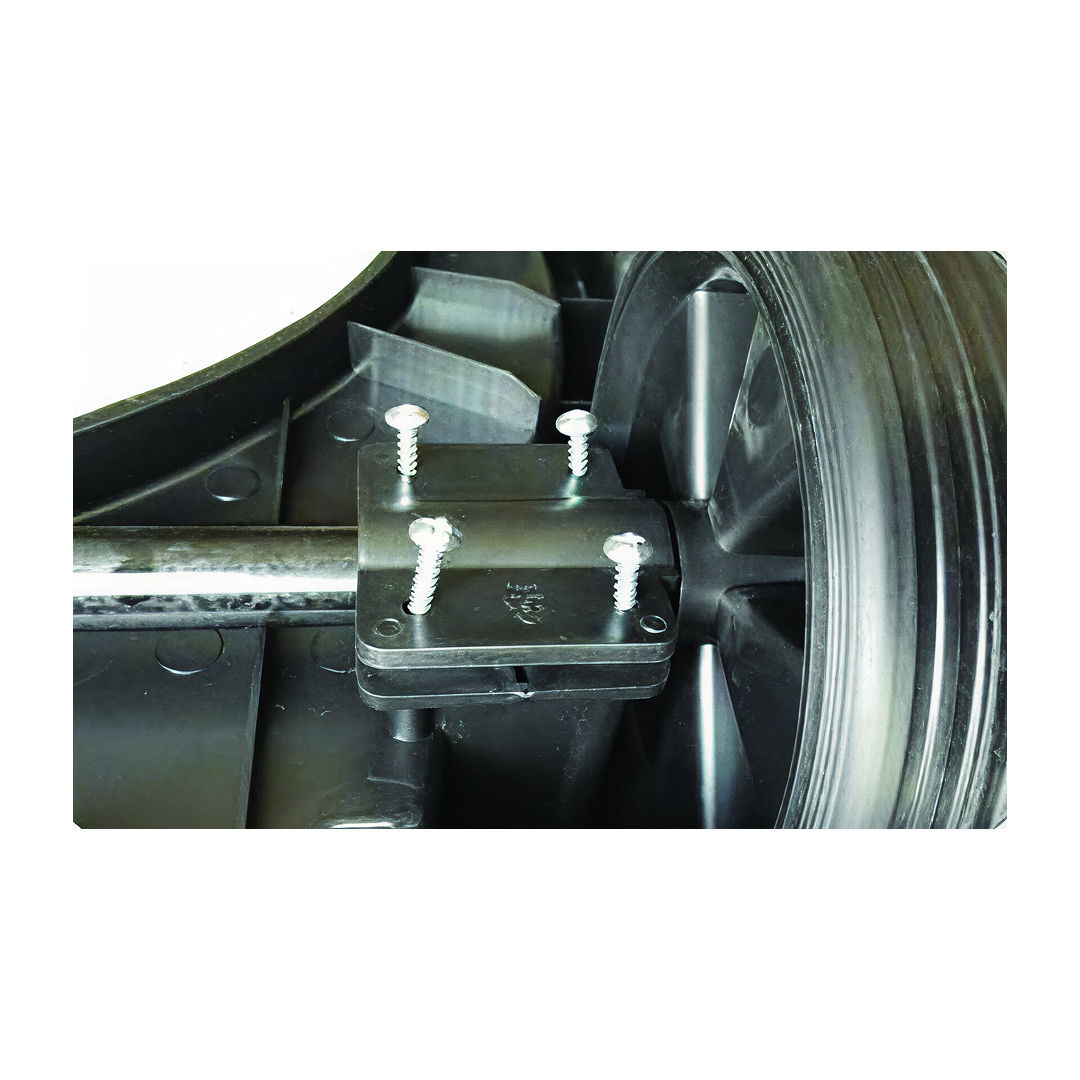
3. Connecting the HoseInsert the hose connector into the air inlet mouth. Make sure the connector is securely fastened. 4. Filter and Drum Setup
5. Attaching the Vacuum NozzleAttach the desired vacuum nozzle. 6. Powering On the Vacuum
7. Drum Cleaning
8. Dual Filter Cleaning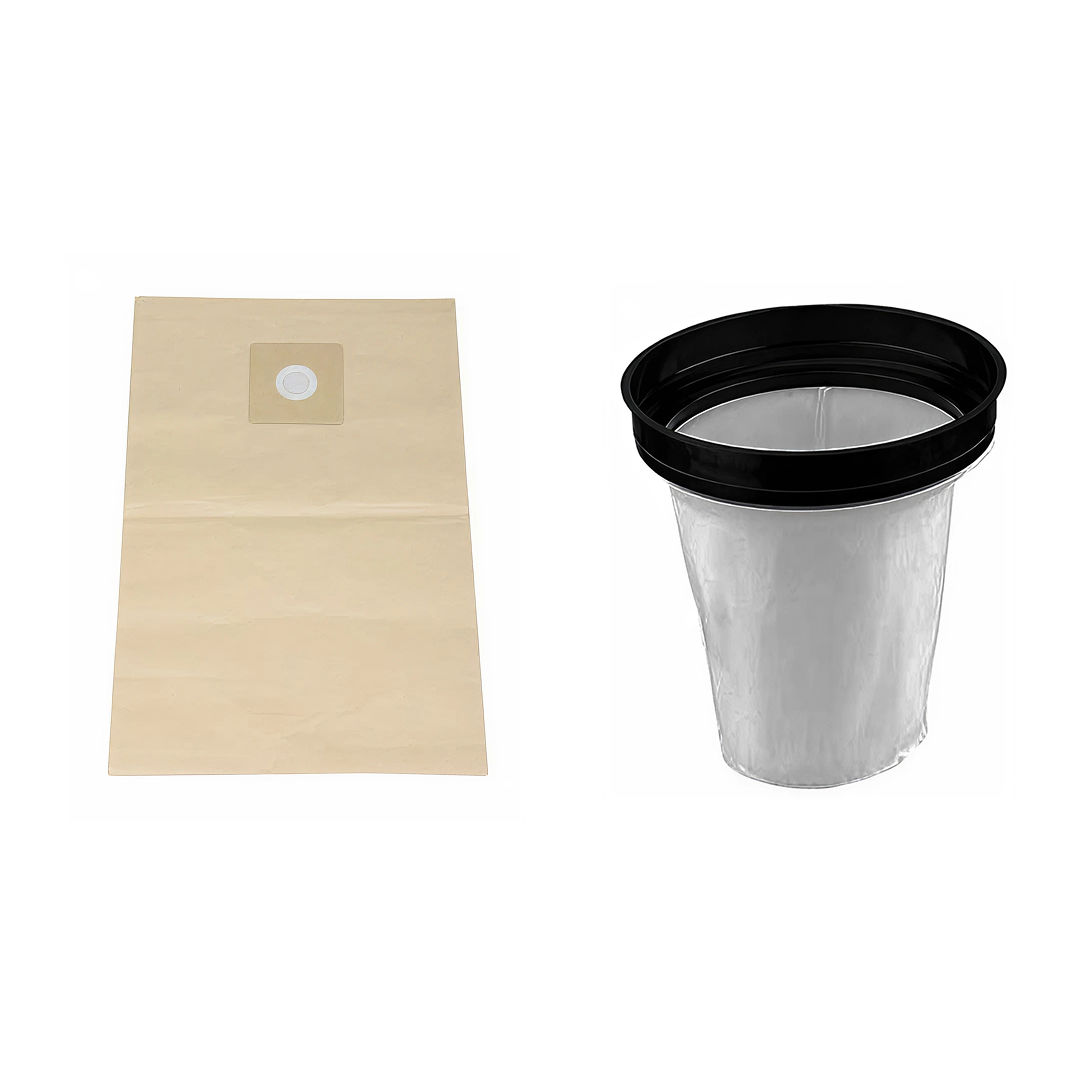
Note: Do not wash the Dust Bag, only the Cloth Filter. 9. Resolution Guide
If there appears to be any part missing from your order, contact our friendly and helpful Customer Support Team within 7 days of receipt.
Ensure the vacuum is empty, the filter is clean and there are no blockages in the hose/ attachment.
Check the plug is attached to a power supply and the drum is empty. Check the fuse in the plug. When checking the fuse, ensure the vacuum is switched off at the mains. If it still will not start, simply call or email our Support Team. They will guide you through issues or arrange a date and time for us to collect the product and fix it with our 12 month guarantee.
Check the vacuum filter as this can become blocked and need cleaning. The hose itself can also become obstructed by objects stuck in the pipe, so please check the hose for any blockages. FOR ALL OTHER ISSUES, PLEASE CONTACT OUR CUSTOMER SUPPORT TEAM. |