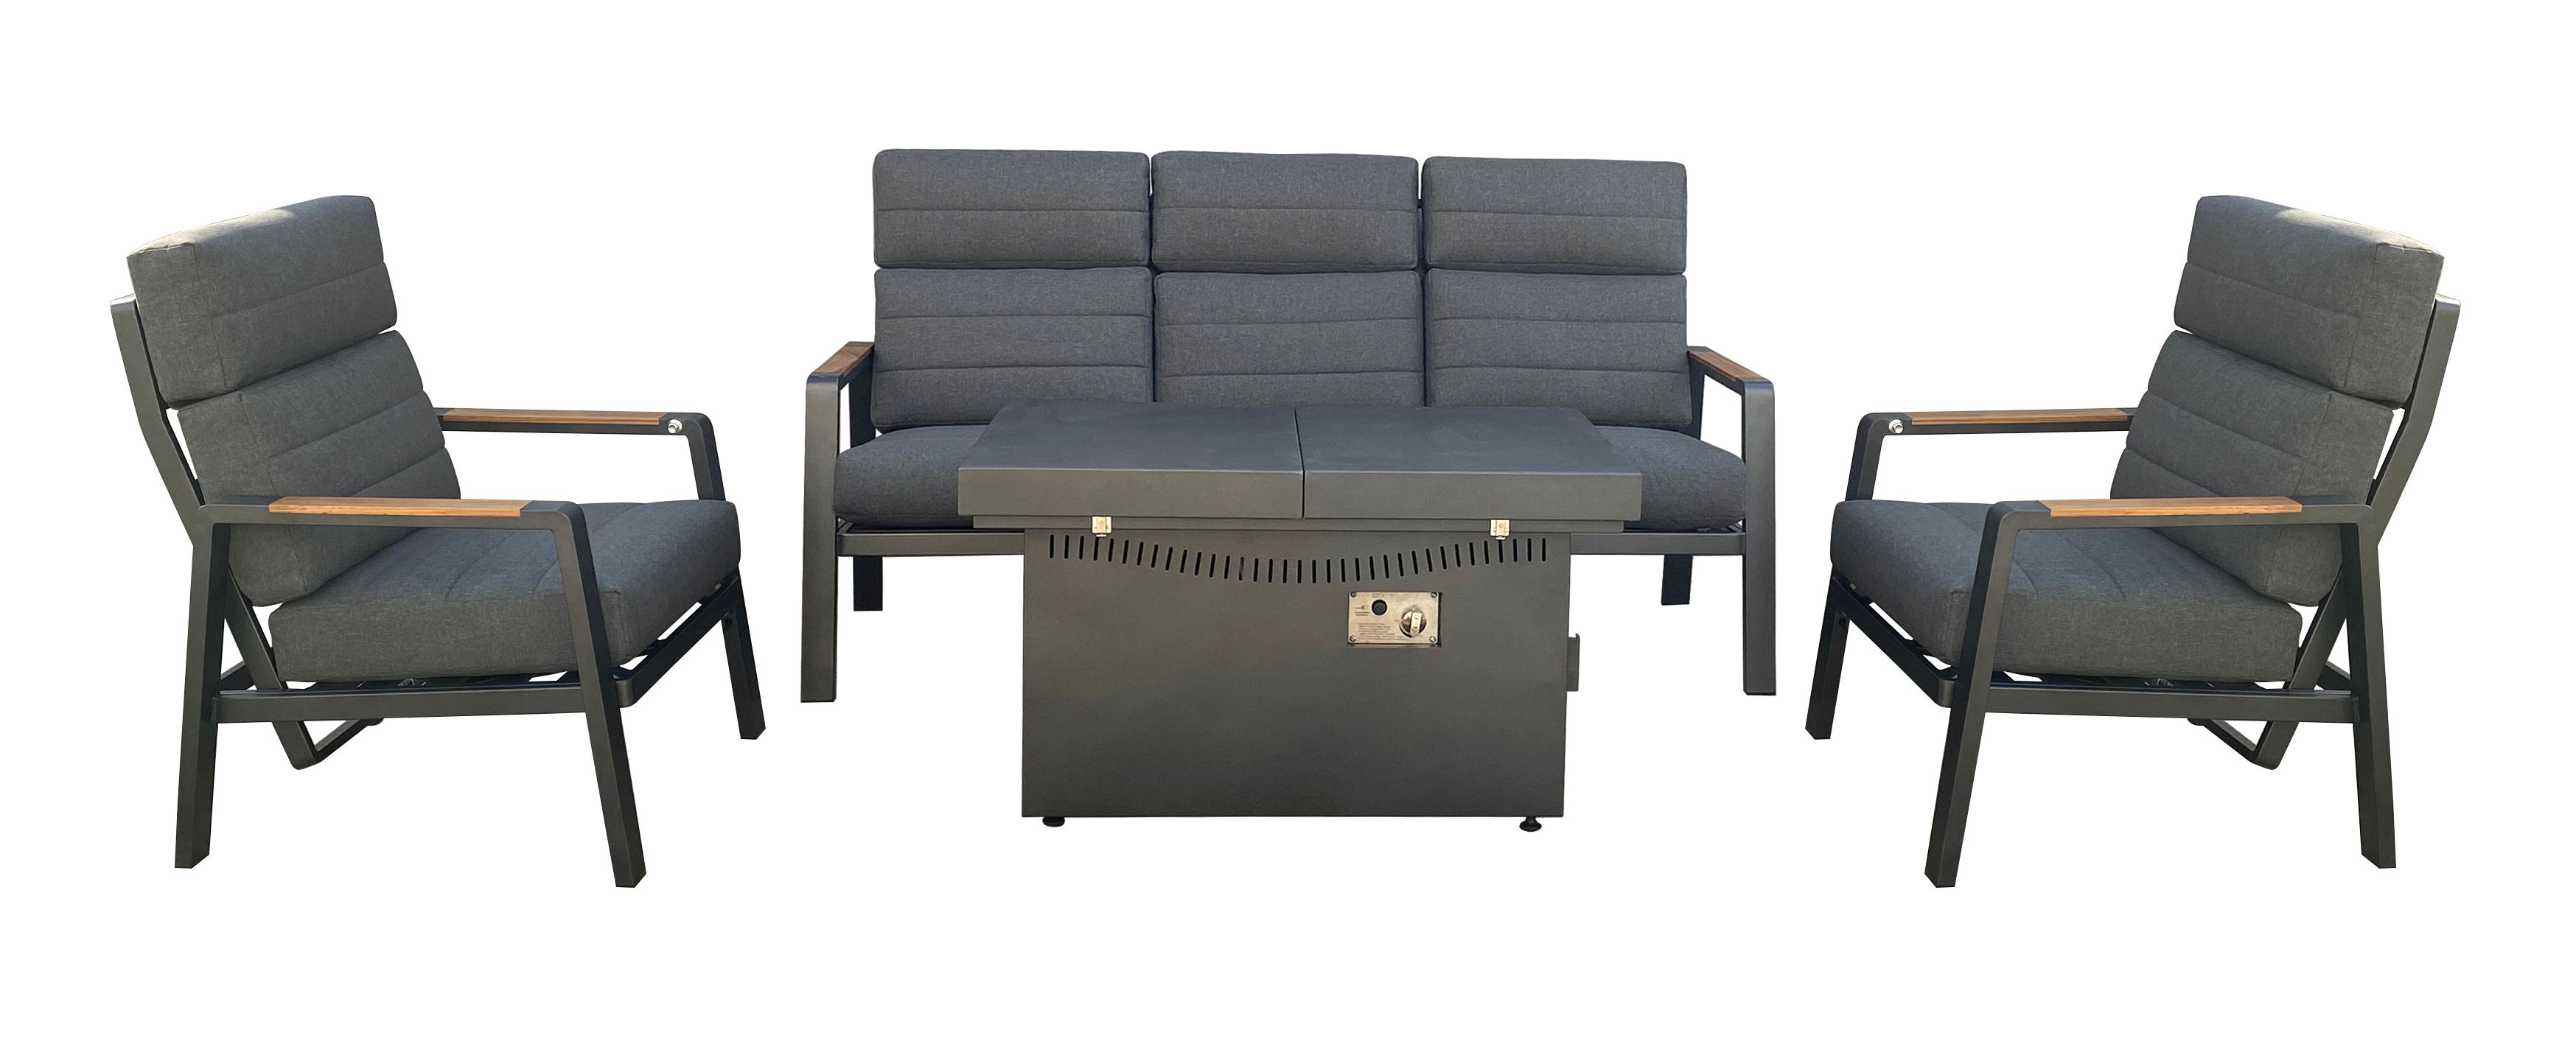
This modular aluminium 5-seater sofa set is designed for flexibility, allowing you to arrange each piece to suit your outdoor space. It features a gas firepit table with a superior, durable tabletop for both style and functionality.
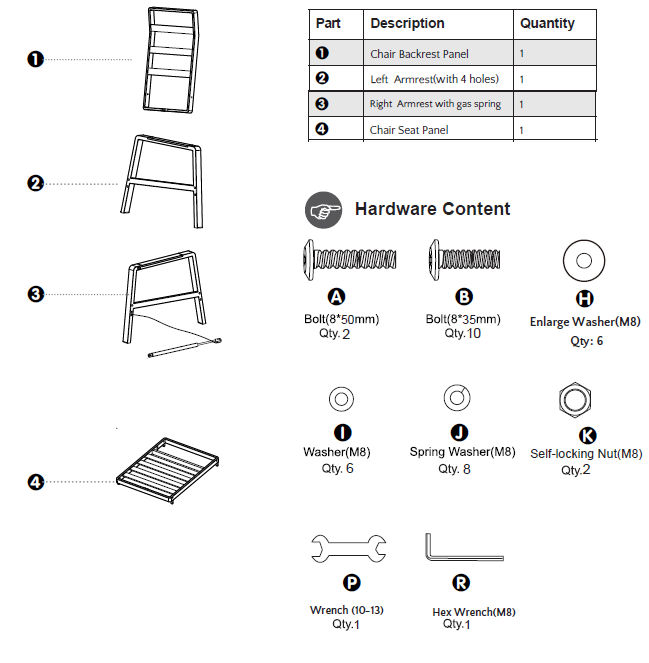
Product Information
Aluminium 5 Seater Garden Furniture with Firepit
The Jardi Signature Collection Aluminium 4-Piece Garden Furniture Set combines contemporary design with luxurious comfort, featuring two reclining armchairs and a spacious three-seater sofa accented with elegant teak wood armrests. Crafted from durable aluminium, this set is complemented by a versatile firepit table that opens to reveal a warm, inviting flame and closes to provide a full, seamless tabletop when needed. Designed for both style and functionality, it creates the perfect outdoor retreat for relaxing or entertaining.
SKU
216639
Sofa Dimensions:
196 x 81 x 96cm
Chair Dimensions:
81 x 74 x 98cm
Dimensions when Table Closed:
109 x 73 x 62.5cm
Dimensions when Table Open:
159 x 73 x 62.5cm
Table Height:
62.5cm
Firepit Dimensions:
40 x 40 x 5cm
Base Cushion Dimensions:
62 x 60 x 14cm
Back Cushion Dimensions:
59 x 60 x 14cm
Rain Cover Dimensions:
263 x 164 x 100cm
Chair Reclining Degree:
50°
Rain Cover Material:
Oxford Fabric
Cushion Cover Material:
Polyester
Frame Material:
Powder Coated Aluminium
Cushion Filling Material:
Foam, Bonded Fiberfill, Non-woven fabric
Arm Rest Material:
Aluminum tube with Inlaid Teak
Height to Seat Base from floor:
45cm
Seat Weight Capacity:
109kg
Sofa Seat Weight Capacity:
318kg
Gas Suitability:
LPG
Heat Output:
55,000BTU
Gas Hose Dimensions:
90cm
Batteries Required:
AAA
Gas Category:
l3+
Gas Type:
G30 / G31
Gas Pressure:
G30: 28-30 mbar
This appliance is approved for use in the following countries:
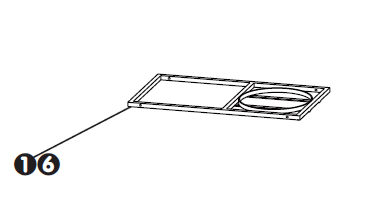
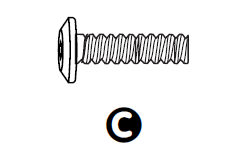
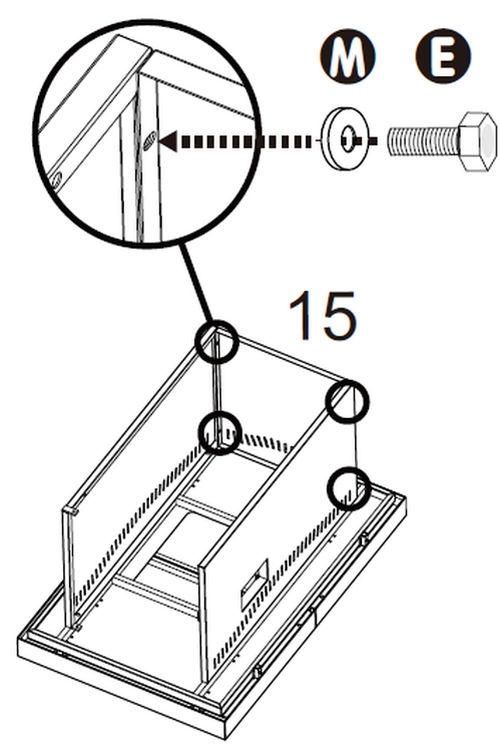
Align the holes of the Bottom Bracket (Part 16) with the holes on the base
as shown in fig. 3.
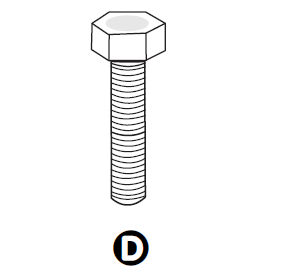
Insert the Bolt (Part D) through the Washer (Part M) and then through holes of
the Bottom Bracket into the holes of the base.
Tighten with
the Wrench (Part Q).
Screw the adjustable feet (Part T) to the bottom of the Bottom
Bracket.
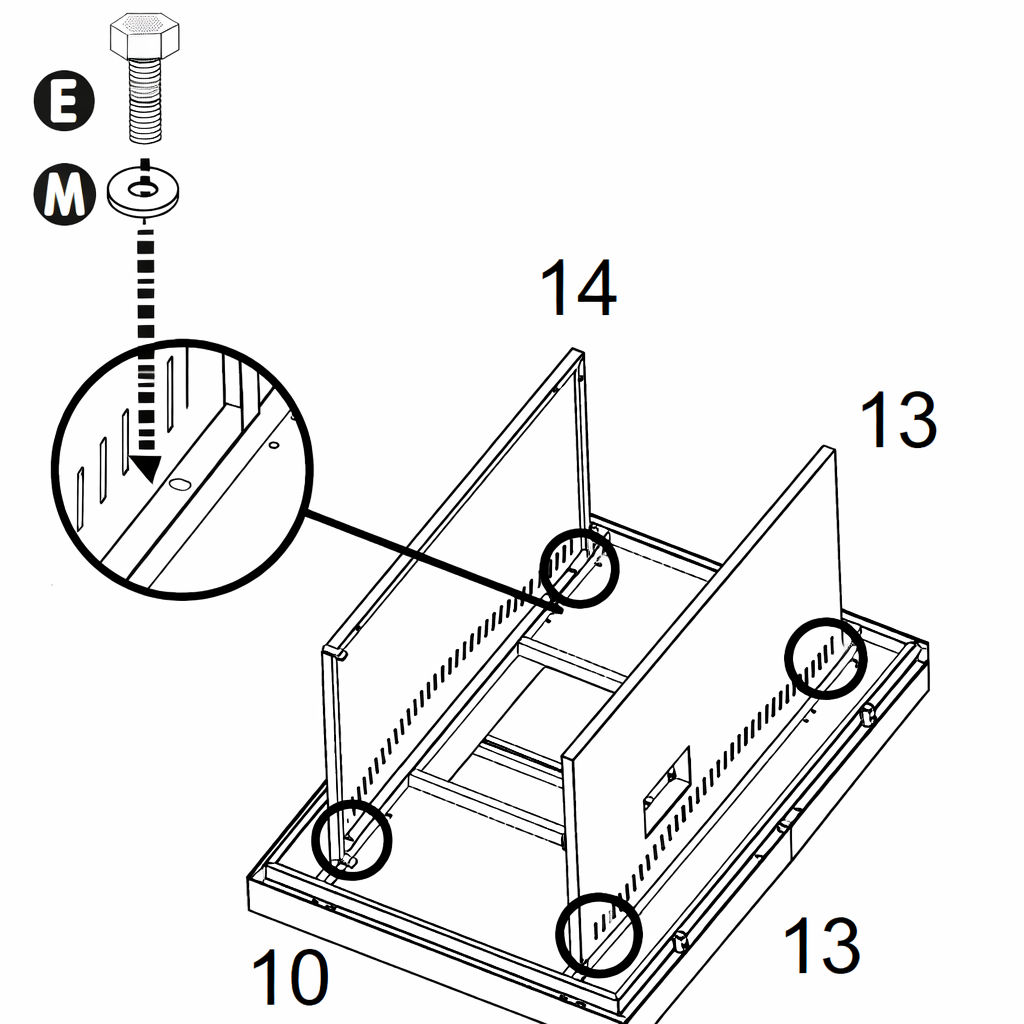
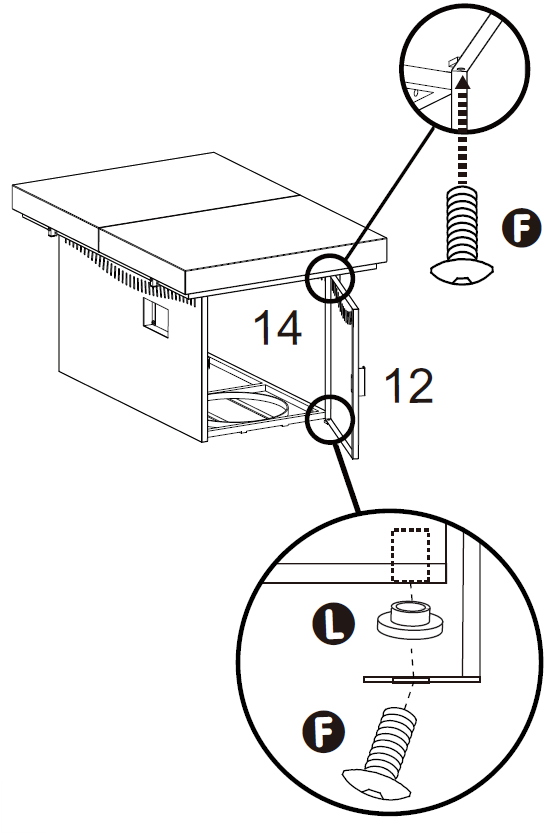
4. Step 4
Attach the Door Panel (Part 12) to the assembled base by
aligning the hole in the Side Panel 2 (Part 14) with the hole in each
end of the Door Panel.
Insert the Bolt (Part F) through the upper hole of door into the hole in
the strip of Part 14.
Then push the Plastic Washer (Part L) into the
bottom hole of door, then insert the Bolt (Part F) through the hole in
the strip of Part 14, then through the hole of the Plastic Washer (Part L) into
the door.
Tighten all bolts with the Hex Wrench (Part S).
5. Step 5
Gently place the Burner (Part 11) into the hole in the Table Top
(Part 10) , allowing the hose and regulator to drop into the fire pit
base.
Let the control panel of the burner pass through the front
hole of Side Panel 1 (Part 13).
Pass the Control Panel through the hole out of the Side Panel 1
(Part 13). Note: The Control Panel should tilt as shown in the fig 5
when through the hole.
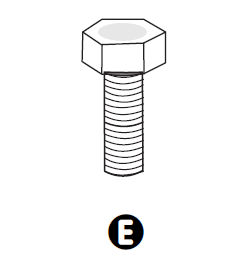
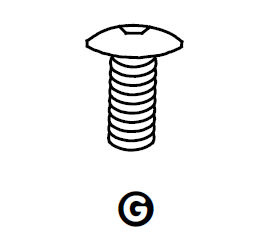
Insert the Bolt (Part G) into the holes in the Control Panel and Side Panel 1 (Part 13).
Then screw the Nut (Part O) with the Wrench (Part Q) and the Hex Wrench (Part S).
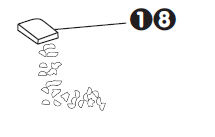
Pour the Fire Glass (Part 18) around the Burner. Be careful not to
obstruct pilot light housing.
Unscrew the igniter button and insert a AAA battery with the positive end facing outwards.
Screw the button back onto the control panel.
WARNING:
DO NOT PUT THE PROTECTIVE FIRE PIT COVER ON A HOT FIRE PIT.
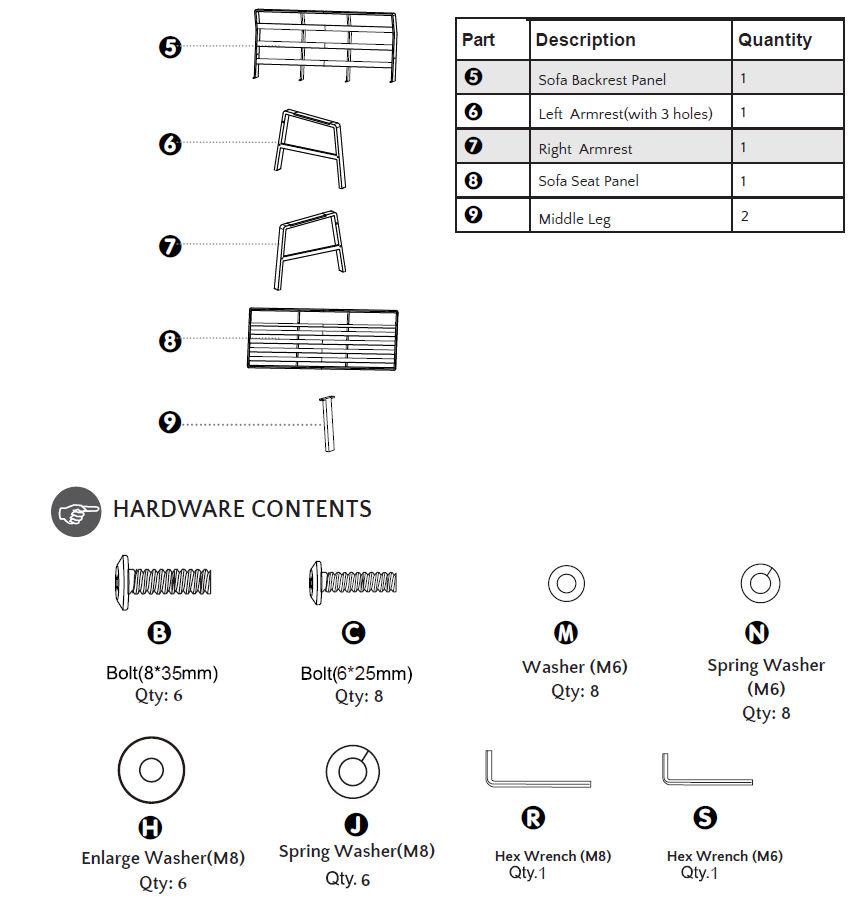
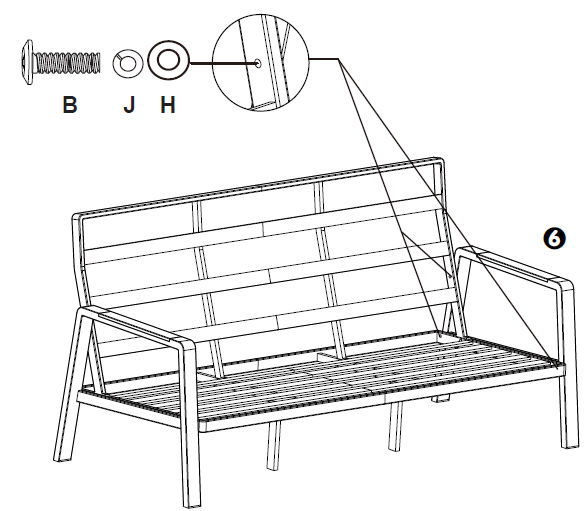
6. Step 1
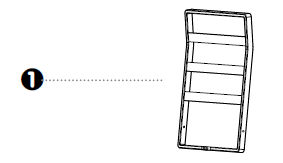
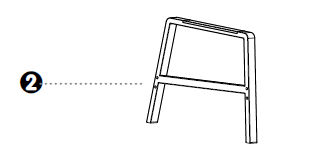
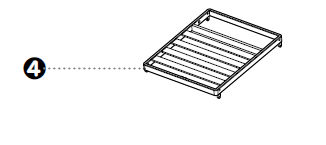
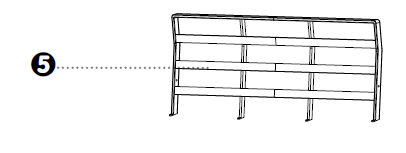
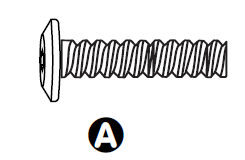
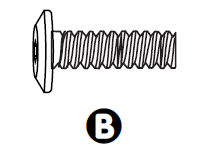
Using the Washer (Parts H/M), Spring Washer (Parts J/M), and Bolt (Parts B/C), assemble together Sofa Backrest Panel (Part 5), Right Arm (Part 7), Sofa Seat (Part 8) and the Middle Leg (Part 9).
7. Step 2
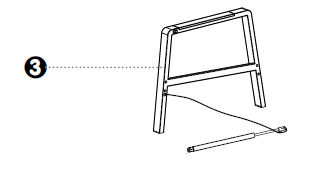
Assemble the other Left Arm (Part 6) by aligning it symmetrically with the
right one and securing it in place using the same screws.
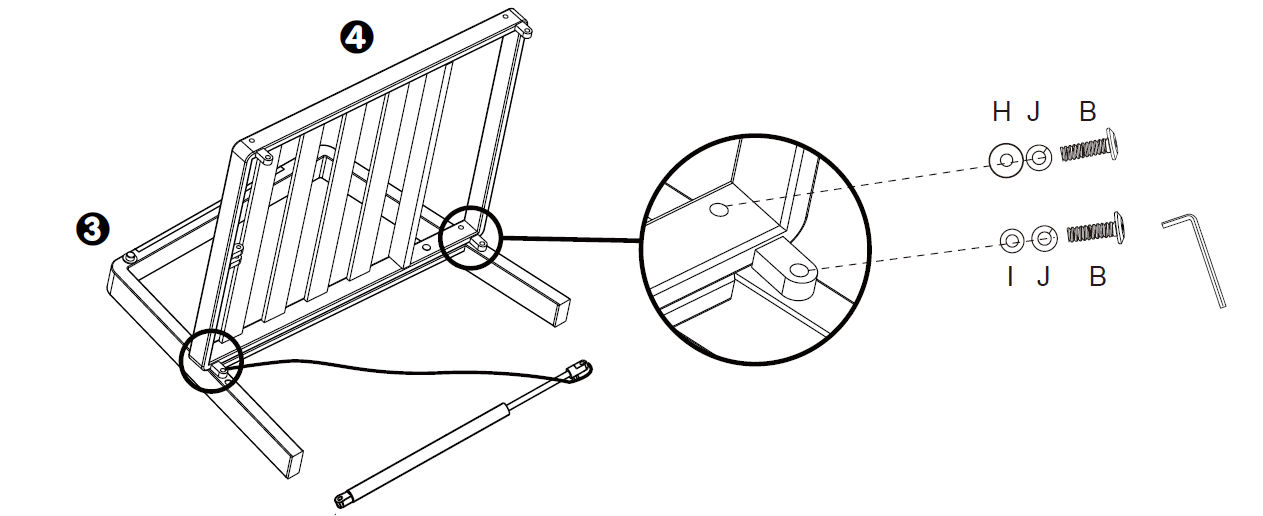
Lay the Right Armrest (with gas spring) (Part 3) down and position the Chair Seat Panel (Part 4) as per image 2.
Use Bolt 8x35mm (Part B), Washer (Part H) and Spring Washer (Part J) in the upper hole of the chair seat panel.
Then, use Bolt 8x35mm (Part B), Washer (Part I) and Spring Washer (Part J) in the lower hole of the chair seat panel to secure parts together.
Secure the bolts using the Allen Key (Part R).
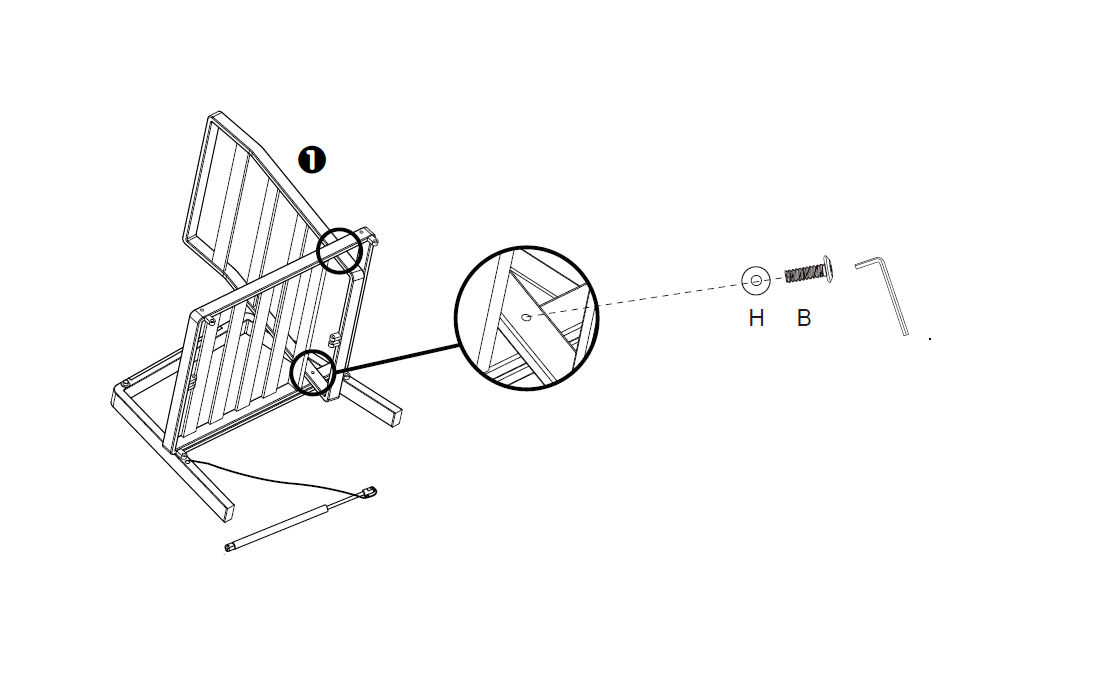
9. Step 2
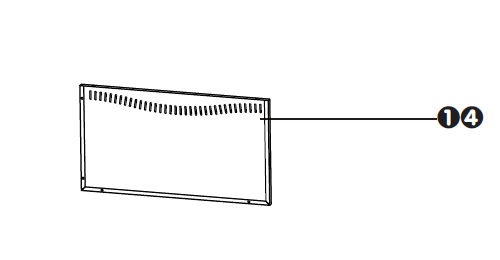
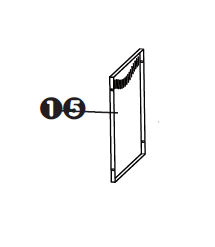
Position the Chair Backrest Panel (Part 1) onto the previously assembled Right Armrest (with gas spring) (Part 3) and Chair Seat Panel (Part 4).
Align the holes on the backrest with those on the armrest and seat panel.
Insert Bolt 8x35mm (Part B) through Washer (Part H) into the aligned holes.
Secure the bolts using the Allen Key (Part R) to ensure the backrest is firmly attached.
NOTE : Tighten it normally and do not tighten it too tightly, as the backrest needs to have a certain amount of looseness in the screw when moving back and forth in this position. When the switch is activated, there needs to be a certain gap at the rotating joint connected to the gas spring to allow it to rotate.
10. Step 3
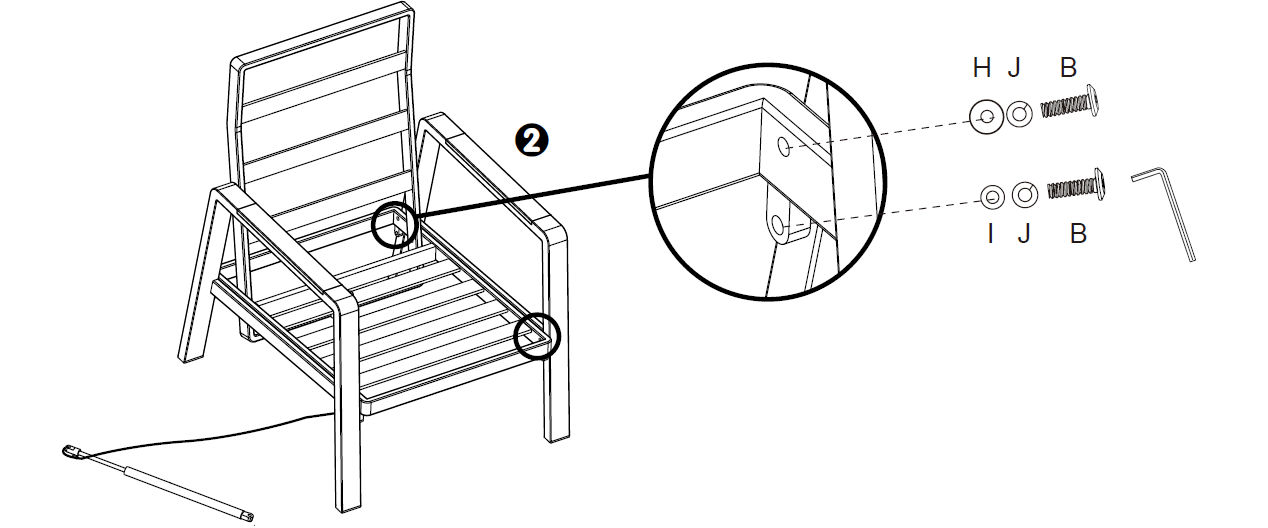
Position the Chair Seat Panel (Part 4) onto the Left Armrest (with 4 holes) (Part 2) as shown.
Use Bolt 8x35mm (Part B) with a Washer (Part H) and Spring Washer (Part J) for the upper hole, and Bolt 8x35mm (Part B) with Washer (Part I) and Spring Washer (Part J) for the lower hole.
Secure the bolts using the Allen Key (Part R).
11. Step 4
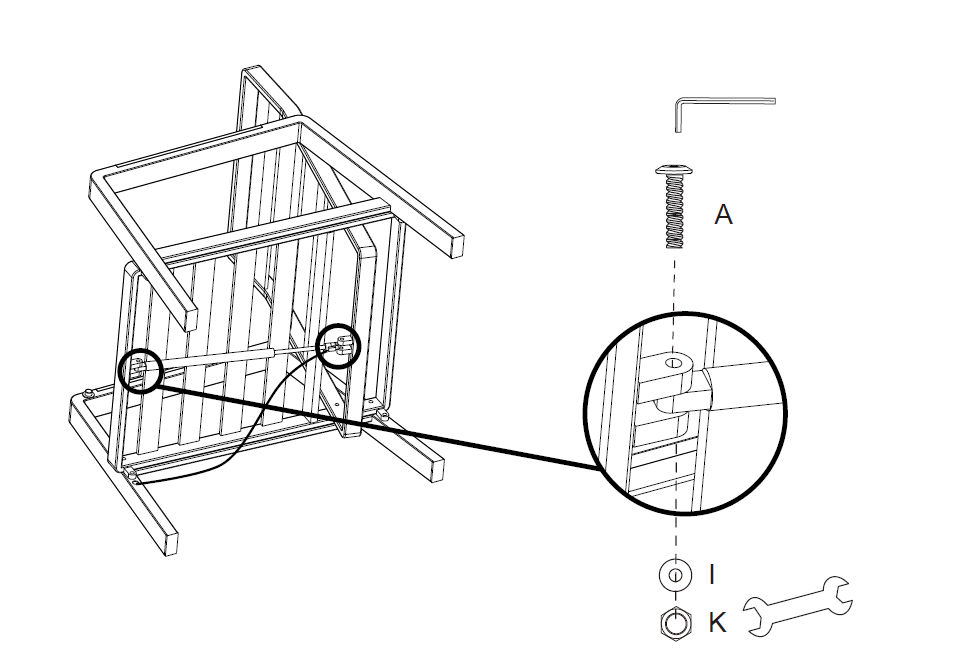
Assemble the gas spring by connecting the end with the wire to the hole in the middle of the backrest of the chair as shown in the figure.
Connect the other end of the gas spring to the hold in the middle of the front of the chair seat panel.
Using the Washer (Part I), Bolt (Part A) and Self-locking Nut (Part K), assemble them together.
NOTE : It should be tightened normally, not too tightly. When the switch is activated, there needs to be a certain gap at the rotating joint connected to the gas spring to allow it to rotate.
12. Step 5
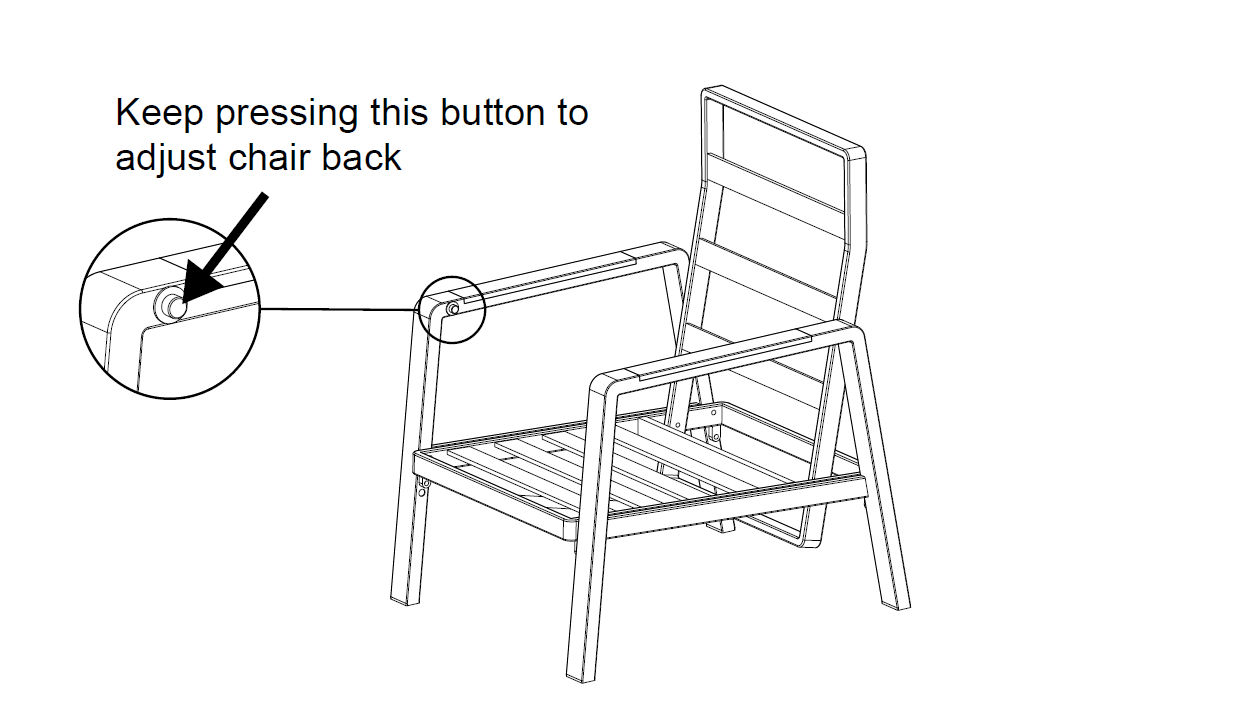
Hold the button down continuously on the armrest to adjust the backrest to achieve the appropriate angle.
The chair is now ready to use.
13. Maintenance
Aluminium Furniture:
Clean aluminium frames with a damp cloth and dry before storing. and use suitable outdoor teak oil to maintain the wood armrests; avoid abrasive or harsh cleaning agents.
Lift, do not drag, the furniture when moving it to prevent frame or surface damage.
Store the set in a sheltered area during extended periods of non-use or poor weather to preserve its condition and function.
Always use the cover provided whilst not in use.
Teak Wood Care Instructions:
Regular Cleaning:
Wipe the surface regularly with a slightly damp cloth or use a soft brush/sponge with mild soapy water. Always scrub and sand in the direction of the wood grain.
Avoid corrosive or harsh chemical cleaners to protect the wood finish.
For Maintenance & Protection:
Allow the furniture to dry completely after washing.
To maintain the colour and enhance protection, apply a teak sealer or a thin coat of wax quarterly or annually to enhance shine and extend lifespan.
For Environmental Care:
Keep the furniture in a dry environment. Use a dehumidifier or ensure good ventilation during humid seasons to prevent warping.
Protect from direct sunlight by using curtains or shades to prevent colour fading.
For Storage:
Store indoors or cover the furniture during extreme weather to prevent warping and cracking.
Avoid These Cleaning Tools:
Never use a pressure washer.
Never use stiff/wire brushes or steel wool, as they can damage the wood grain, create a rough texture, and cause rust stains.
Avoid These Cleaning Agents:
Do not use bleach, harsh chemicals, or corrosive cleaners, as they will discolour and damage the timber.
Avoid These Finishes:
Do not apply paint, varnish, or non-approved stains. They do not bond well and will flake.
Avoid frequent use of common teak oil, as it can attract dirt and promote mildew growth.
Avoid prolonged exposure to damp or humid conditions to prevent wood deformation.
Avoid direct and prolonged sunlight exposure to prevent fading.
How Teak Ages and Weathers:
When exposed to the elements, teak goes through a series of changes:
Colour Transformation: Freshly cut teak is a warm, golden-brown. Over time, exposure to the elements causes it to fade to a silvery-gray. This change can vary depending on environmental conditions.
Surface Erosion and Bleeding: Over time, teak releases its natural oils, causing a temporary oily or dusty appearance. This is a normal process that typically subsides within a few months.
Surface Cracking: As teak ages, minor surface cracks may appear, but they are superficial and don’t impact the wood’s strength or durability.
Weathering Marks: Exposure to the elements may leave some minor weathering marks or stains, but they can be cleaned using proper methods.
Gray Patina: After weathering, teak develops an attractive gray patina, signaling its maturity and continued resilience.
14. Troubleshooting
Please read through the guide below if you have any issues or faults with your device. The information covers and resolves the majority of frequently asked questions.
Q: There are parts missing from my order. A: If there appears to be any part missing from your package contact our Customer Support team via the details on the Contact Us page within 7 days of receipt.
For all other issues please contact our Customer Support department via the details on the Contact page.