Assembly instruction for the Aluminium Pergola With LED Lights
Product Information
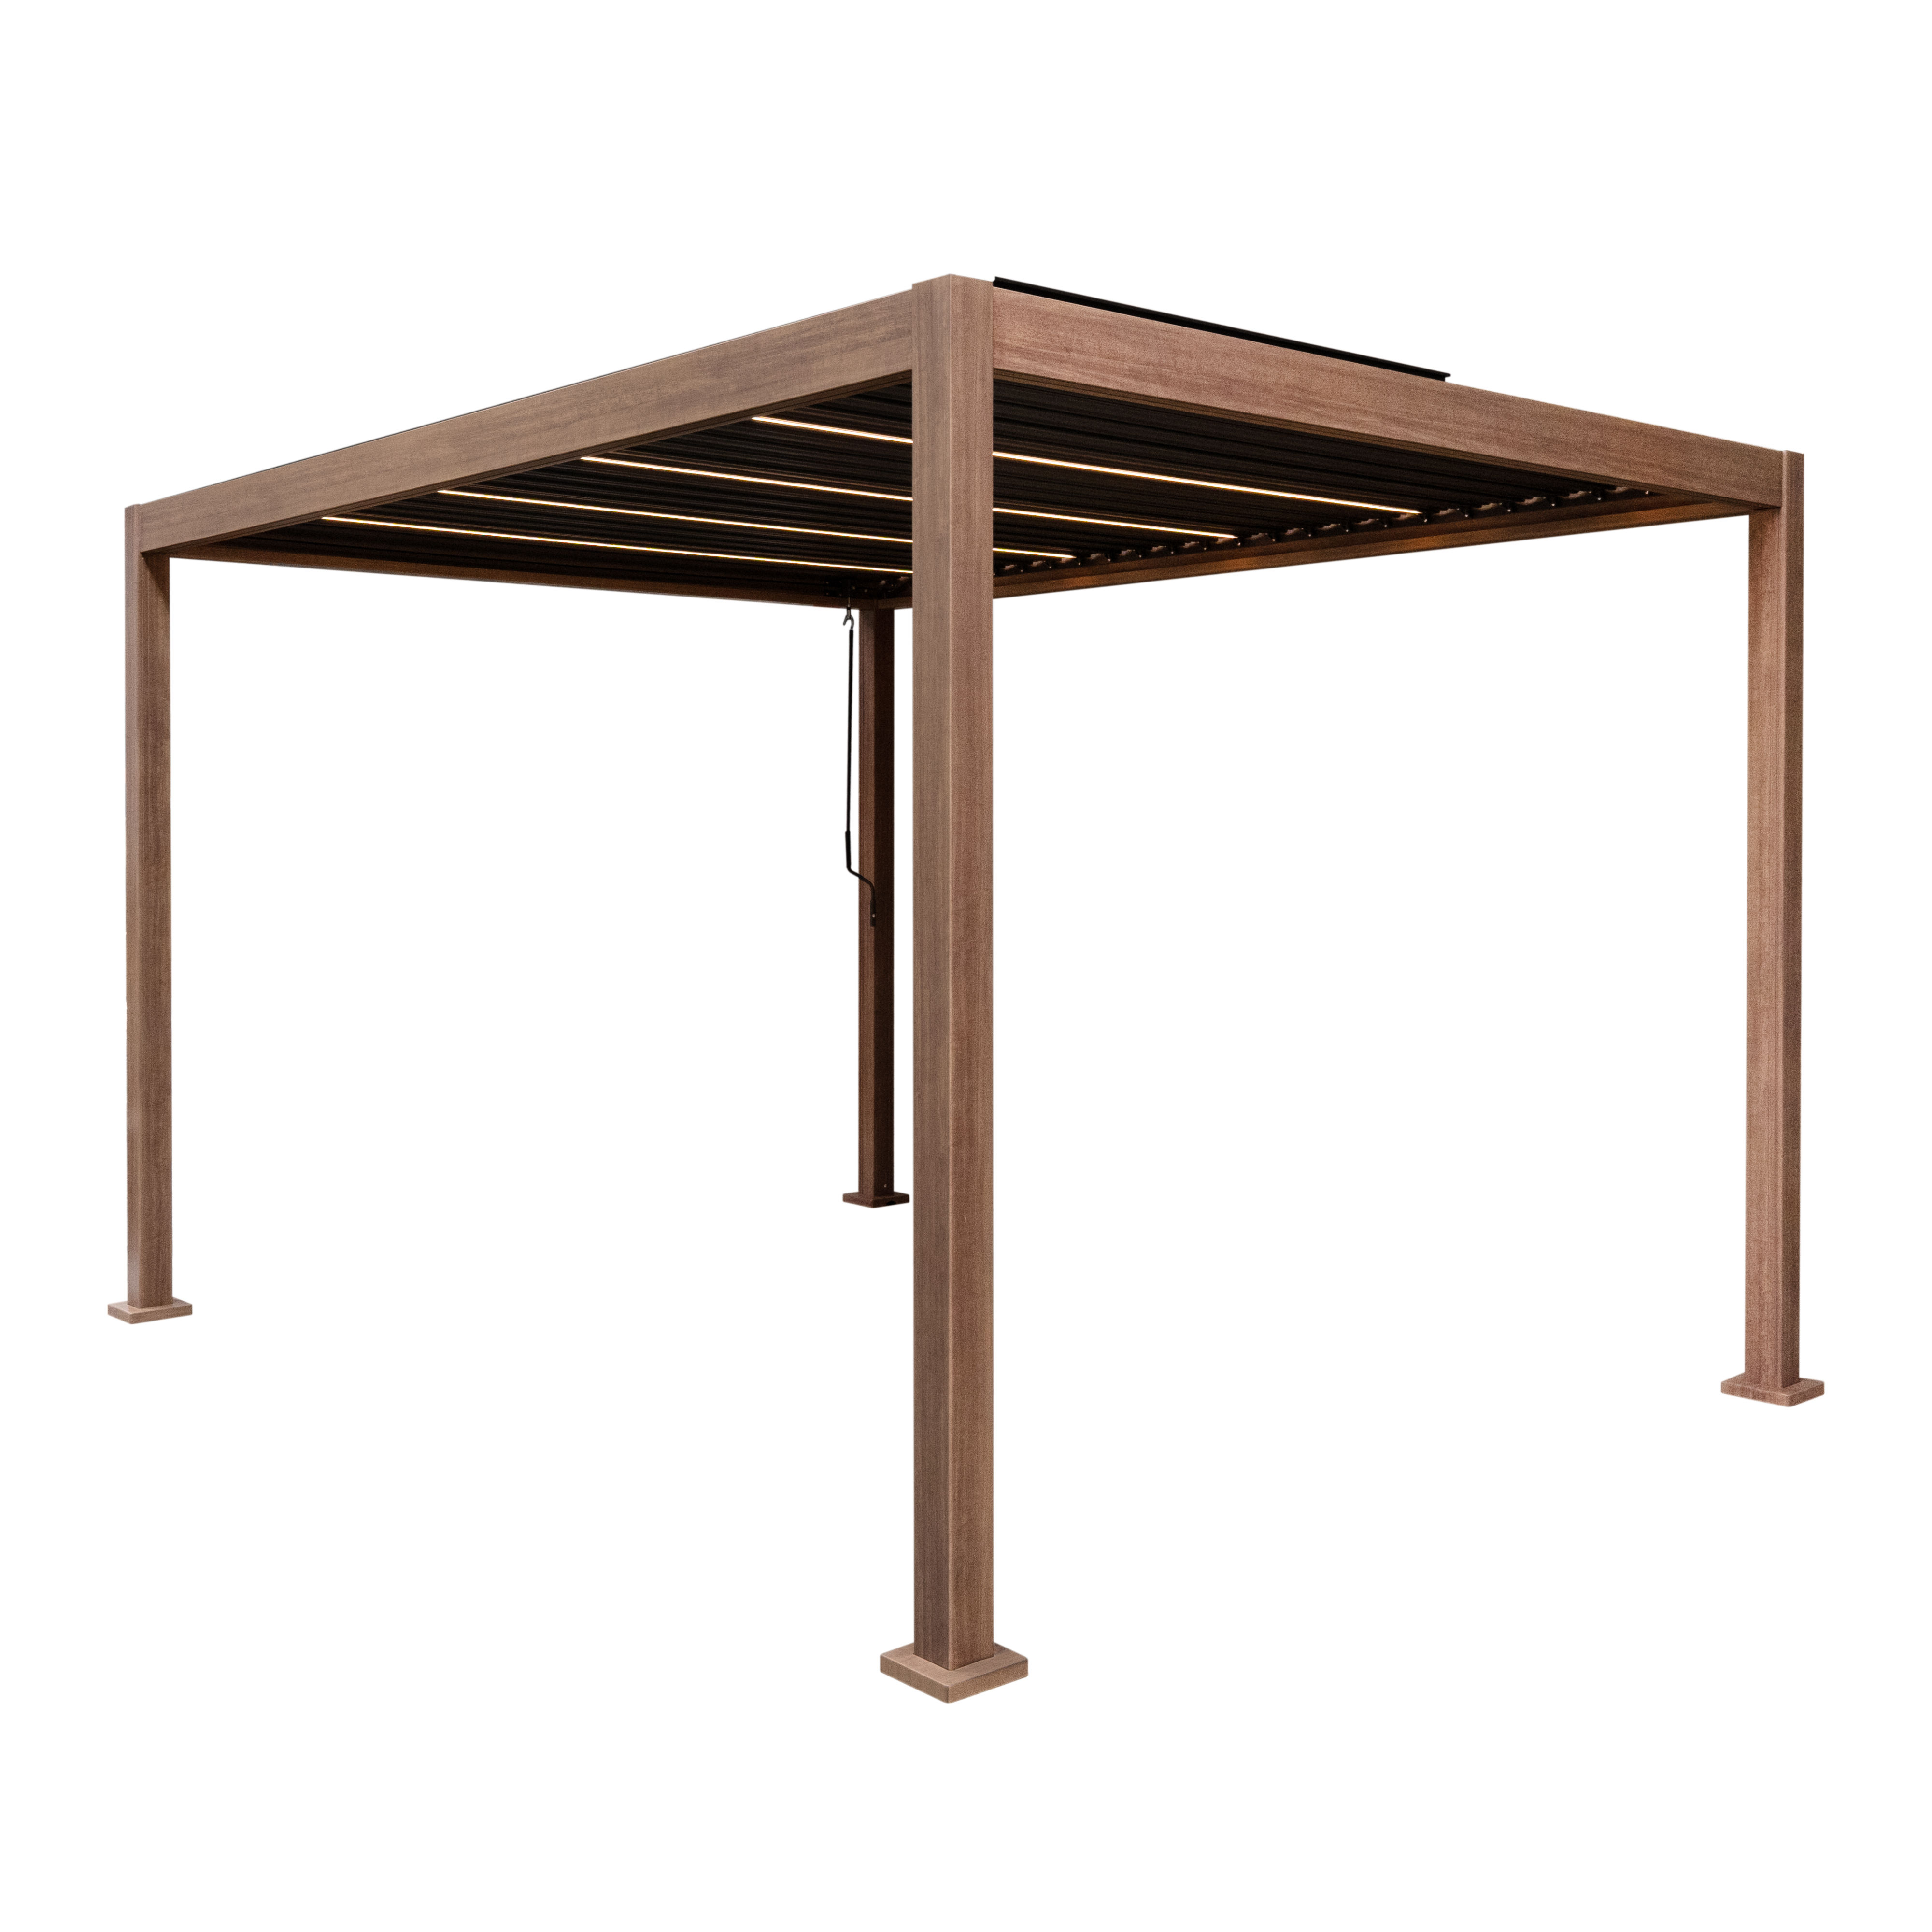
Aluminium Pergola With LED Lights
Turn your outdoor space into a sanctuary of relaxation and style with our meticulously crafted aluminium pergola with LED lights. Designed to enhance any garden or outdoor area, this pergola effortlessly combines functionality with aesthetic appeal.
SKU
214332,214324,214201,214882
3m x 3m
Colours
Wood Effect / Anthracite Grey
Weight
109.8kg
Material
Powder Coated Aluminium
Height
250cm / 2.5m / 98.4”
Width
300cm / 3m / 118.1”
Depth
300cm / 3m / 118.1”
Pillar Size
105 W x 105mm D
Feet Size
125 W x 125mm D
Number of louvres
19
Controller Charging Ports
USB-A & USB-C
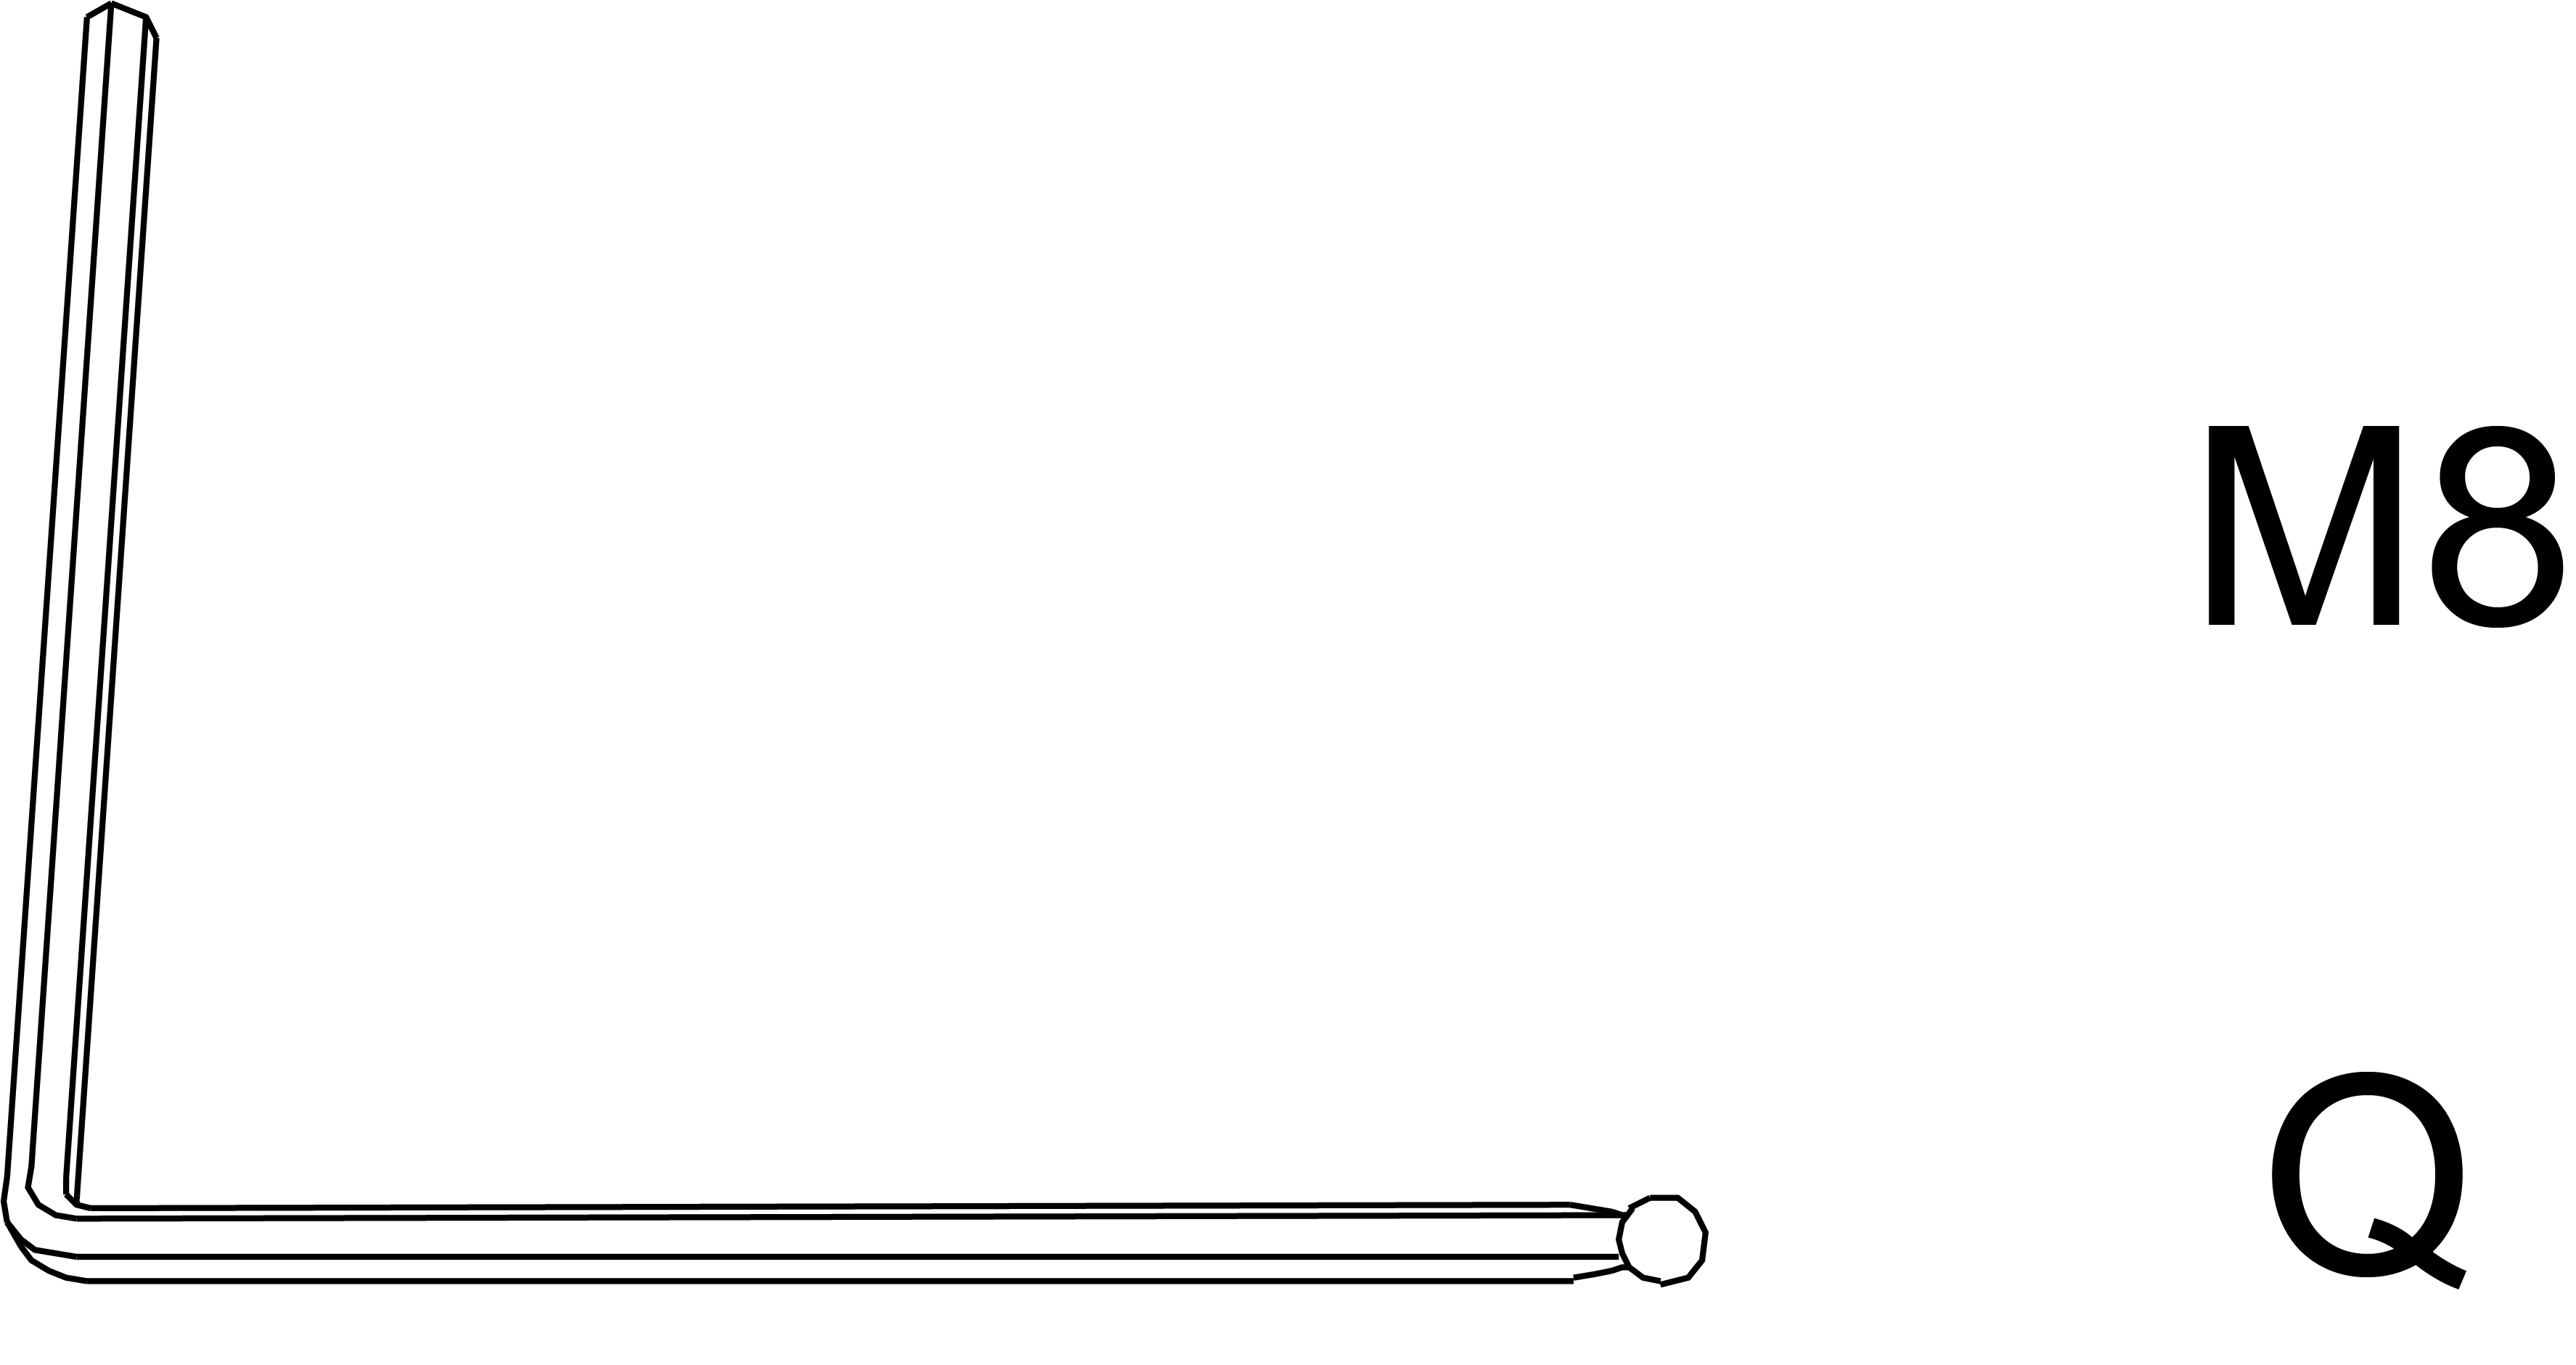
Hex Keys Included
M5, M6 & M8
GPSR Information
UK
Manufacturer:Monster Group UK Limited, Monster House, 19-23 Alan Farnaby Way, Industrial Estate Sheriff Hutton, York YO60 6PG, England.
Person Responsible:Rana Harvey, Monster Group UK Limited, Monster House, 19-23 Alan Farnaby Way, Industrial Estate Sheriff Hutton, York YO60 6PG.
+441347878880
EU
Manufacturer: Monster Group BV, Van Heemskerckweg 28A & B, Venlo 5928LL, Netherlands.
+441347878880
Person Responsible: Rana Harvey, Monster Group BV, Van Heemskerckweg 28A & B, Venlo 5928LL, Netherlands.
Tools
Ladders
Safety Hat
Tape Measure
Spirit Level
Gloves
Mallet
Electric Drill
Knife
Parts
3x3 Pergola
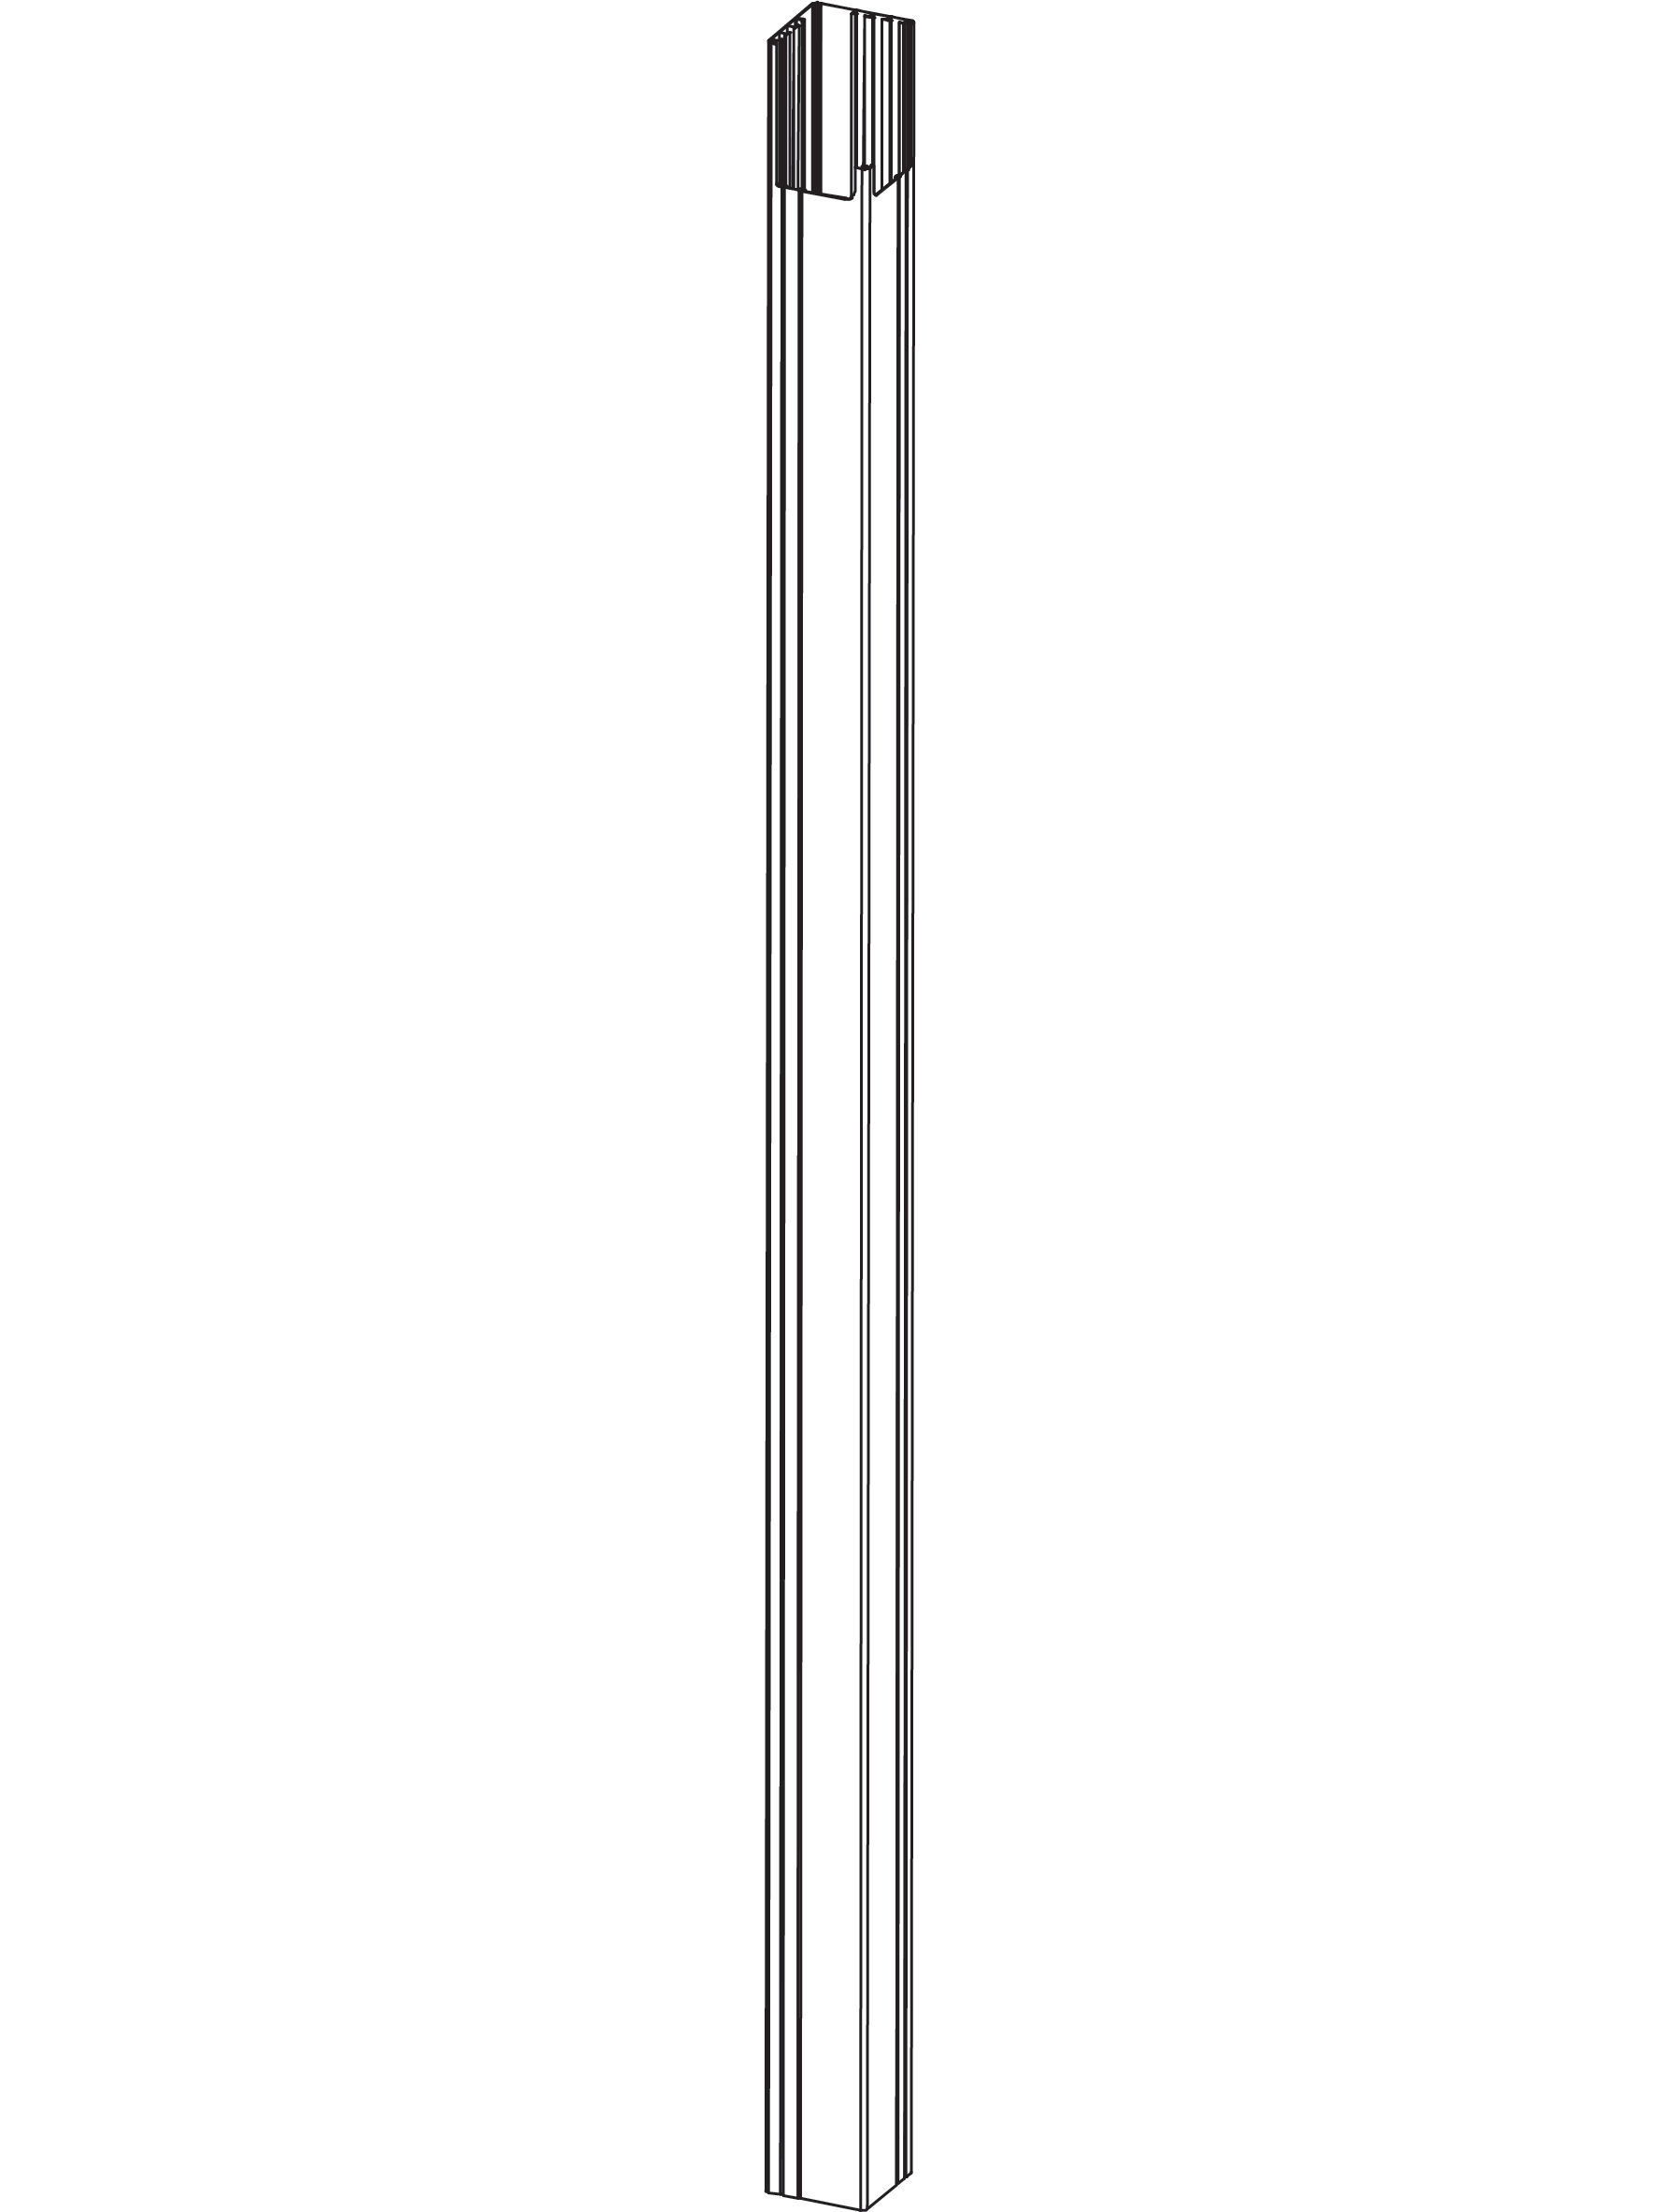
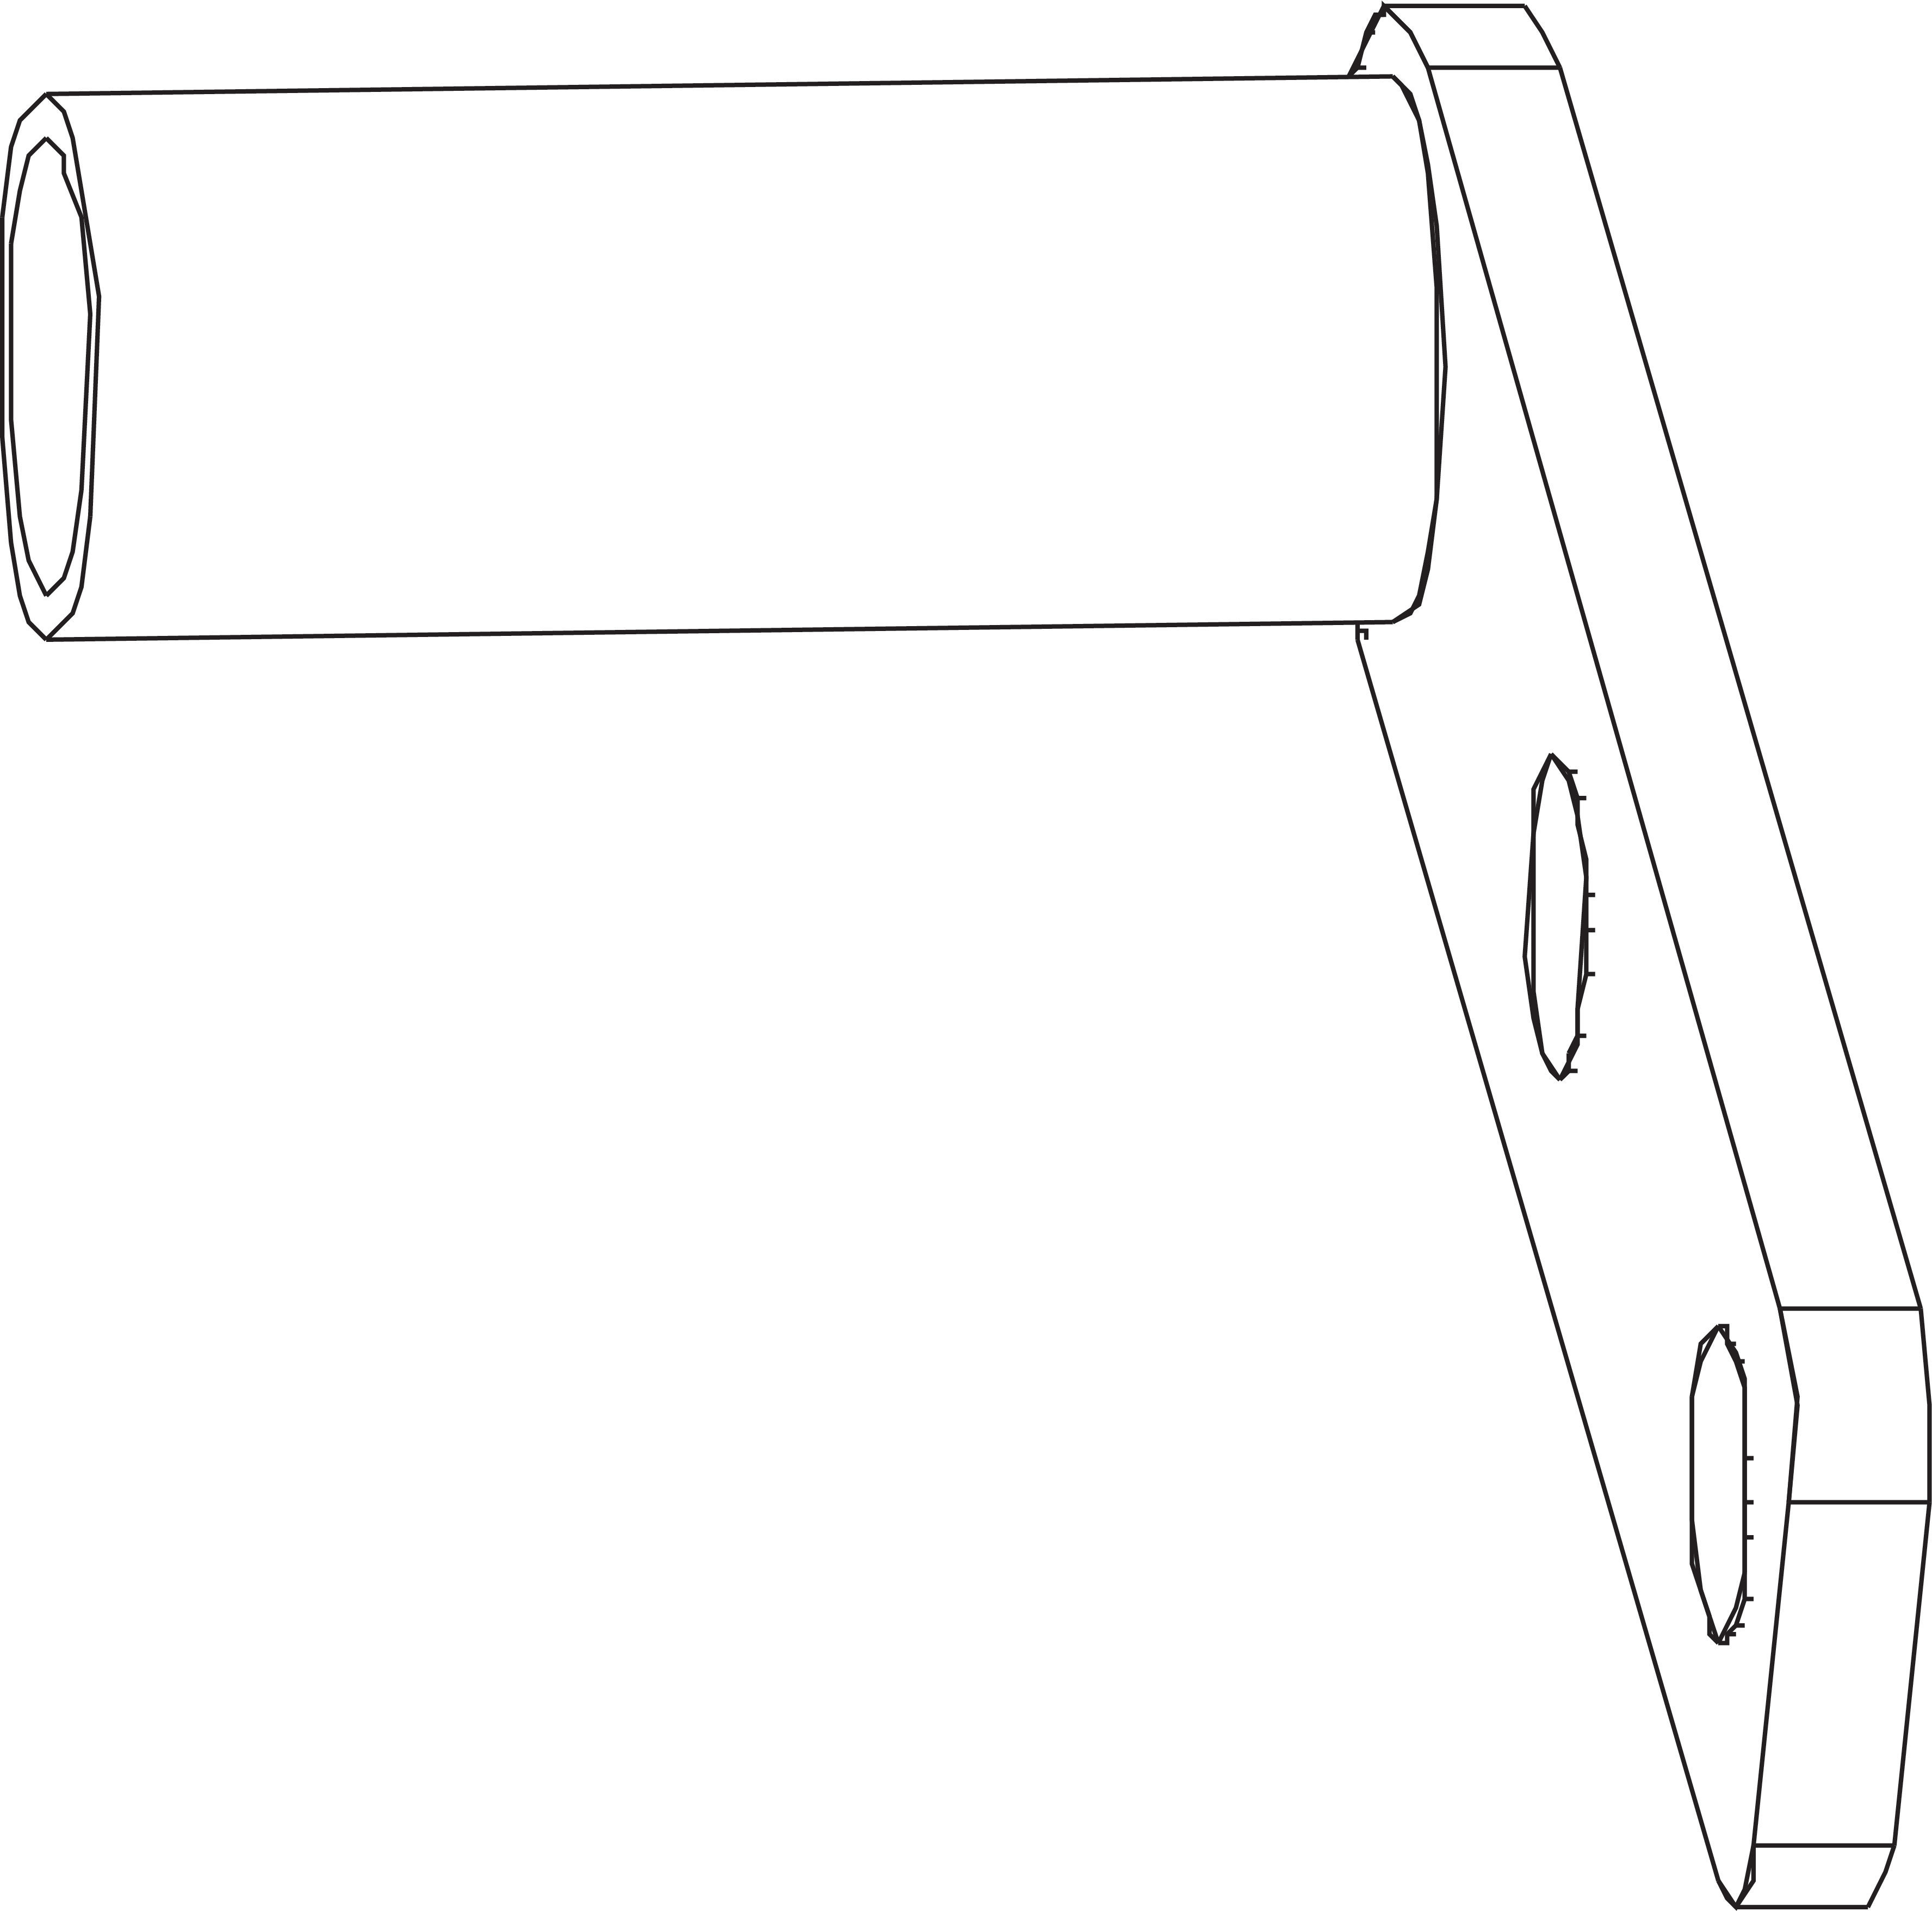
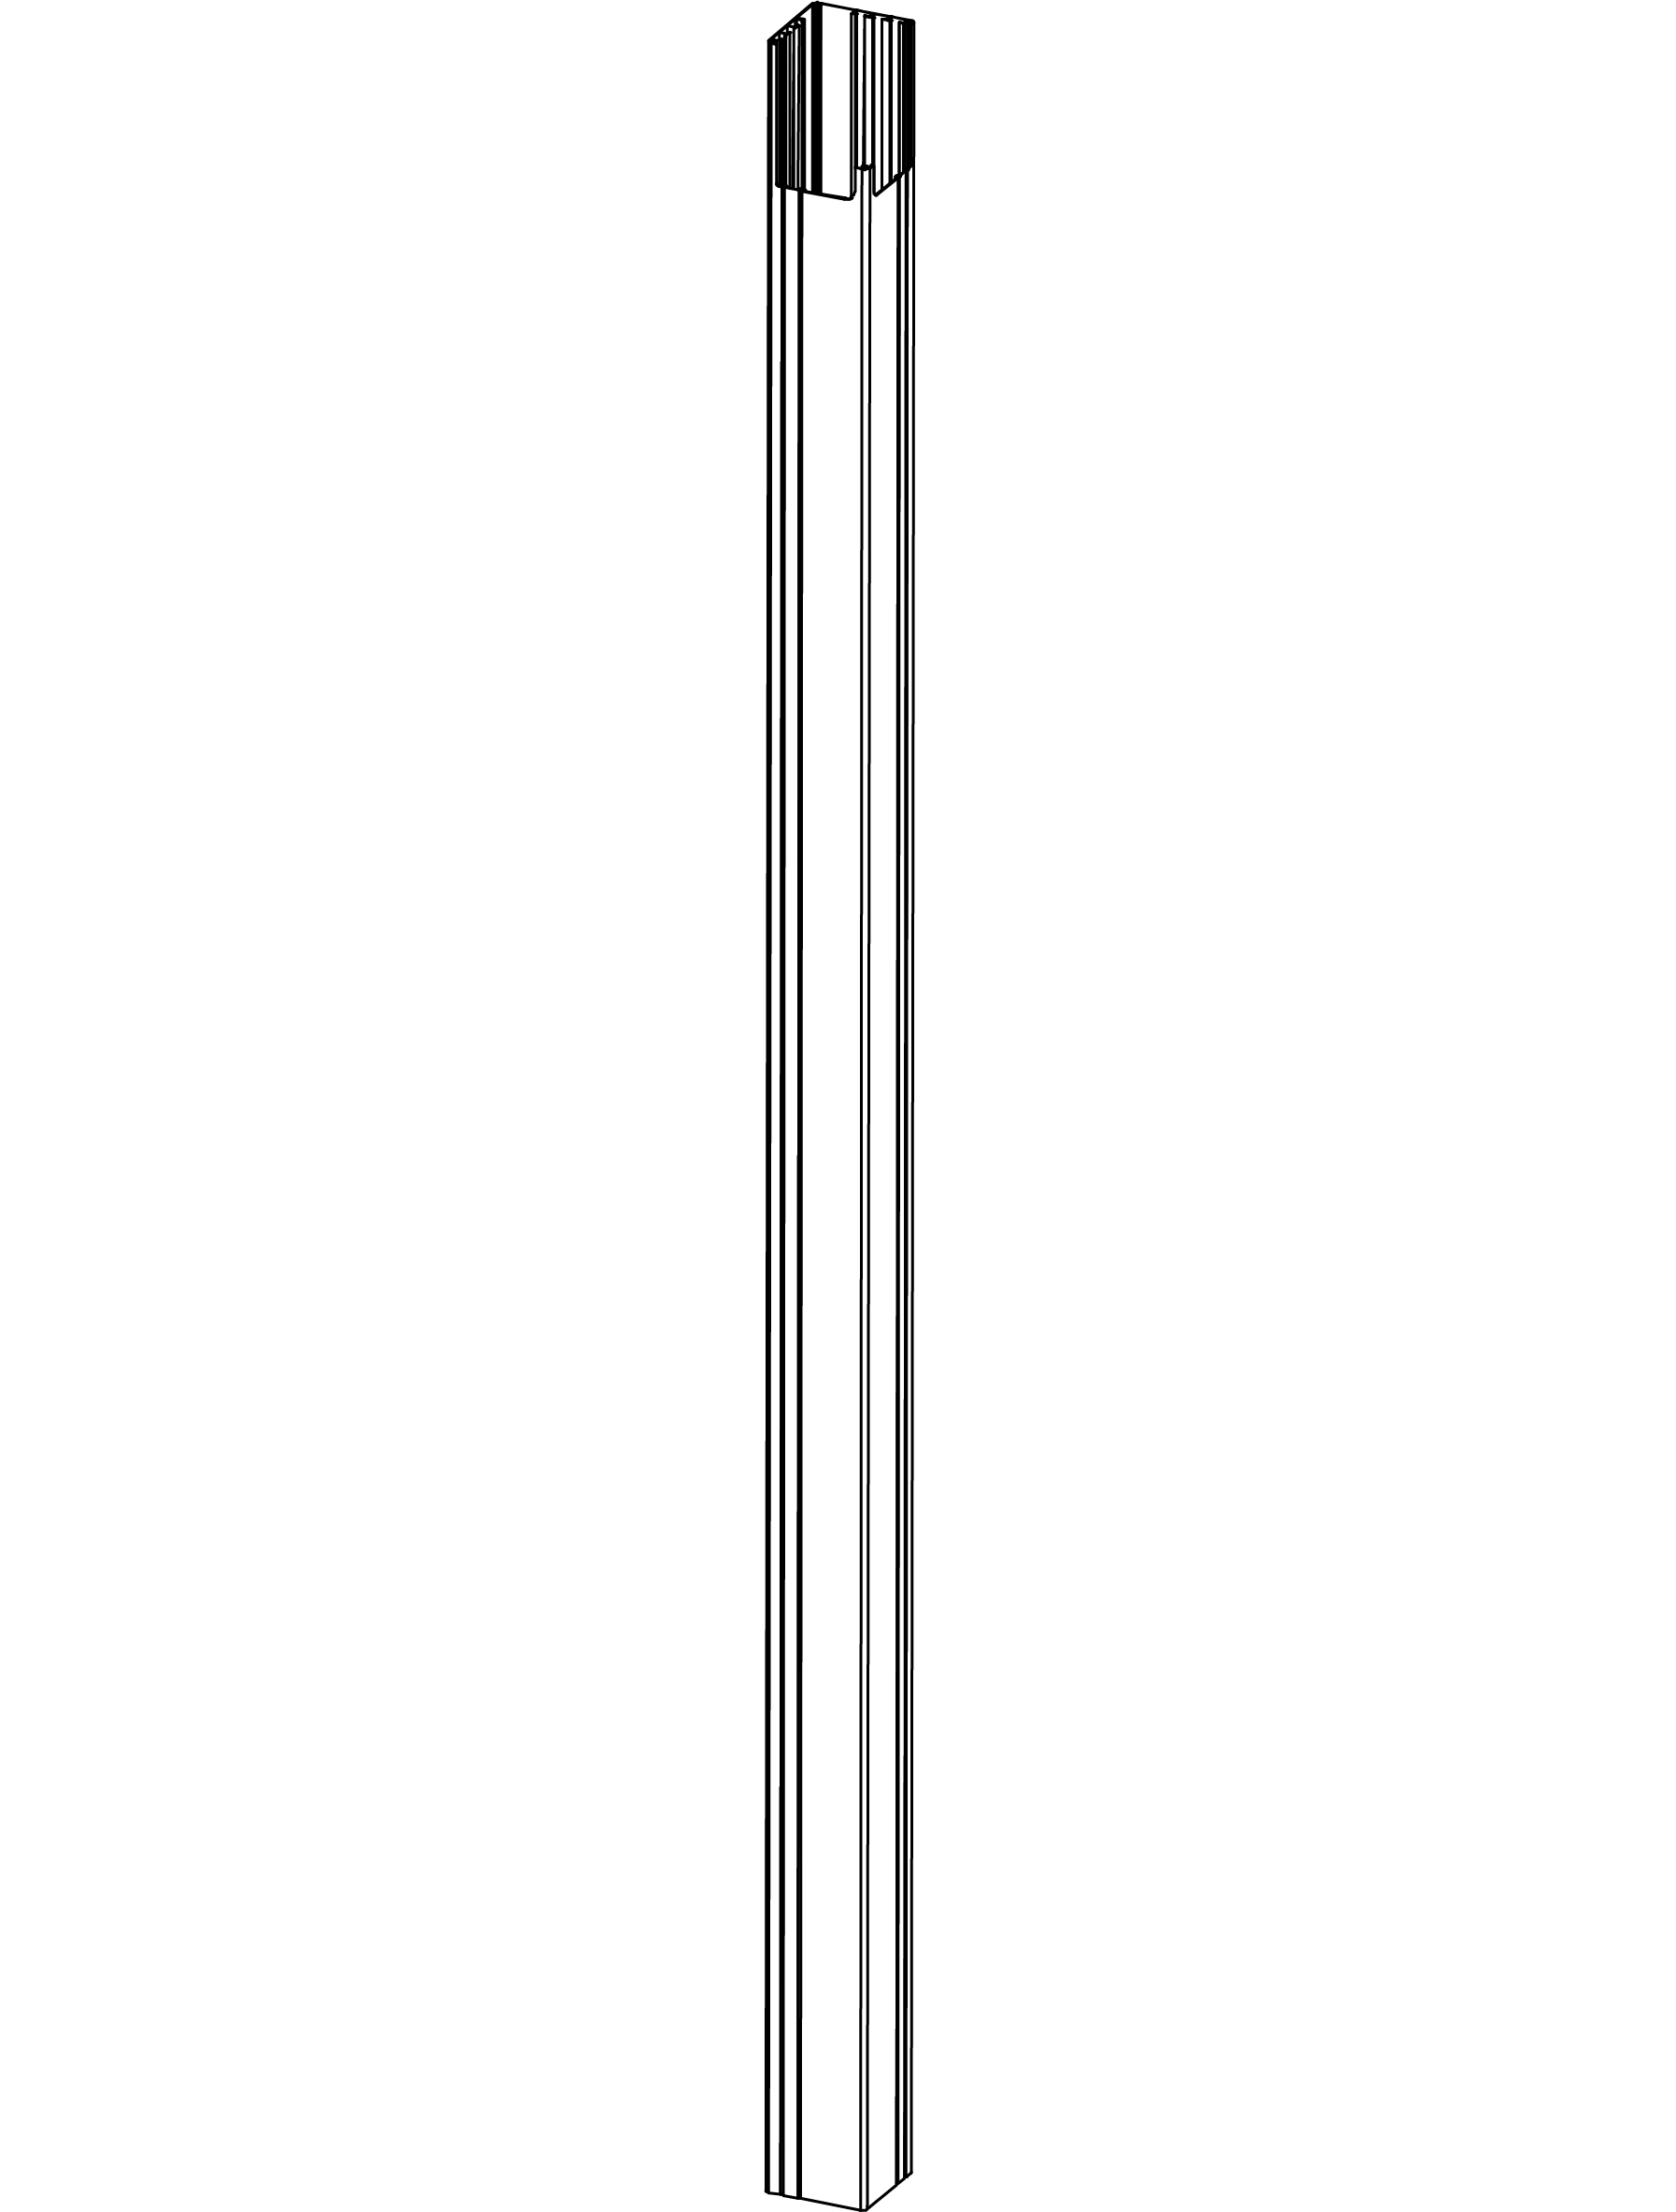
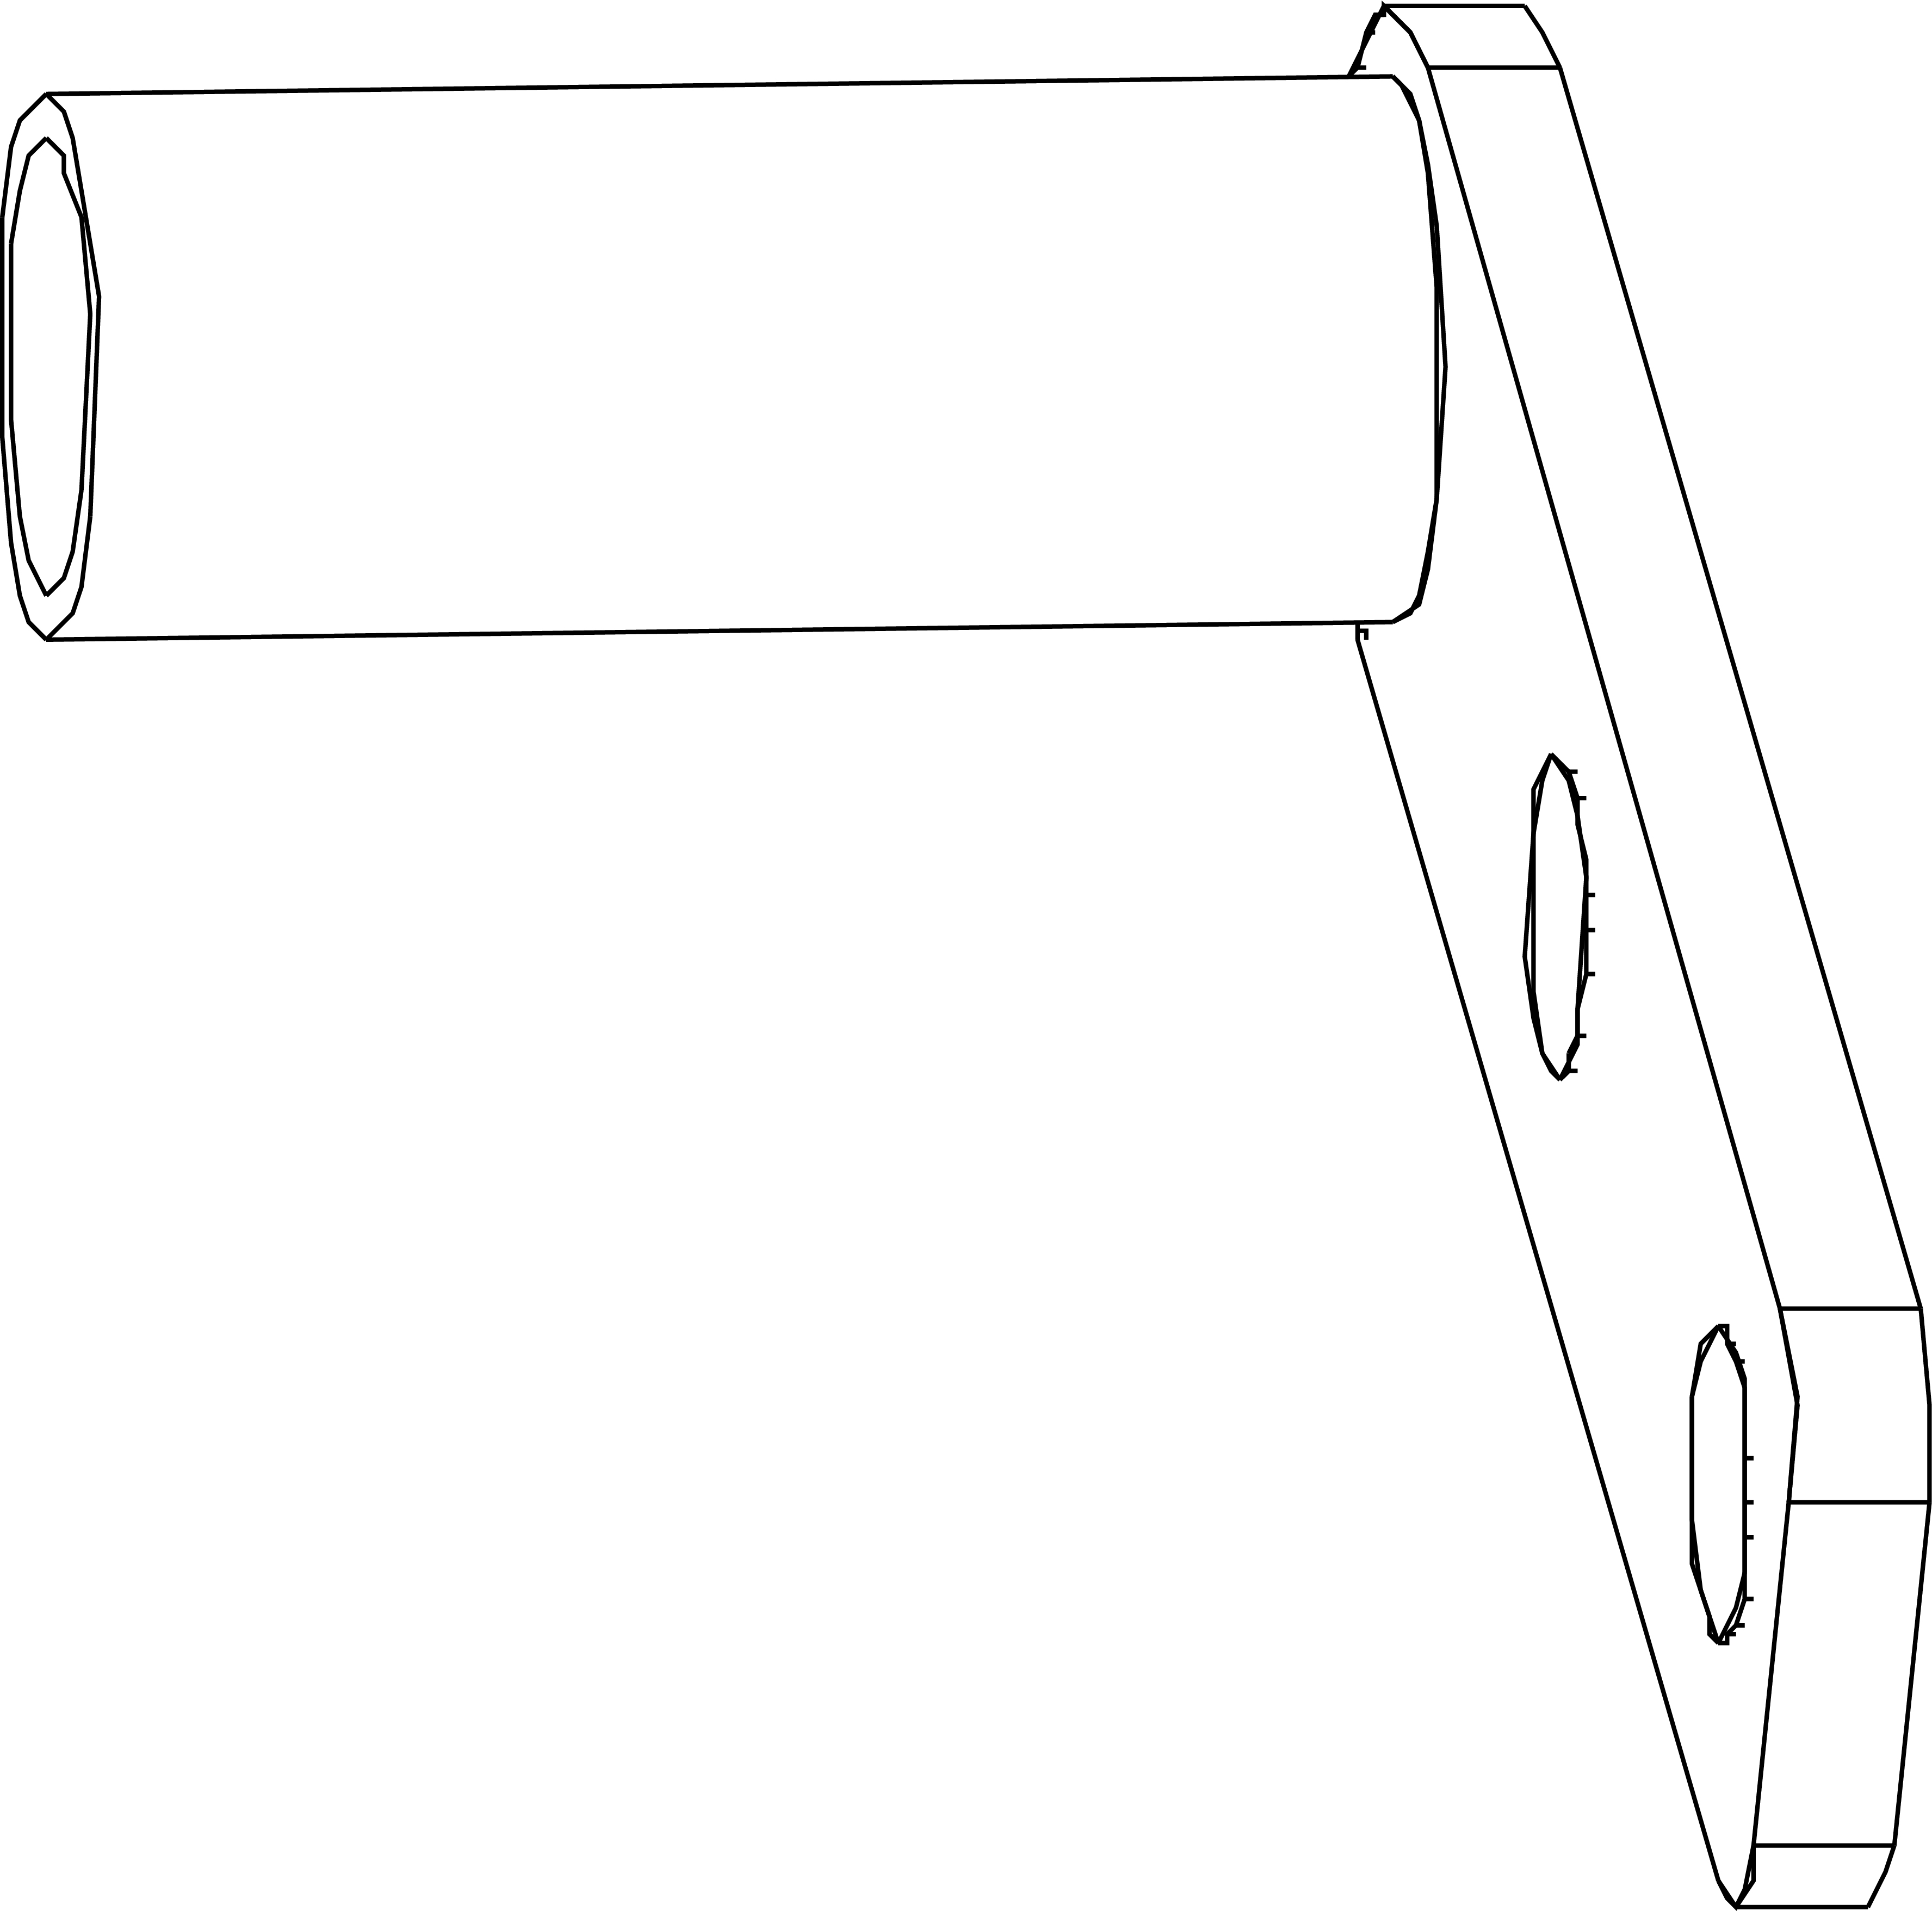
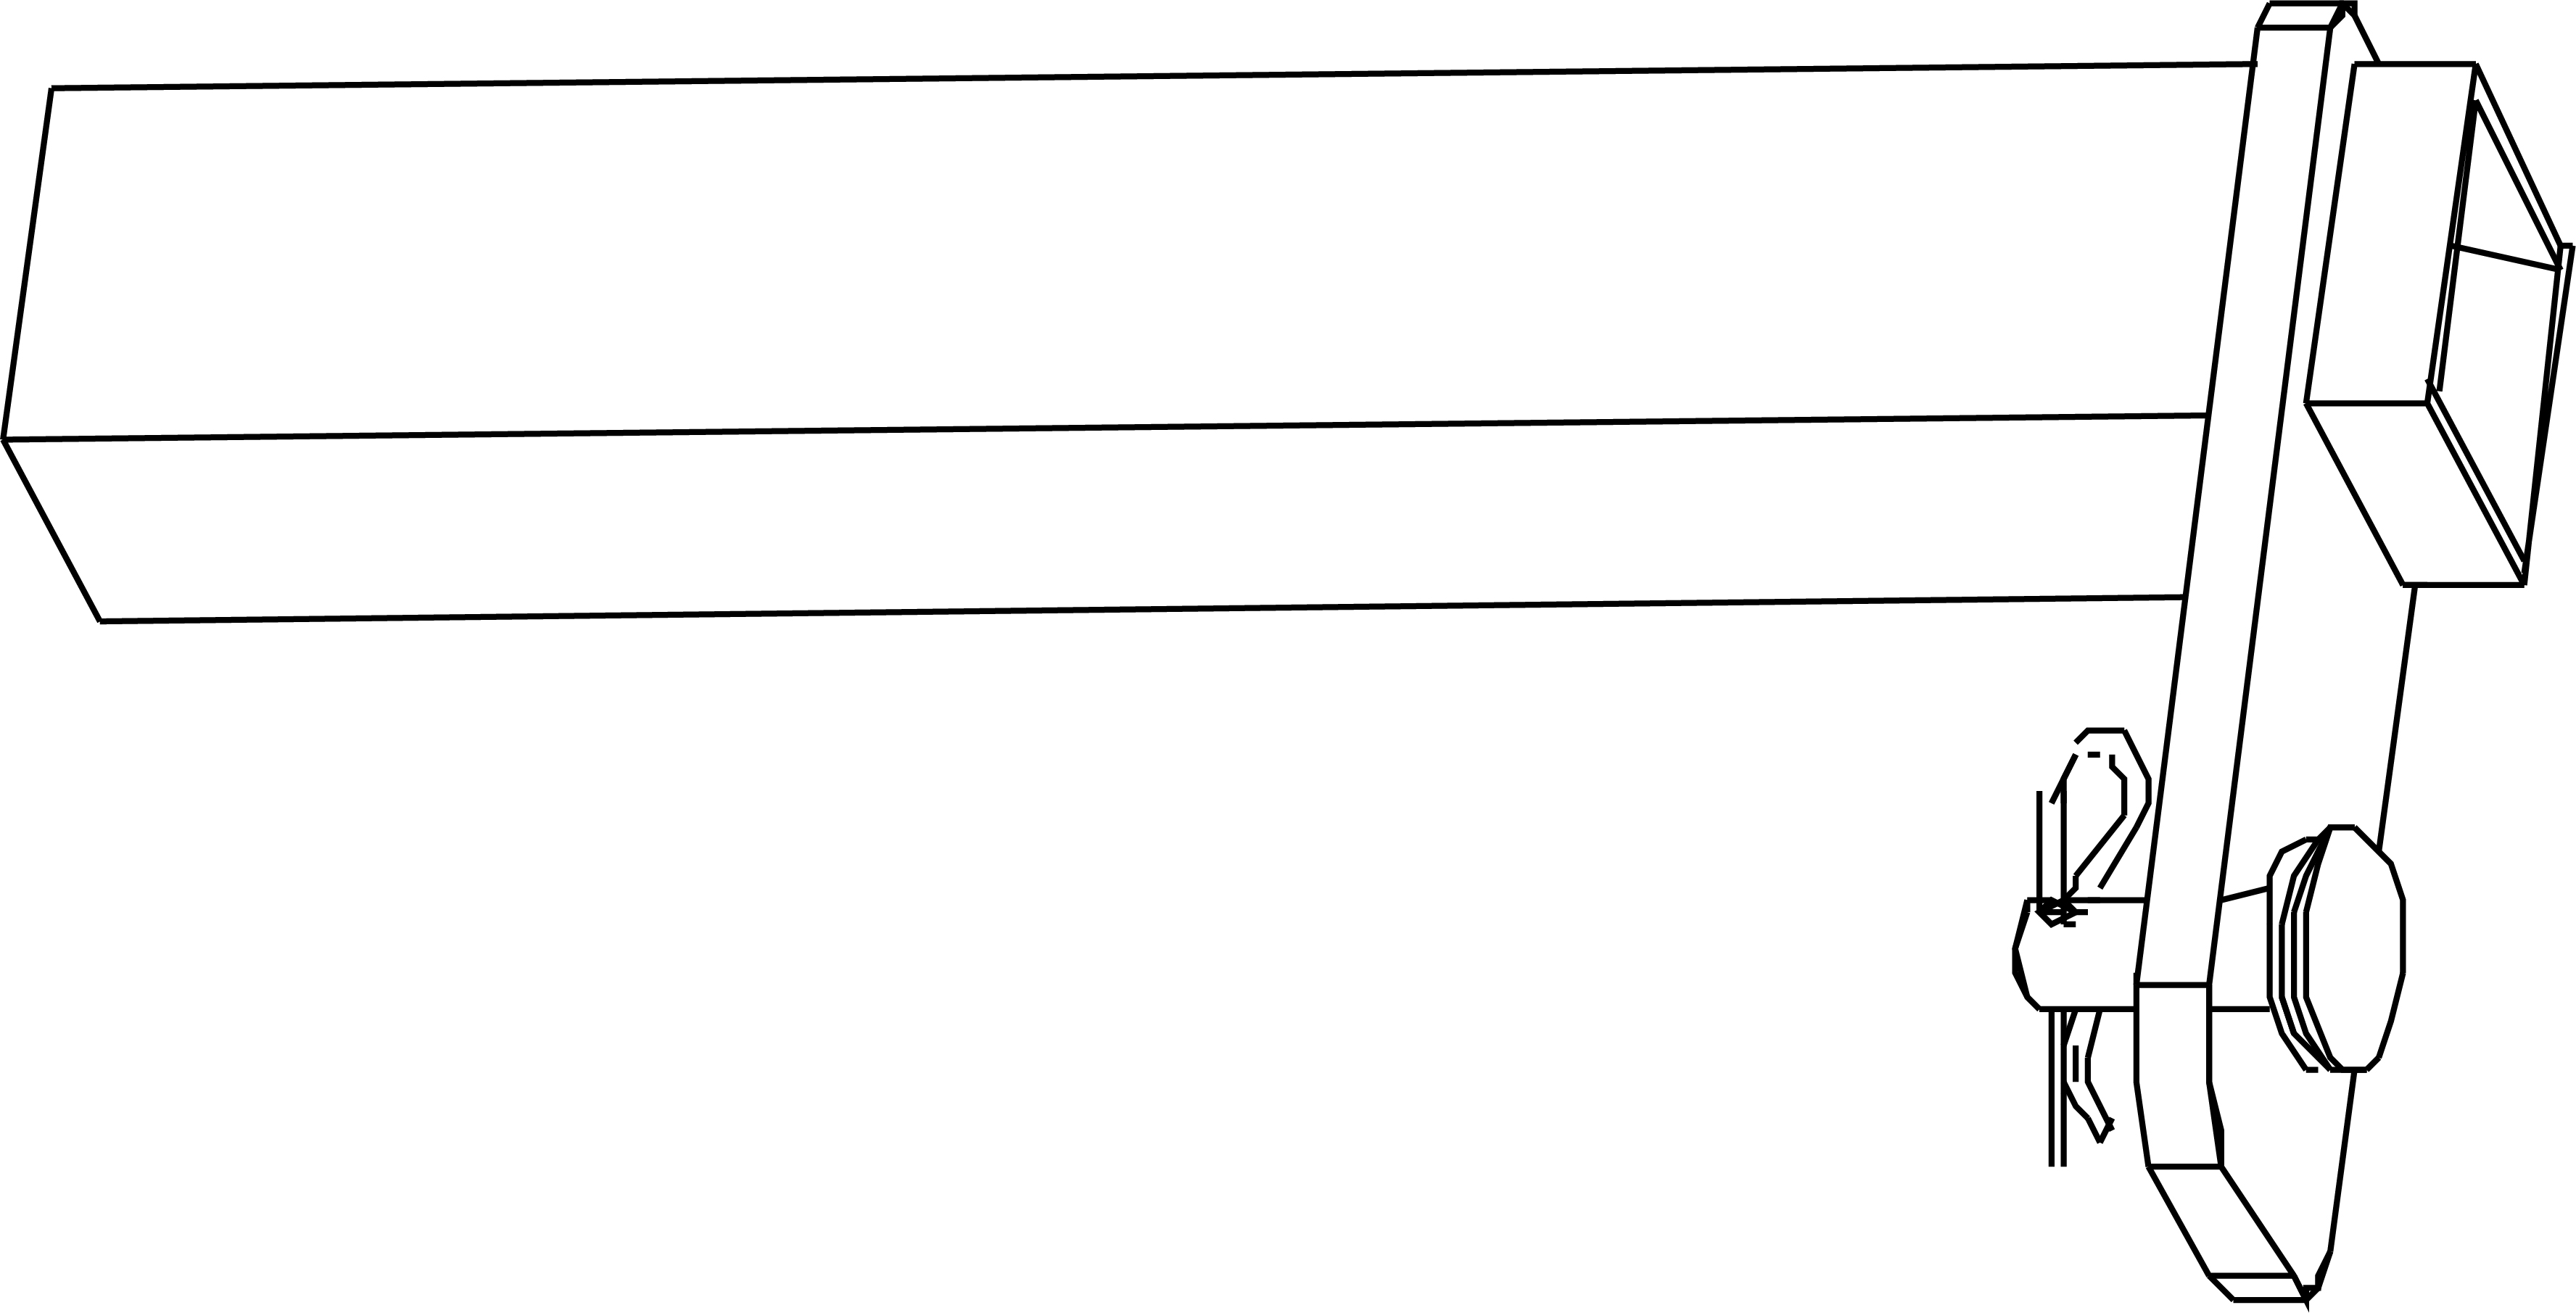
Part A1 - Pergola Leg
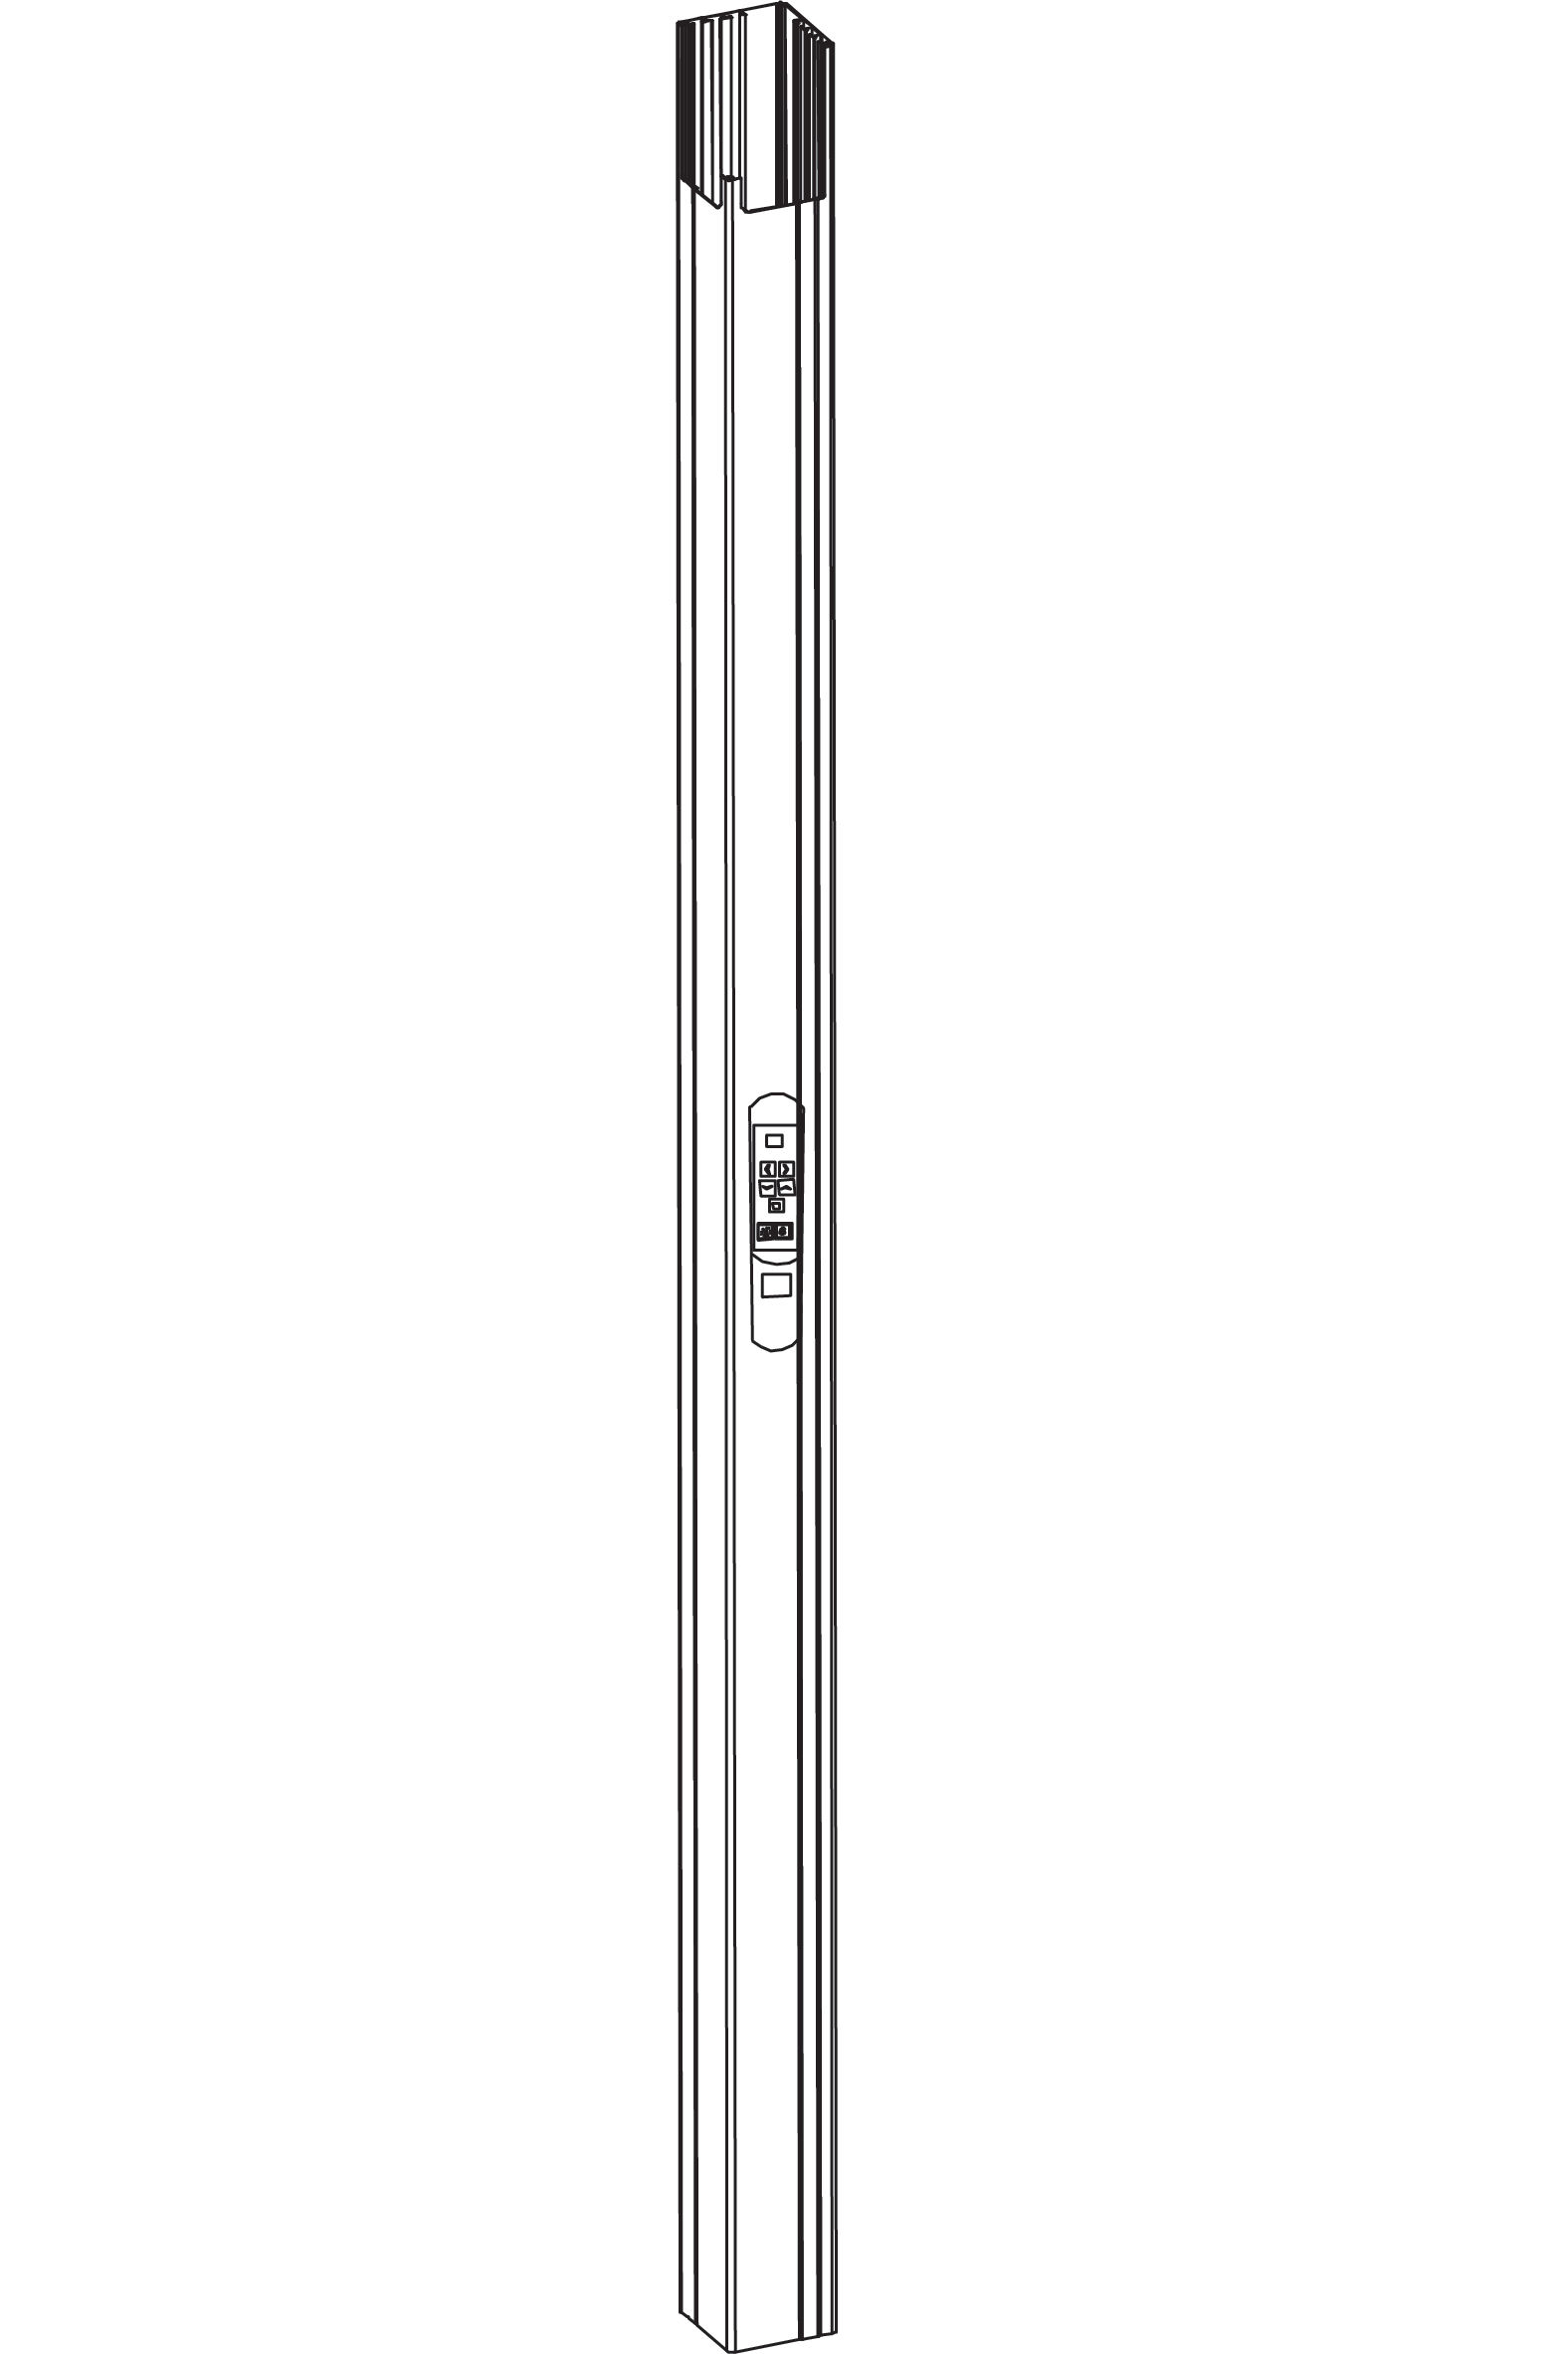
Part A2 - Pergola Leg with LED Light Controller
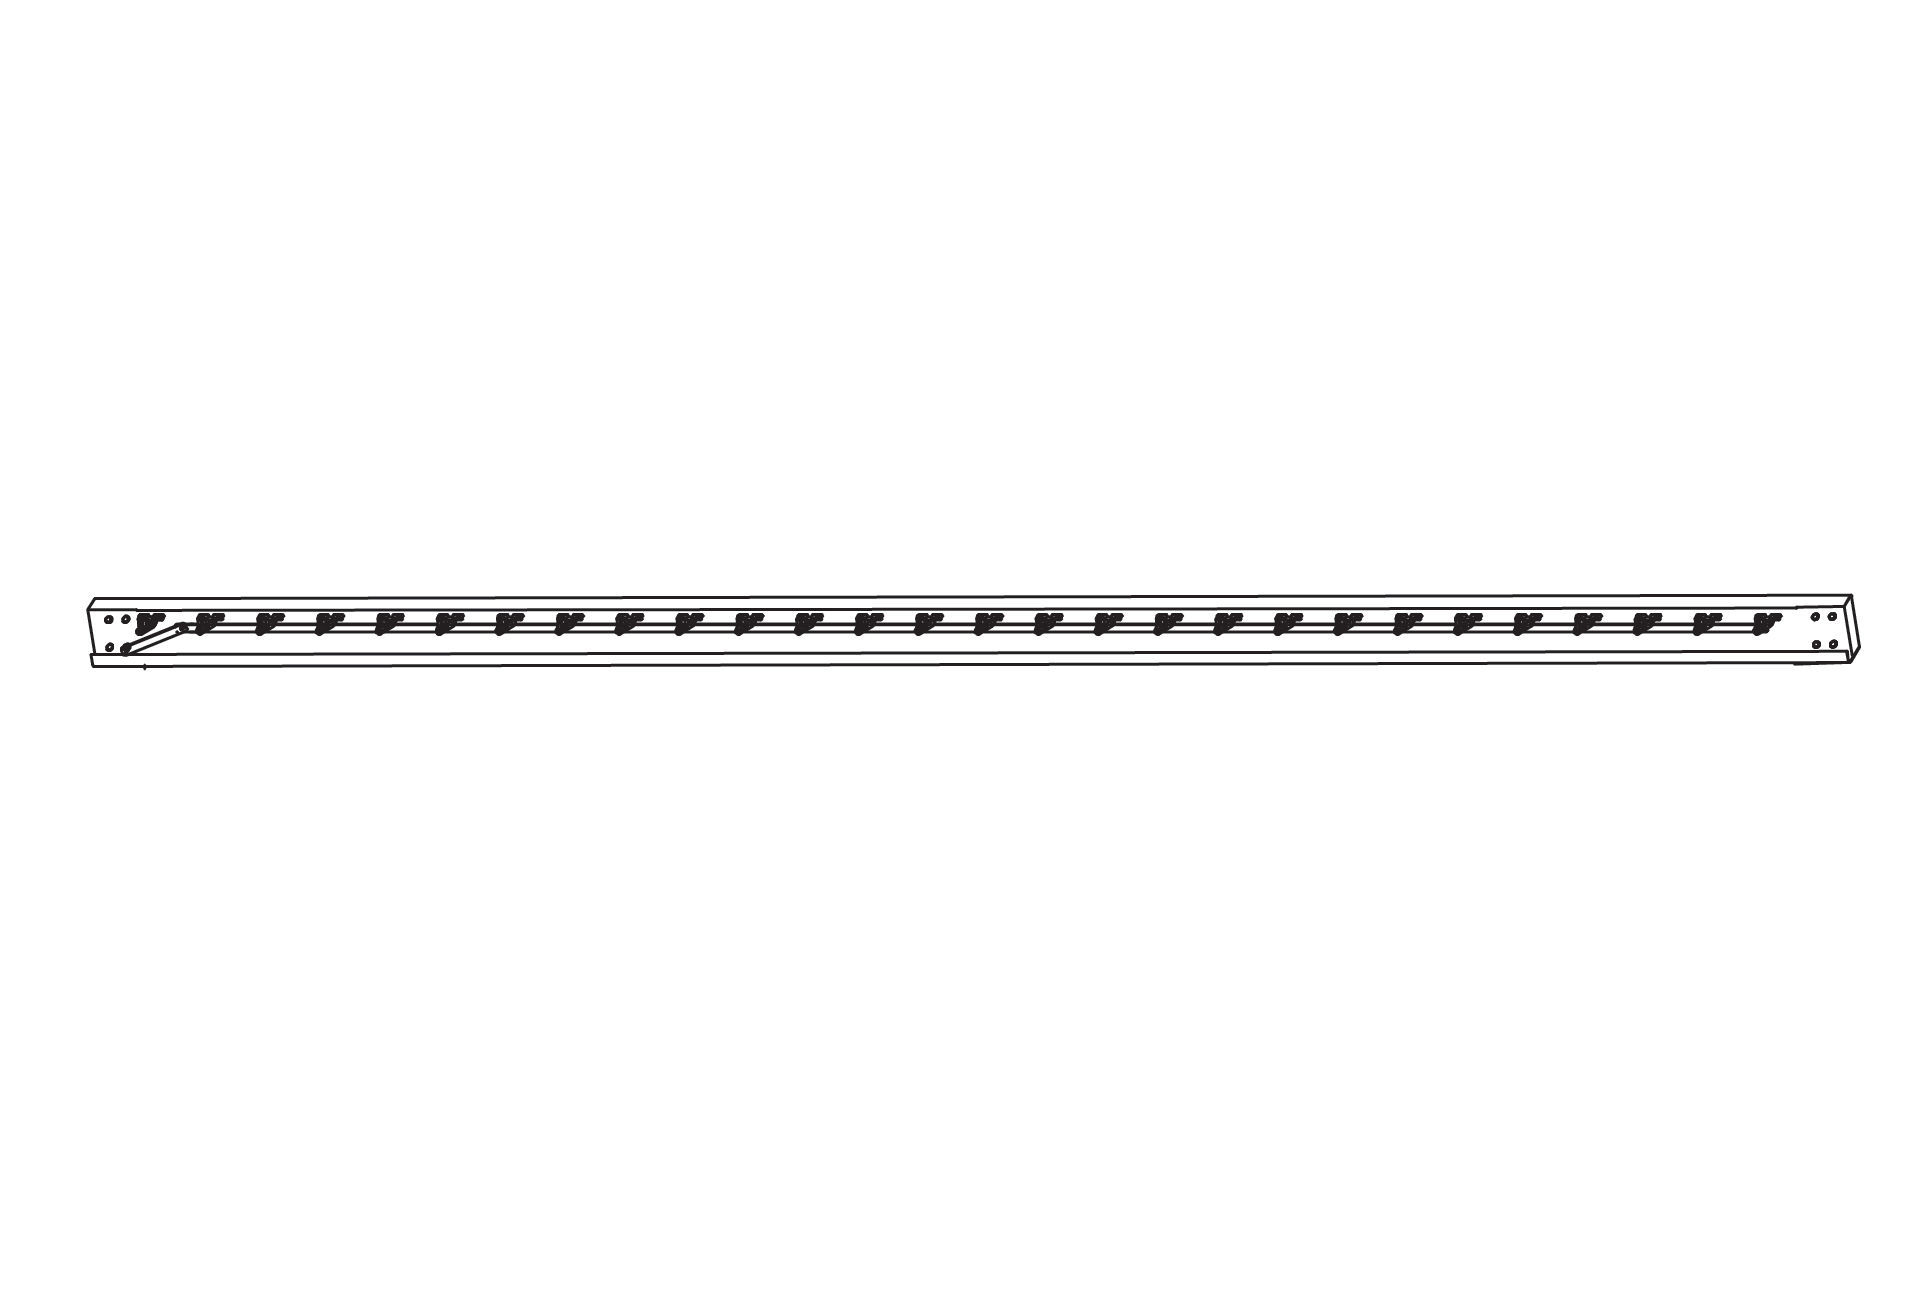
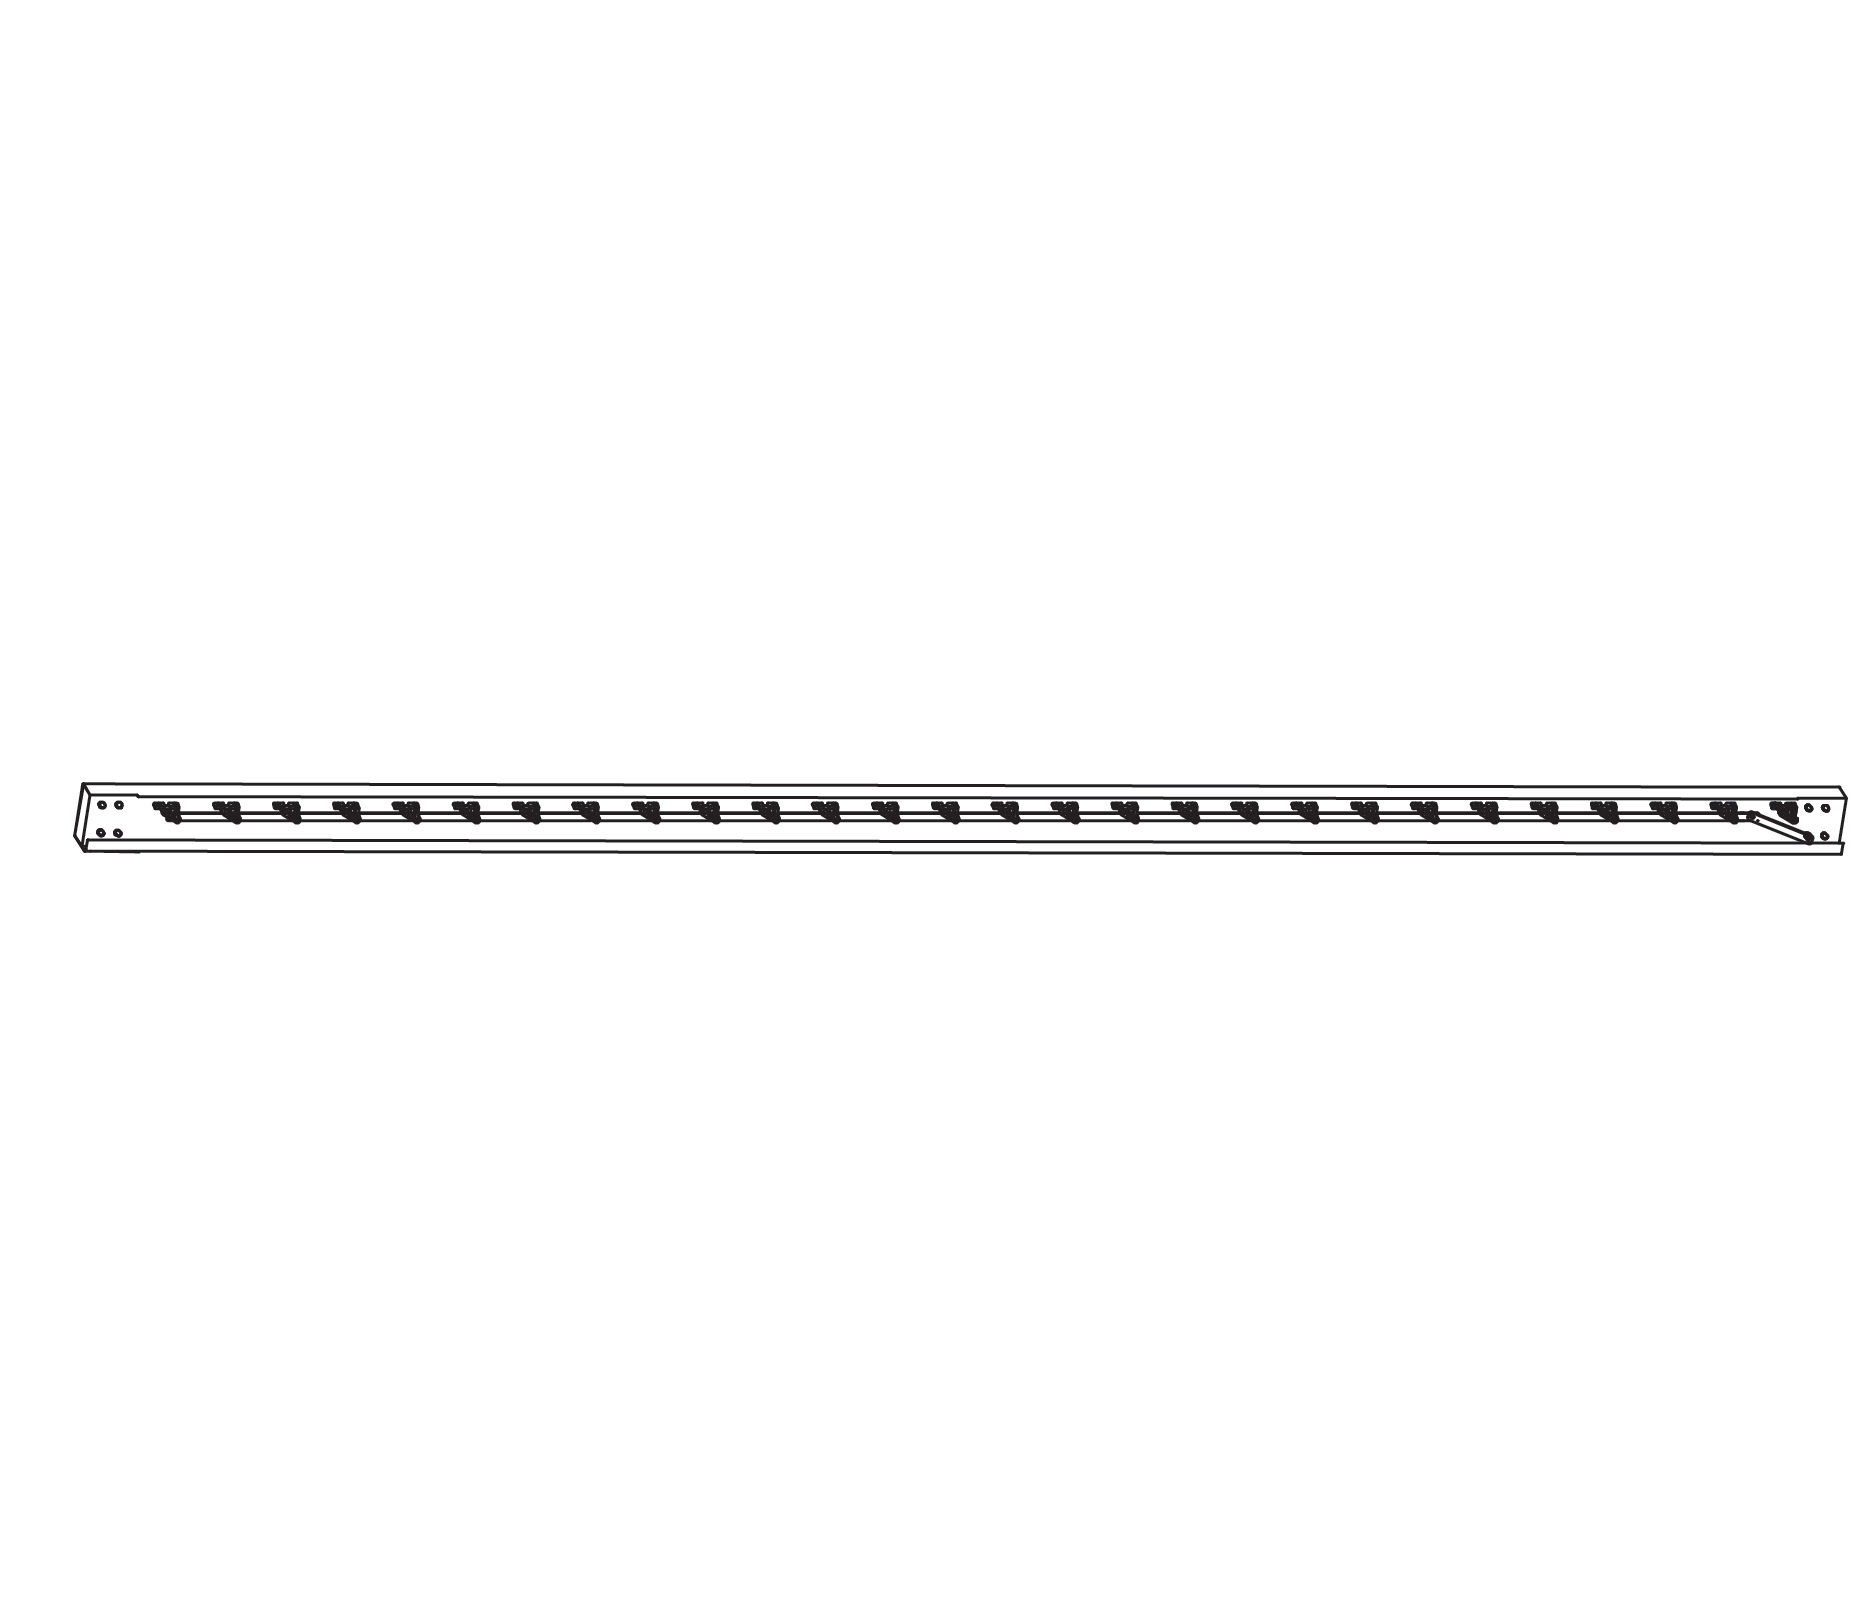
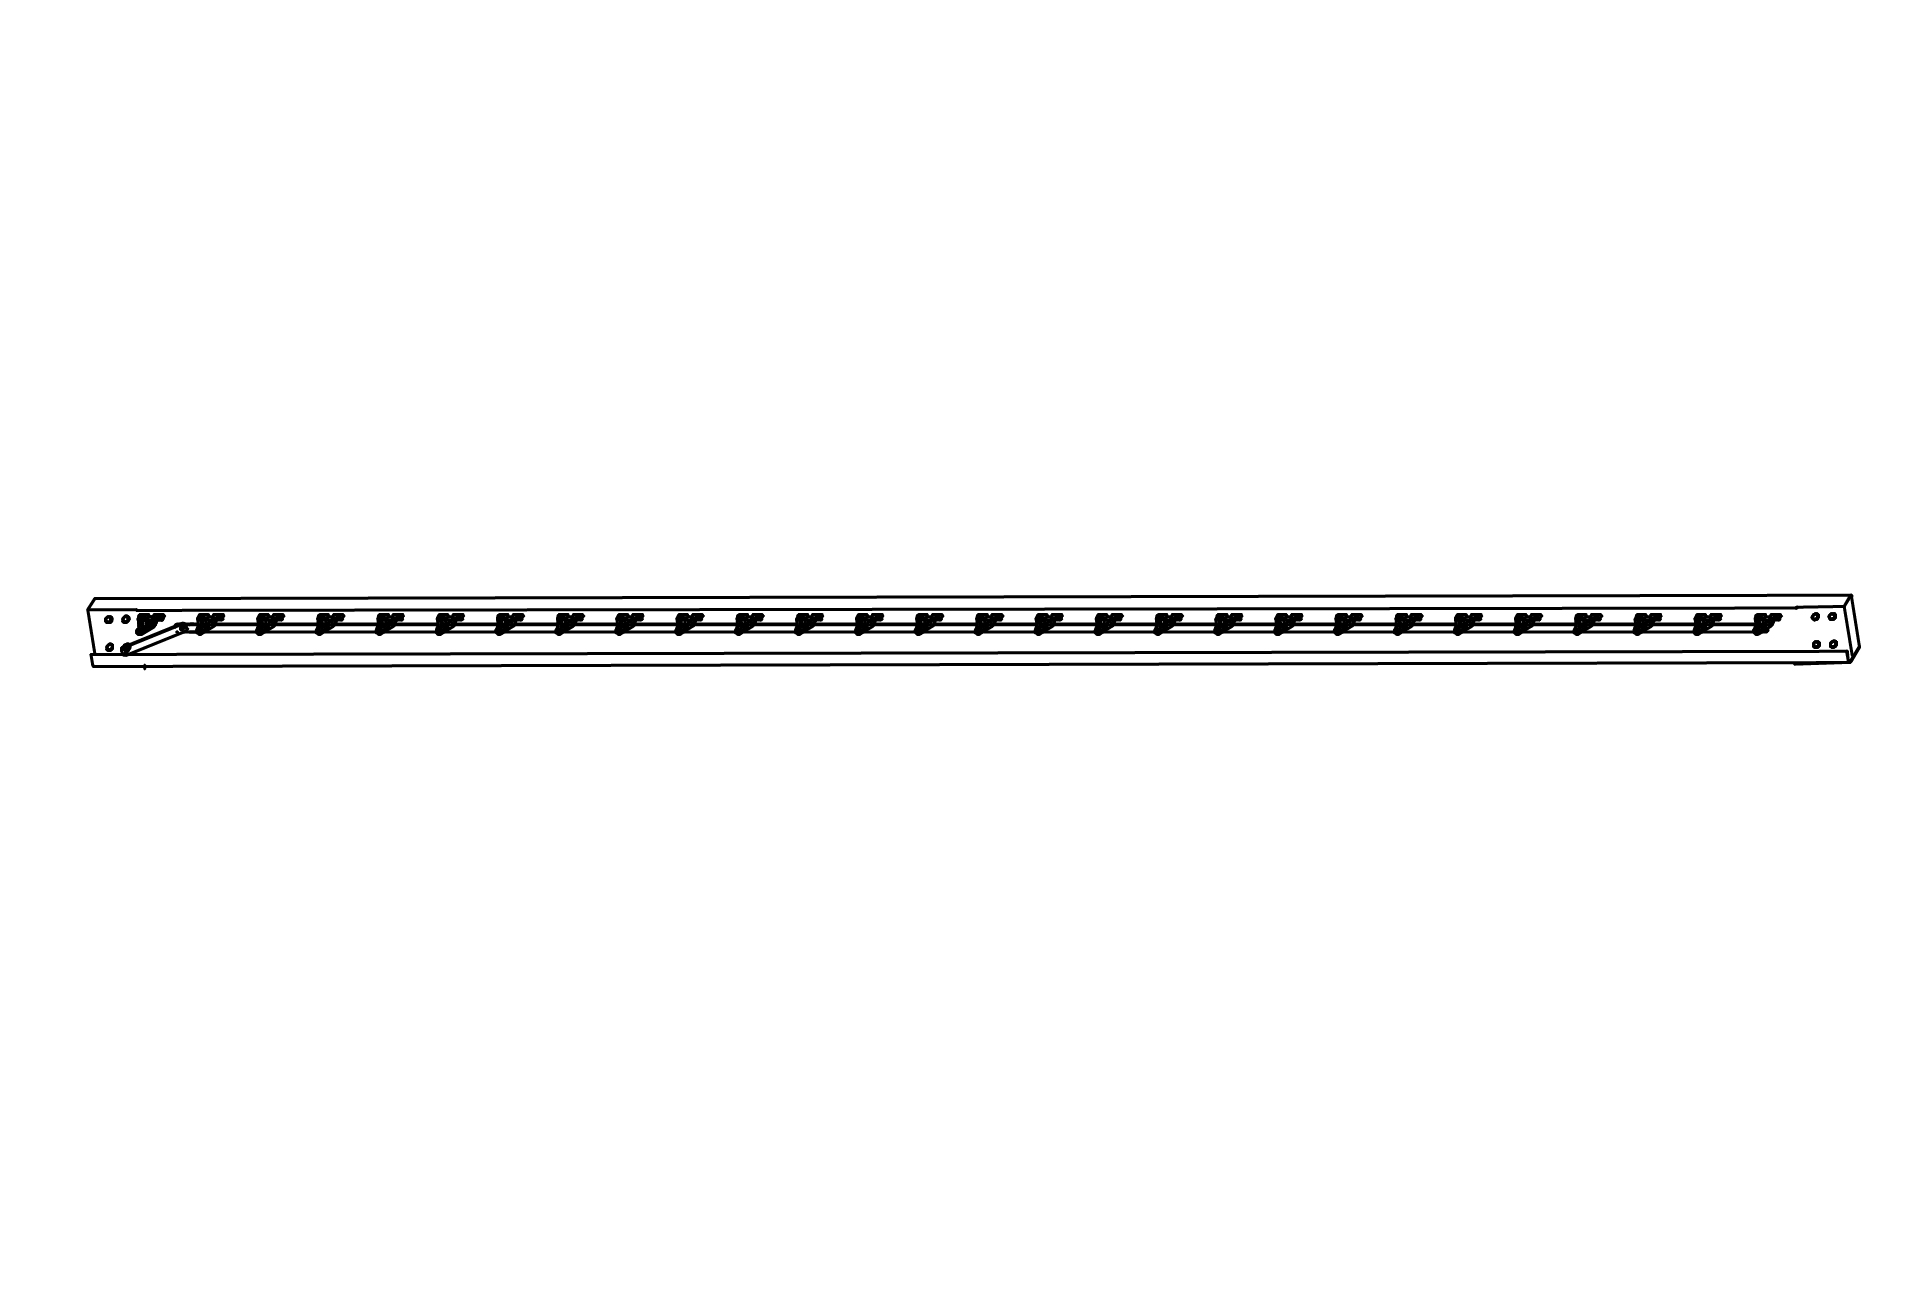
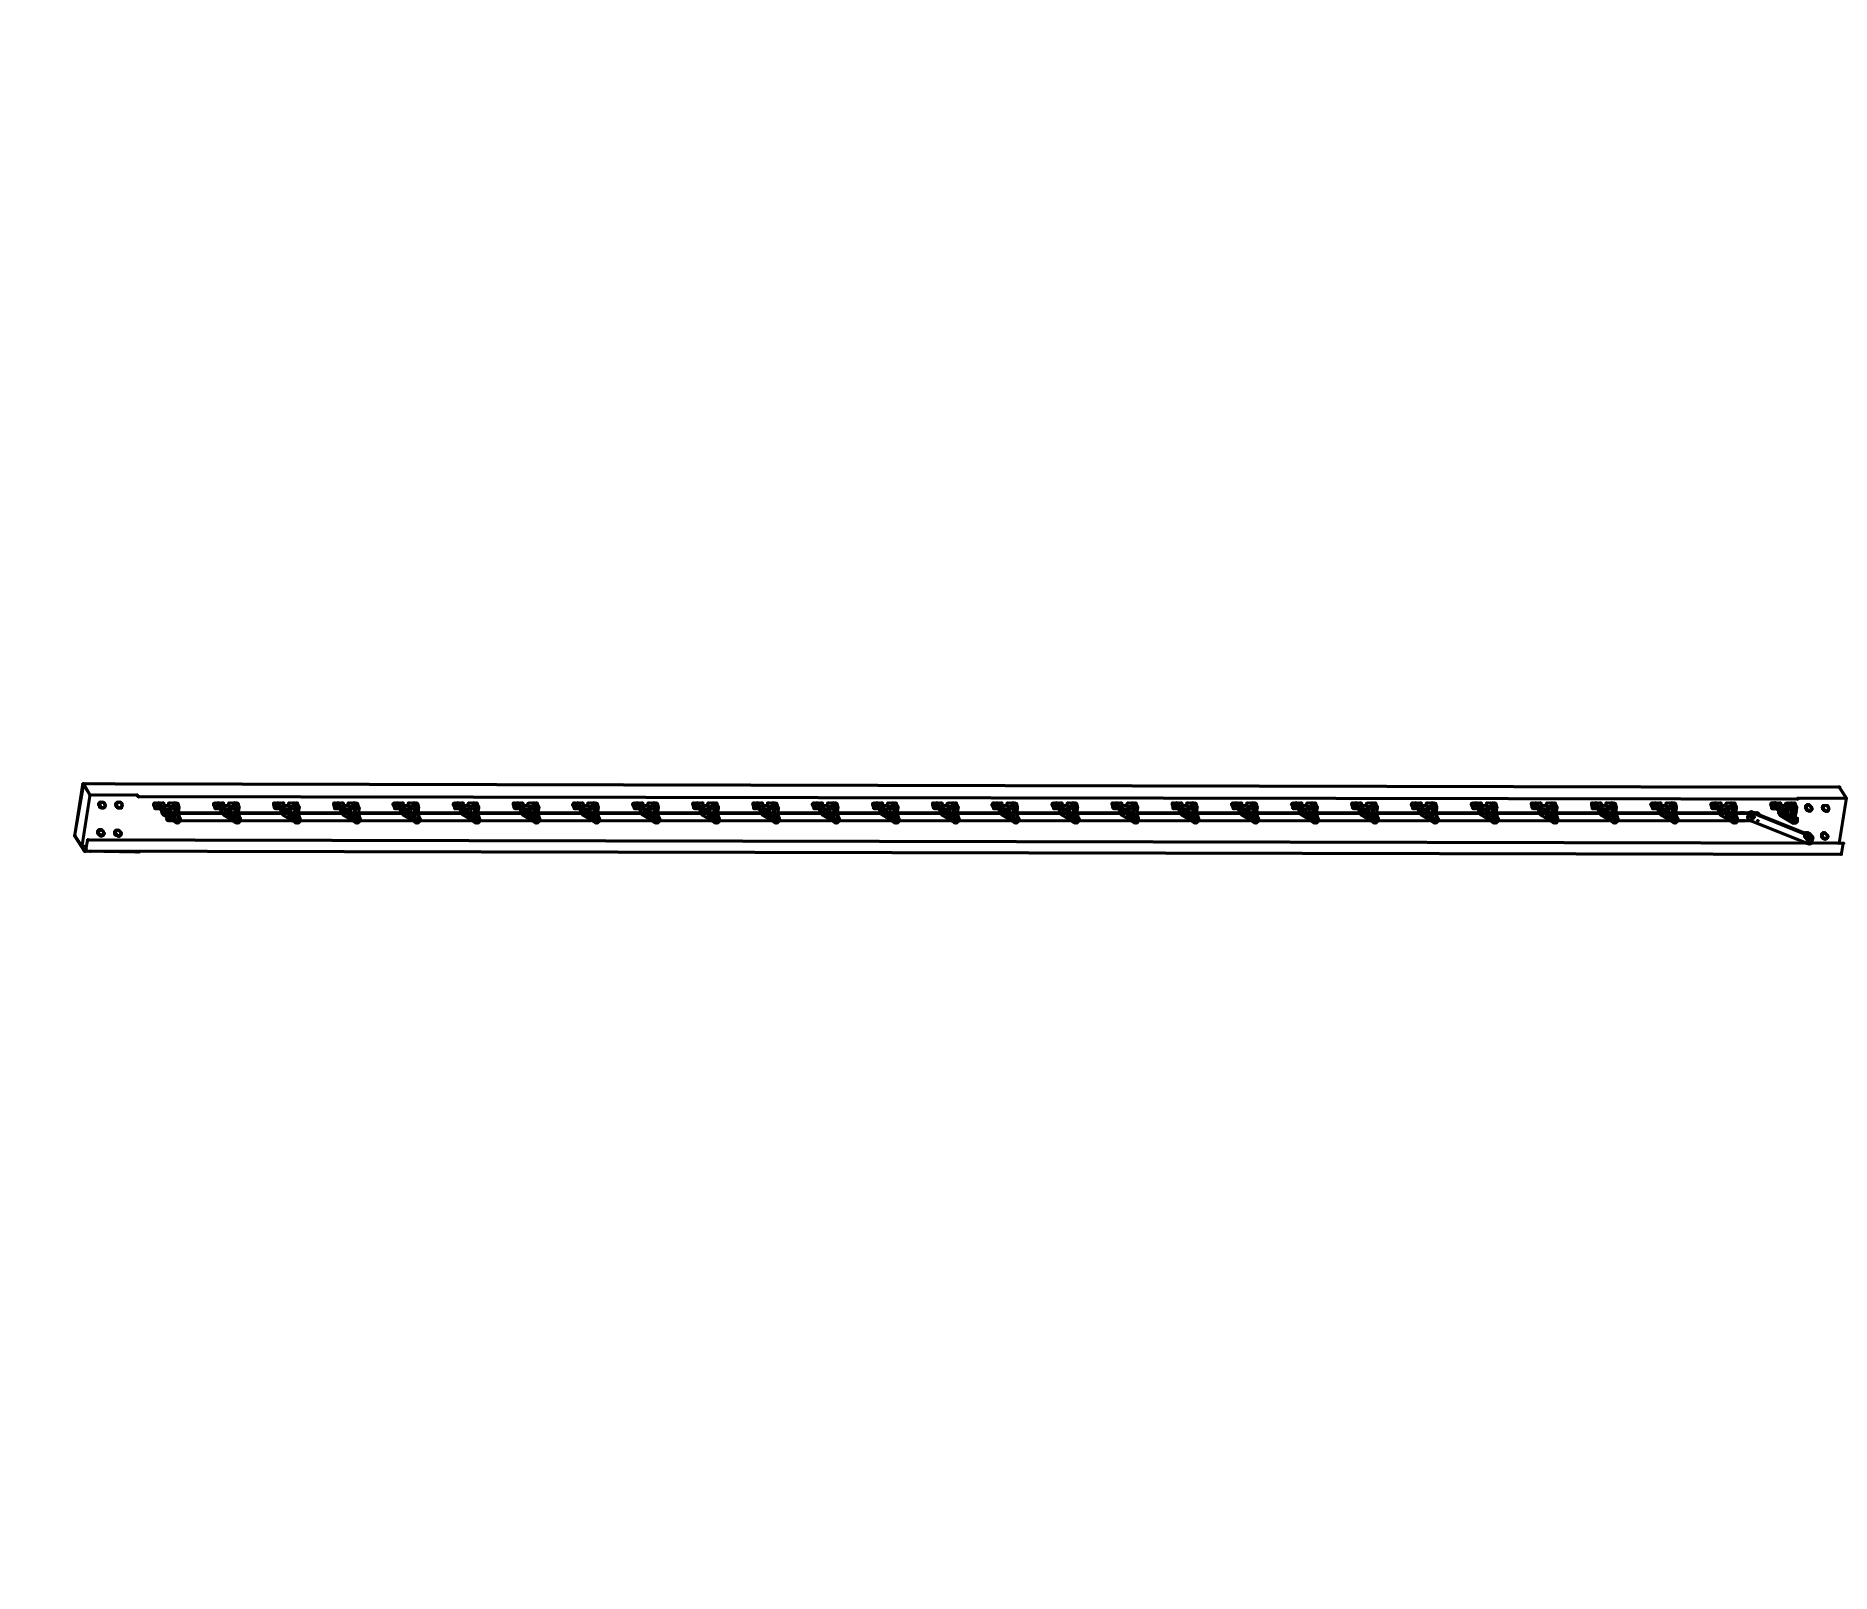
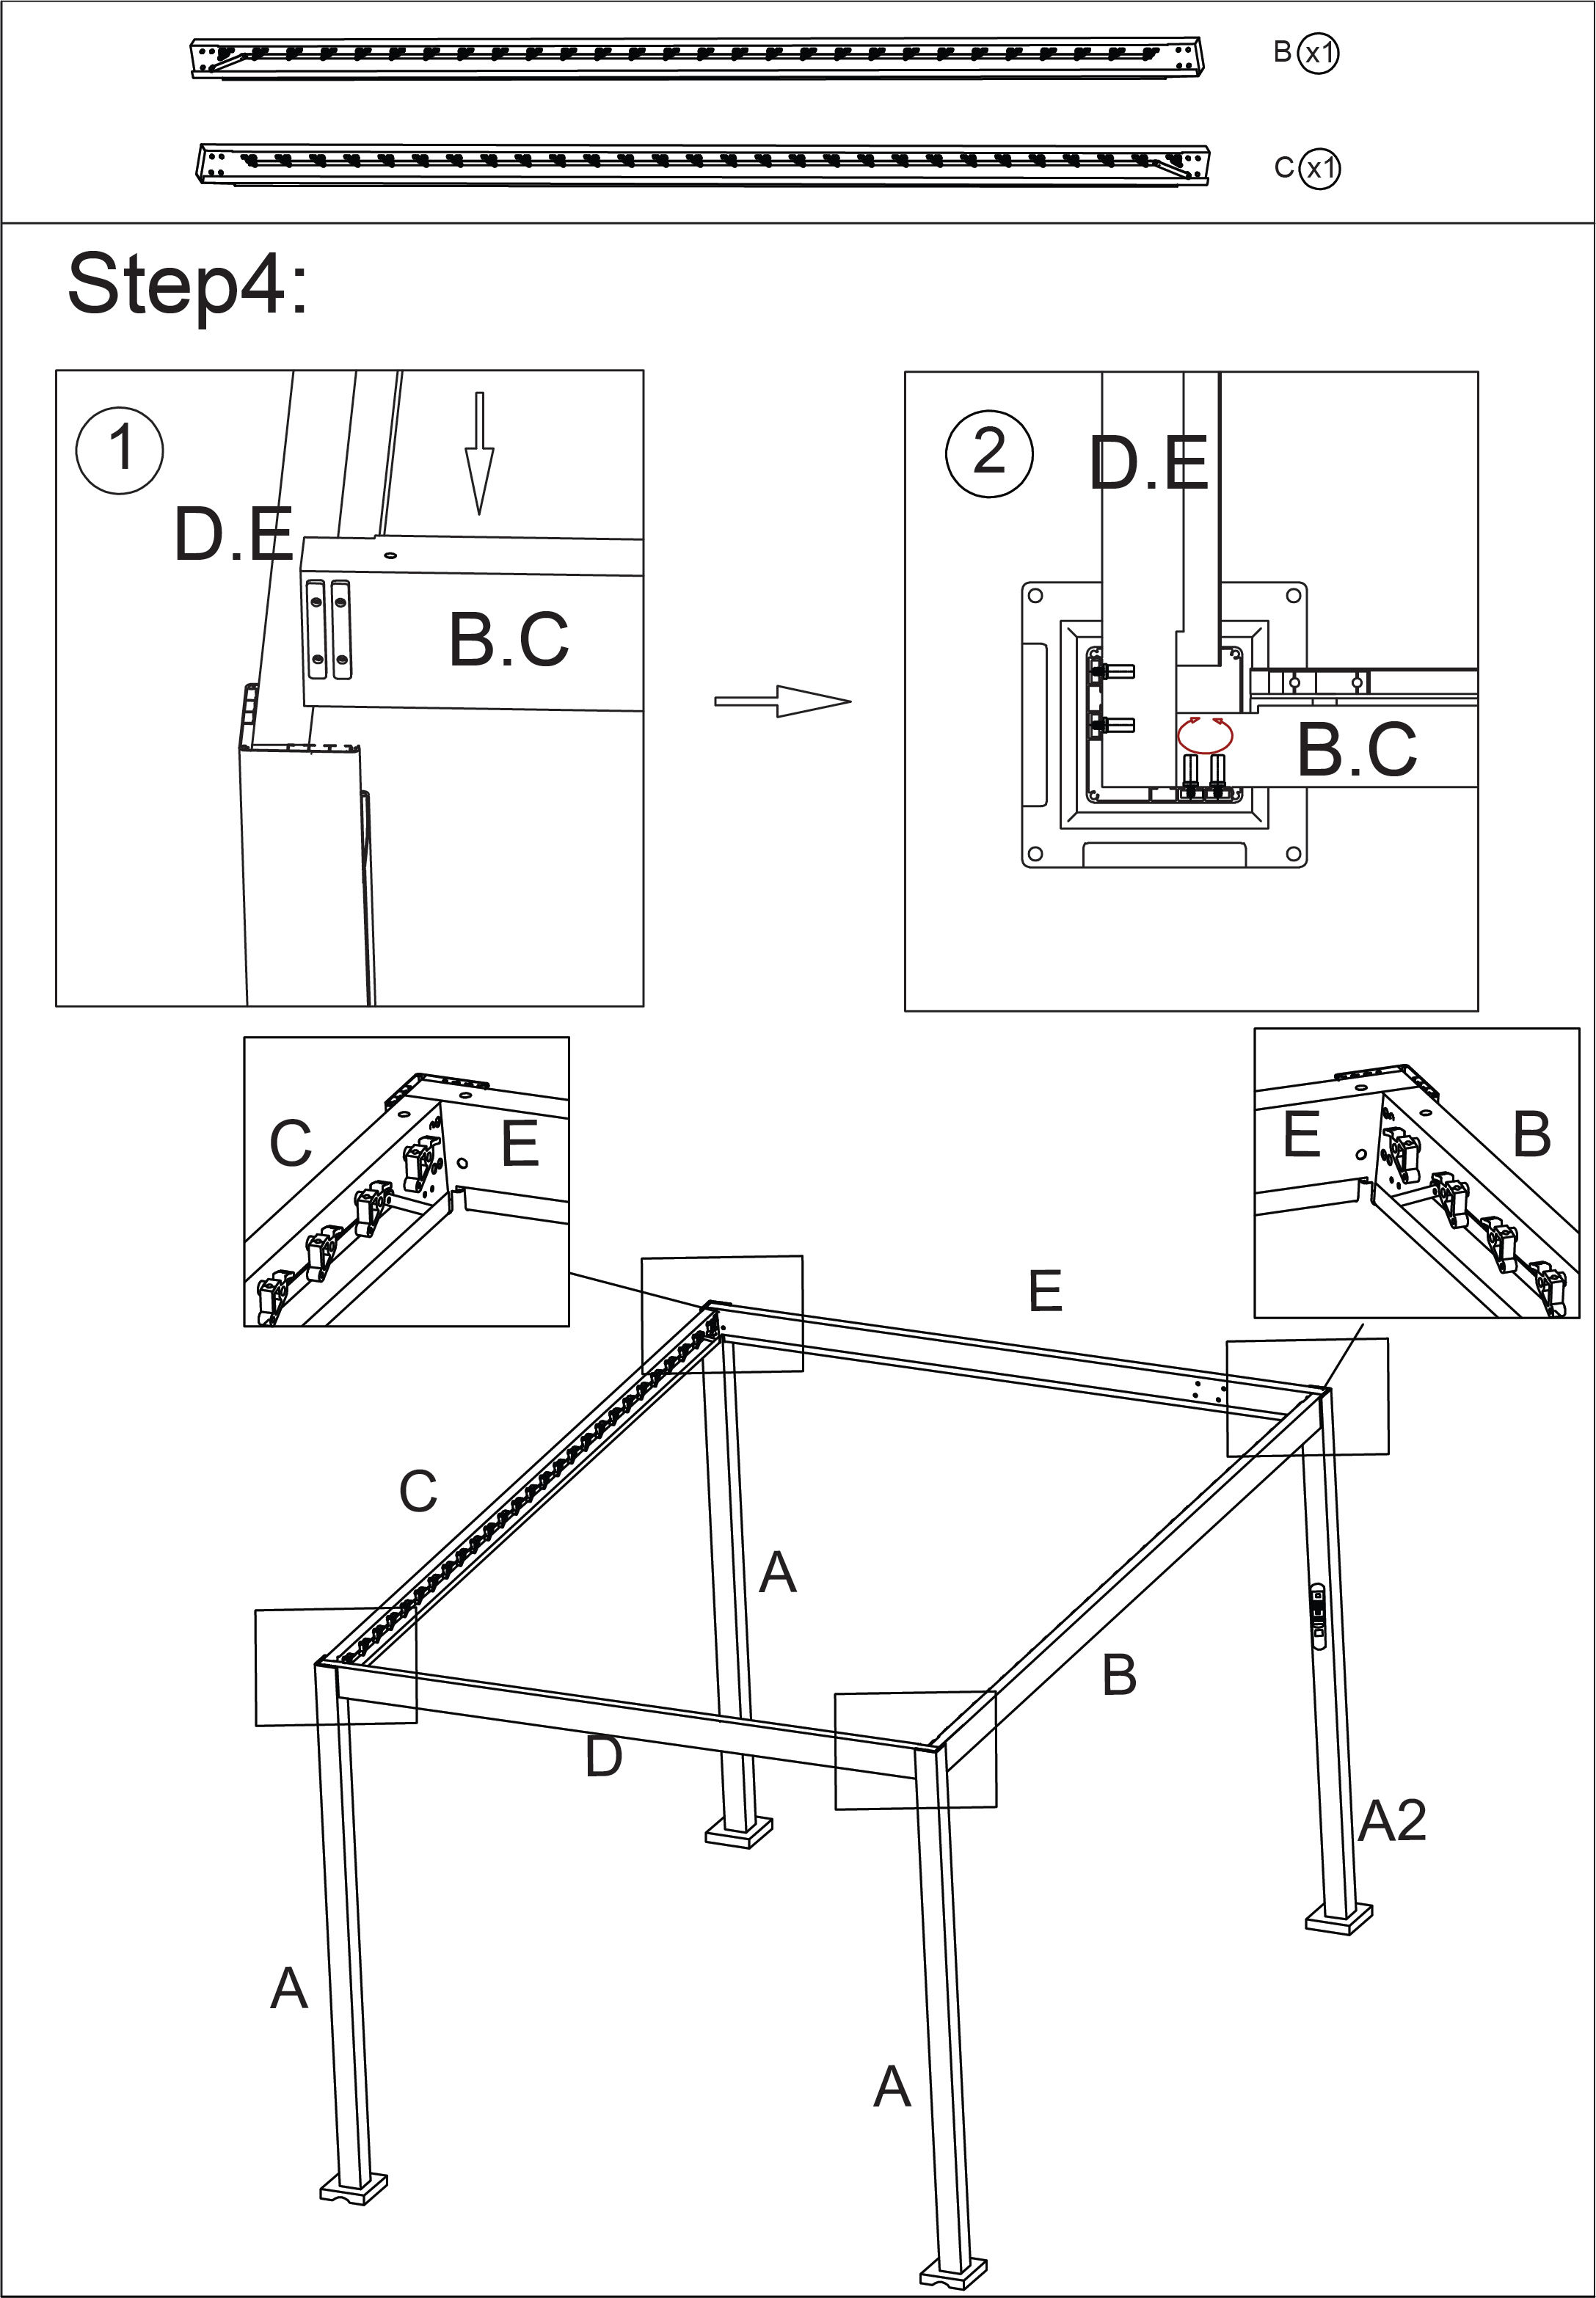
Part B - Pergola Beam with Louvre Brackets
Part C - Pergola Beam with Louvre Brackets
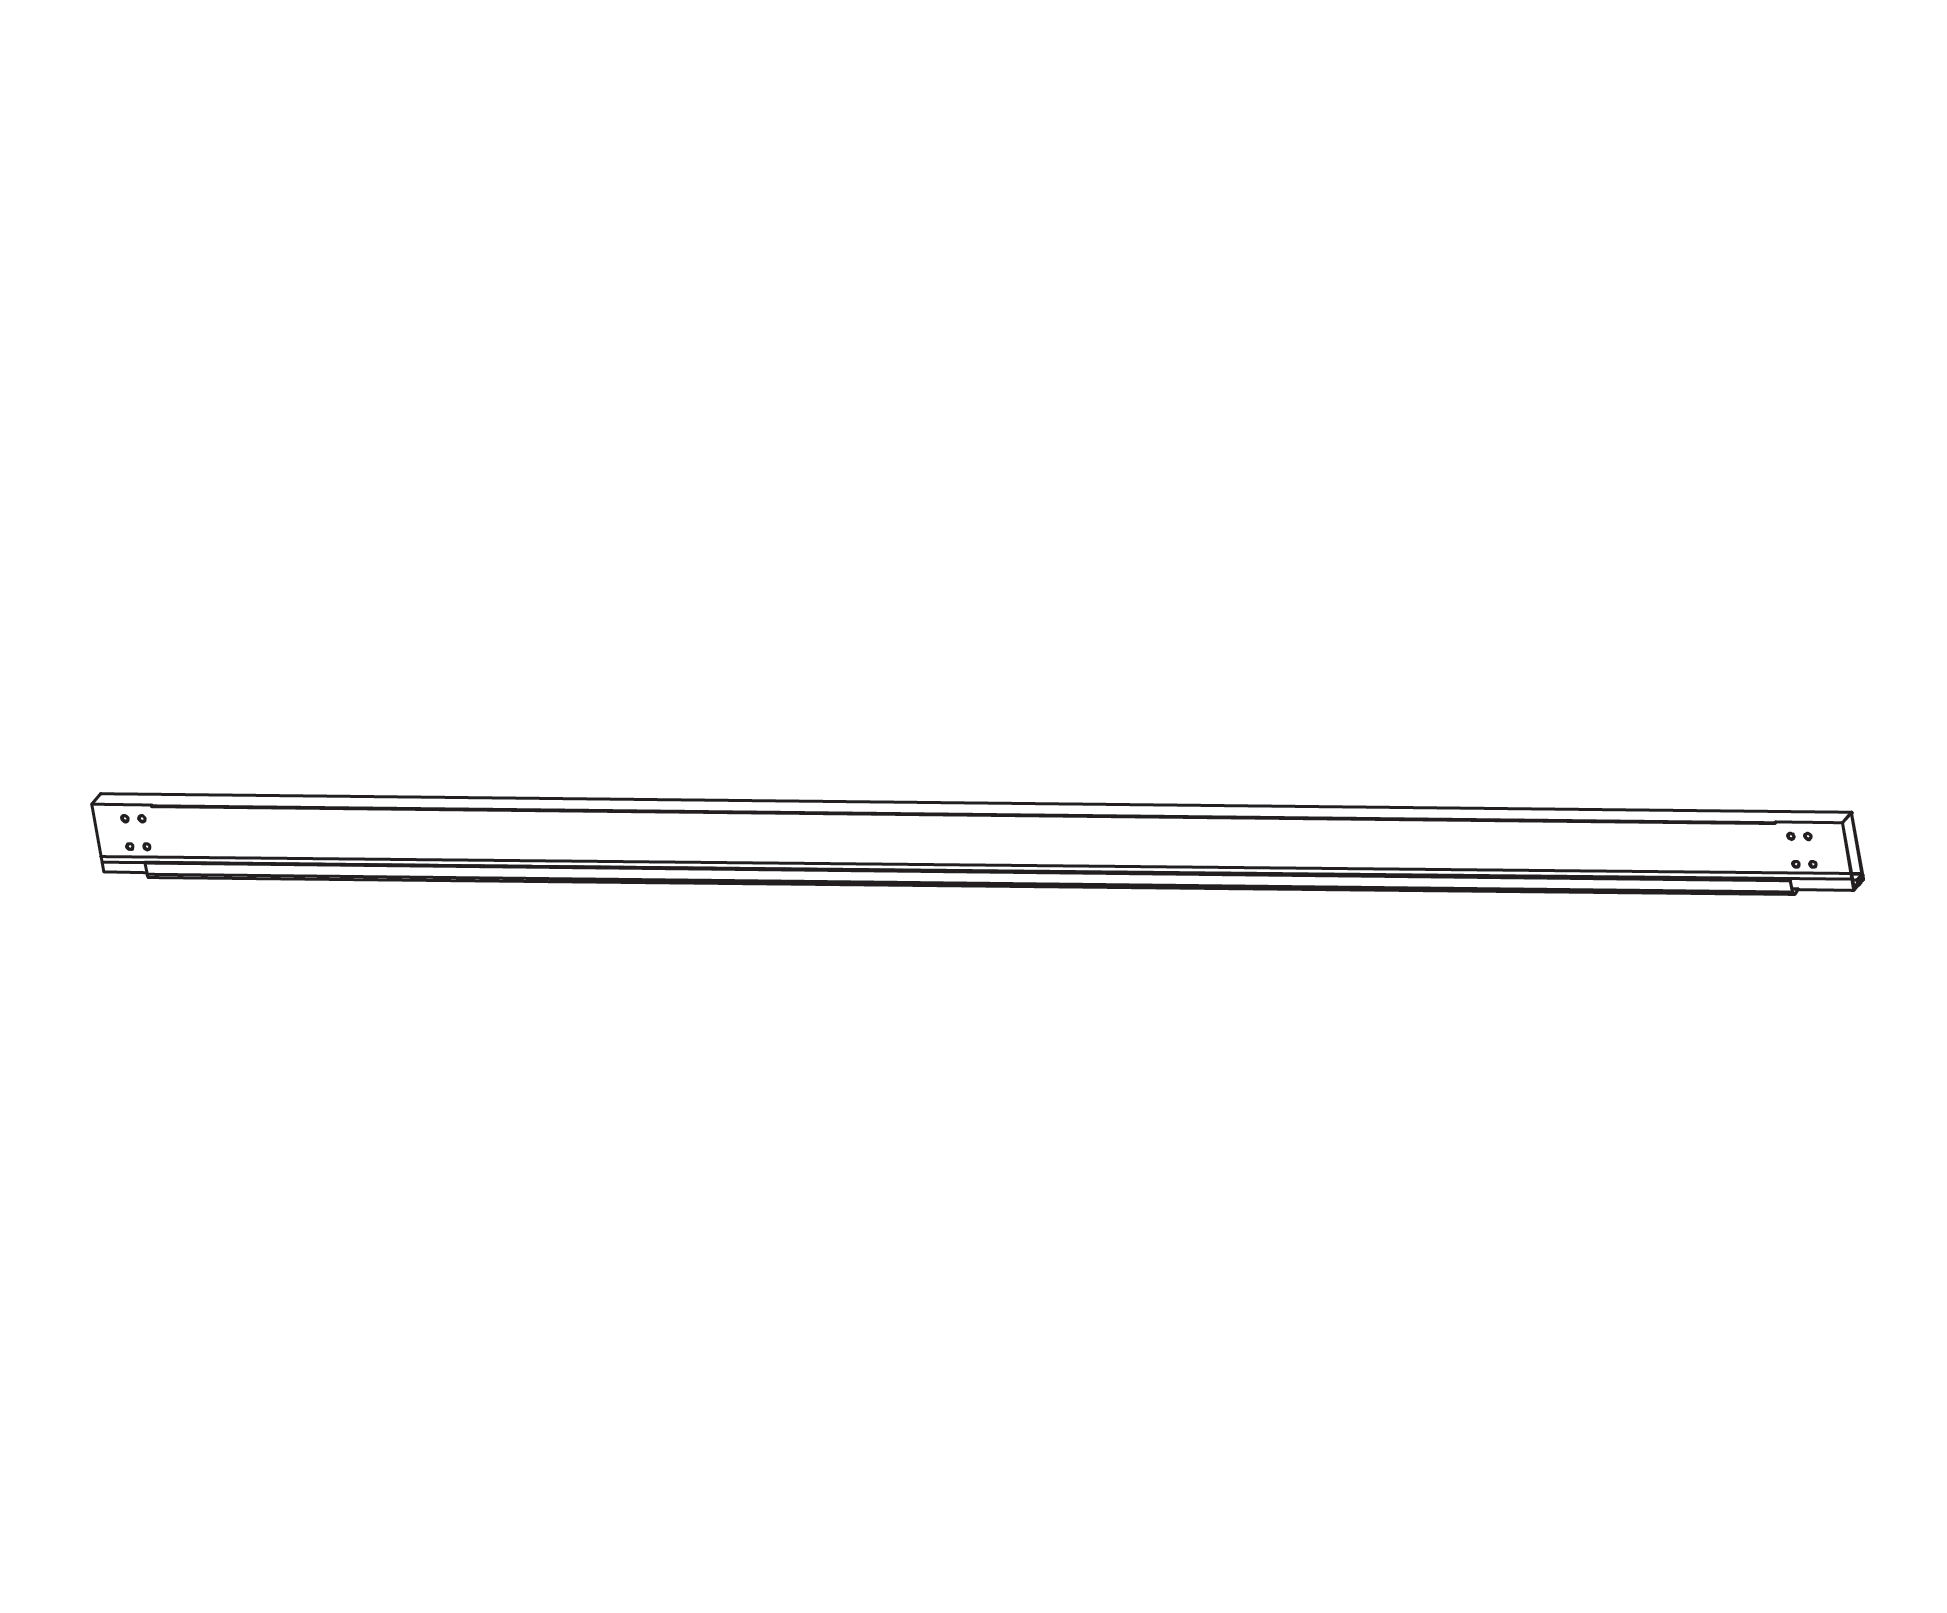
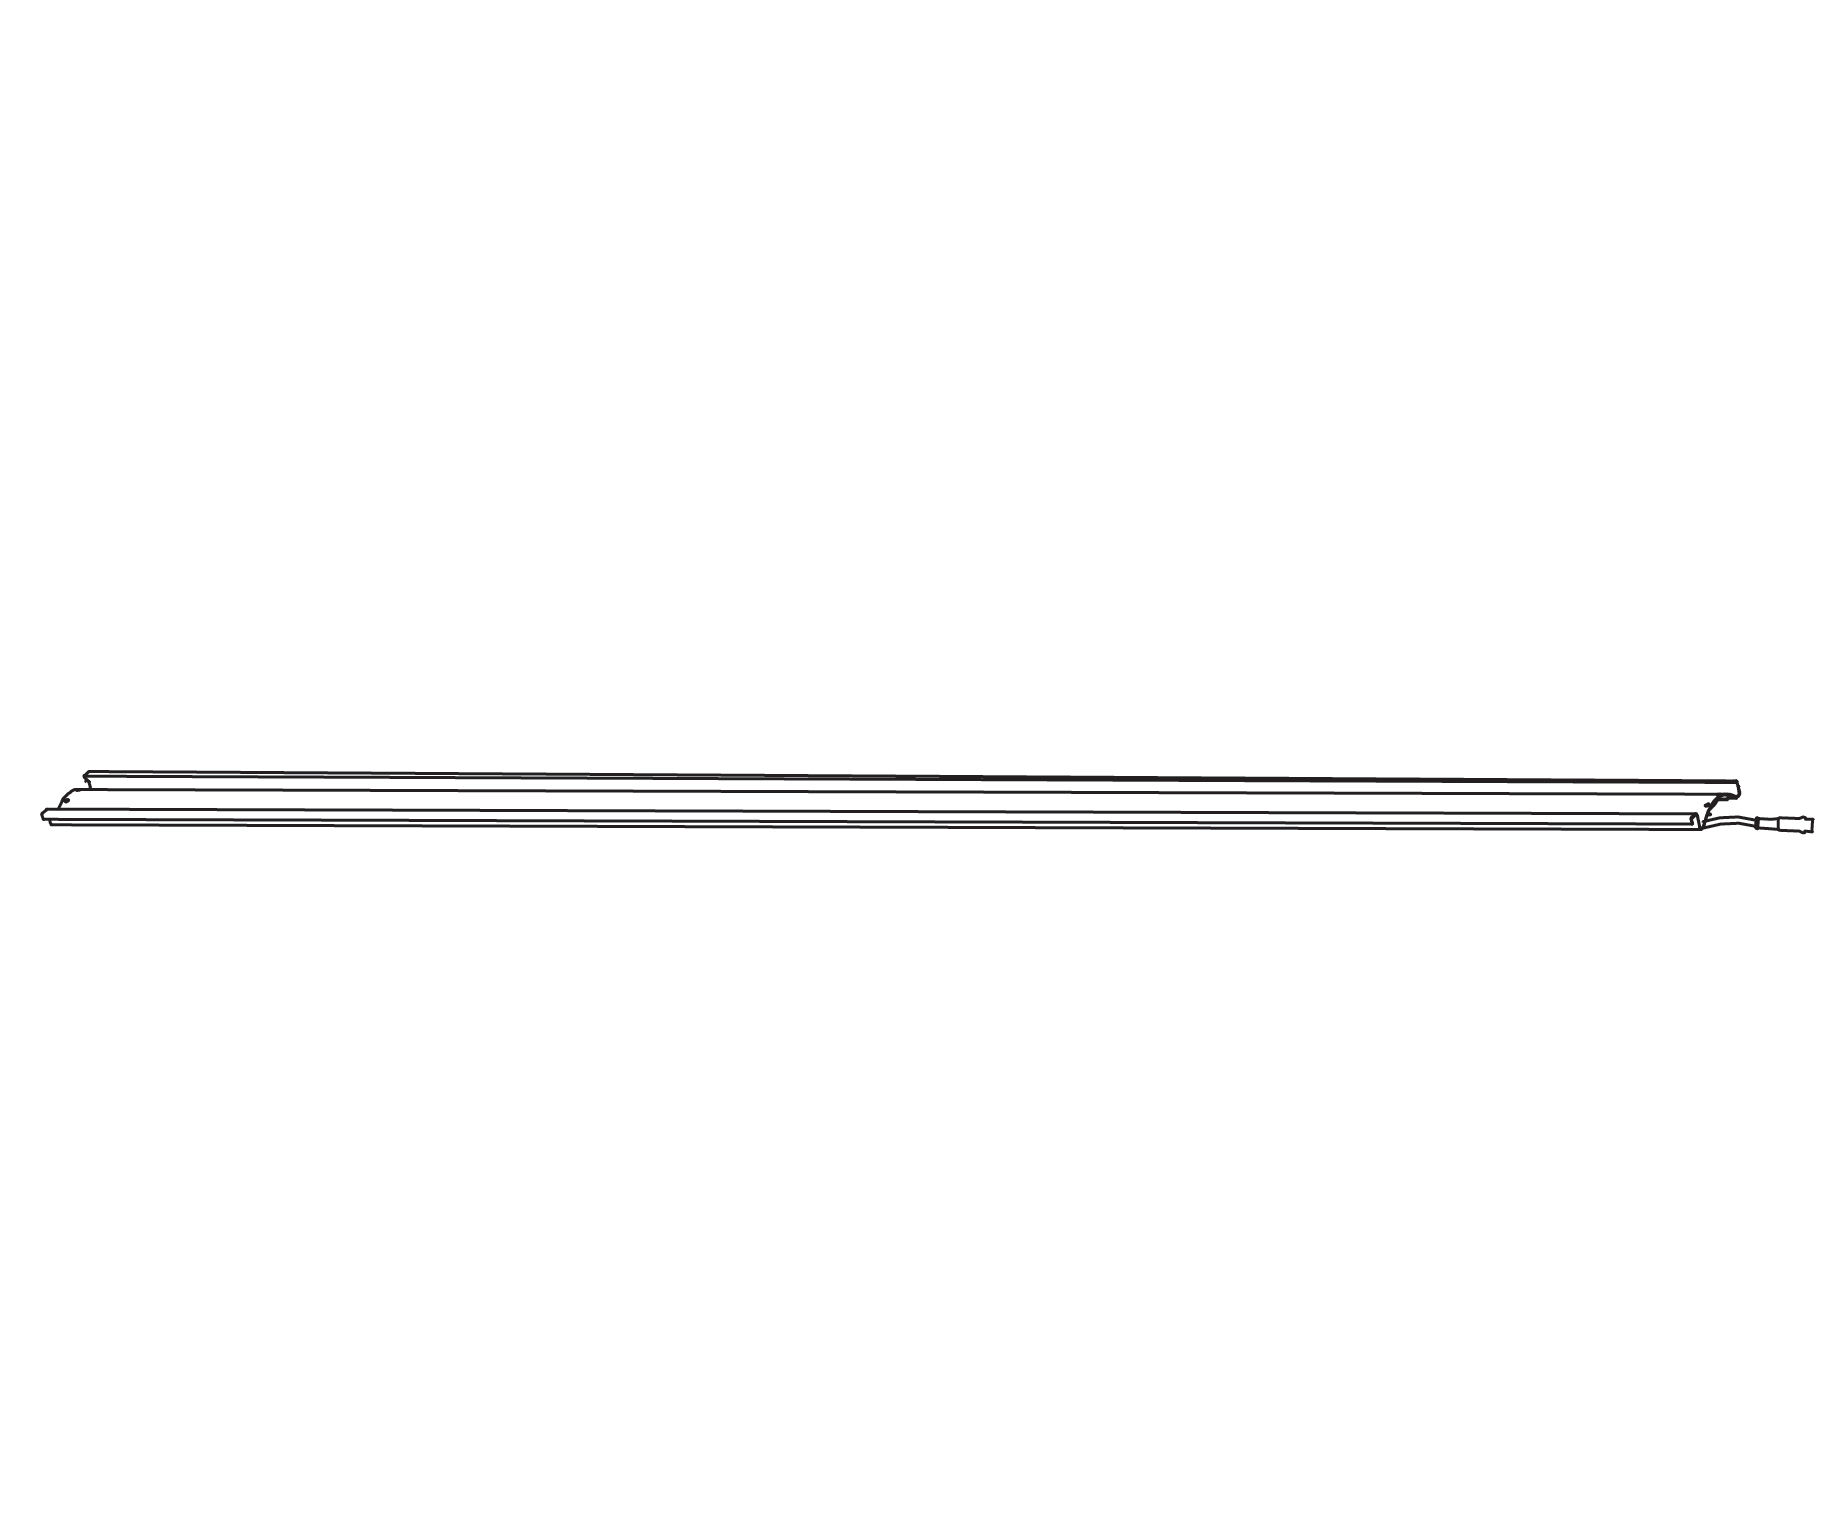
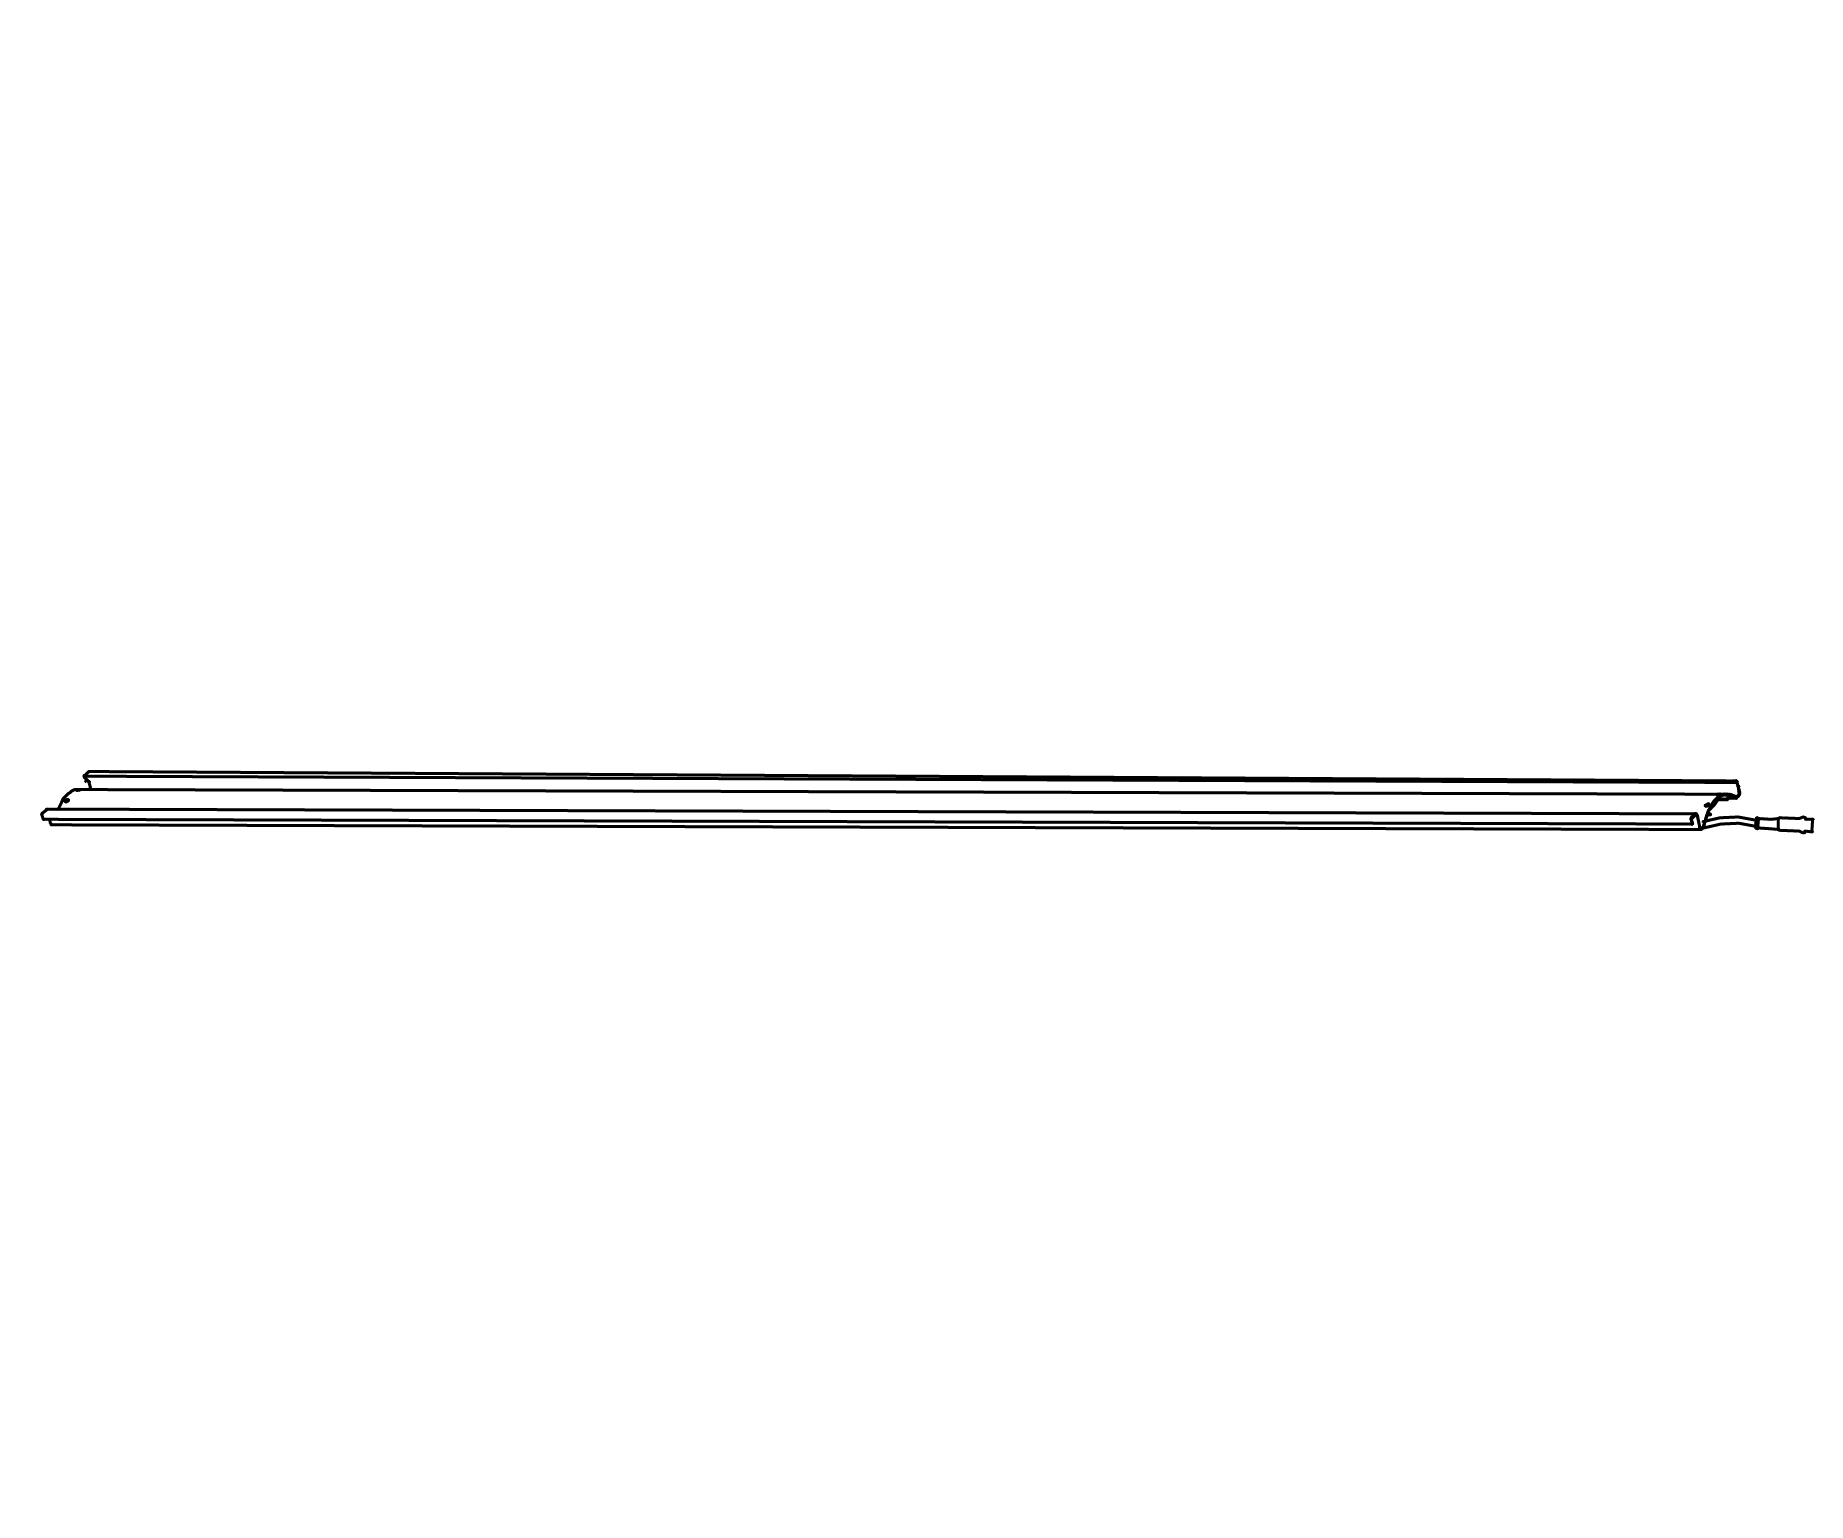
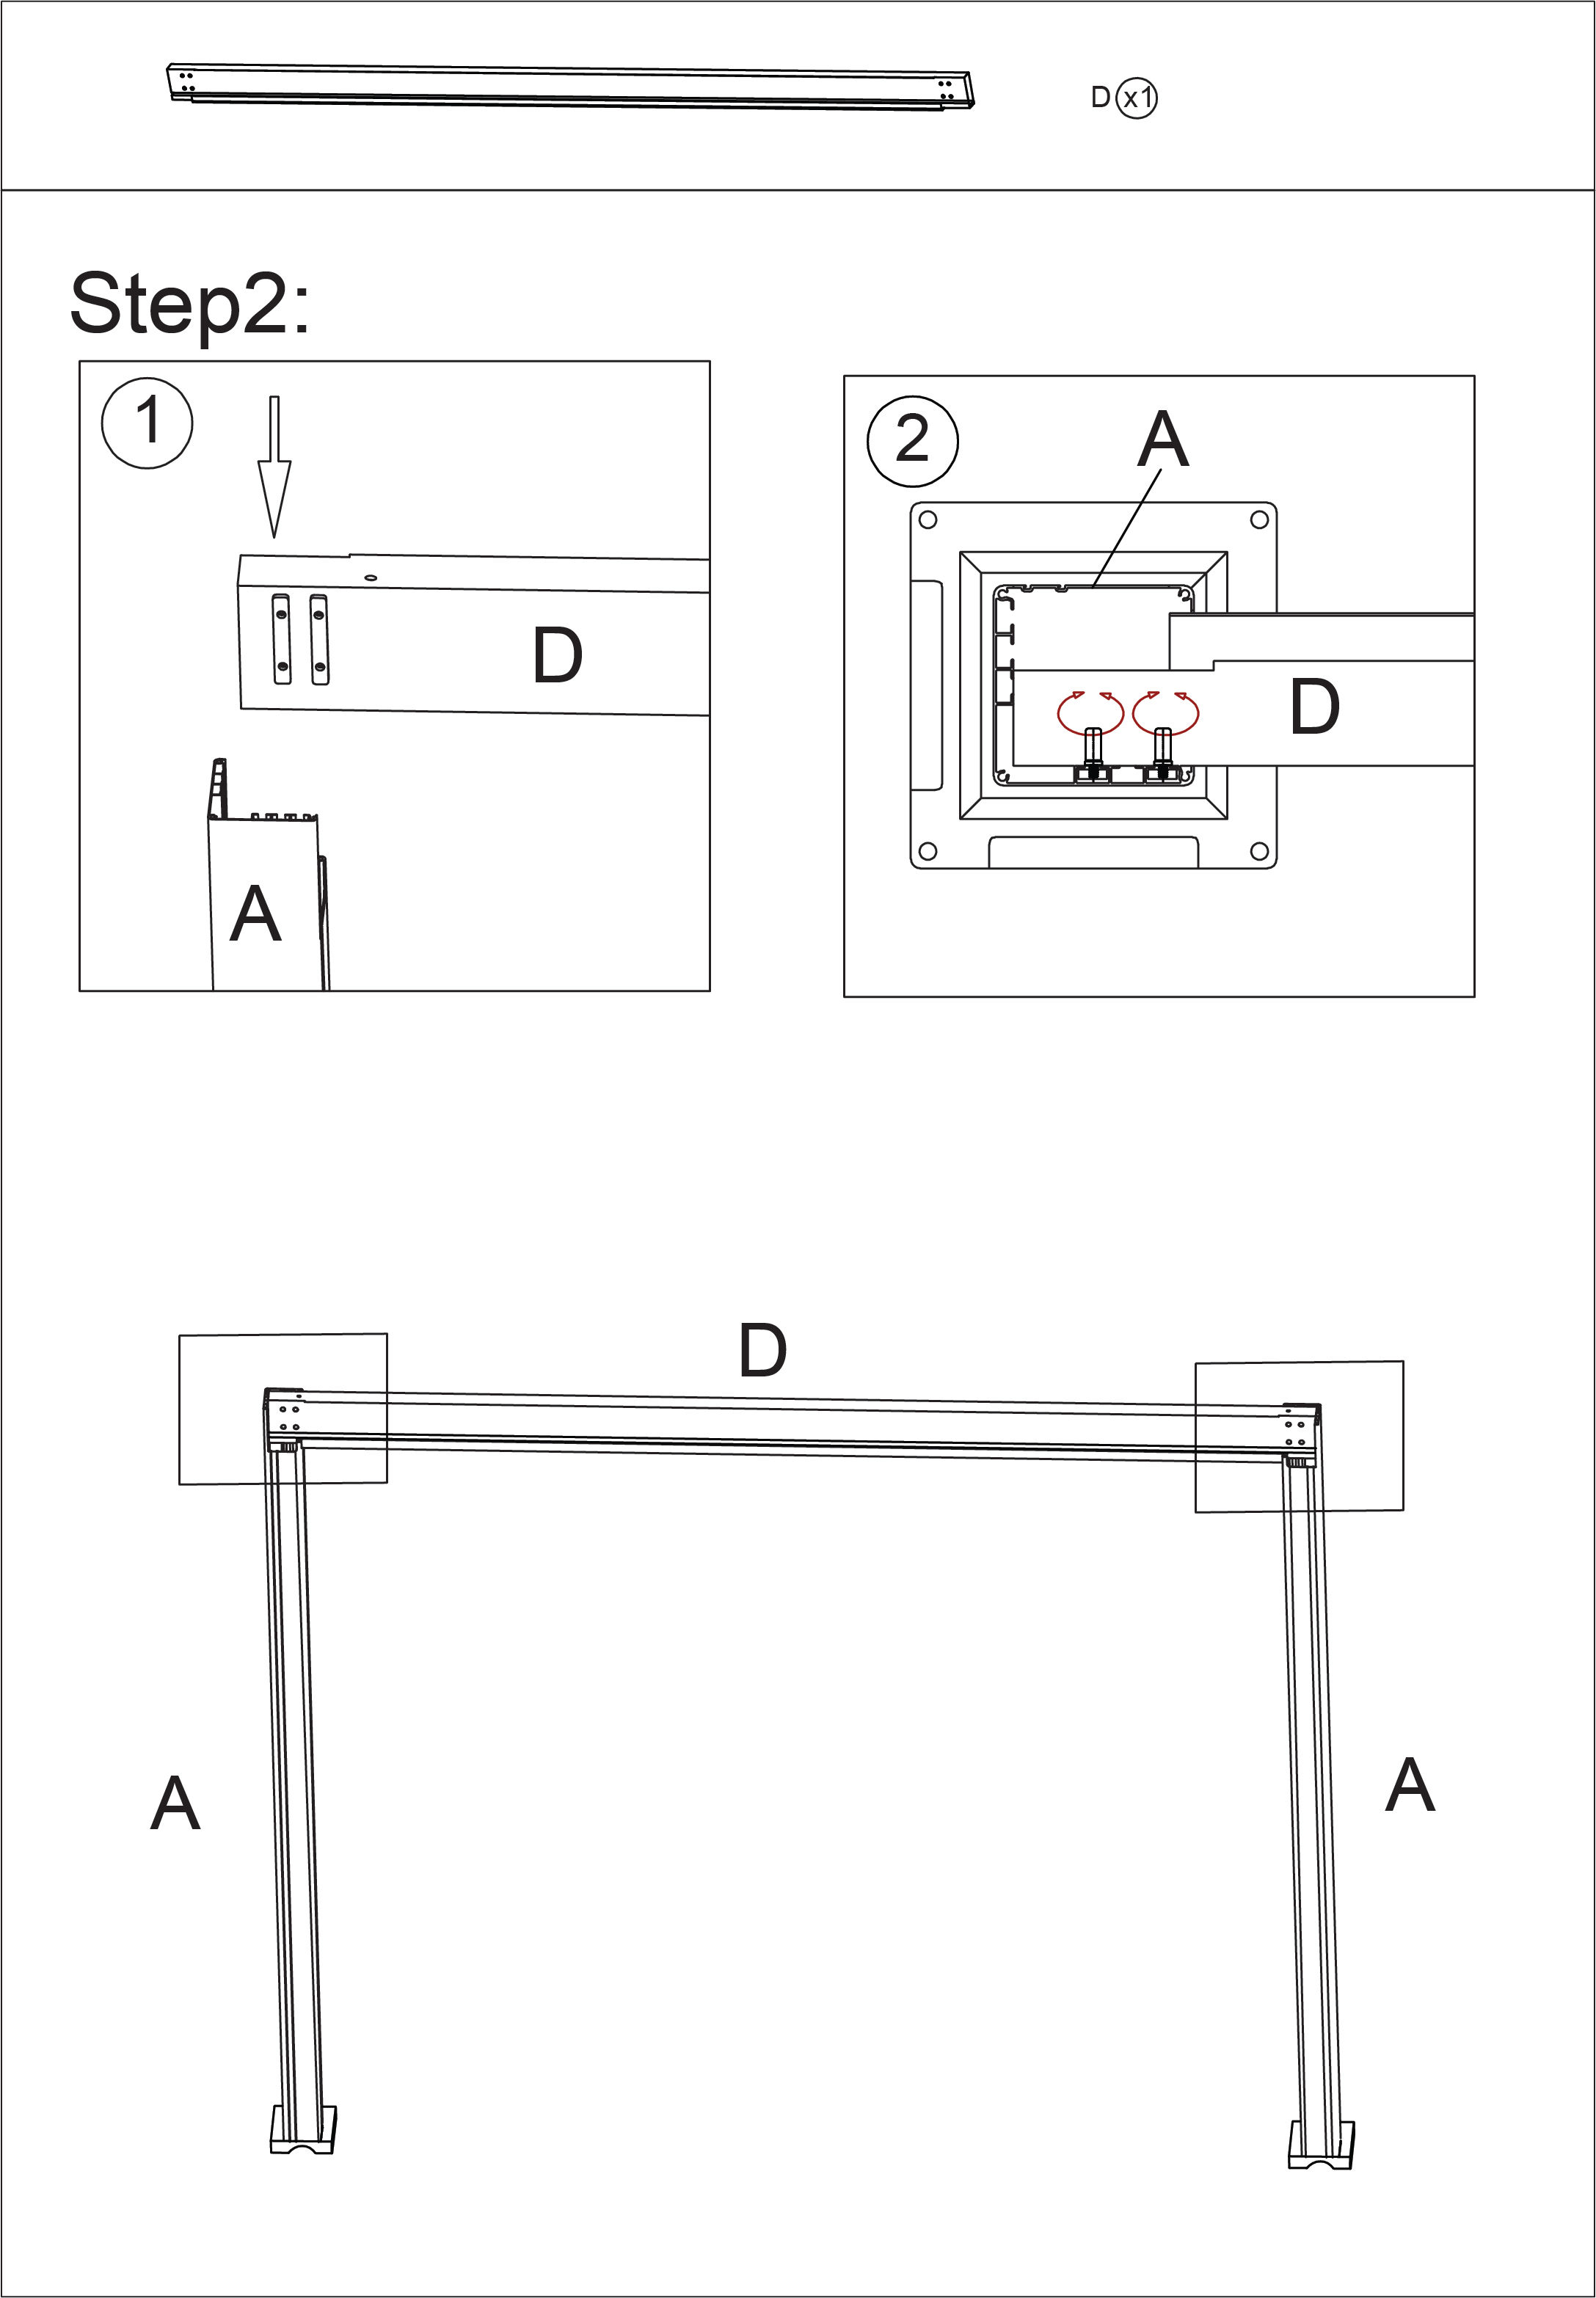
Part D - Pergola Beam
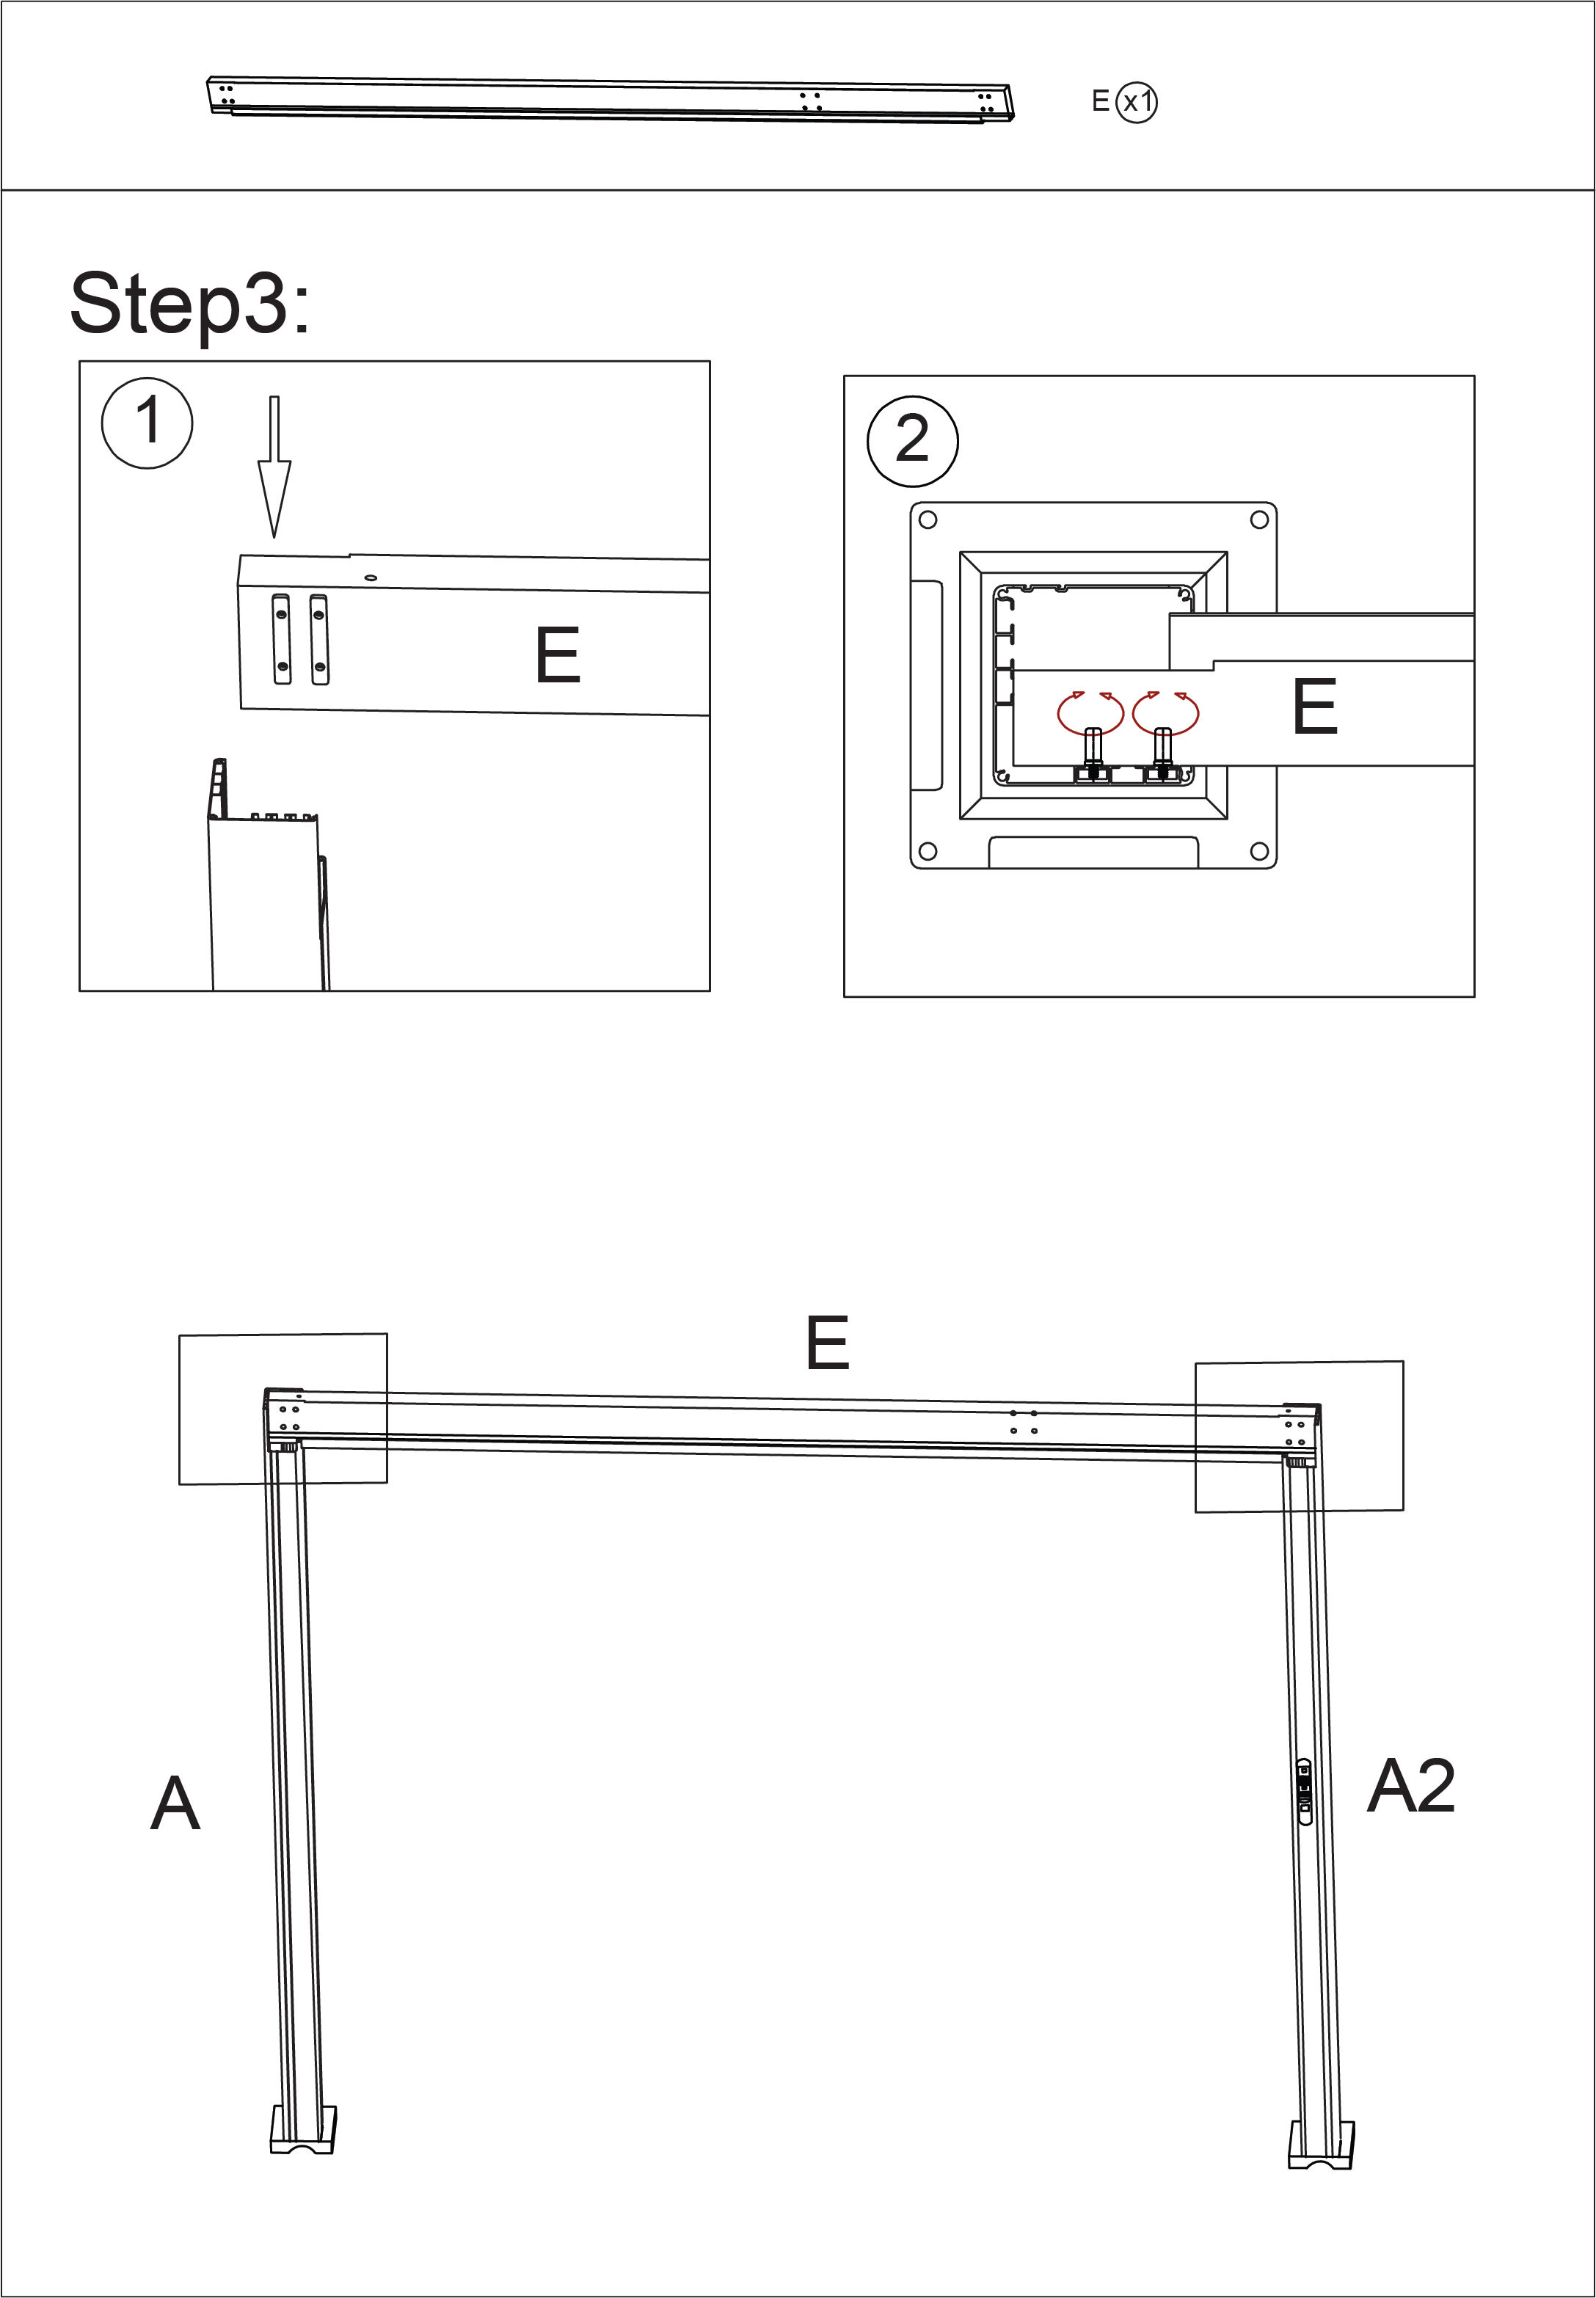
Part E - Pergola Beam
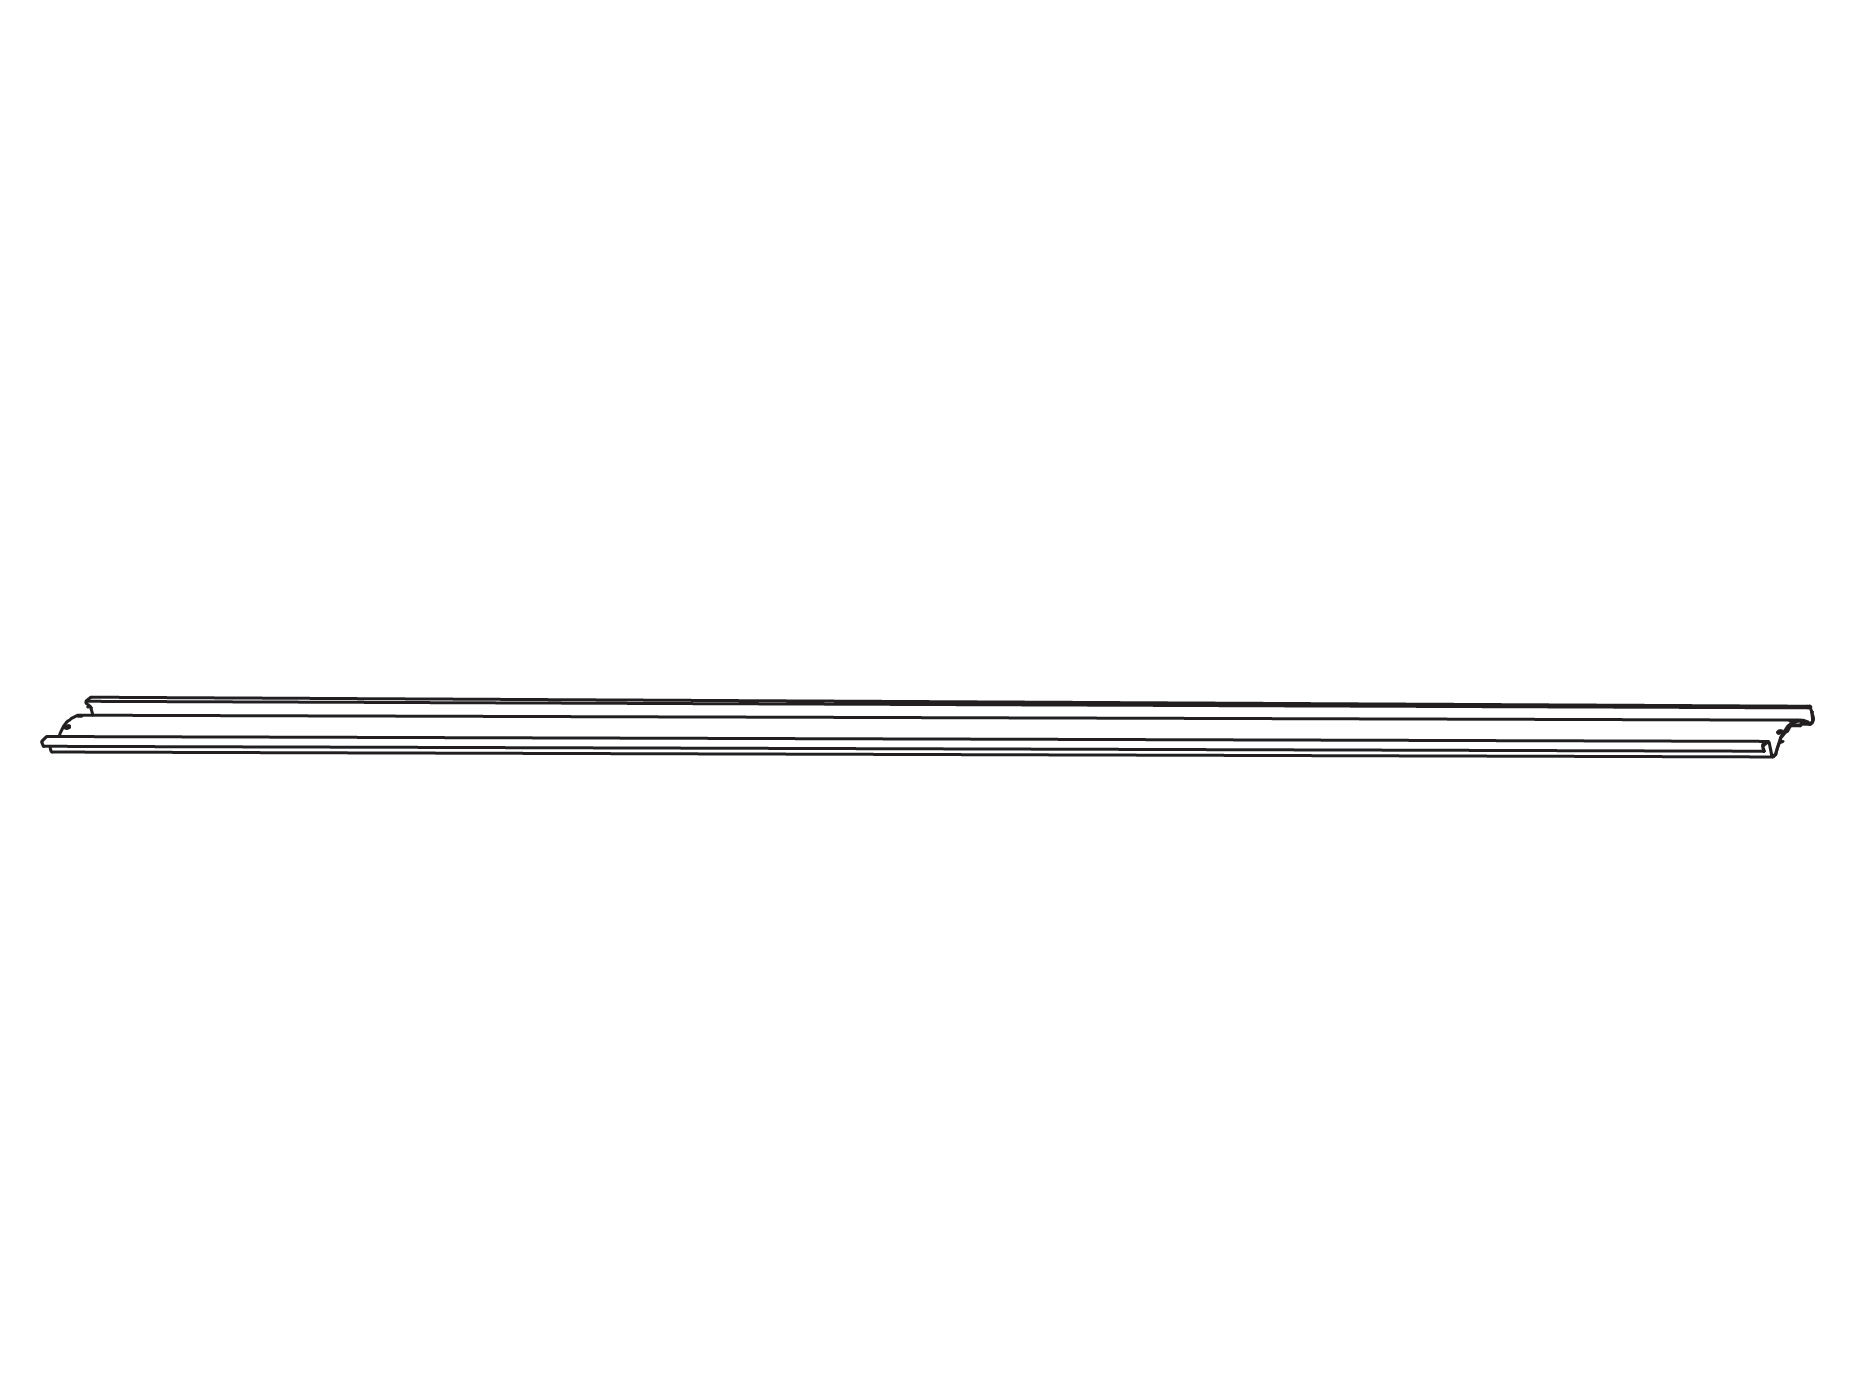
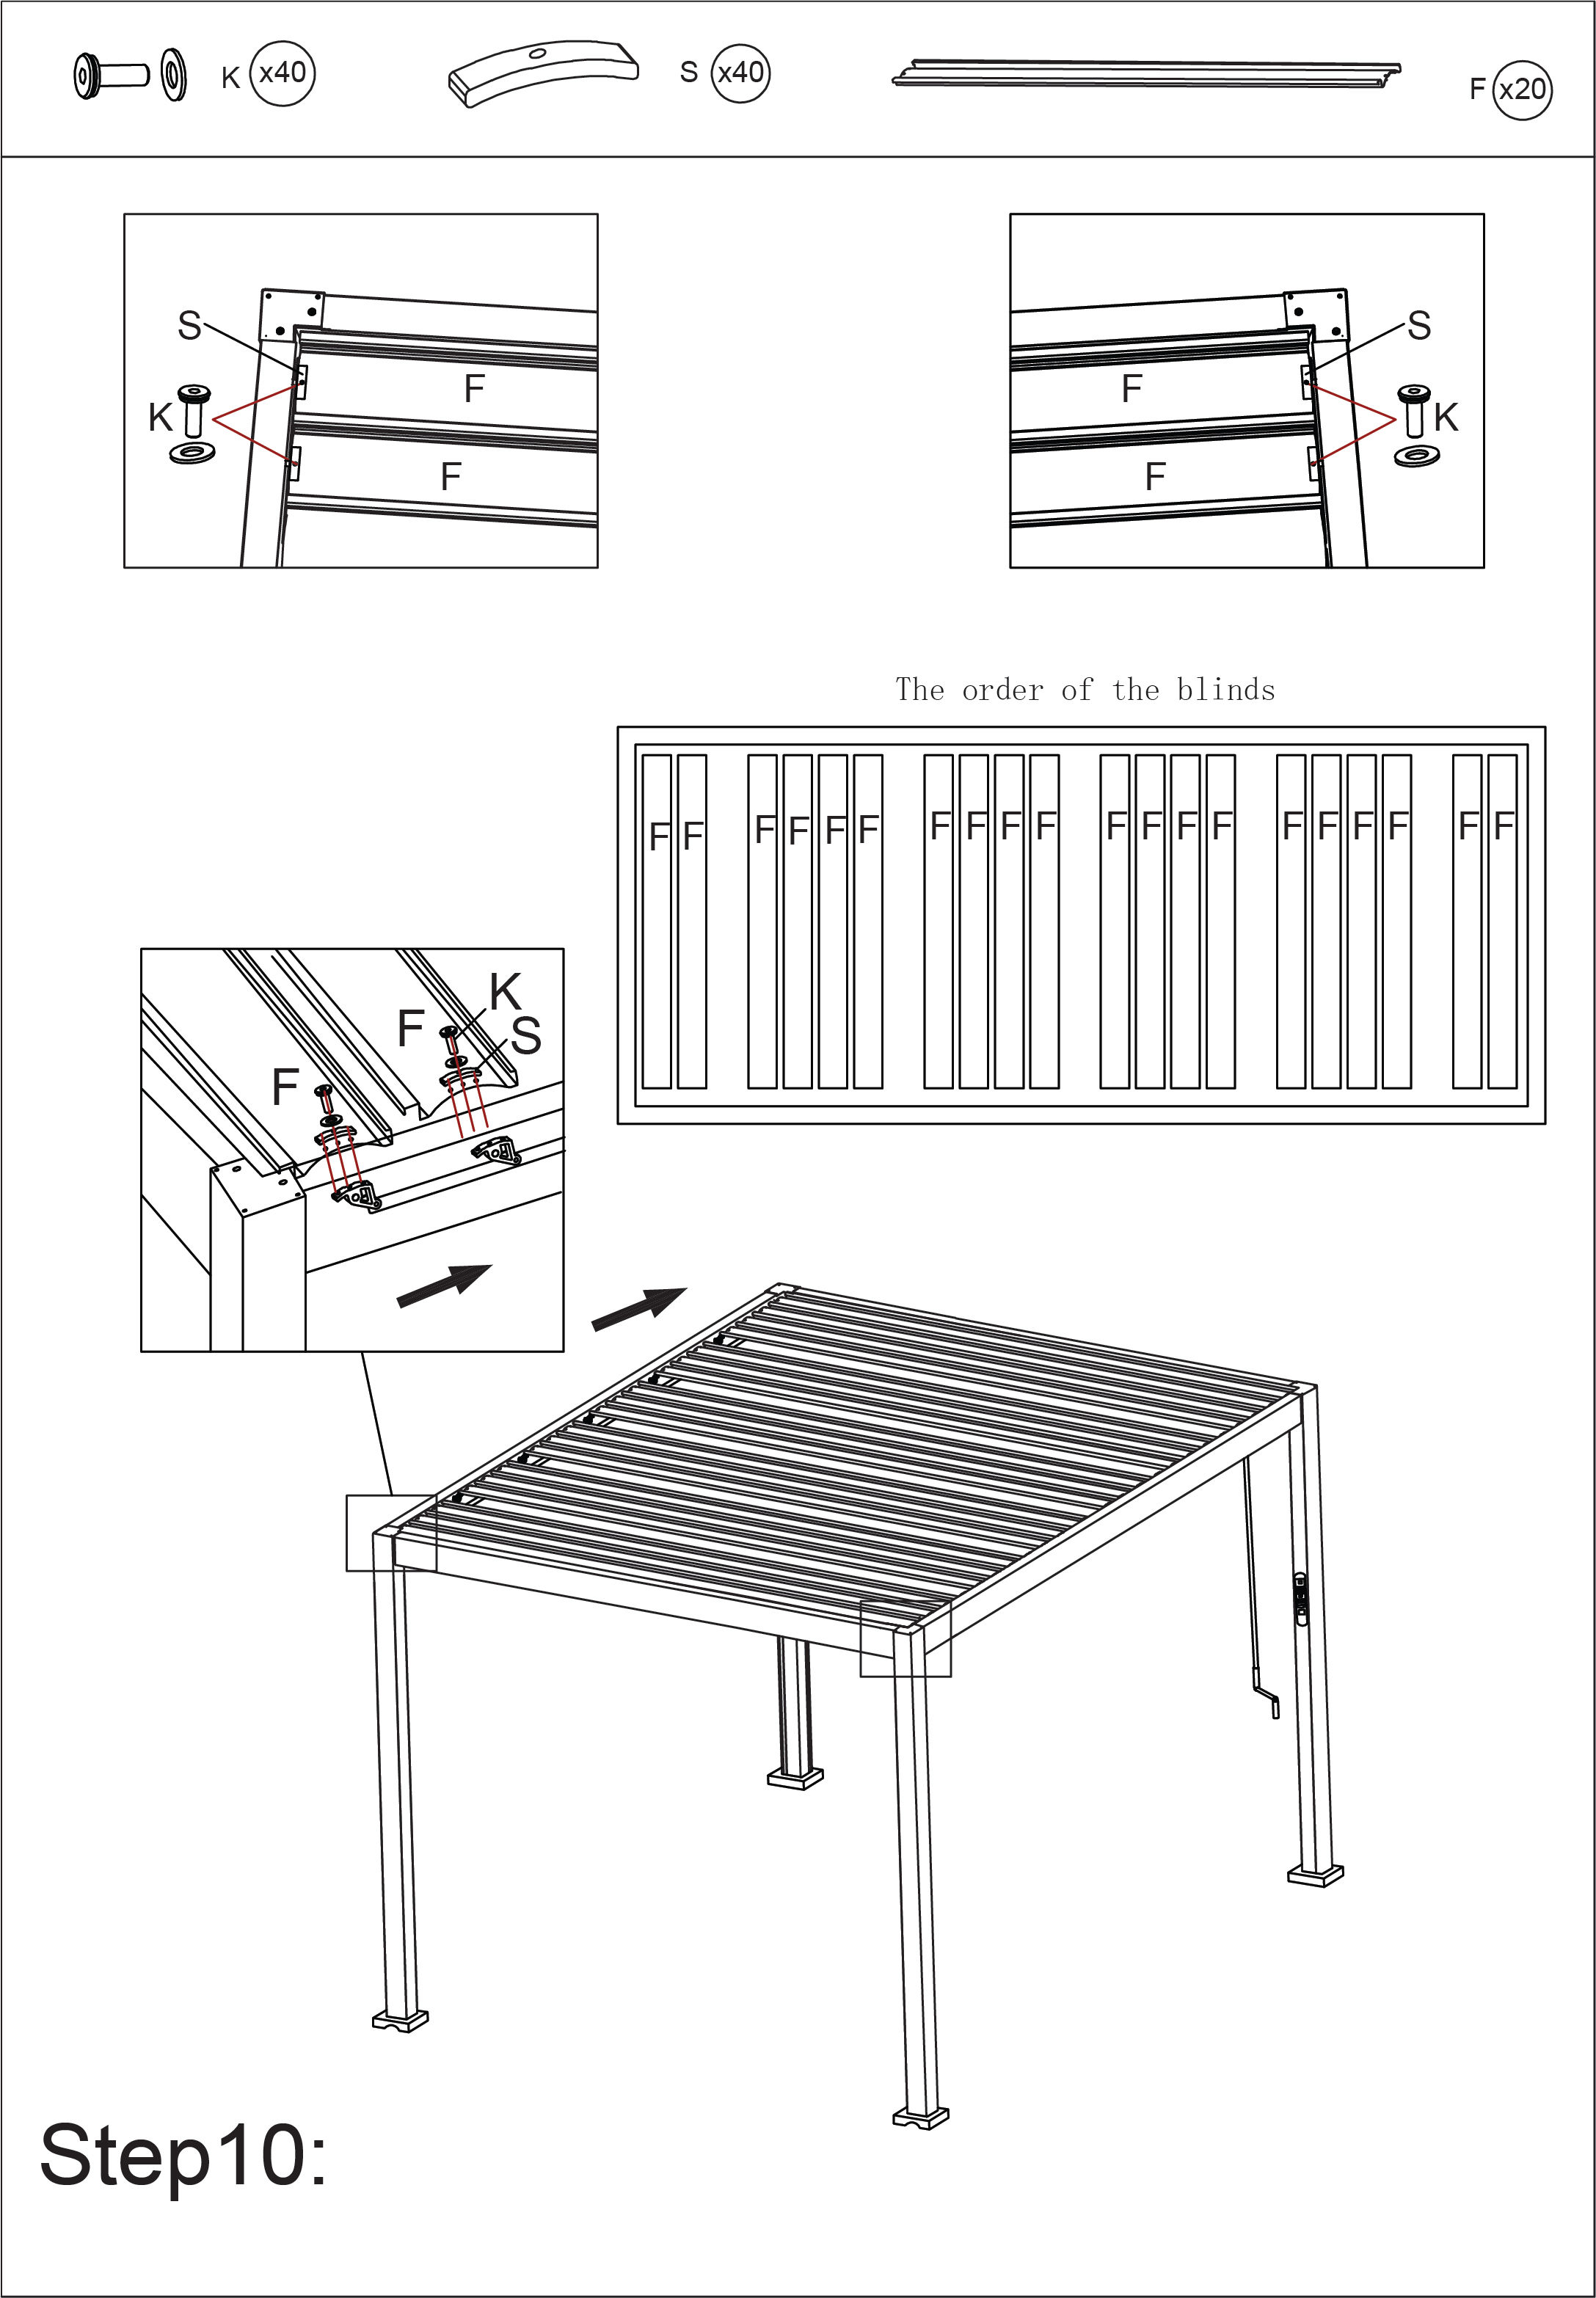
Part F - Pergola Louvres
Part F2 - Pergola Louvres with LED Lights
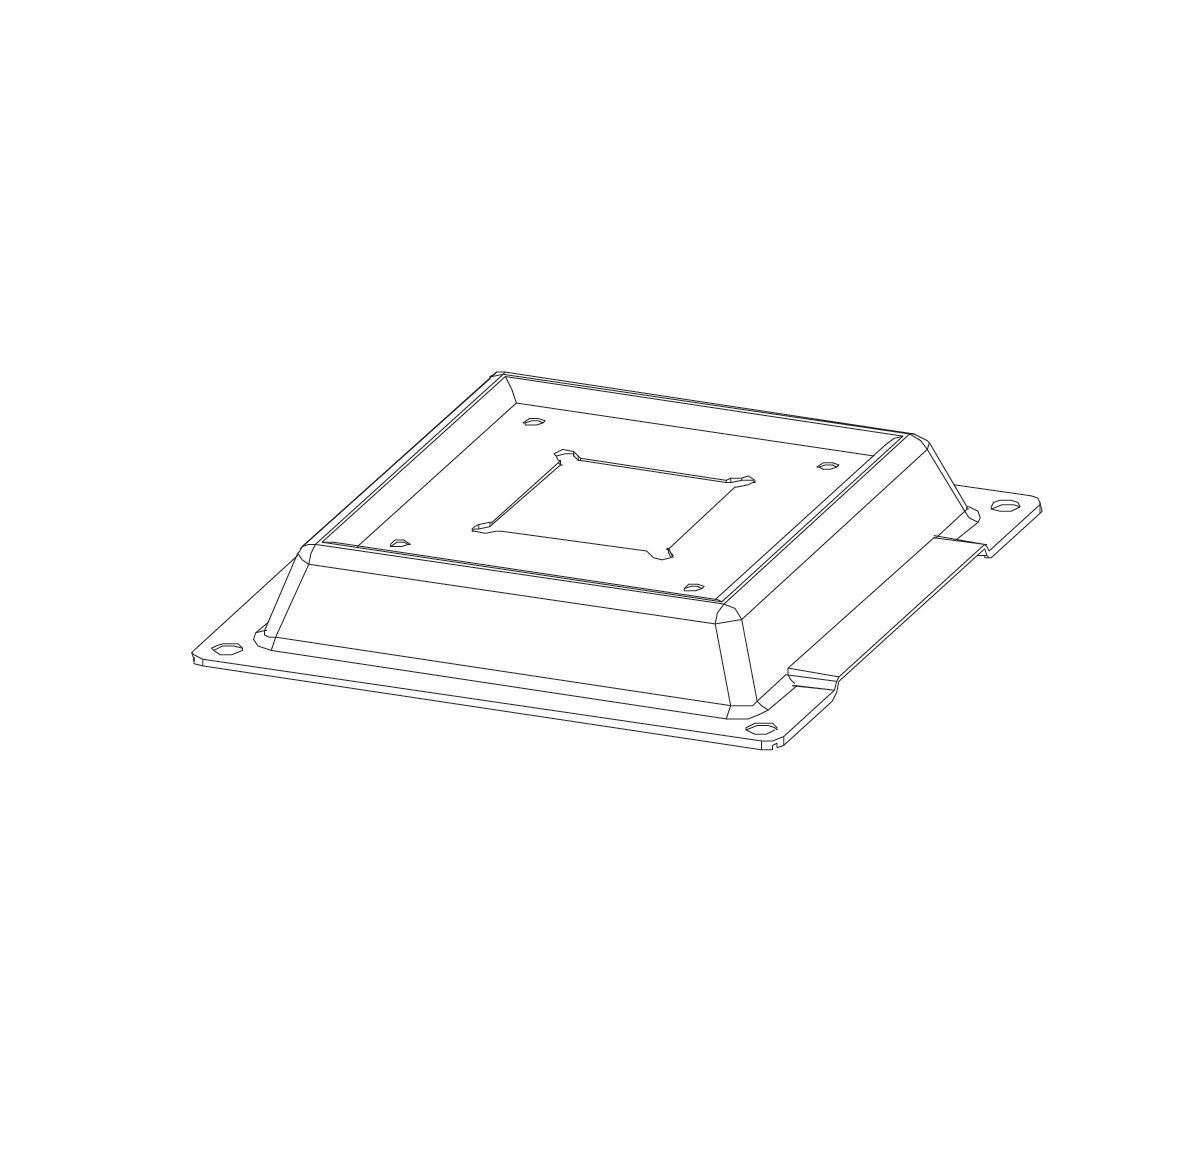
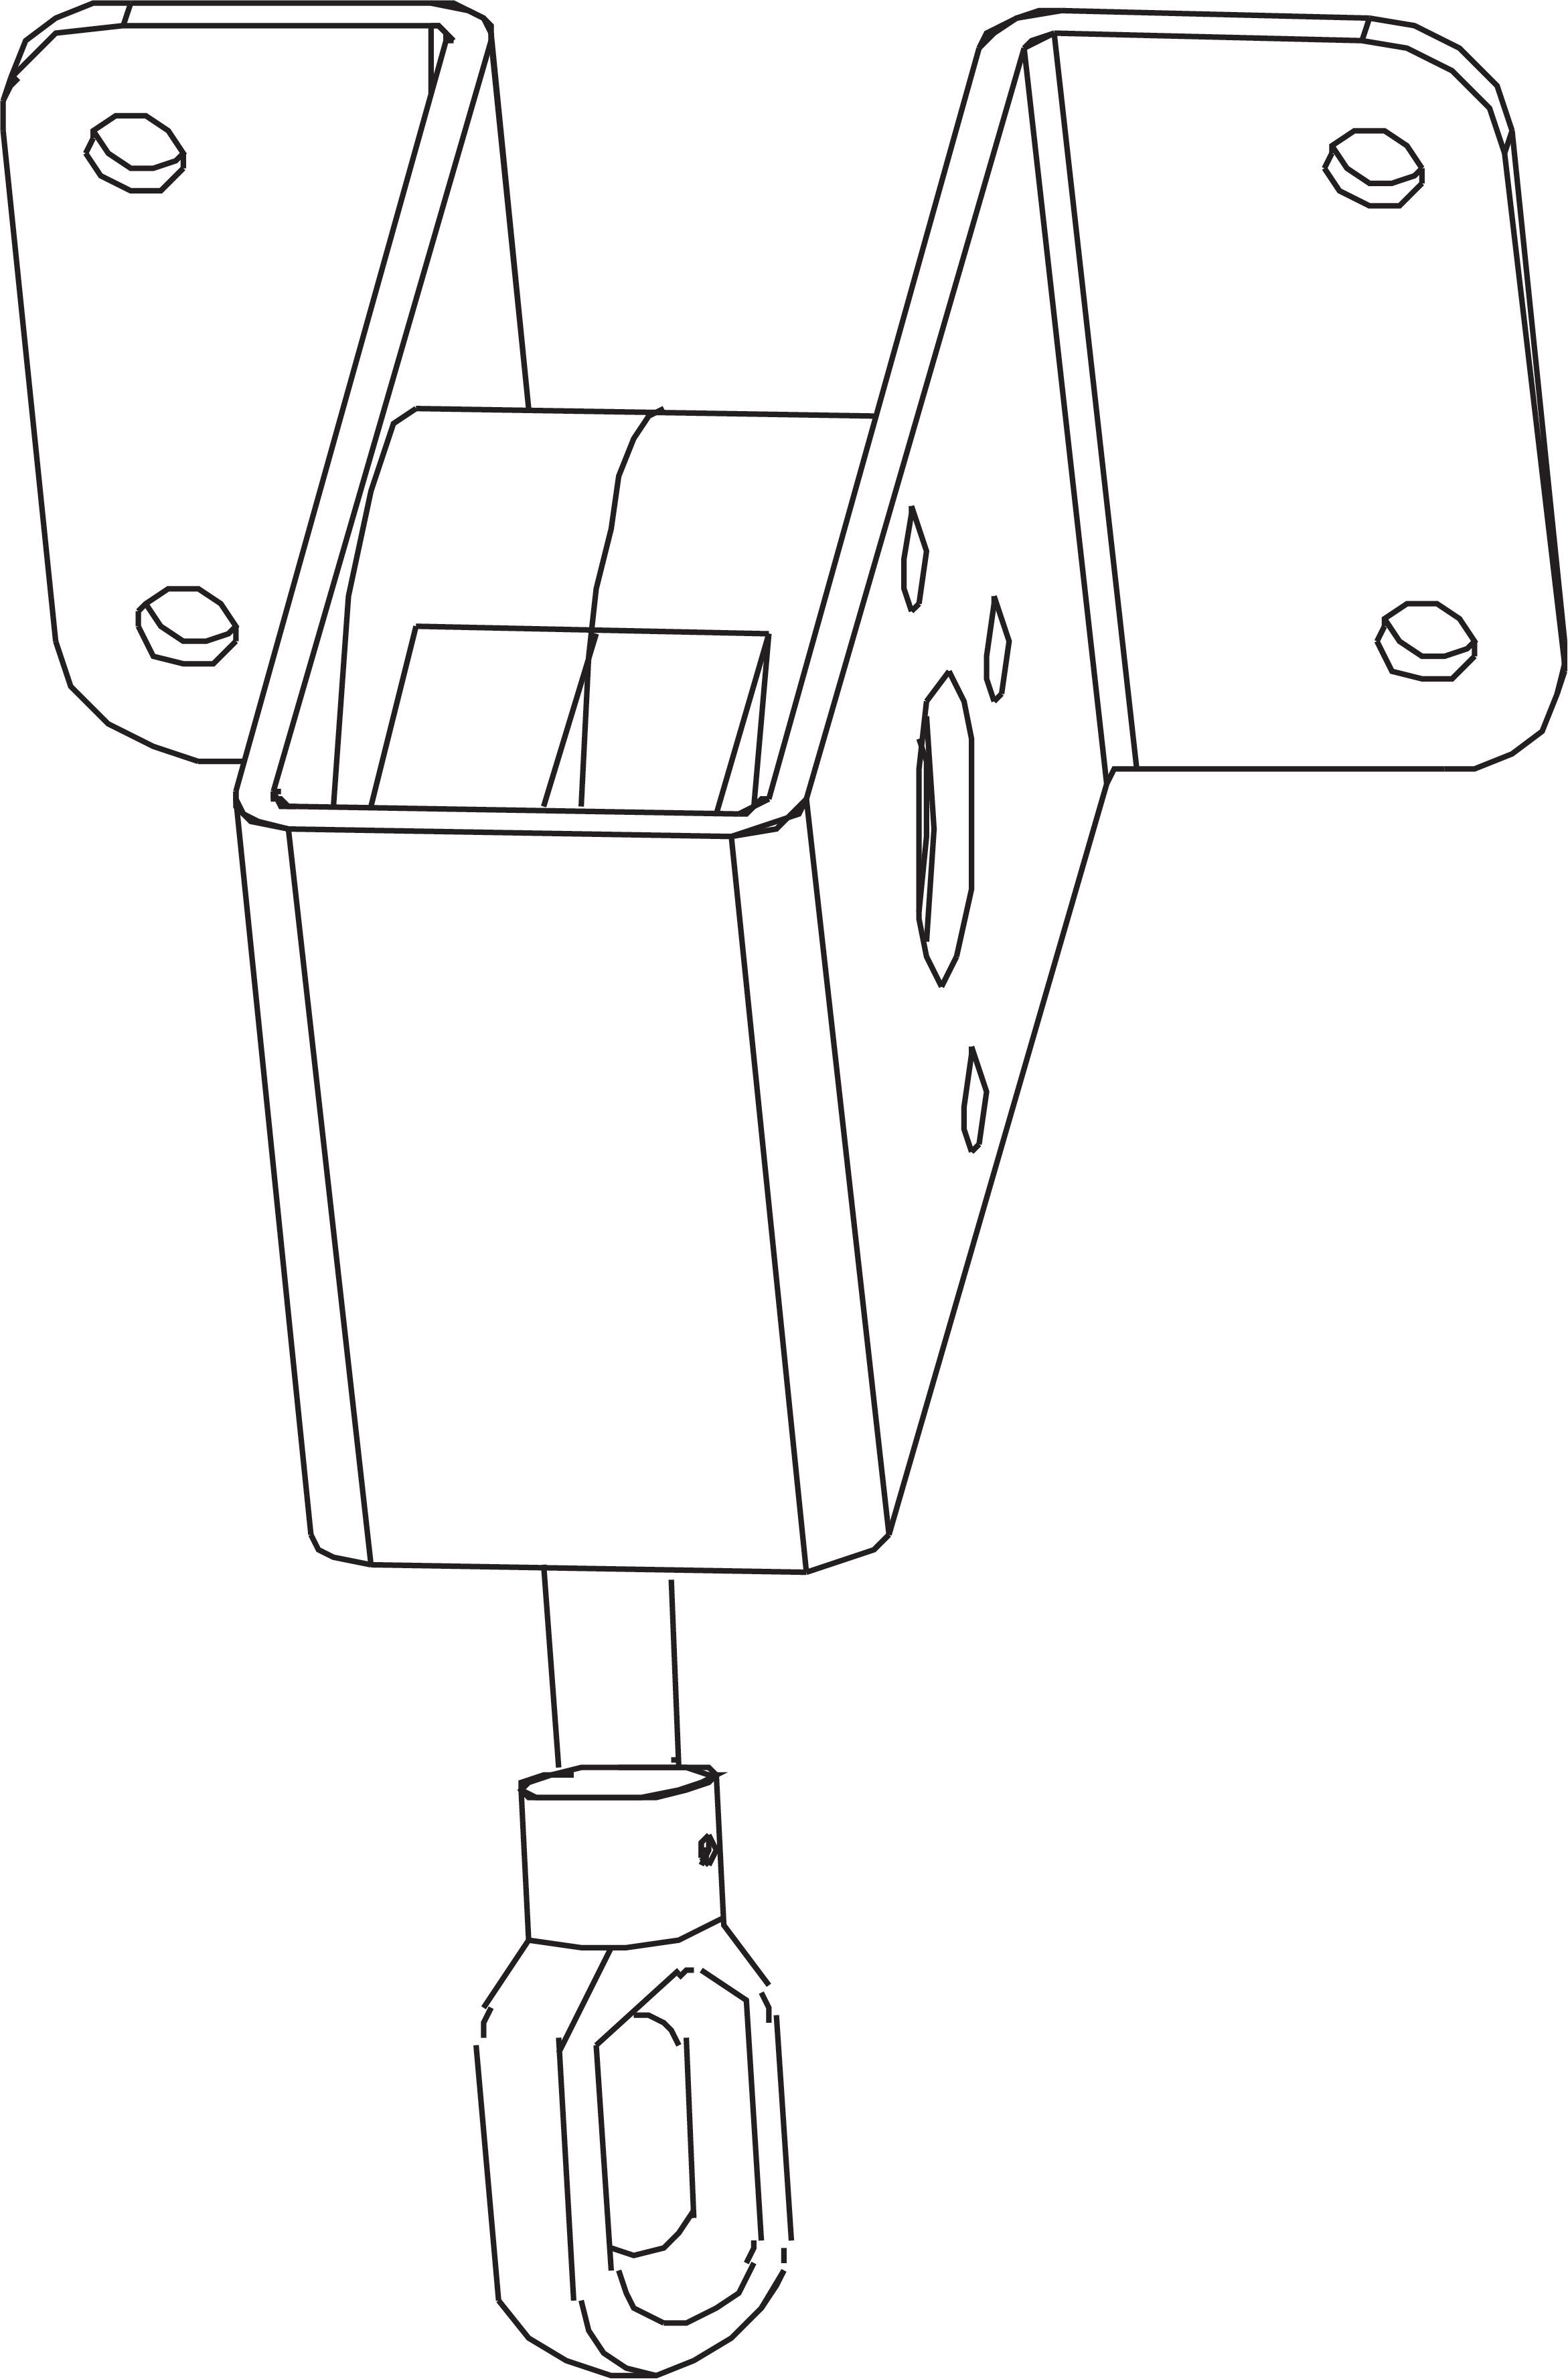
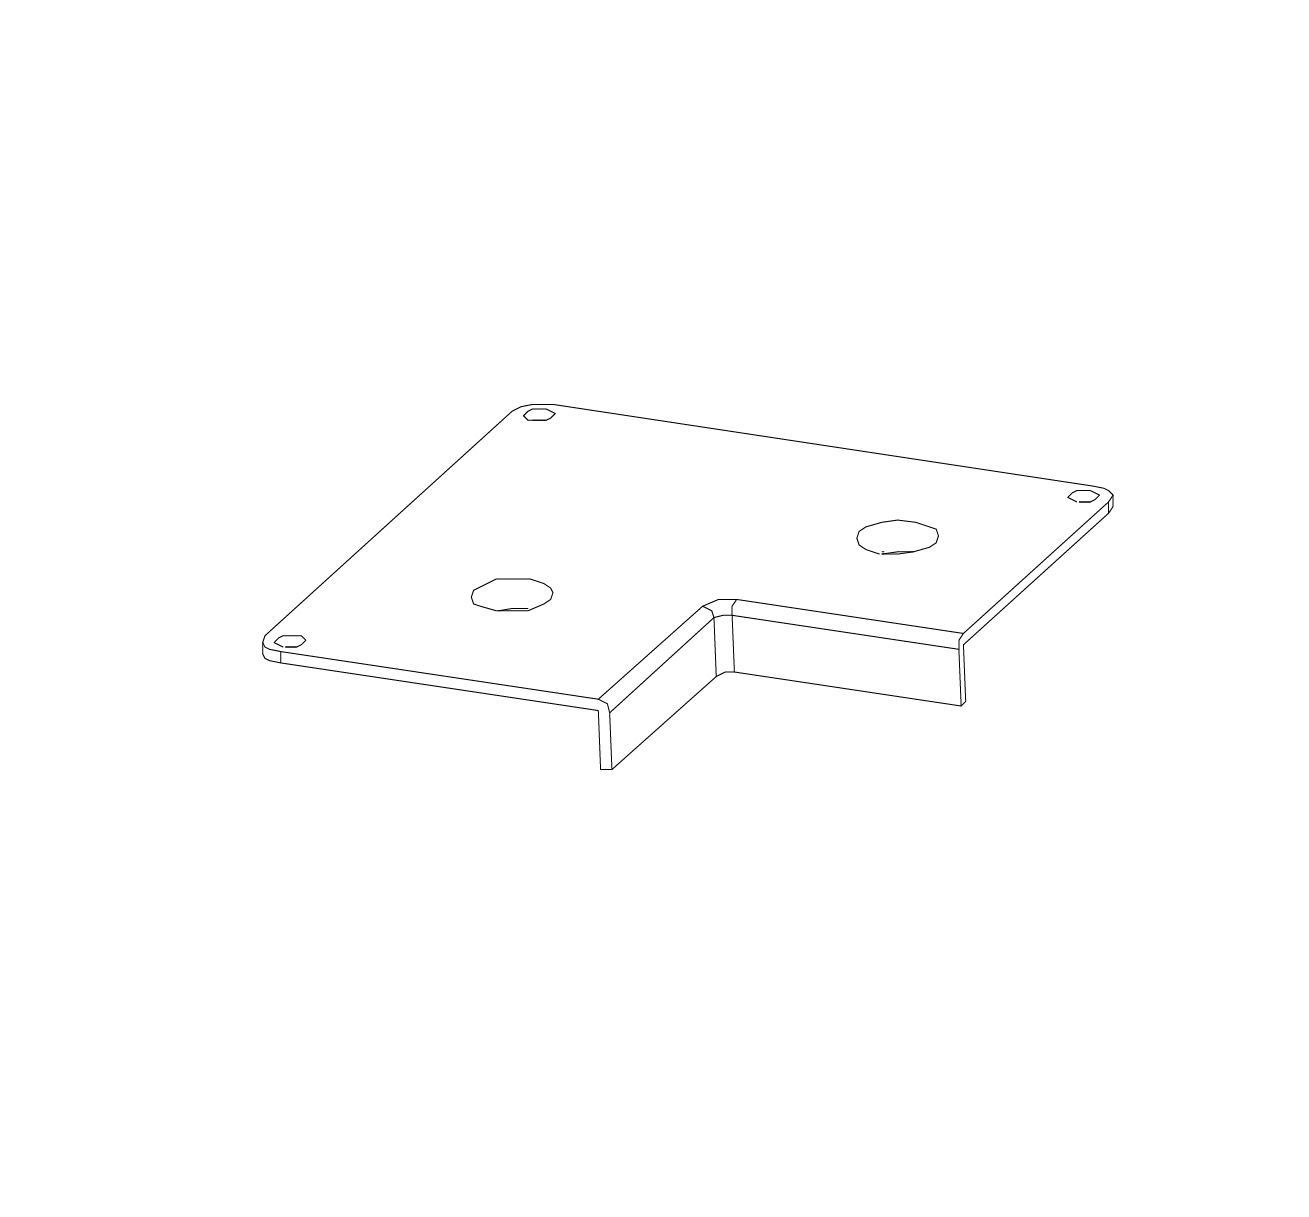
Part G - Pergola Corner Fittings
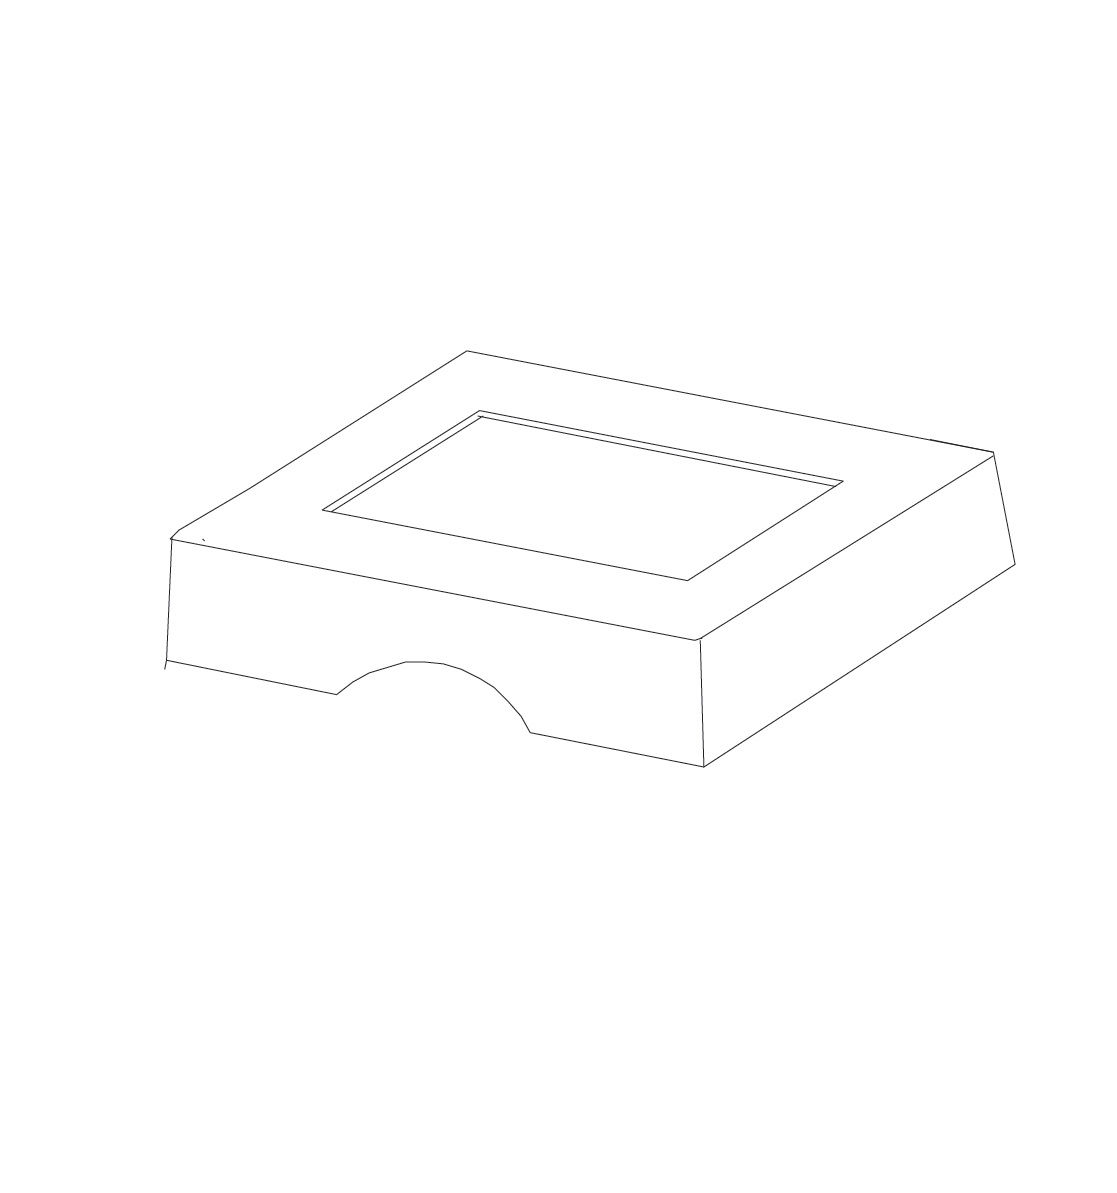
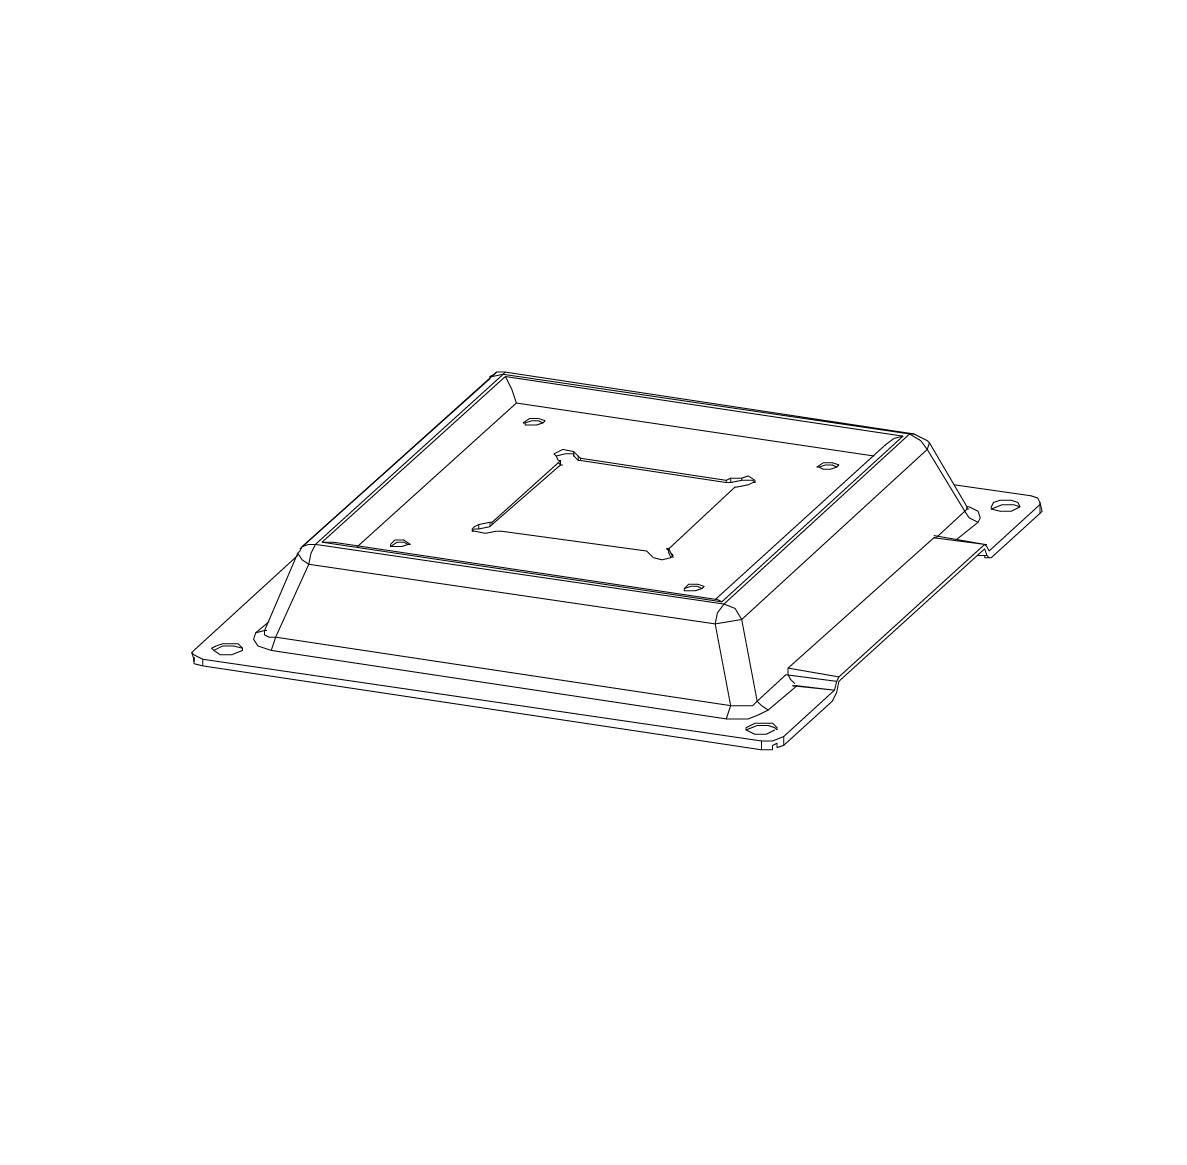
Part H - Pergola Feet
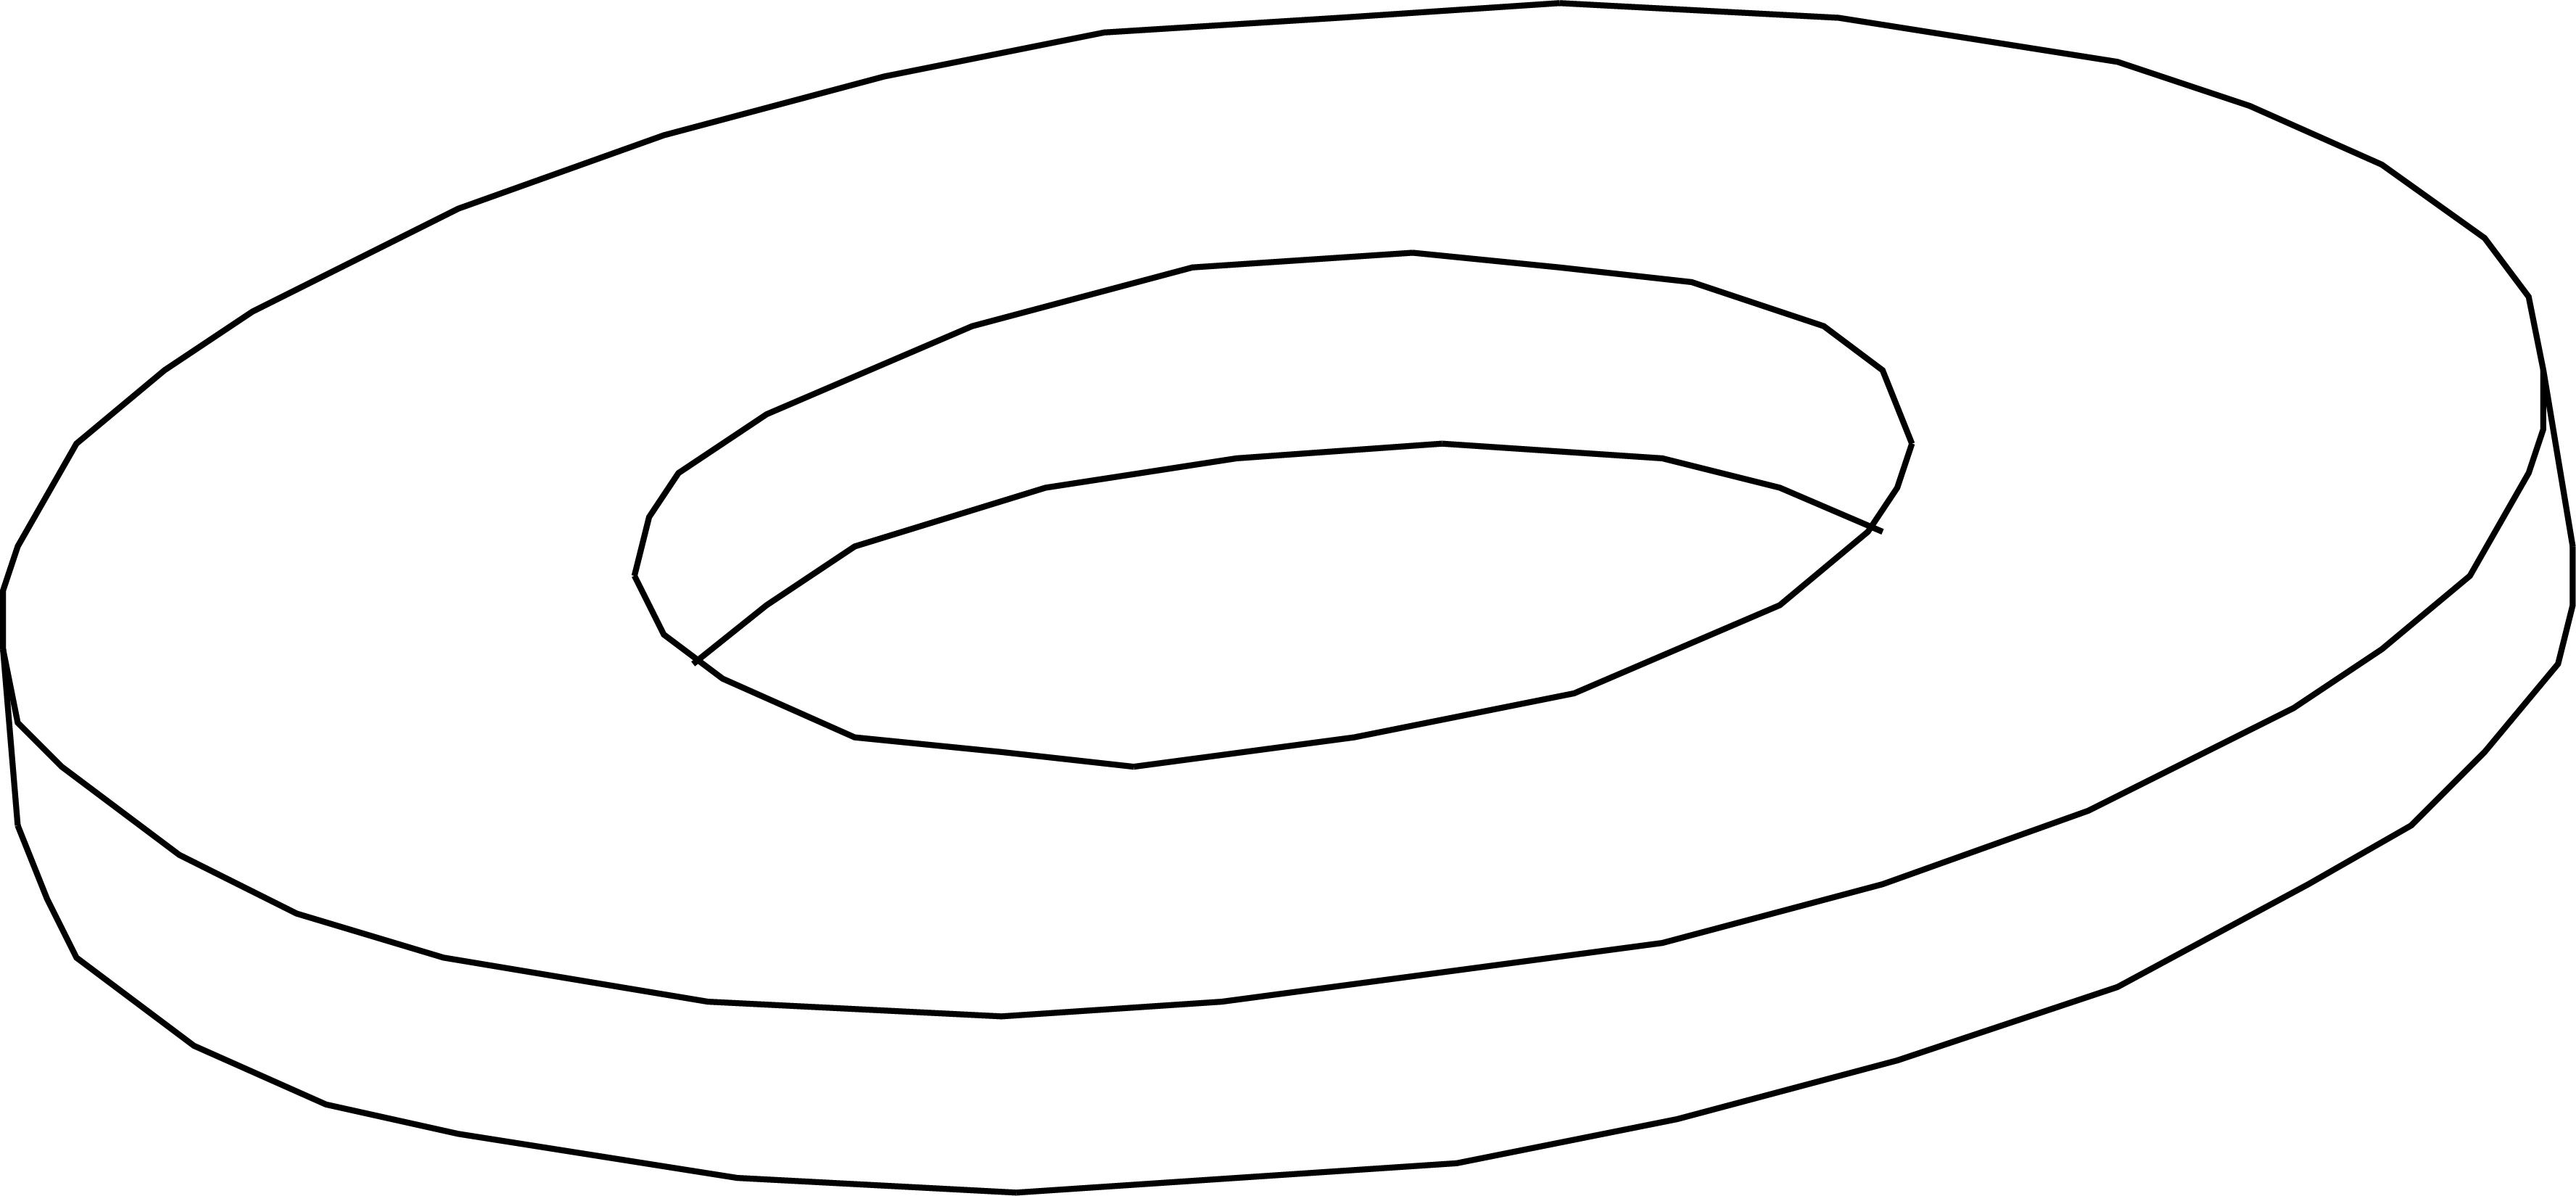
Part H2 - Pergola Feet Covers
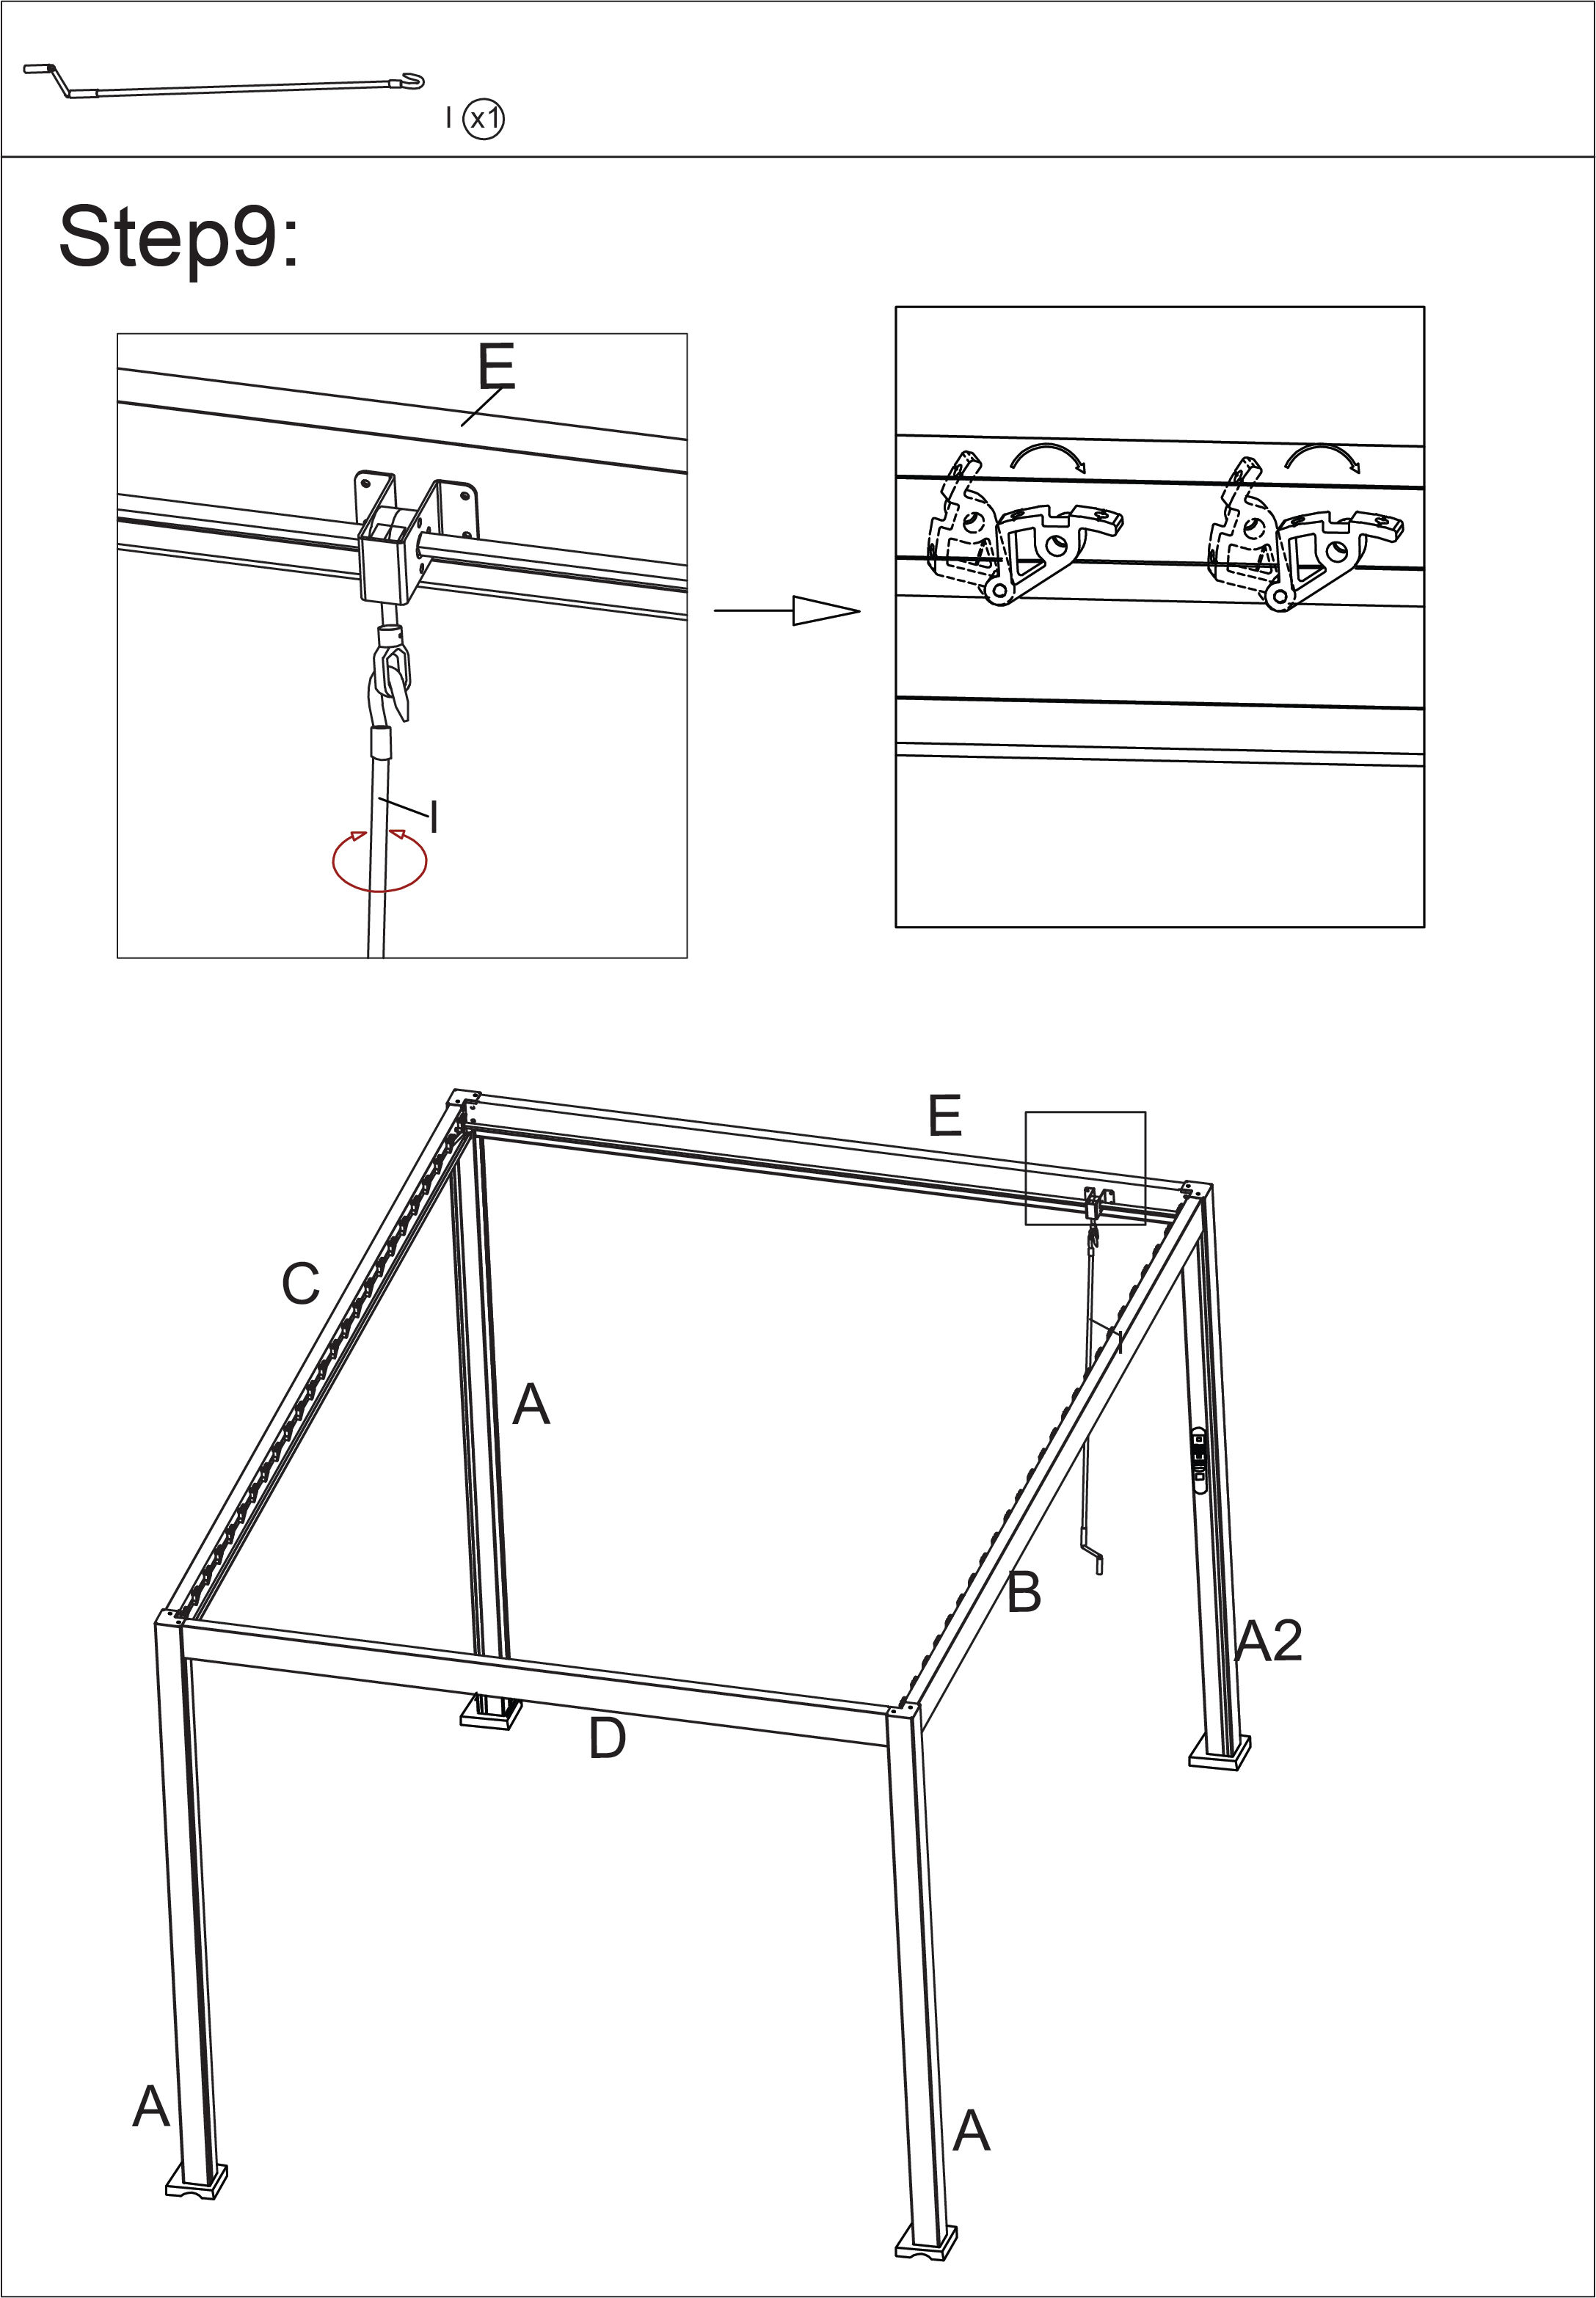
Part I - Handle
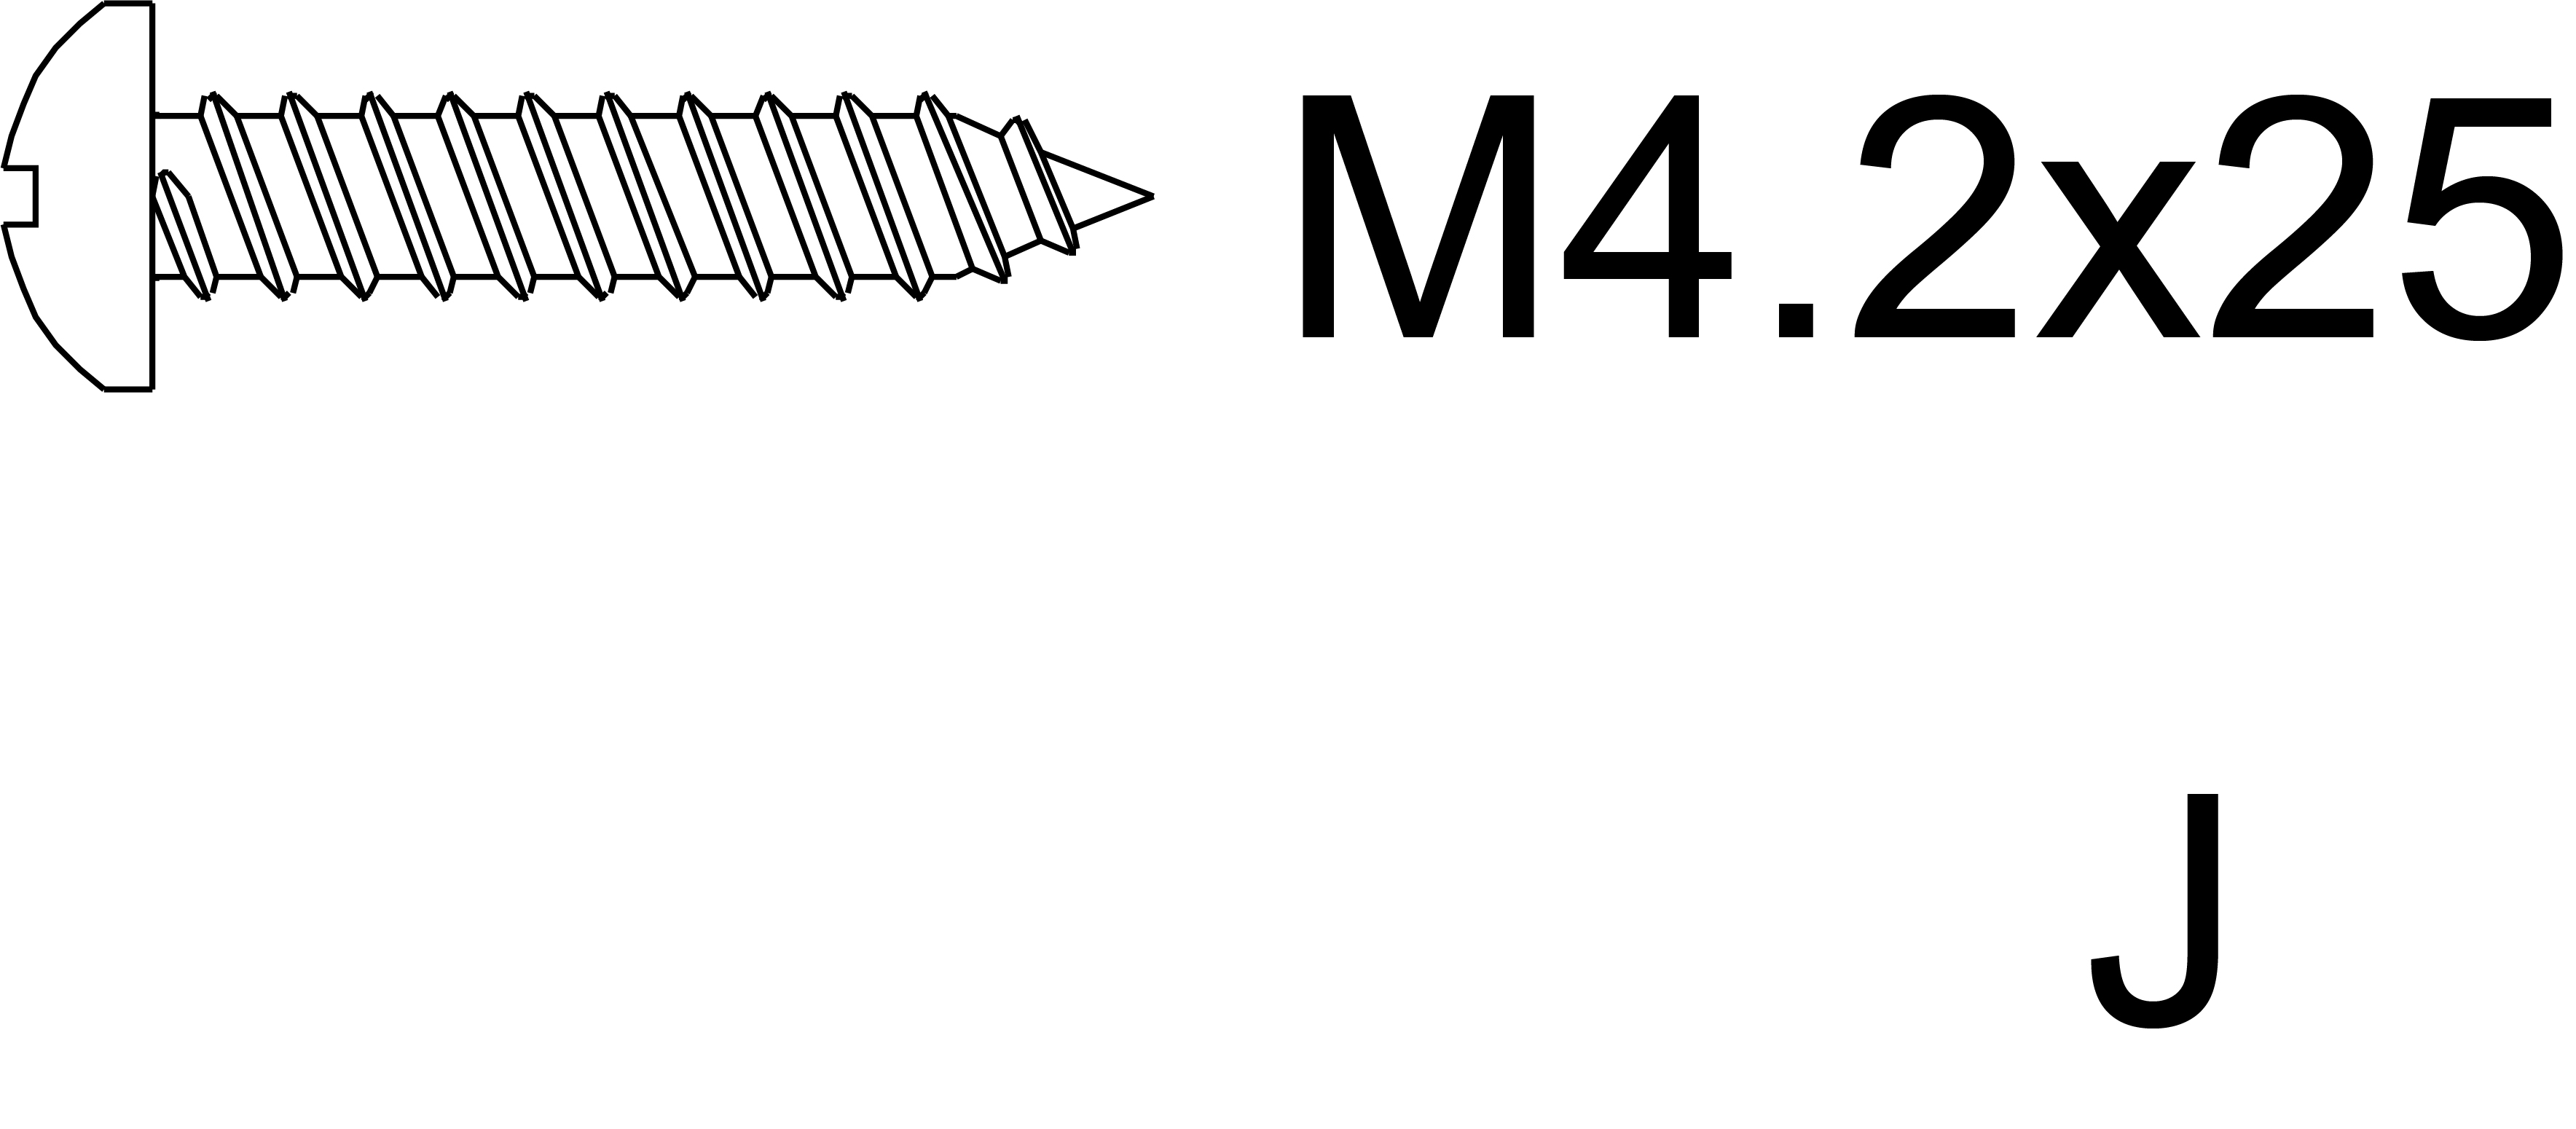
Part J - M4.2x25
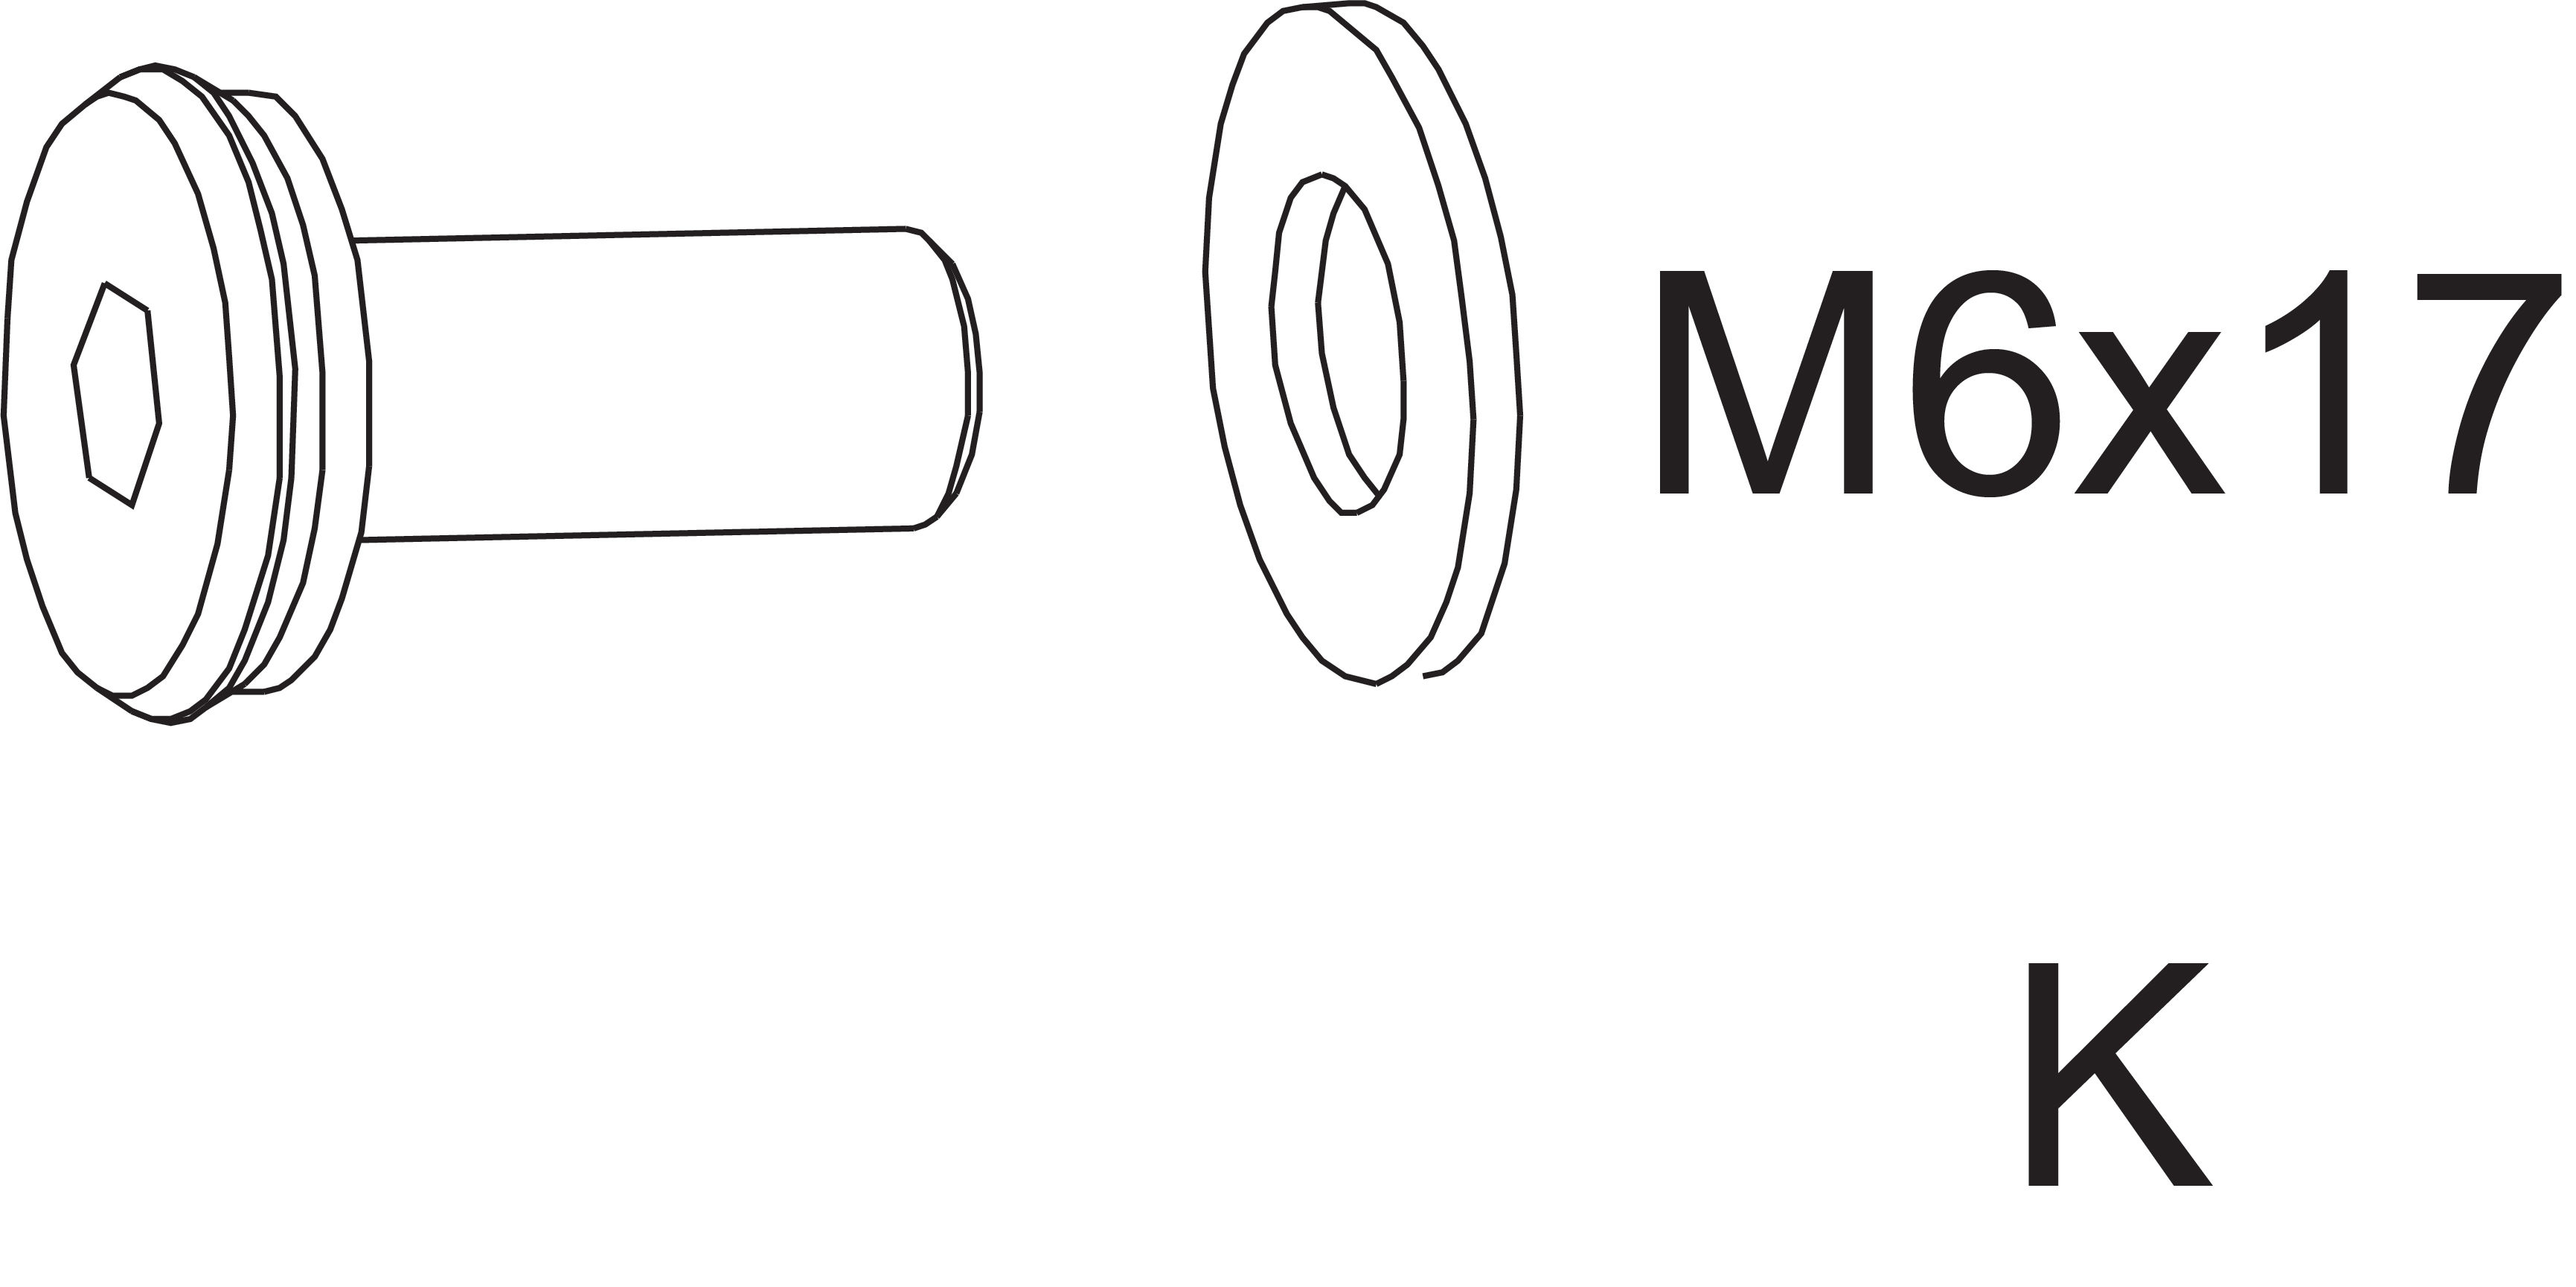
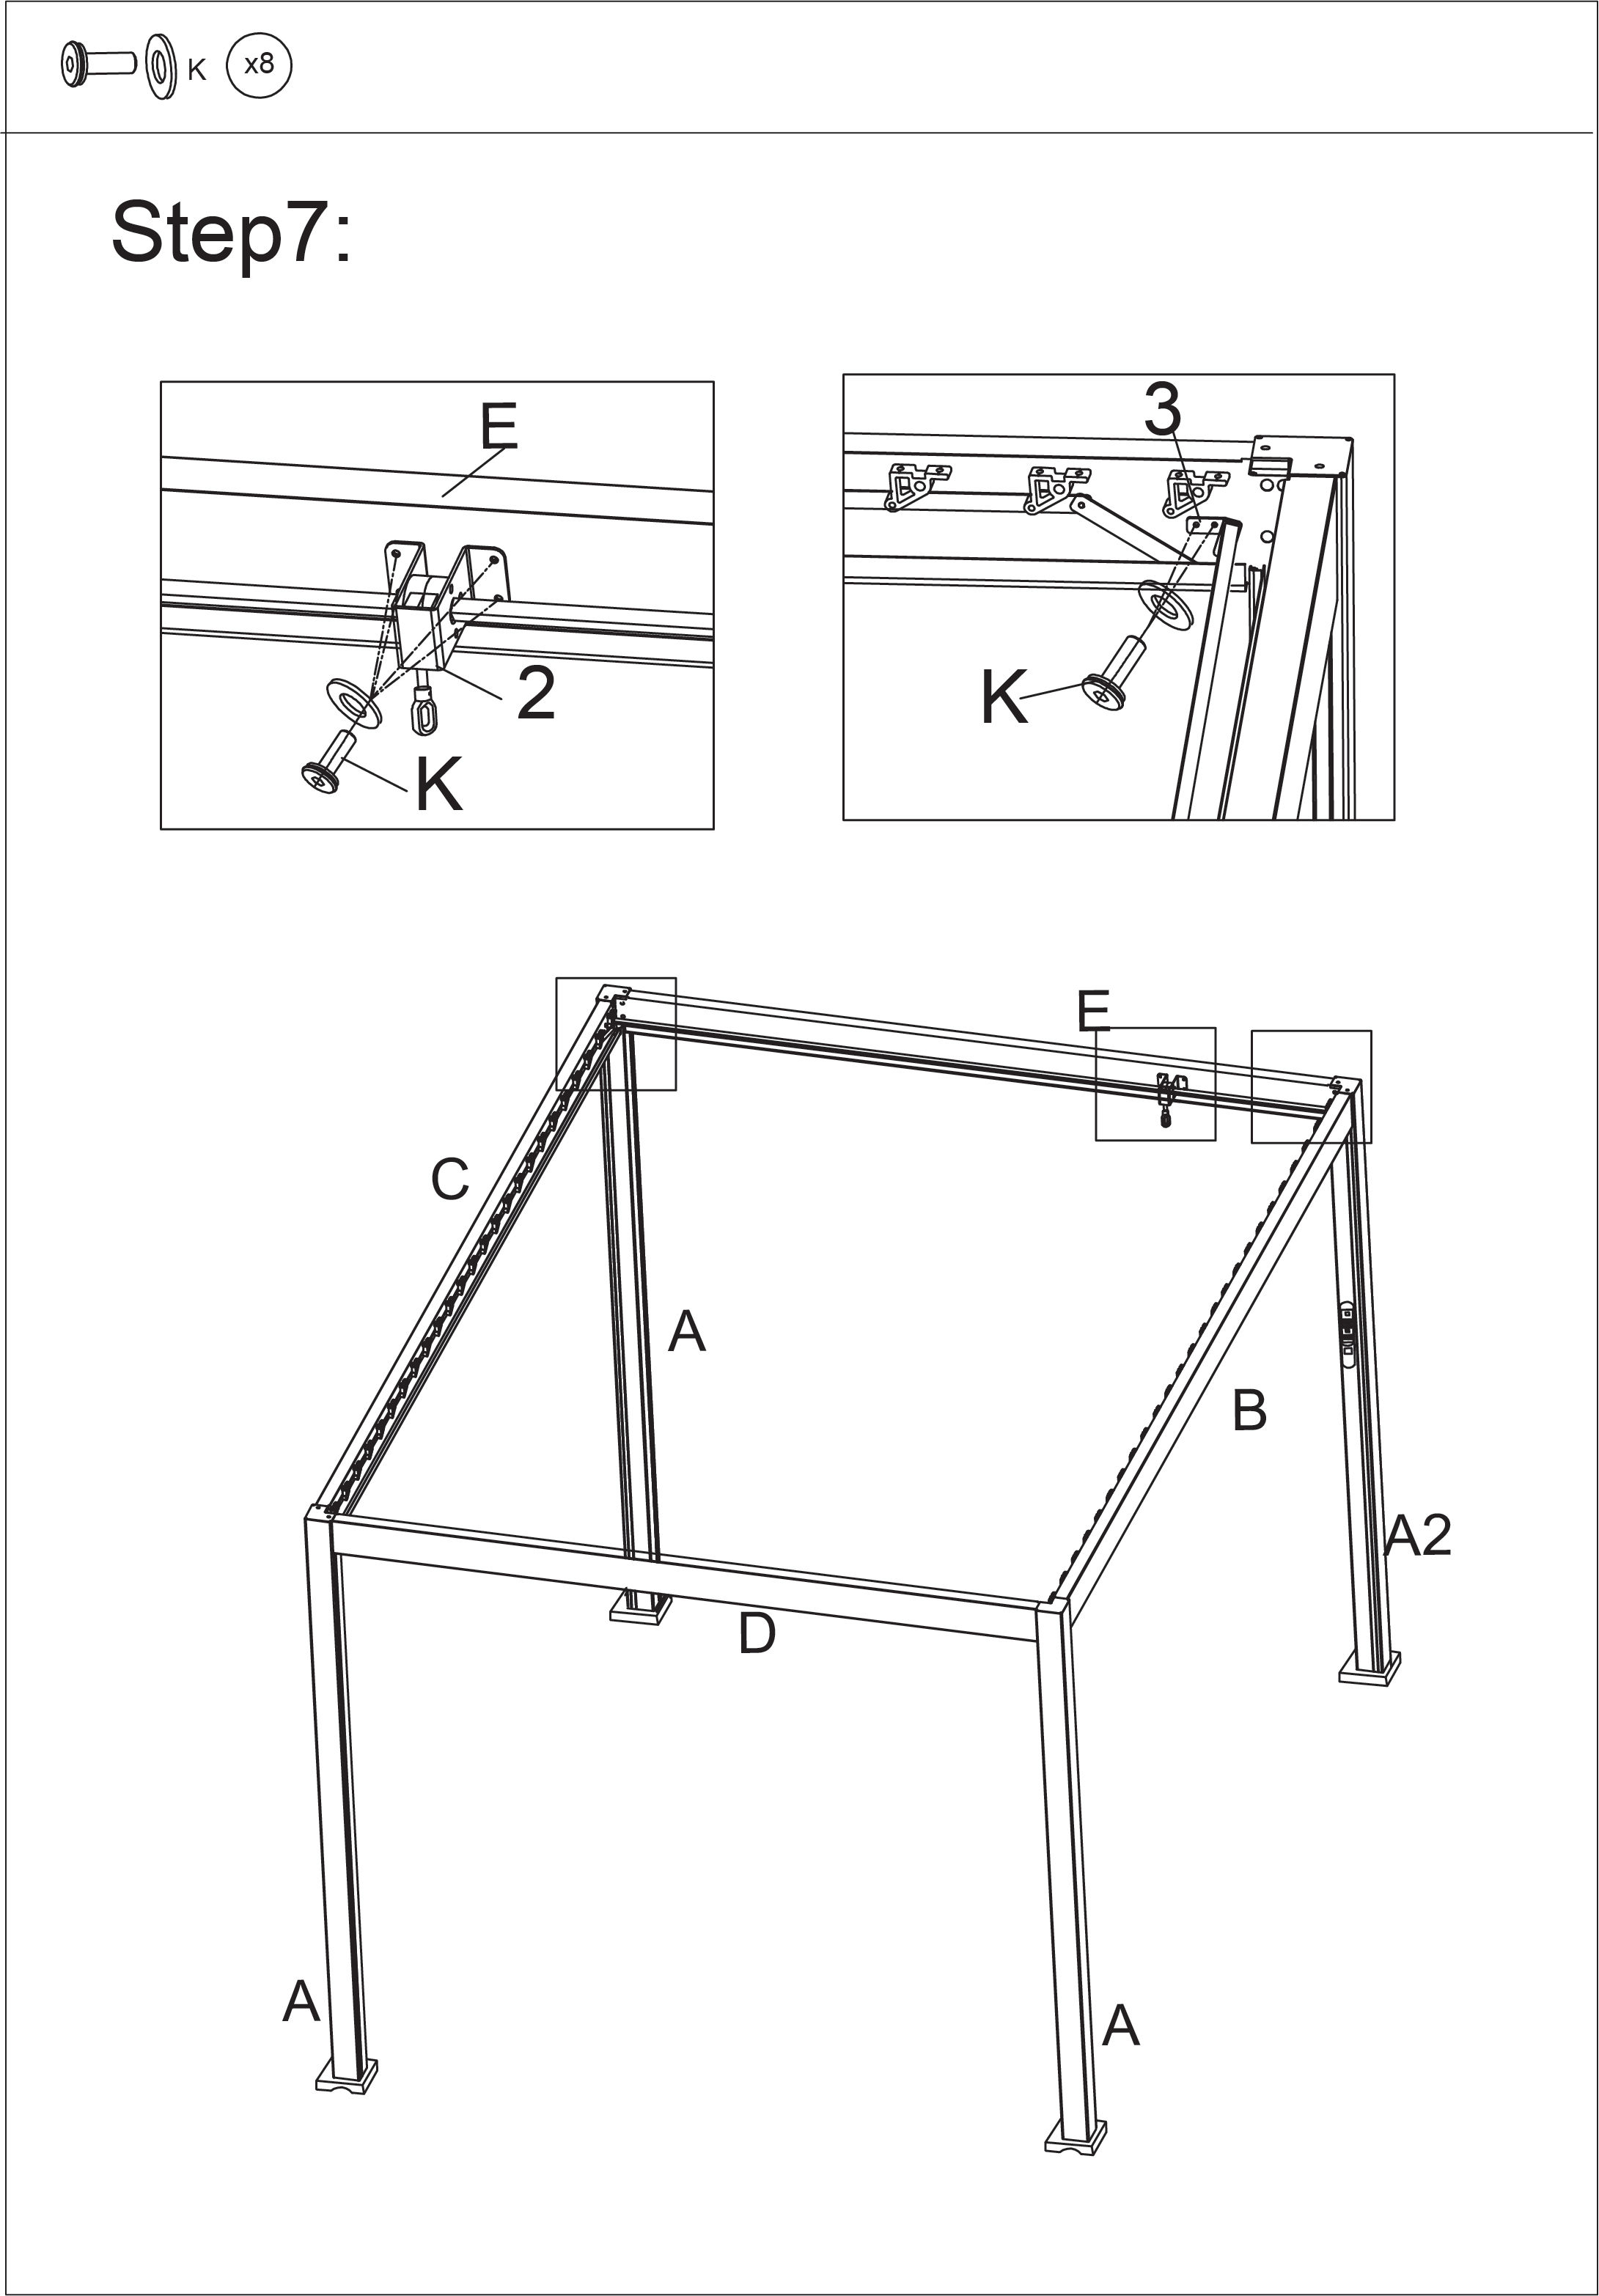
Part K - M6x17
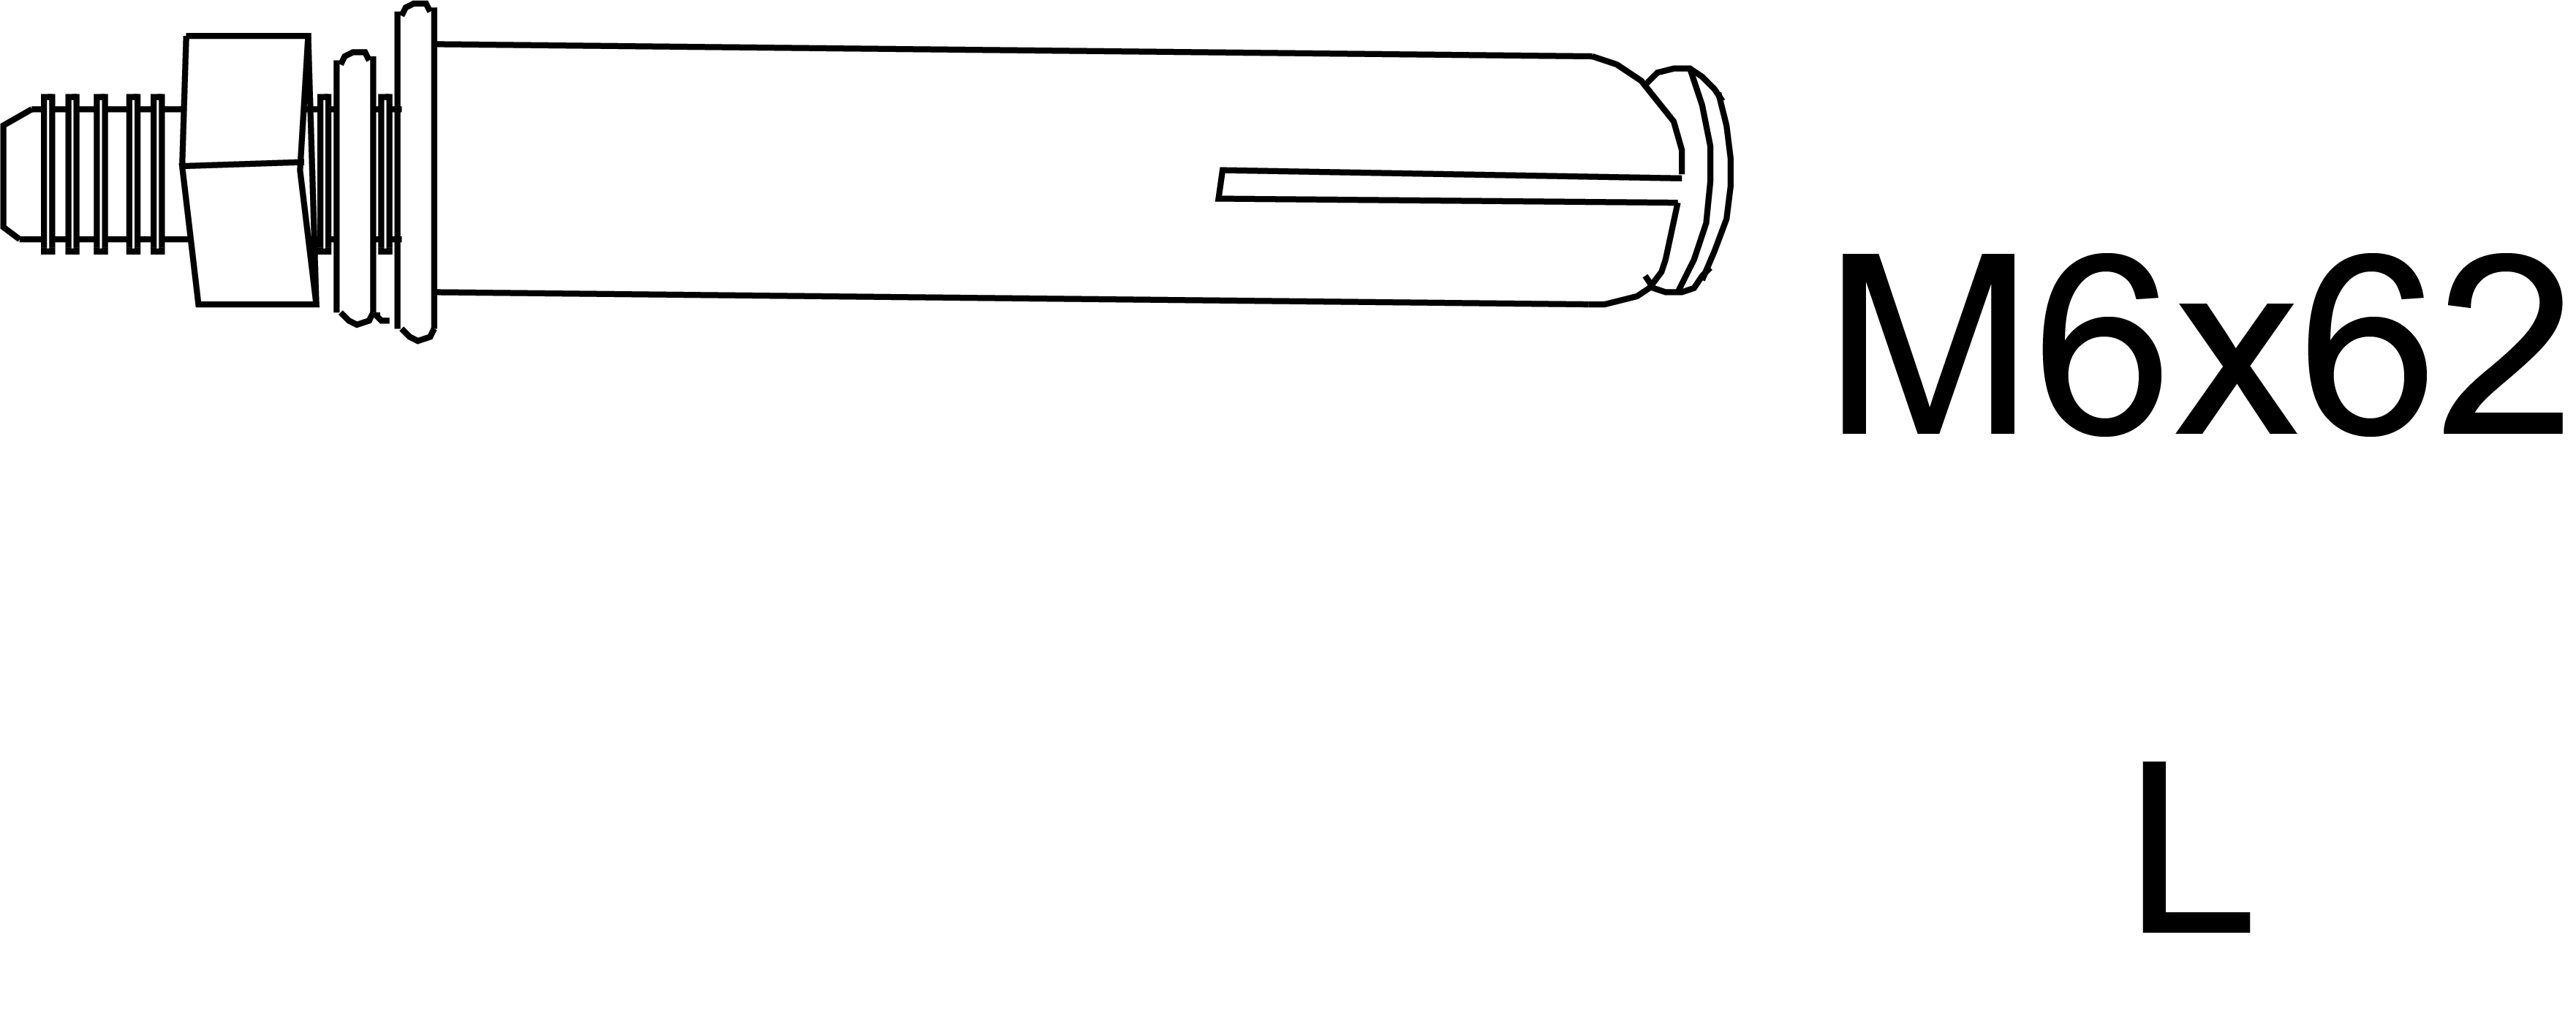
Part L - M6x62
Part O - Wrench
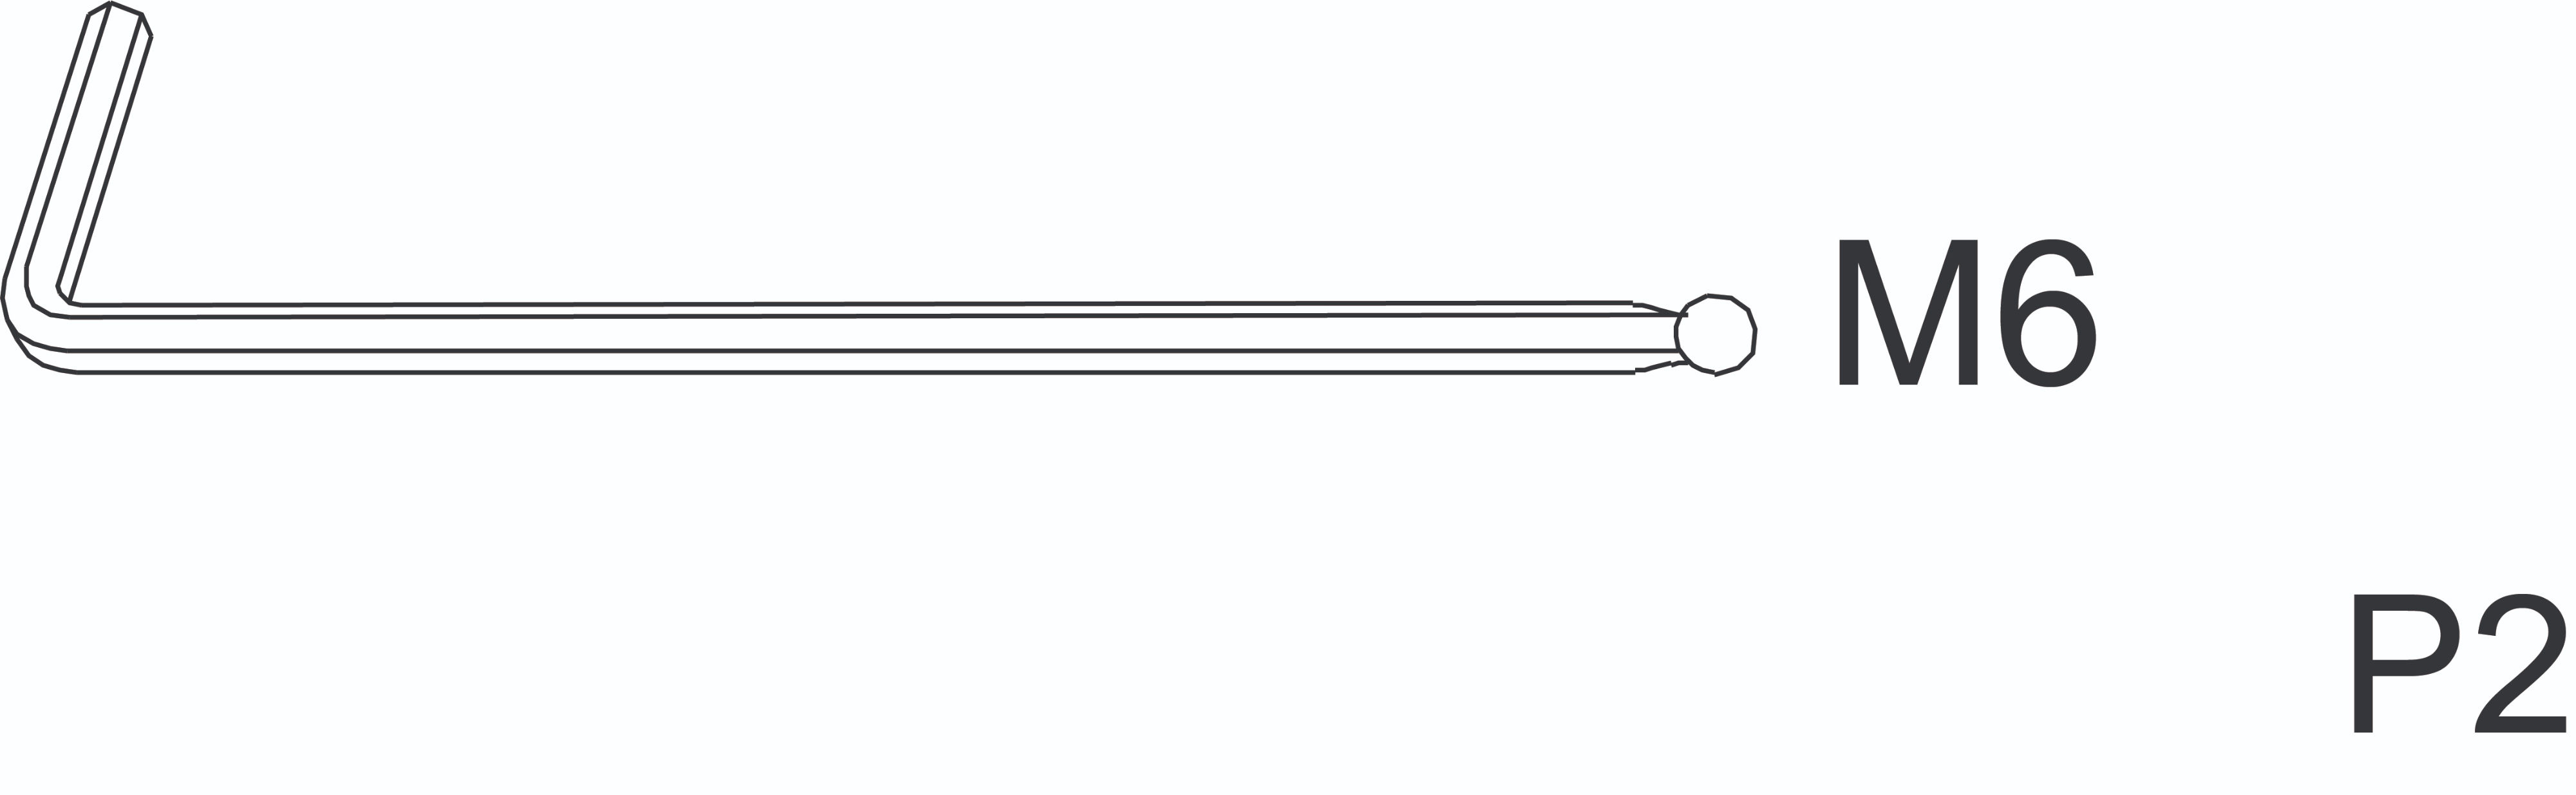
Part P2 - Allen Key
Part Q - Allen Key
Part R - Screwdriver
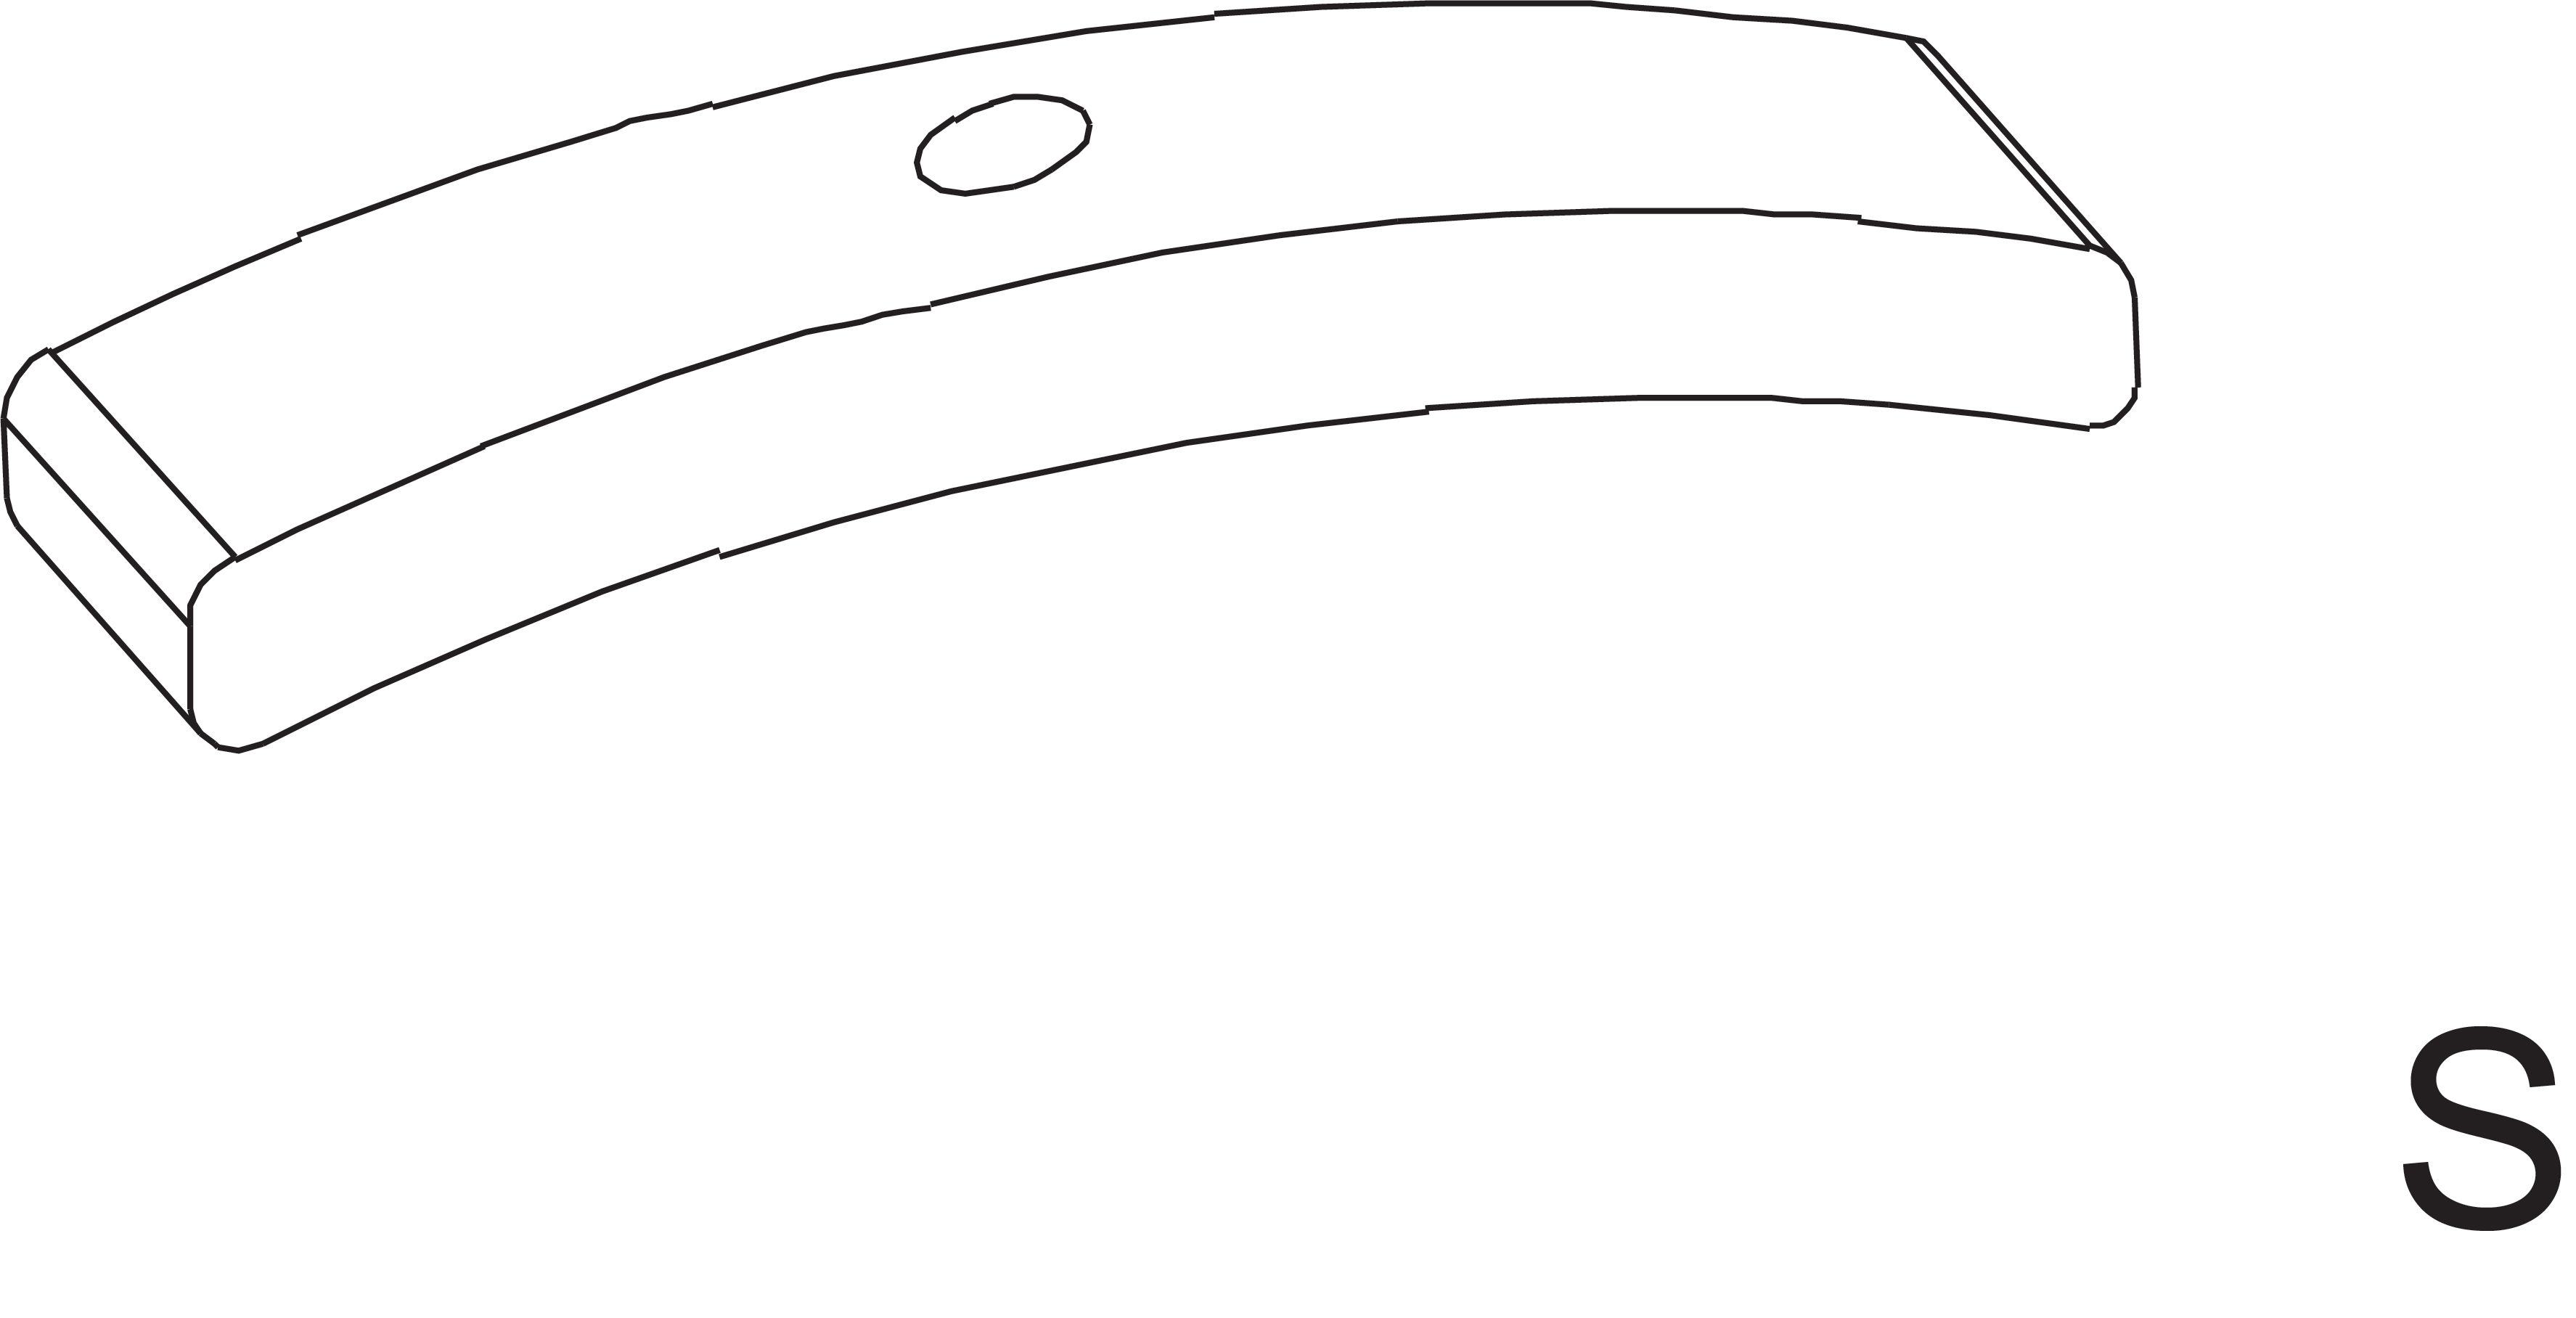
Part S - Screw Fitting
Part T - Screw Covers
Part Y1 - Solar Panel
Part Y2 - Solar Panel Housing
Part Z - M4.2x16
Part Z1 - Washer
Part Z2 - Washer
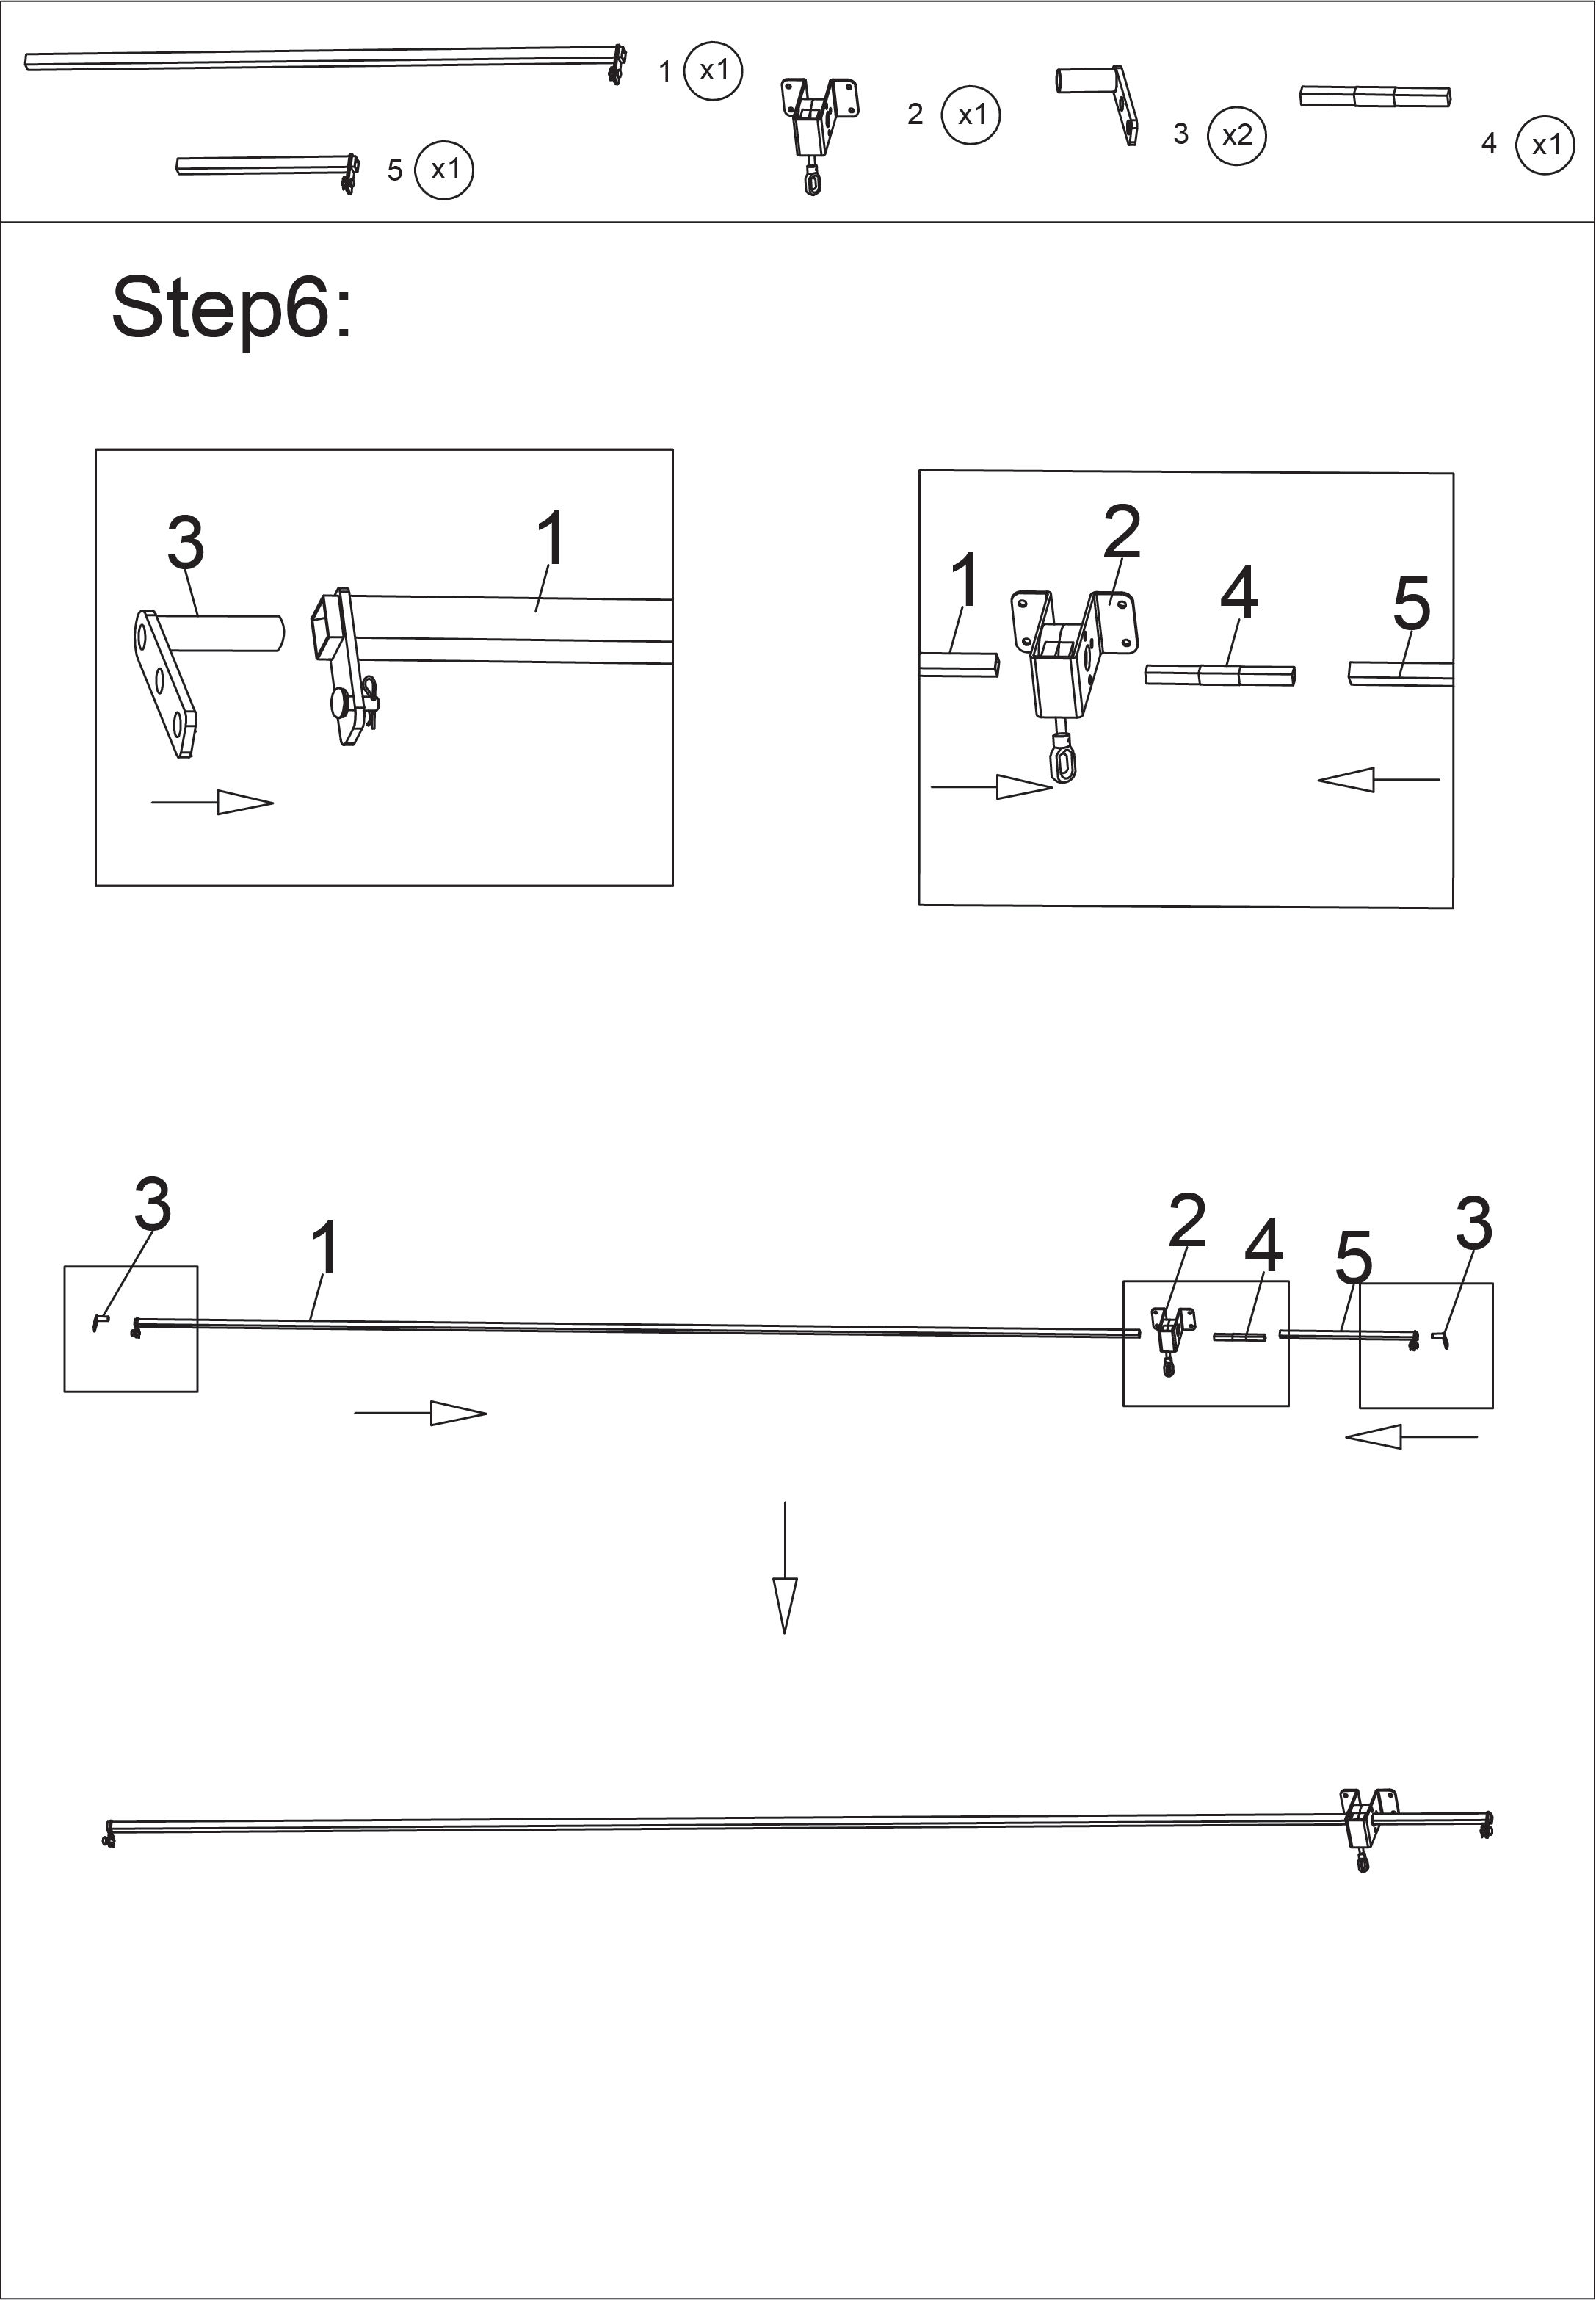
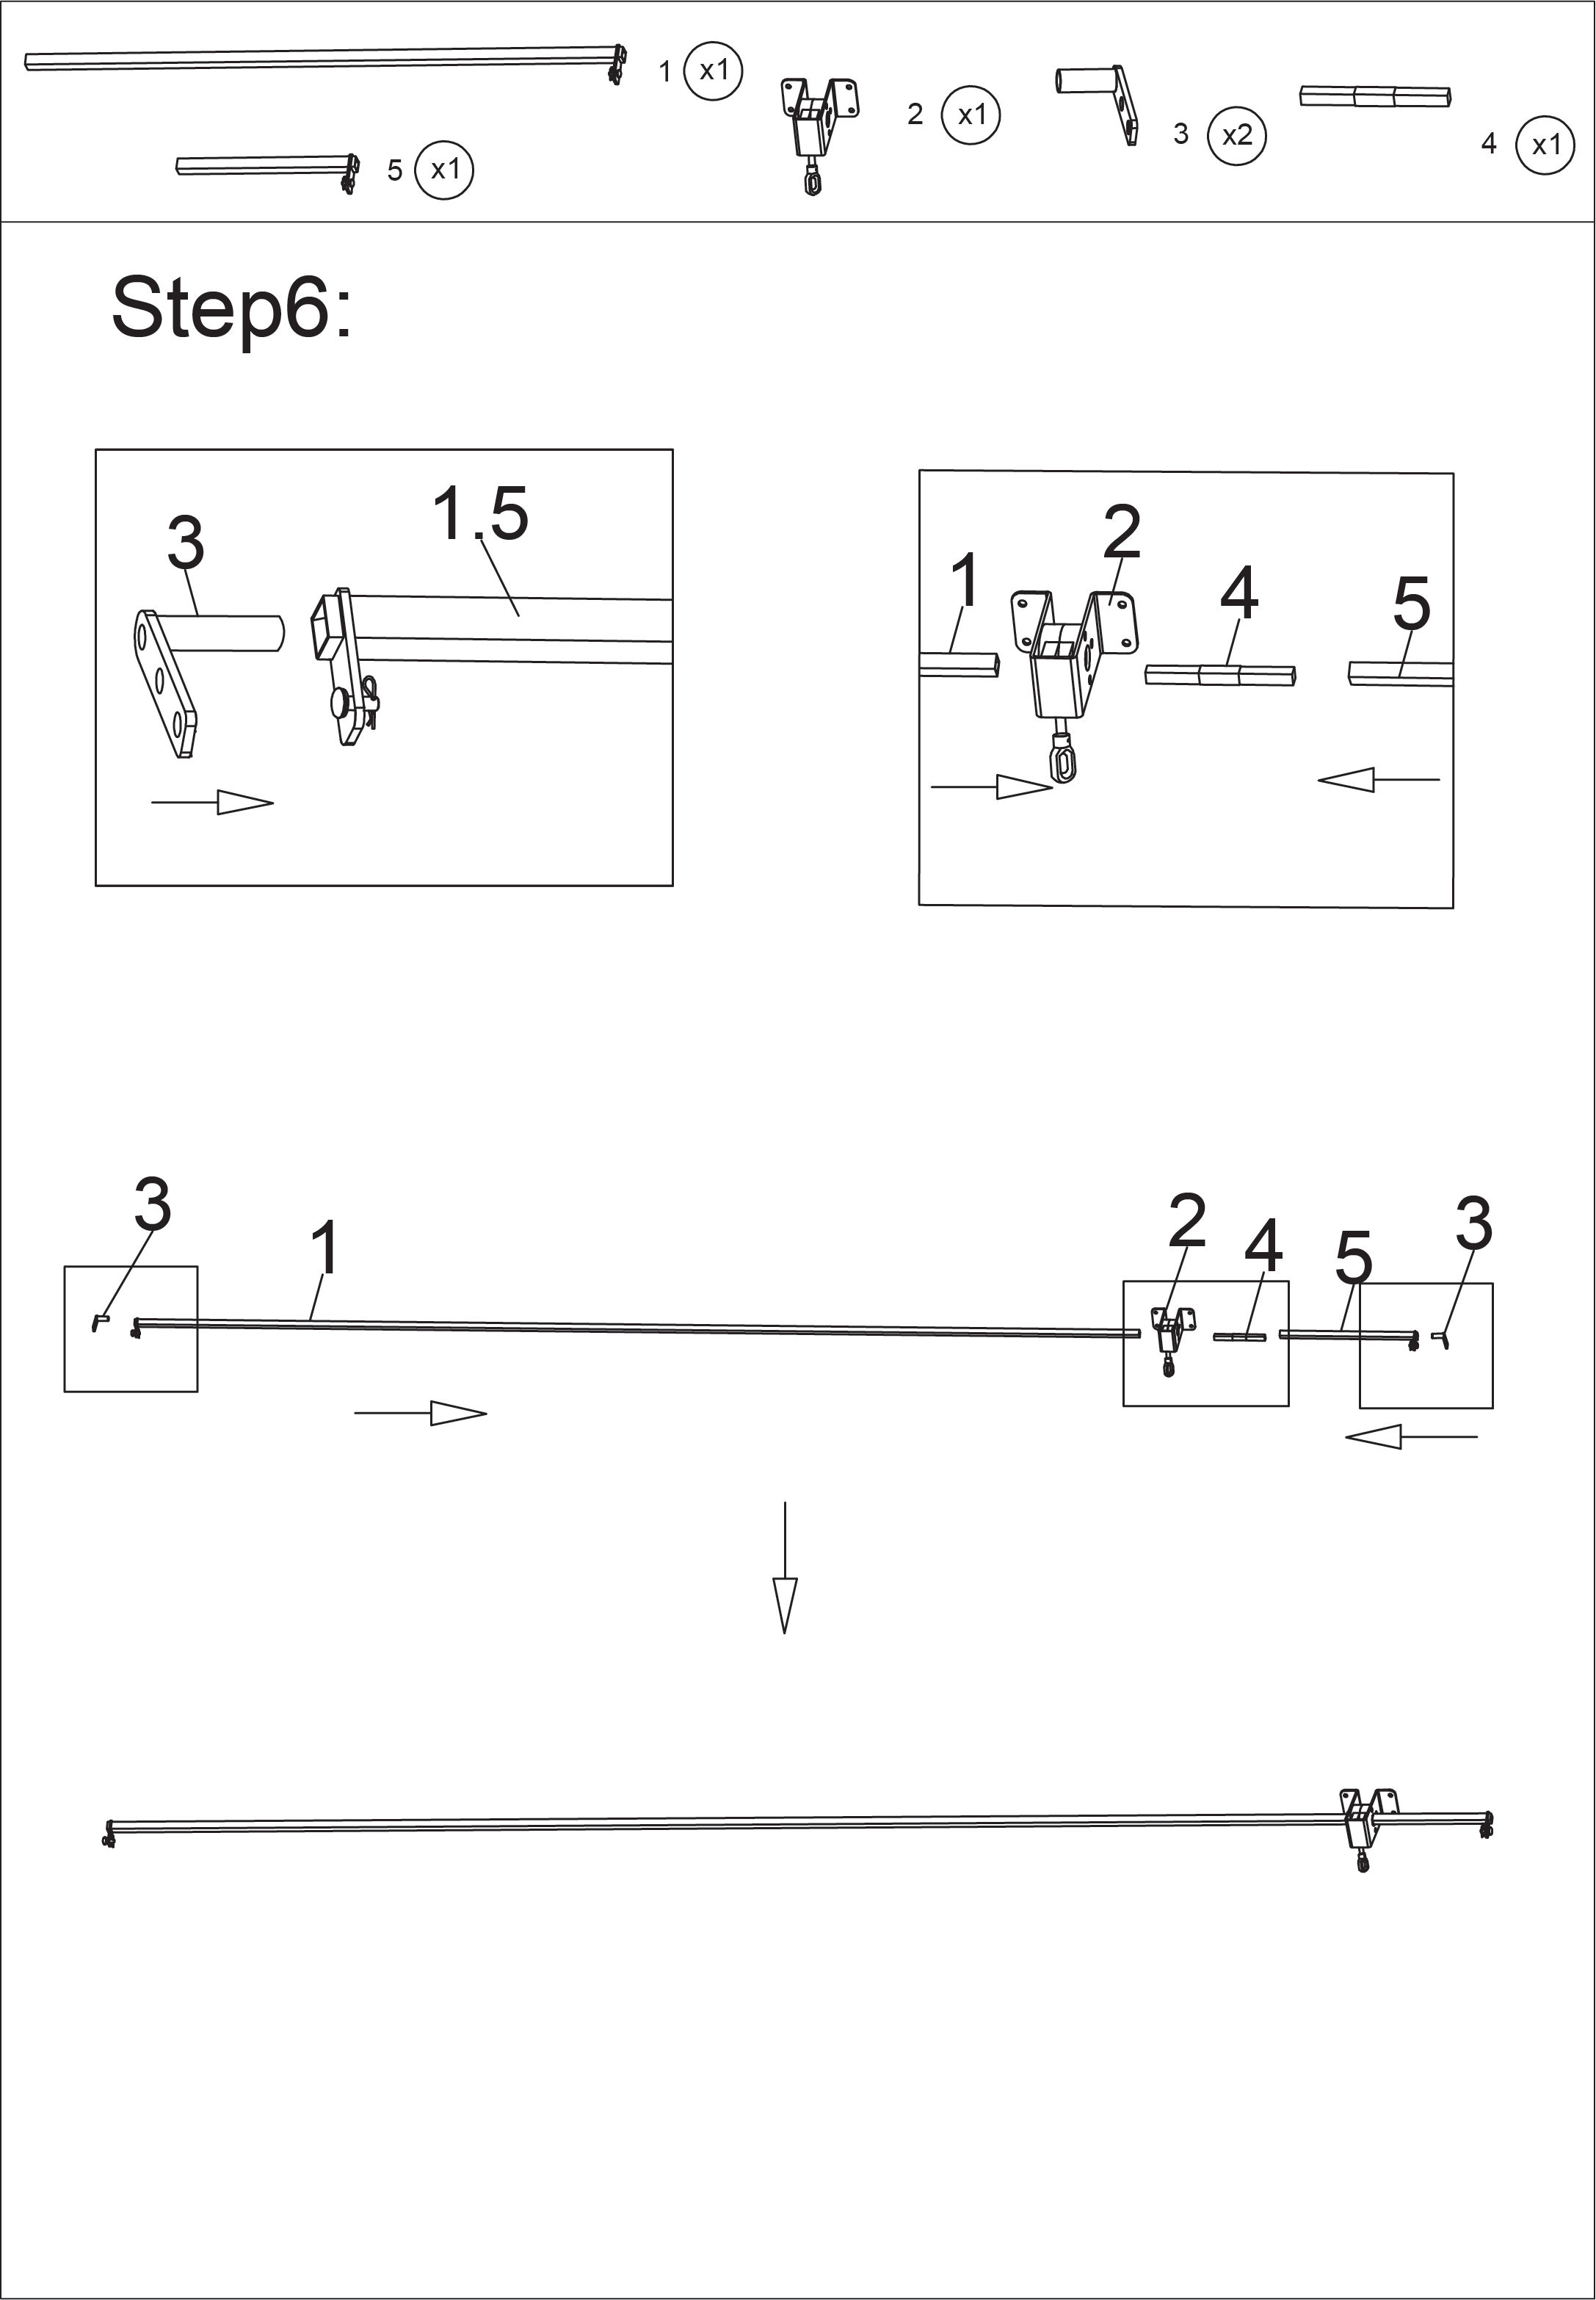
Part 1 - Long Drive Bar
Part 2 - Roof Control Fitting
Part 3 - Drive Bar Fitting
Part 4 - Drive Bar Connector
Part 5 - Short Drive Bar
3x4 pergola
Part A1 - Pergola Leg
Part A2 - Pergola Leg with LED Light Controller
Part B - Pergola Beam with Louvre Brackets
Part C - Pergola Beam with Louvre Brackets
Part D - Pergola Beam
Part E - Pergola Beam
Part F - Pergola Louvres
Part F2 - Pergola Louvres with LED Lights
Part G - Pergola Corner Fittings
Part H - Pergola Feet
Part H2 - Pergola Feet Covers
Part I - Handle
Part J - M4.2x25
Part K - M6x17
Part L - M6x62
Part O - Wrench
Part P2 - Allen Key
Part Q - Allen Key
Part R - Screwdriver
Part S - Louvre Cap
Part T - Screw Covers
Part Y1 - Solar Panel
Part Y2 - Solar Panel Housing
Part Z - M4.2x16
Part Z1 - Washer
Part Z2 - Washer
Part 1 - Long Drive Bar
Part 2 - Roof Control Fitting
Part 3 - Drive Bar Fitting
Part 4 - Drive Bar Connector
Part 5 - Short Drive Bar
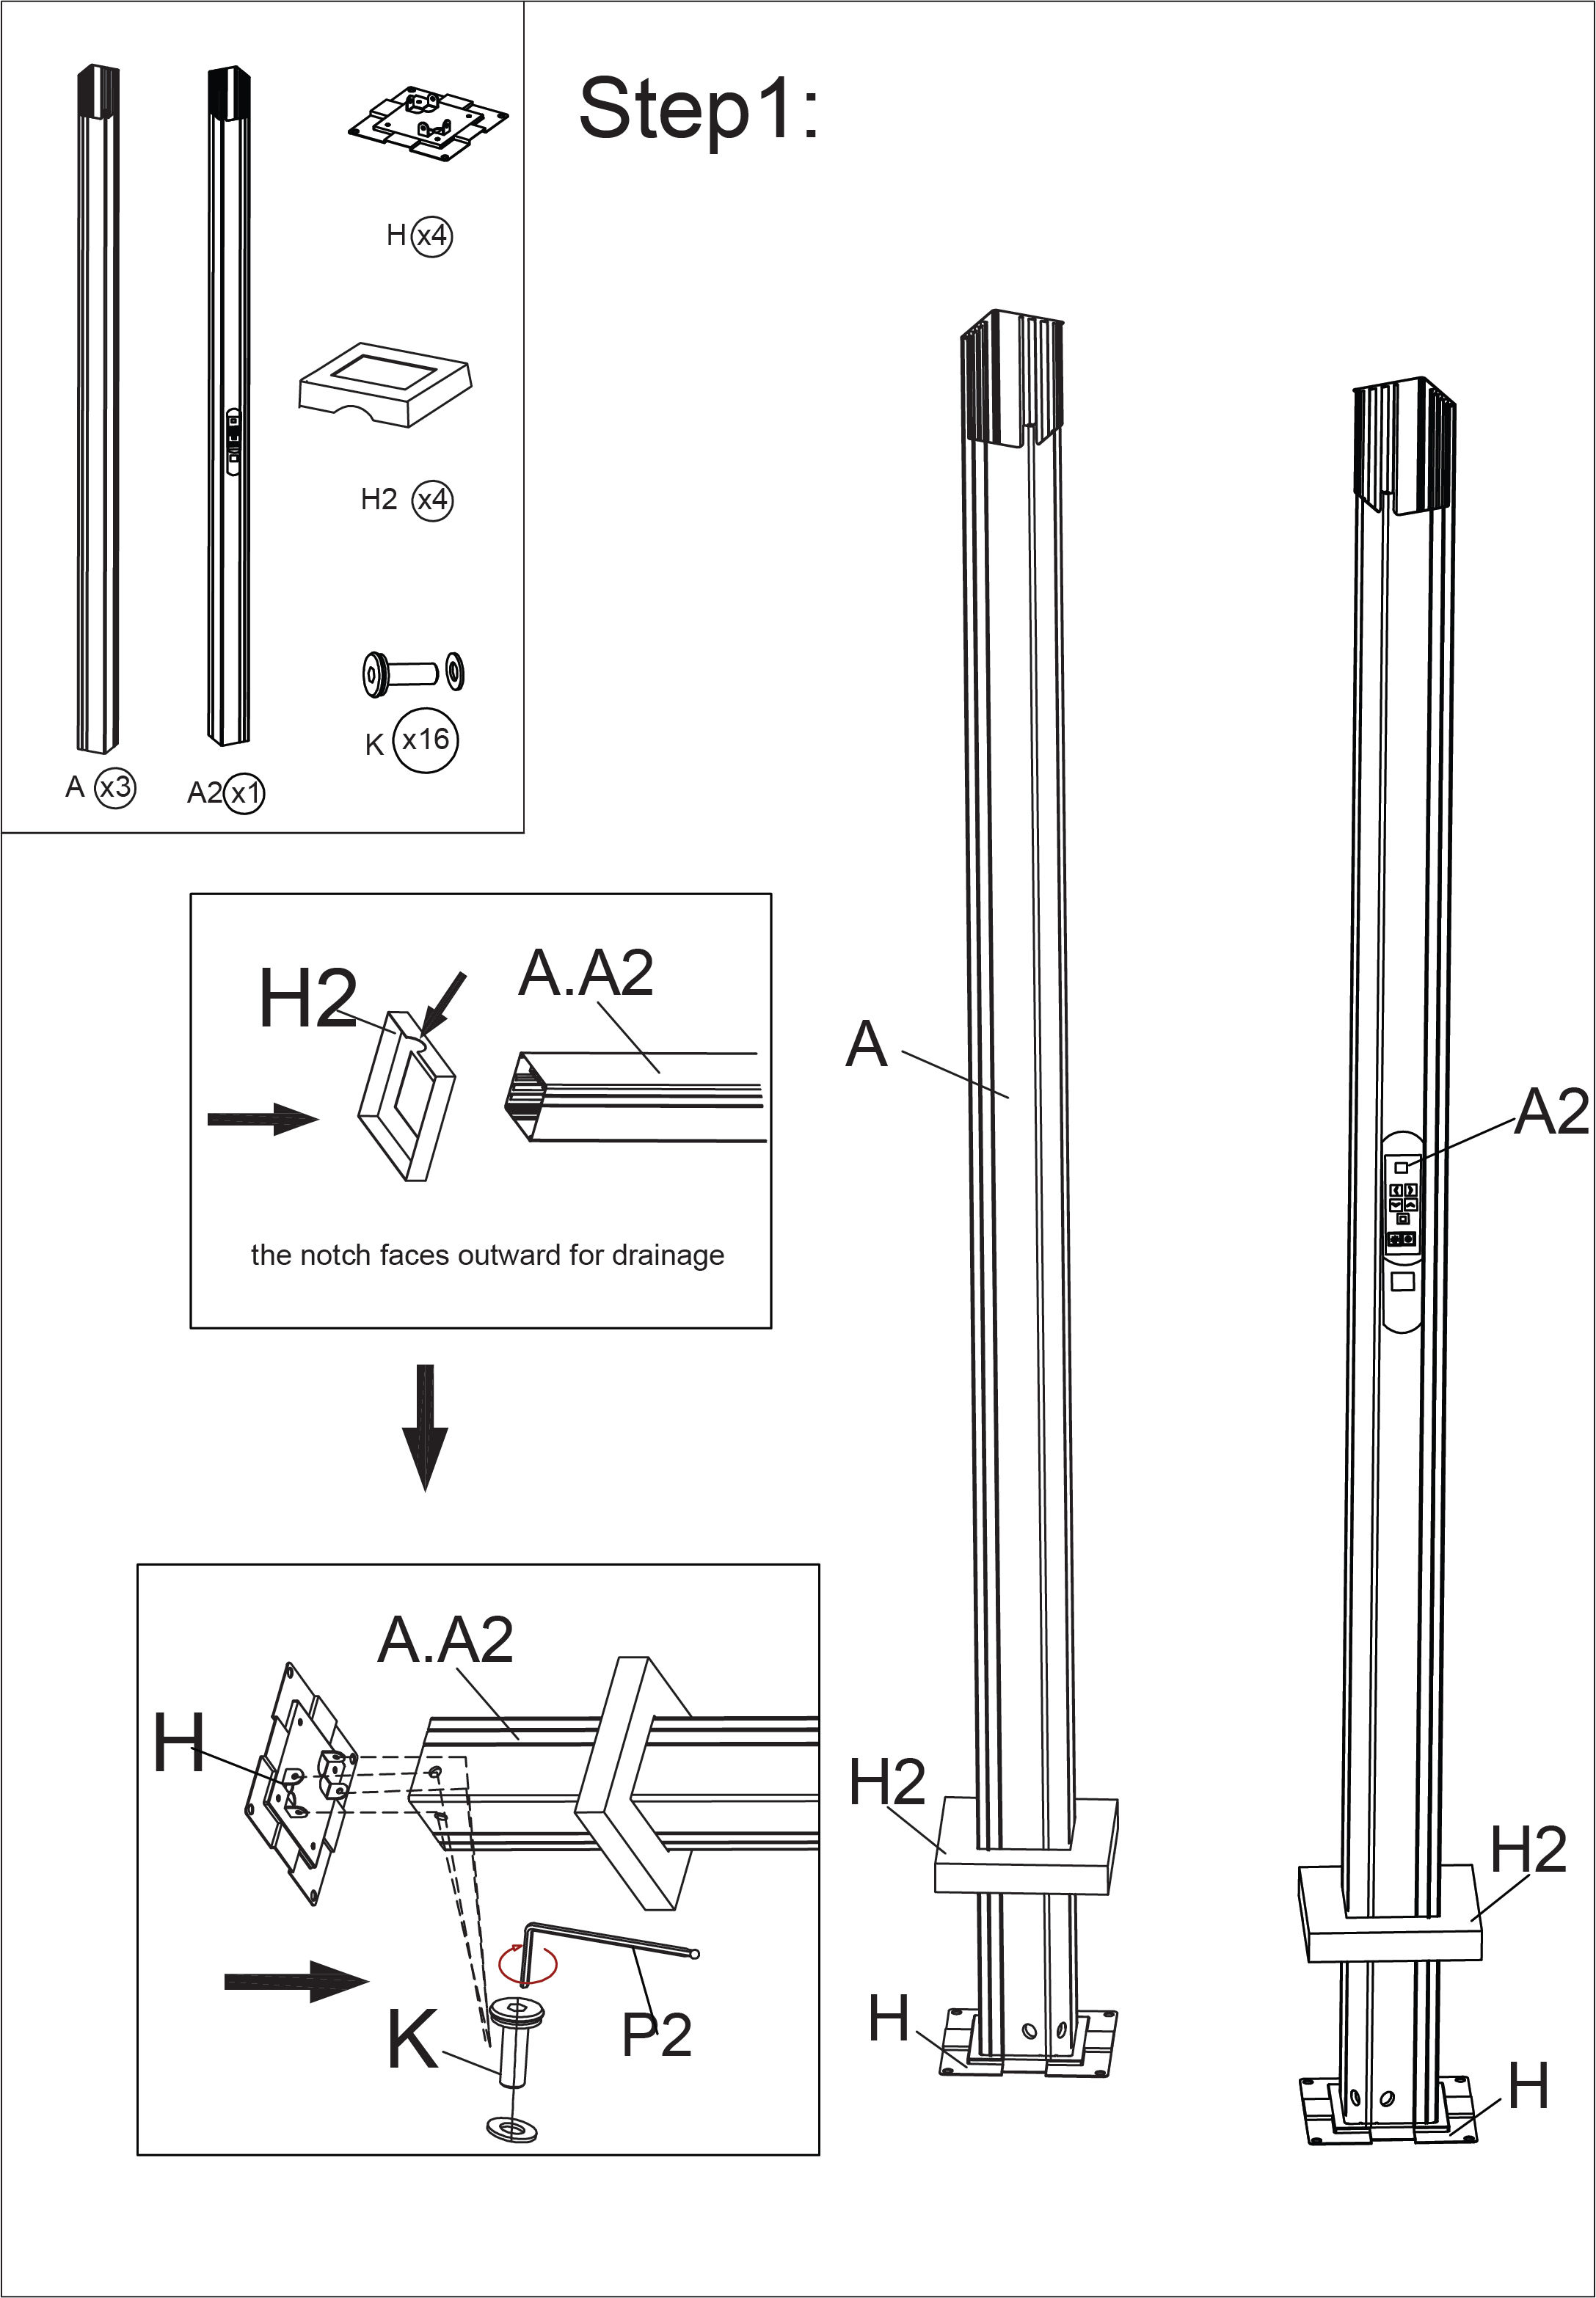
1.
2.
3.
4.
5.
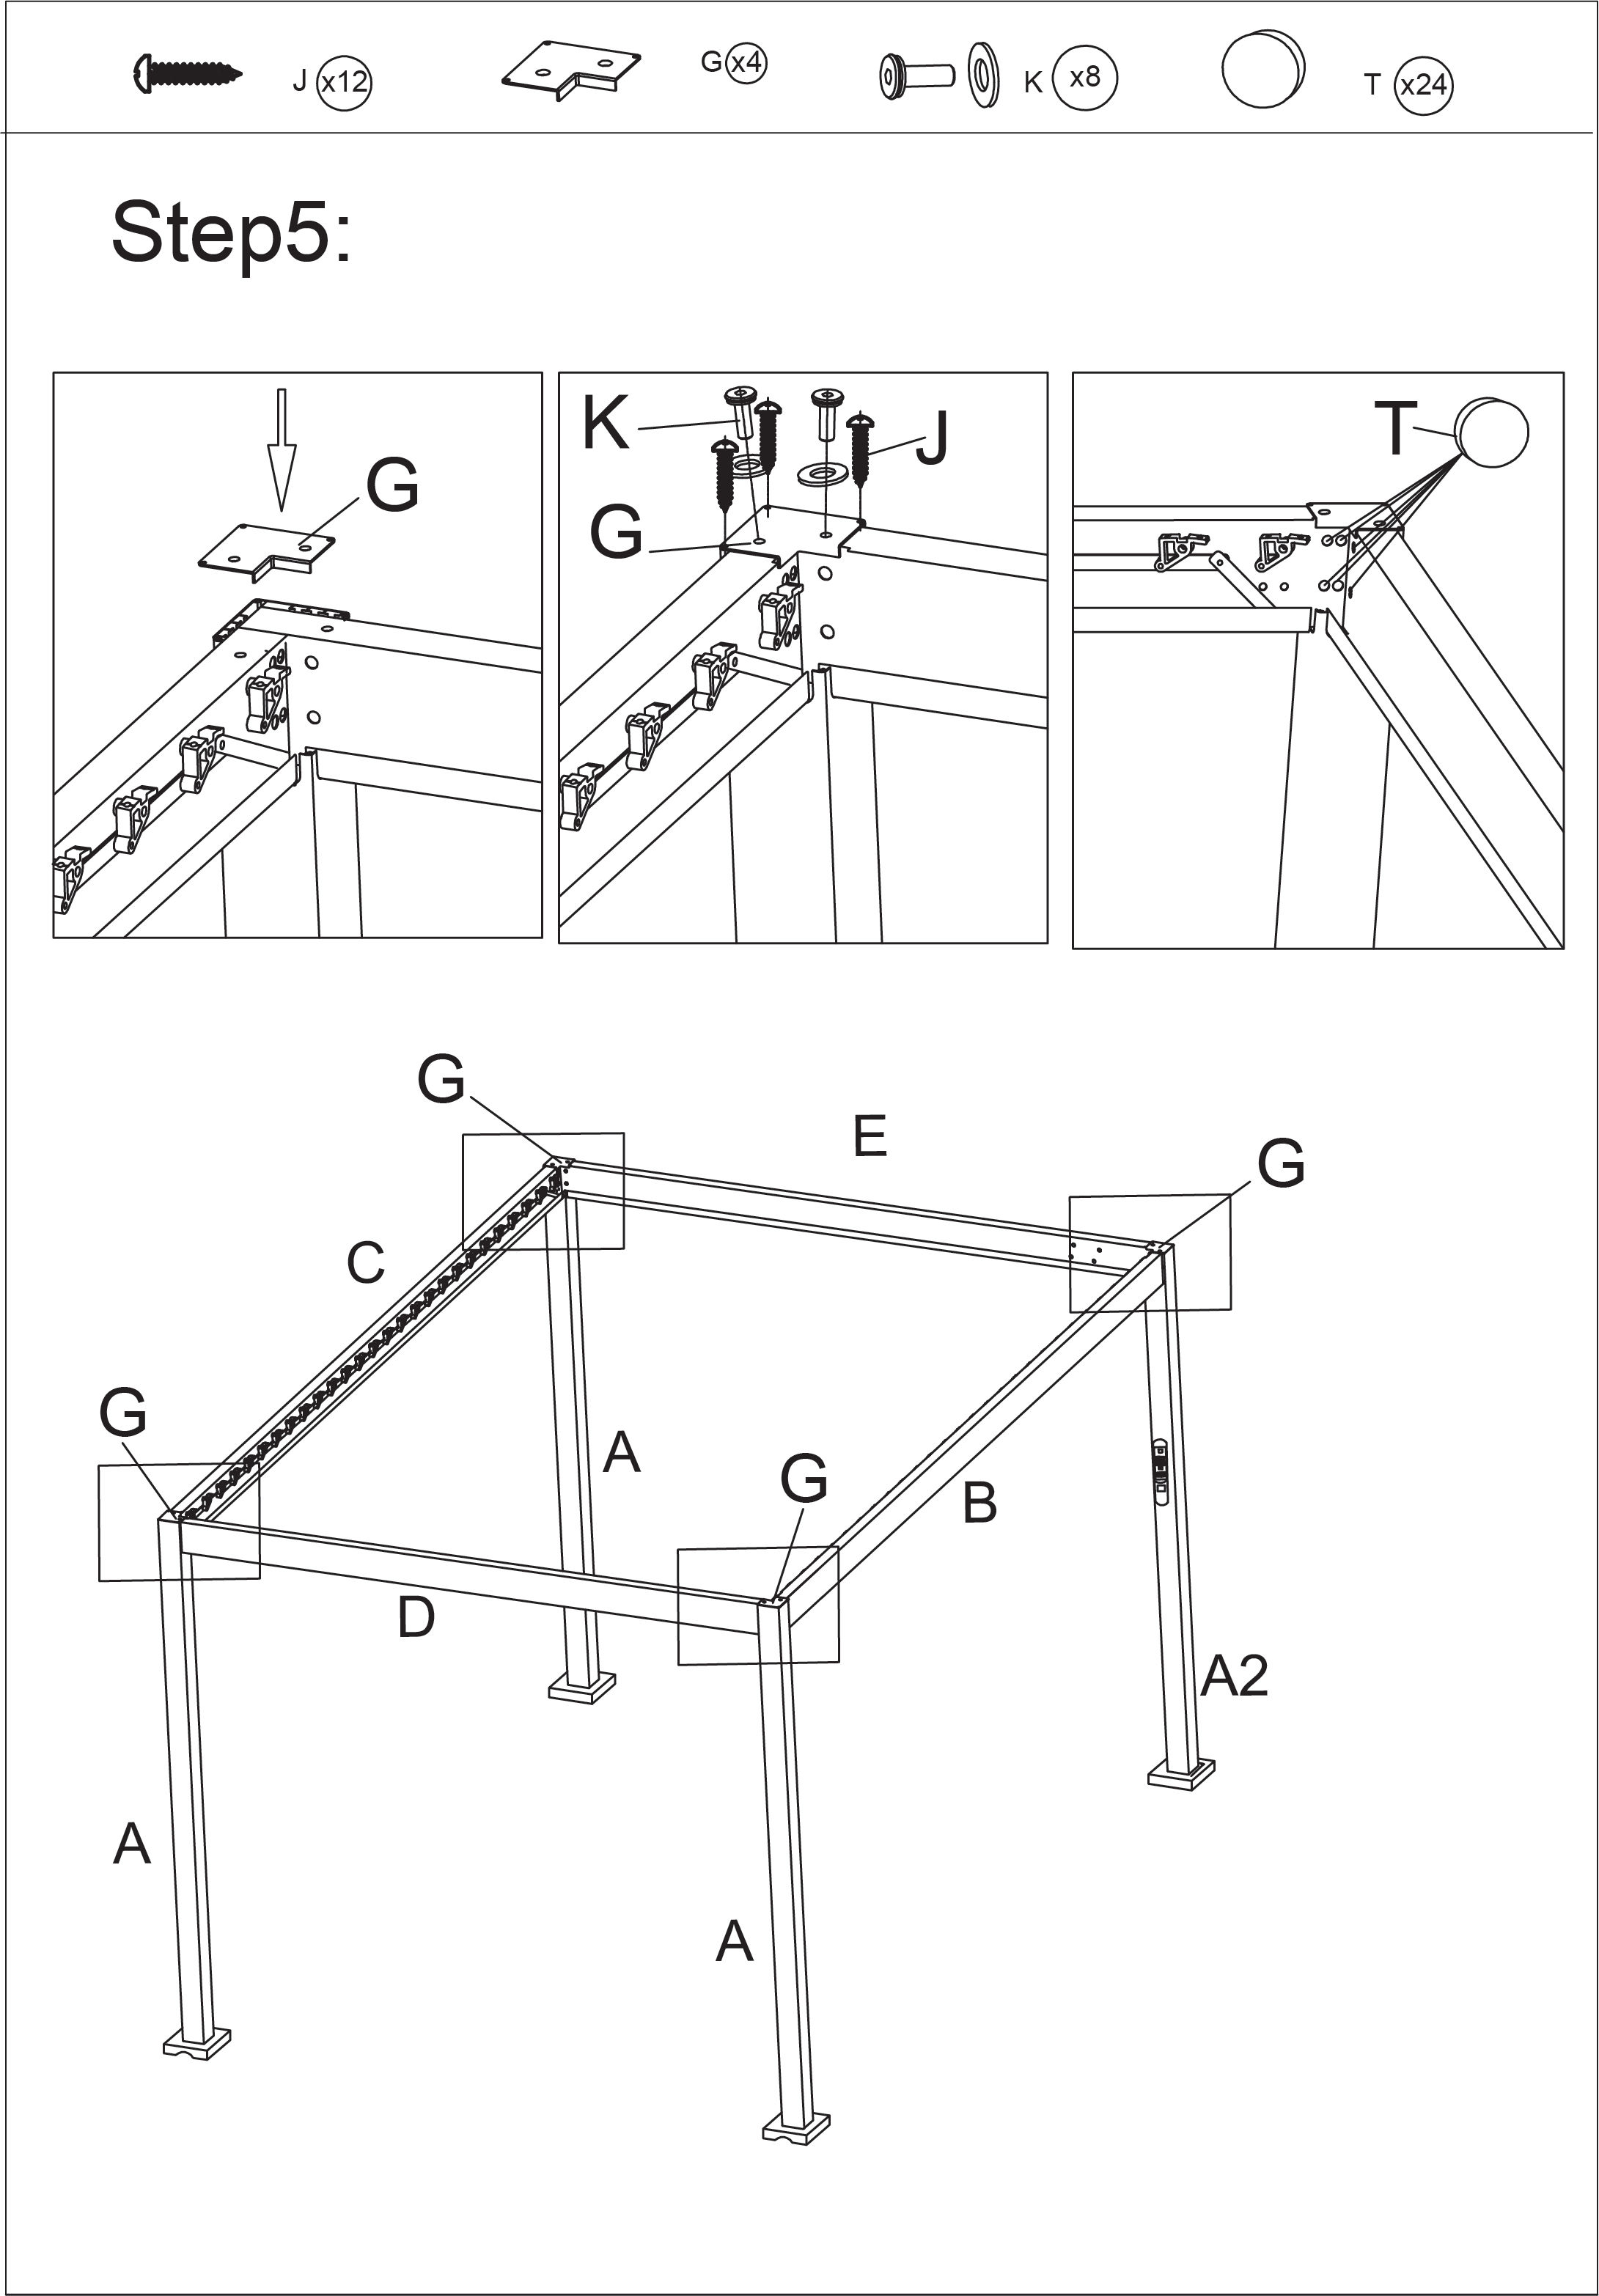
6. 3x4
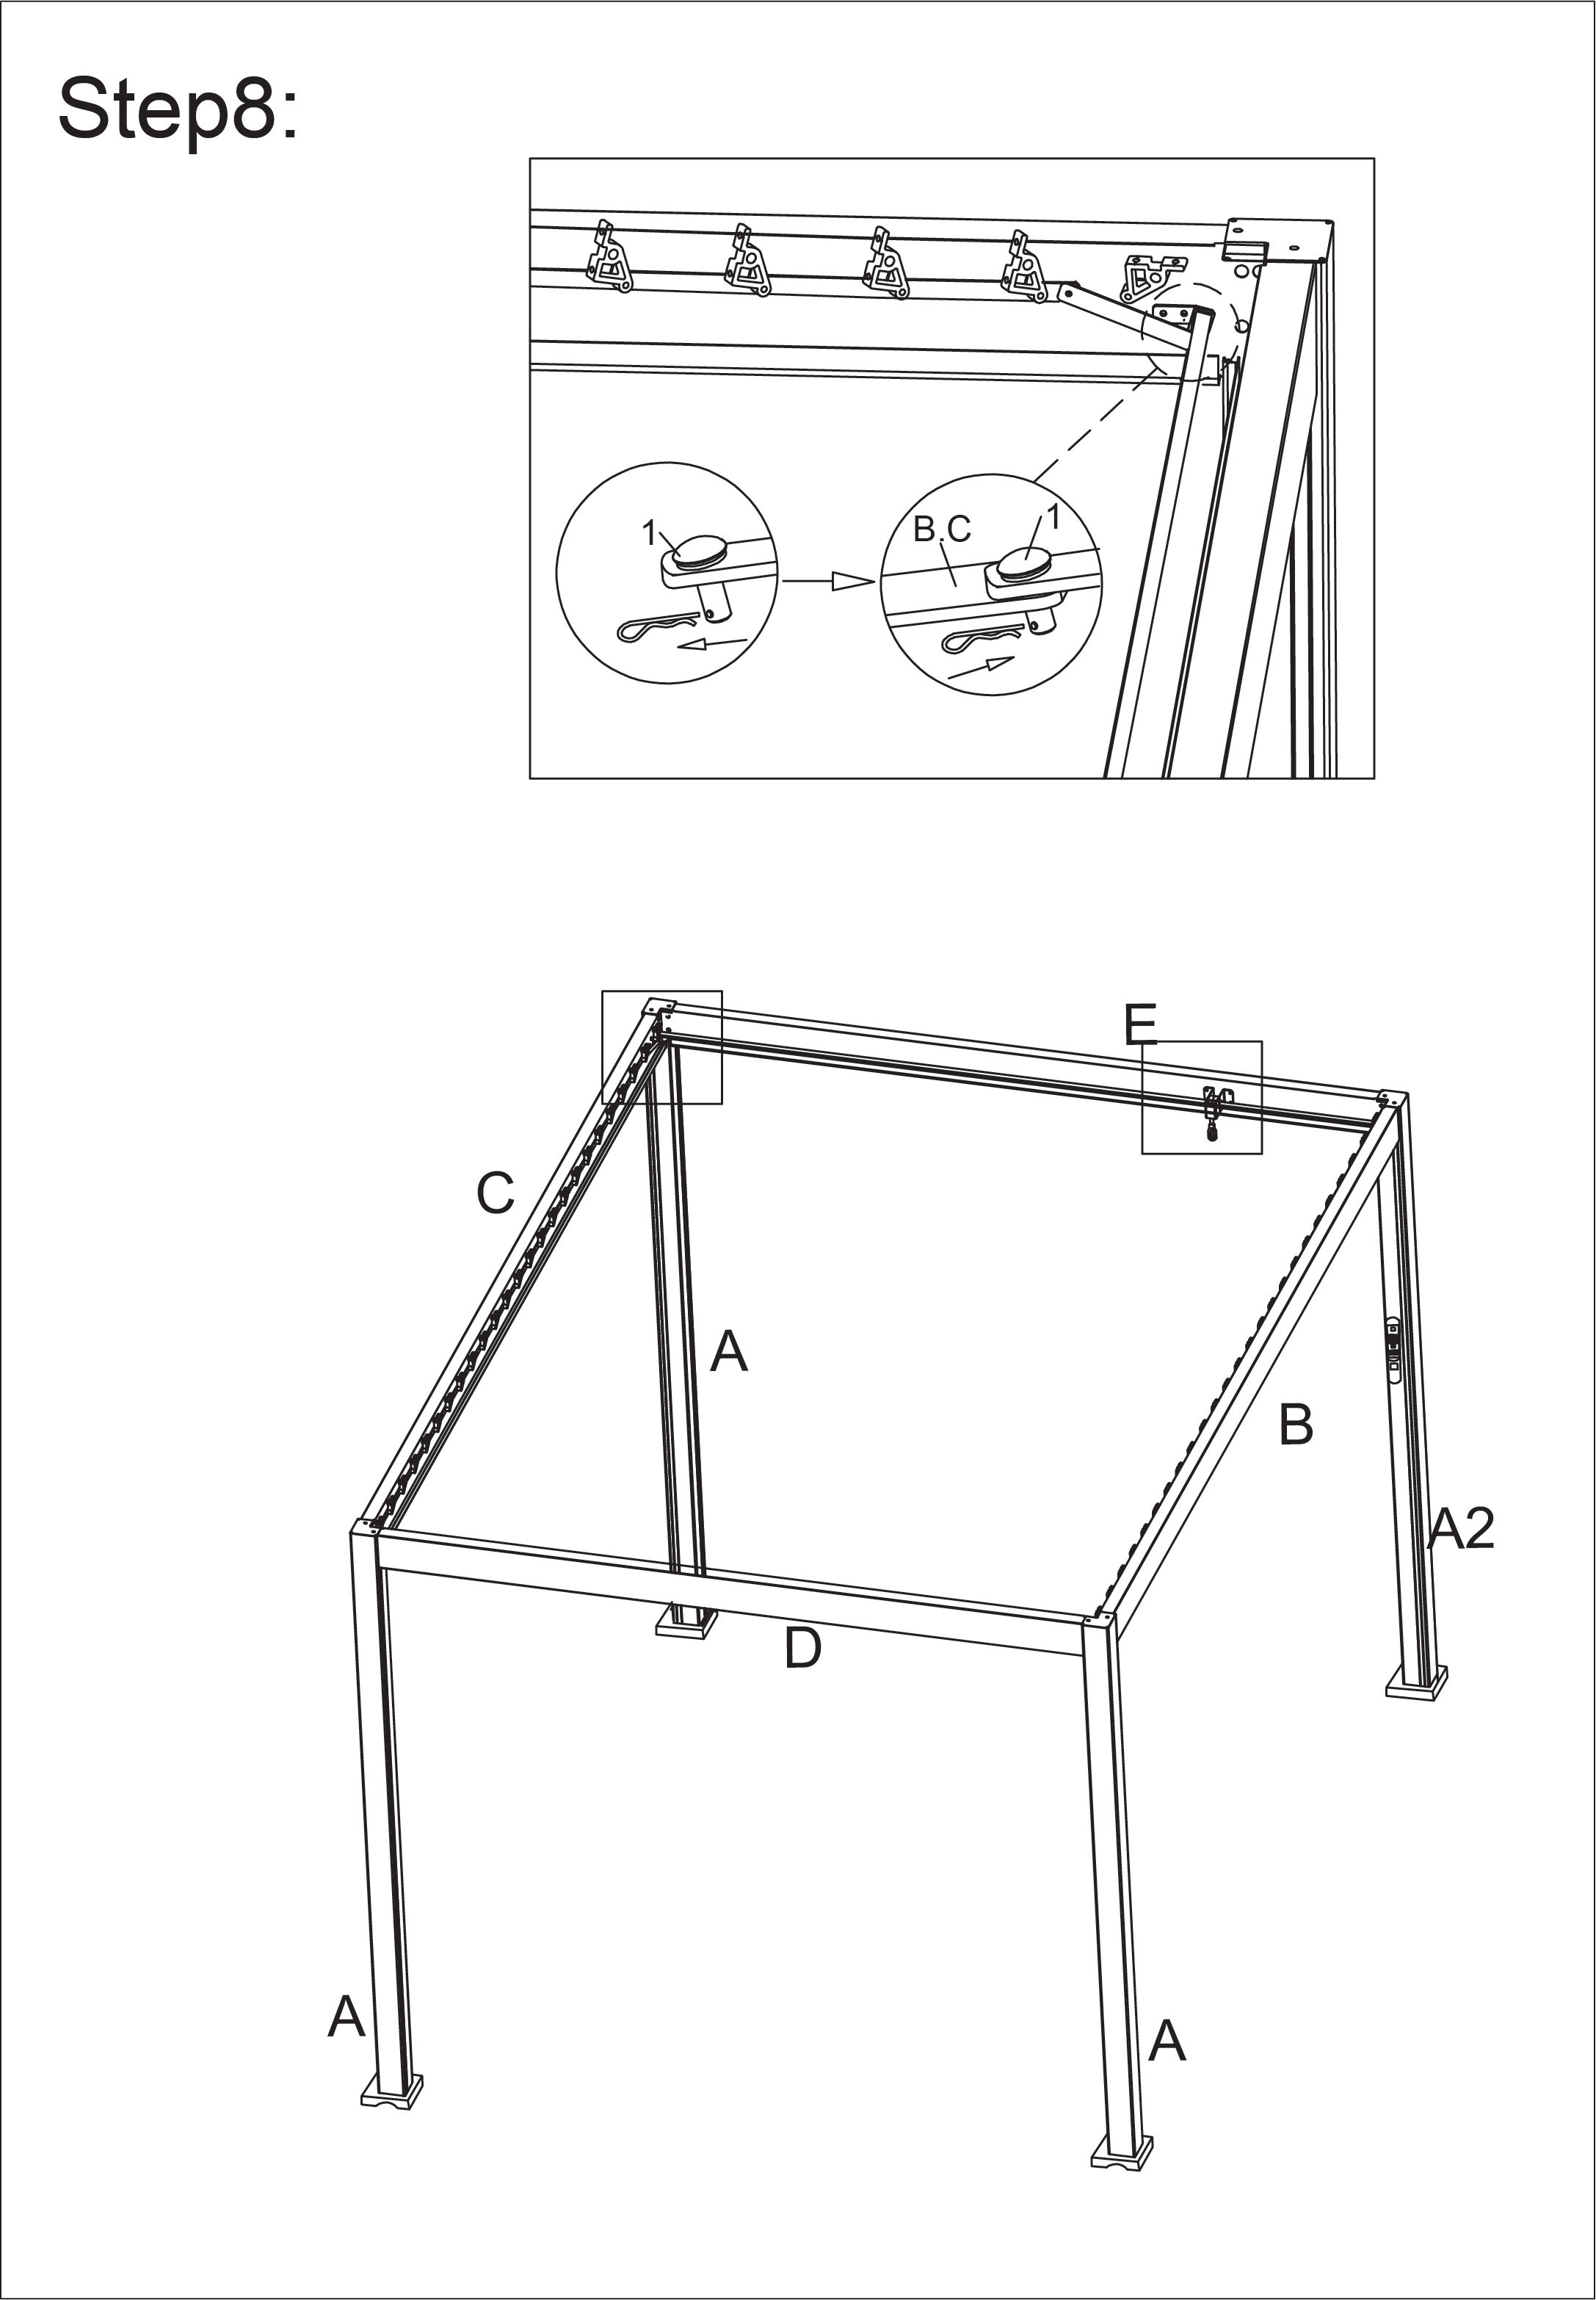
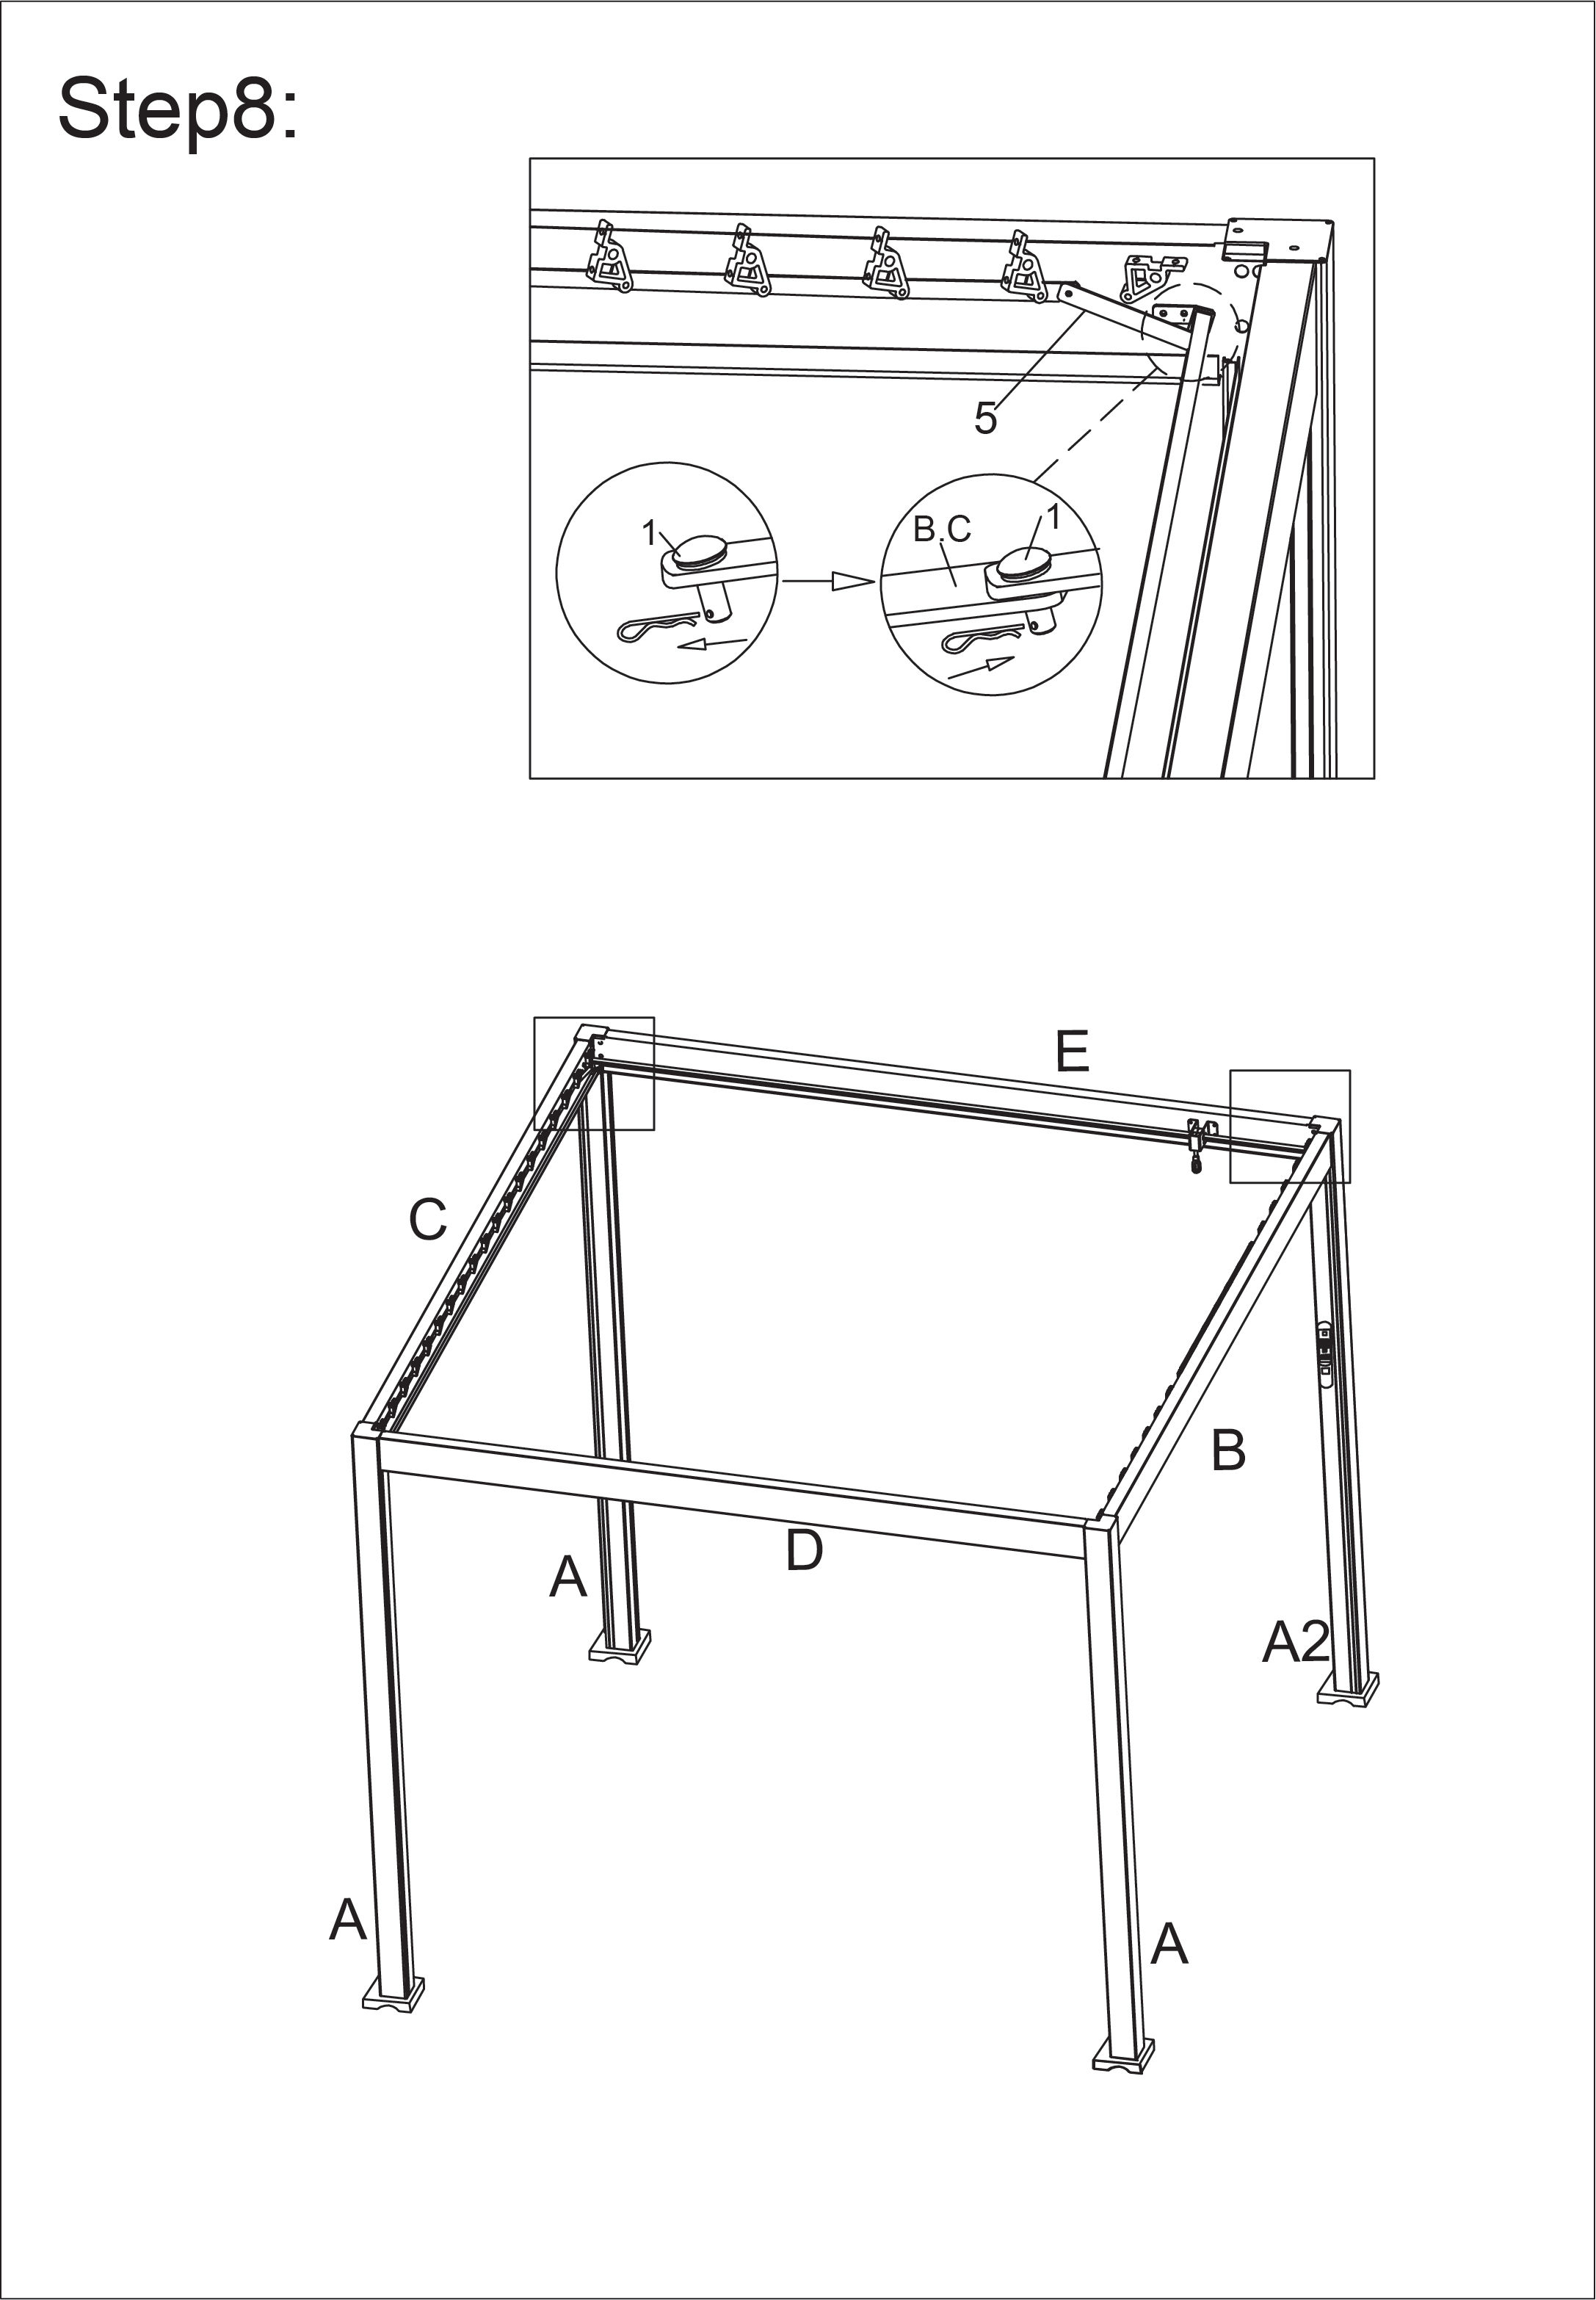
7. 3x3
8.
9. 3x4
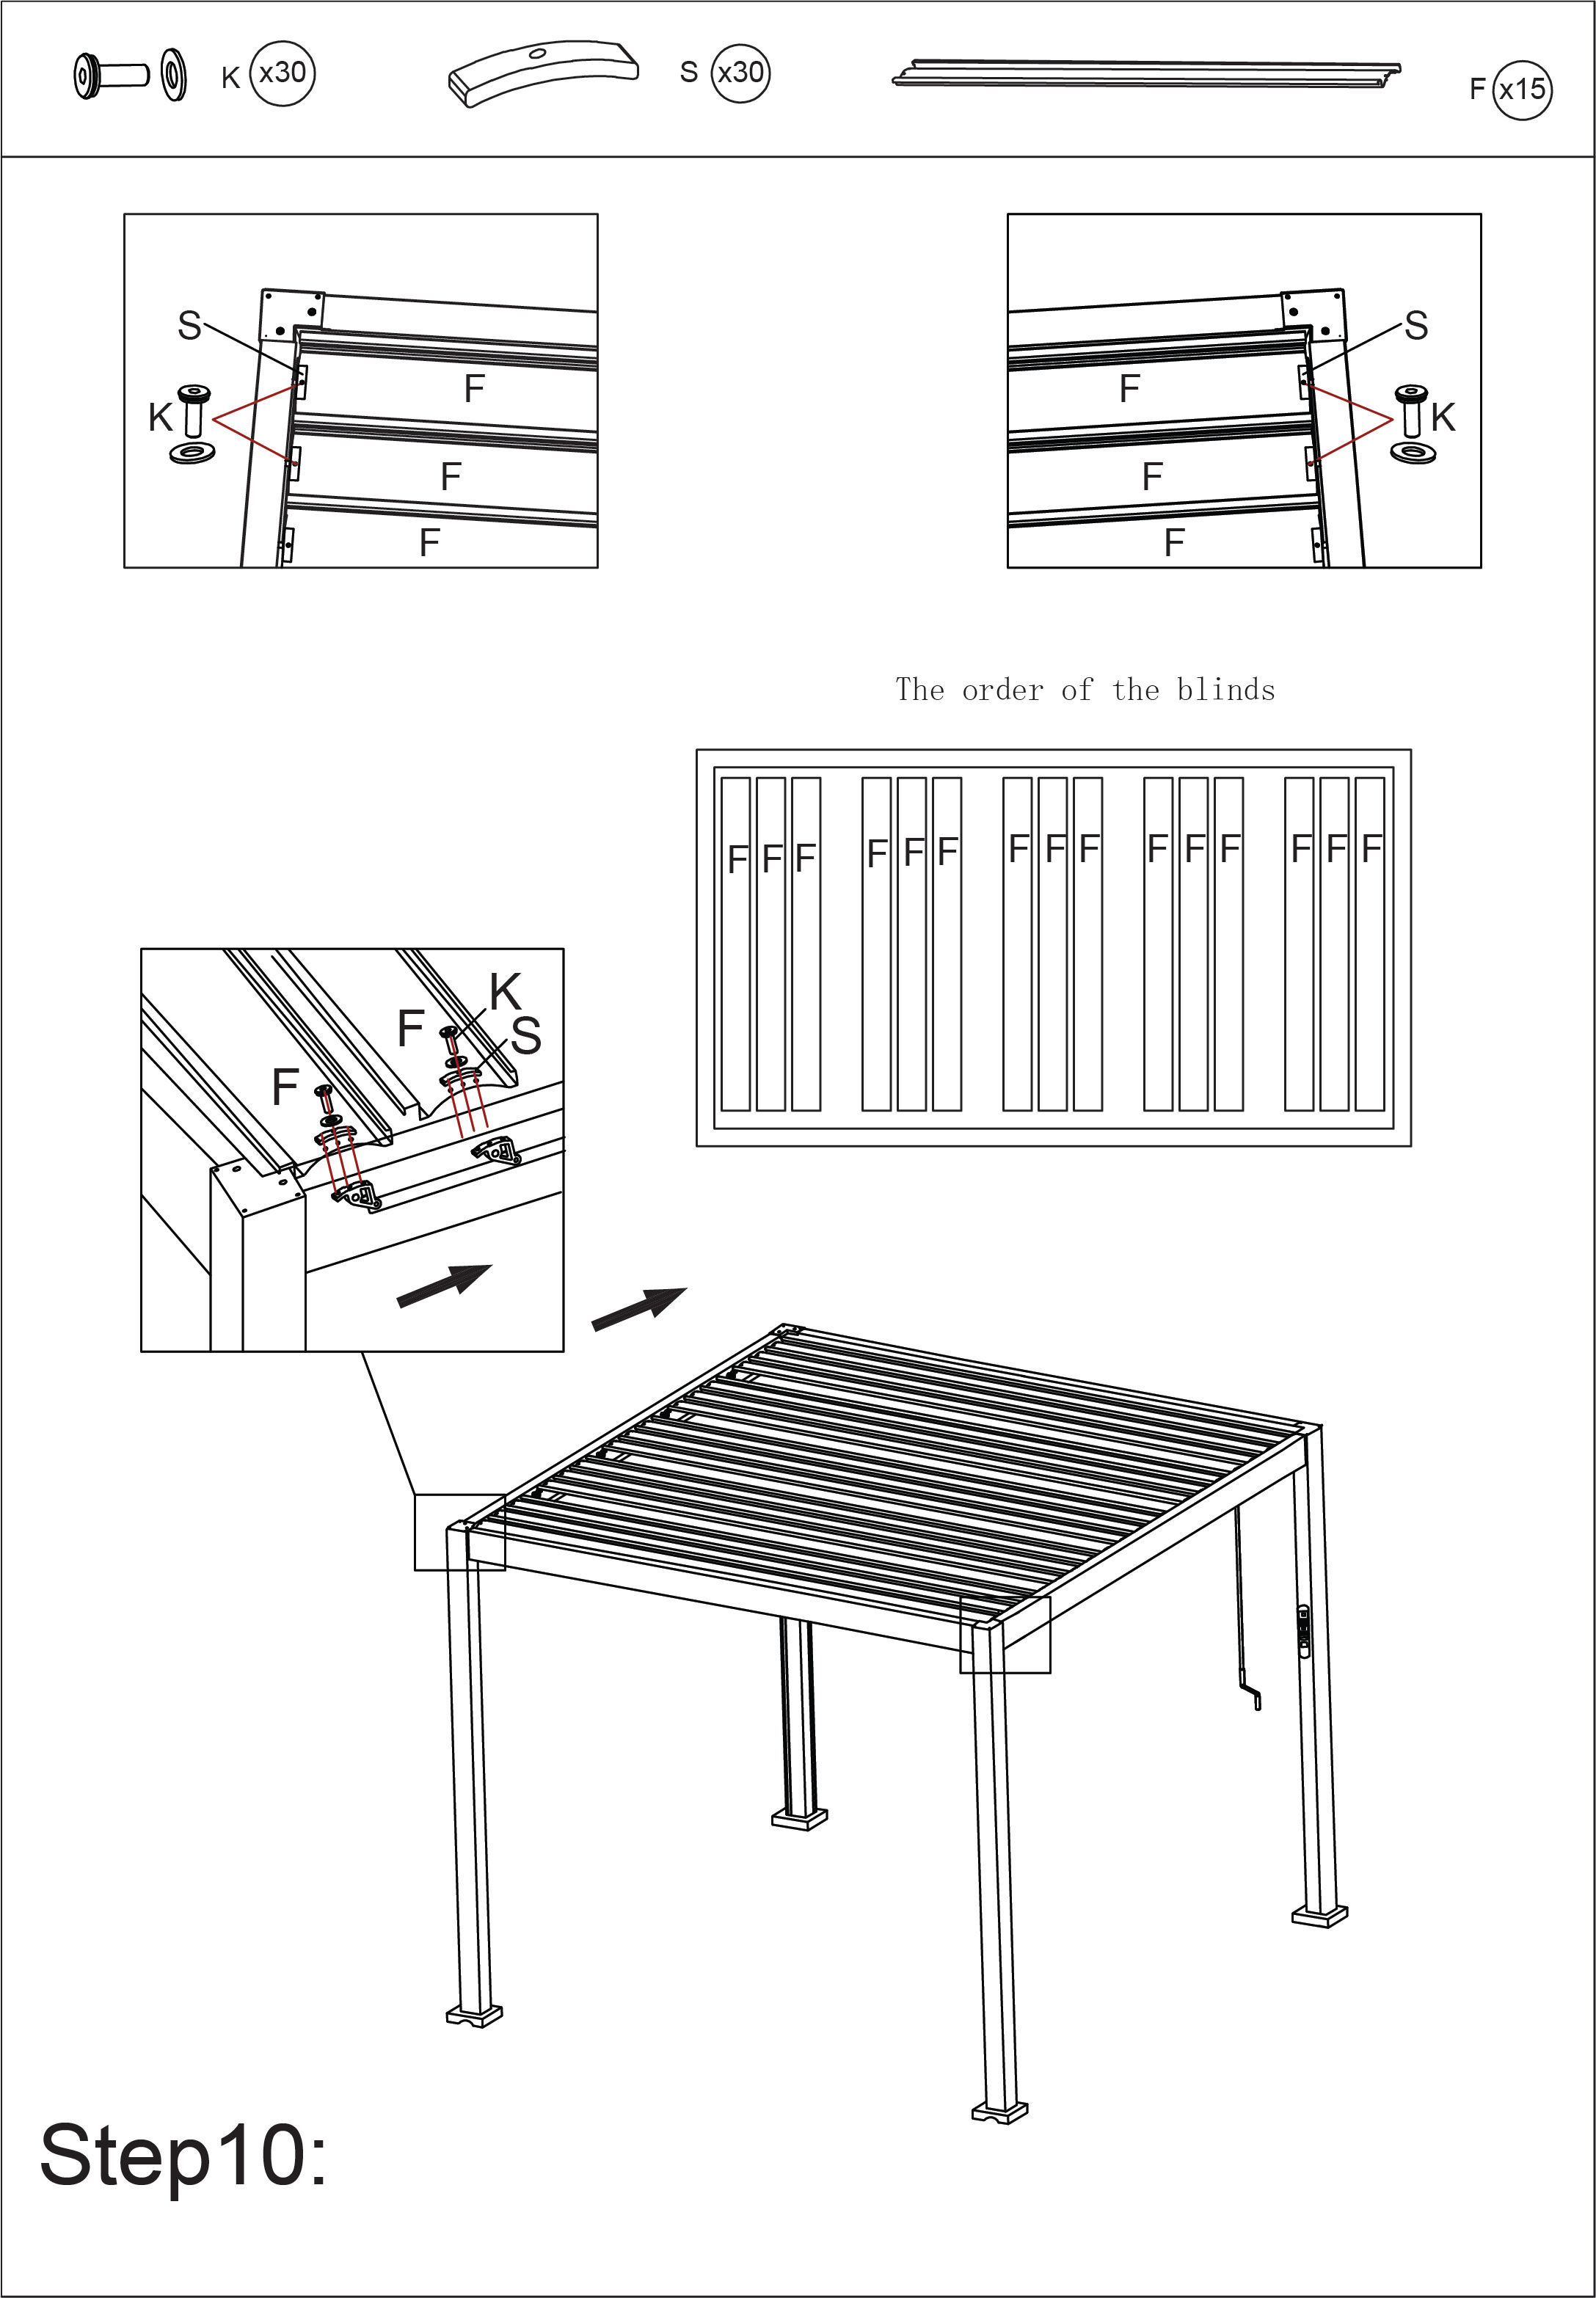
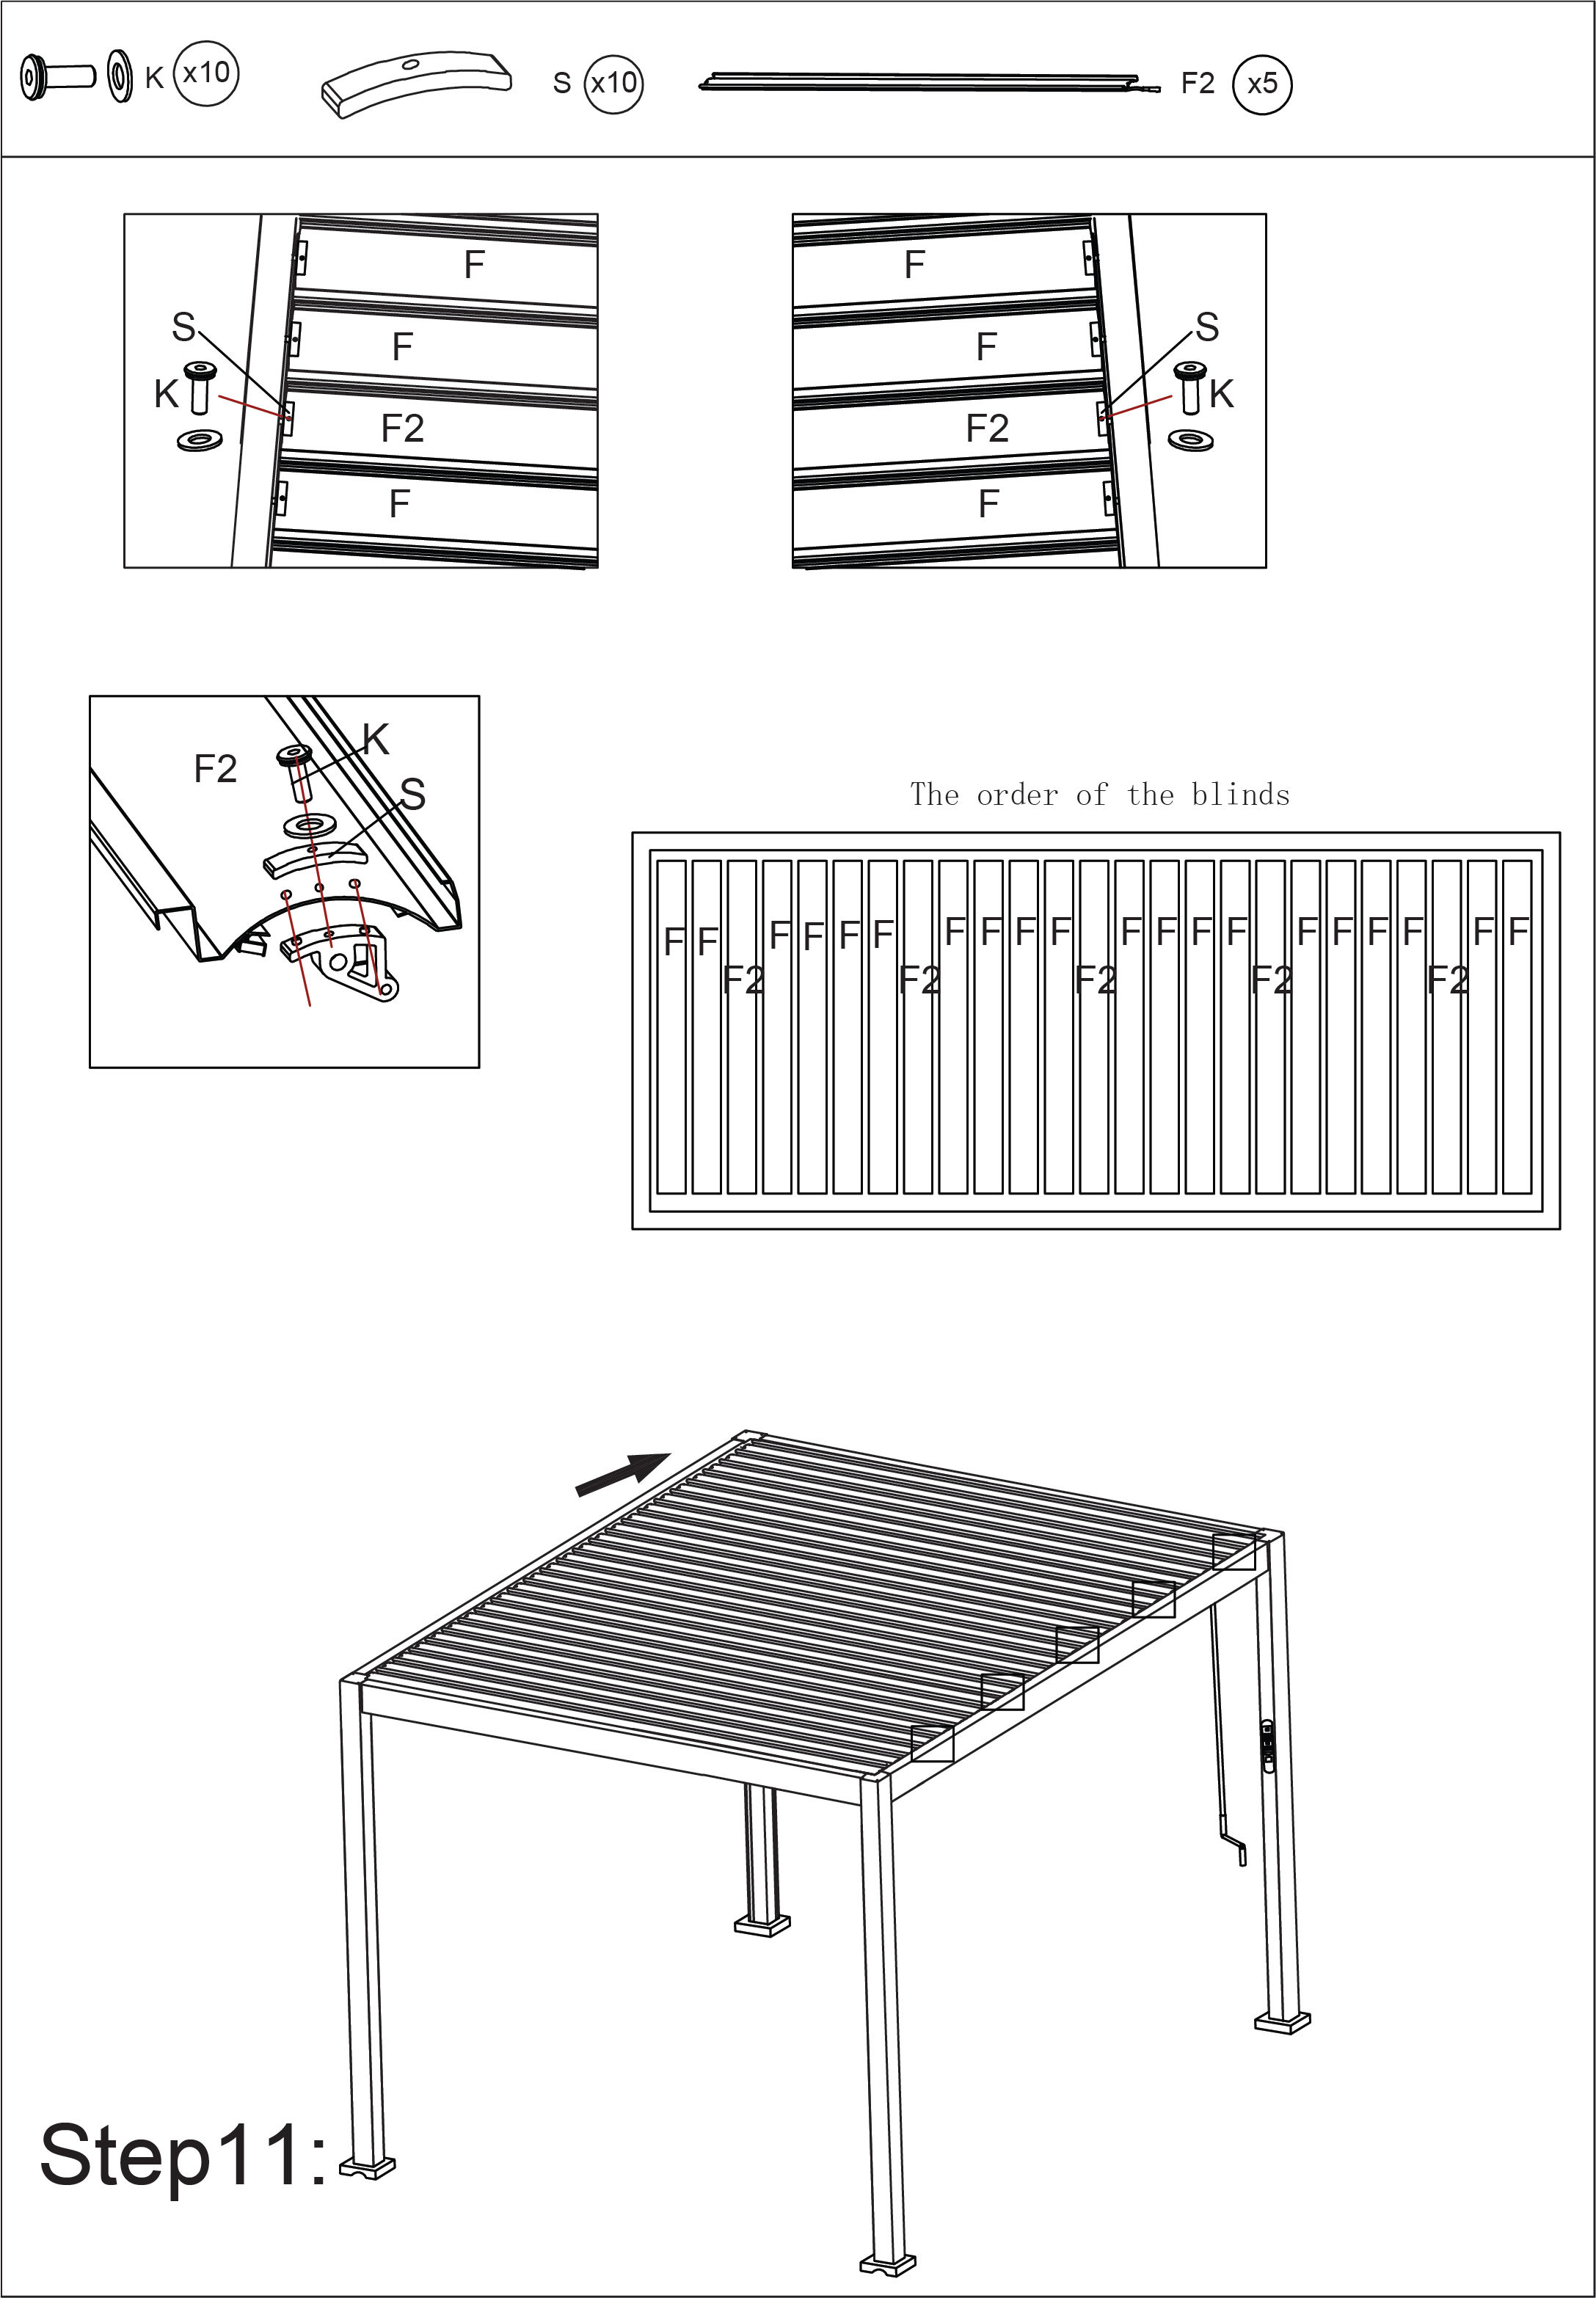
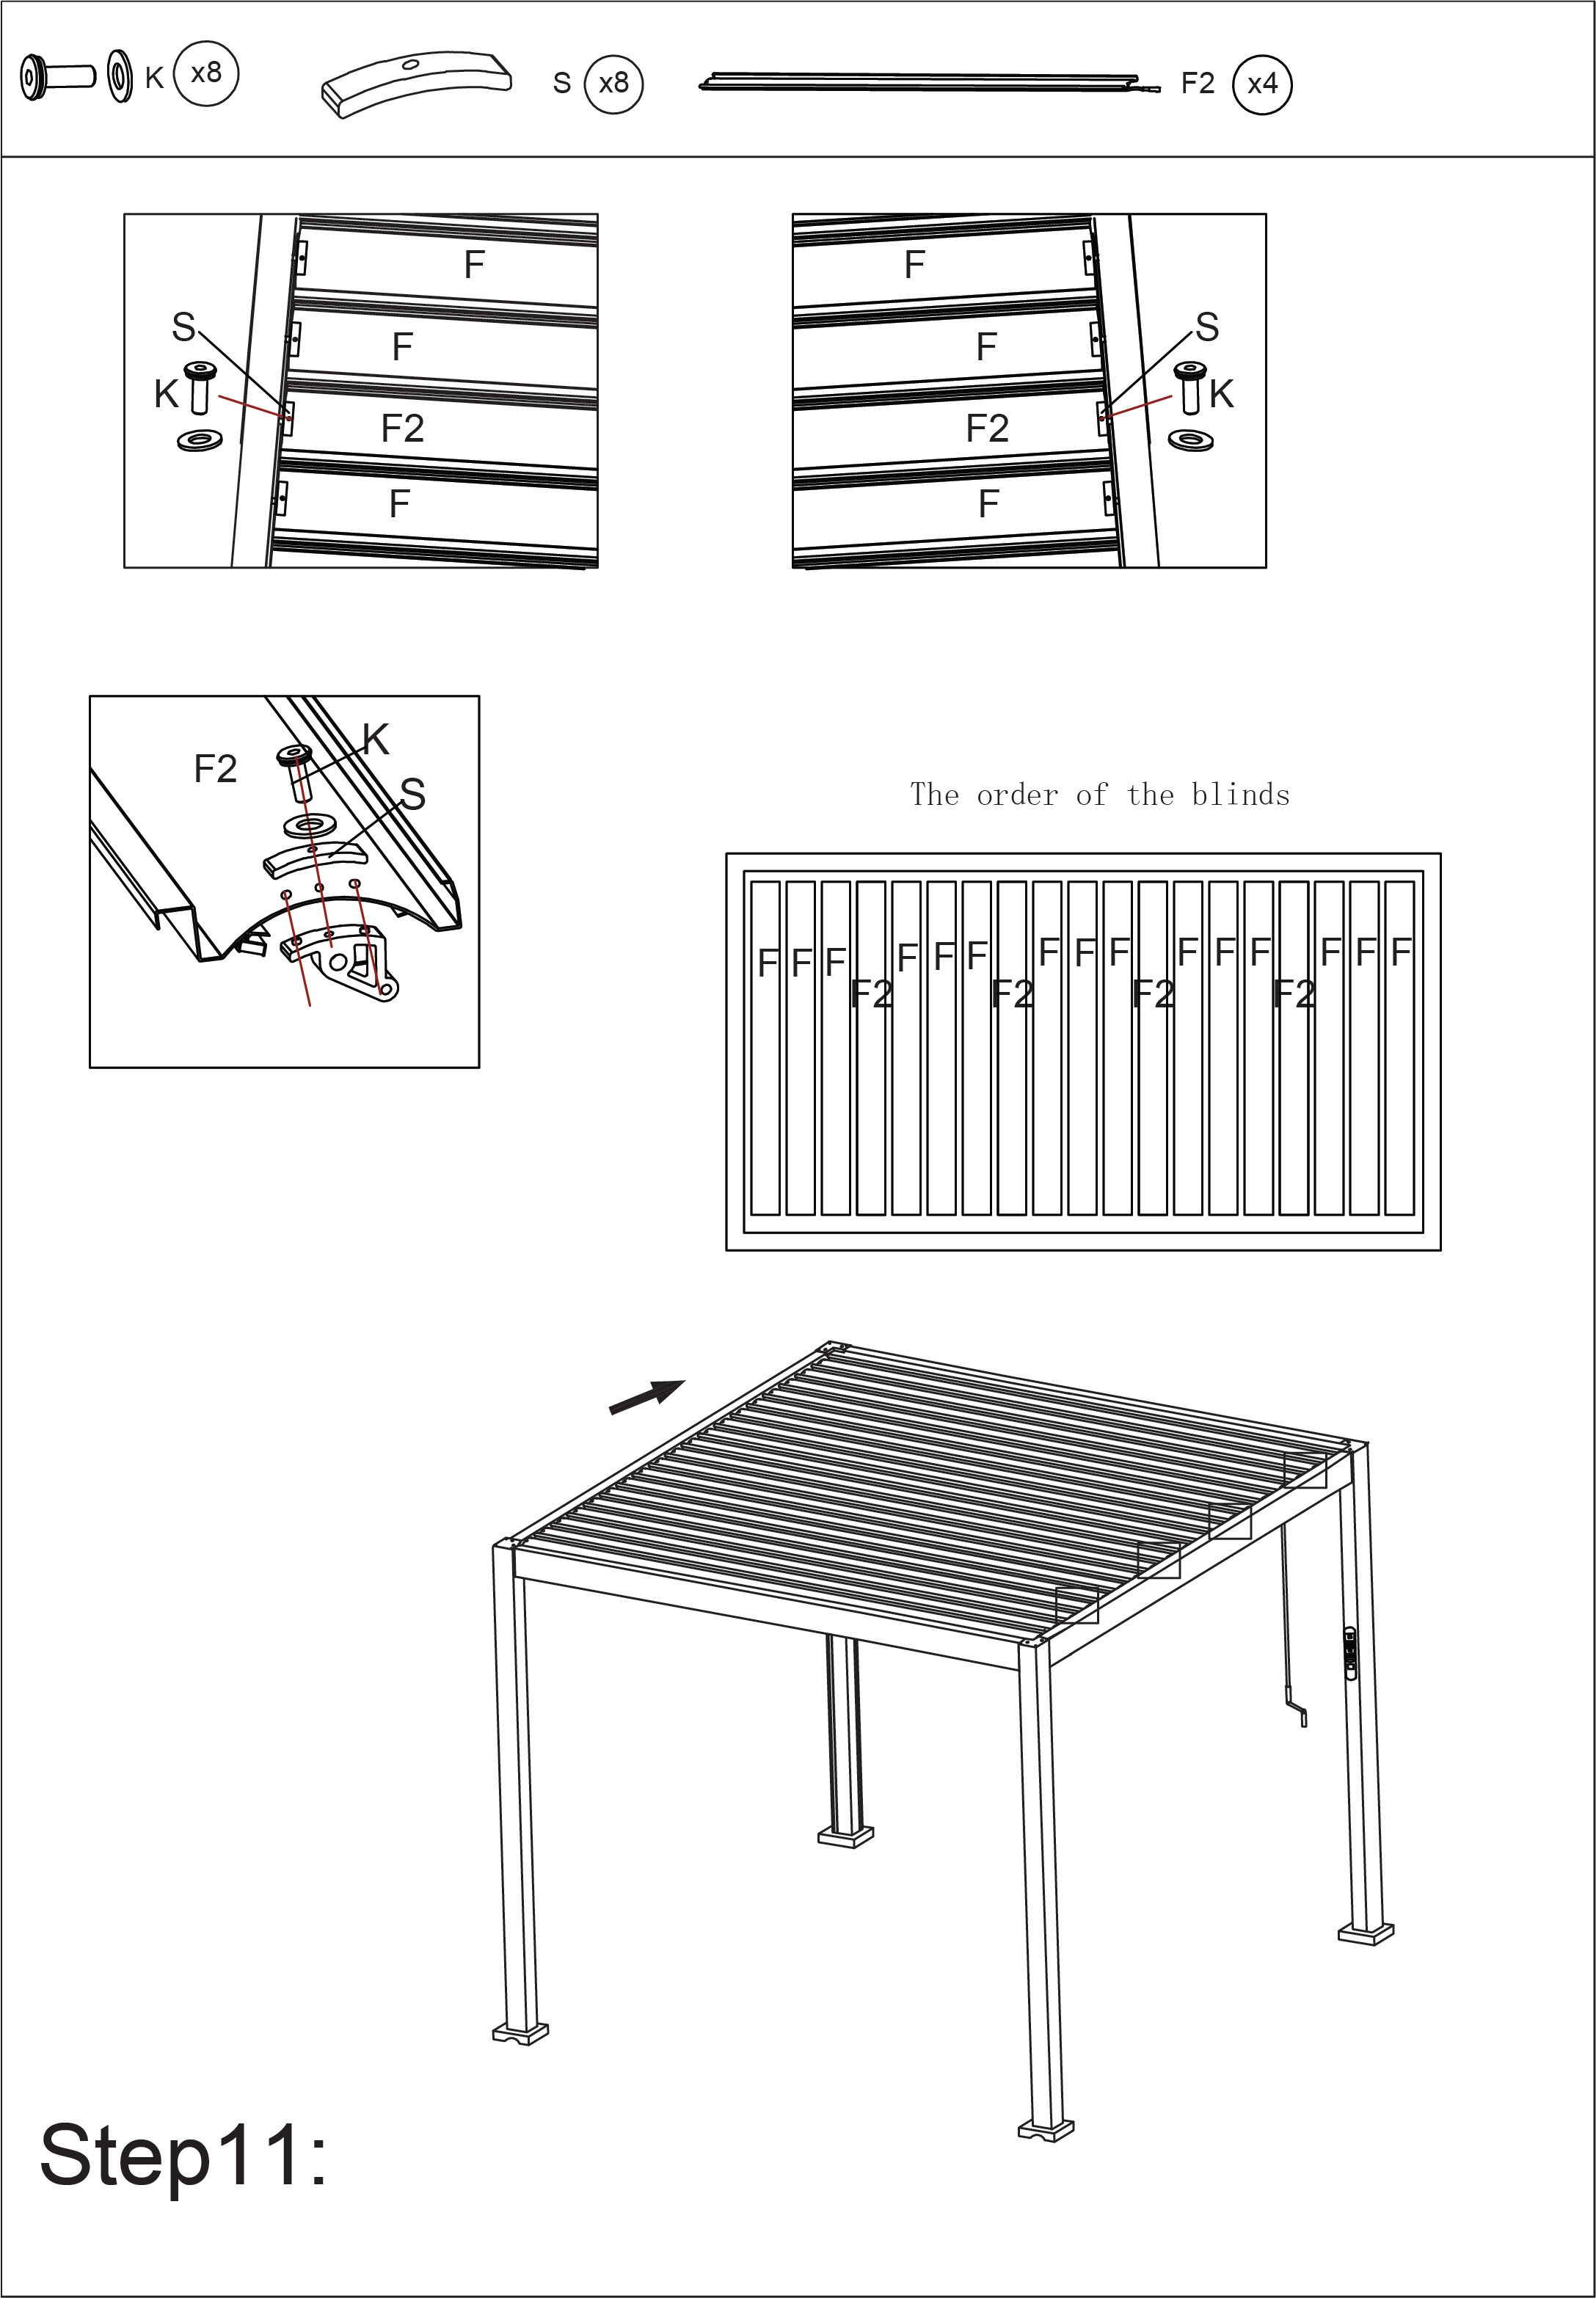
10. 3x3
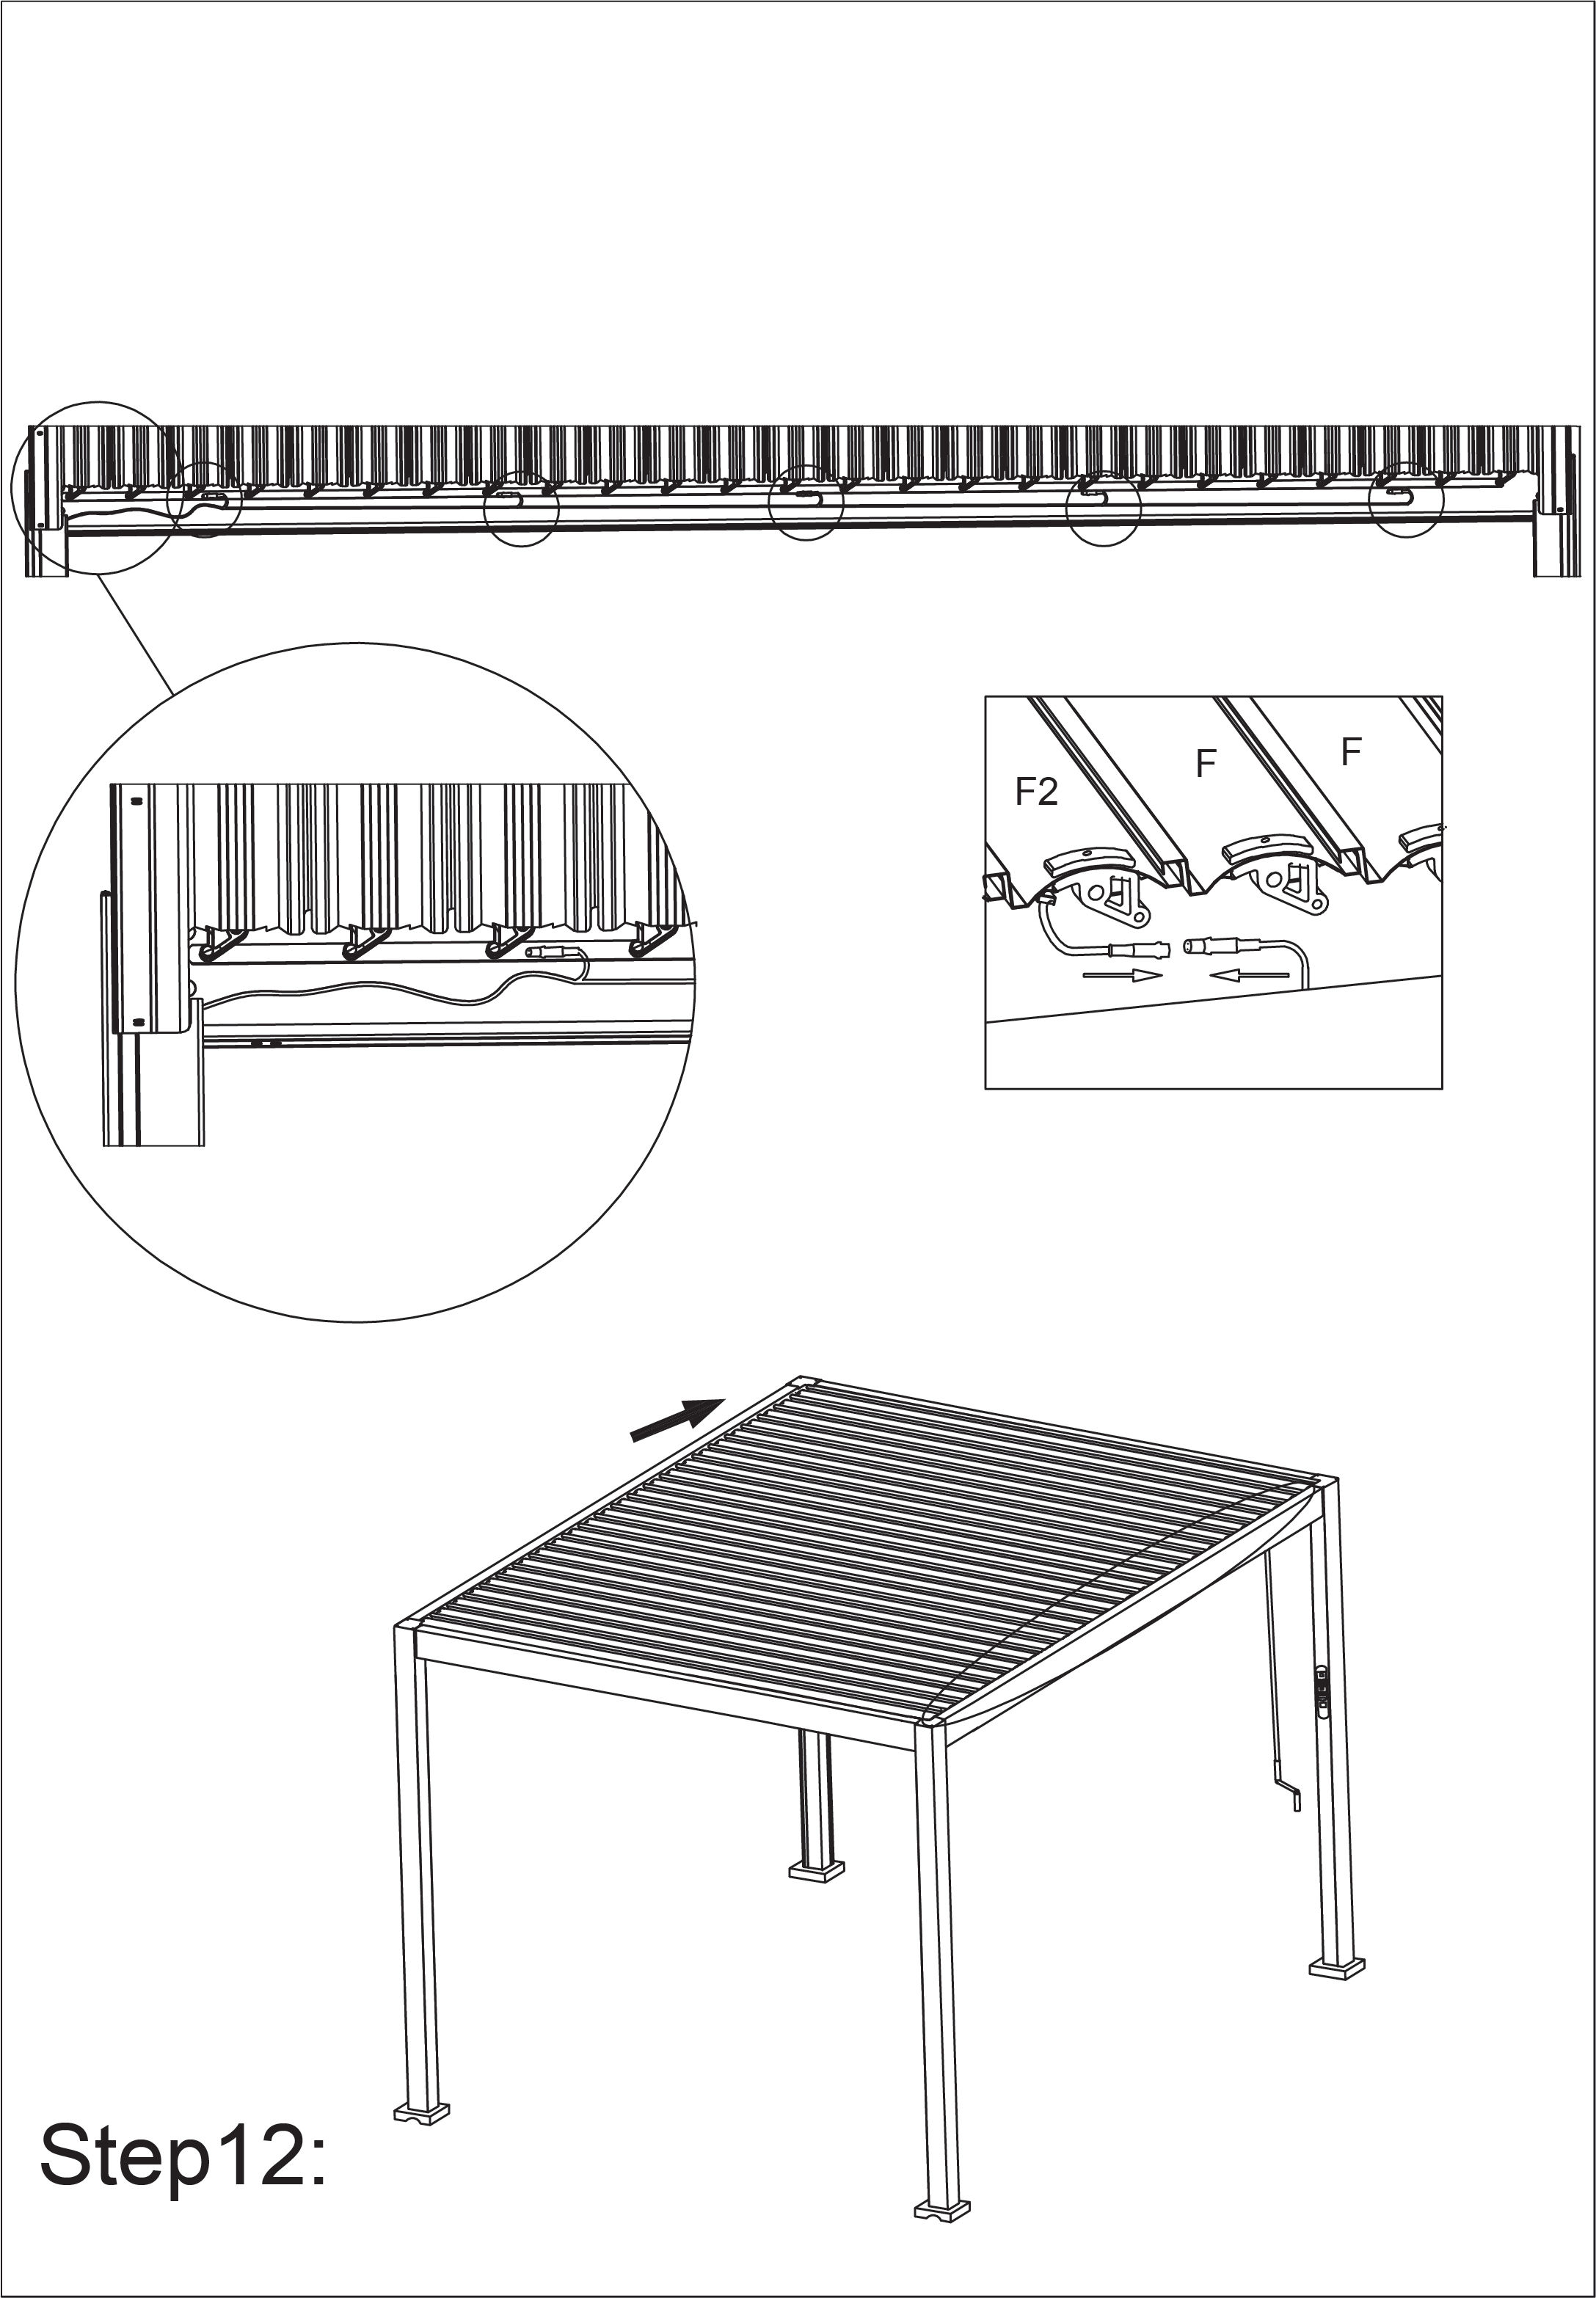
11.
12. 3x4
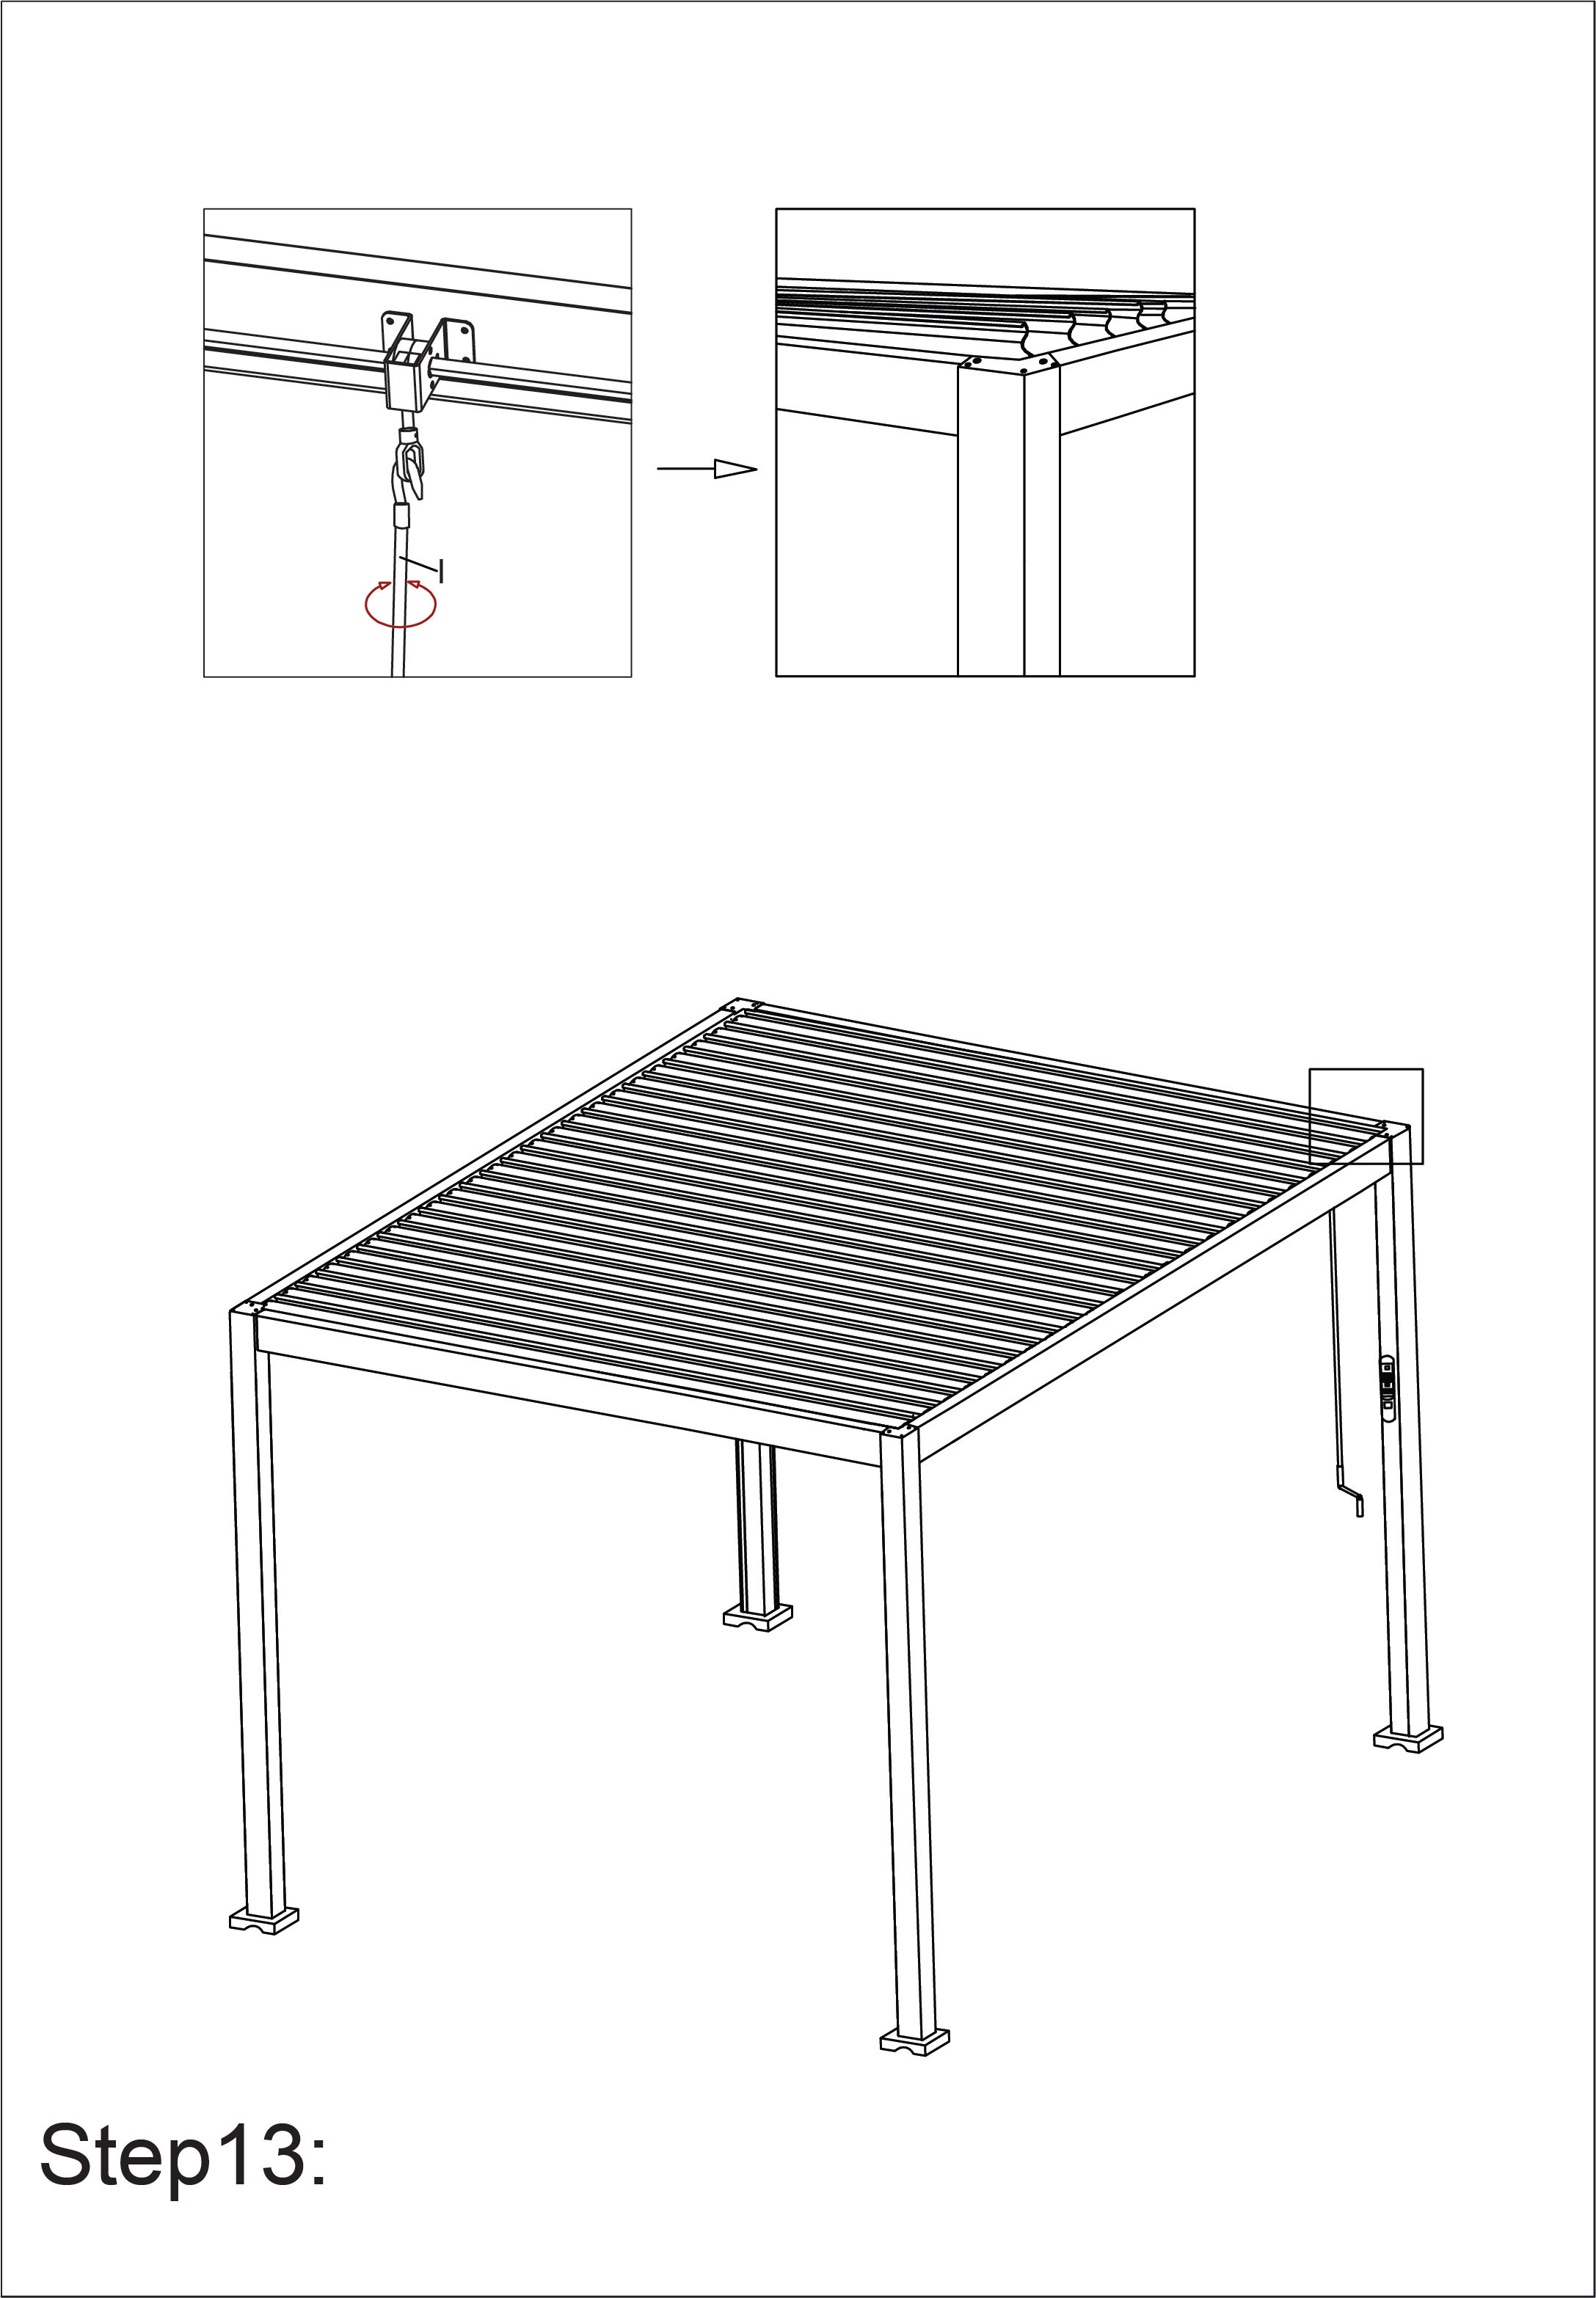
13. 3x3
14. 3x4
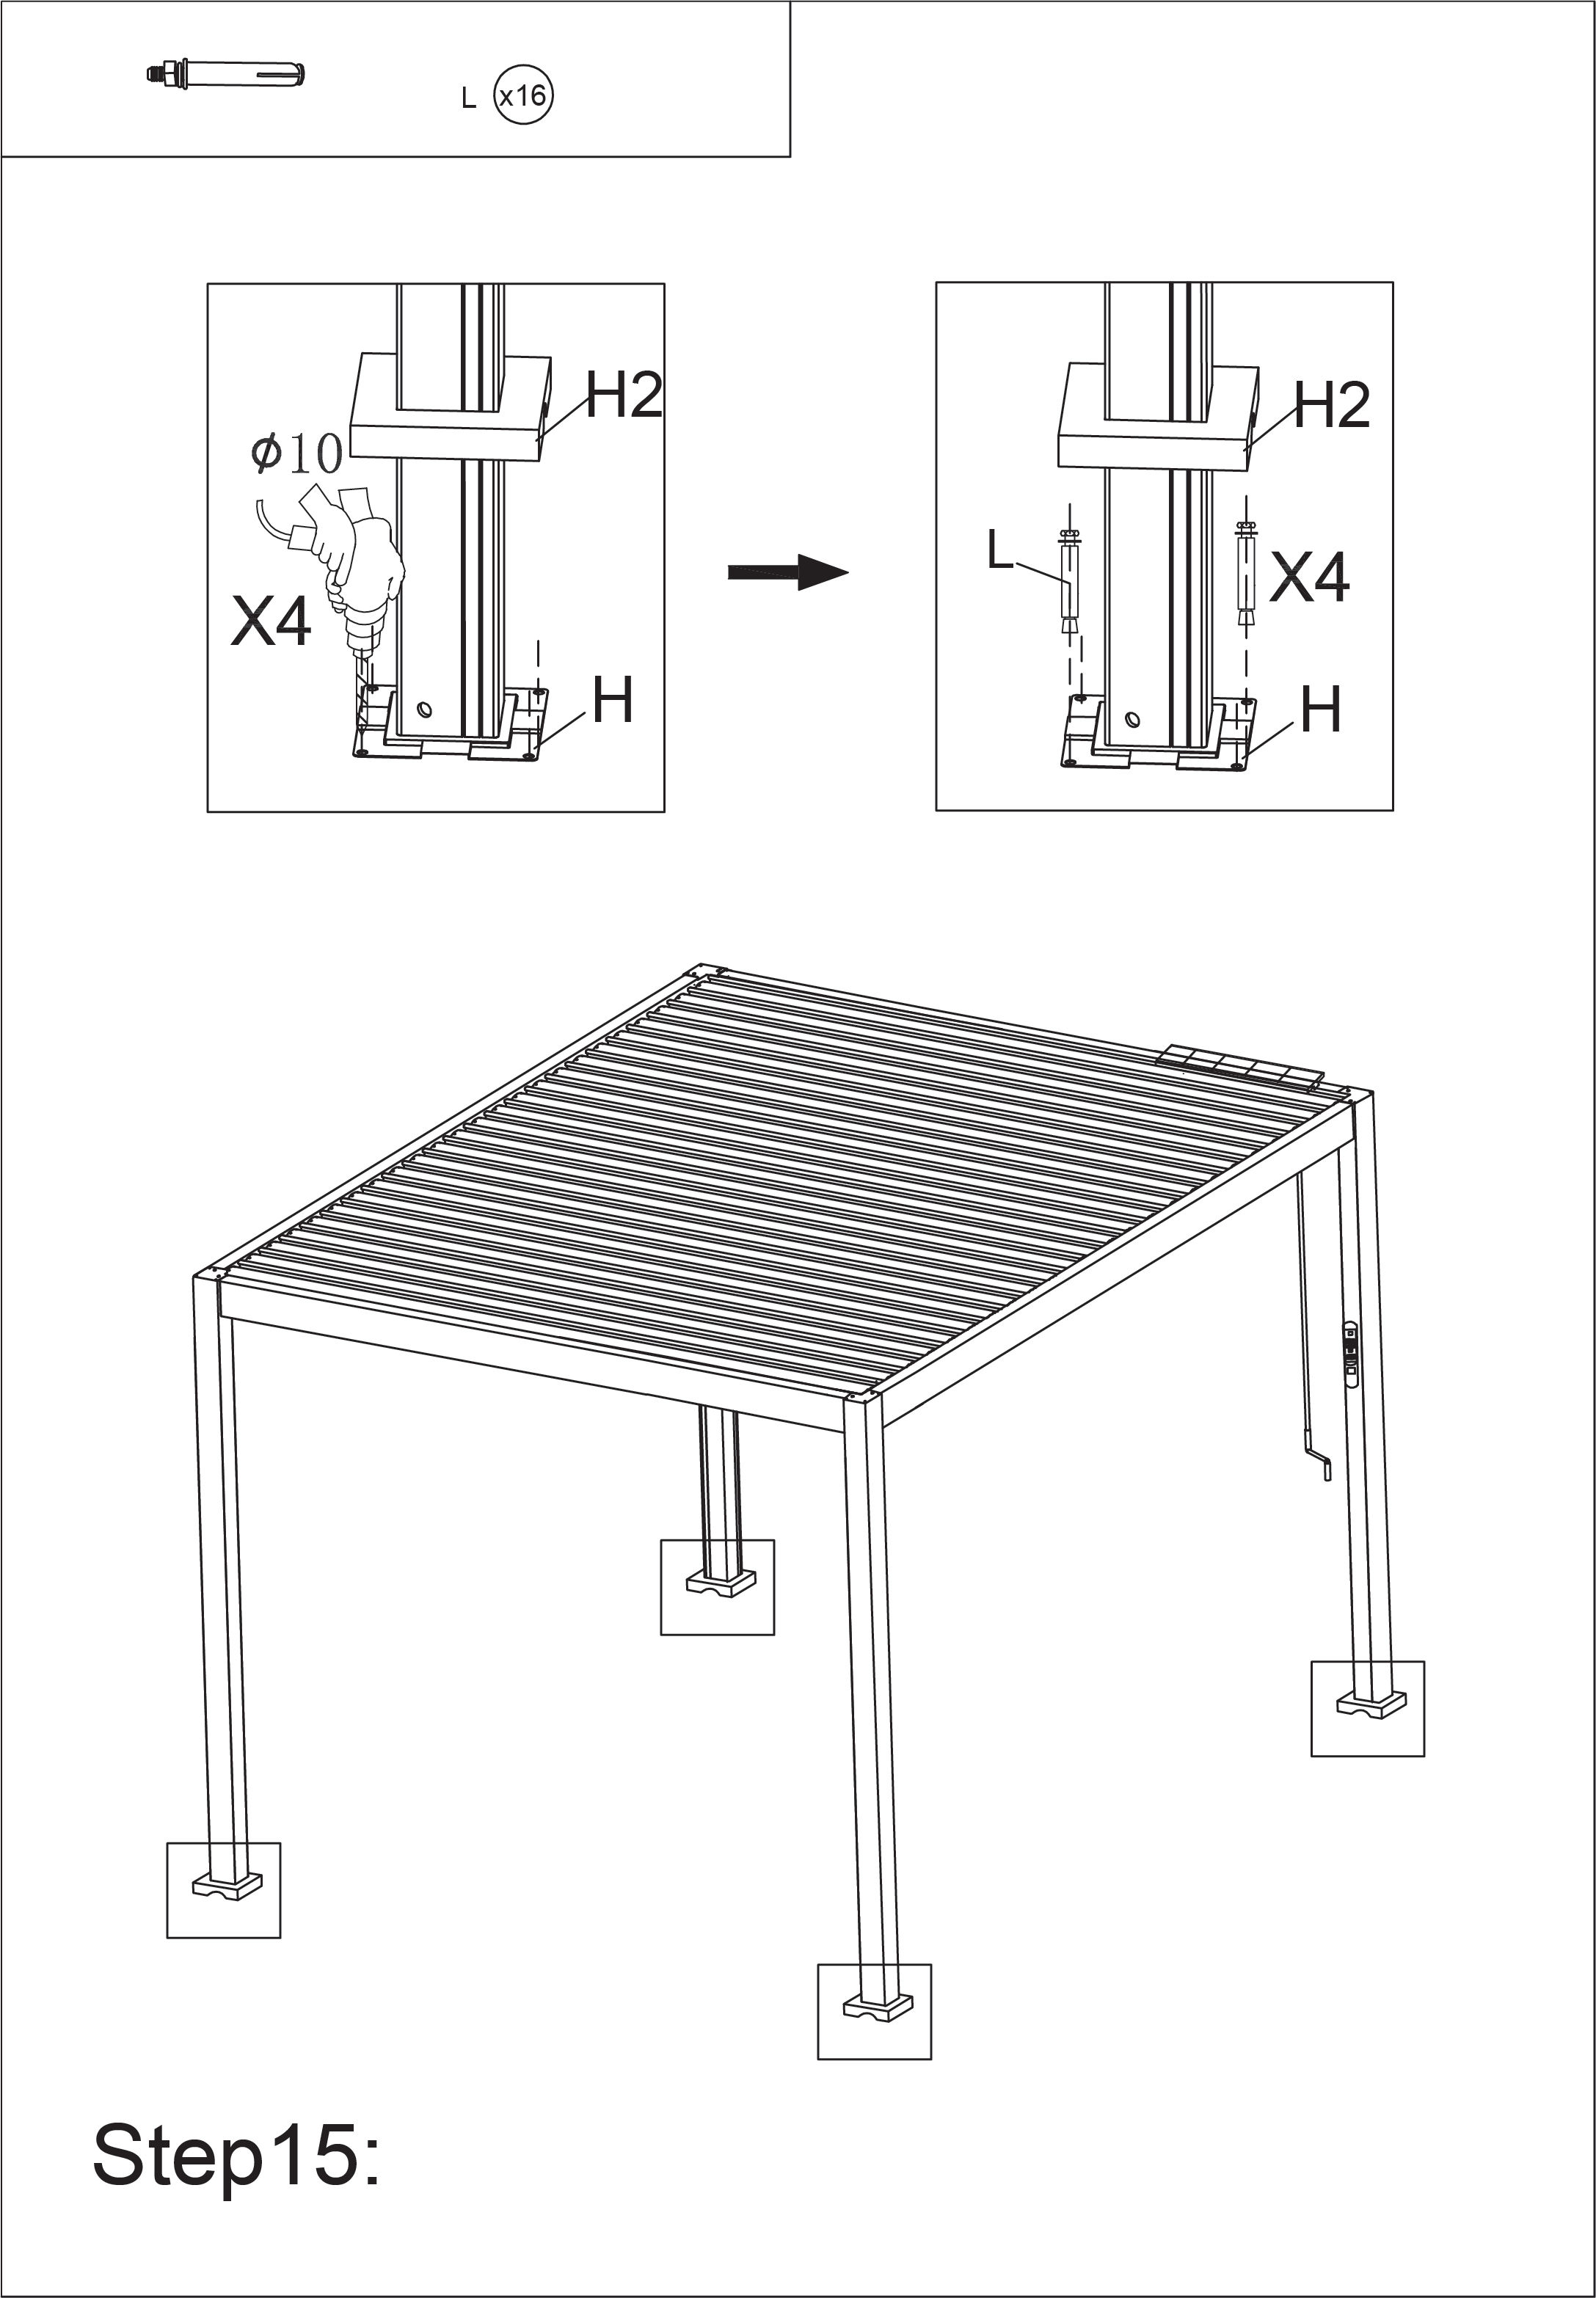
15. 3x3
16.
17.
18.
19.
20. Using the Remote Control
21. Maintenance
Care and Maintenance Instructions for Aluminium Pergola
Thank you for choosing an aluminium pergola for your outdoor space. To maintain its durability and aesthetic appeal, please follow these care and maintenance instructions.
Regular Cleaning
To keep your aluminium pergola looking its best, clean it regularly using the following steps:
1. Dust Removal – Use a soft brush or cloth to remove dirt, leaves, and debris. 2. Mild Soap Wash – Mix warm water with a mild detergent and use a soft sponge or cloth to clean the frame. 3. Rinse Thoroughly – Use a hose with low pressure to rinse off any soap residue. DO NOT use a pressure washer. 4. Drying – Wipe down the structure with a dry, lint-free cloth/microfibre cloth to prevent water spots.
Periodic Maintenance
Perform a thorough inspection every 3-6 months:
Check for Loose Bolts and Fasteners – Tighten any that may have loosened due to weather conditions.
Inspect for Corrosion or Damage – While aluminium is resistant to rust, prolonged exposure to harsh elements may cause minor surface wear.
Lubricate Moving Parts – If your pergola has adjustable louvered sections or sliding components, apply a silicone-based lubricant to ensure smooth operation.
Examine Drainage Systems – Ensure gutters or drainage holes are free from blockages.
Weather Protection
Storm Precautions – If high winds or storms are forecasted, secure any loose parts and remove any hanging accessories.
Winter Care – If you experience snow, periodically remove any heavy accumulation to prevent excess weight on the structure.
Sun Exposure – Aluminium is UV-resistant, but prolonged exposure may cause fading. Consider applying a protective wax coating for added longevity.
Avoid Harsh Chemicals
Do not use abrasive cleaners, ammonia-based solutions, or strong solvents as they can damage the powder-coated finish.
Avoid using steel wool or hard-bristle brushes to prevent scratching.
Storage and Seasonal Considerations
If not in use for an extended period, consider covering the pergola with a breathable, weatherproof cover.
Store removable accessories, such as fabric canopies or curtains, in a dry and sheltered location.
Warranty and Professional Maintenance
Refer to the manufacturer’s warranty for specific maintenance requirements and coverage.
If structural repairs are needed, contact a professional installer or the manufacturer to avoid voiding the warranty.
By following these simple maintenance steps, your aluminium pergola will remain in excellent condition for years to come. Enjoy your outdoor space with confidence!
22. Troubleshooting
WHAT DO I DO IF THERE ARE MISSING PARTS FROM MY ORDER?
If there appears to be any part missing from your order, contact our friendly and helpful Customer Support Team within 7 days of receipt.
FOR ALL OTHER ISSUES, PLEASE CONTACT OUR CUSTOMER SUPPORT TEAM