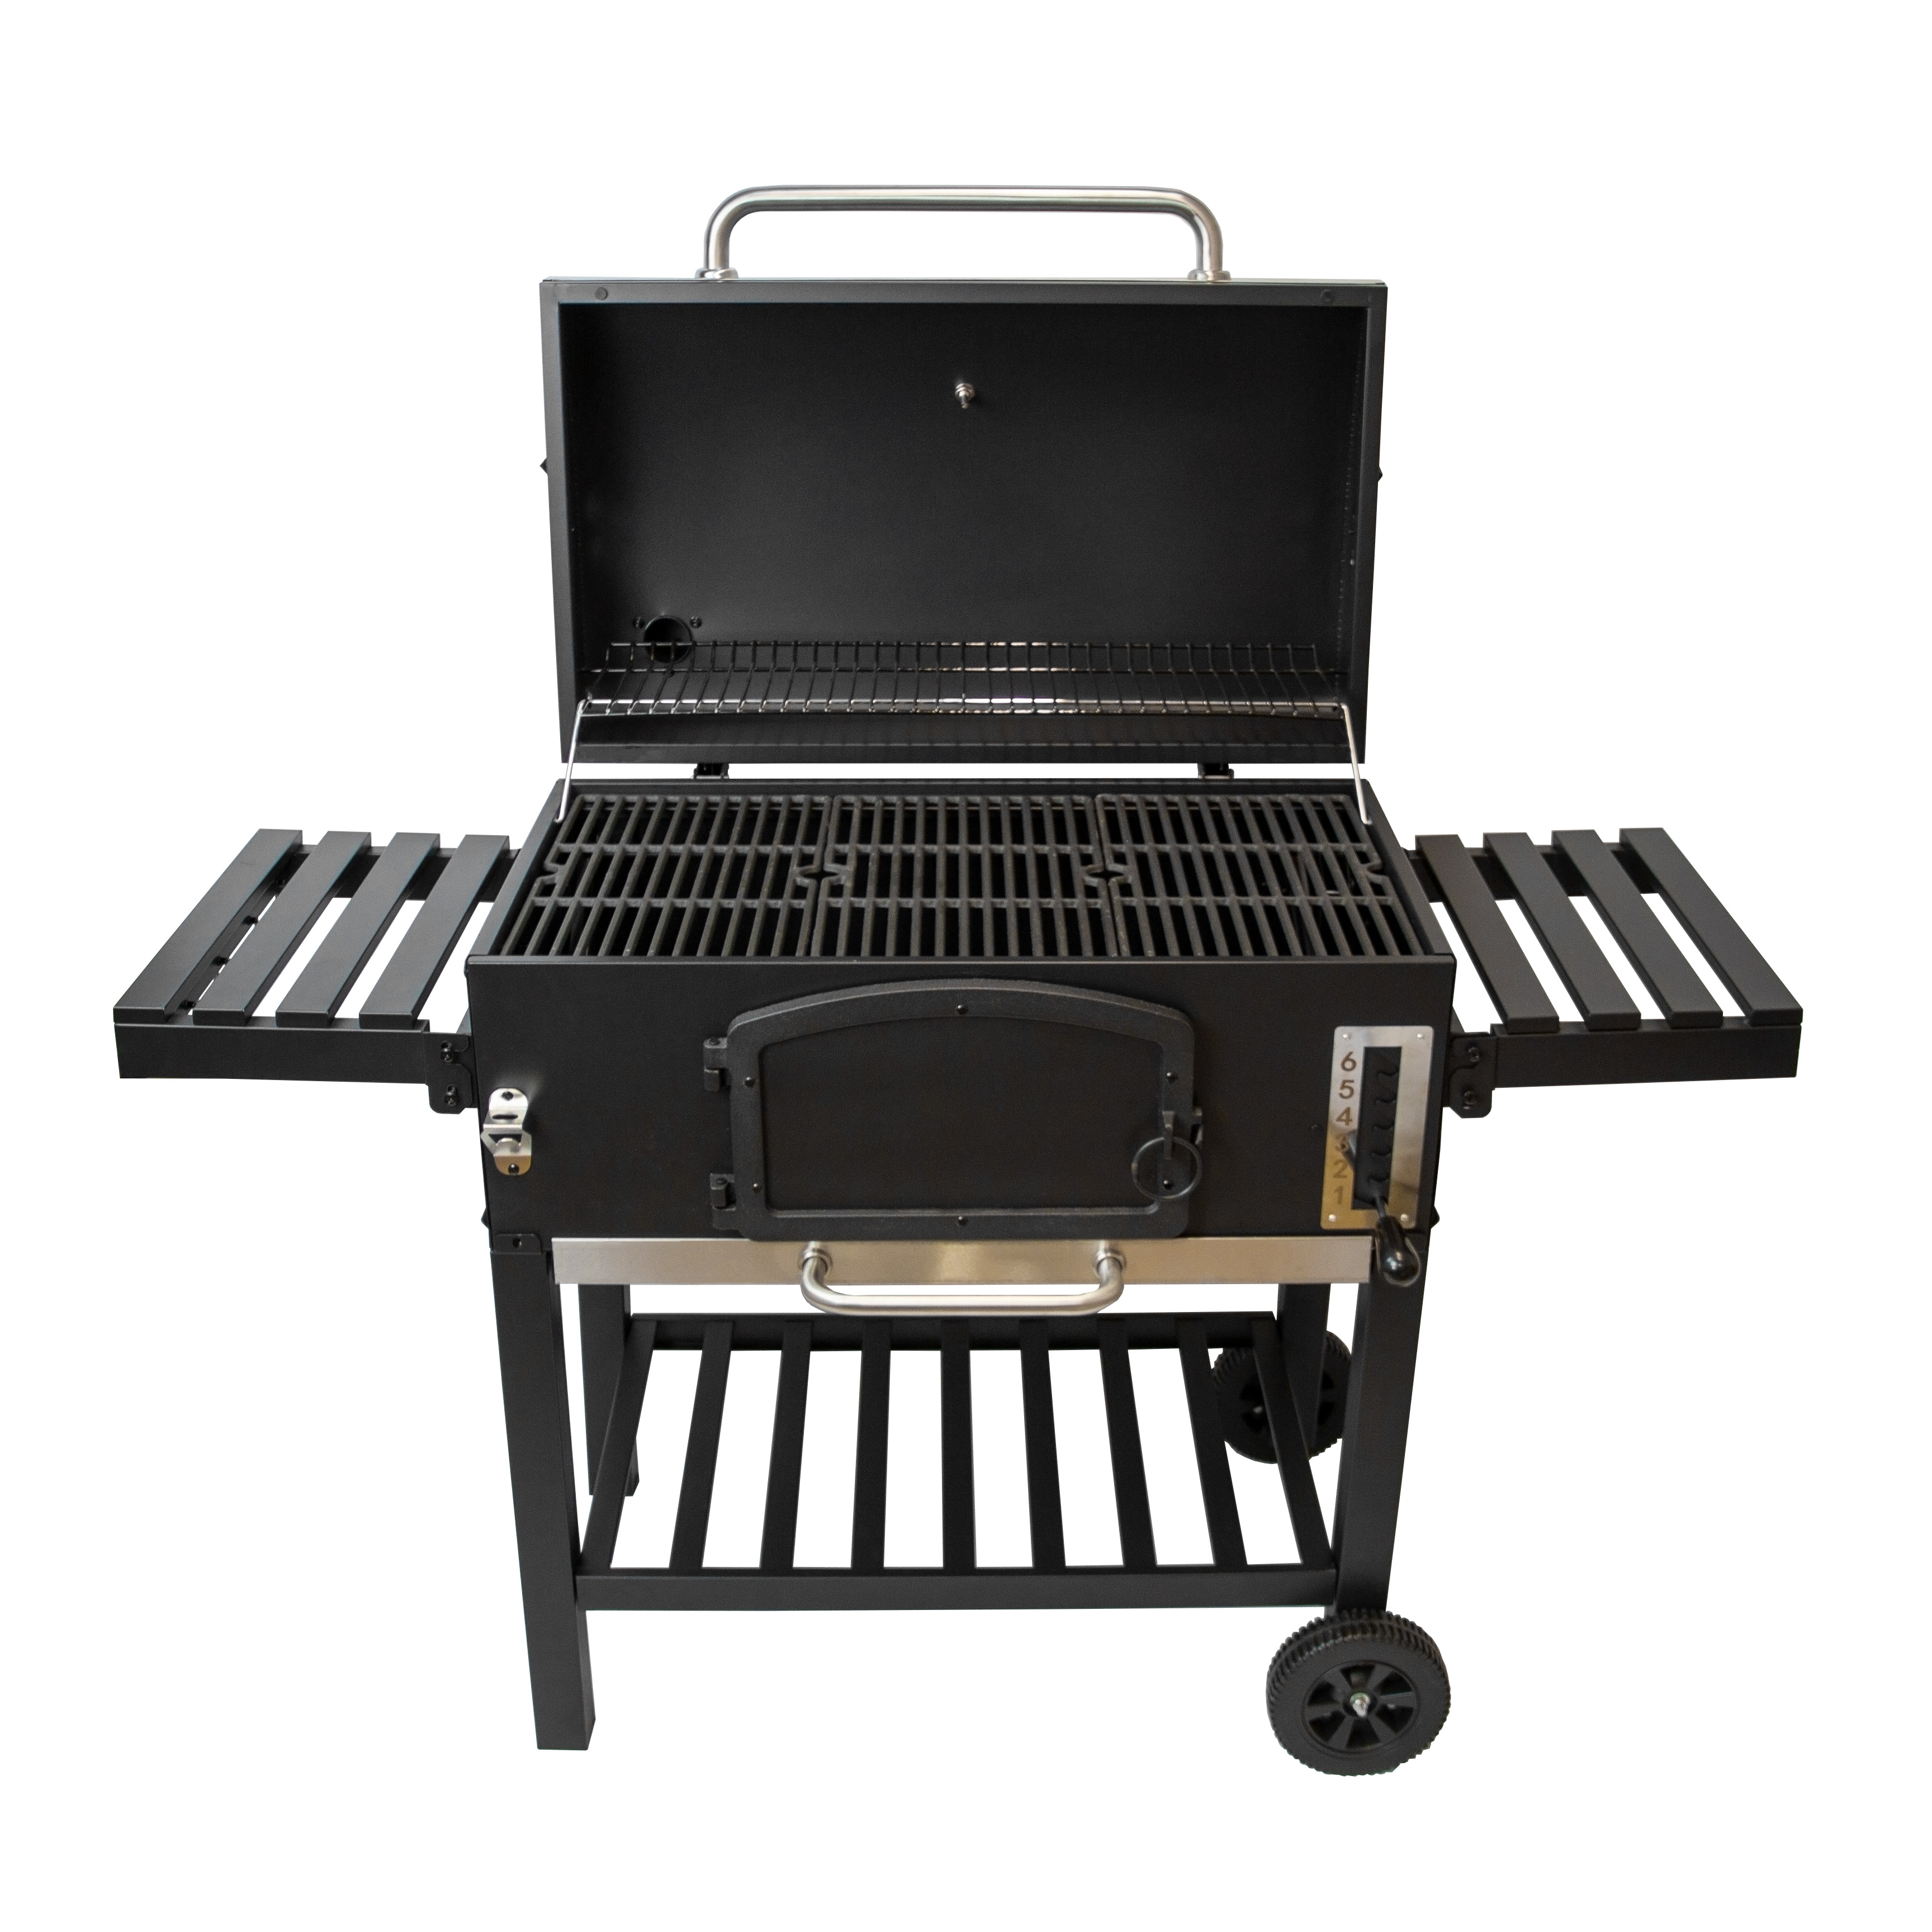
Rule every BBQ with this XXL BBQ Smoker! With a huge grill area, adjustable coal tray, foldable shelves, storage hooks, and a built-in bottle opener, it's perfect for any party. Easy to clean, durable, and stylish—plus a rain cover included for year-round use!
Product Information
BBQ Smoker Grill XXL
This Jardi BBQ Smoker Grill is an ideal addition to any garden - whether you're an occasional BBQ enthusiast or a real grilling master - this is the ultimate tool to add to your cooking entourage. With the 6 height adjustable coal tray, you can be rest assured that you'll be able to satisfy anyone's taste buds.
Check you have each part that is needed to assemble the BBQ smoker grill.
2. Attaching Legs and Wheels
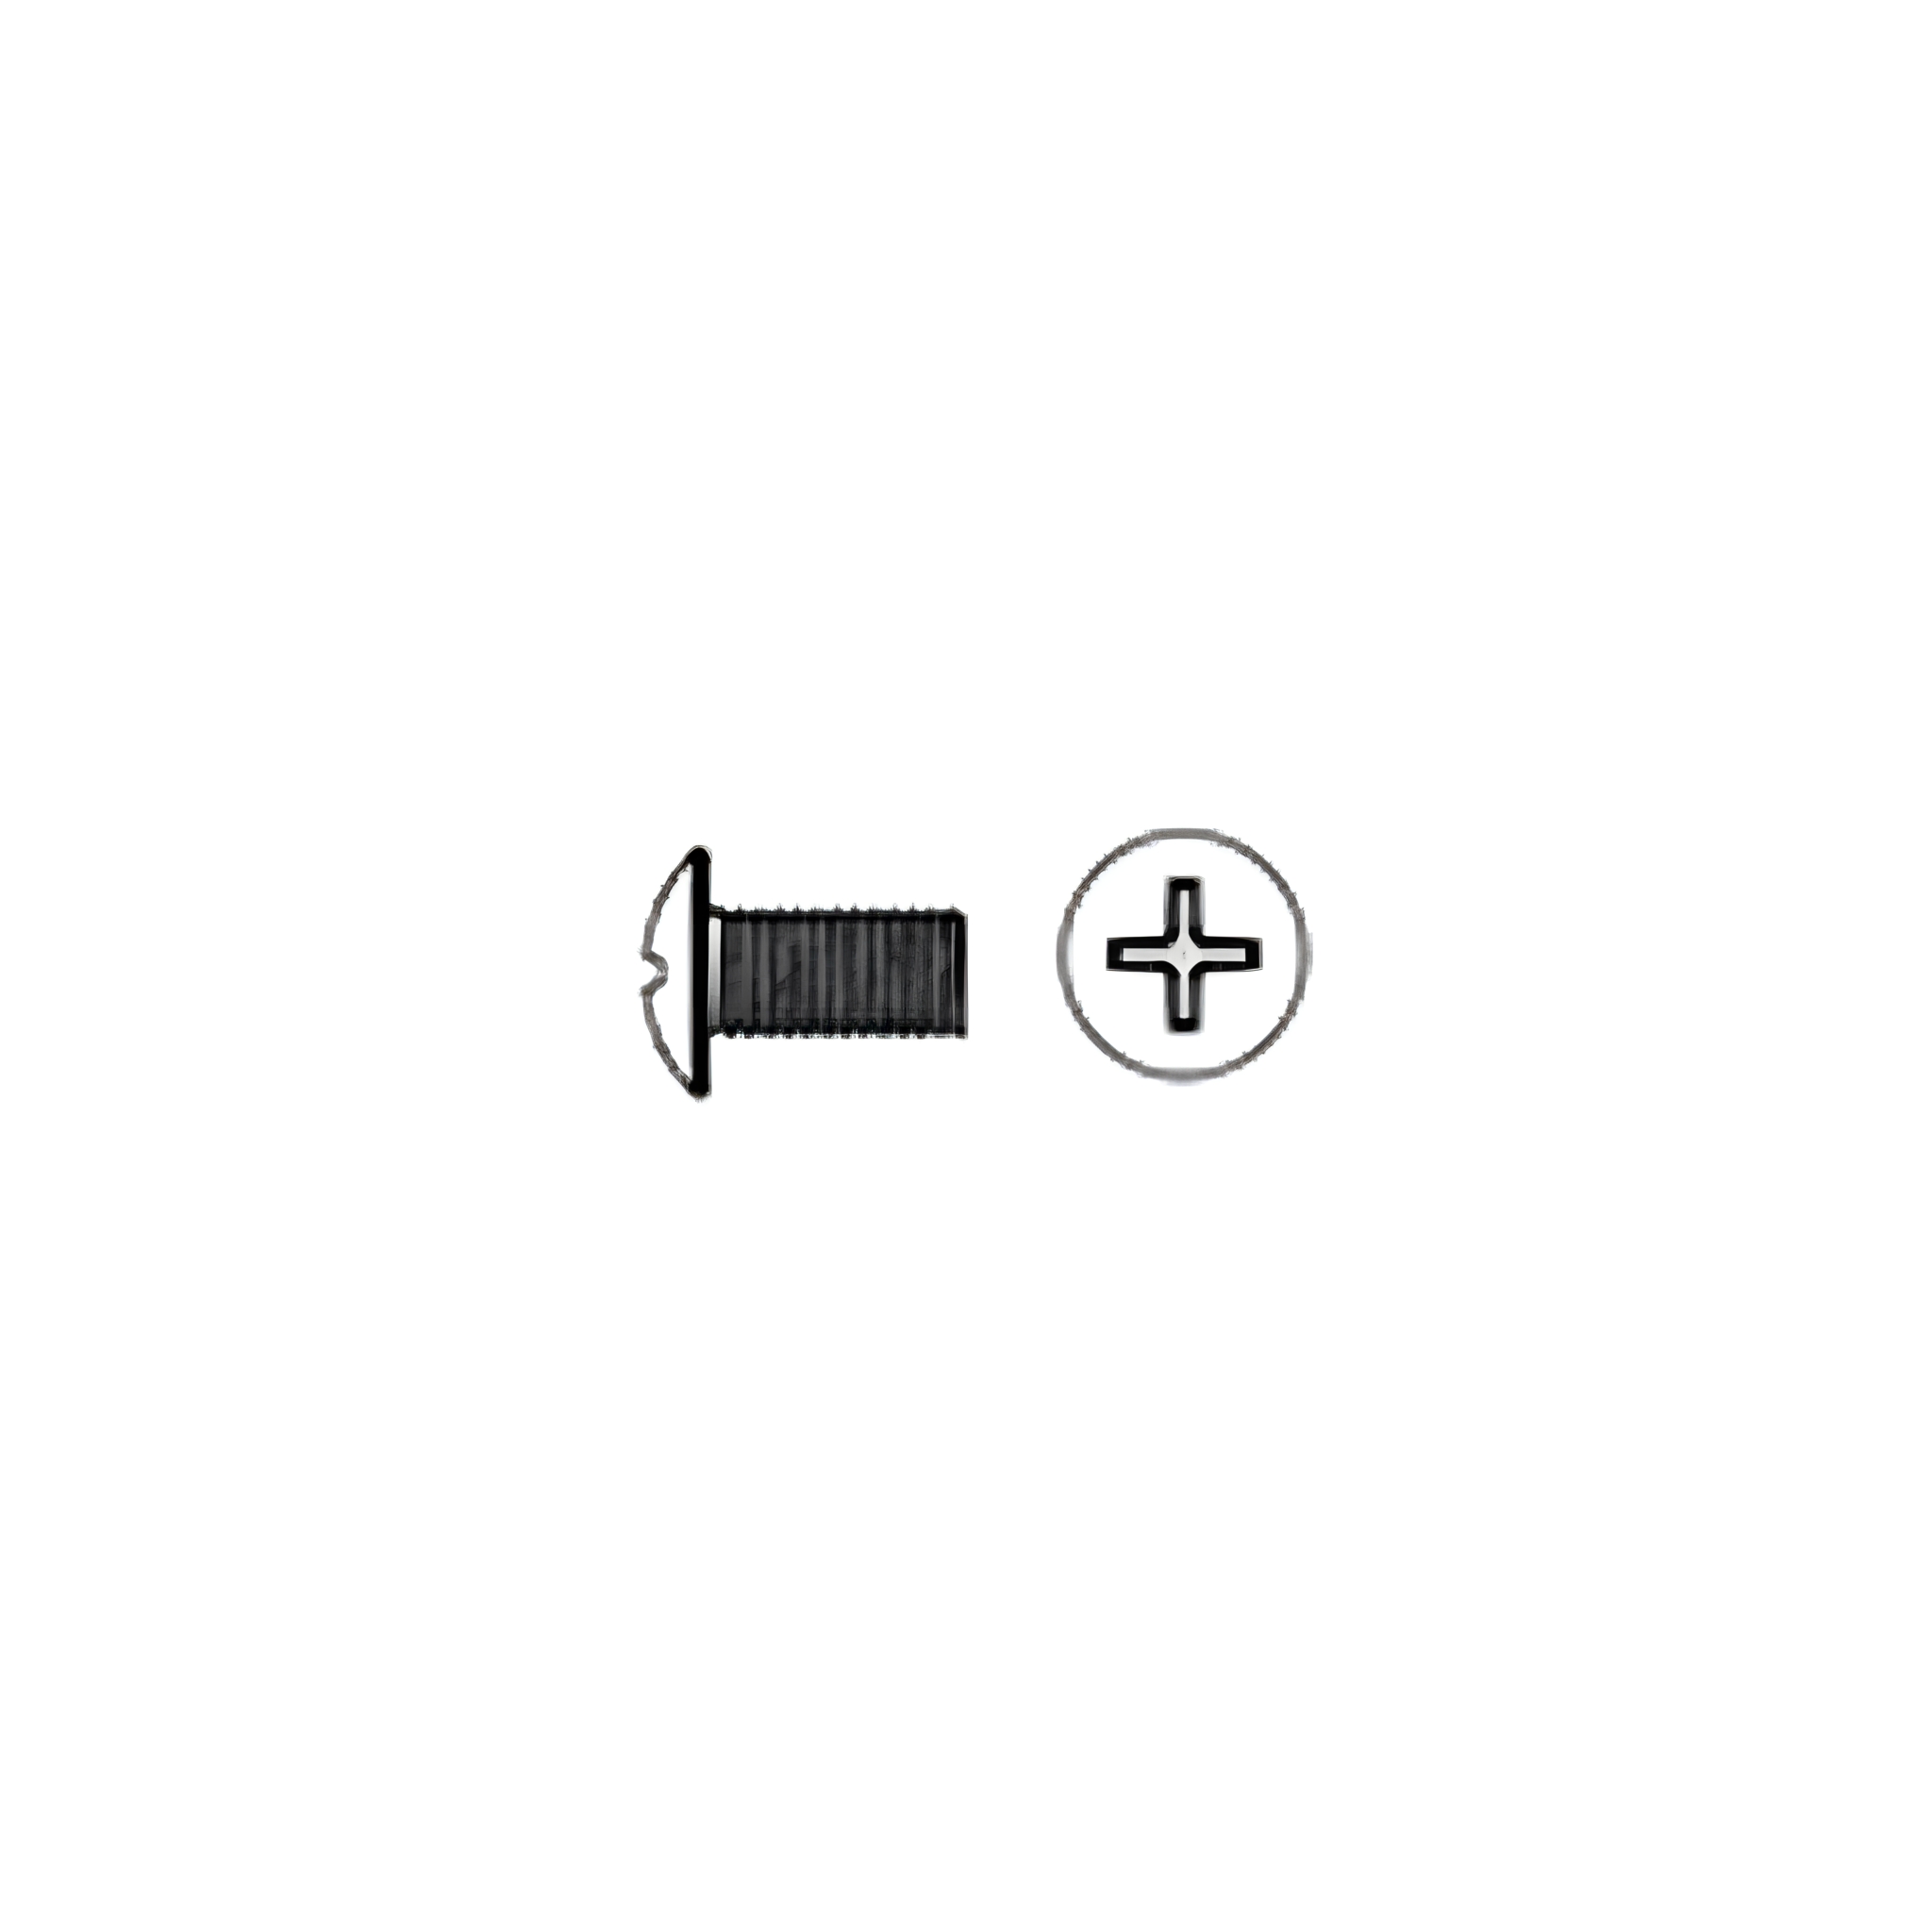
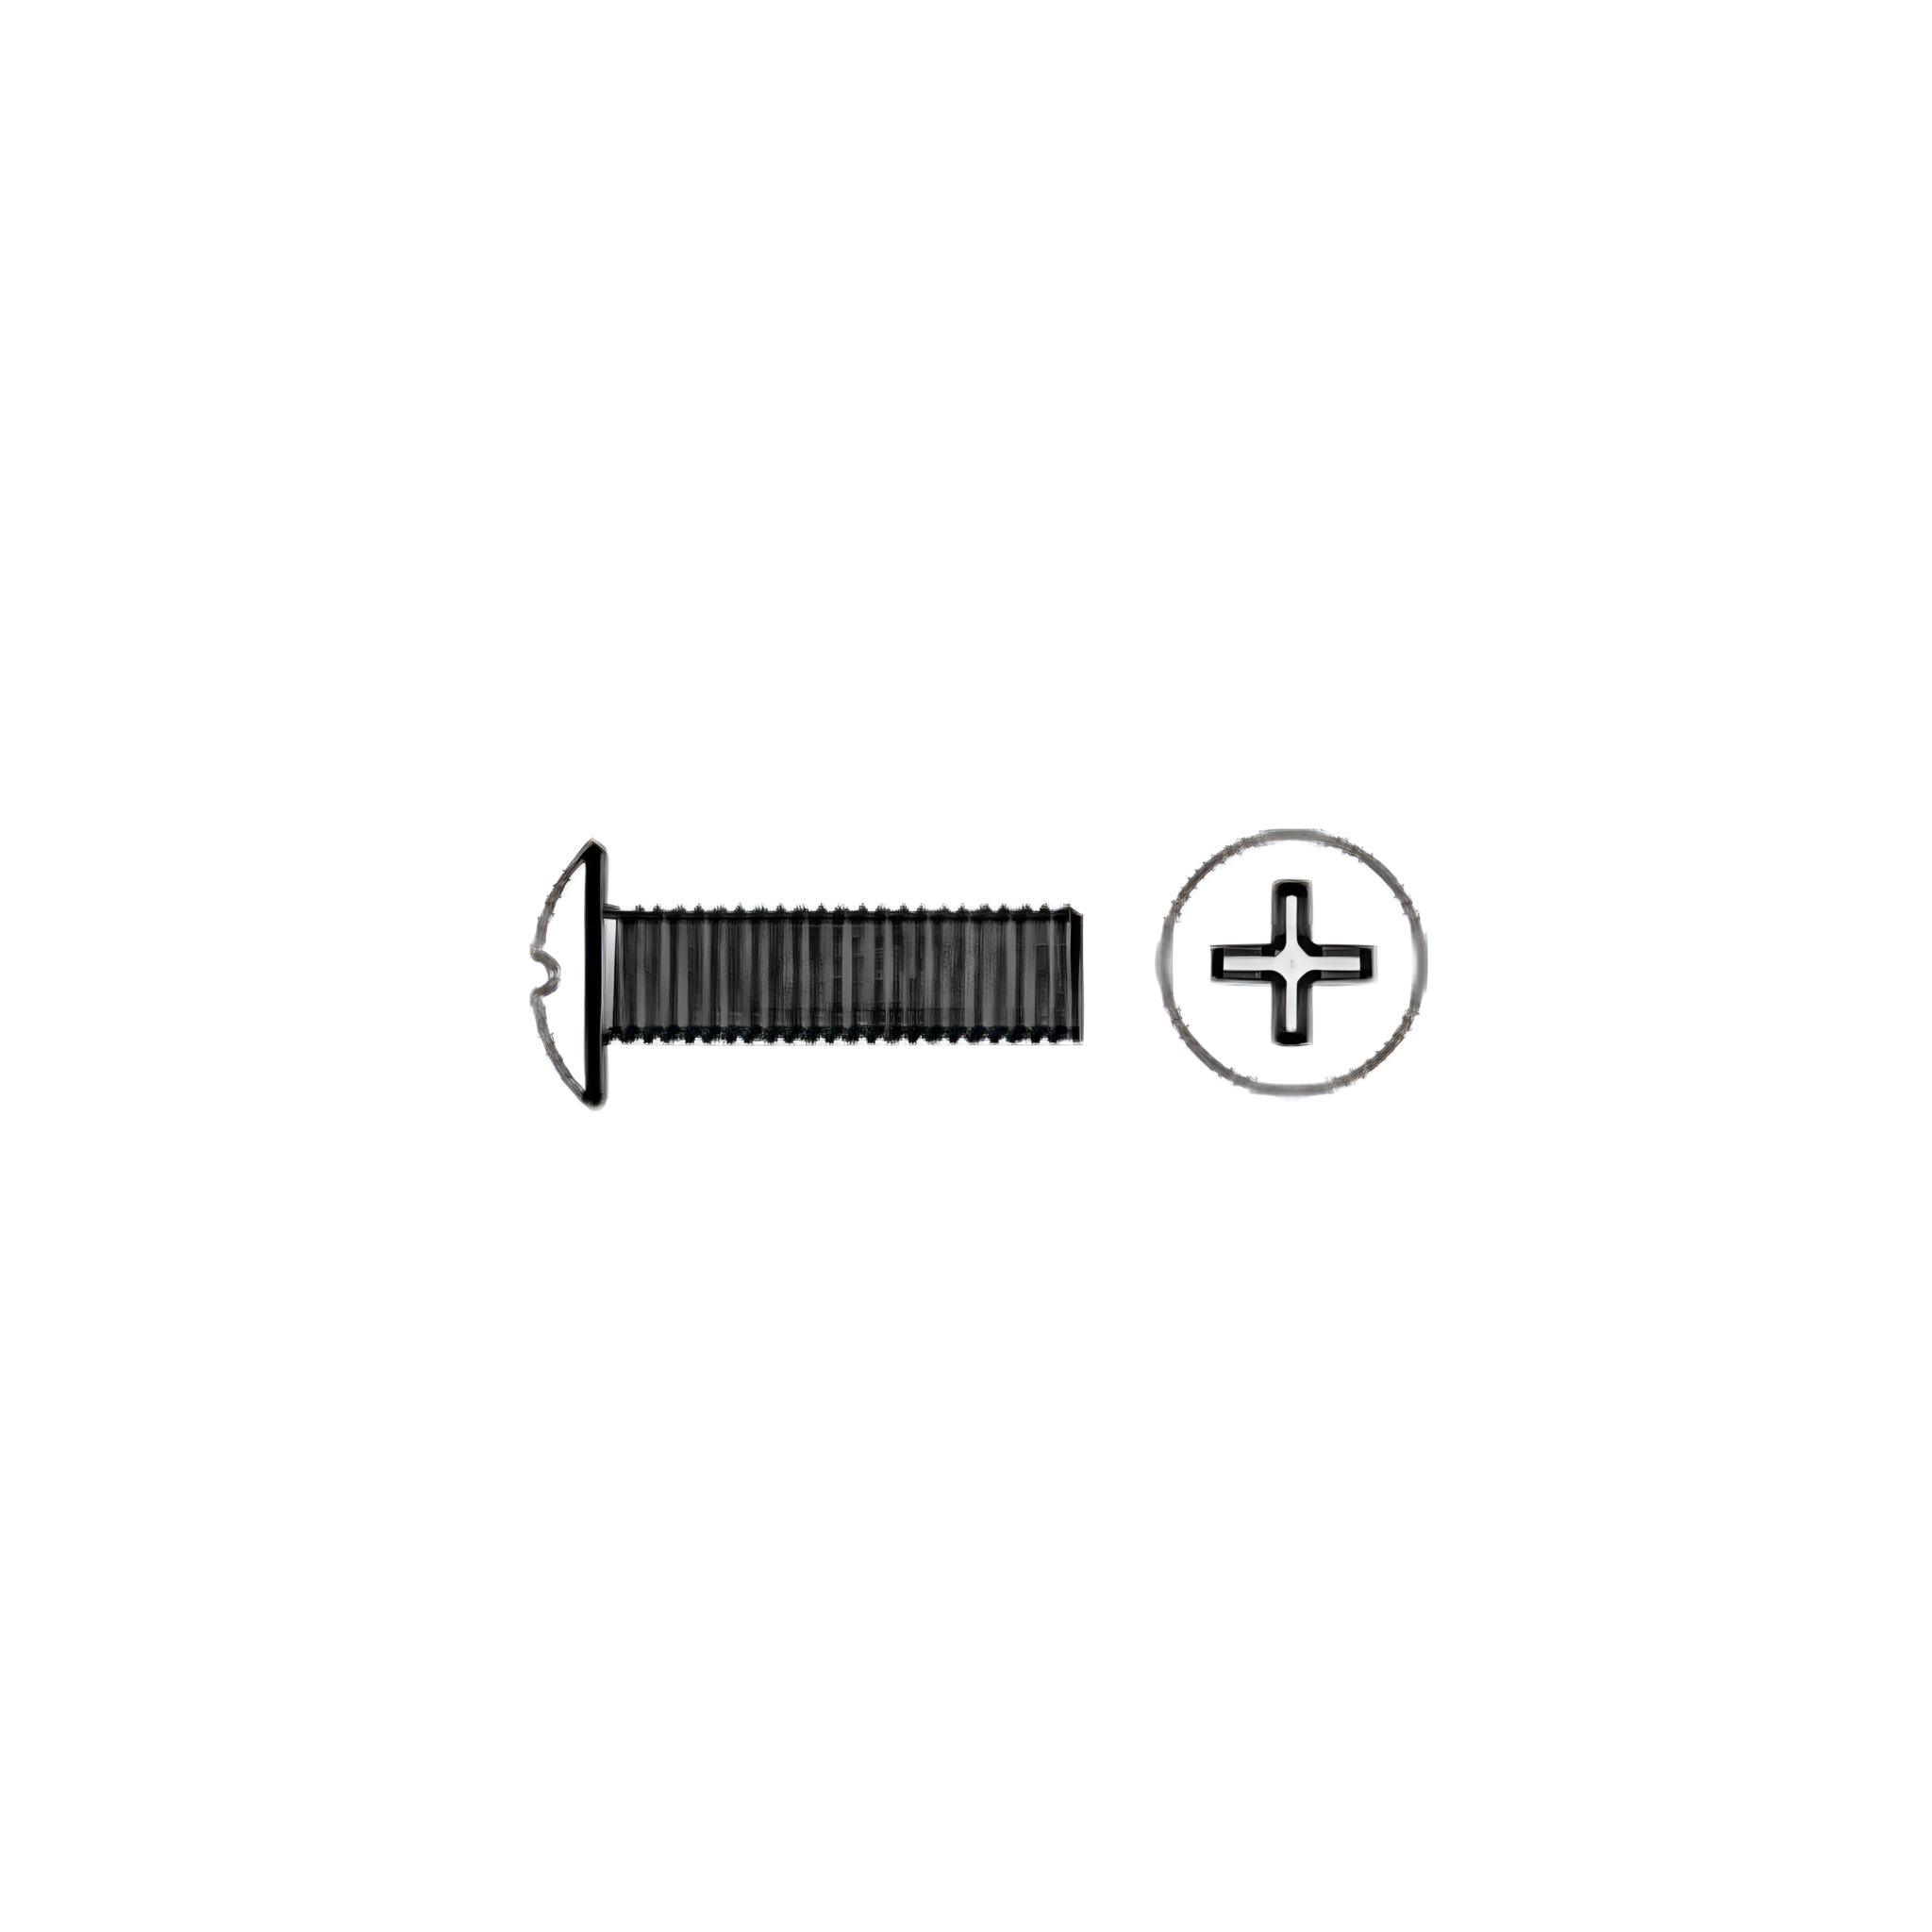
Attach the front stationary leg (35), rear stationary leg (36), and wheel legs (33, 34) to the bottom panel (37) using 8x M6 12mm screws (A).
Insert the axle (31) through the holes on the wheel legs (33, 34).
Place the wheels (31) on the end of each axle and secure with the M8 flat gasket (L) and M8 lock nuts (I).
3. Assembling the Frame
Turn the frame around so the wheels and feet are on the ground.
Attach the frame side beams (39) and frame rear beam (38) to the inside of the legs using 12x M6 12mm screws (A).
4. Connecting Panels
Connect the left side panel (26), rear panel (27), front panel (28), and right side panel (29) together using 12x M6 12mm screws (A).
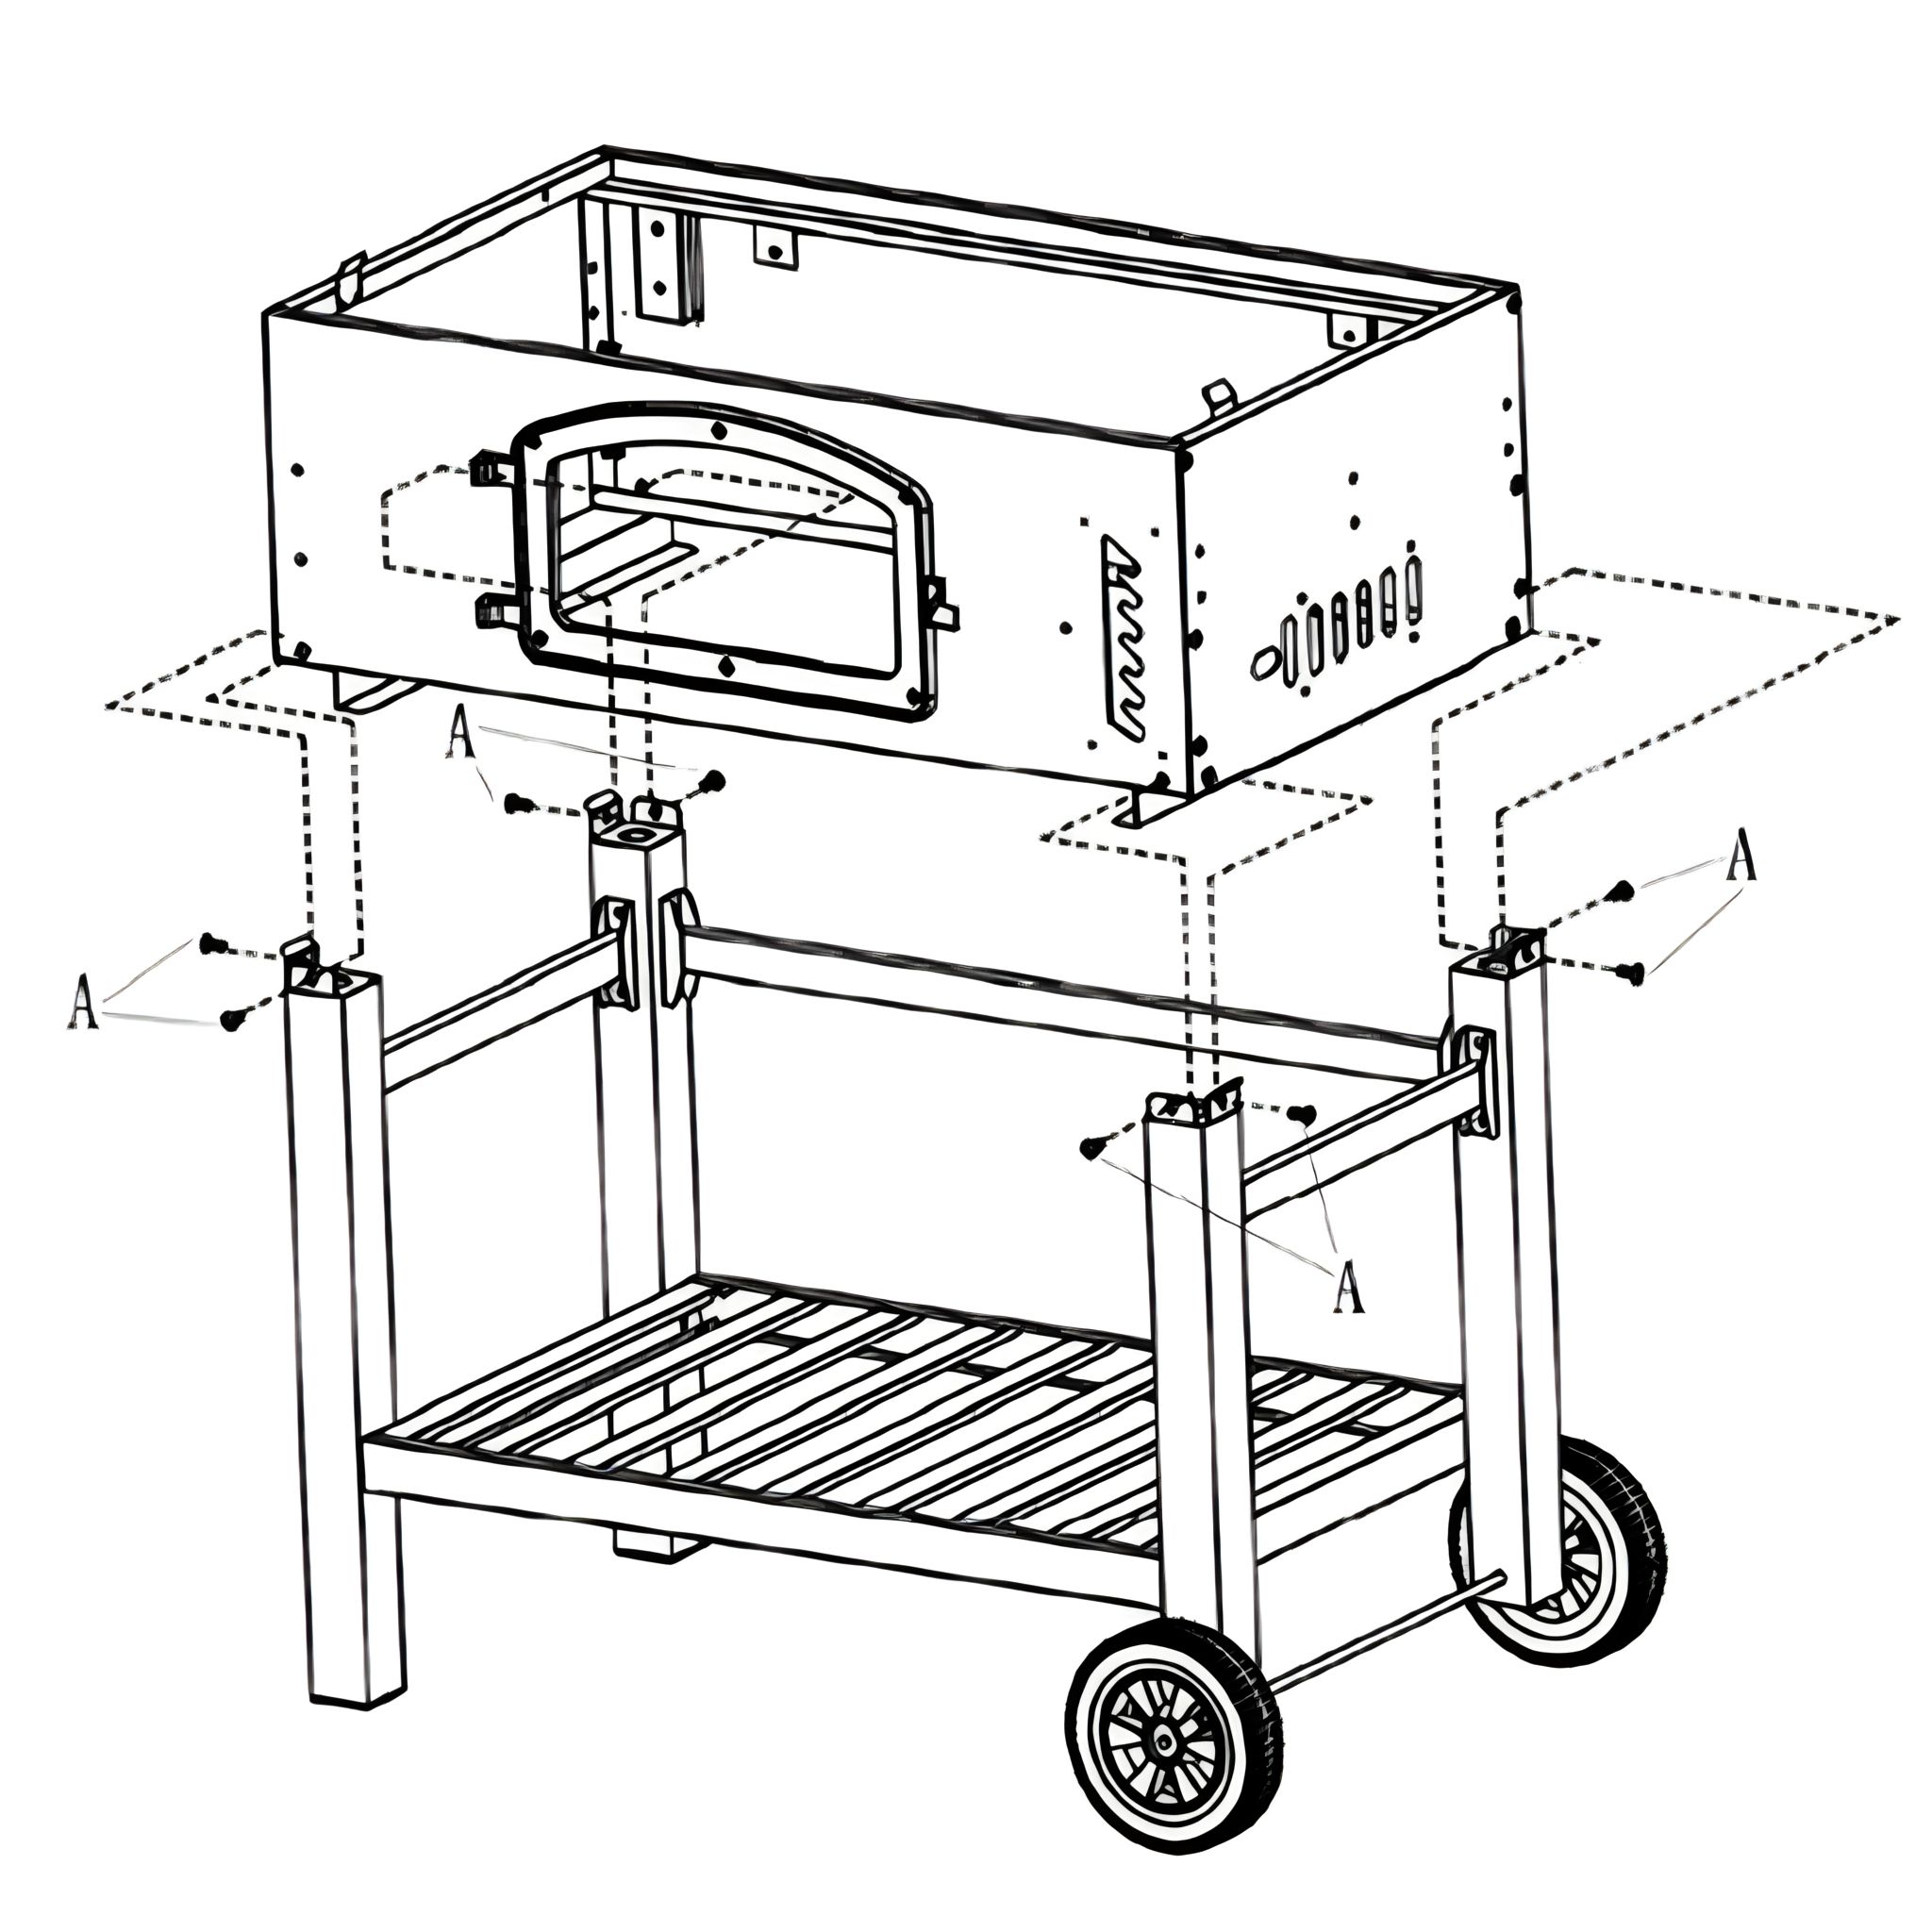
5. Attaching Furnace Body
Attach the furnace body to the legs of the base assembled in the previous step using 8x M6 12mm screws (A).
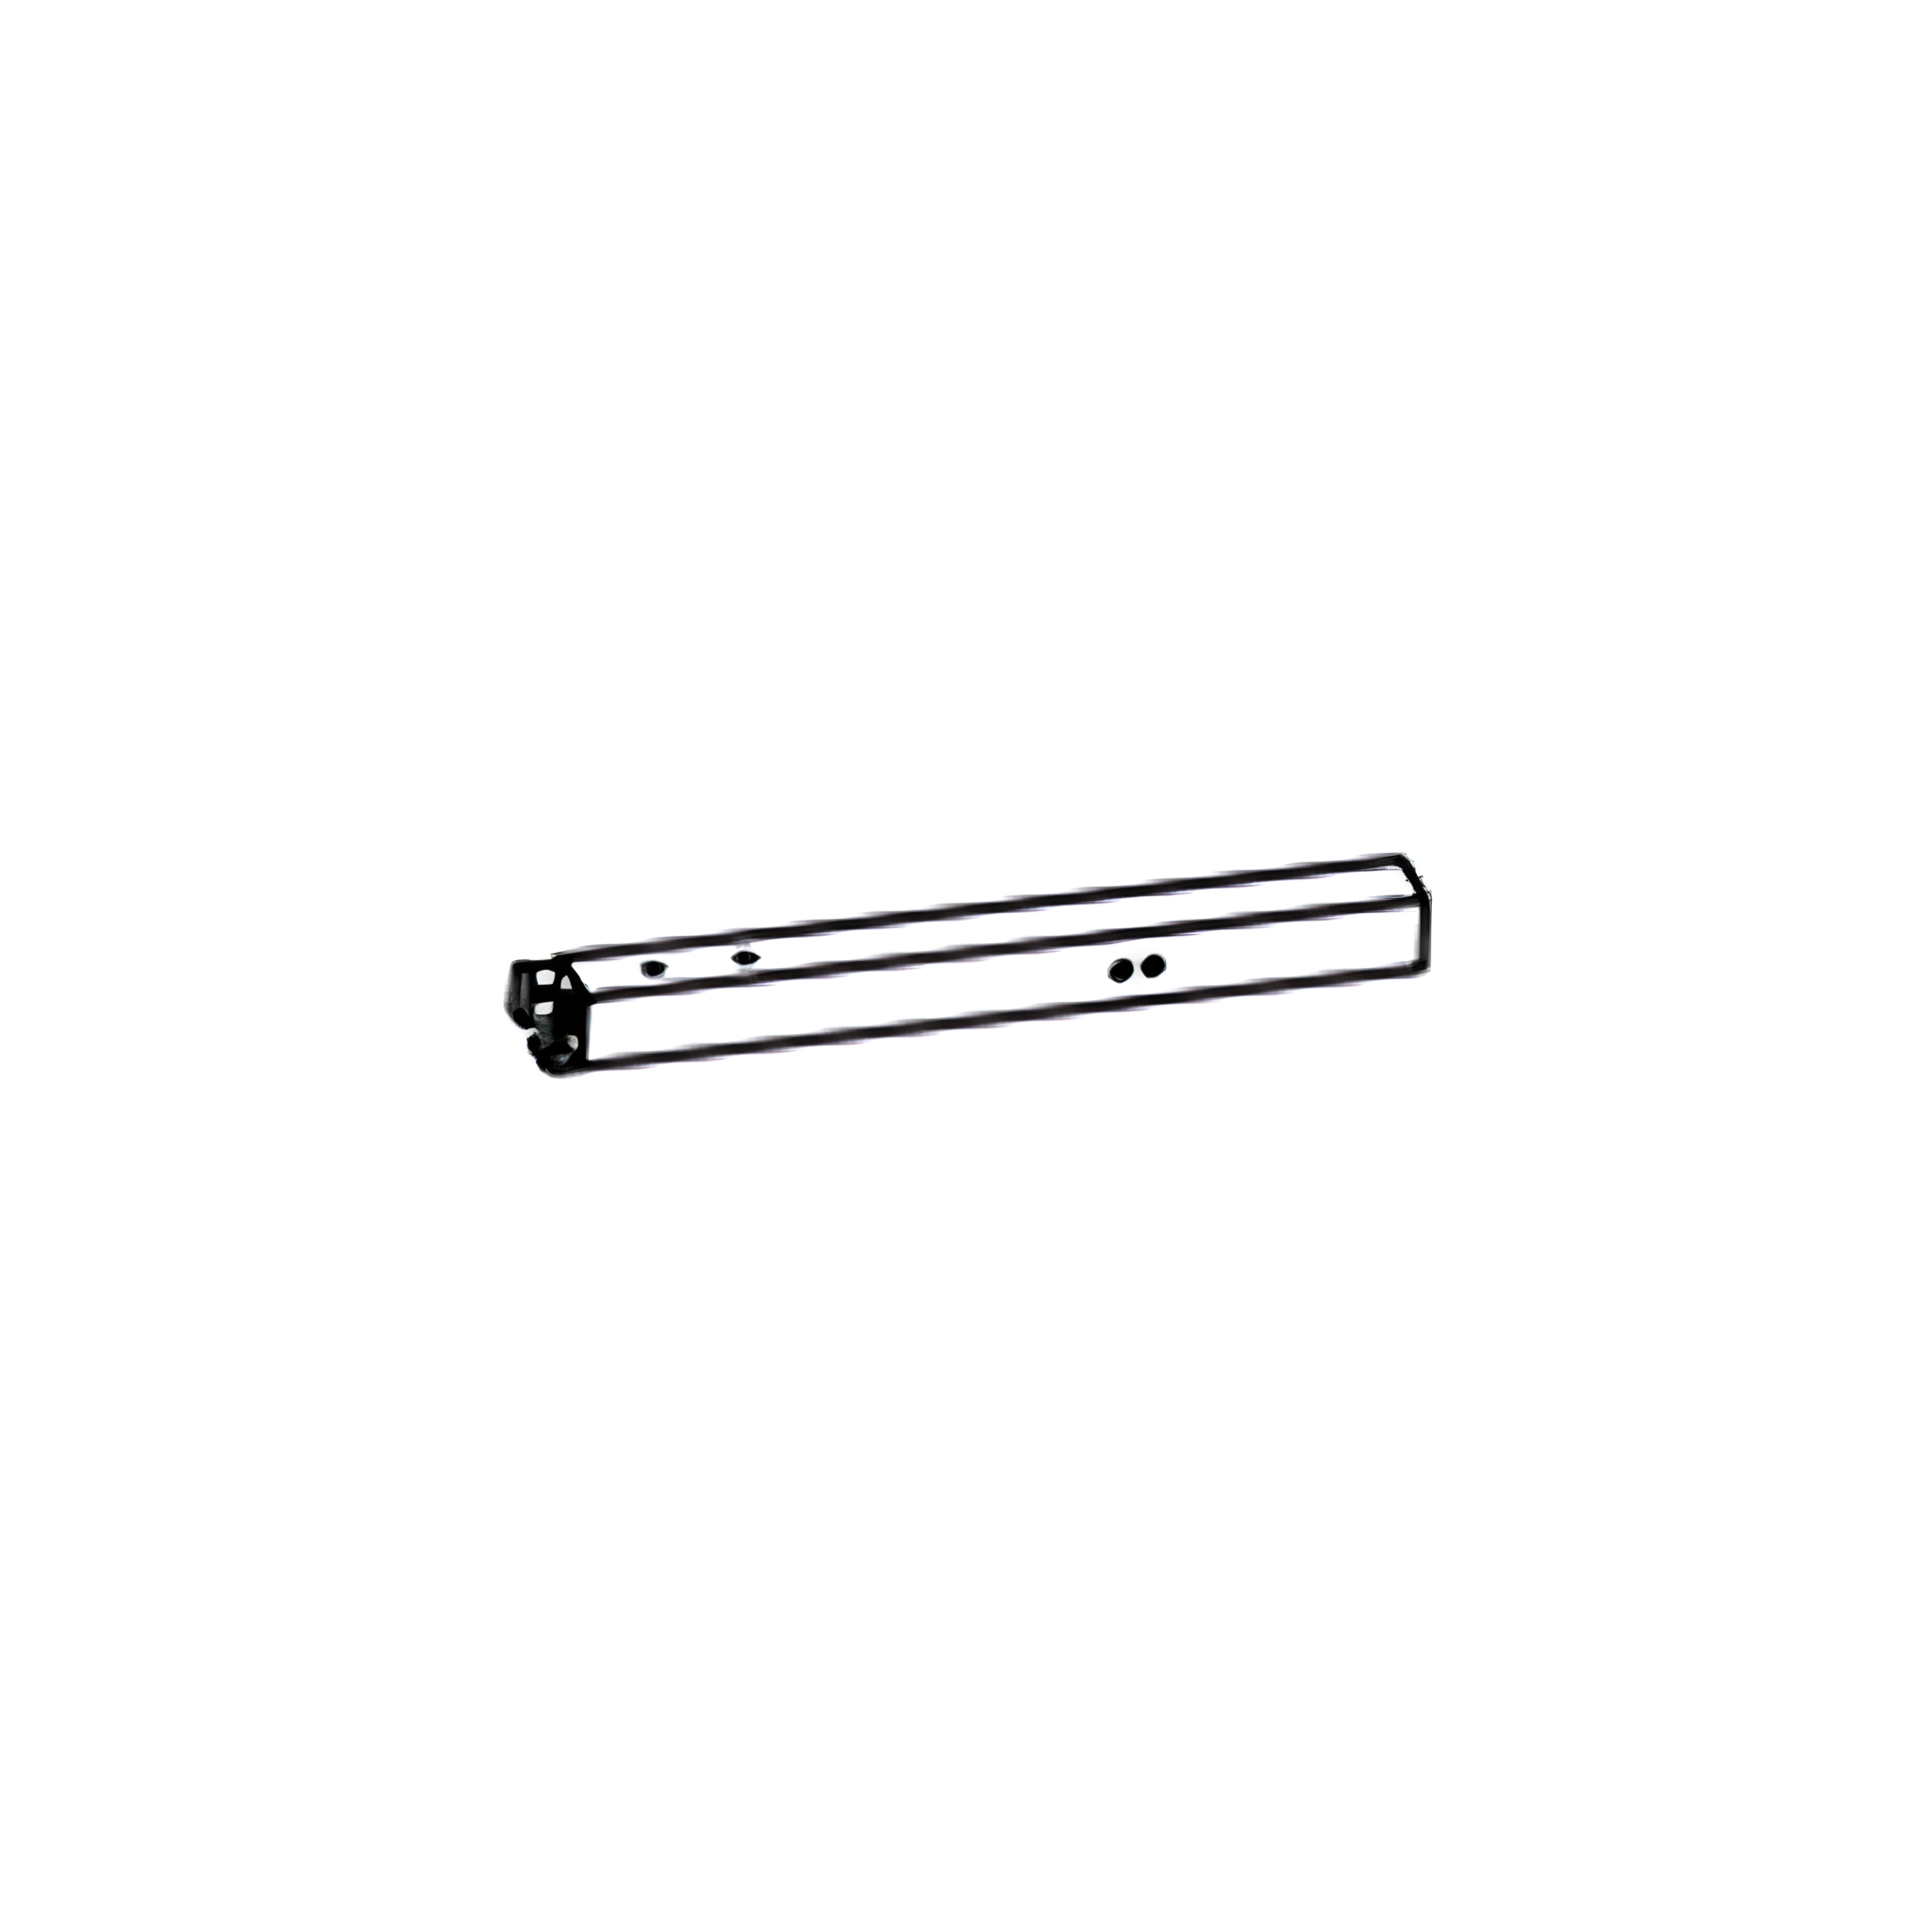
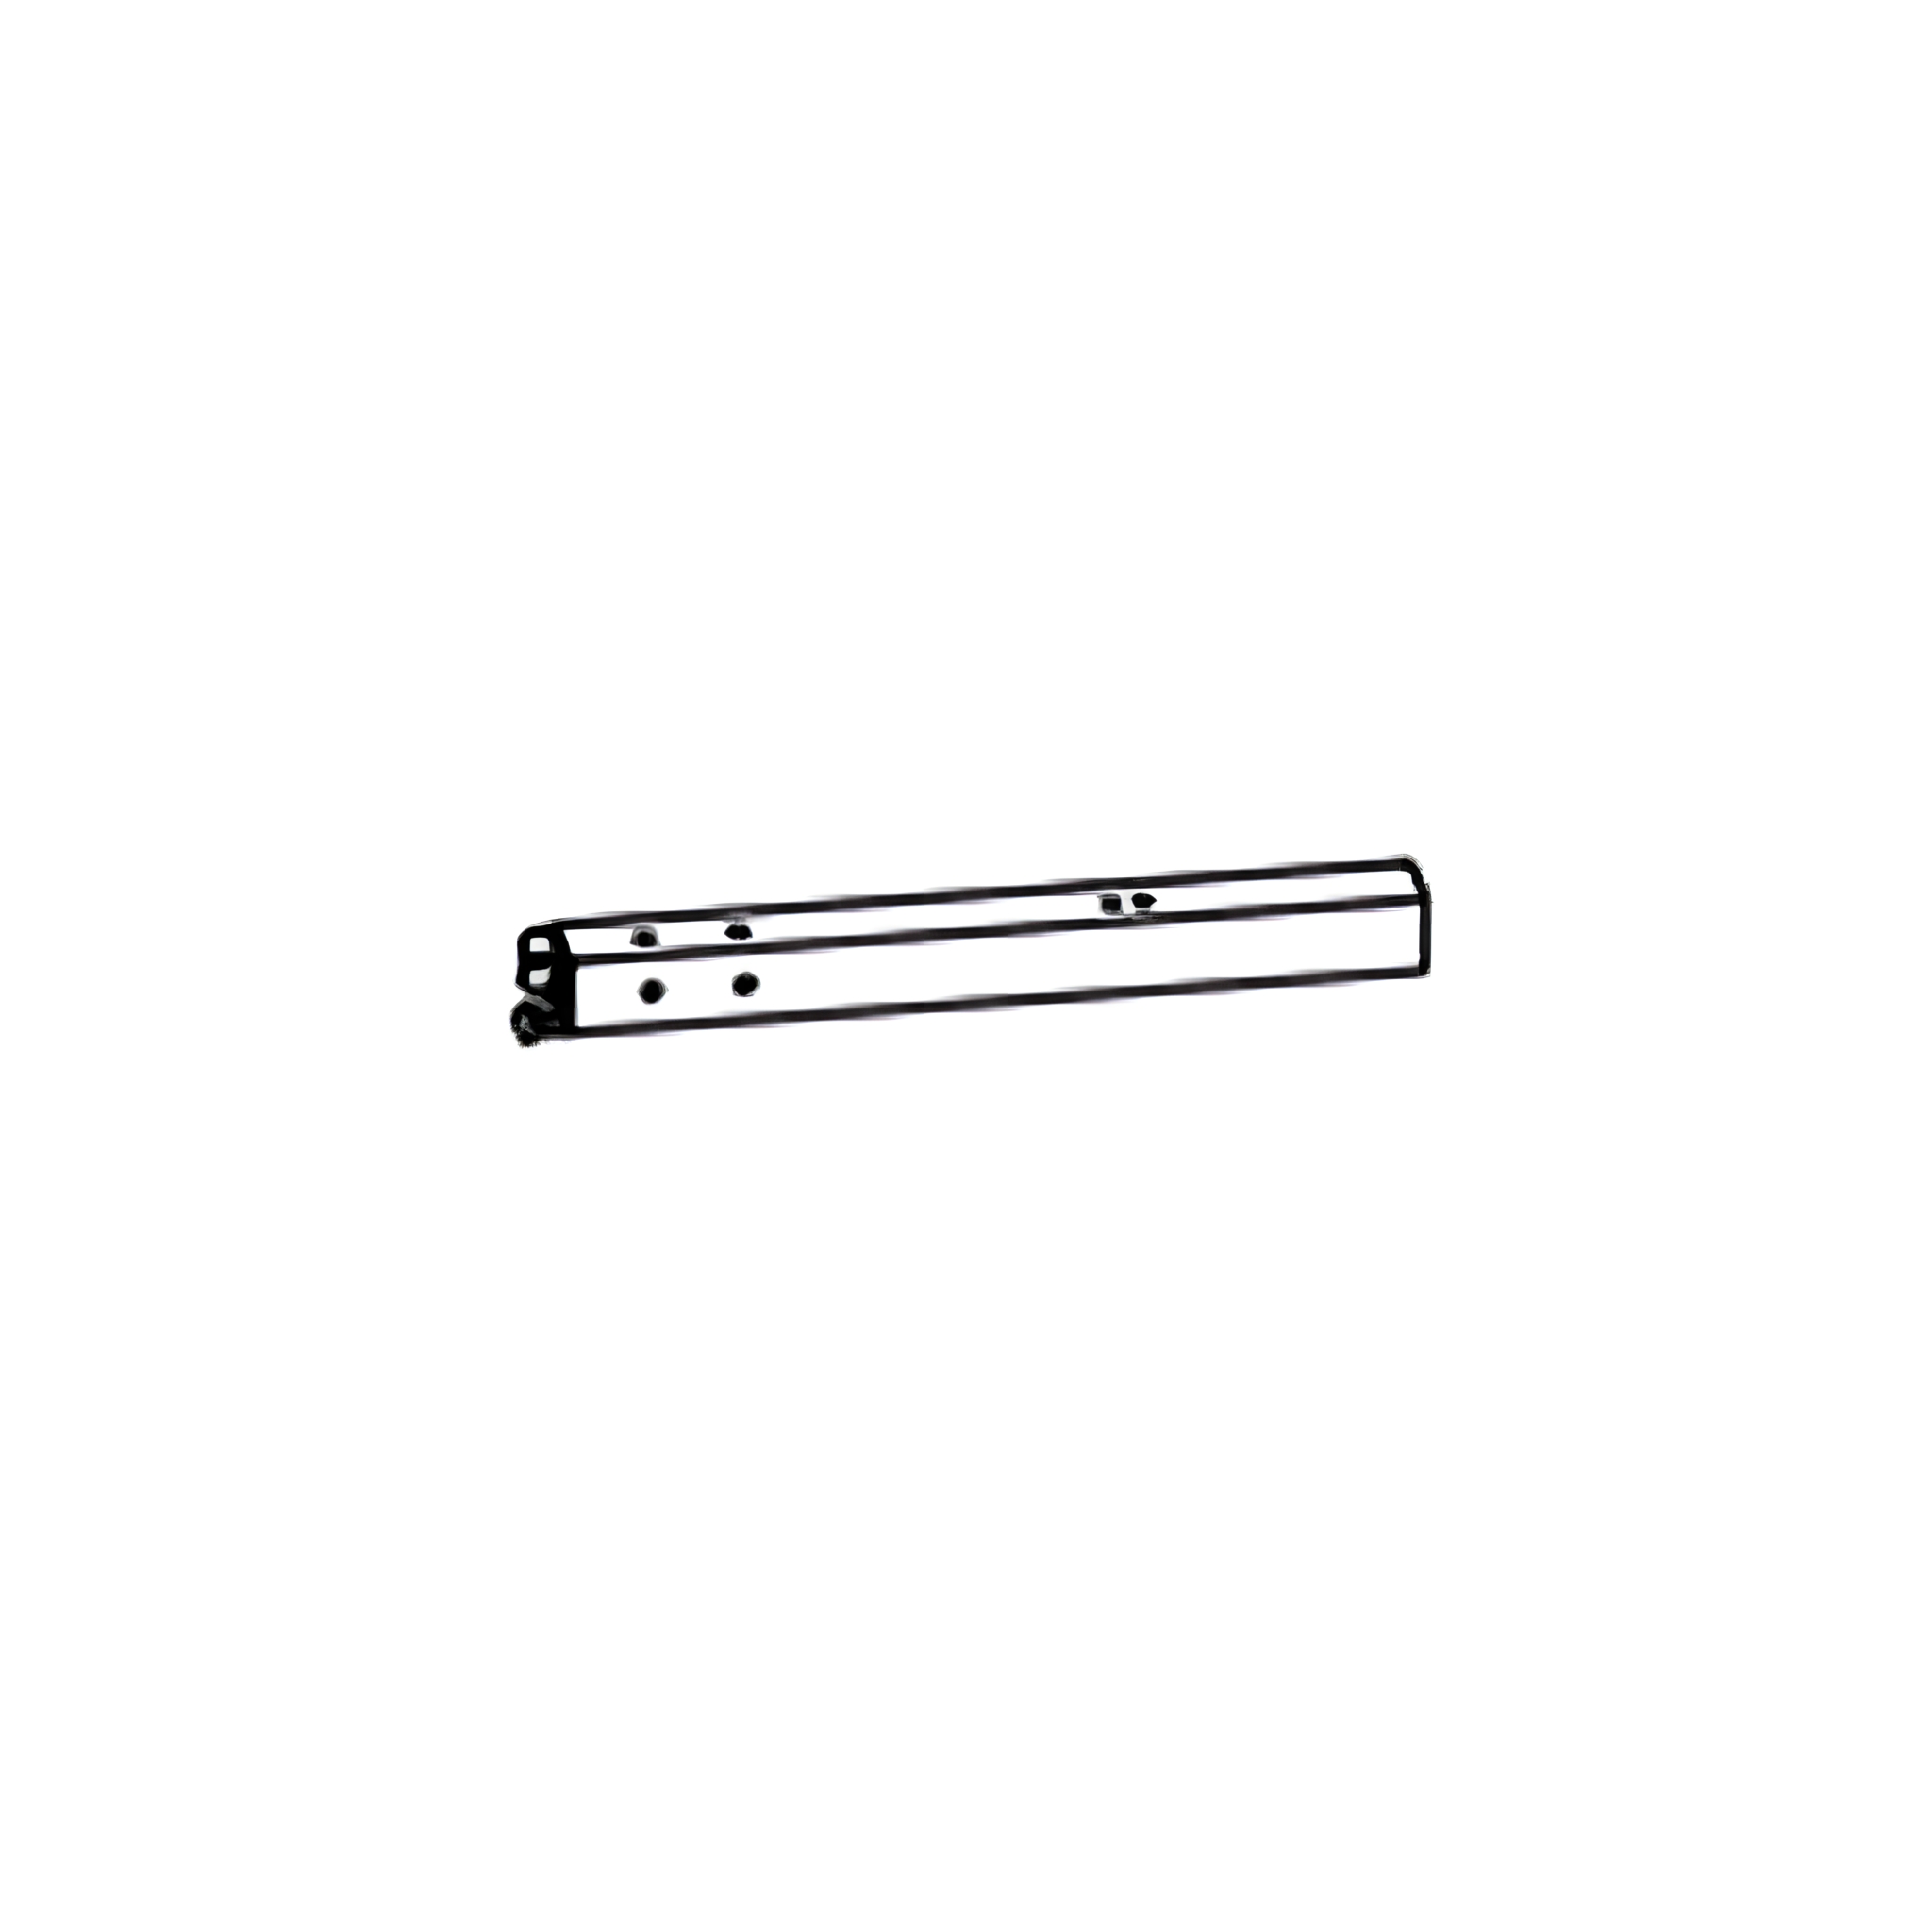
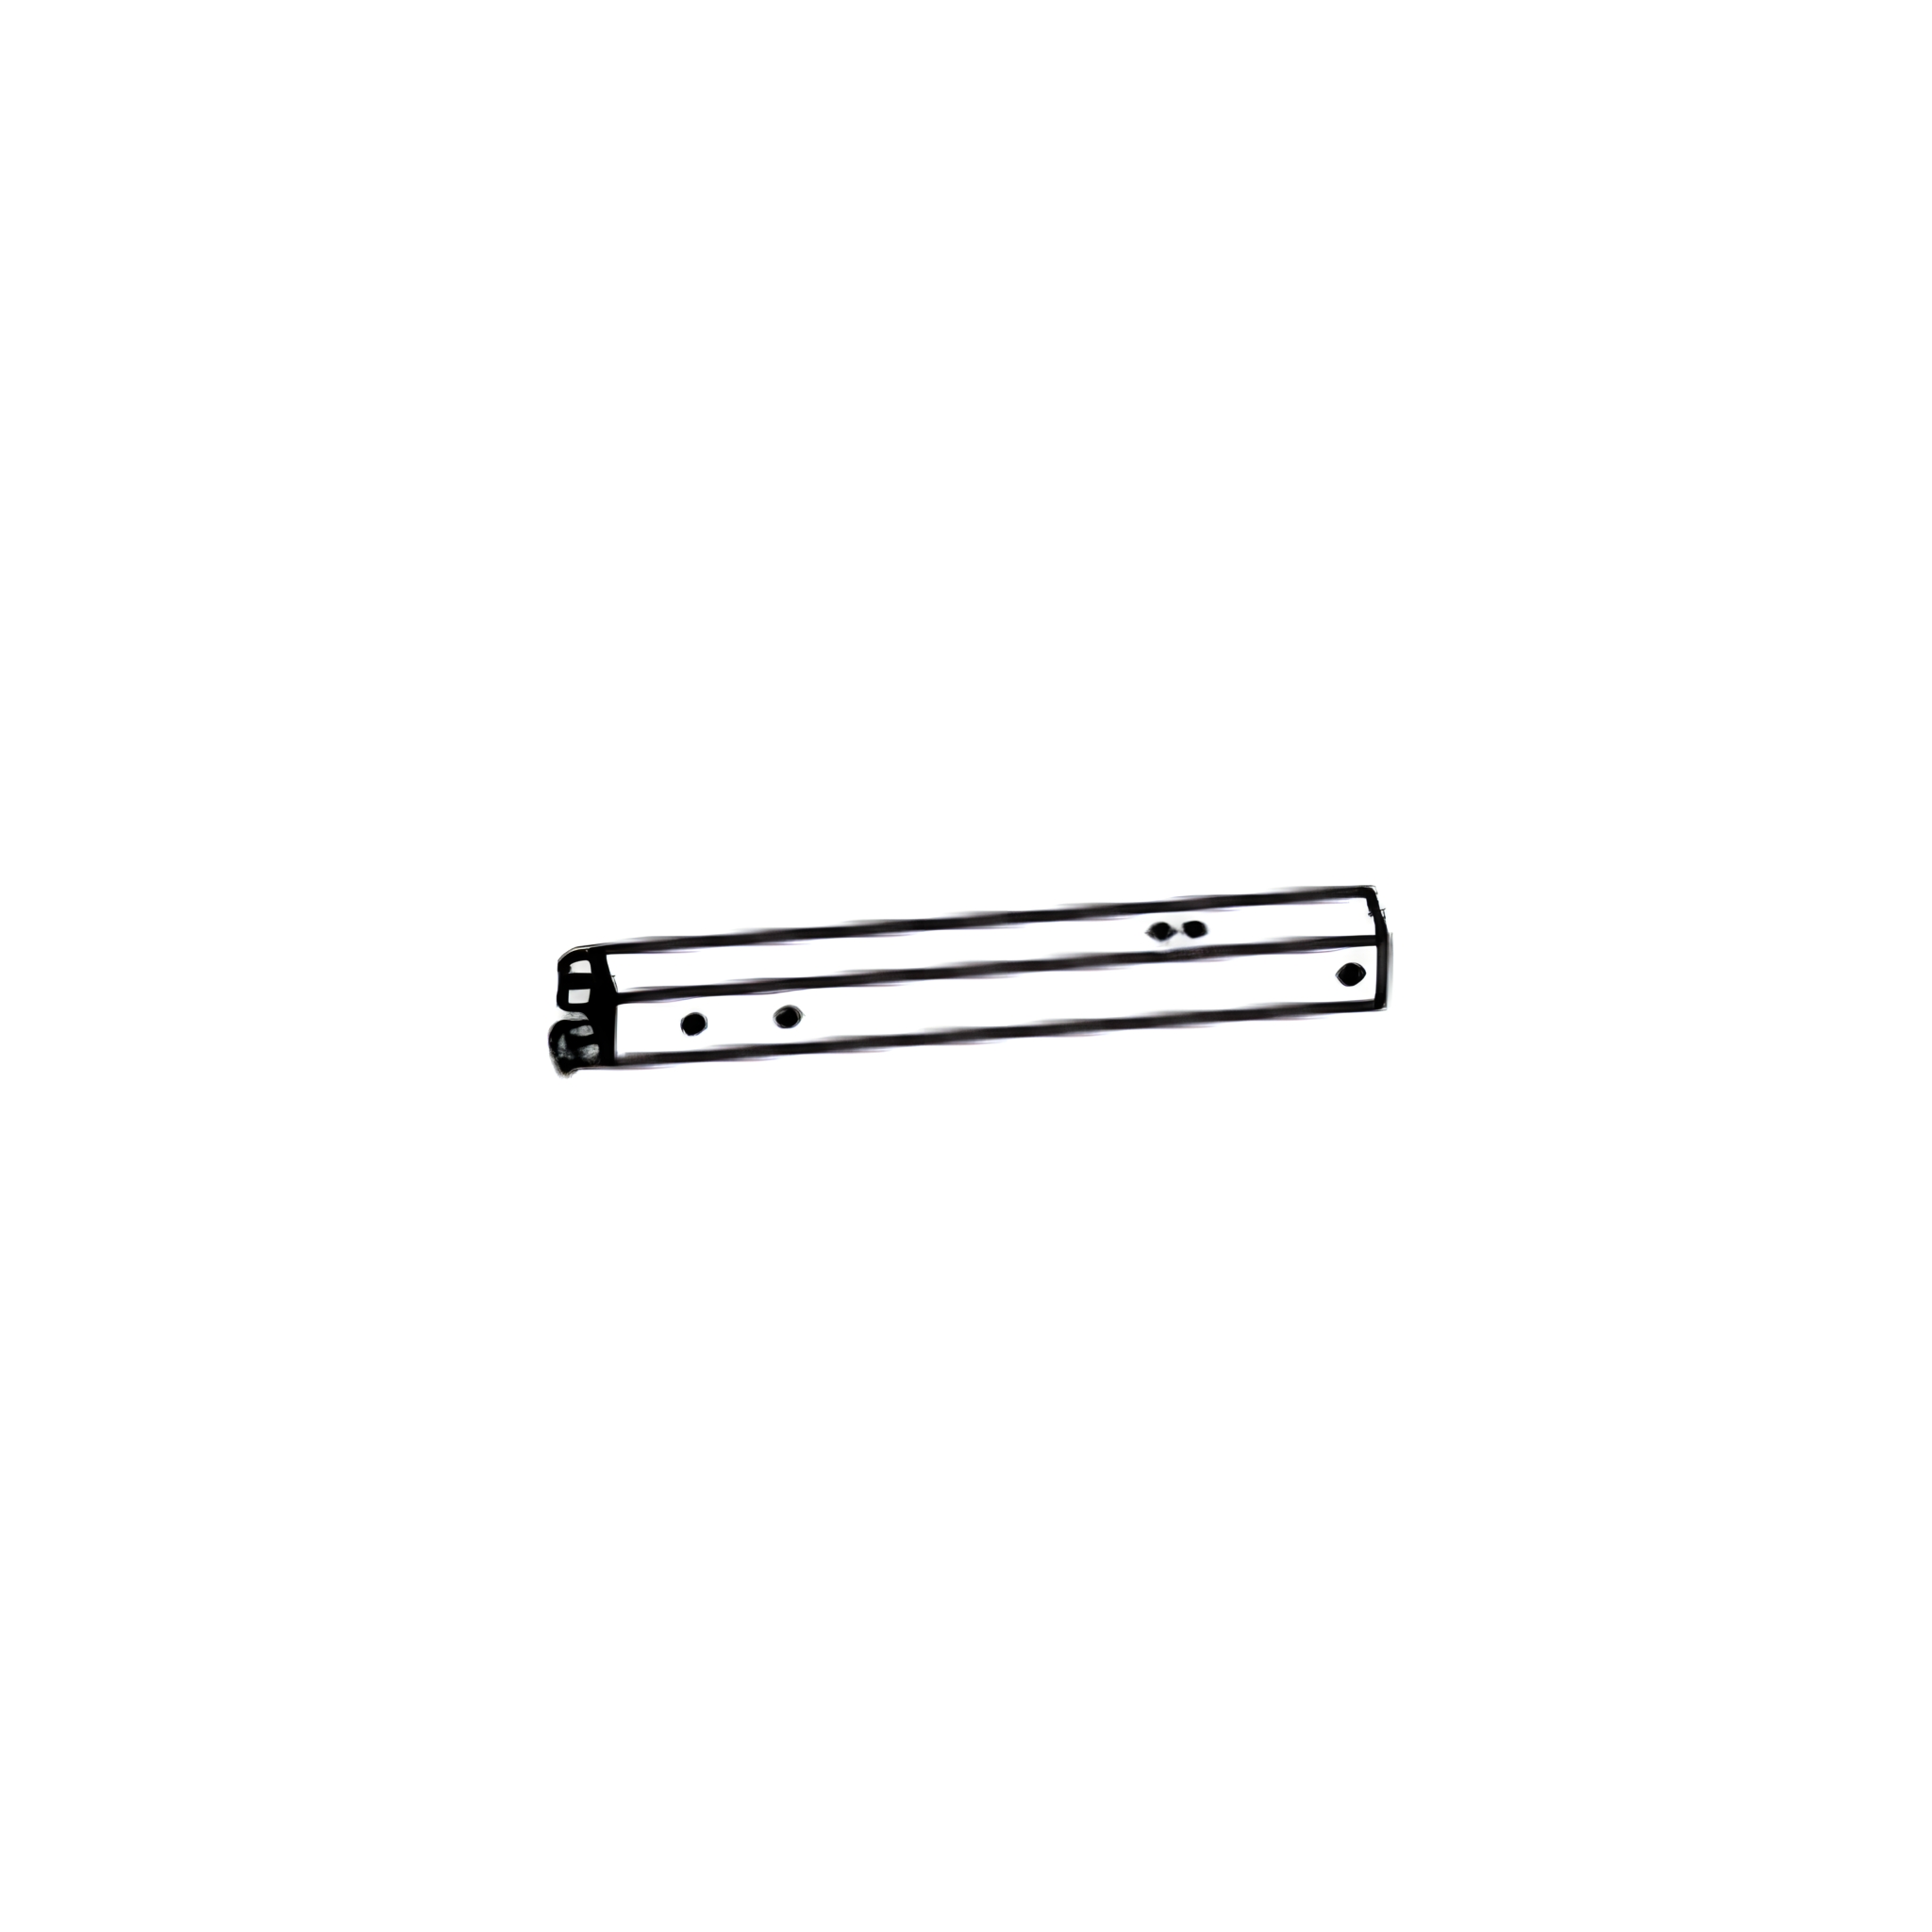
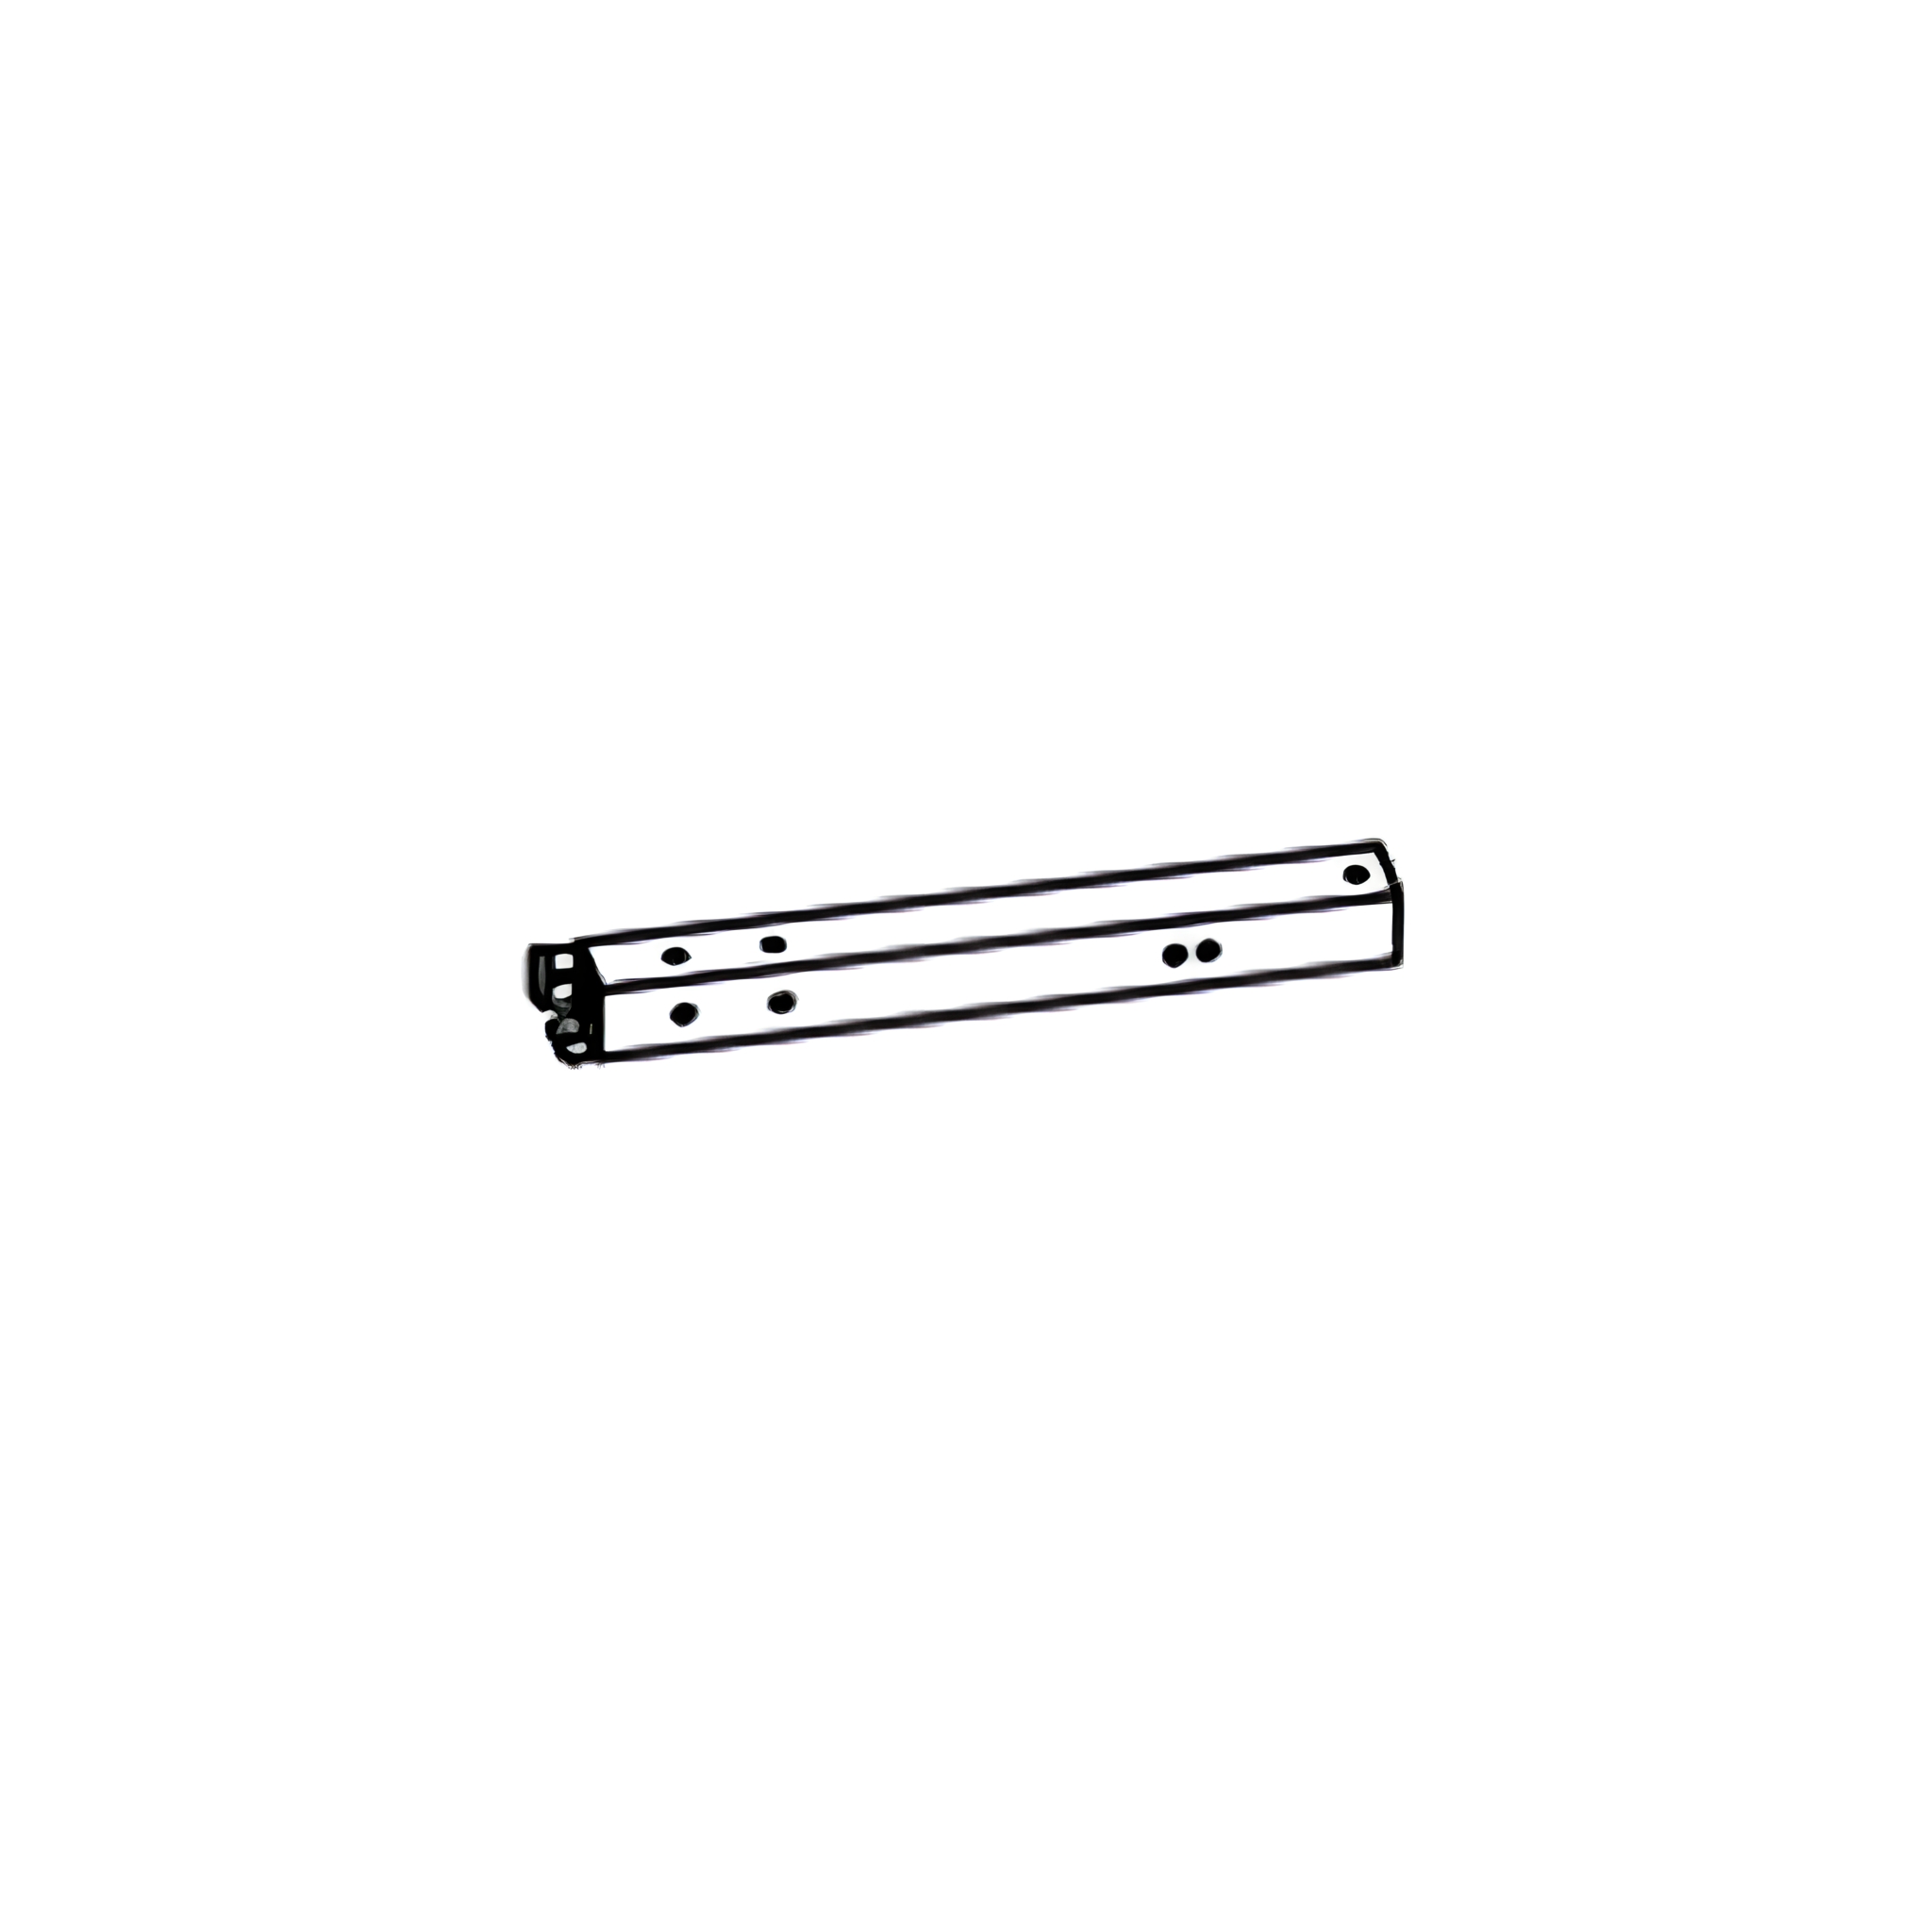
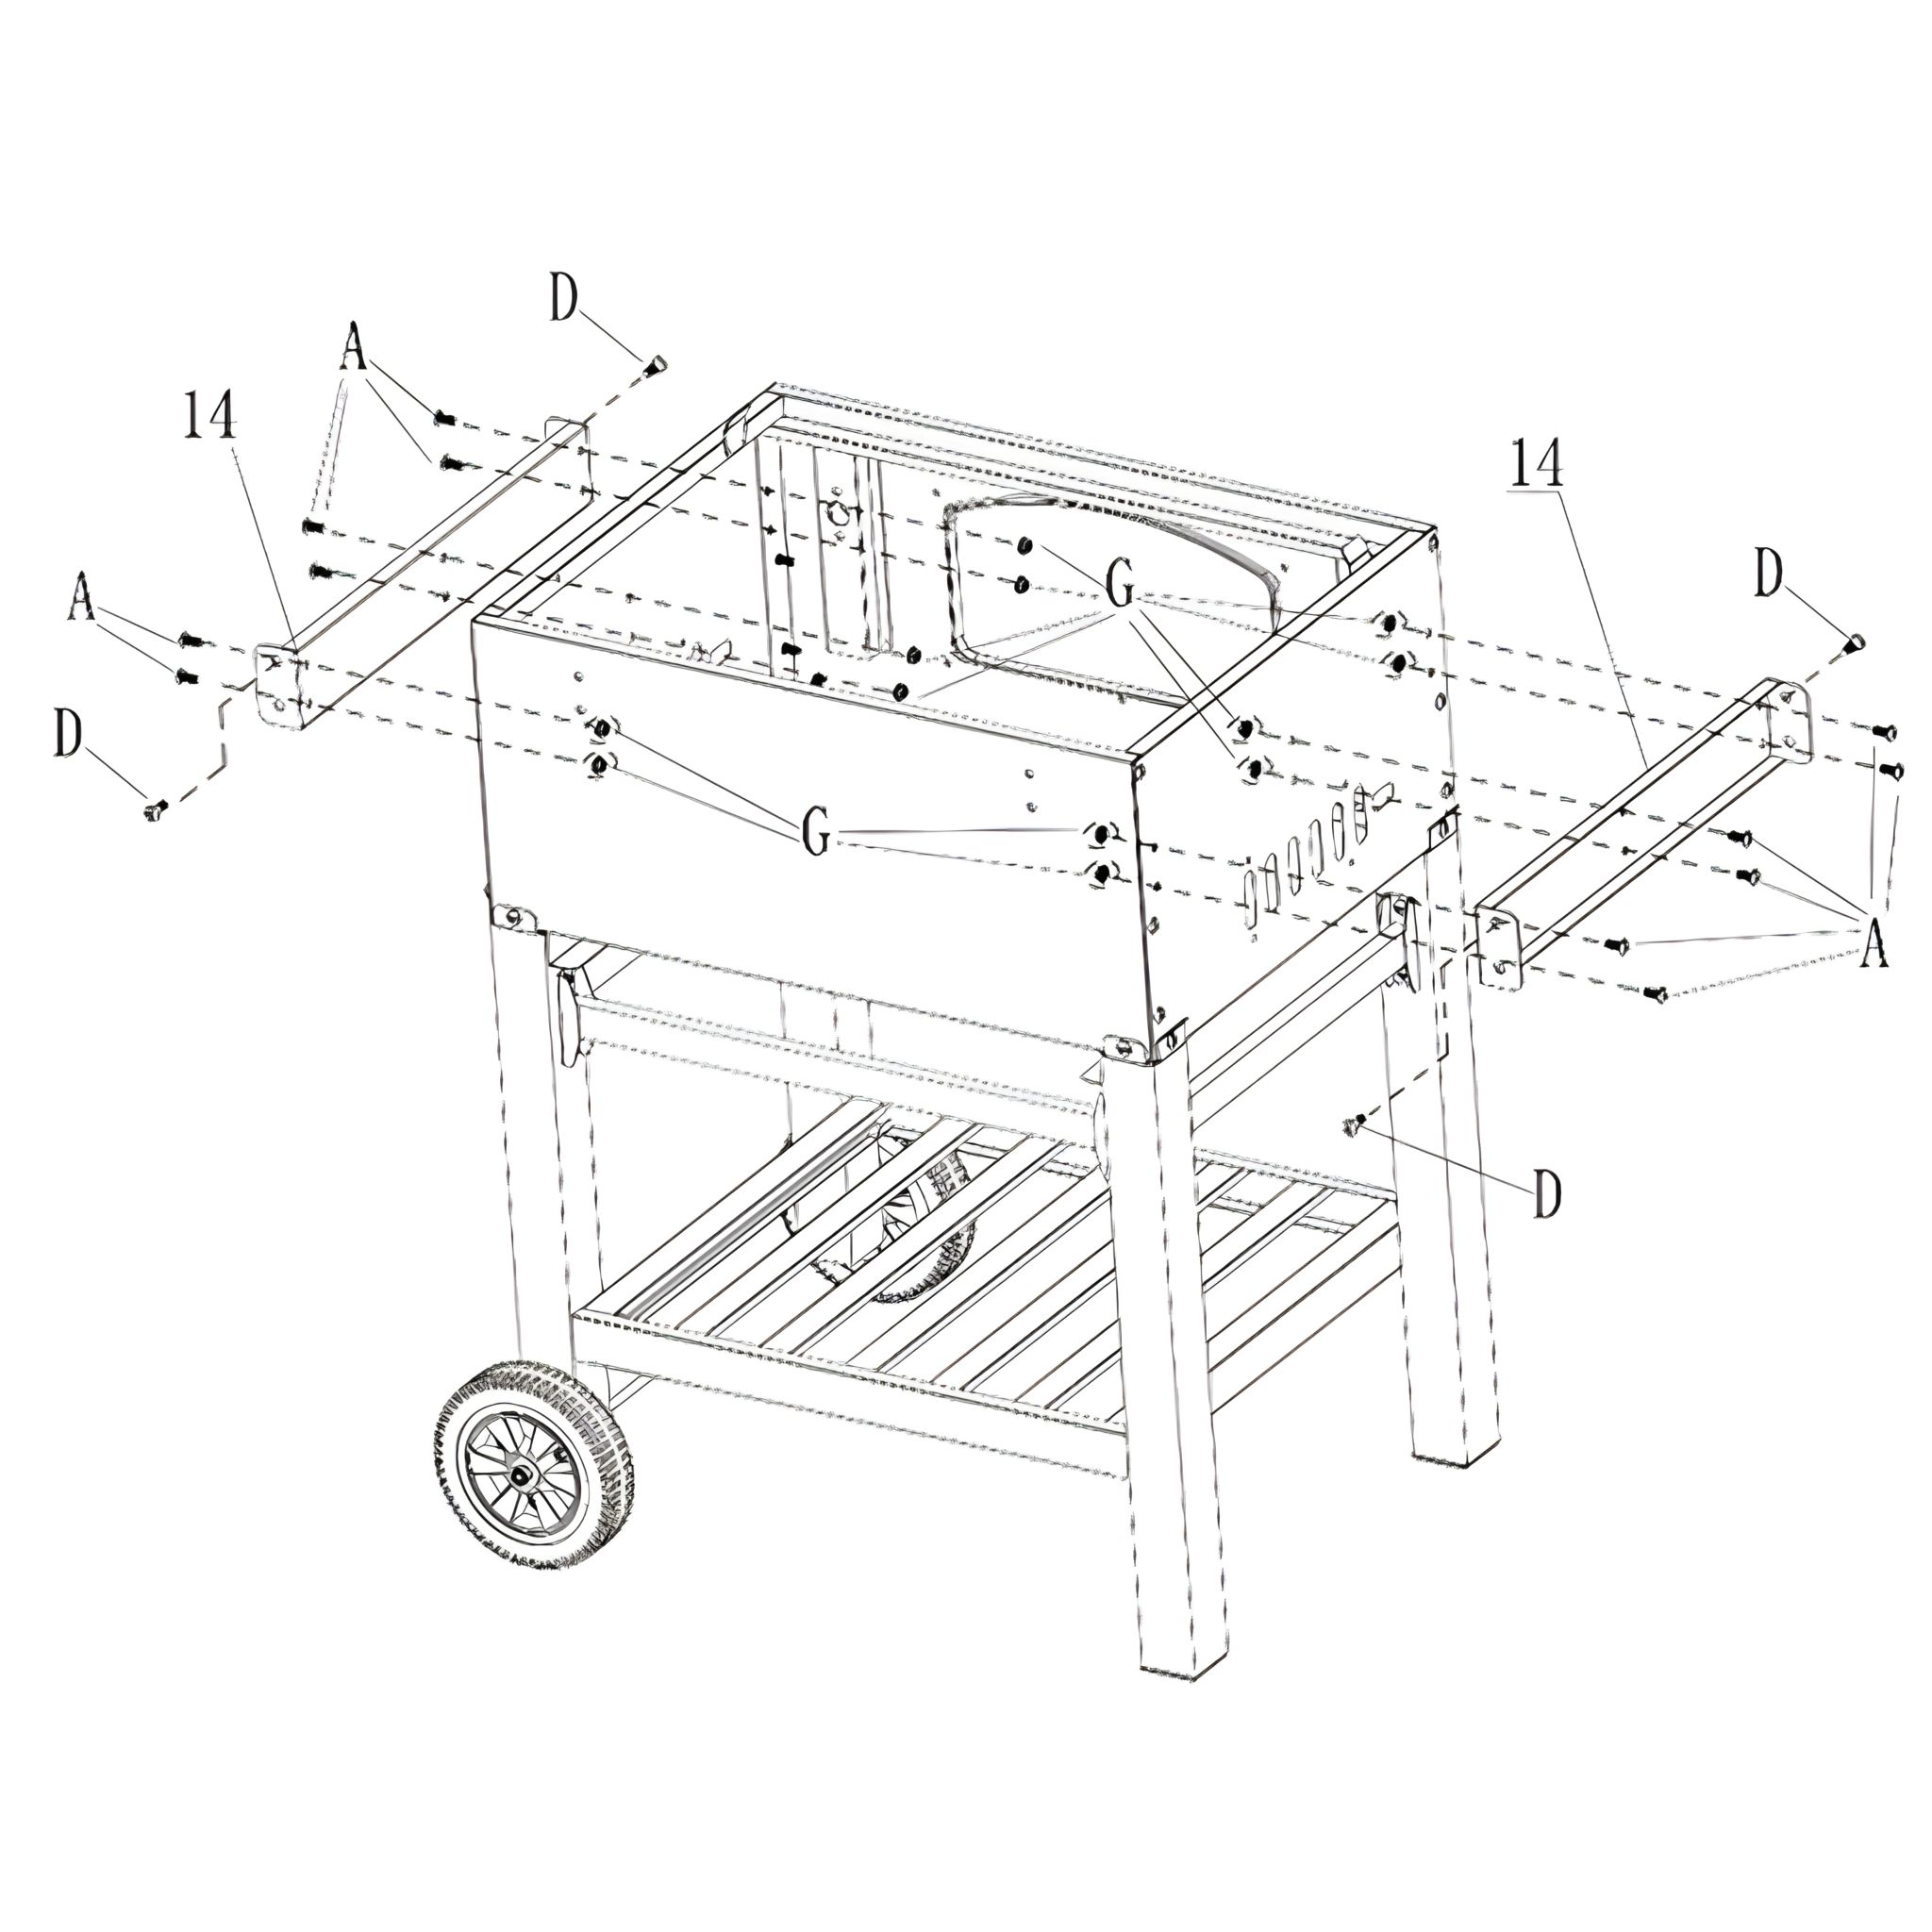
6. Securing Side Panel Support Bars
Attach the two side panel support bars (14) to the two side panels using 12x M6 12mm screws (A).
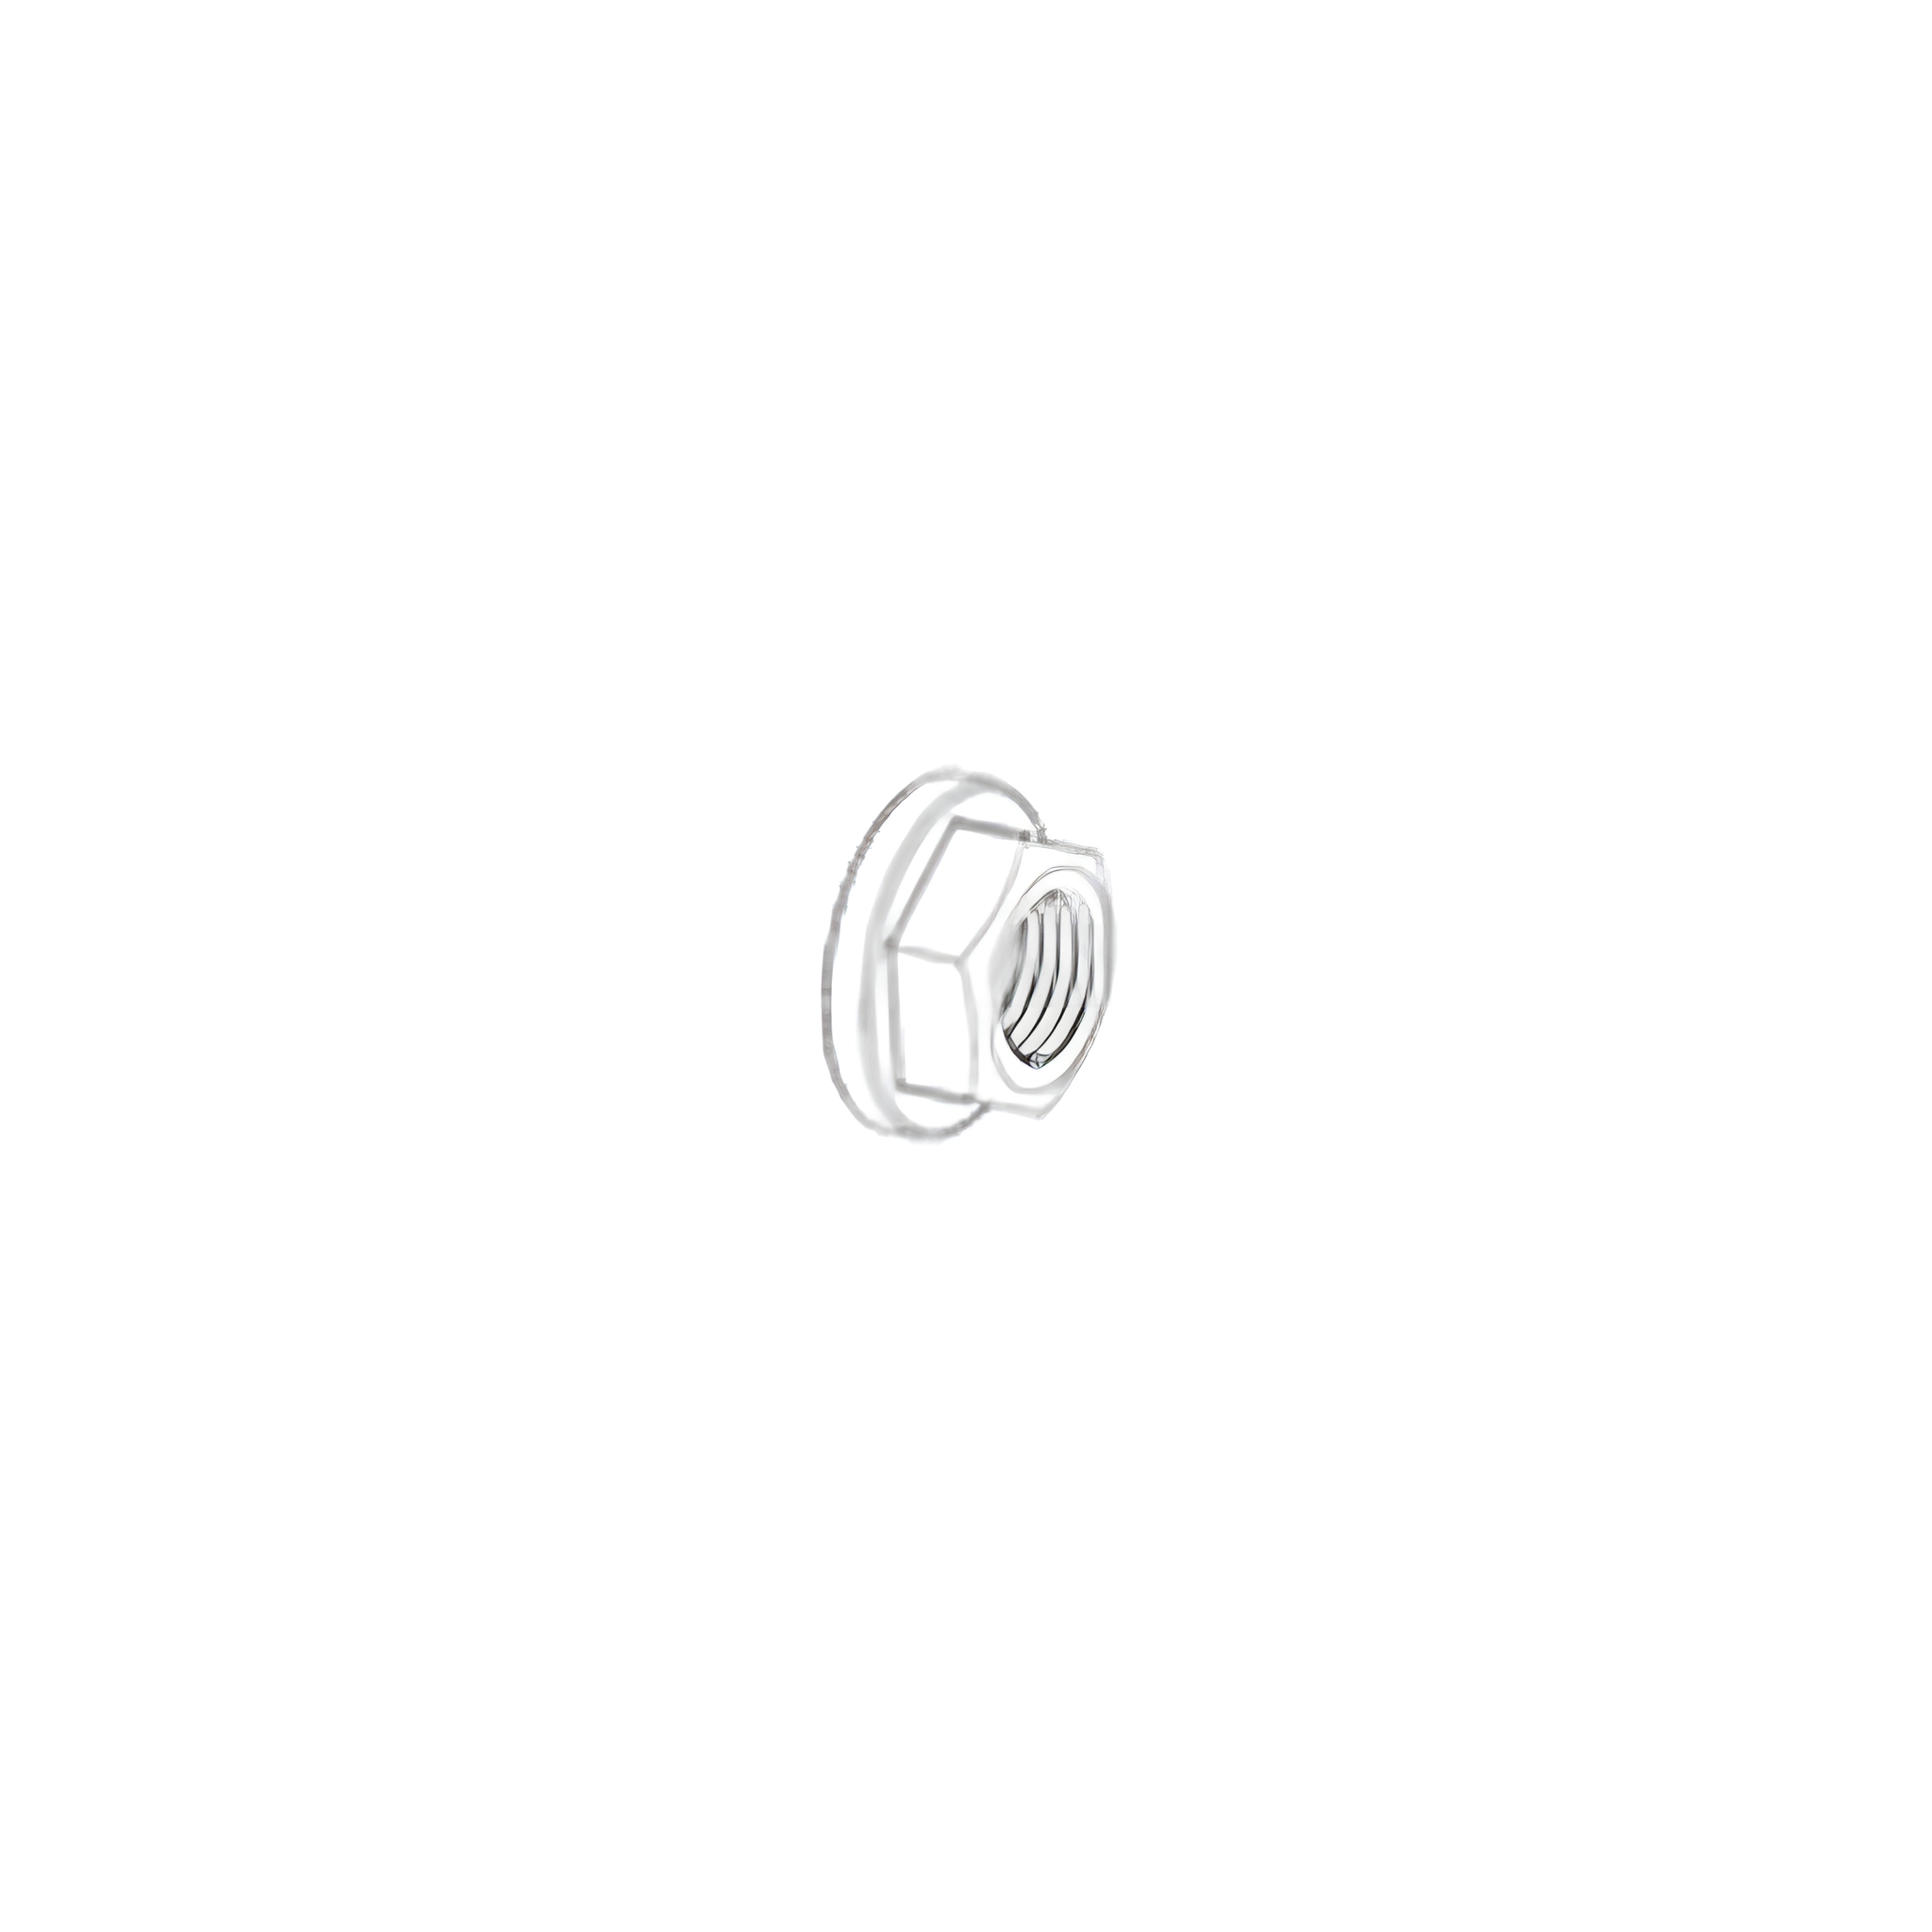
Secure them with 12x M6 flange nuts (G).
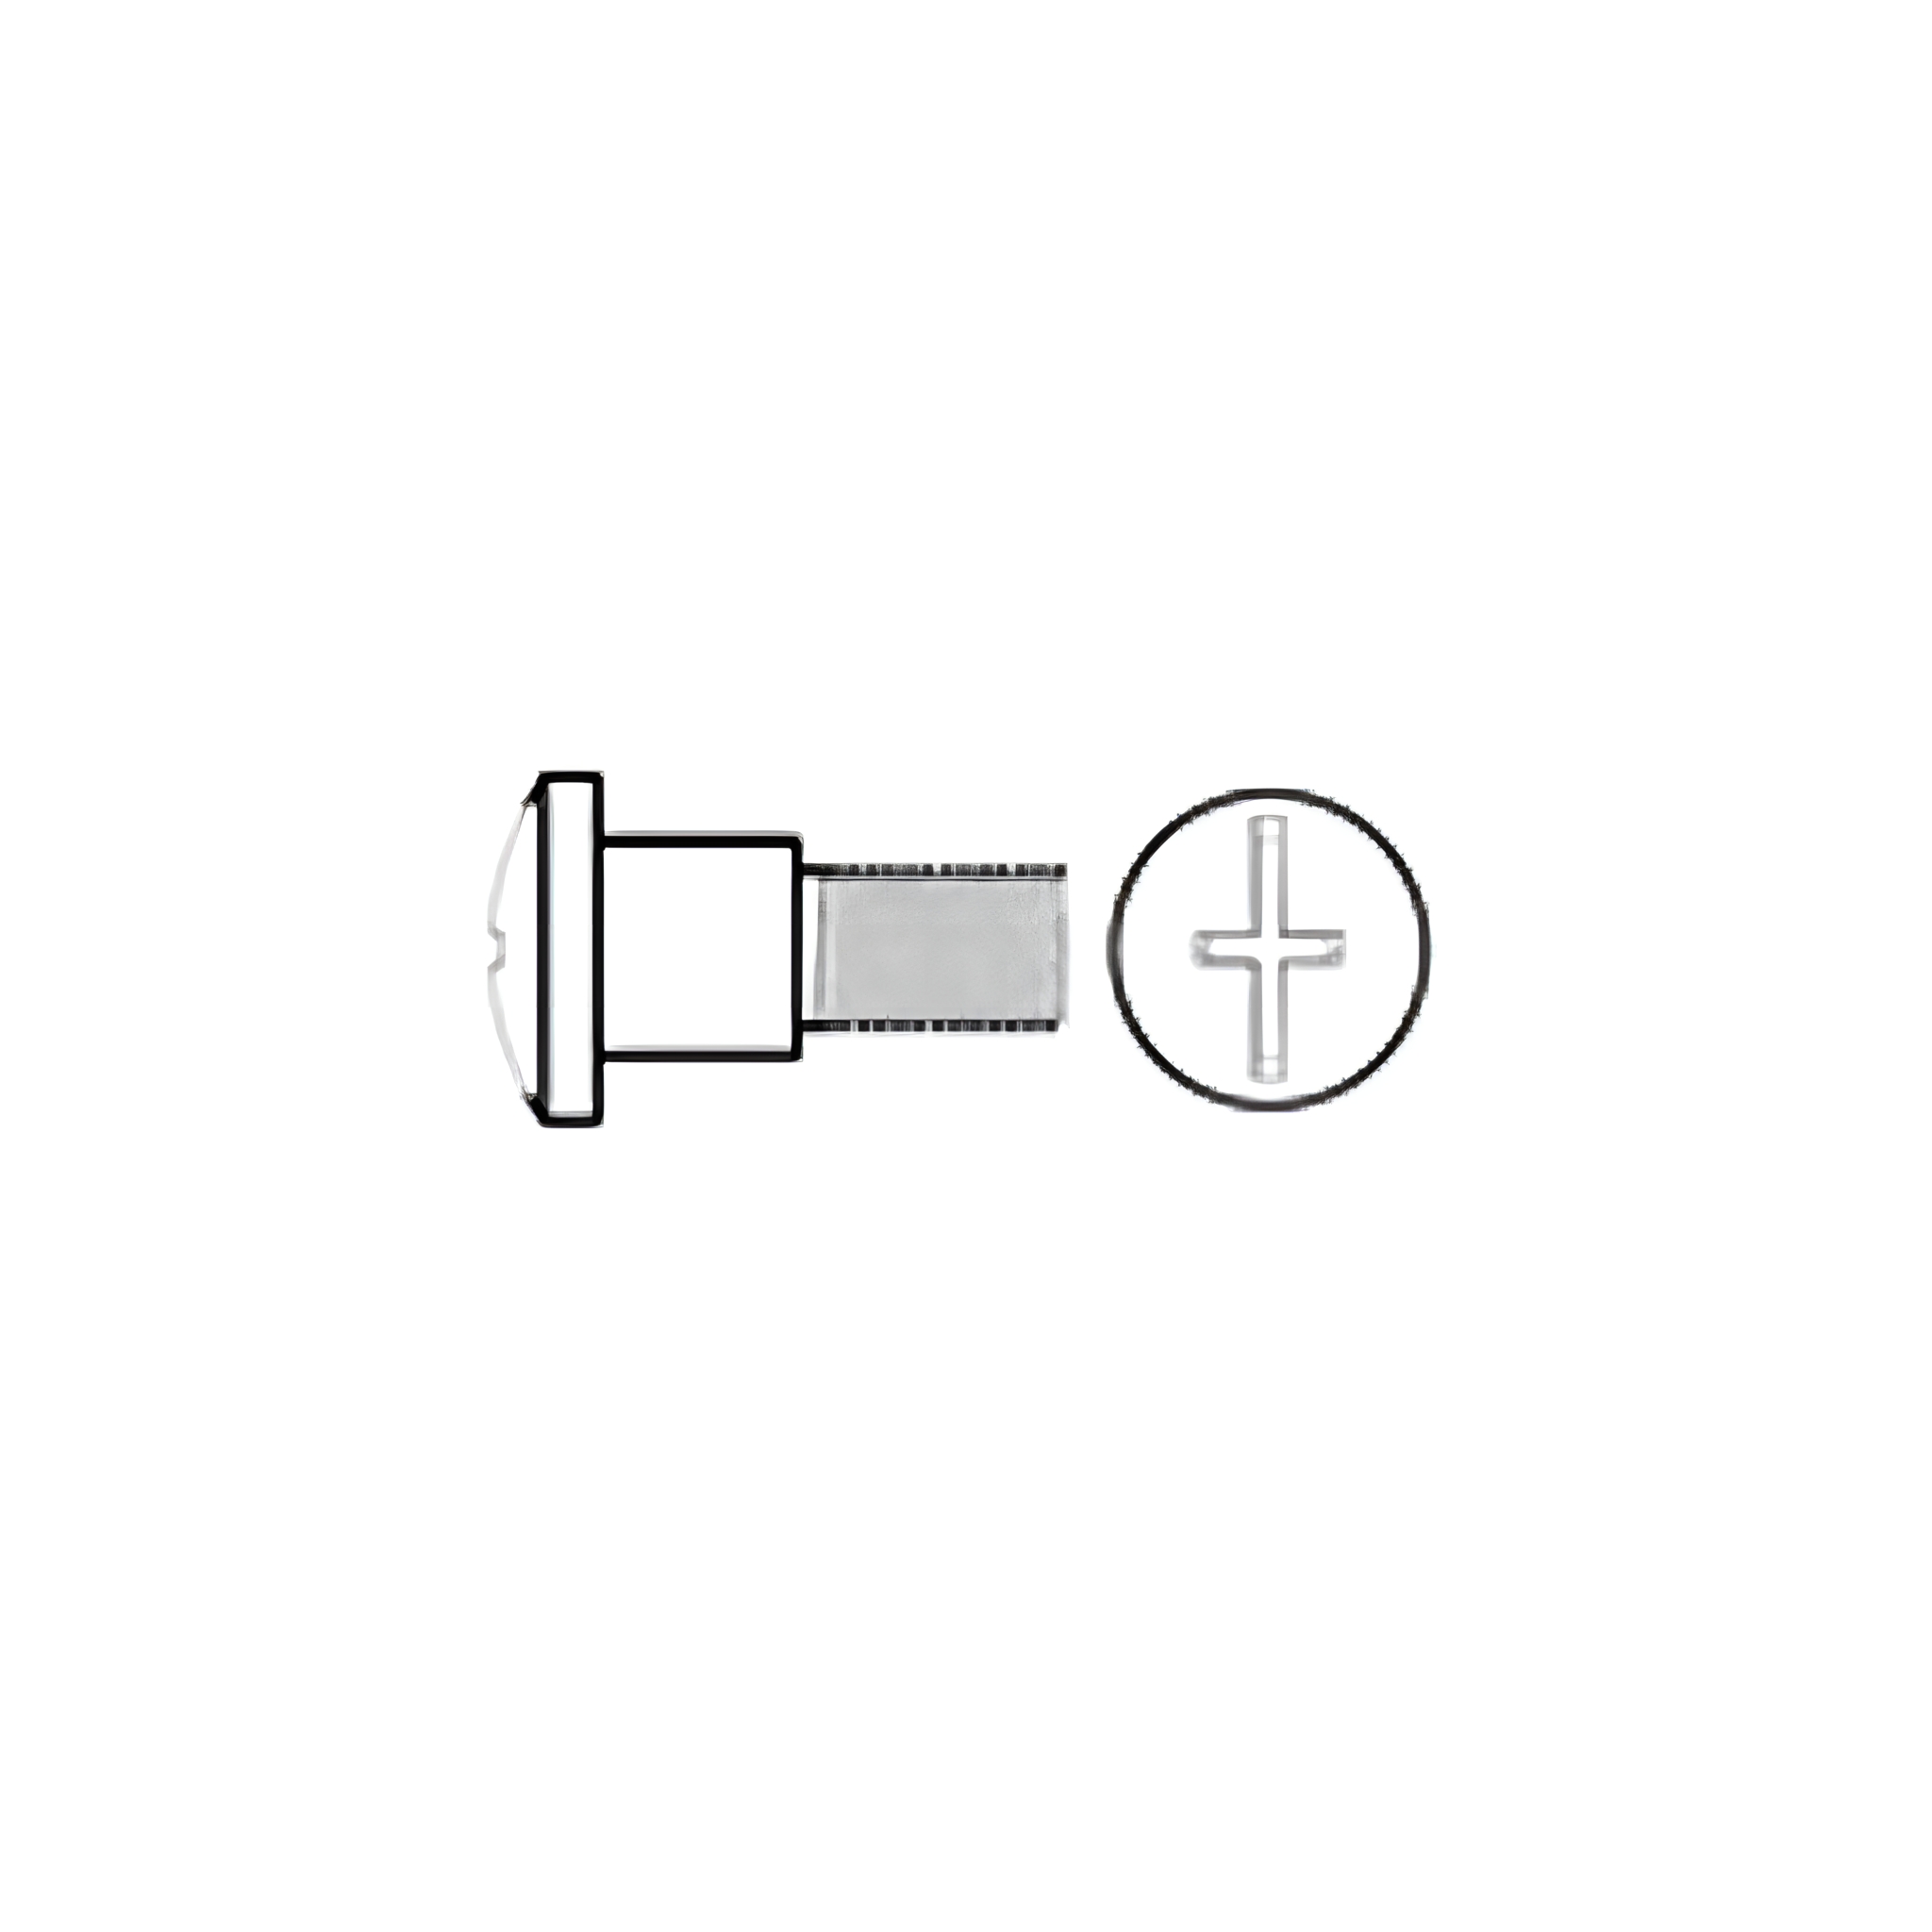
Pre-install the 4x M6 18mm screws (D) to the side panel support bars (14).
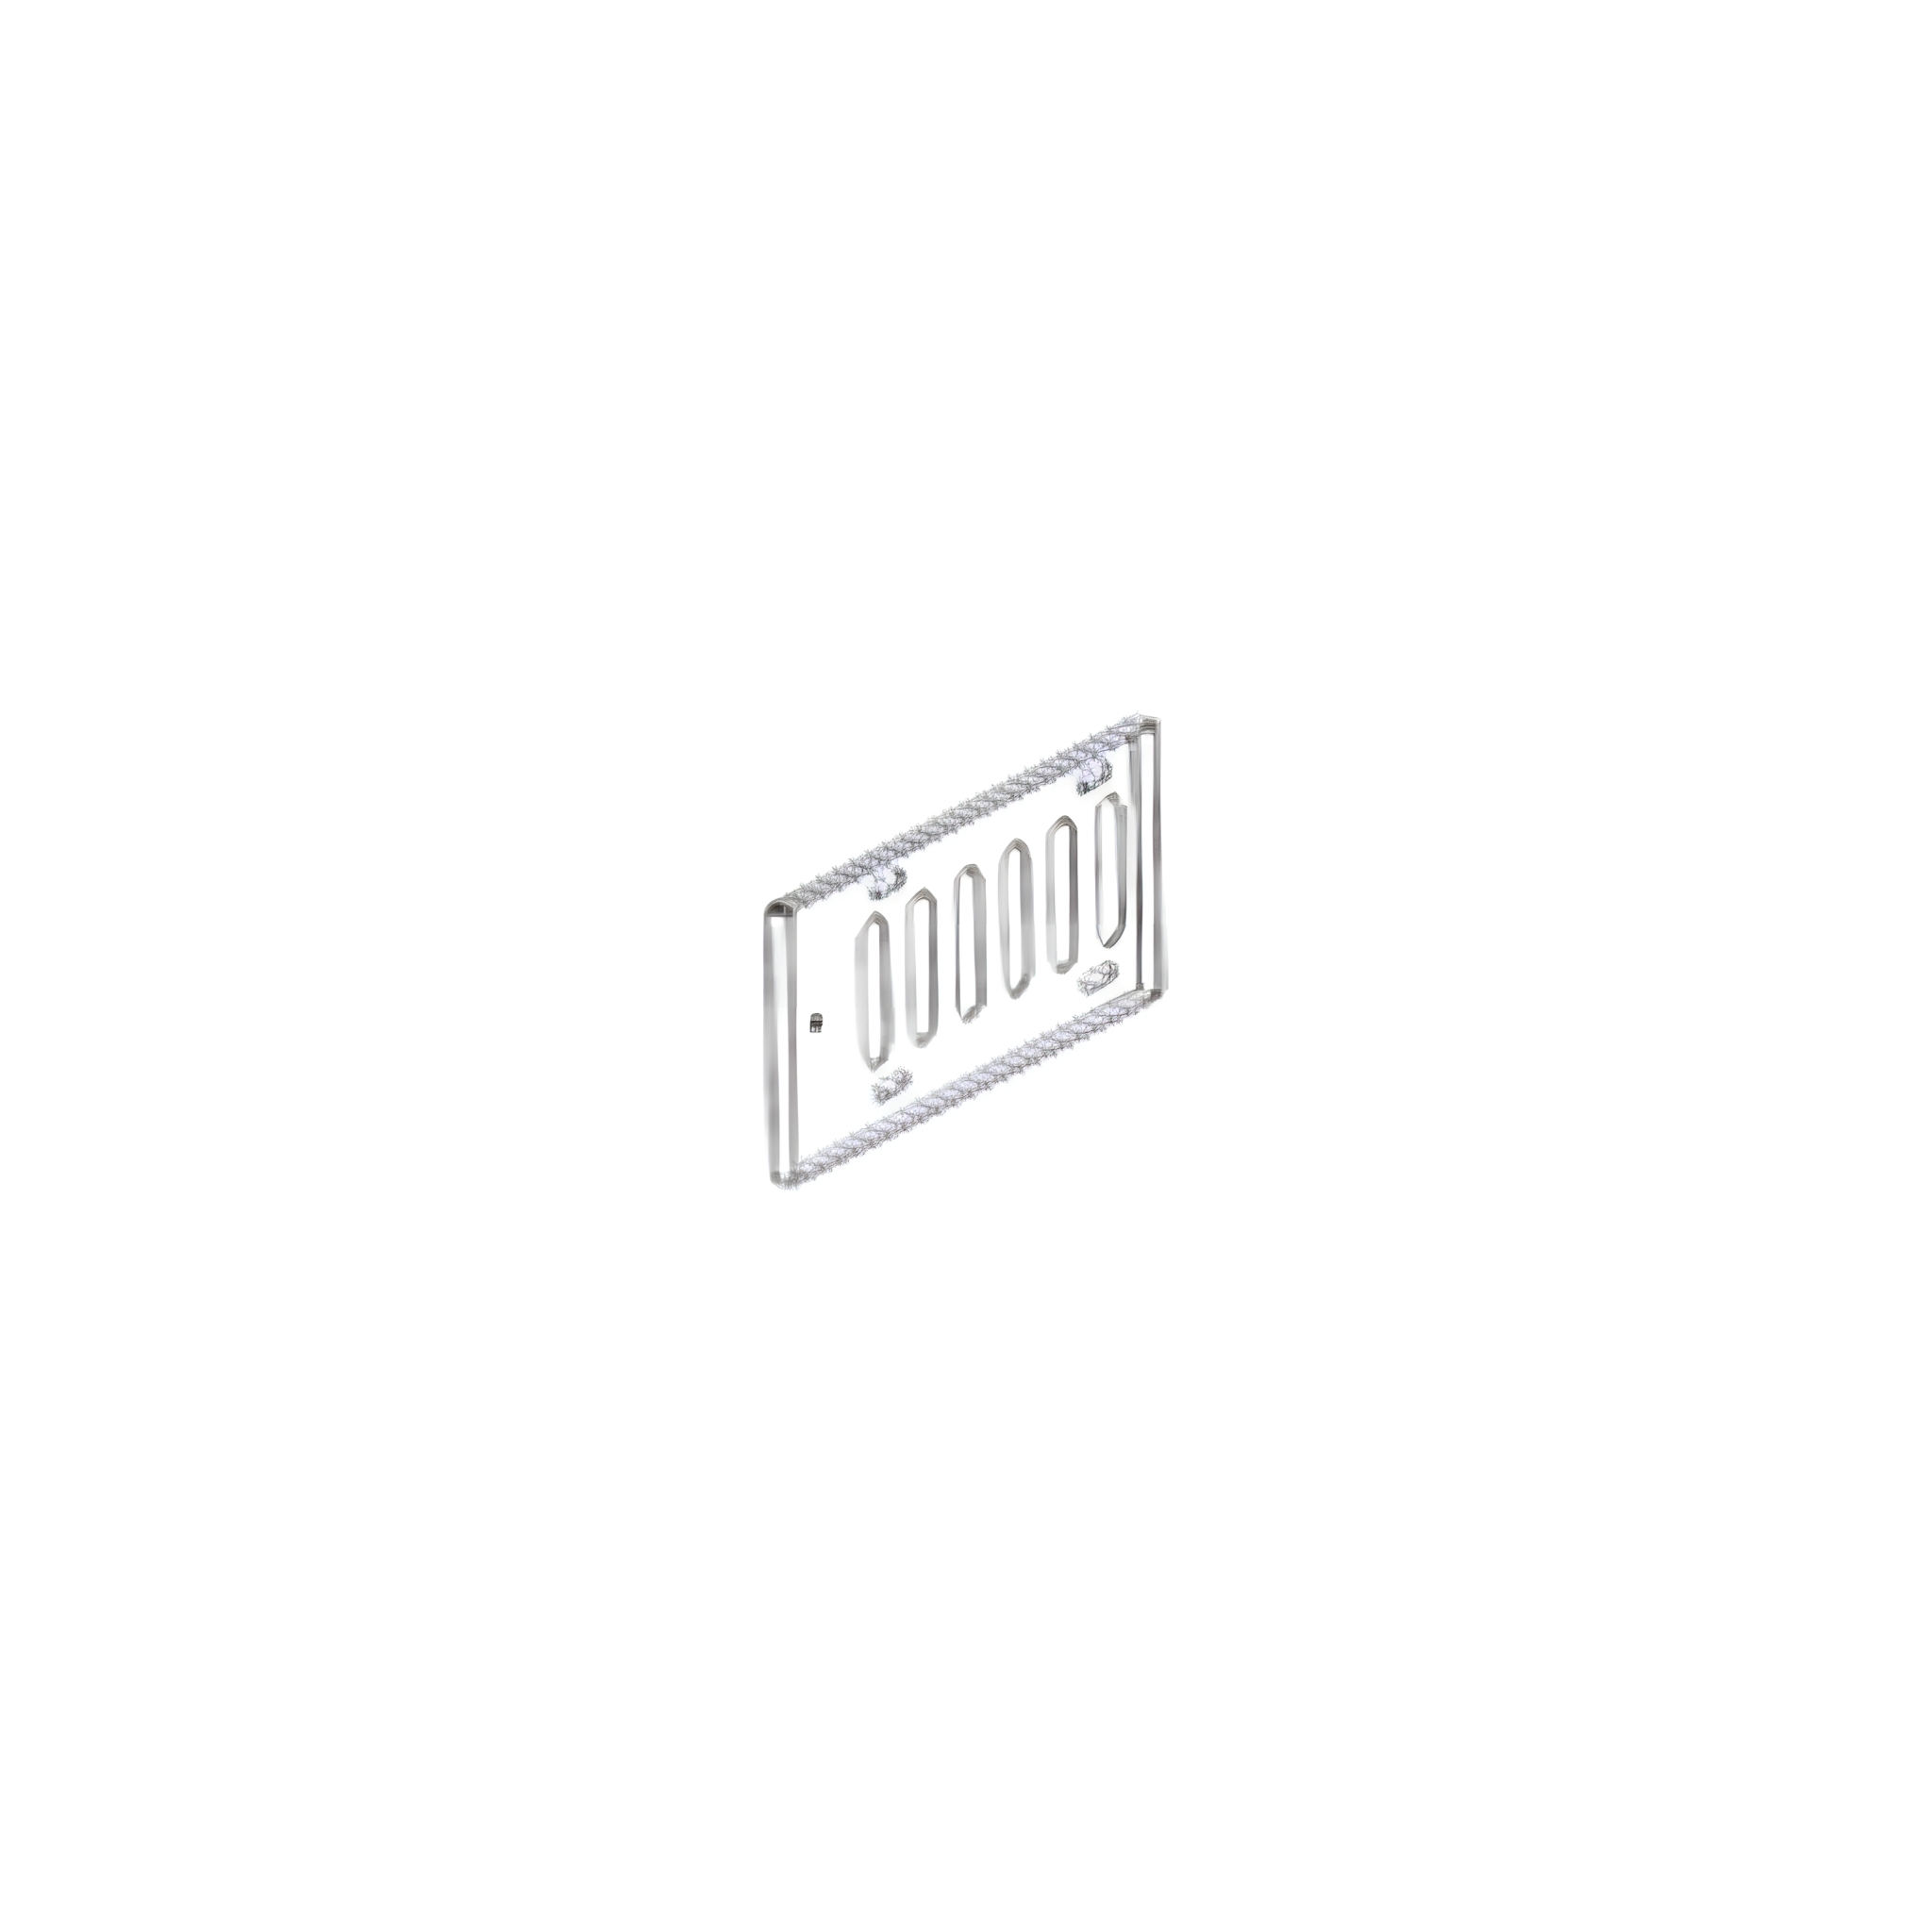
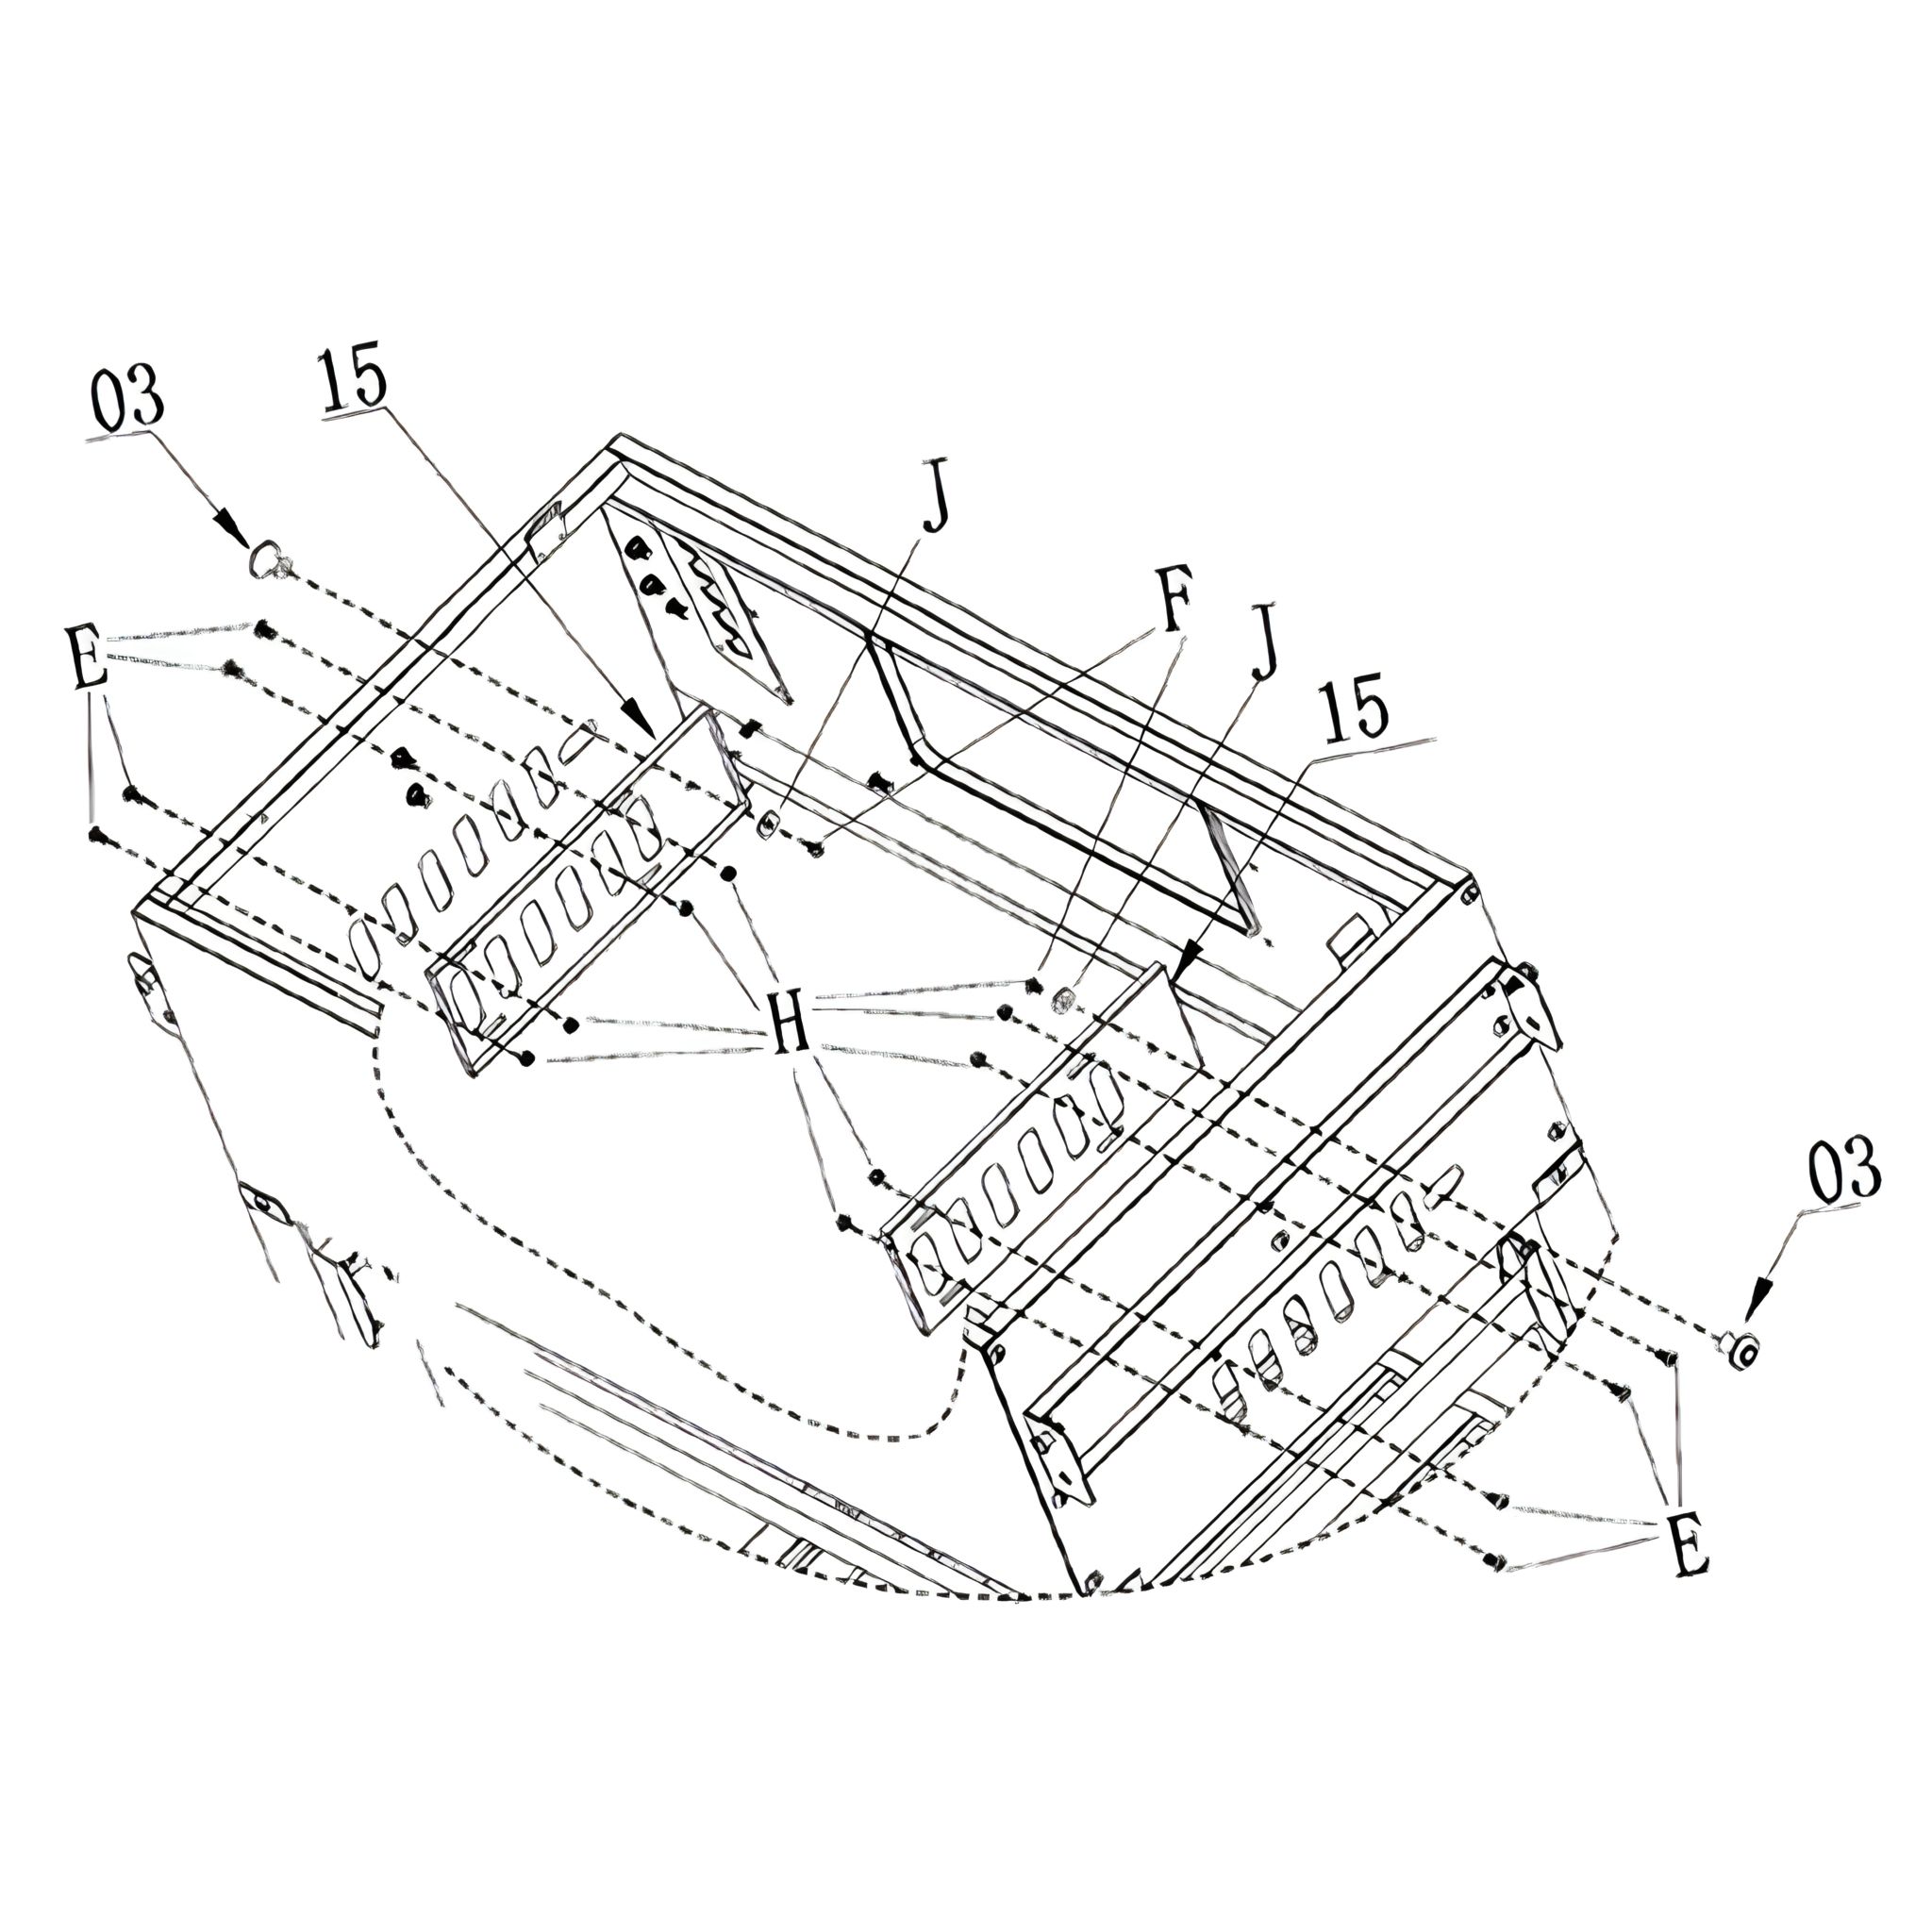
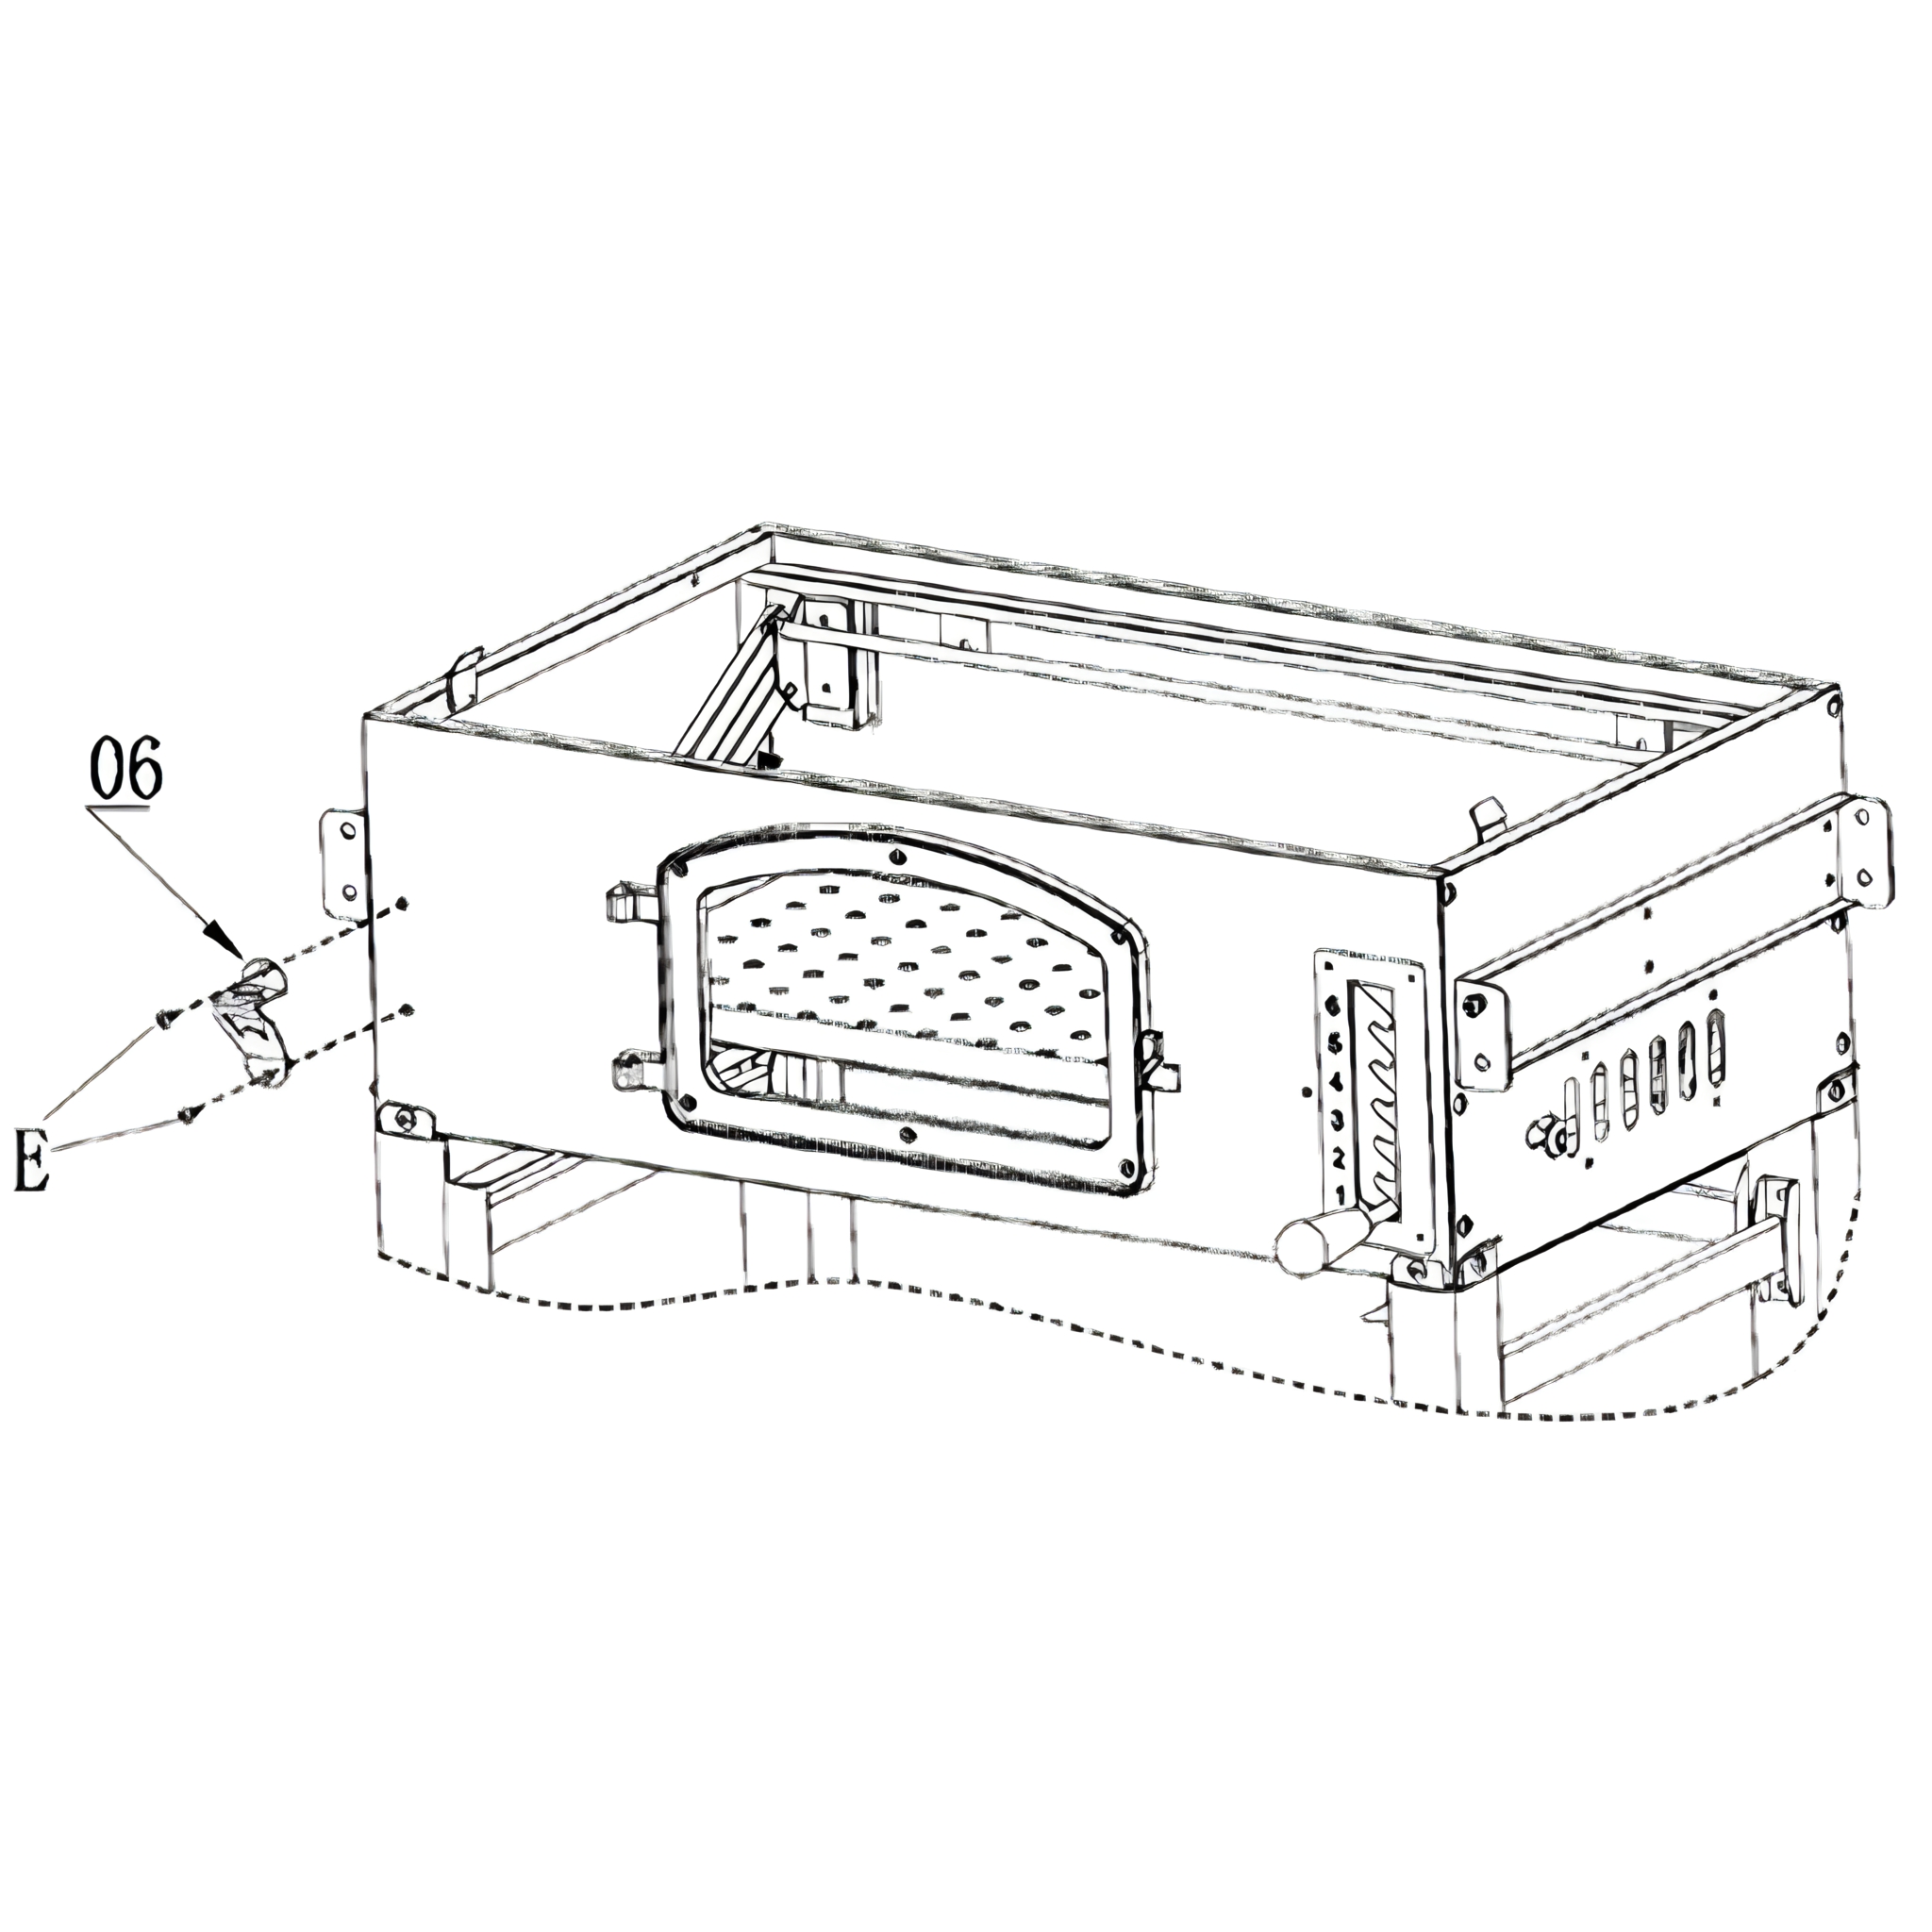
7. Attaching Air Vents and Handles
Attach the air vents (15) to the two side panels using 8x M5 12mm screws (E) and secure with 8x M5 flange nuts (H).
Secure the vent handles (3) to the air vents (15) with the M4 flat gaskets (J) and M4X10 screw (F).
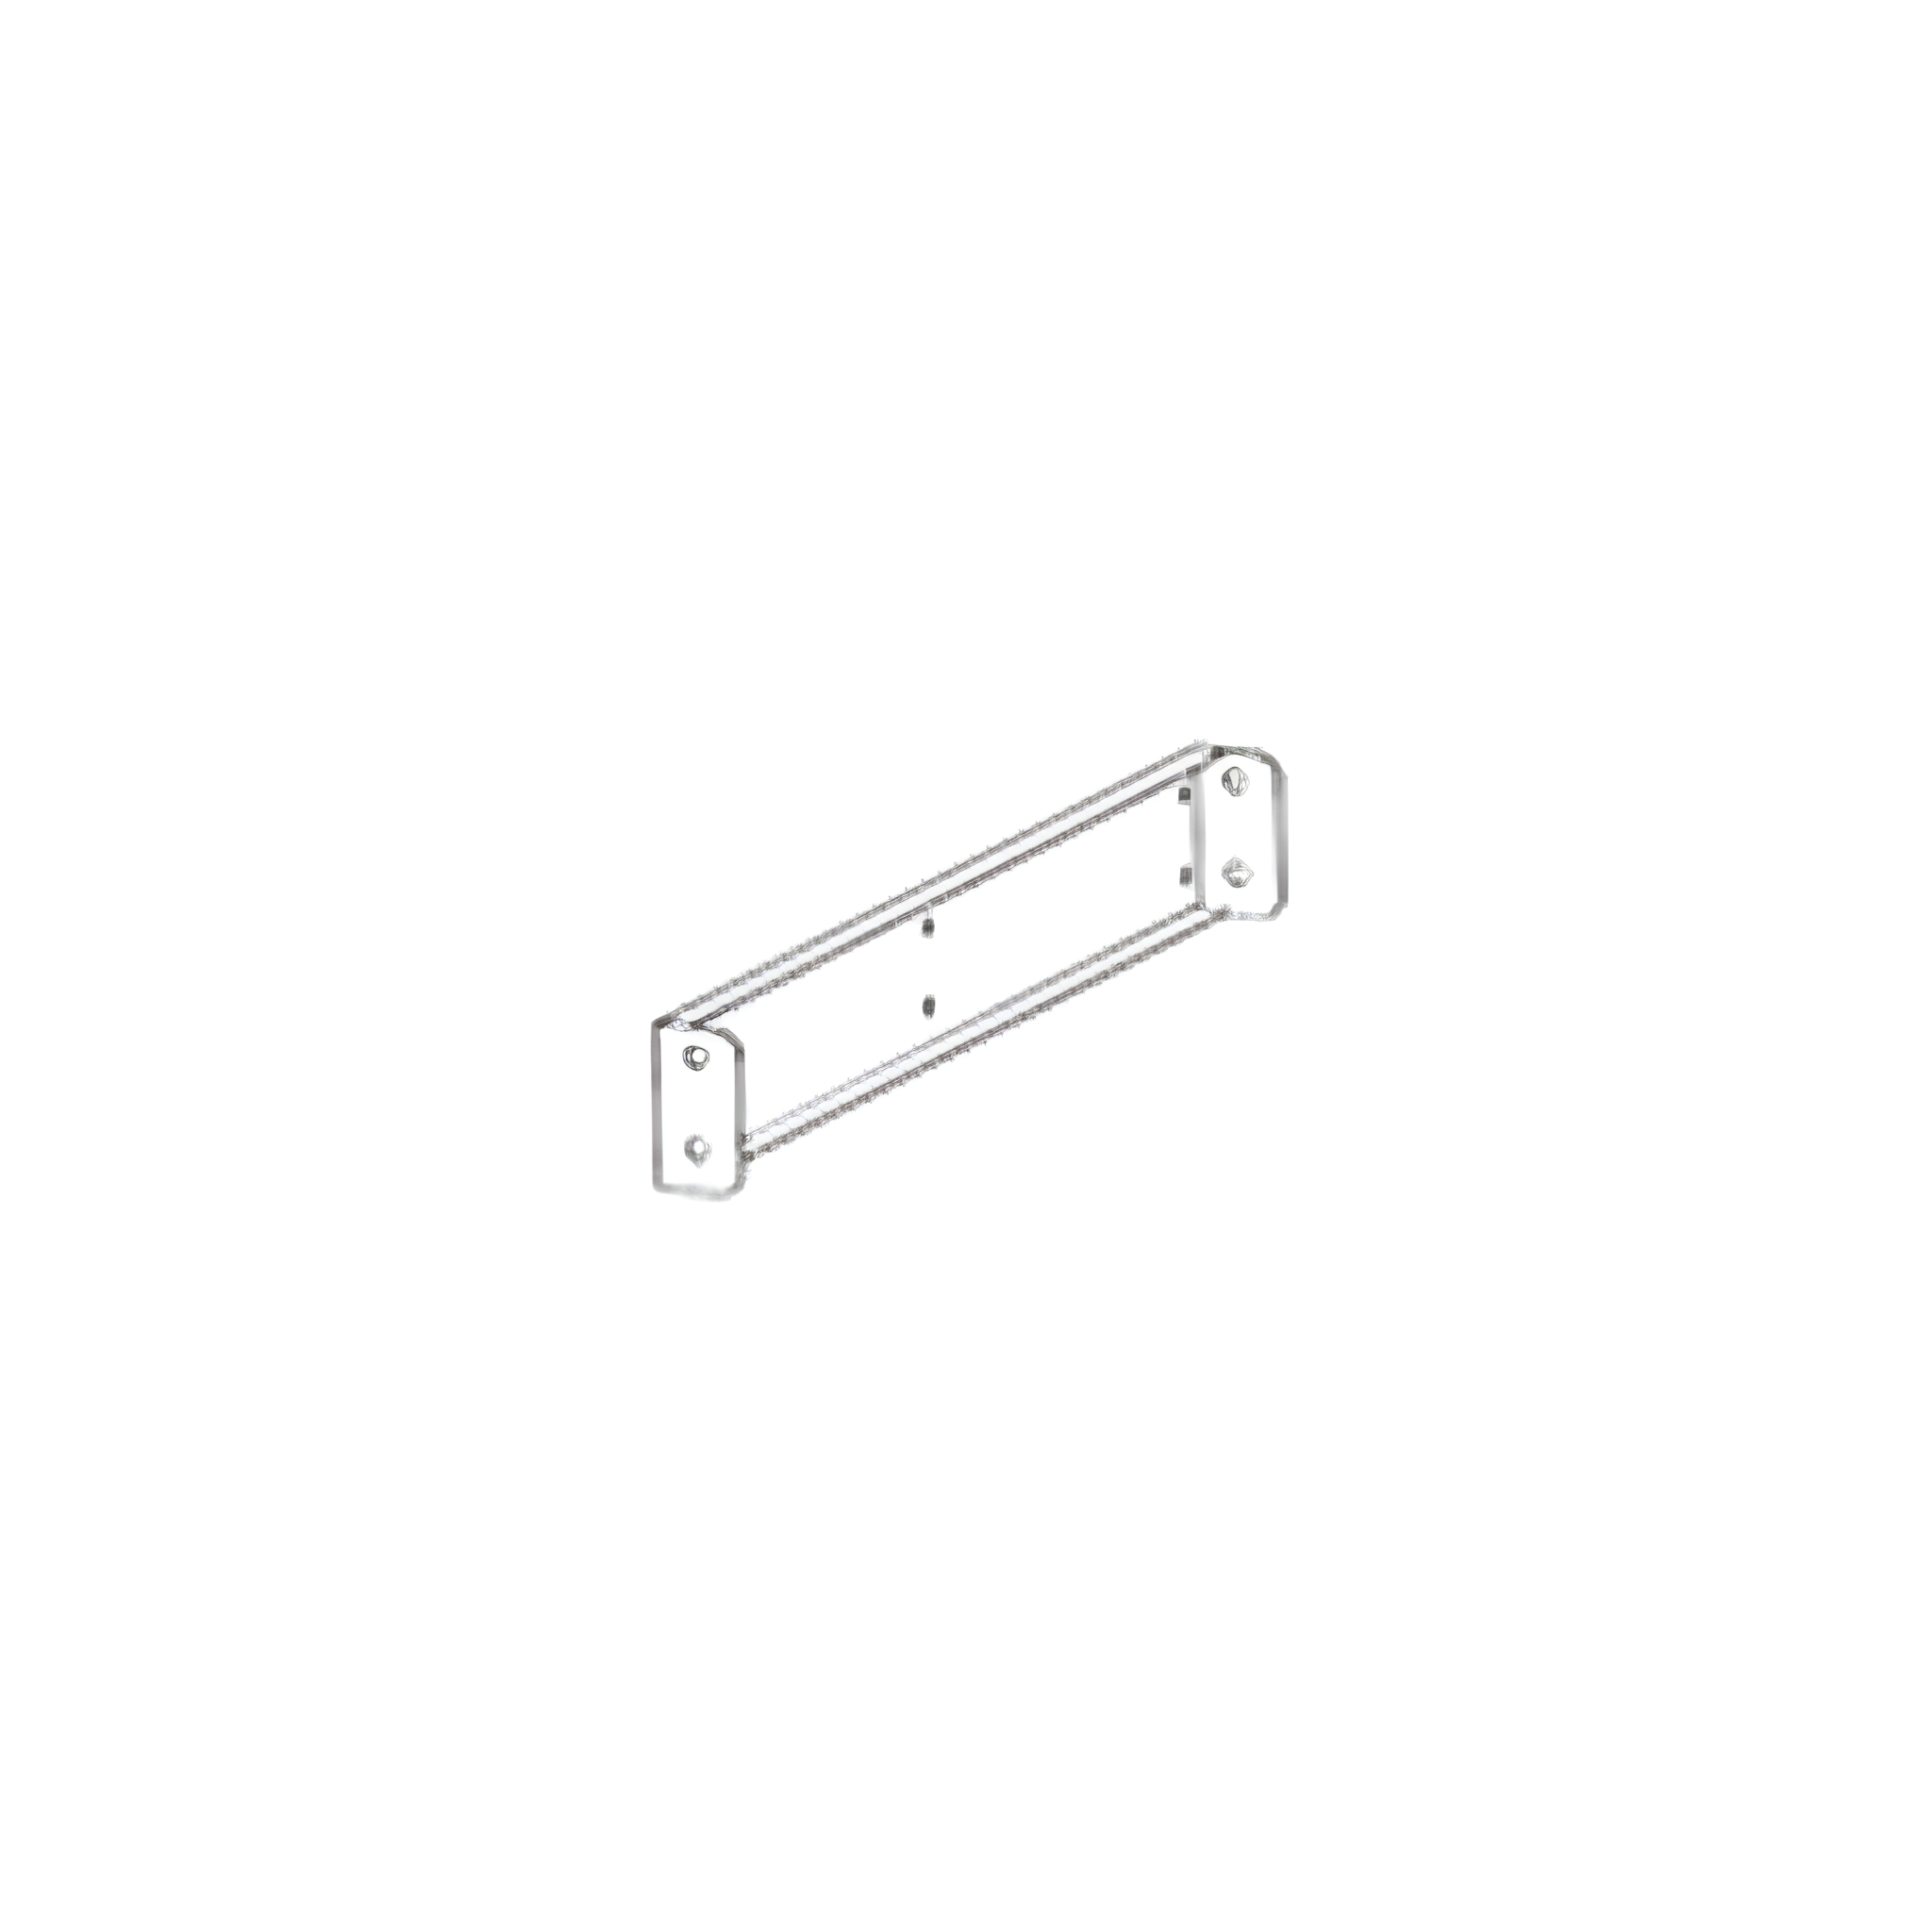
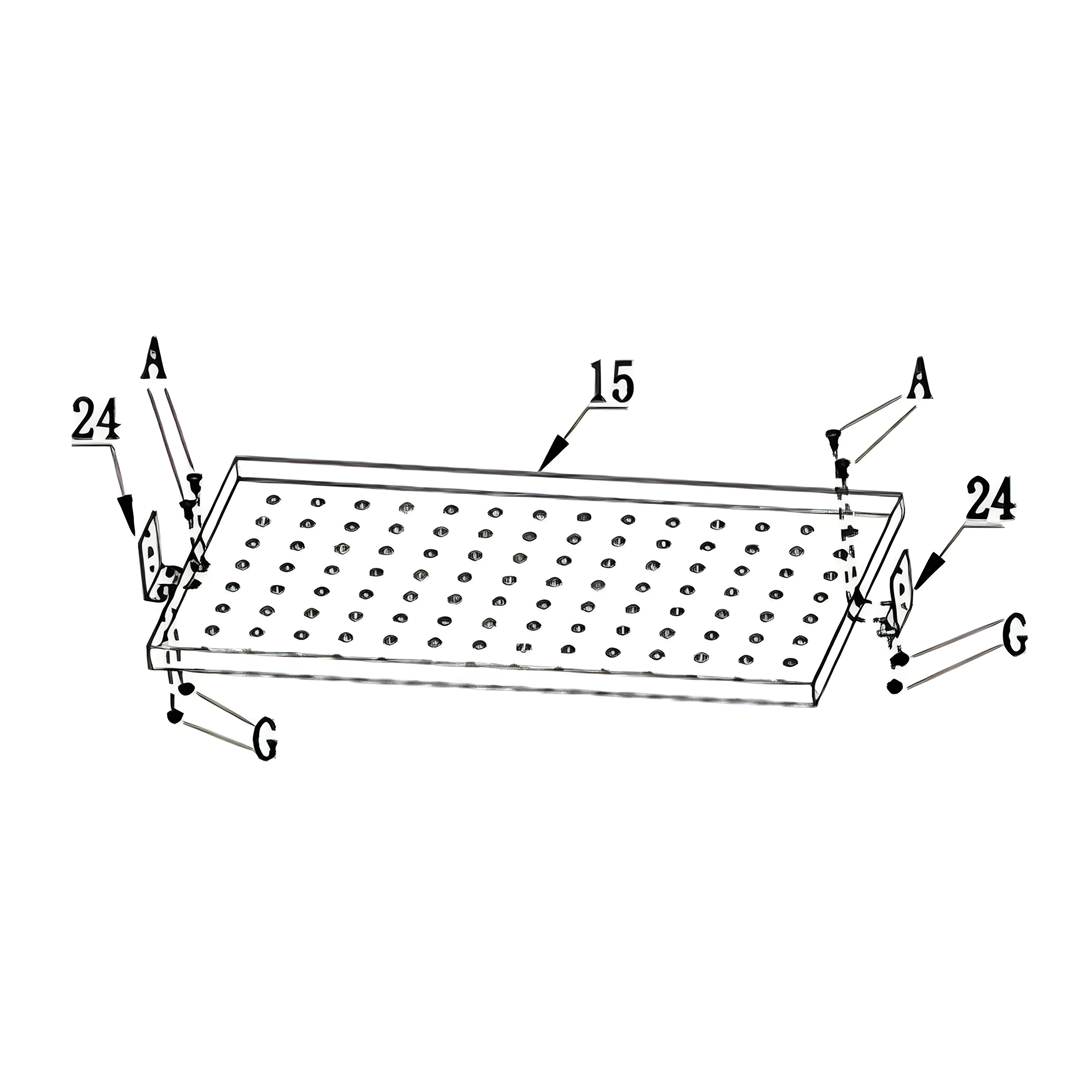
8. Attaching Lower Brackets to Charcoal Tray
Attach the lower brackets (24) to the charcoal tray (15) with 4x M6 12mm screws (A) and secure them with 4x M6 flange nuts (G).
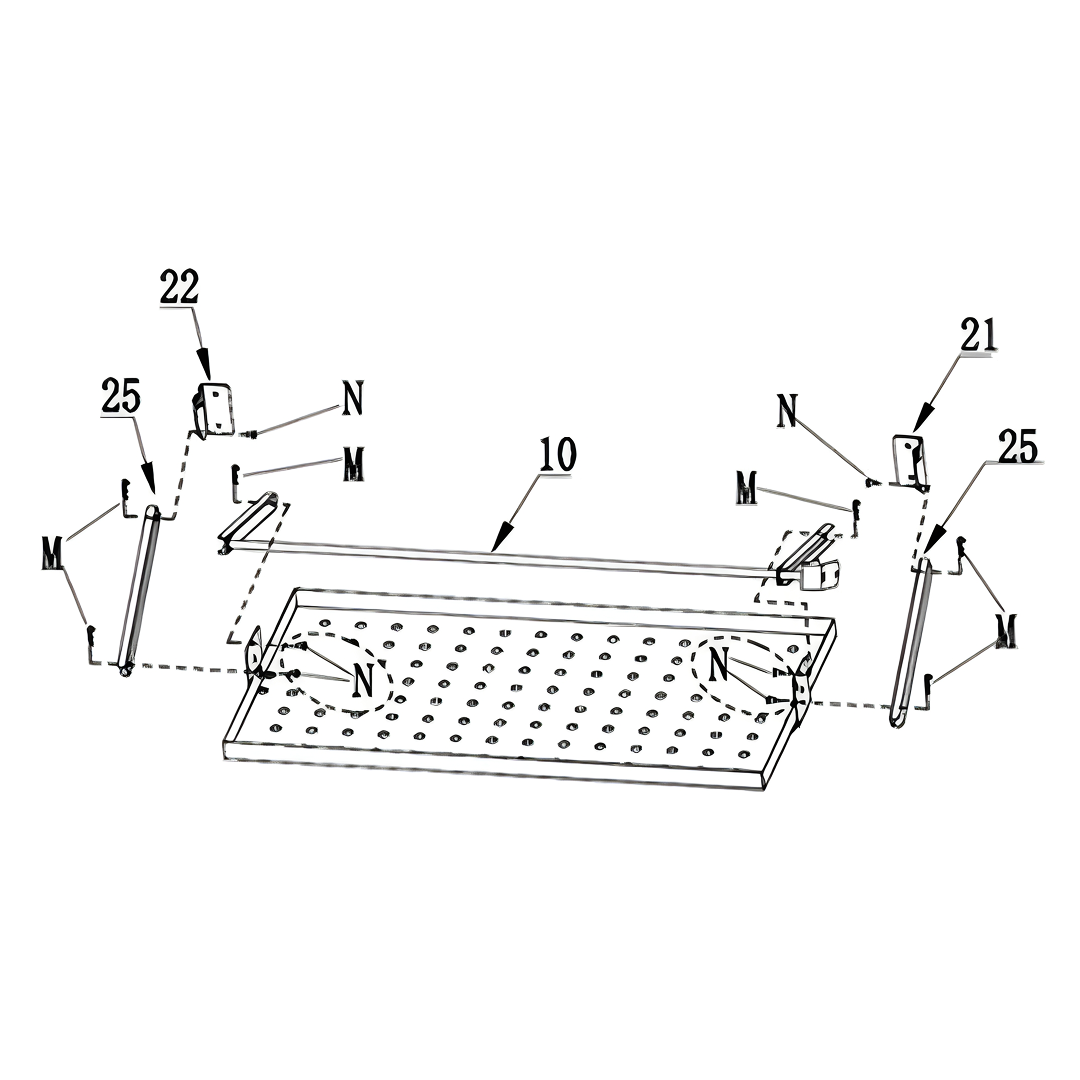
9. Connecting Upper Brackets and Lower Arms
Connect the right upper bracket (22) and left upper bracket (21) to the inside of the lower arms (25) using 2x M5 8mm hinge pins (N) and secure both of them with a cotter pin (M).
Attach both lower arms to the outside of the lower brackets (24) using 2x M5 8mm hinge pins (N) and secure each of them with a cotter pin (M).
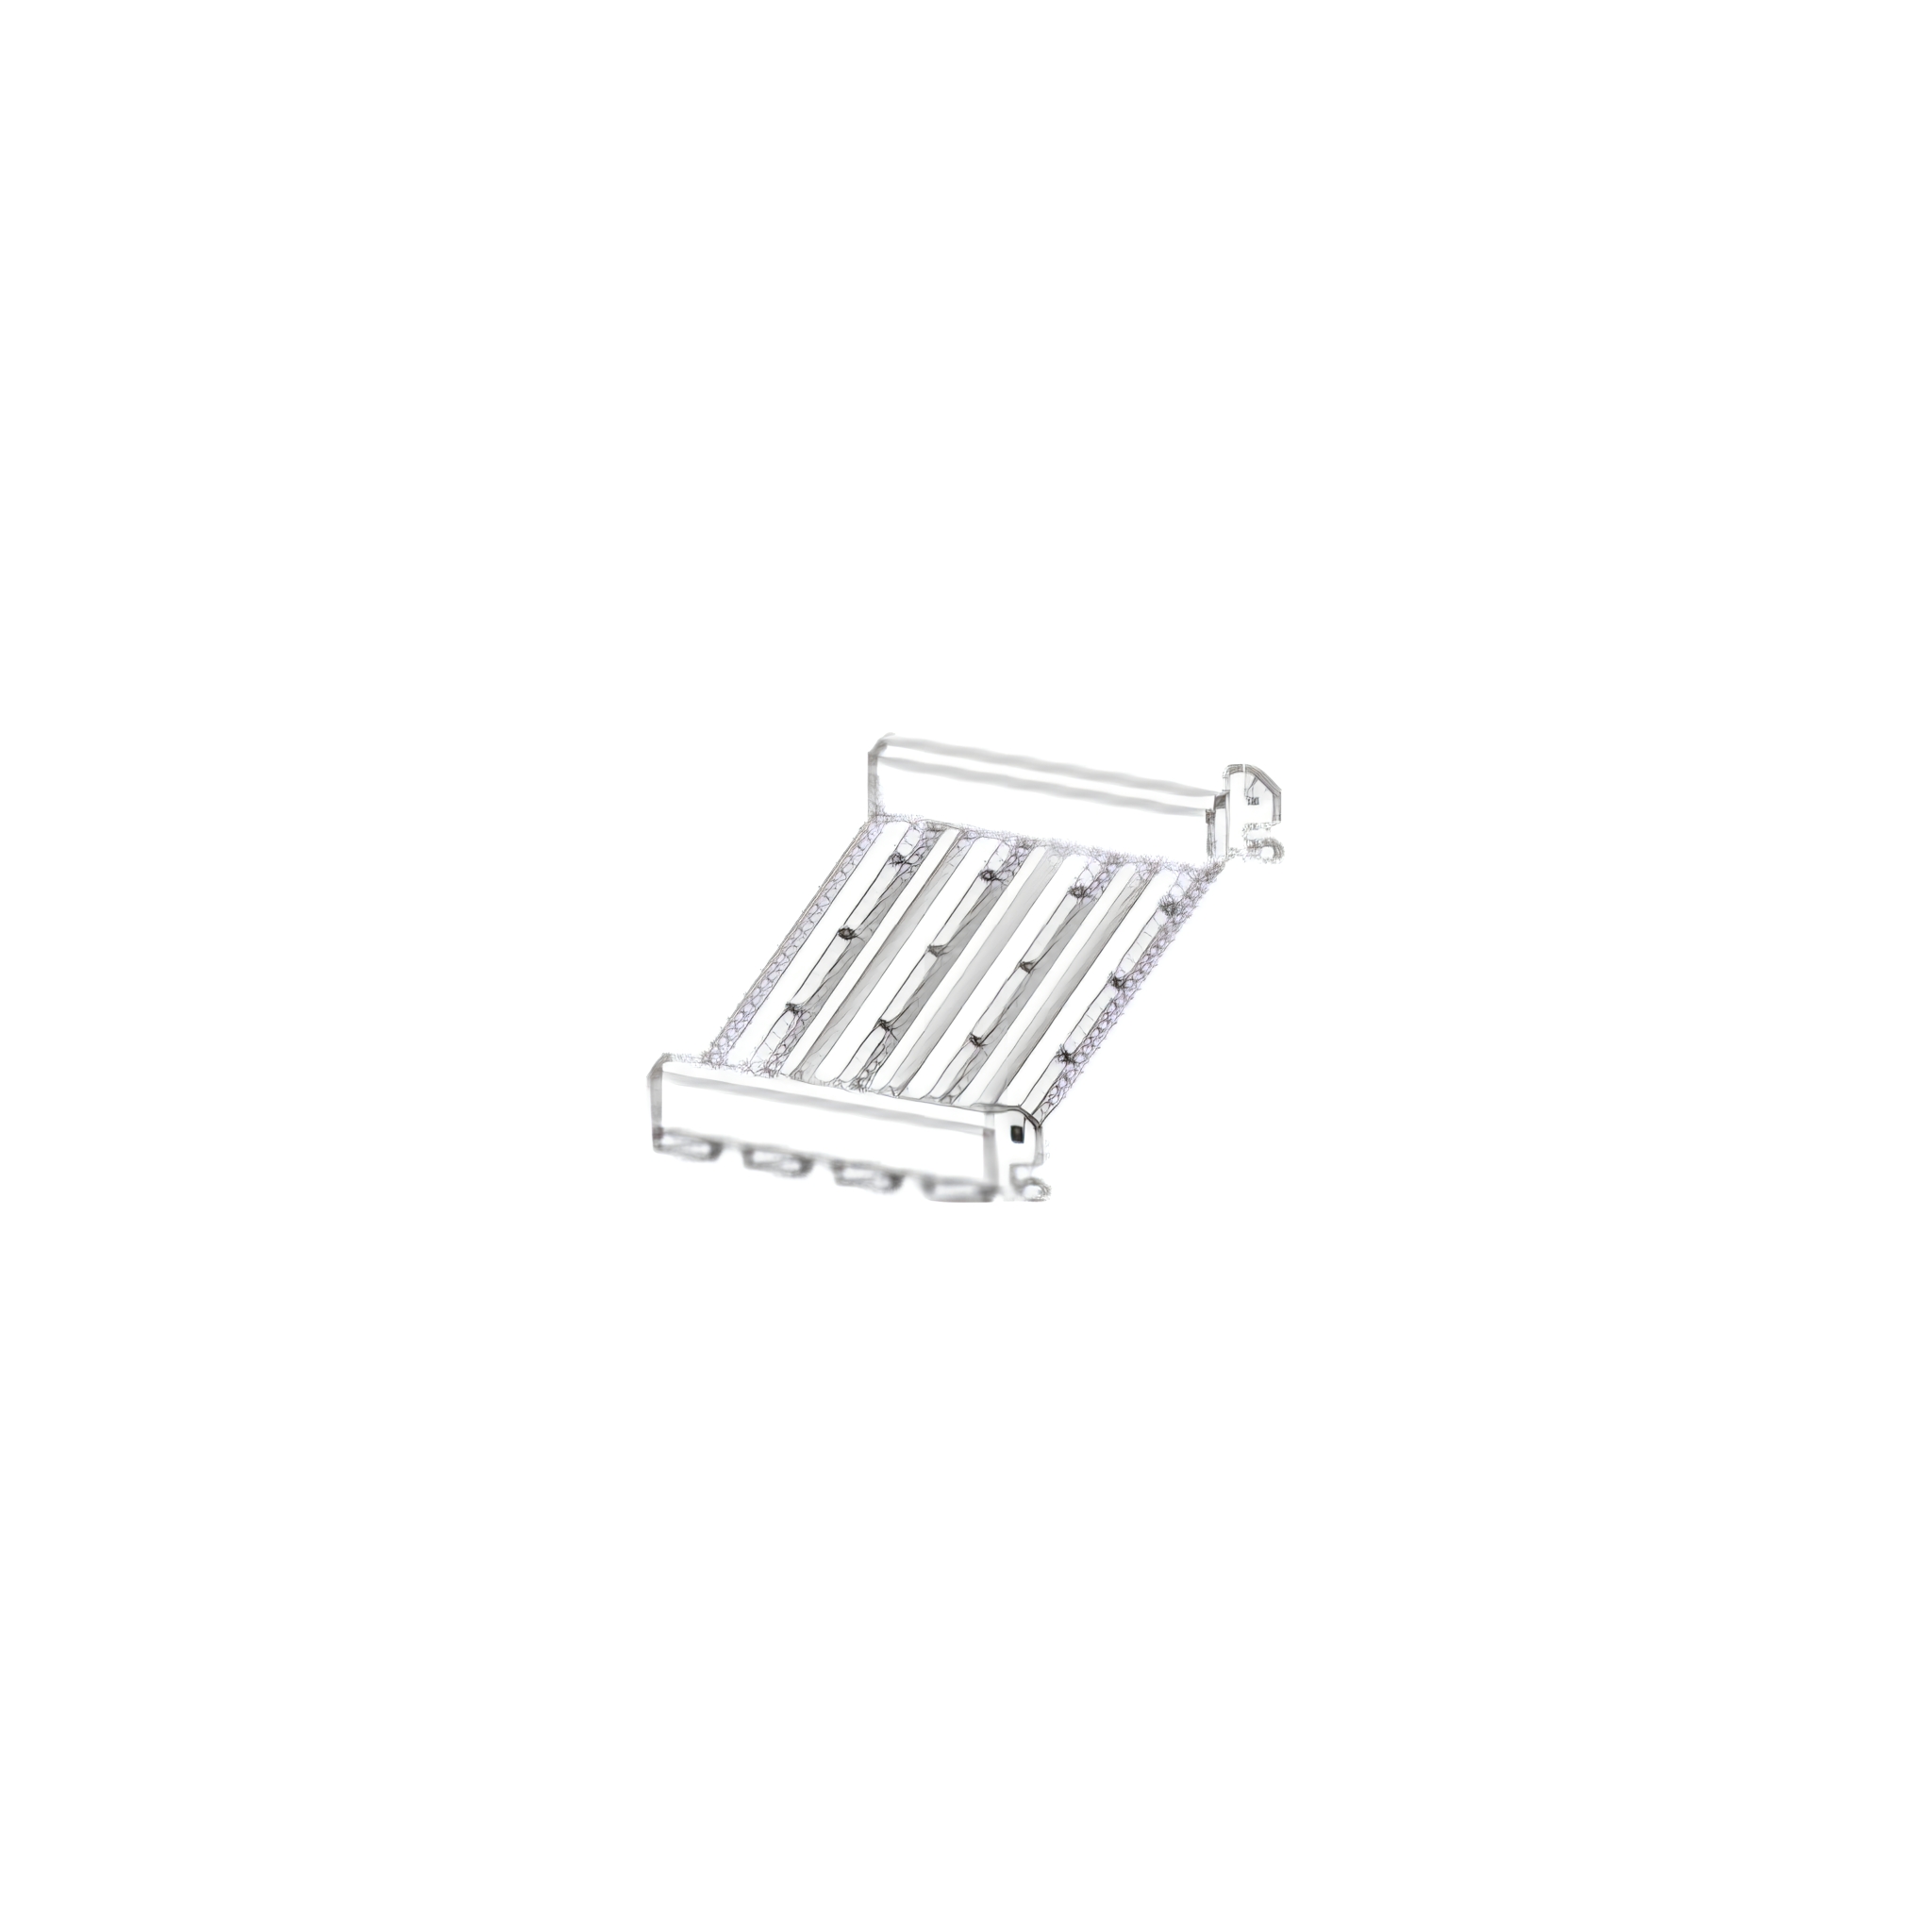
10. Securing Lift Rack
Secure the lift rack (10) to the lower brackets using 2x M5 8mm hinge pin (N) and secure them both with a cotter pin (М).
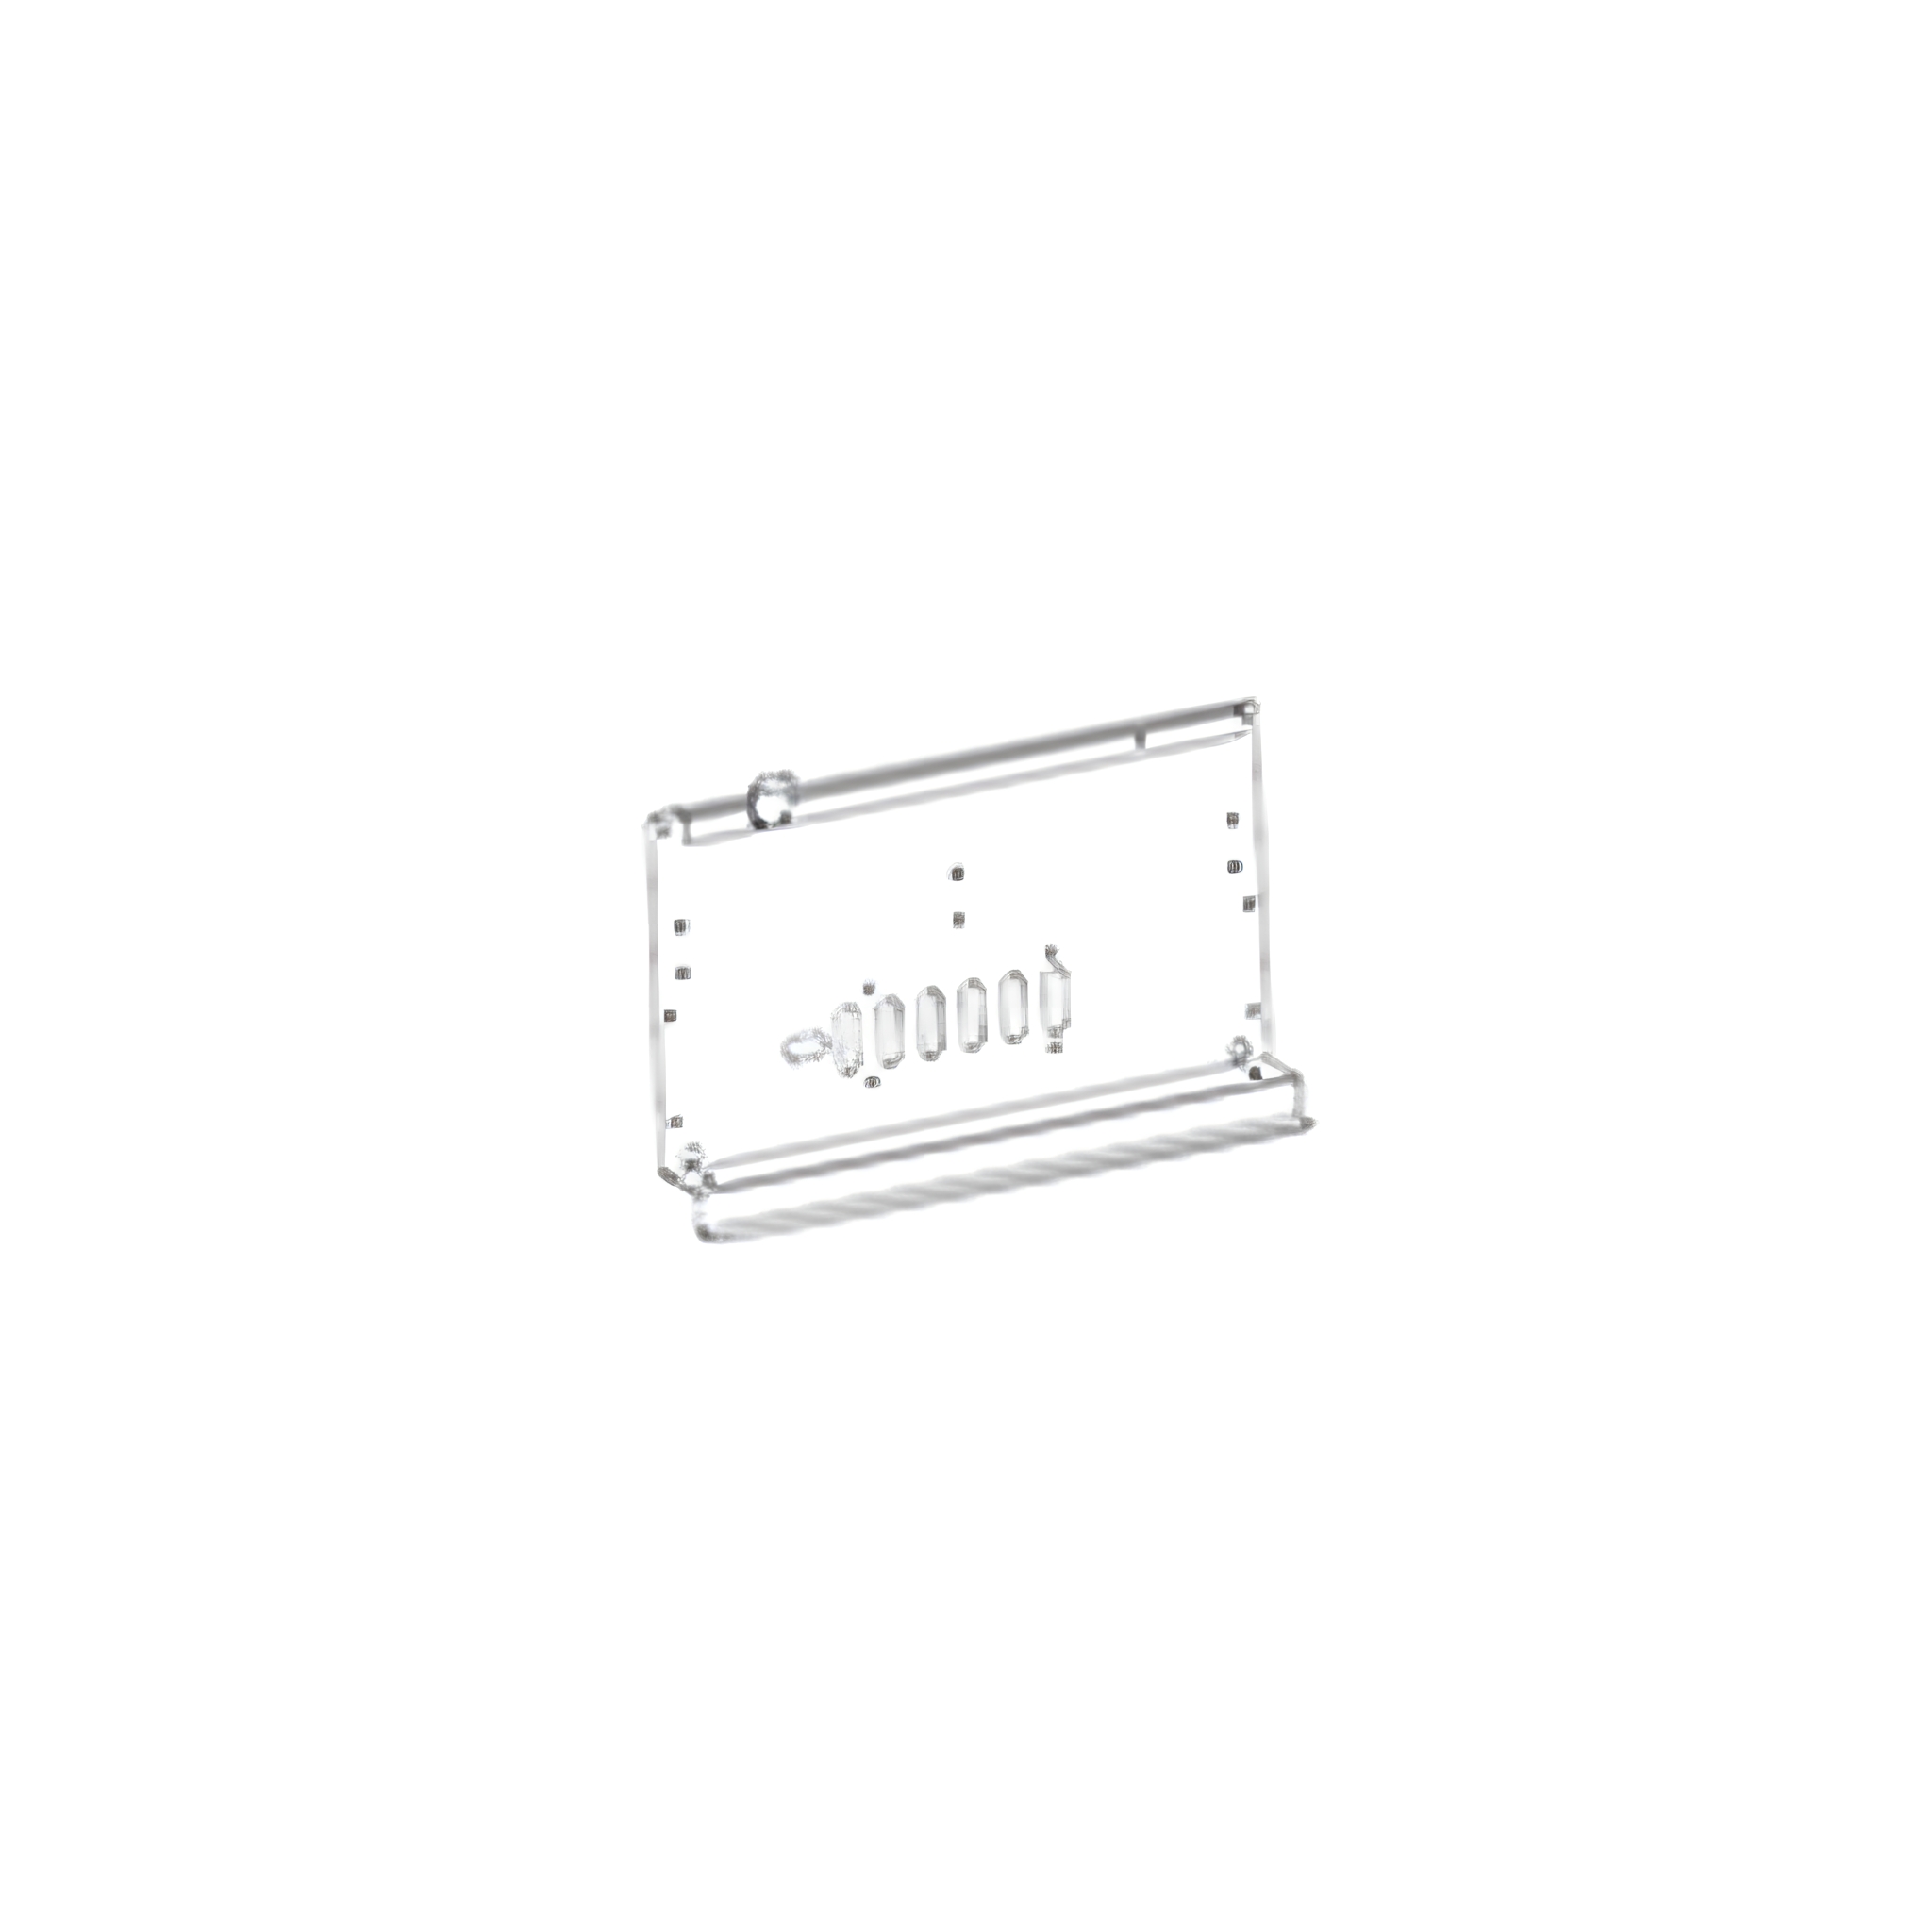
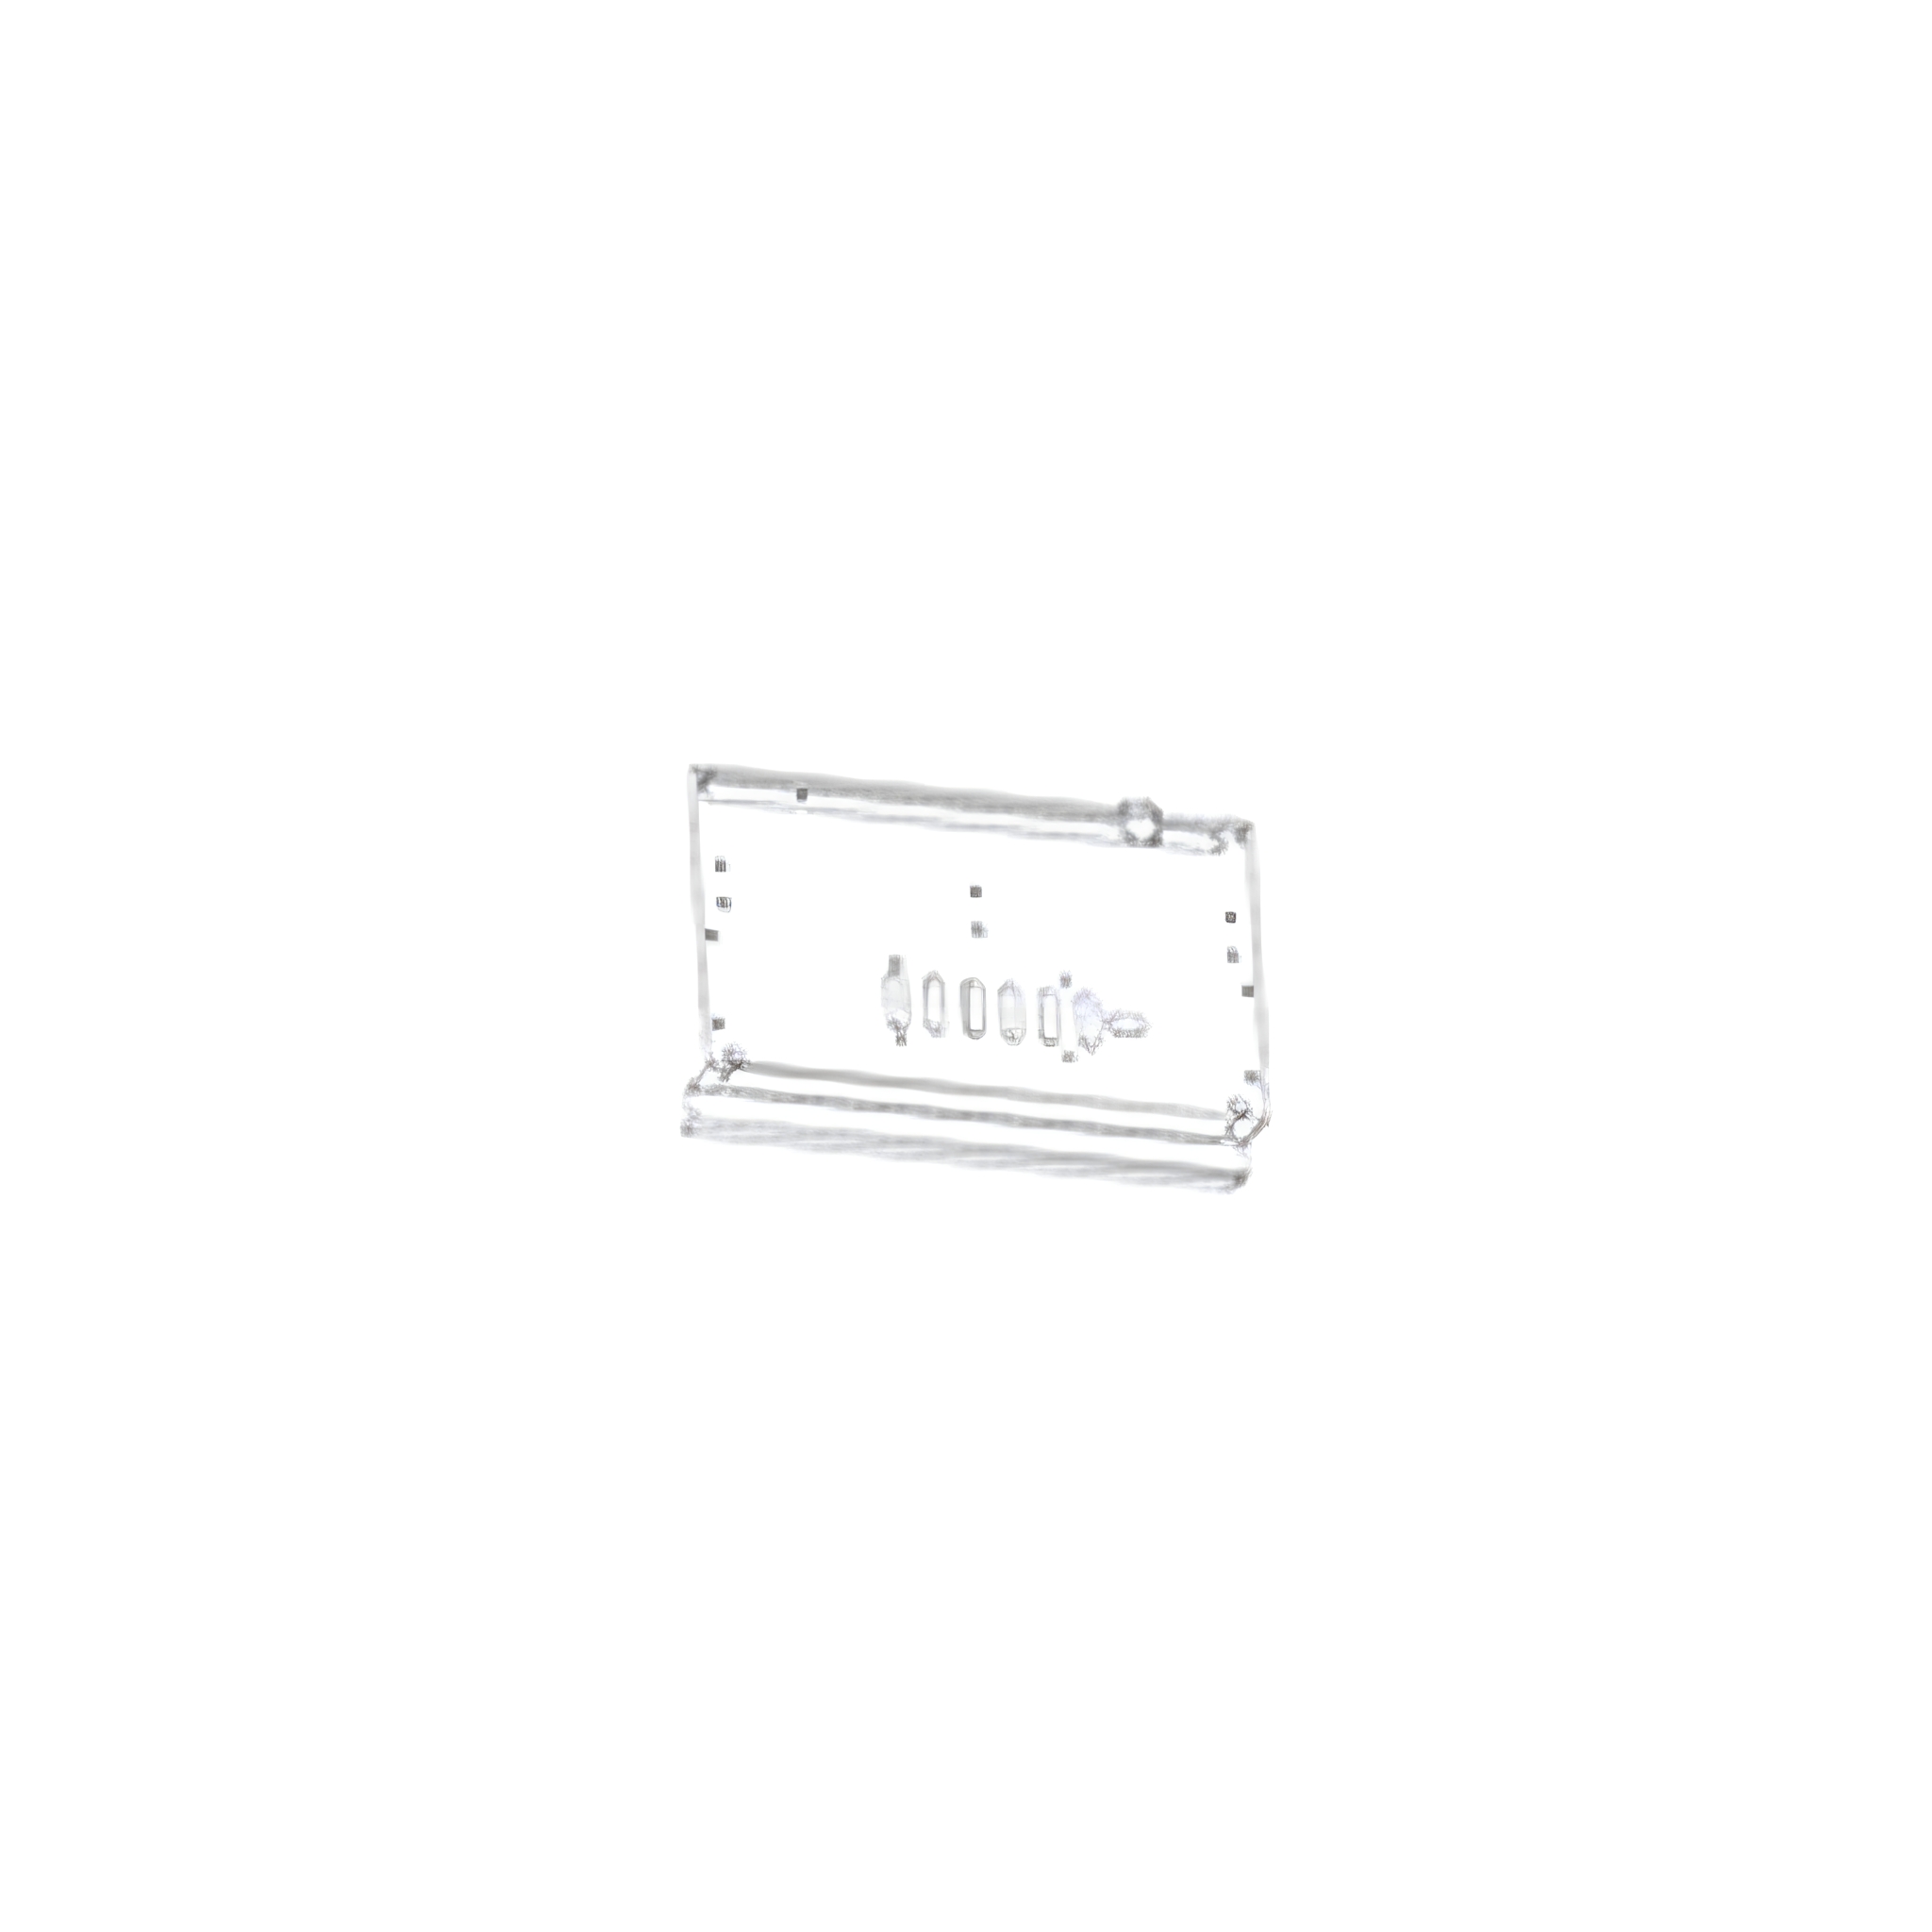
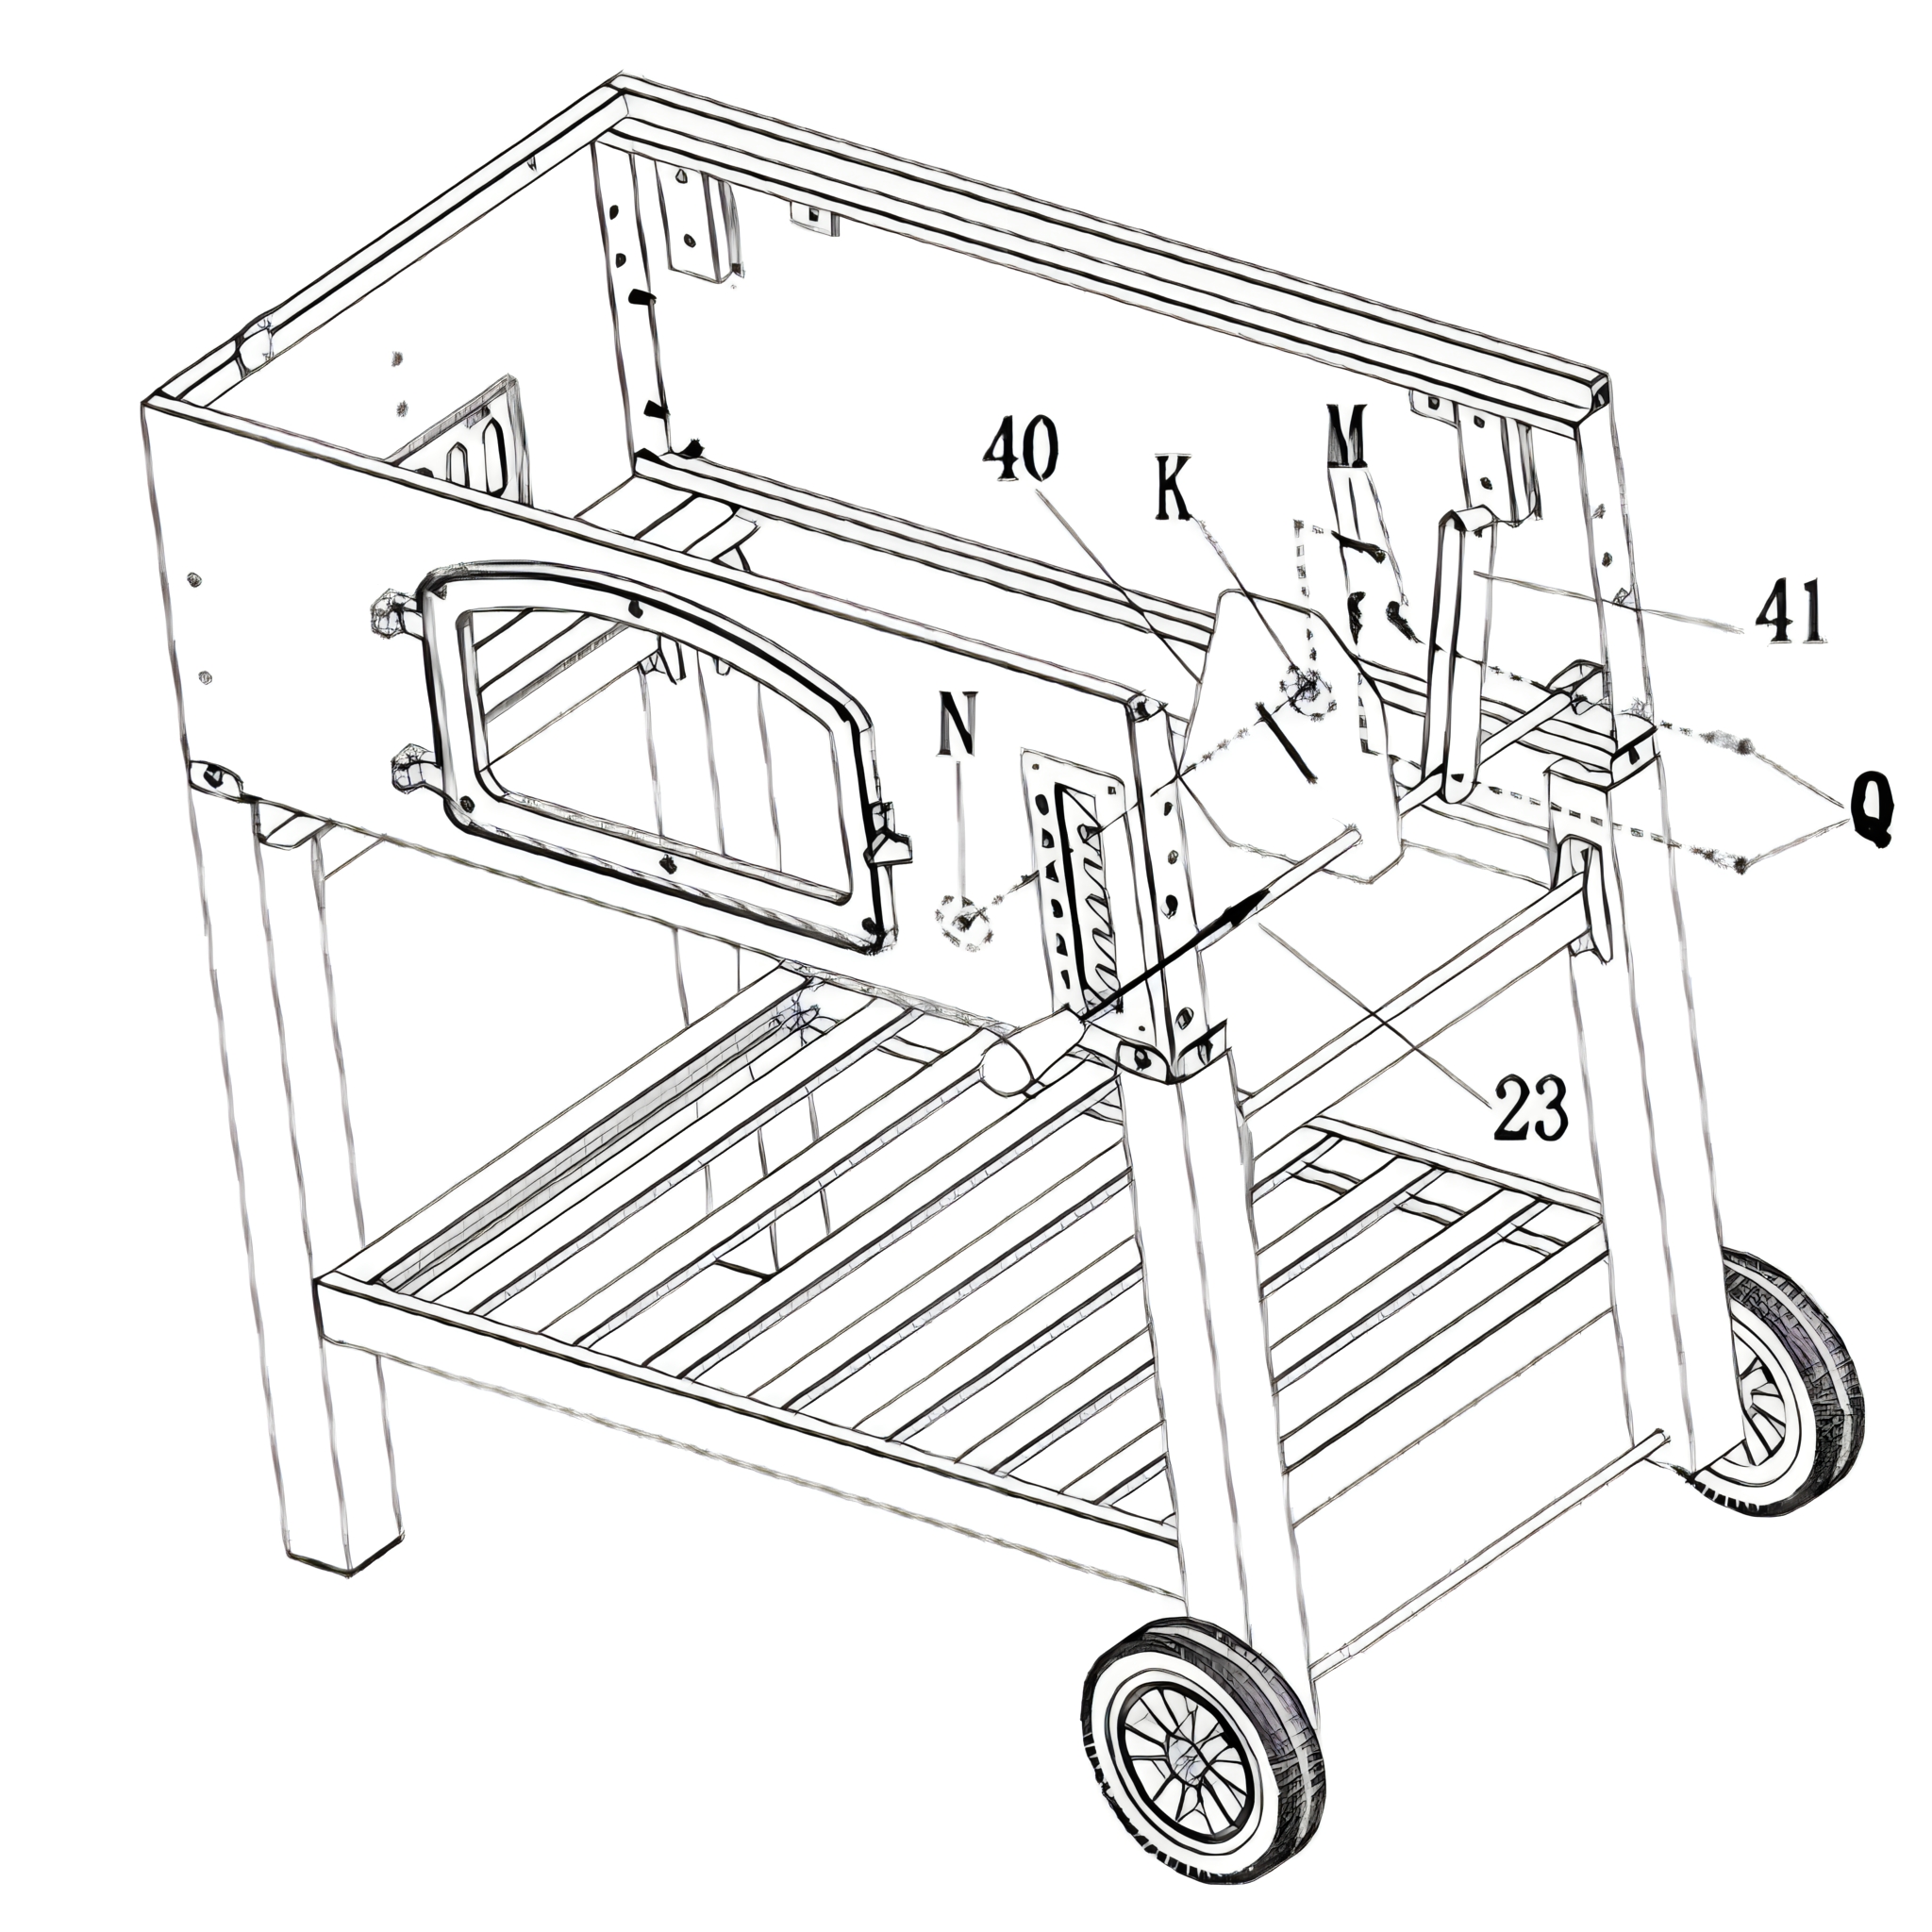
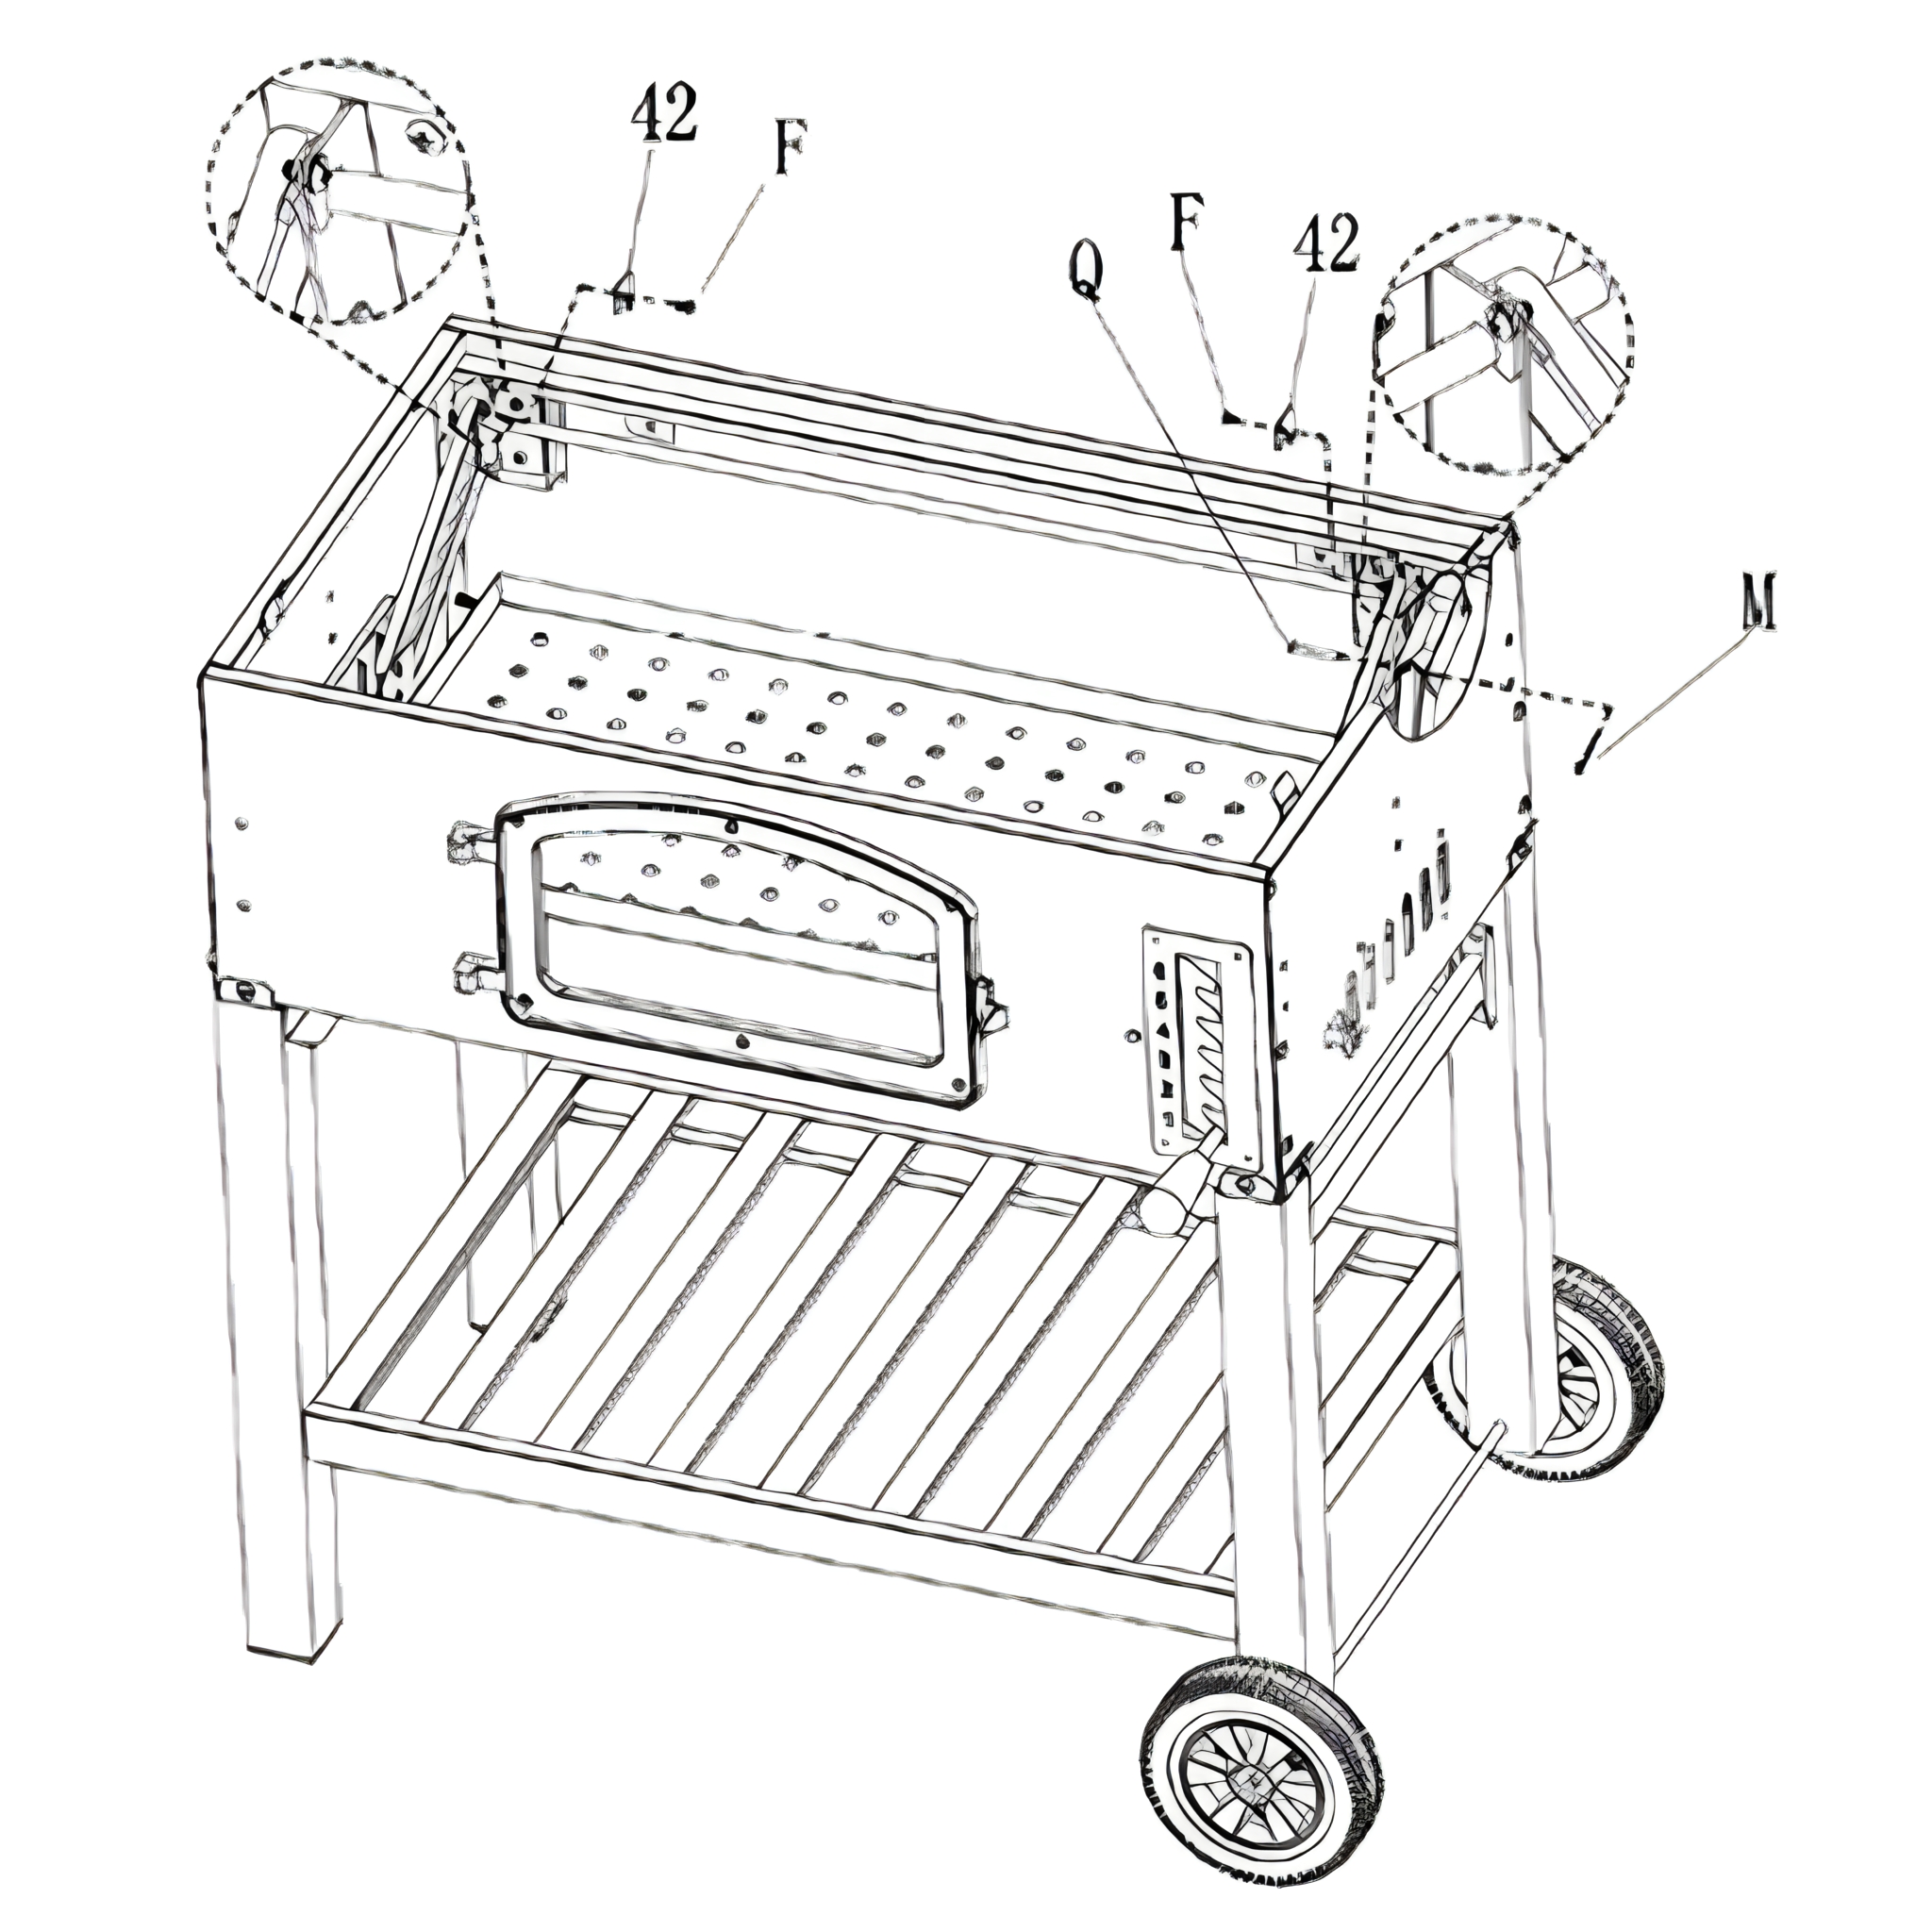
11. Inserting Lever and Securing Fire Damper
Insert the lever (23) through the front panel on the right hand side, and then pass it through both the fire damper (40) and the high adjusting plate (41).
Secure it to the rear panel with a M5 x 25mm hinge pin (P) and cotter pin (M).
Secure the high adjusting plate (41) to the lever with a M5 25mm hinge pin (P) and cotter pin (M).
Attach the M5 8mm hinge pin (N) to the fire damper slice and M6 flat gasket, and secure them with a cotter pin (M).
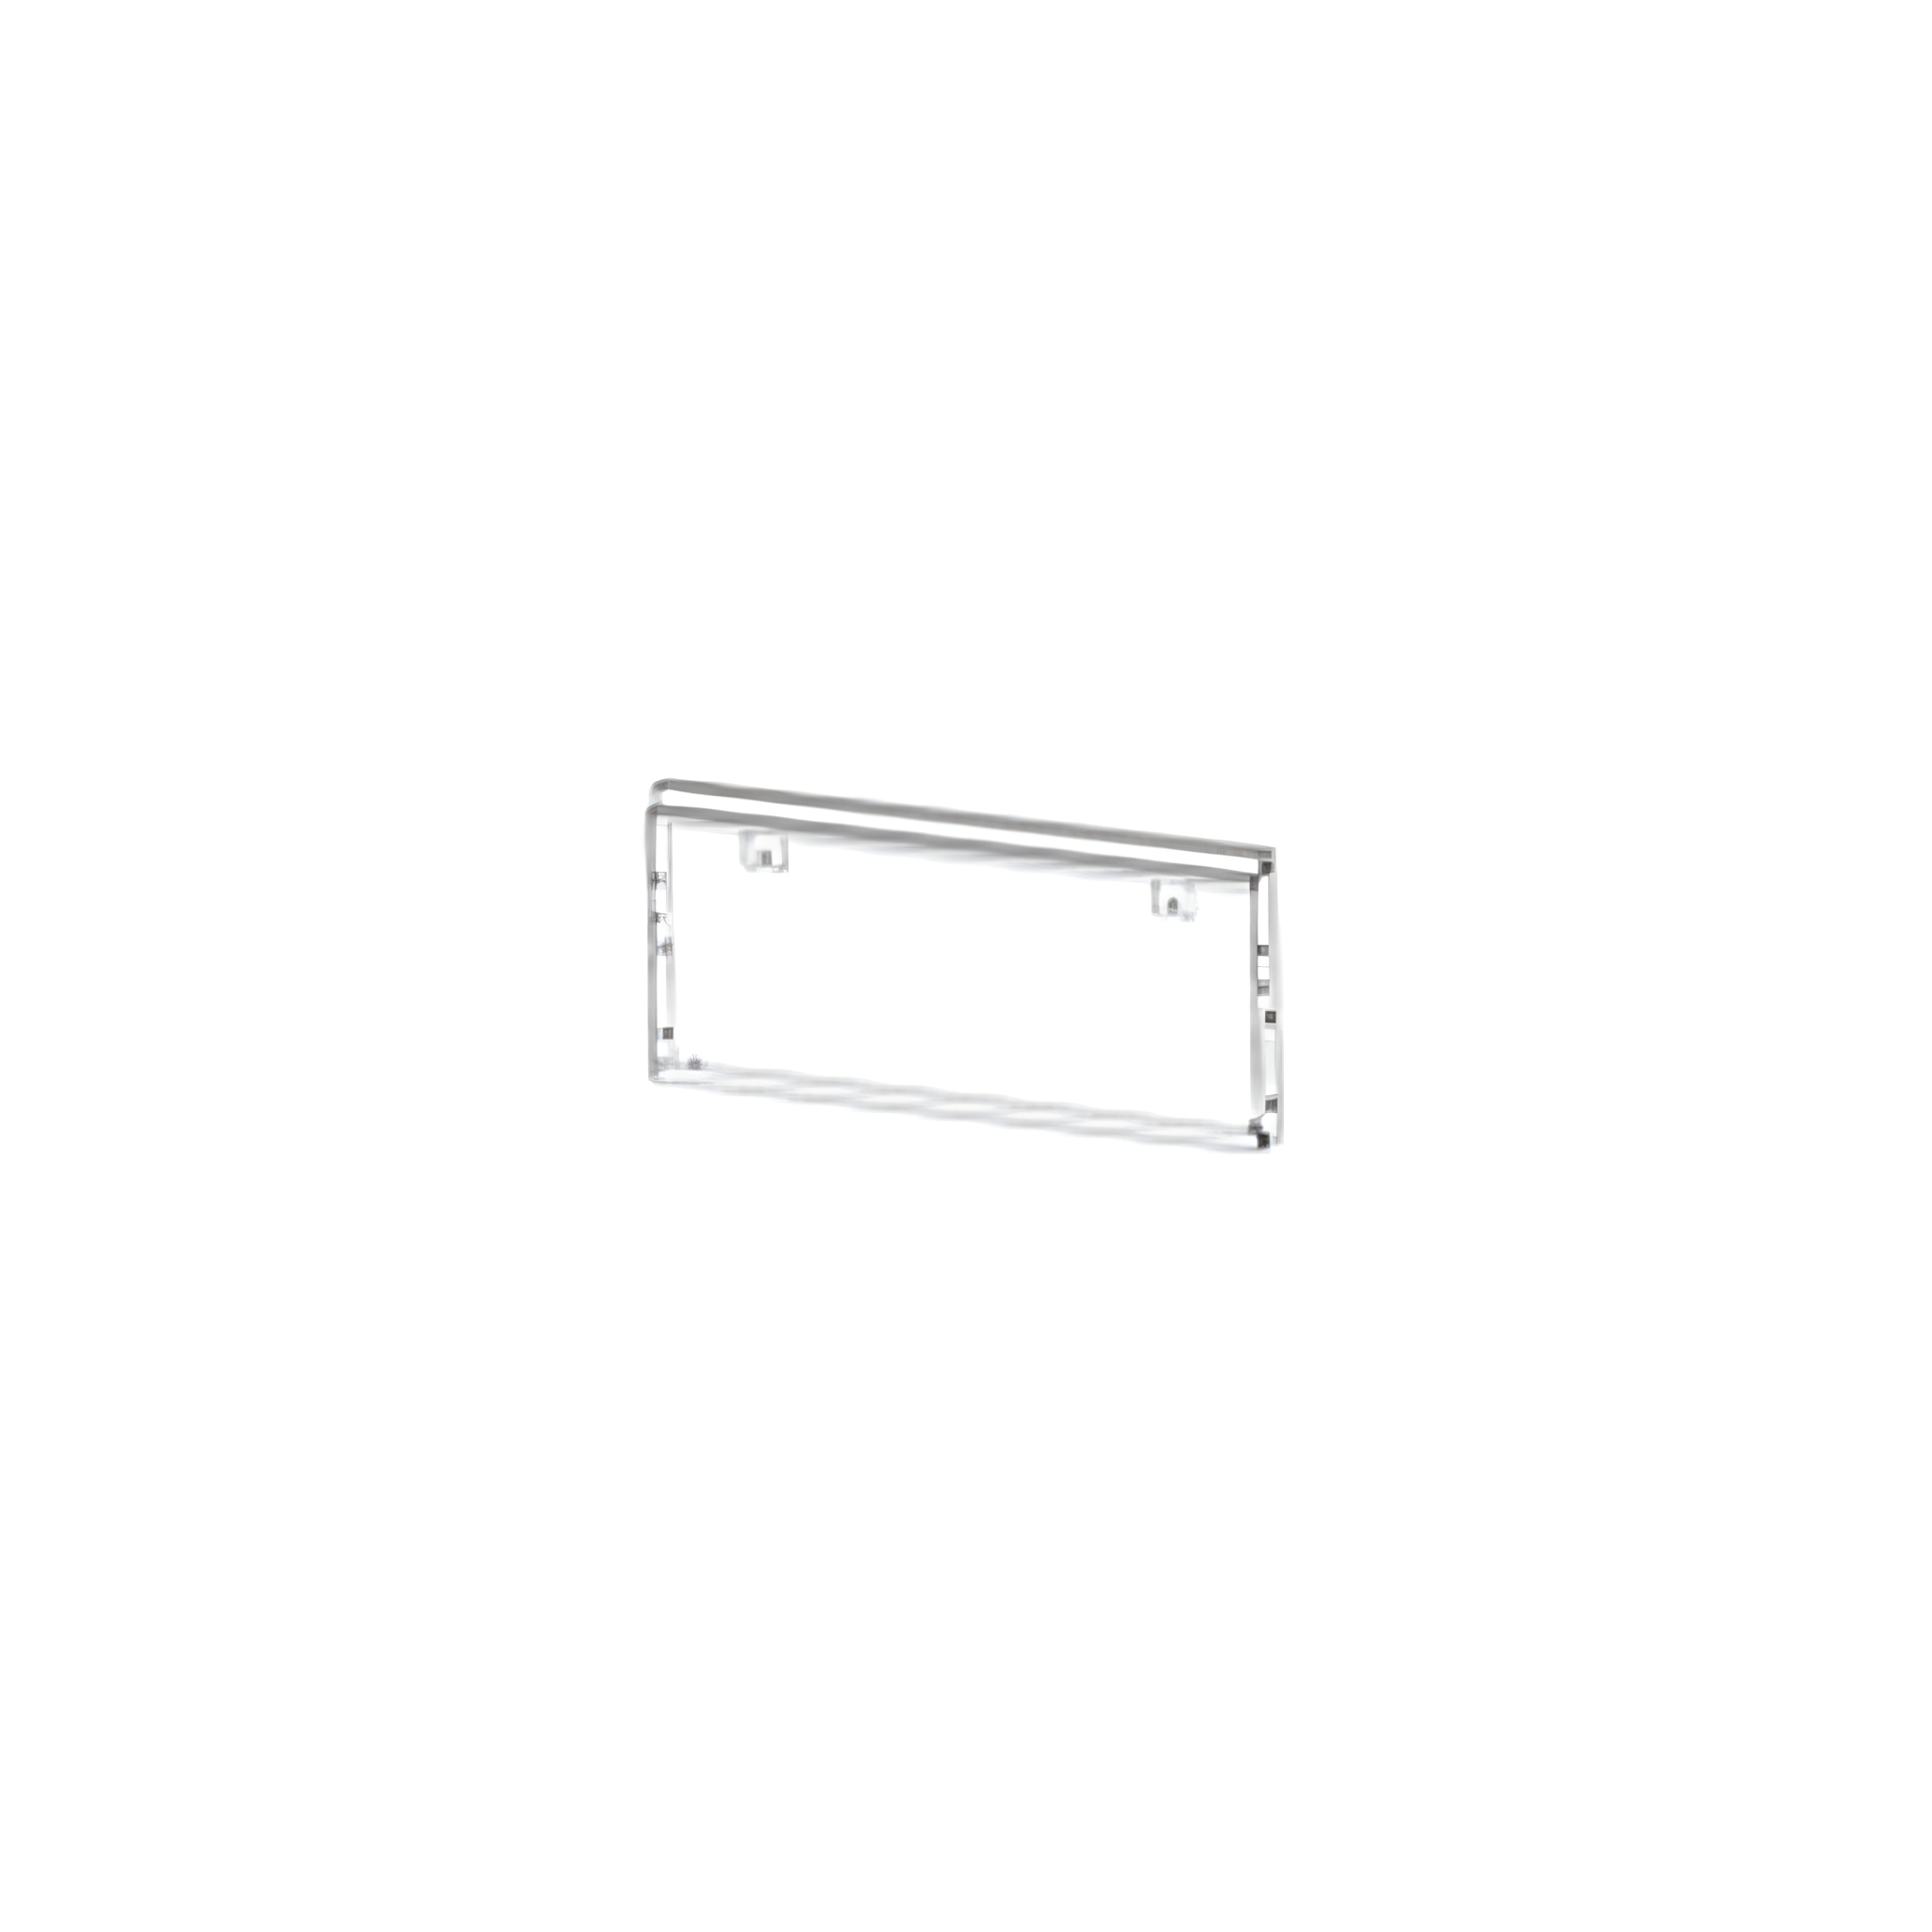
12. Securing Upper Brackets and Lift Rack
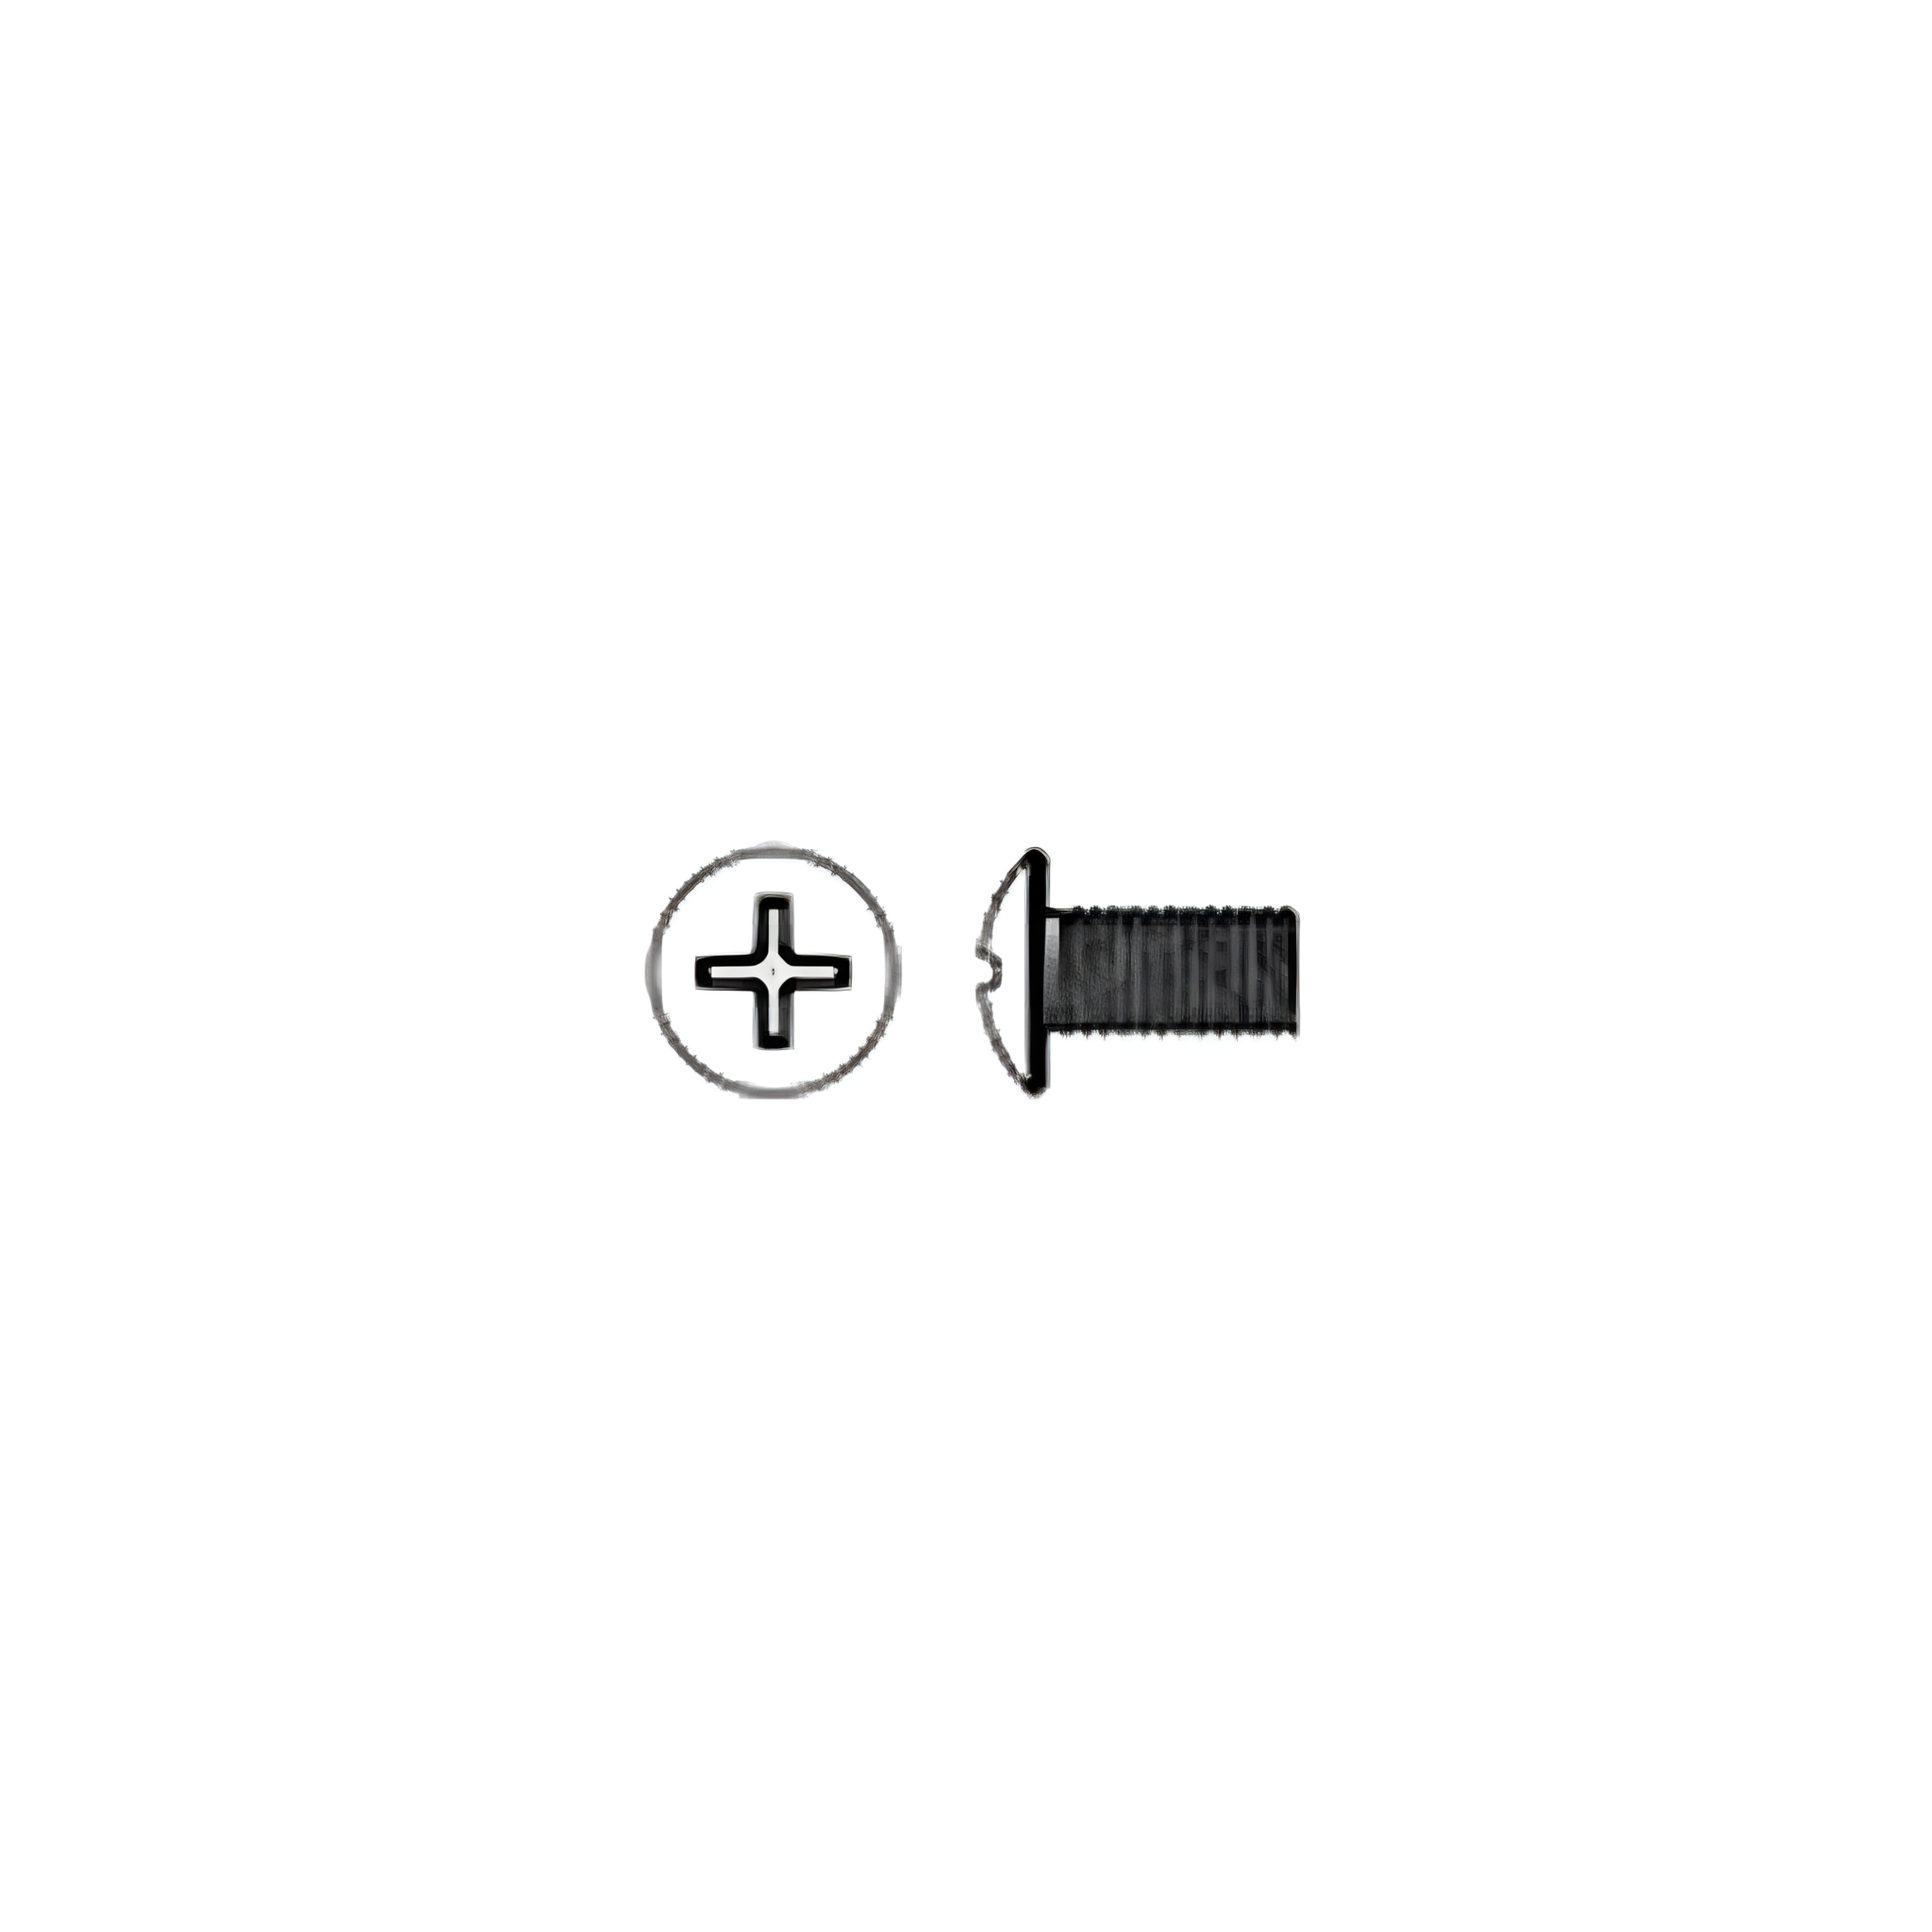
Secure the right and left upper bracket to the front panel using 4x M5 12mm screws (E).
Drop the lift rack (10) into the grooves of the left and right upper brackets (21,22).
13. Attaching Lever Support Bracket
Secure the lever support bracket (42) to the left and right upper brackets with 2x M4 10mm screws (F).
Secure the high adjusting plate (10) to the lift rack with M5 25mm hinge pin (P) and a cotter pin (M).
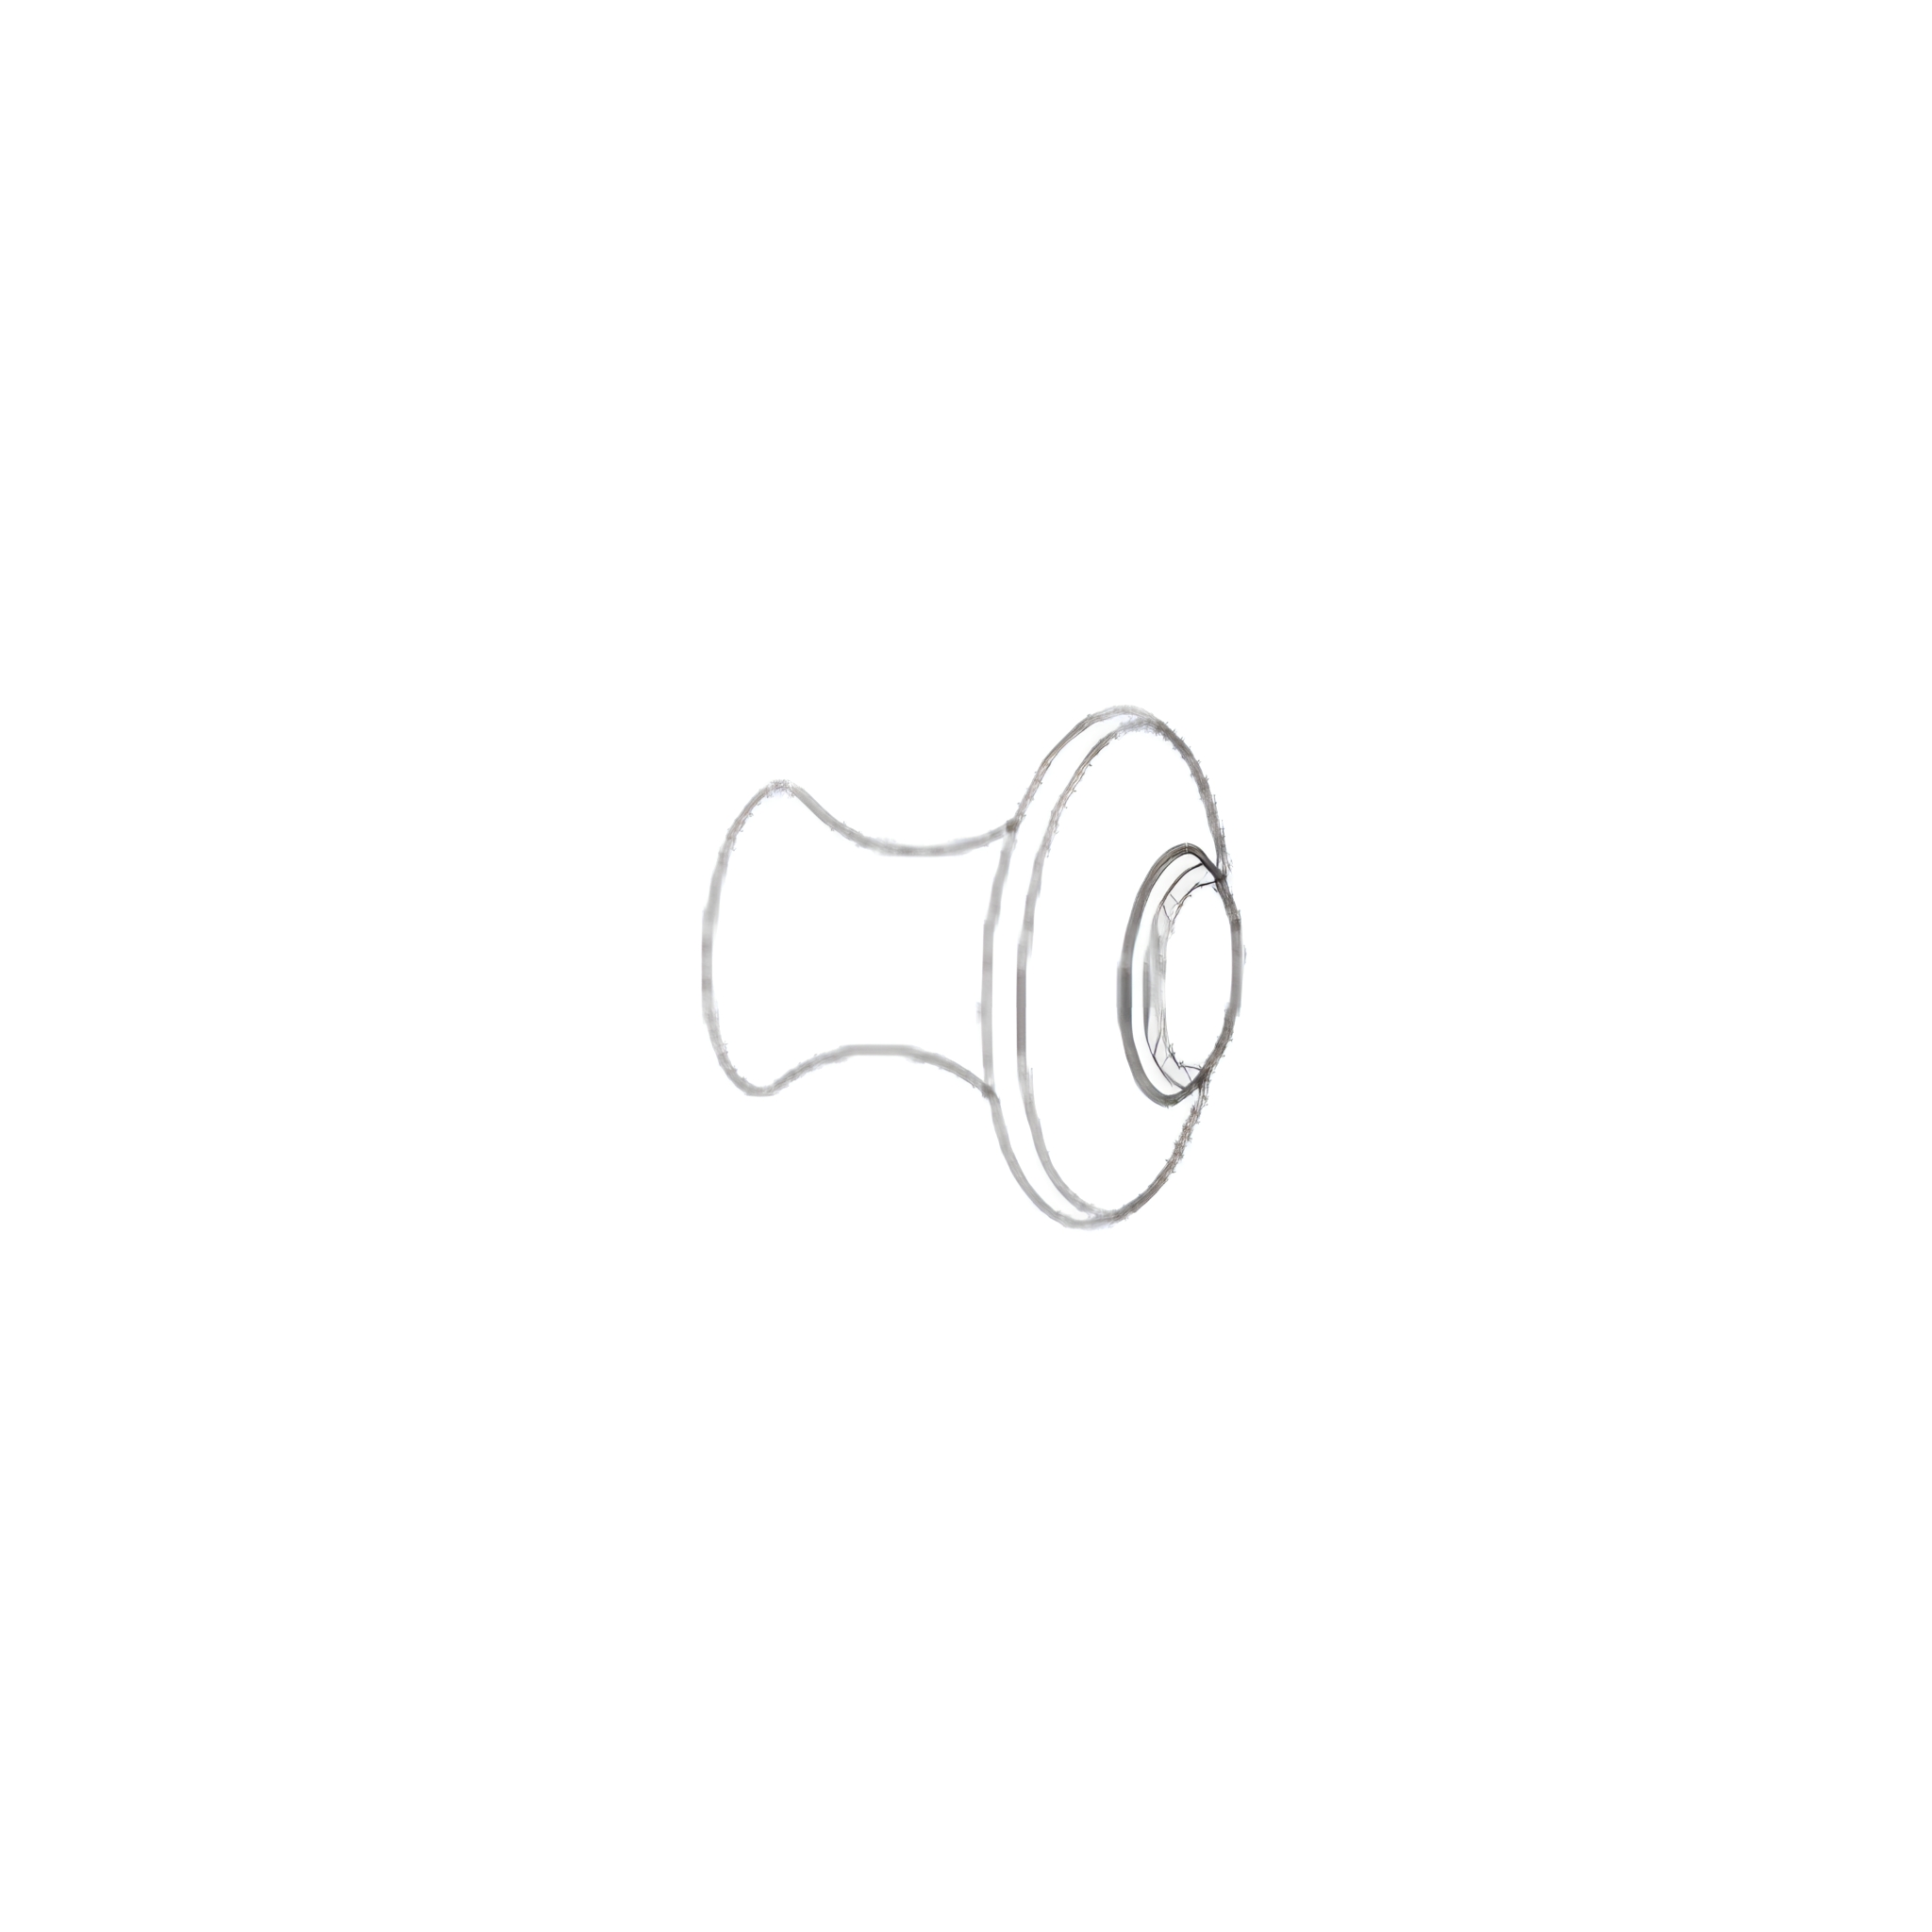
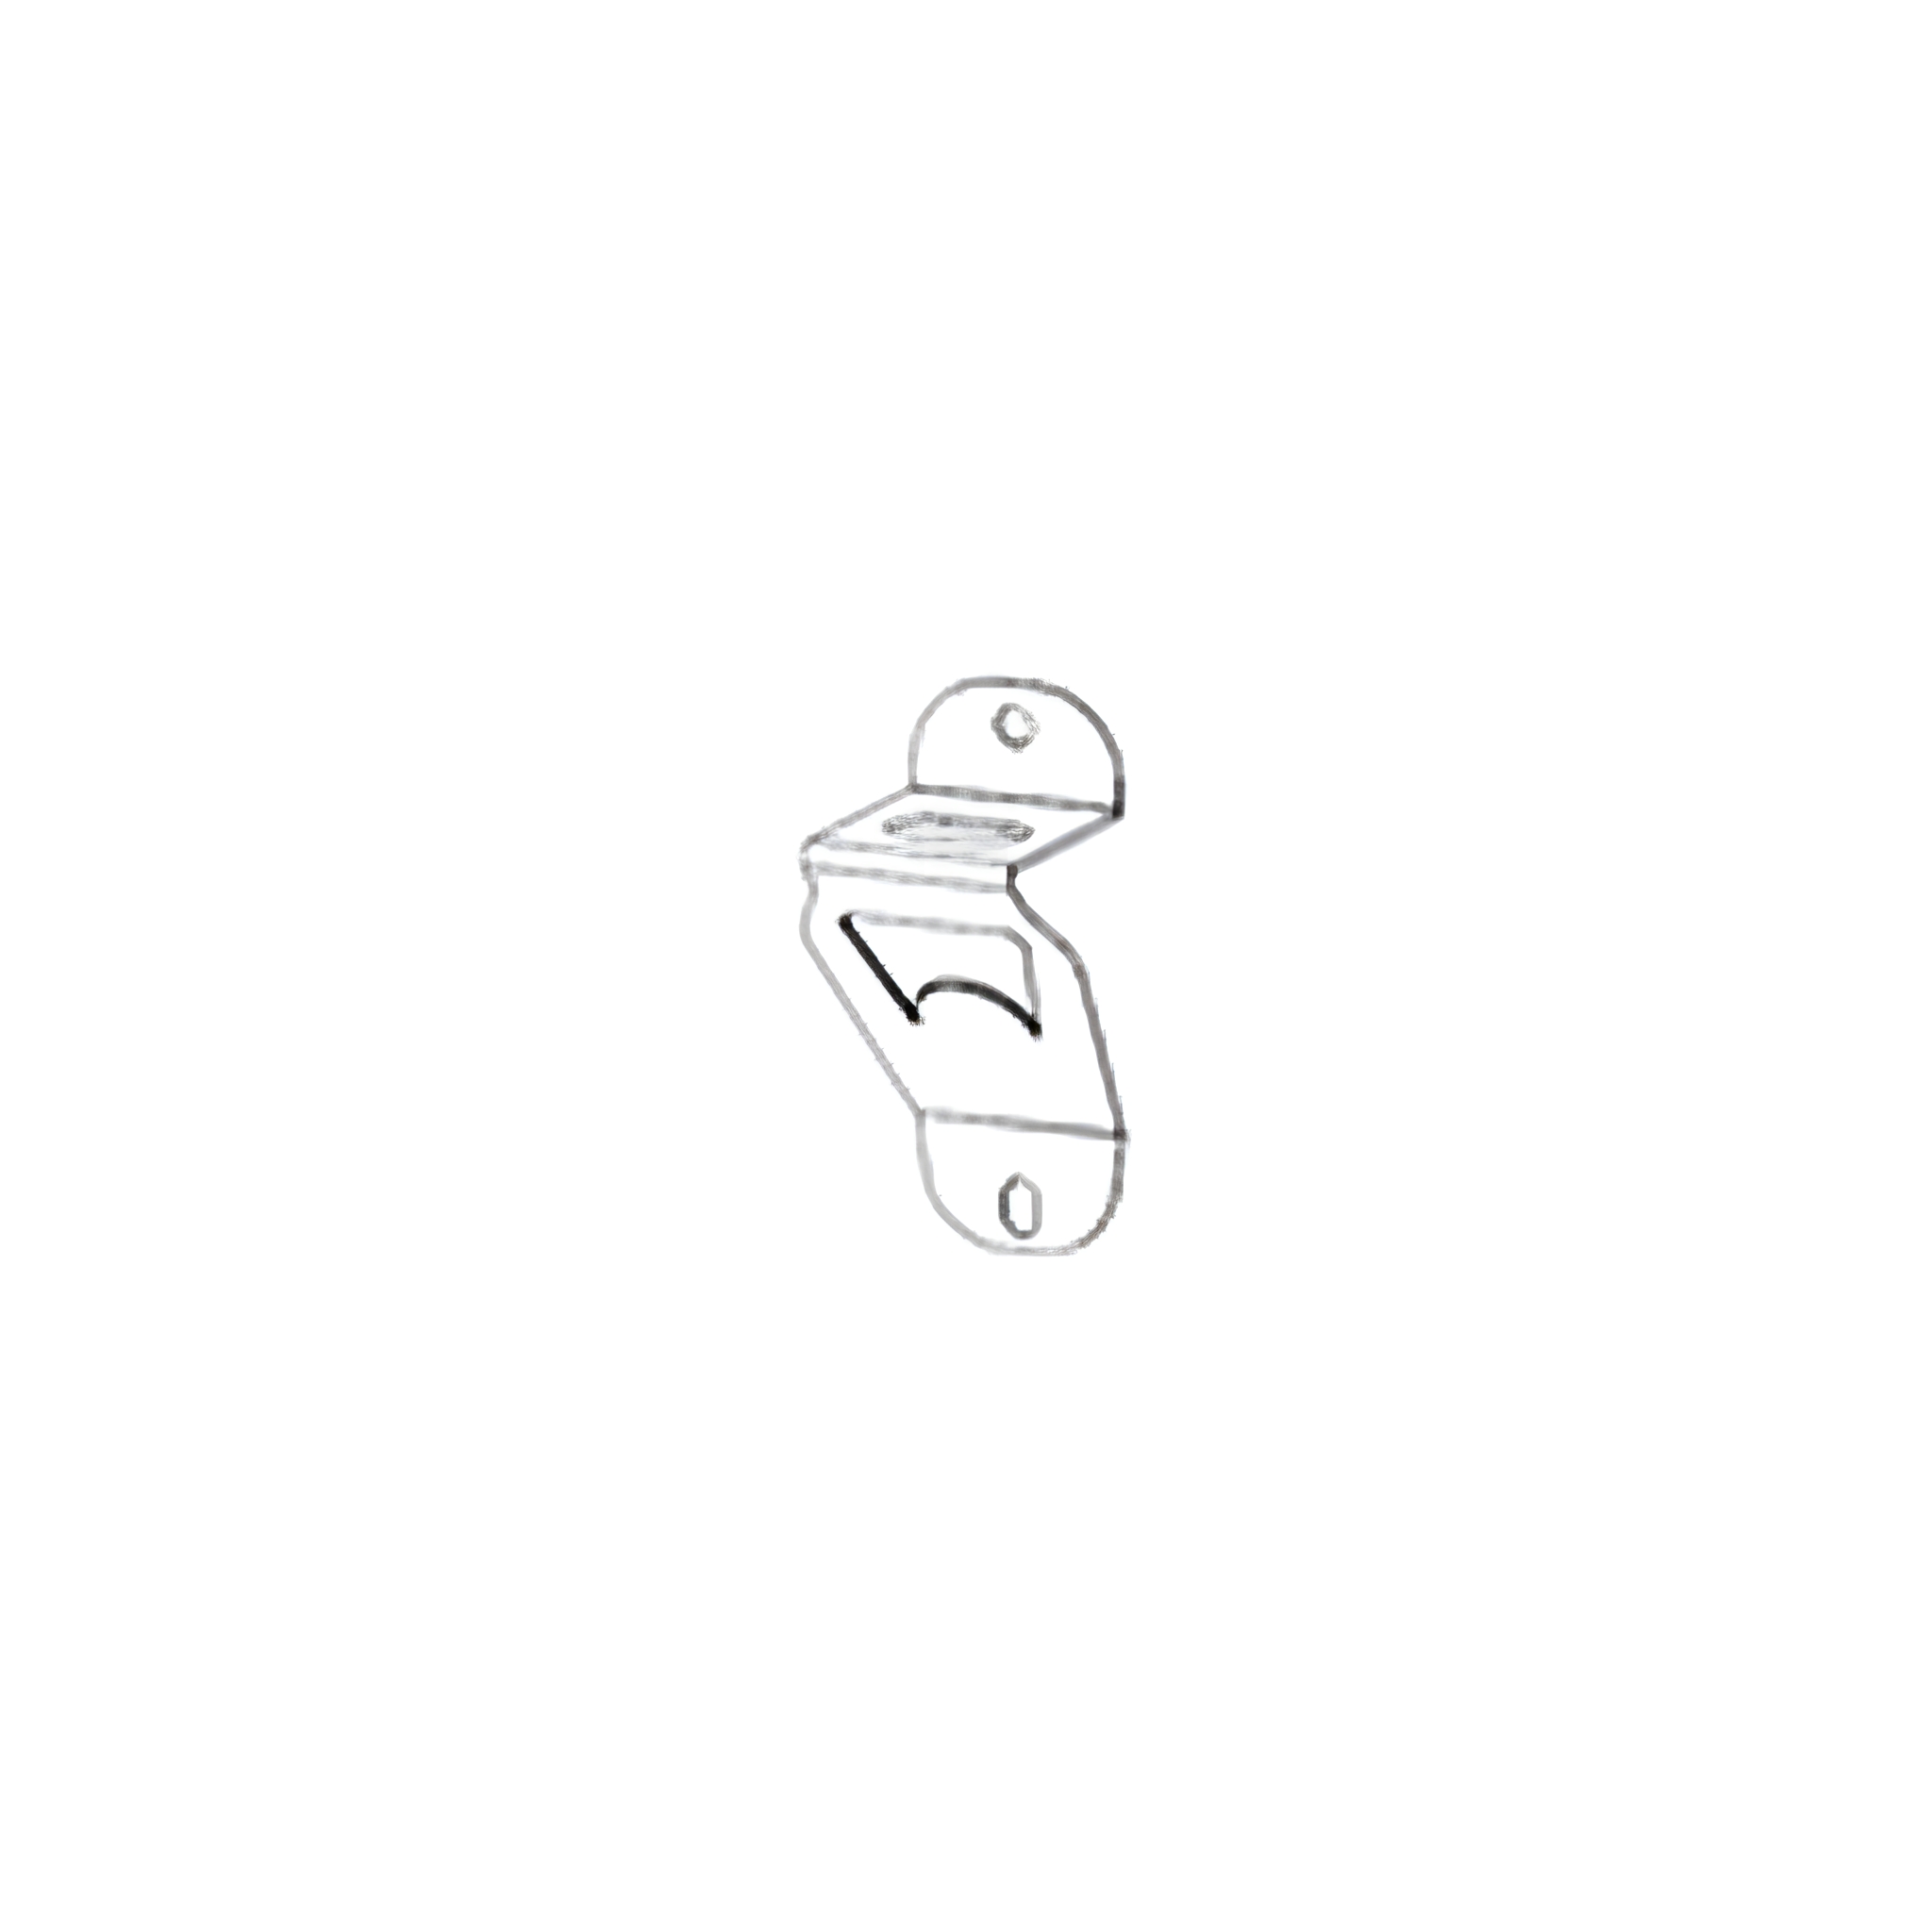
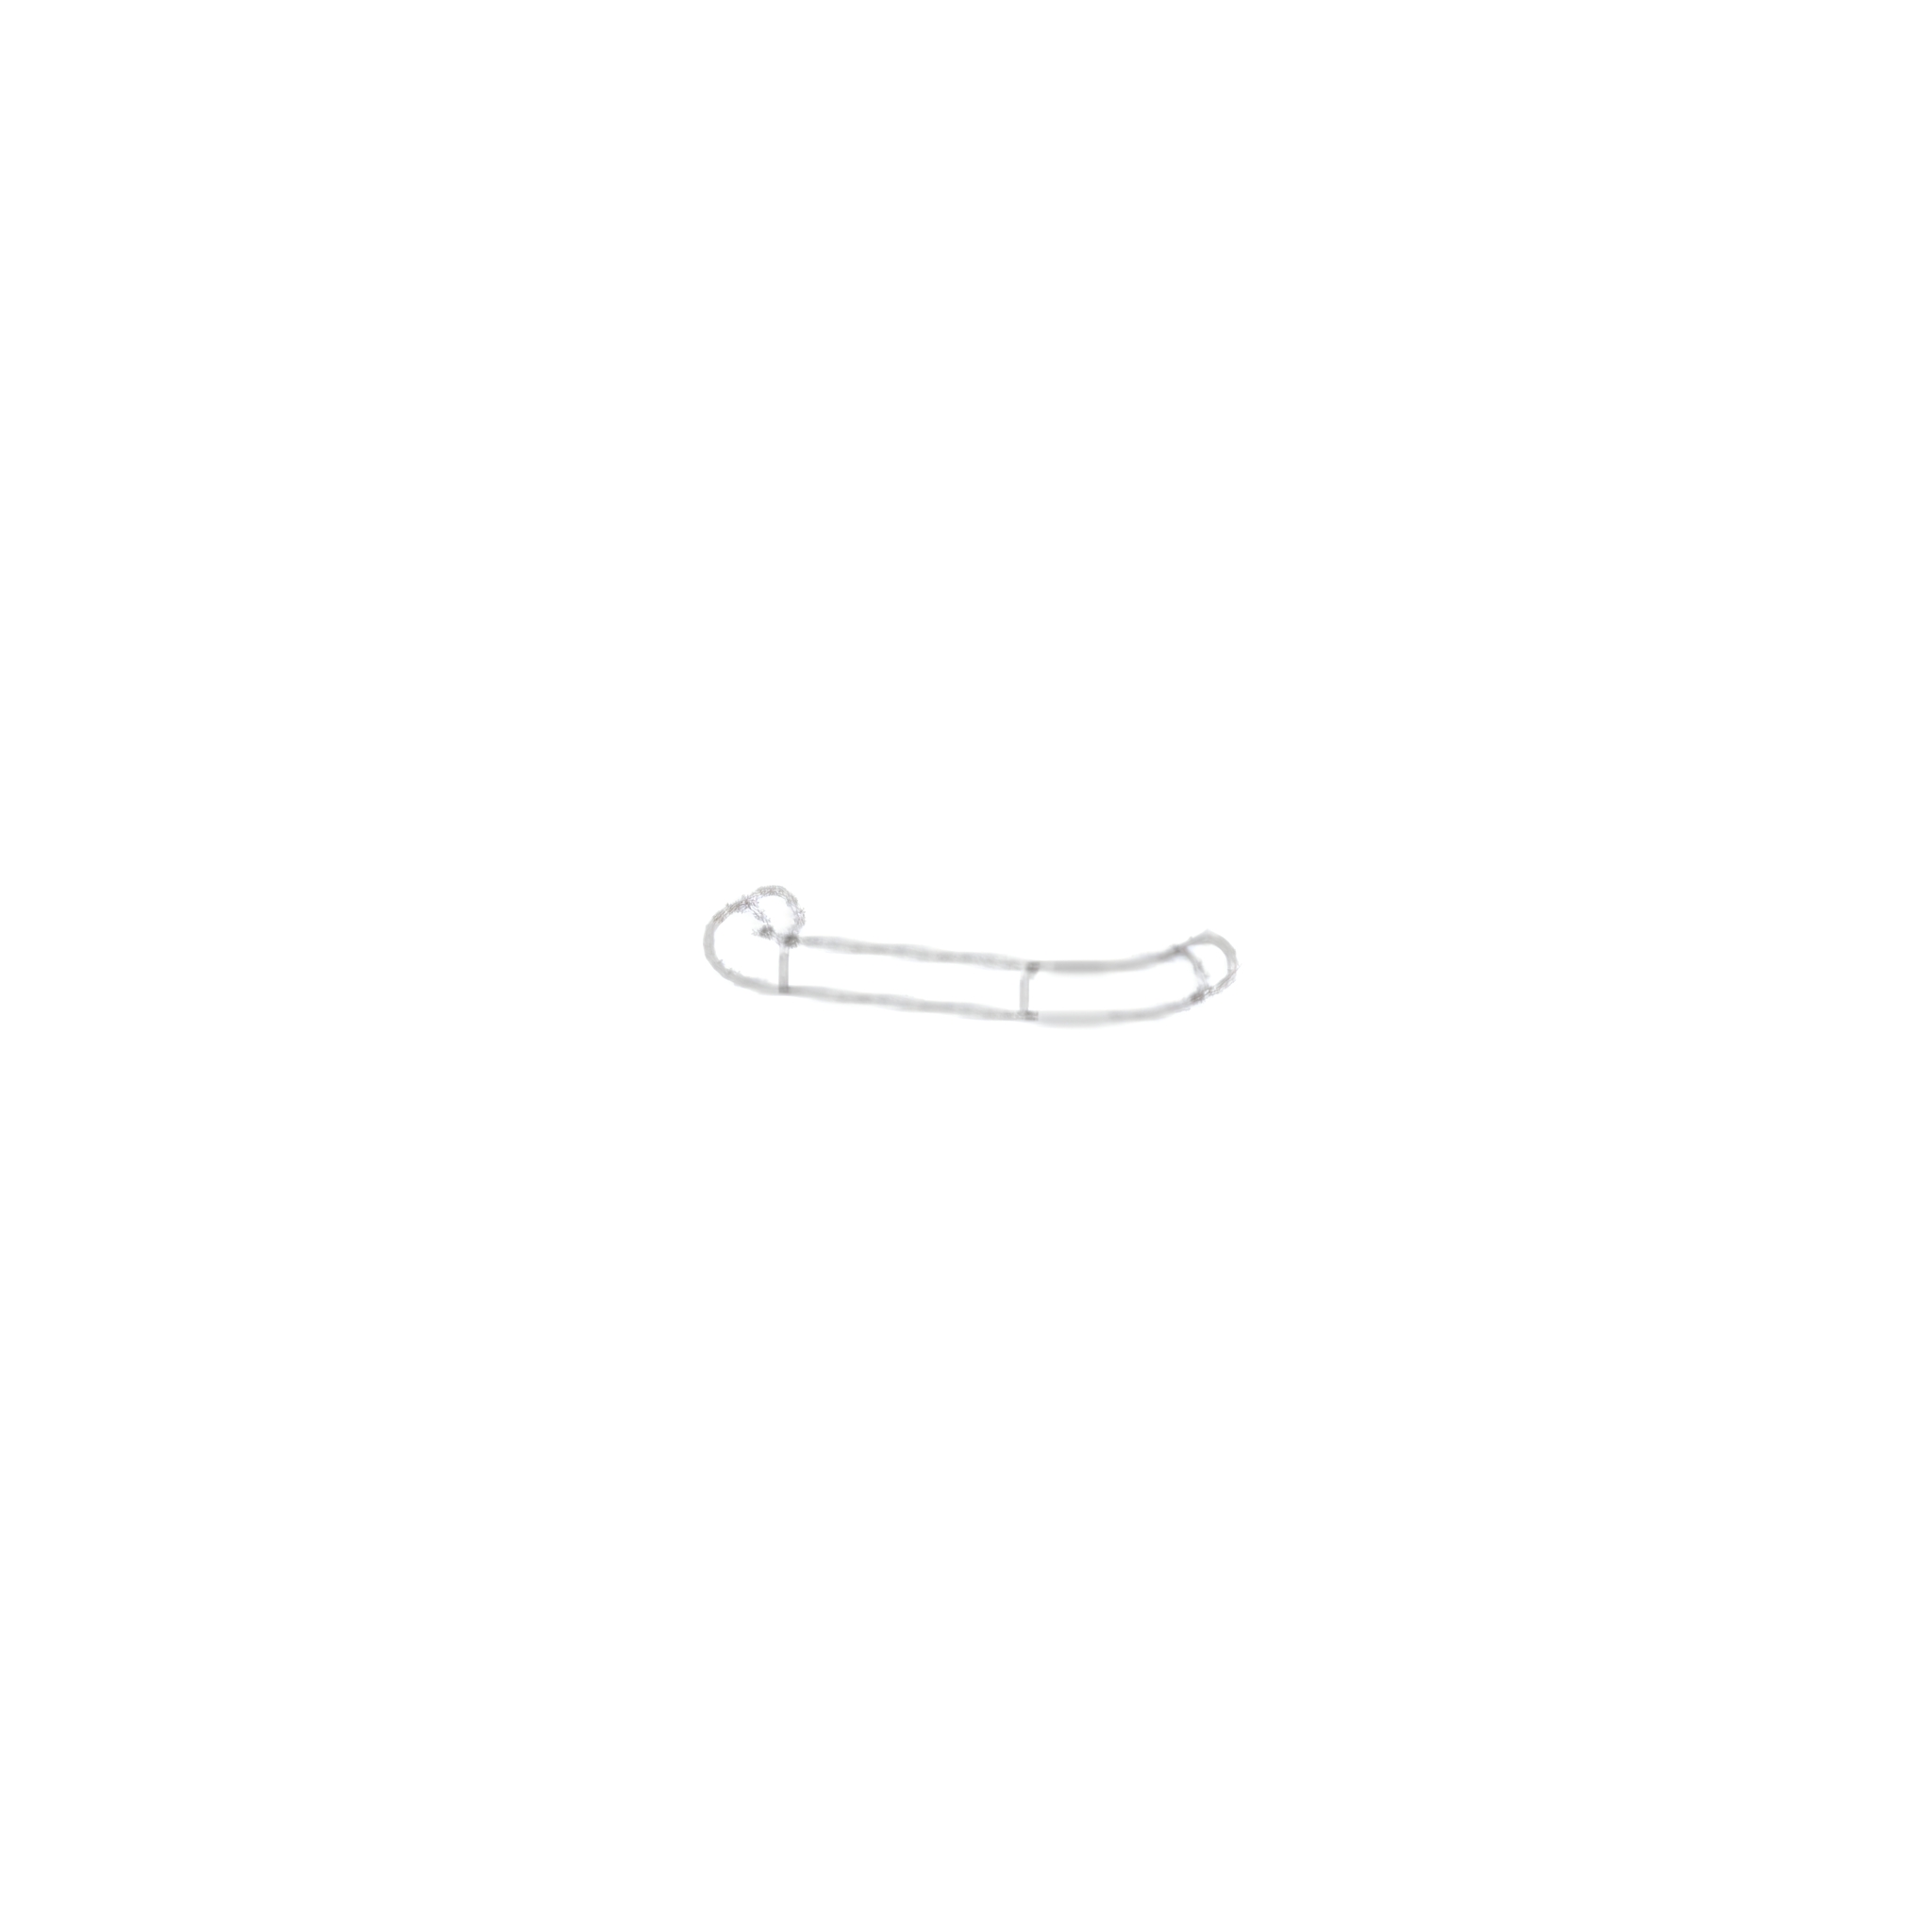
14. Attaching Bottle Opener
Attach the bottle opener (6) to the front panel using 2x M5 12mm screws (E).
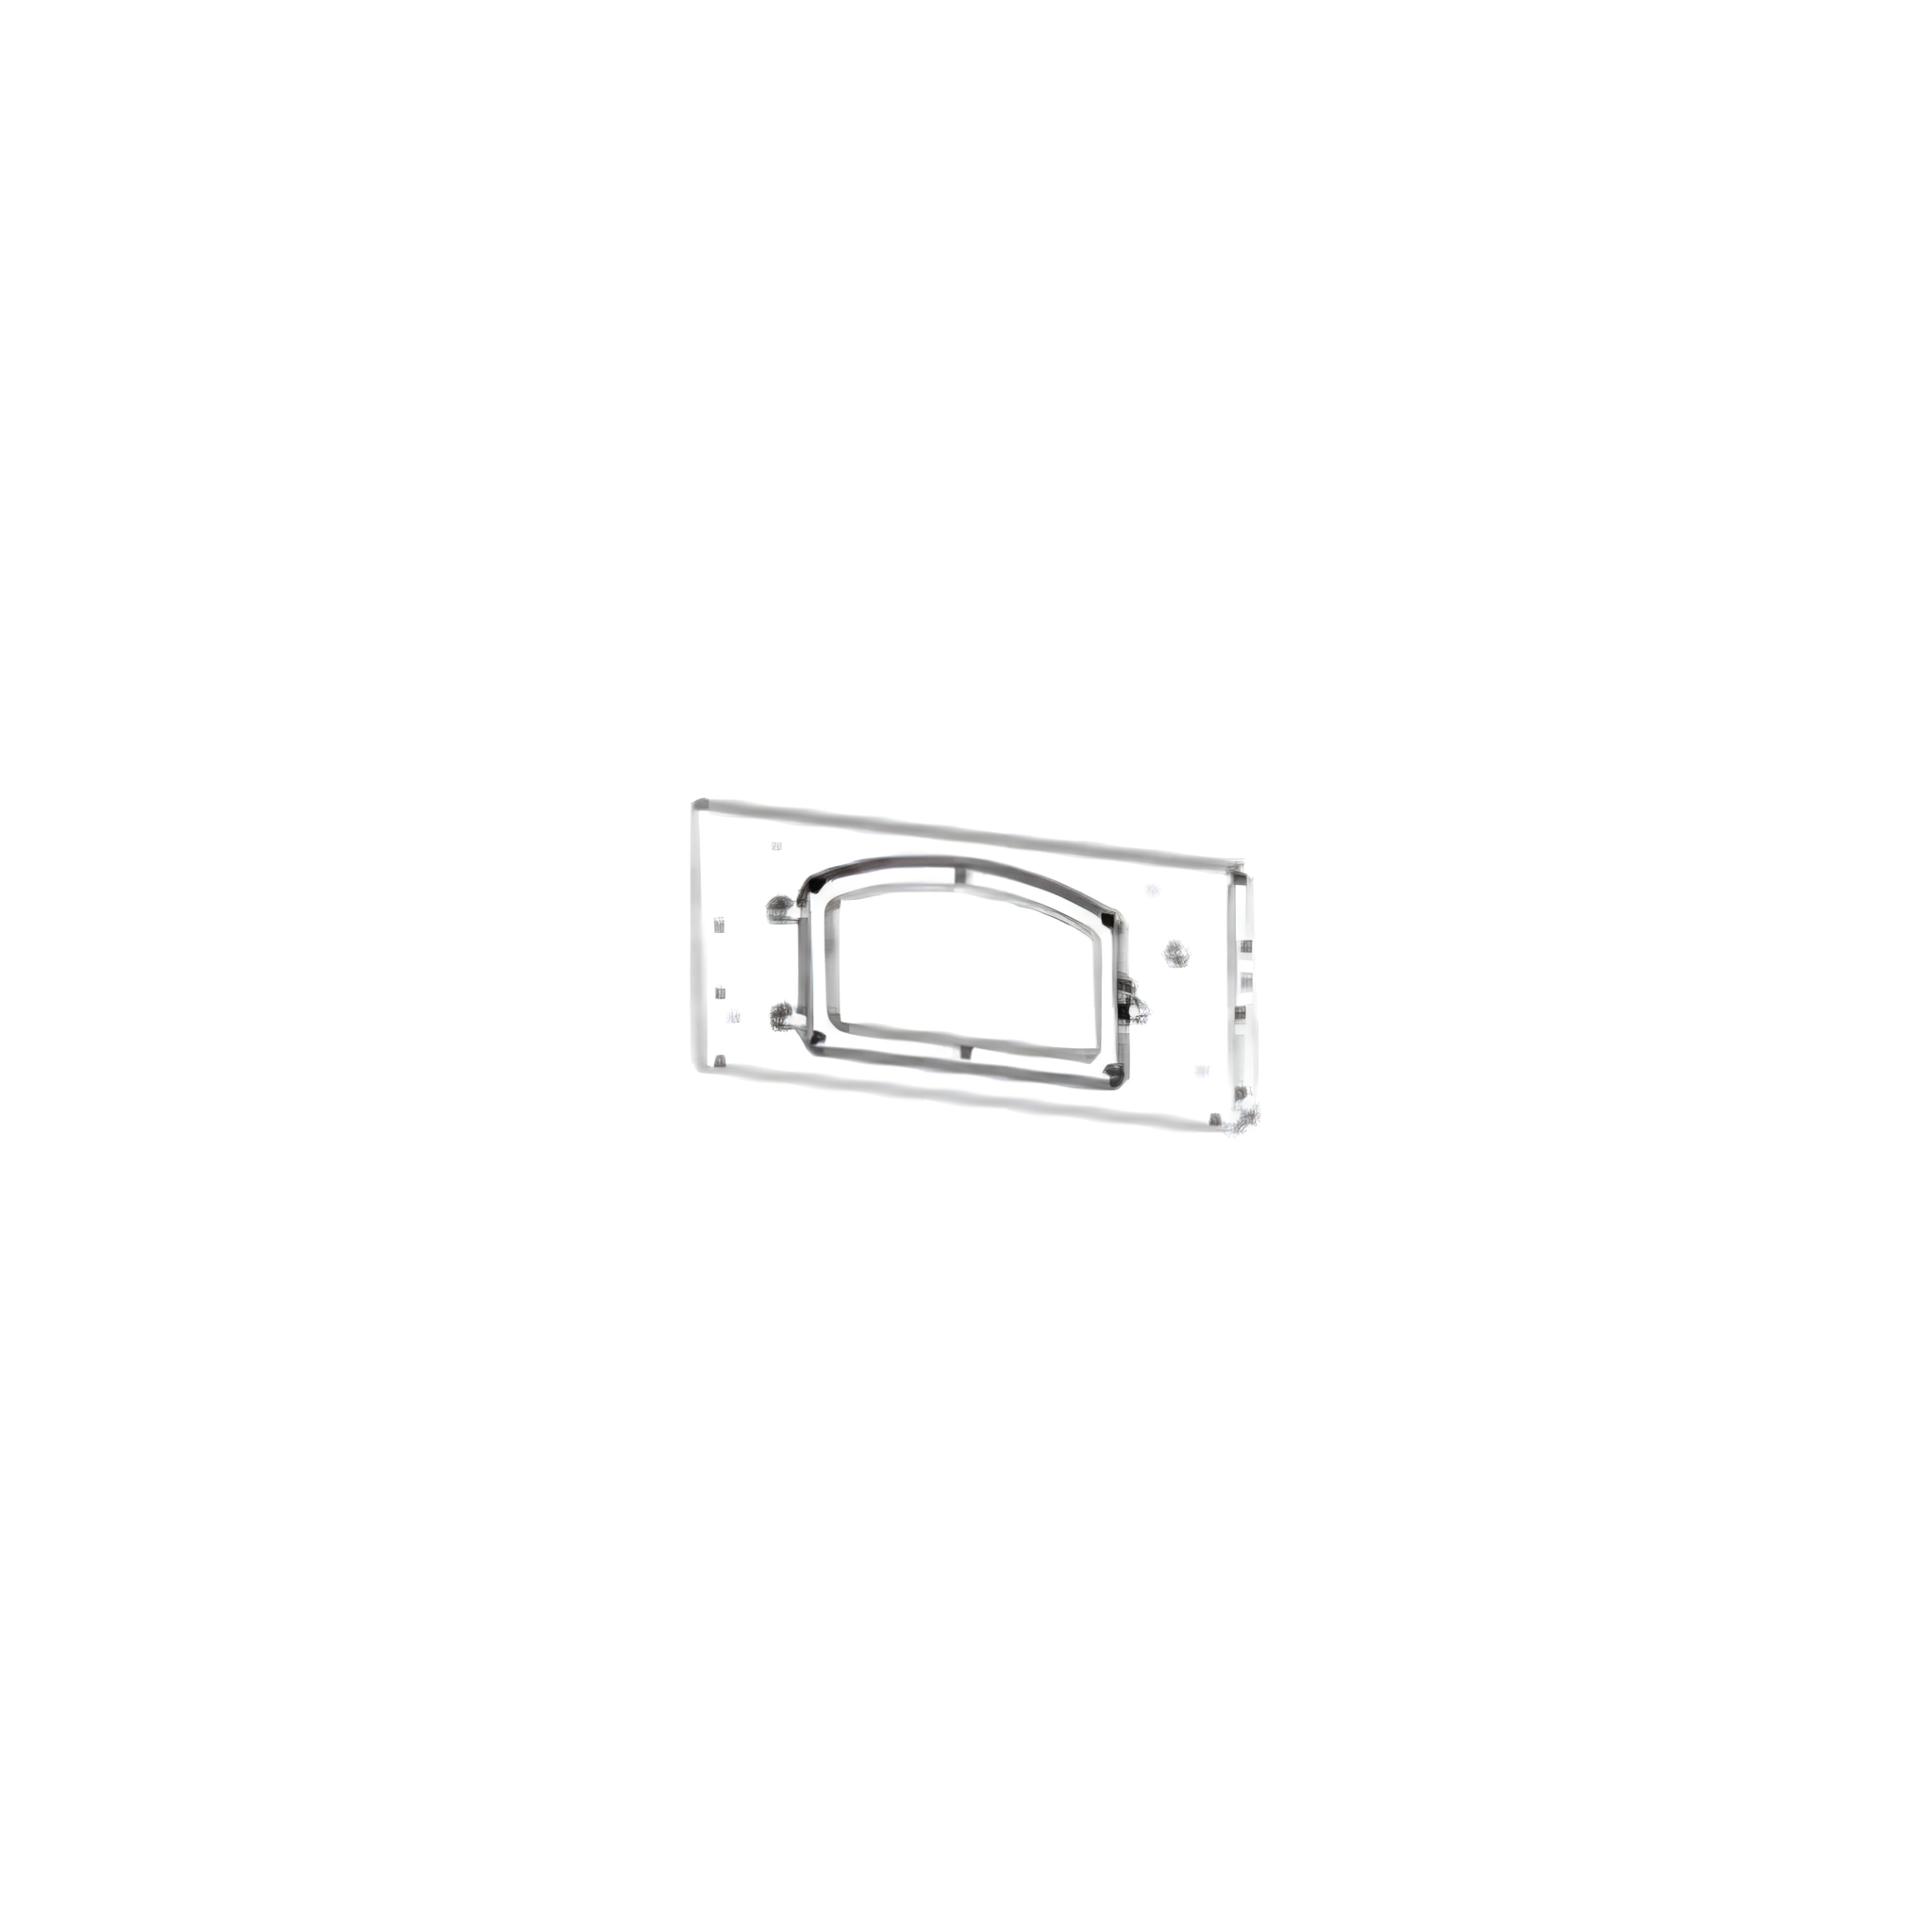
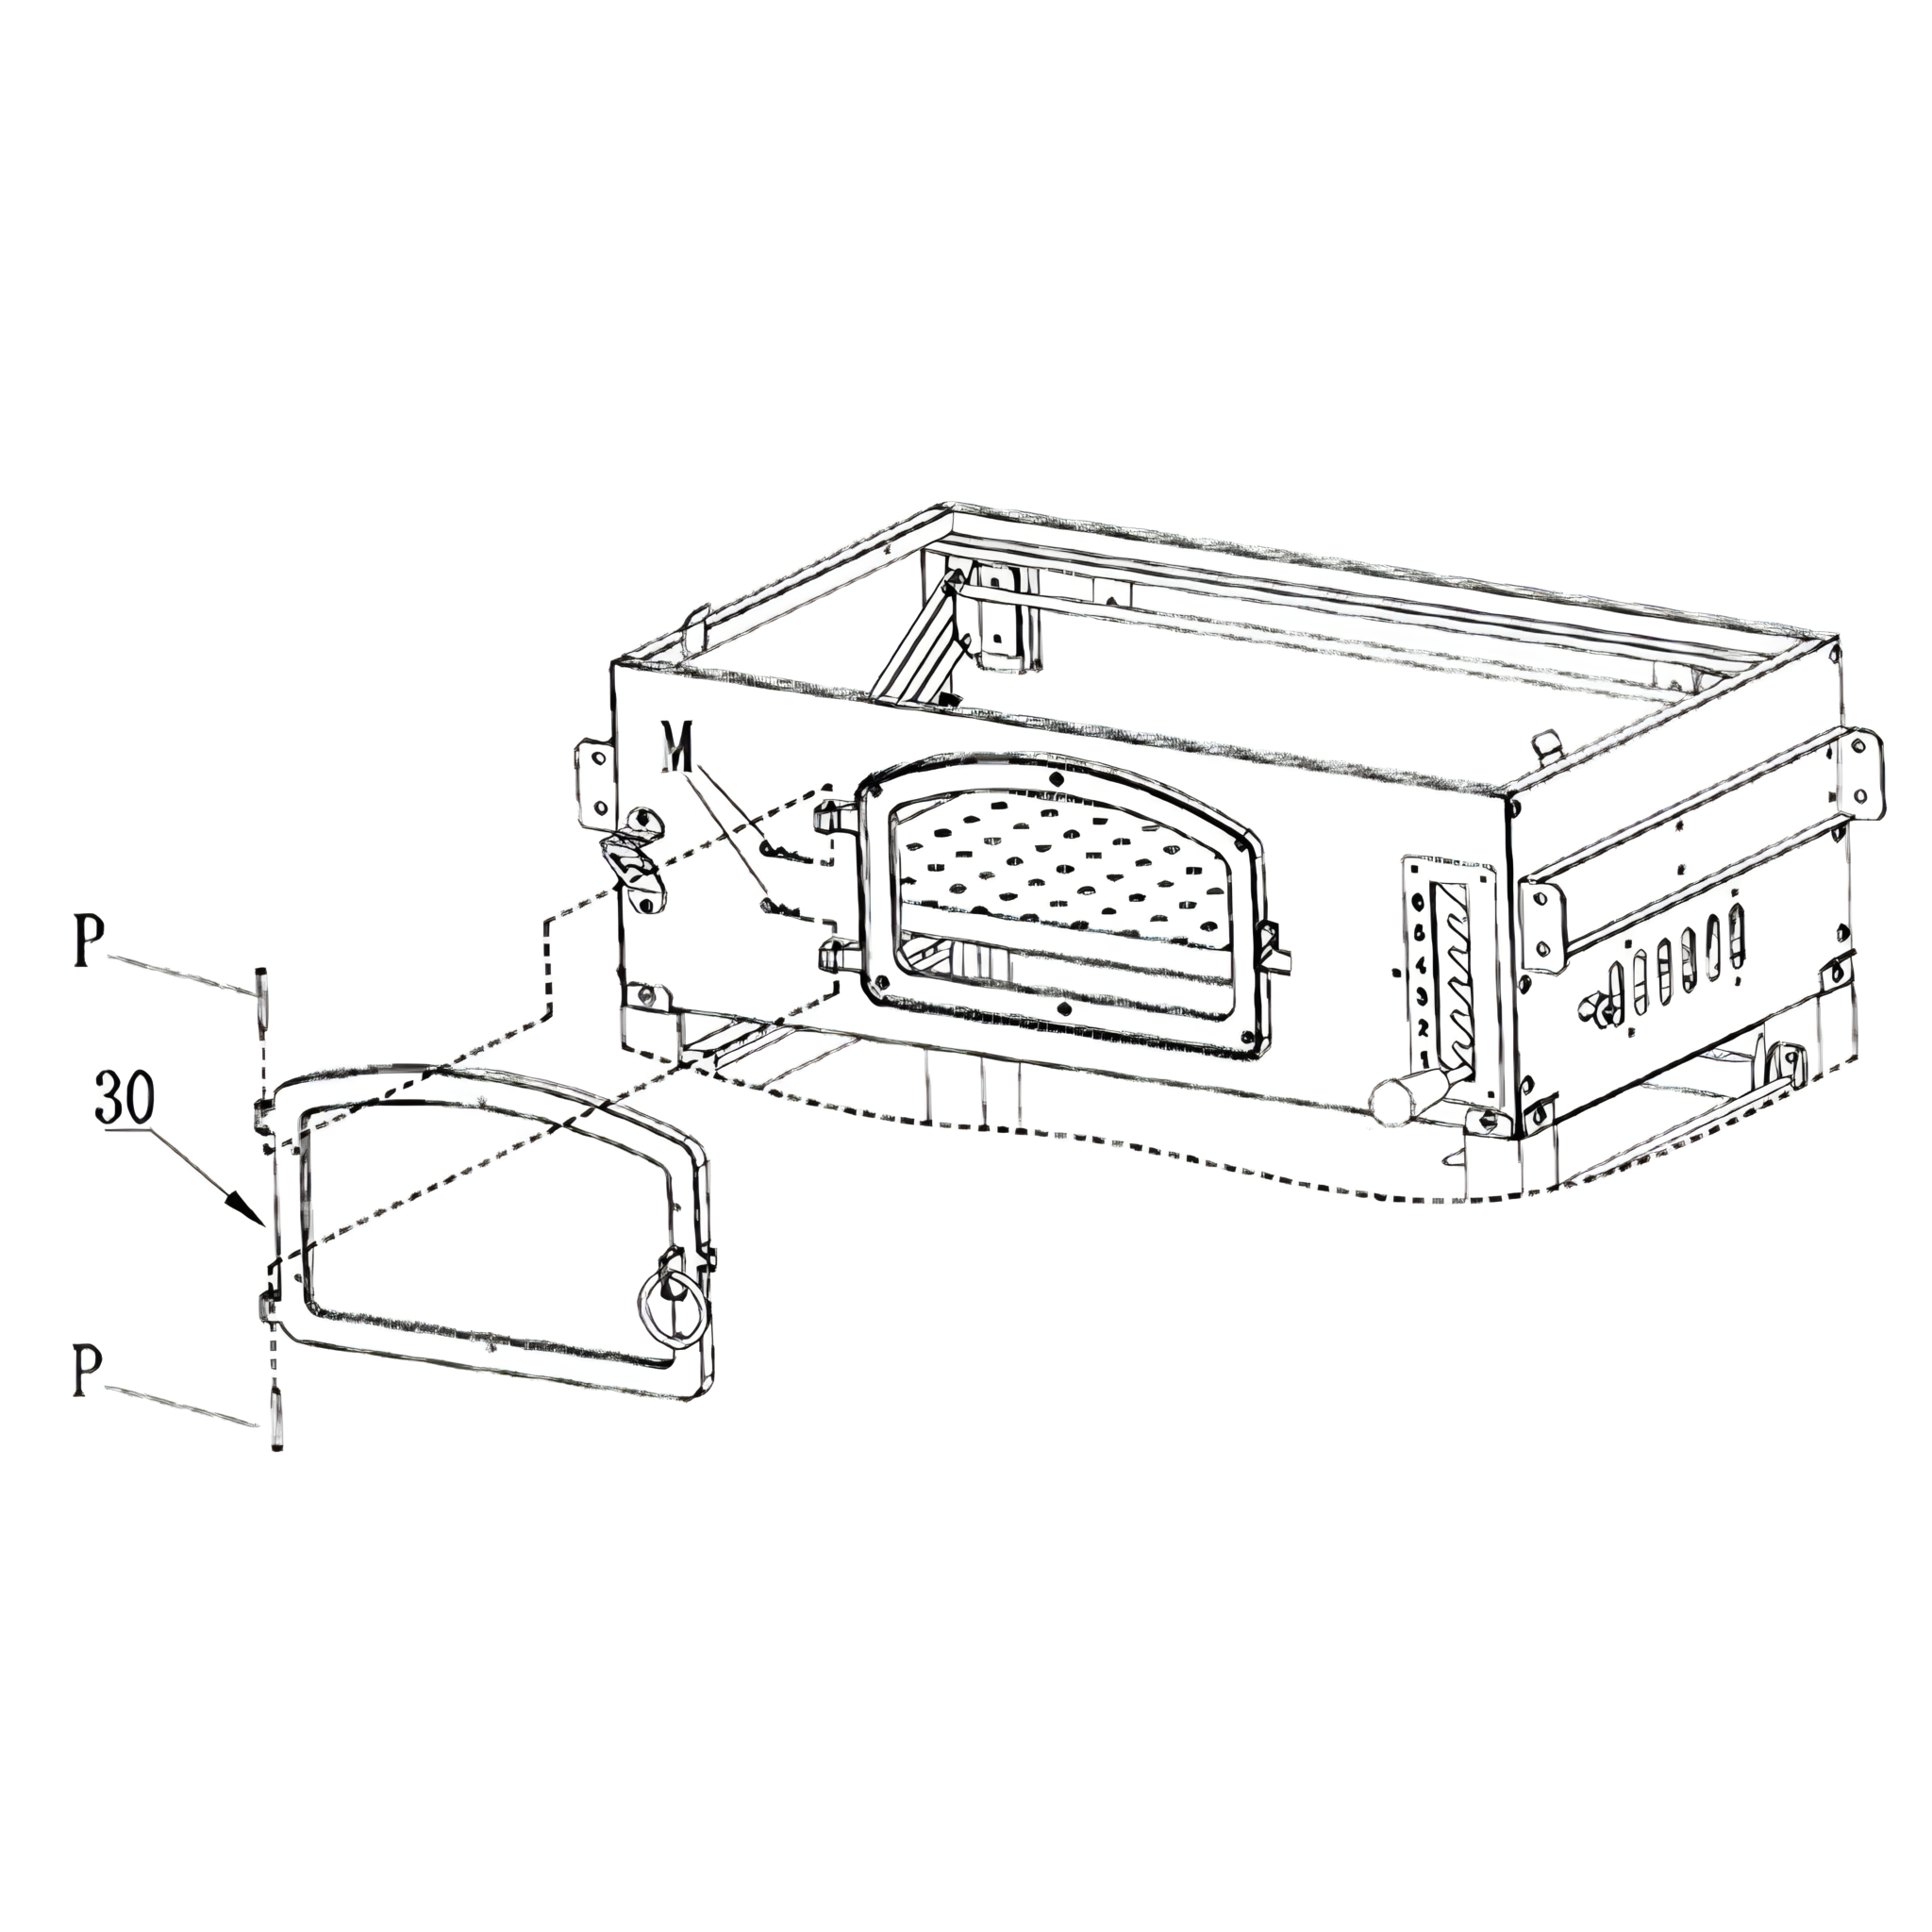
15. Attaching Cast Iron Door
Attach the cast iron door (30) to the front panel by 2x M5 45mm hinge pins (O) and secure them with cotter pins (M).
Secure them with 4x M6 flange nuts (G).
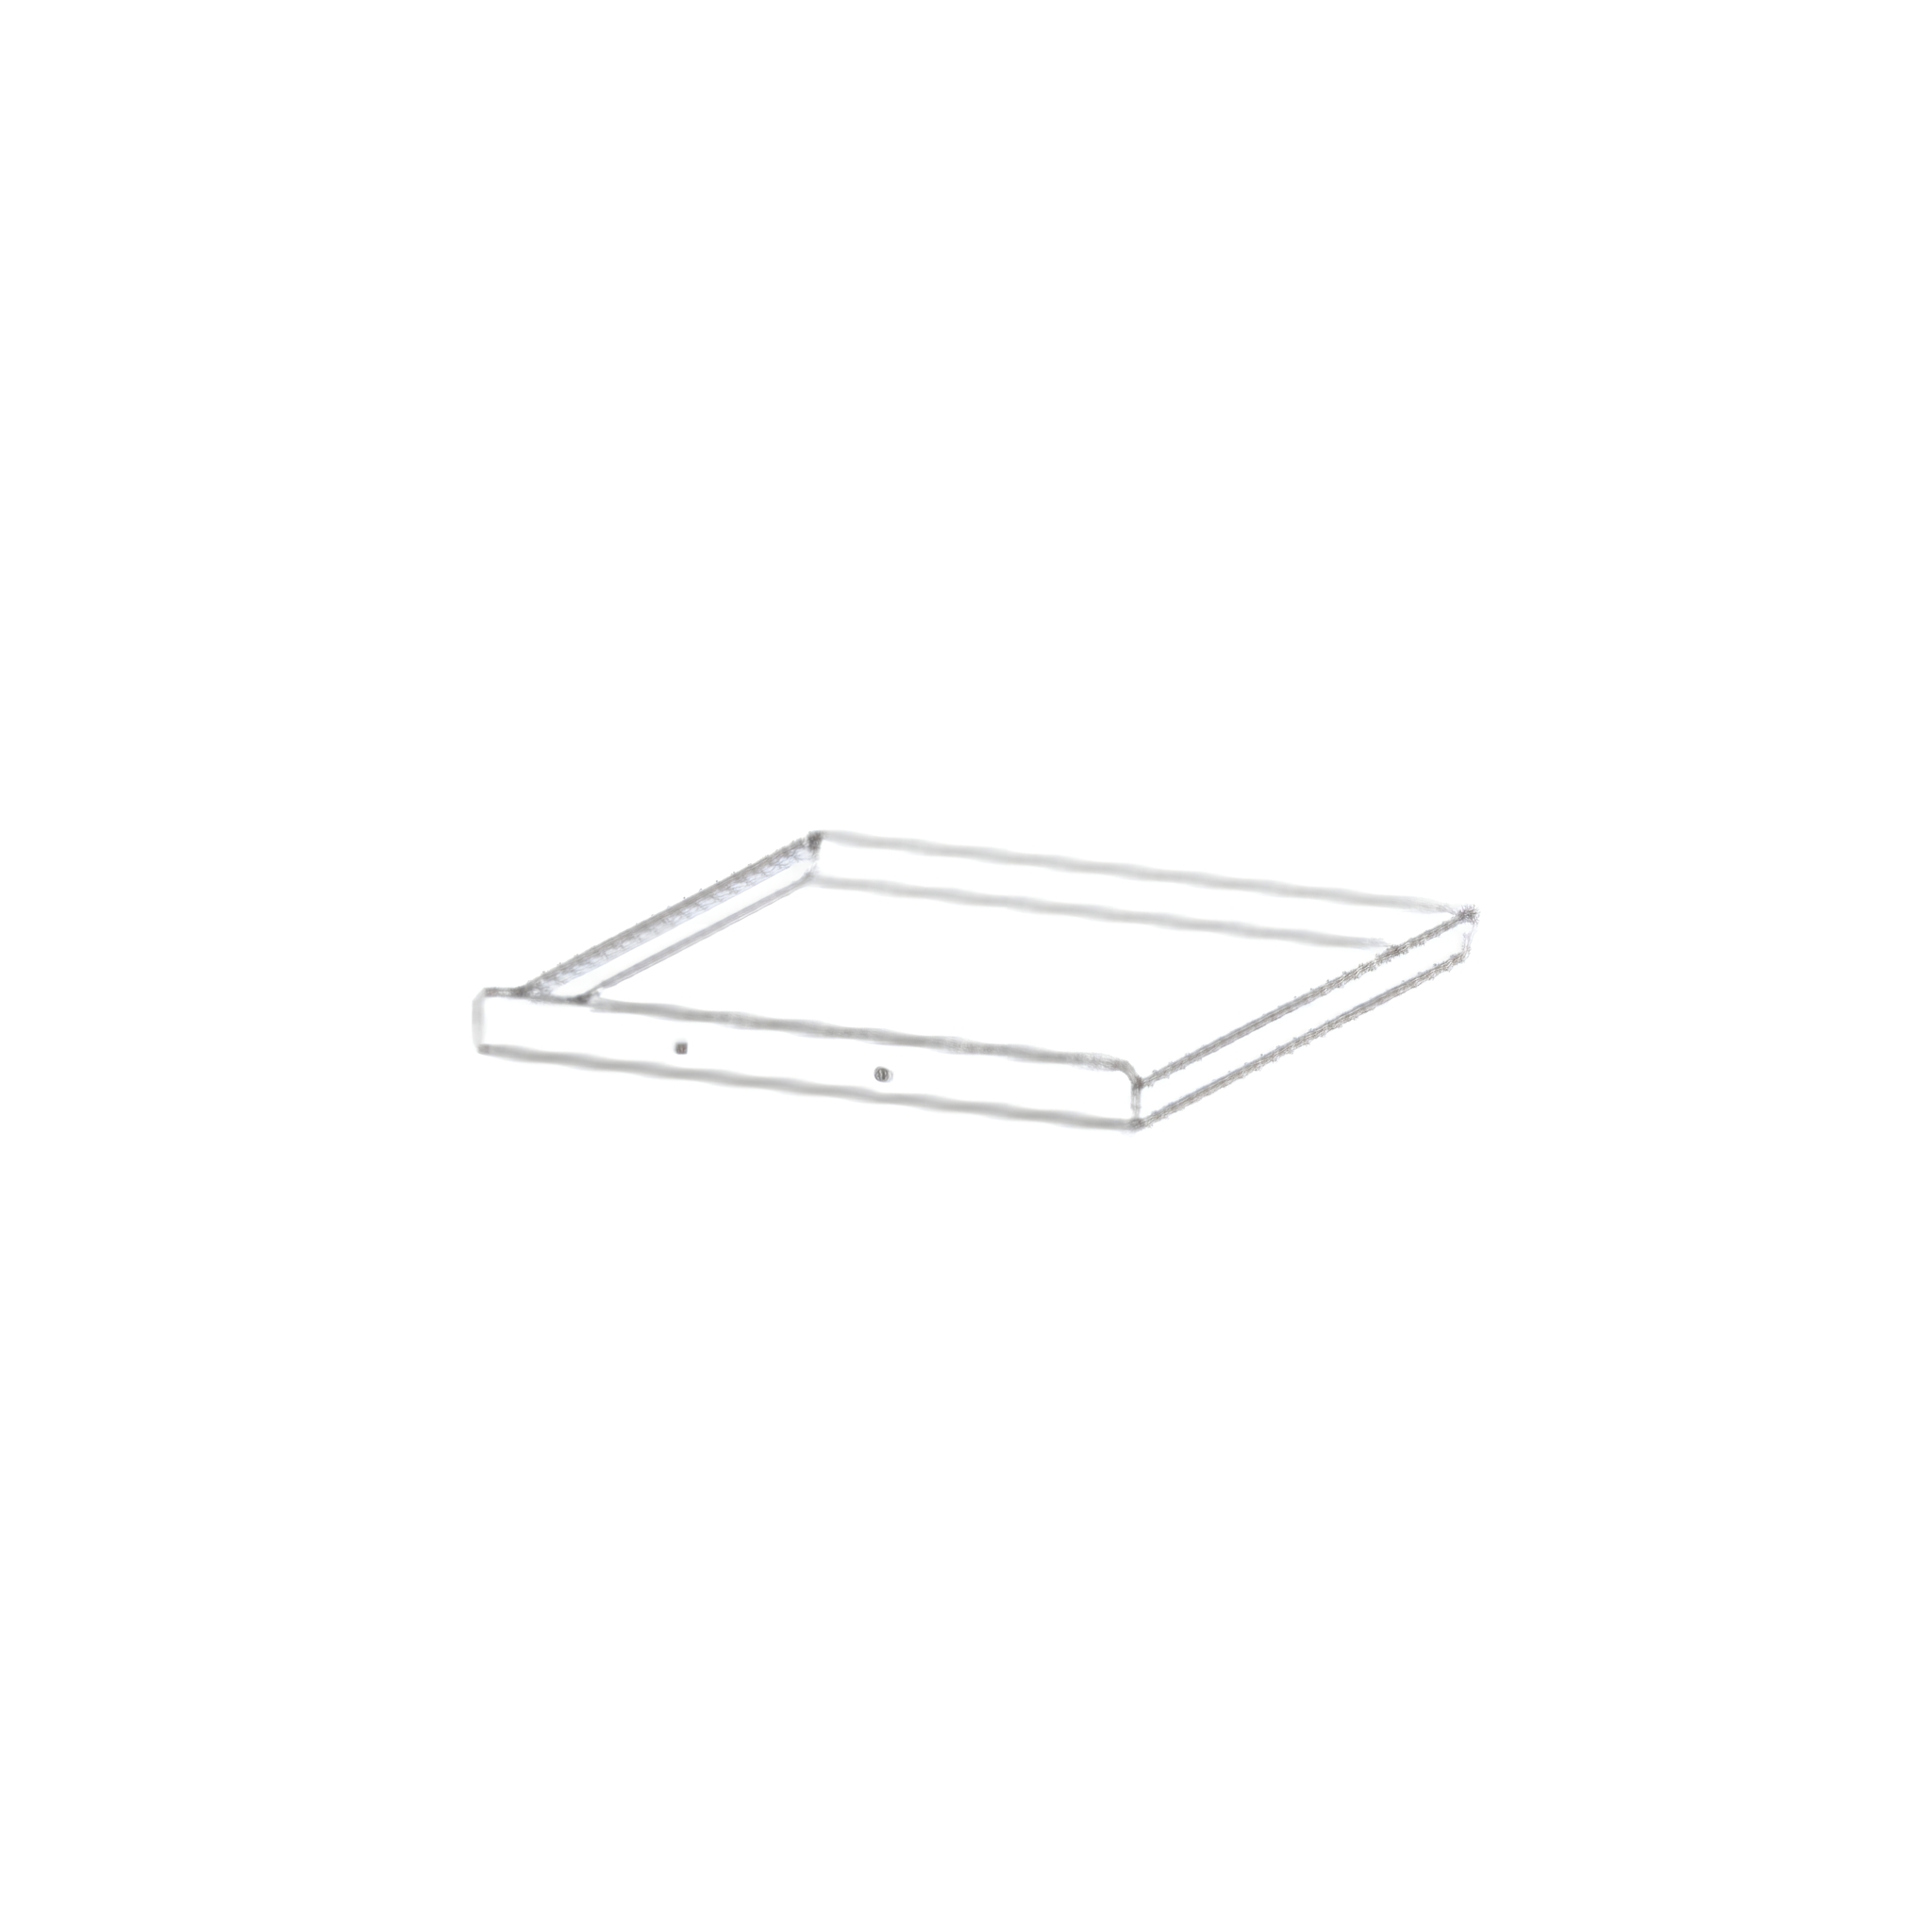
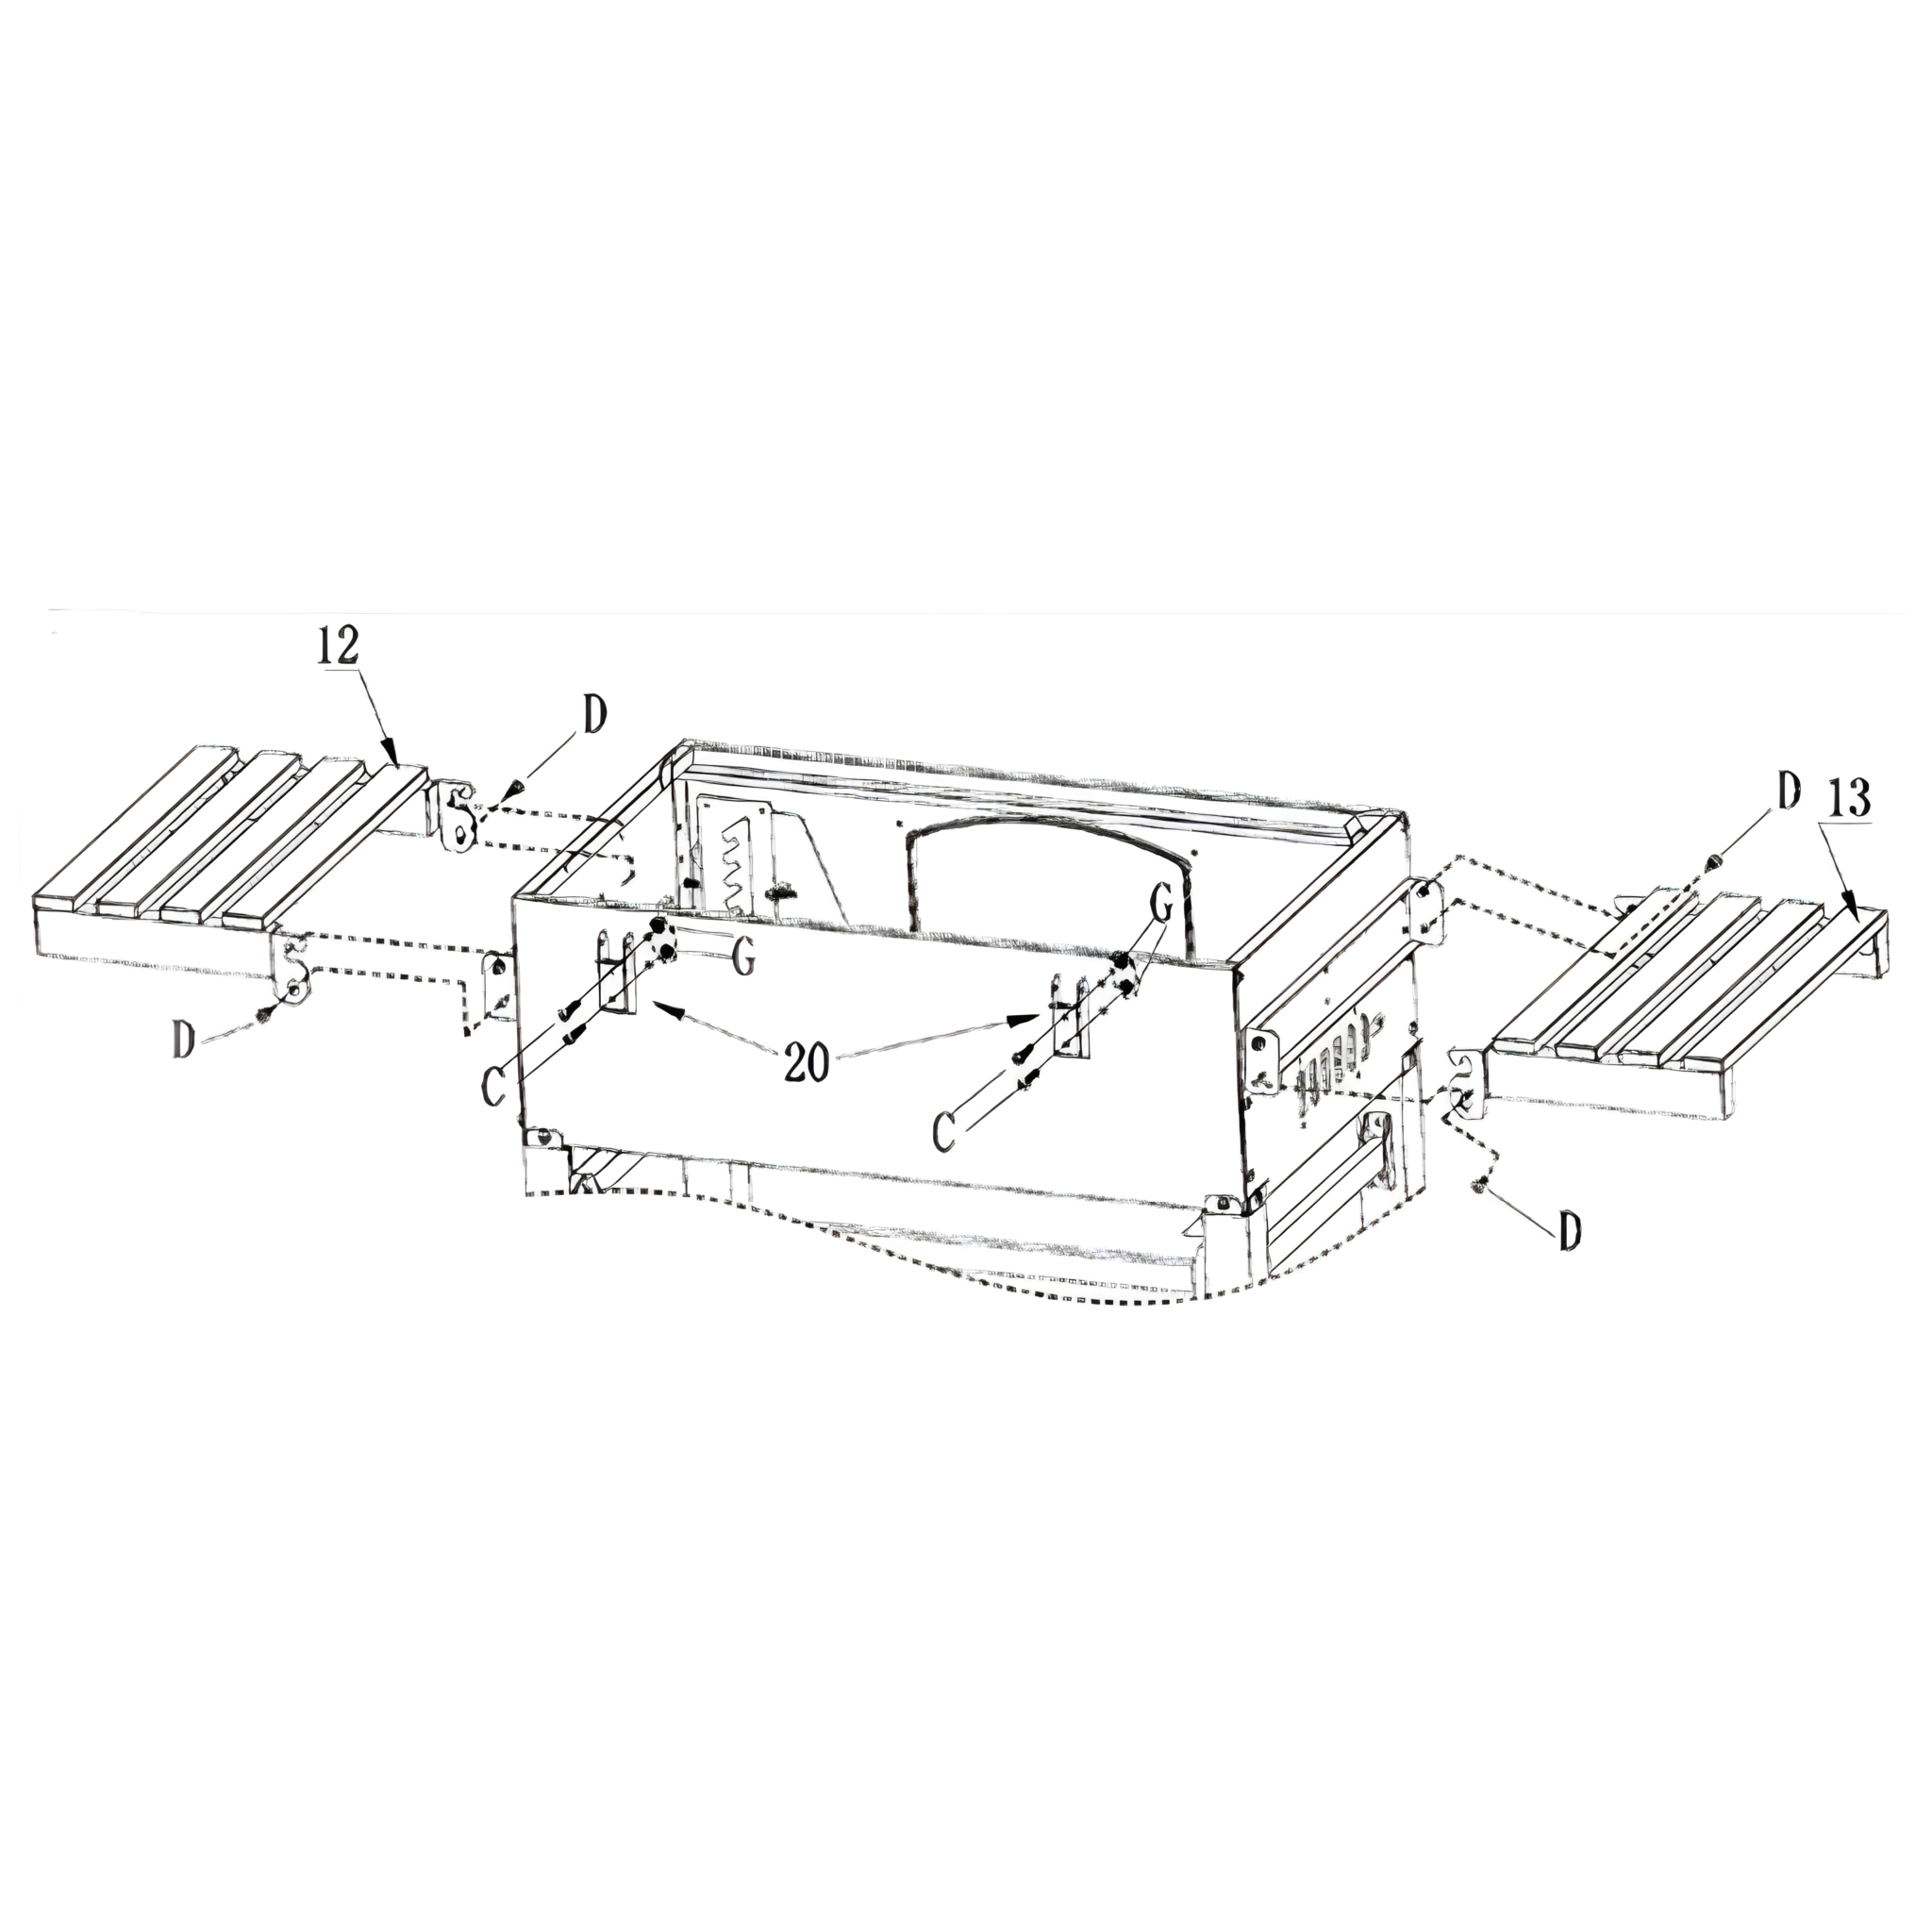
16. Attaching Side Shelves and Hinges
Drop the left side shelf (13) and right side shelf (12) onto the pre-installed screws (D) from step 6.
Secure both side shelves to the side panels with 4x M6 18mm screws (D).
Attach the lower hinges (20) to the rear panel using 4x M6 35mm screws (C) and secure them with 4x M6 flange nuts (G).
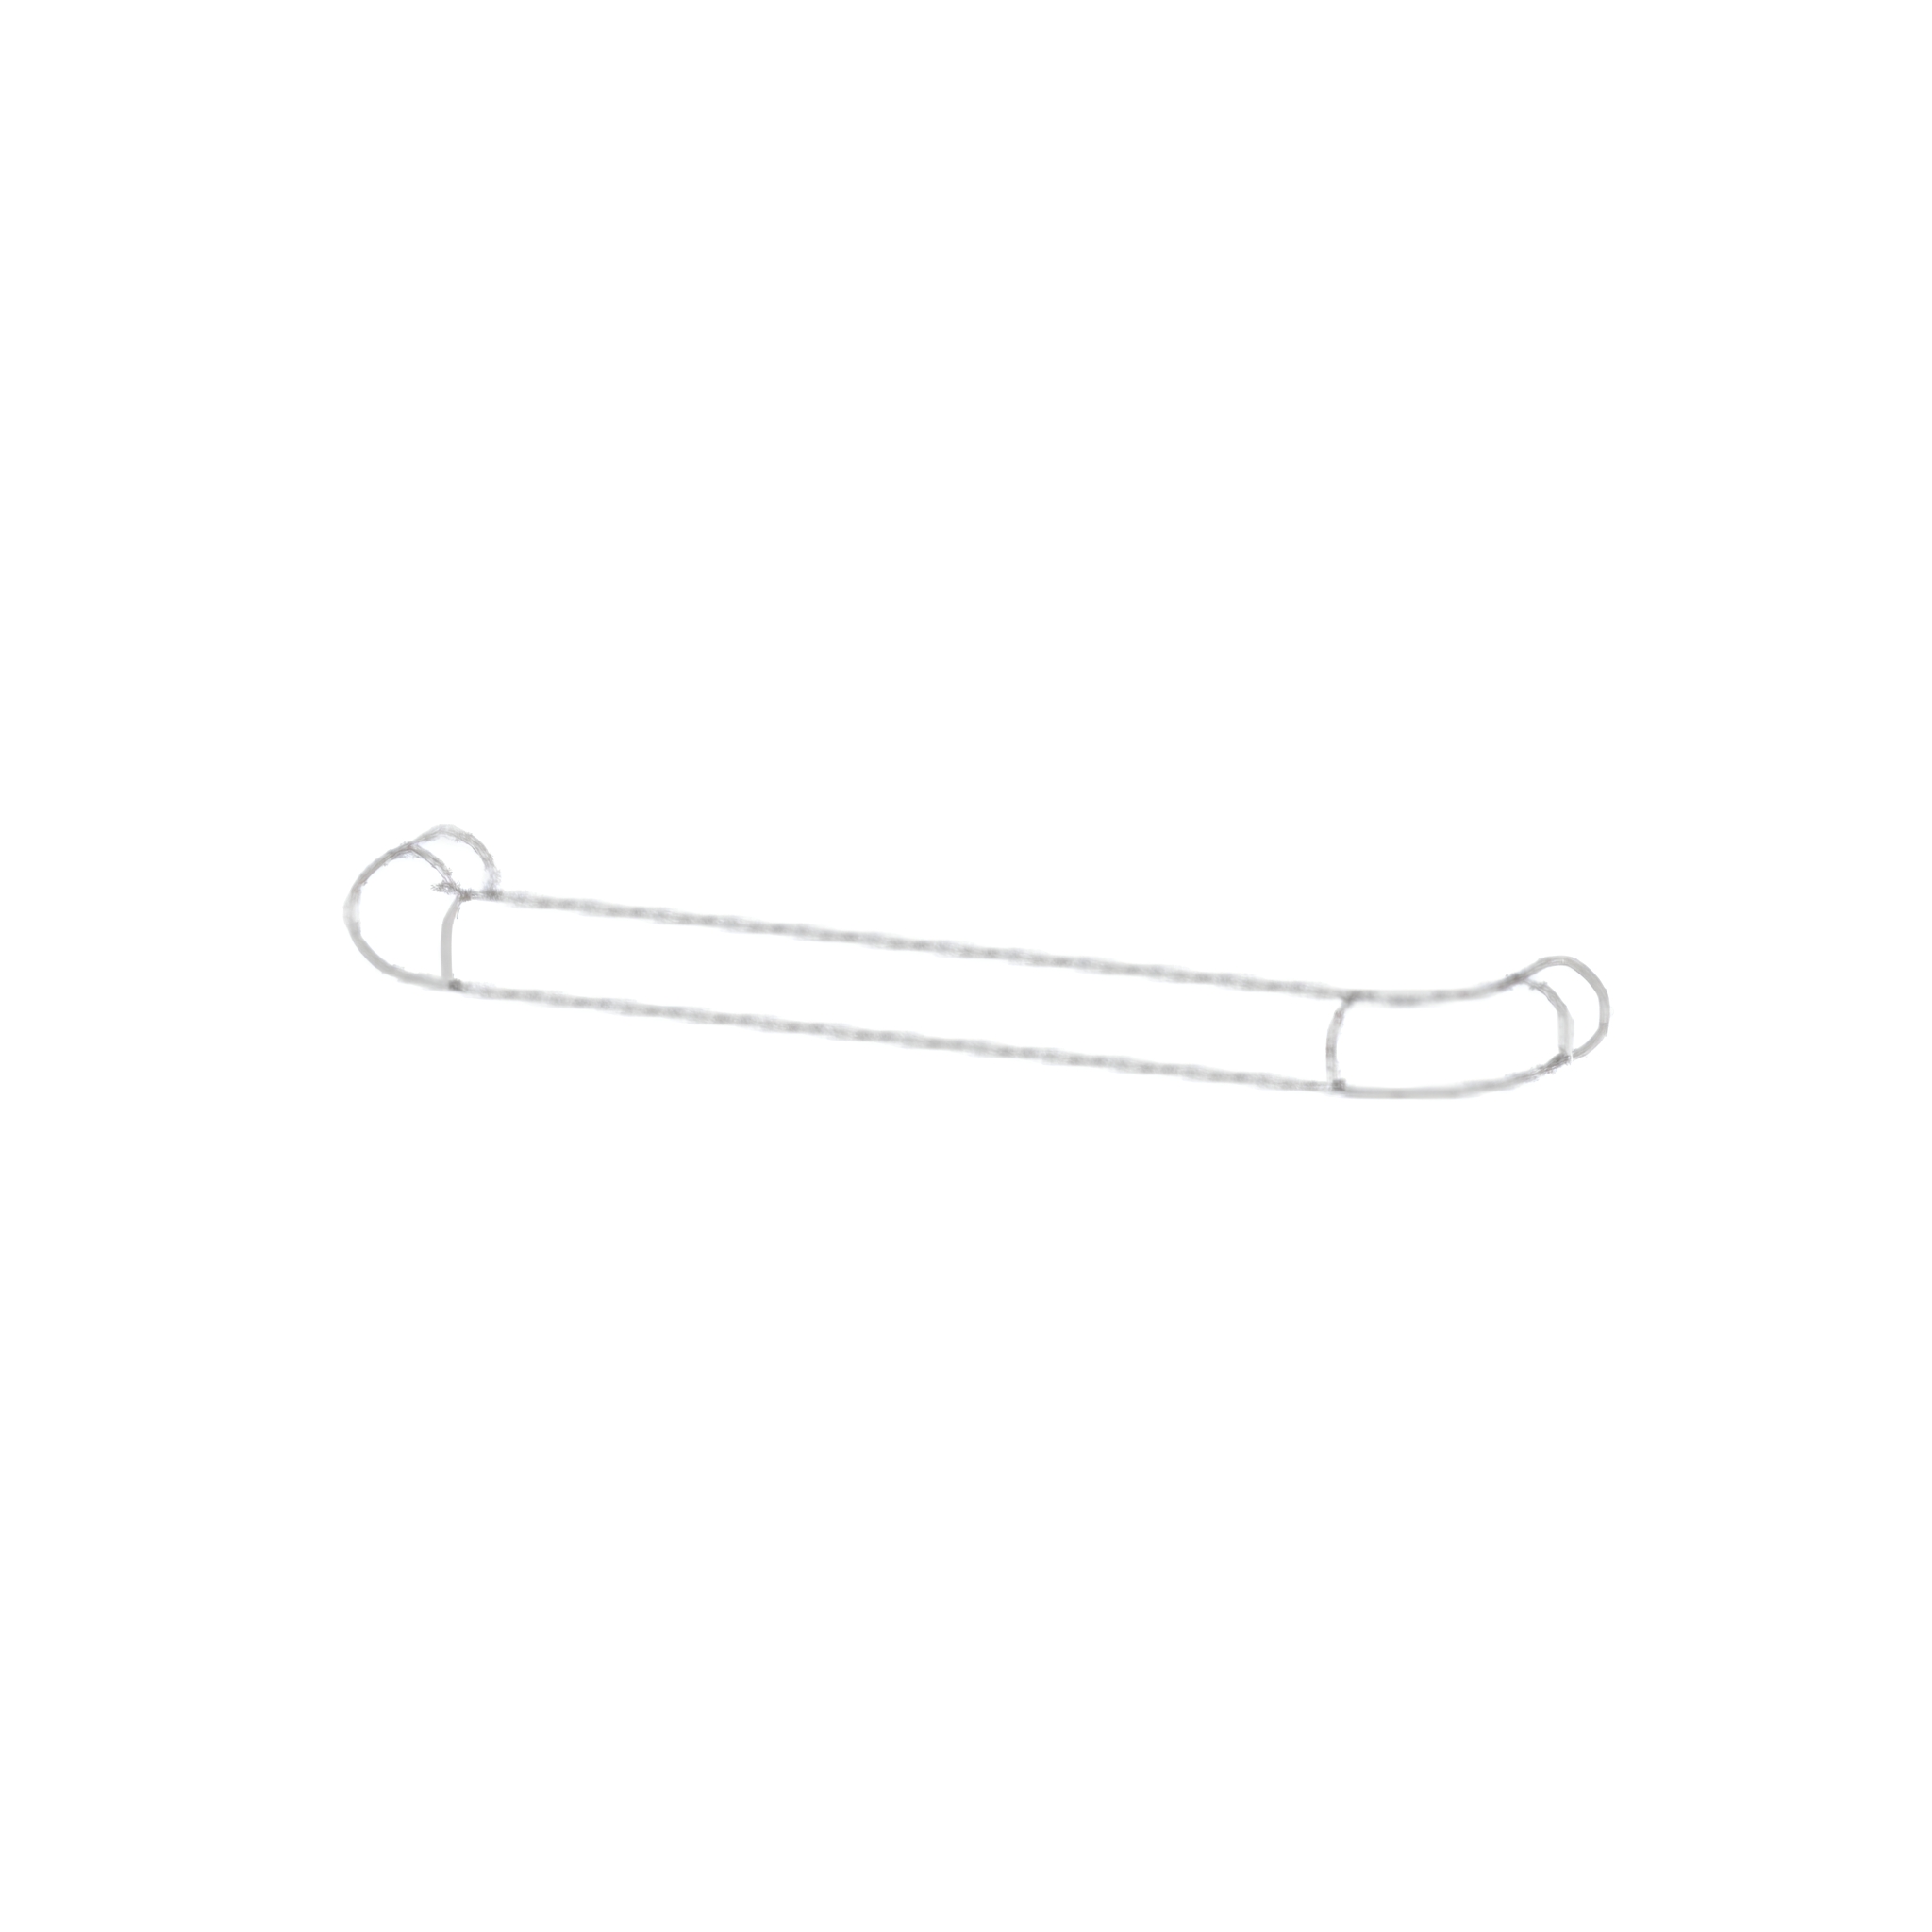
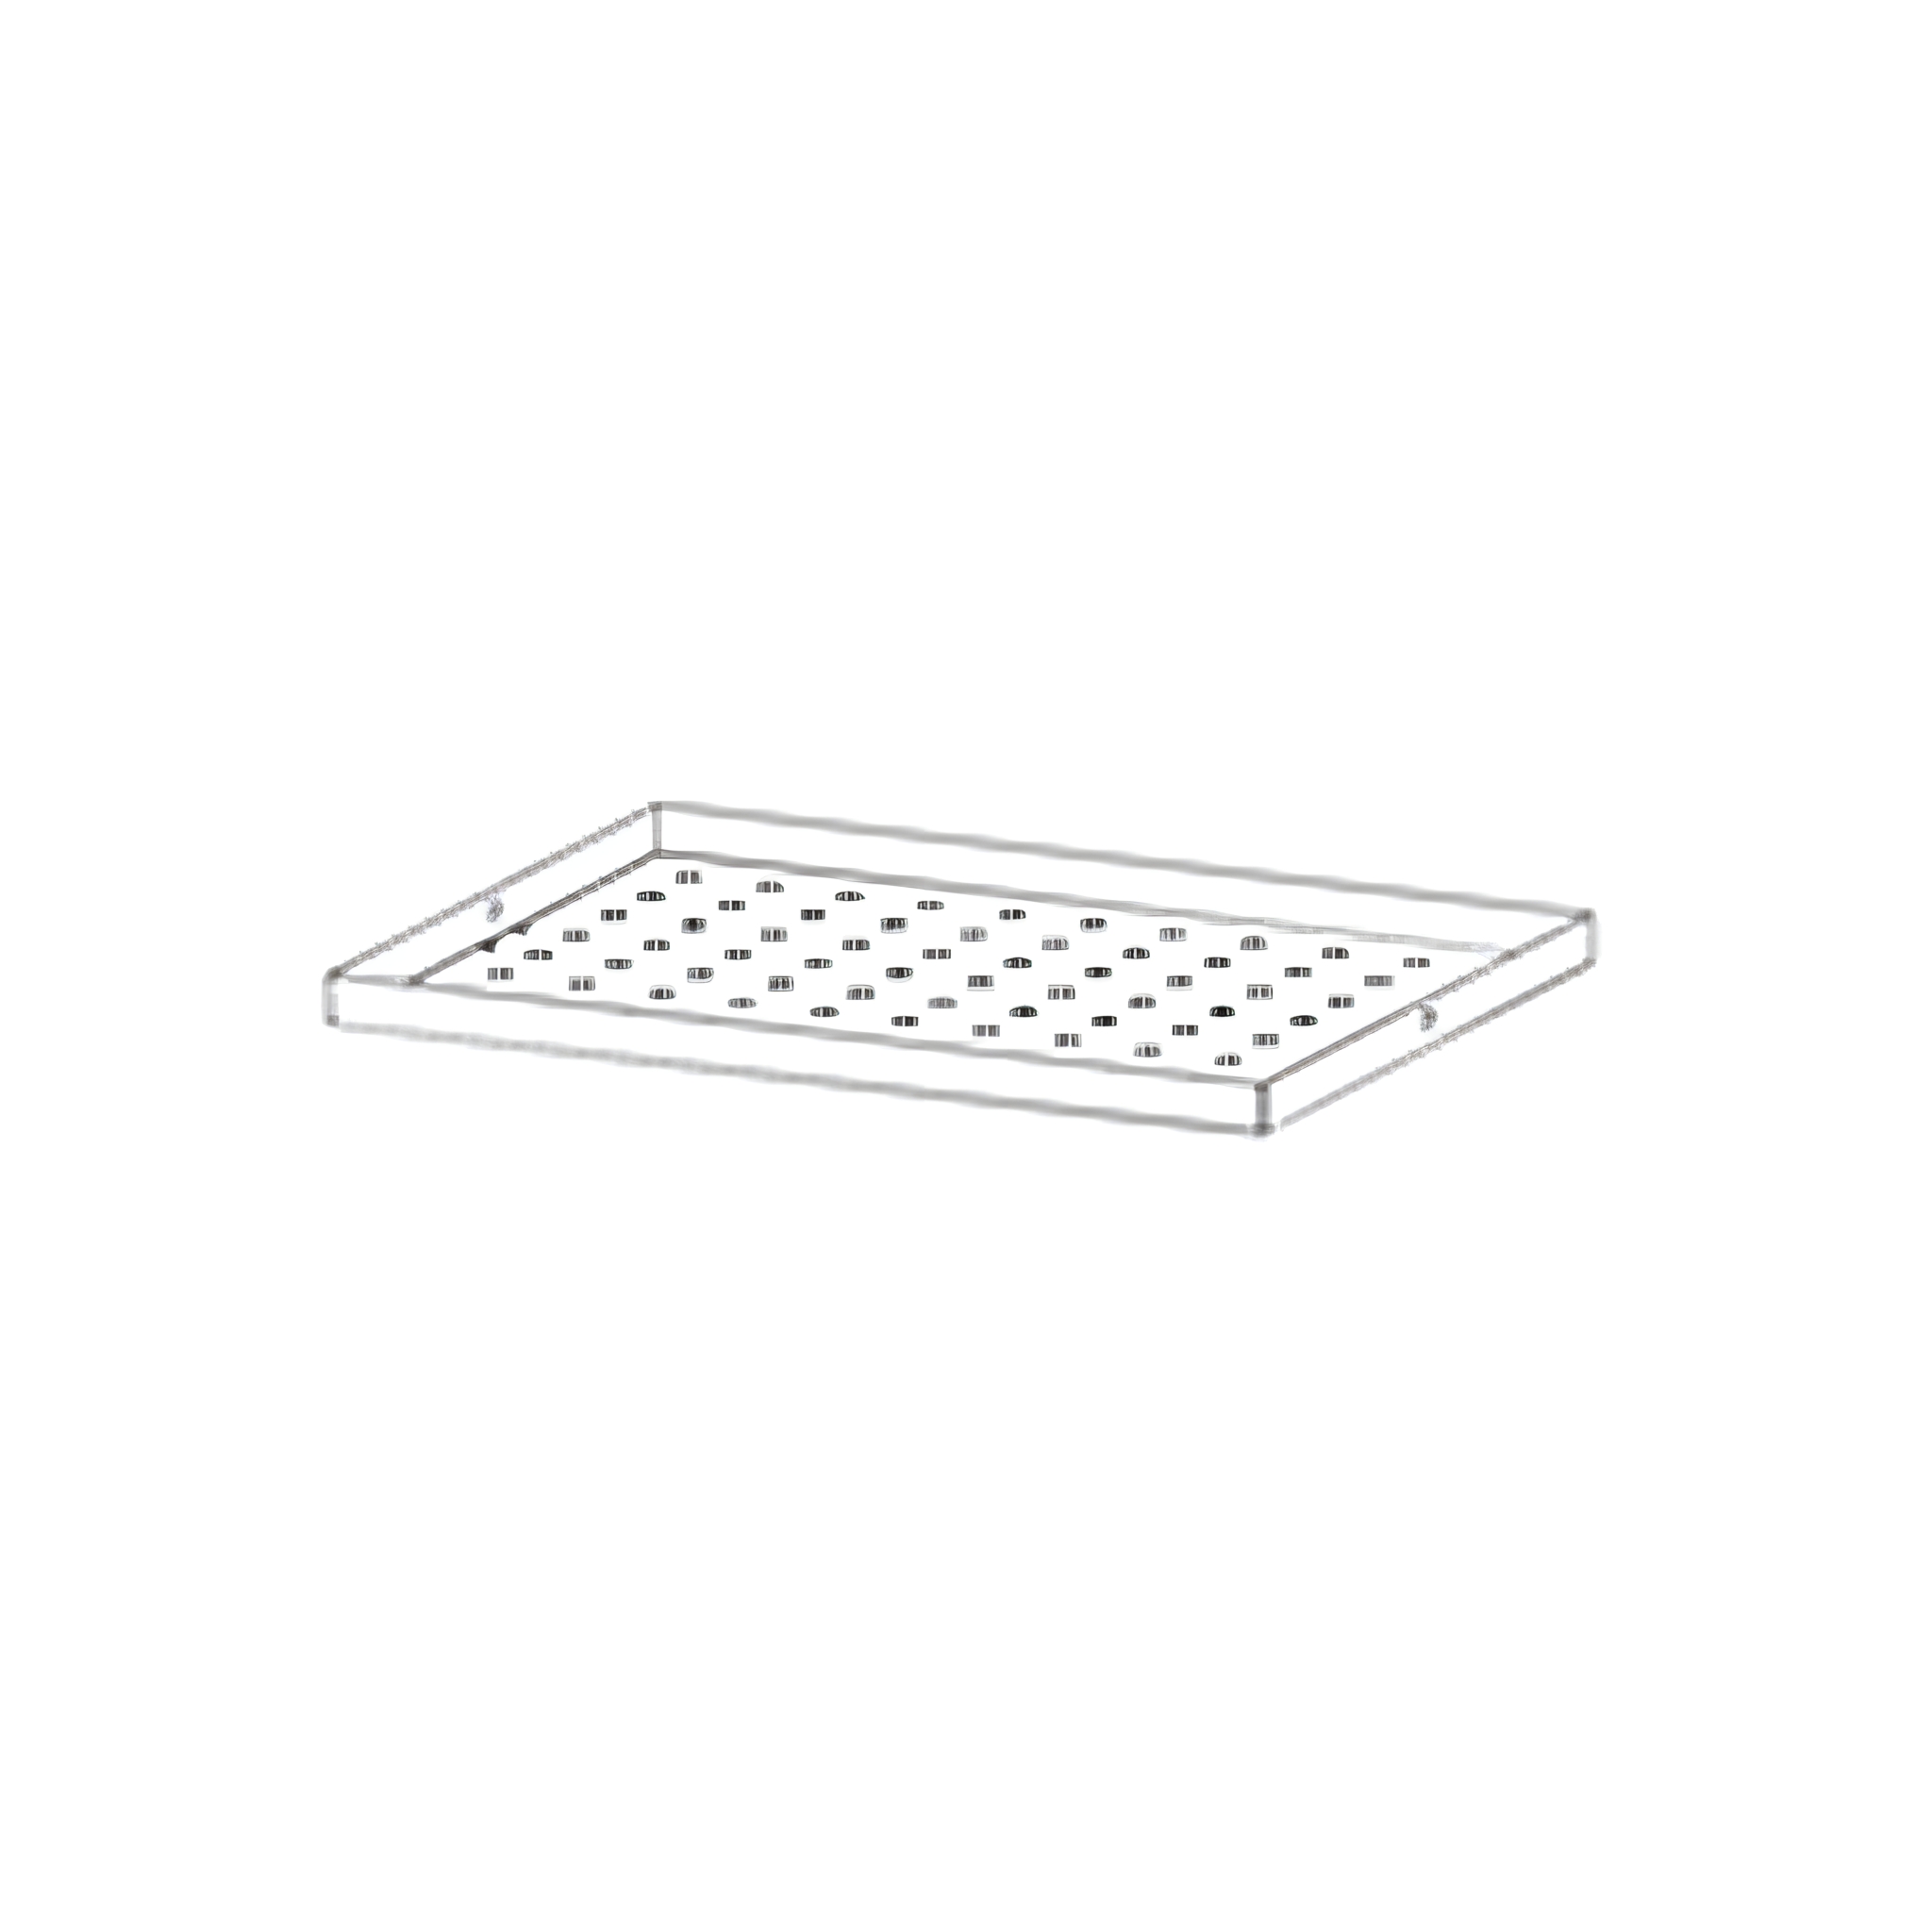
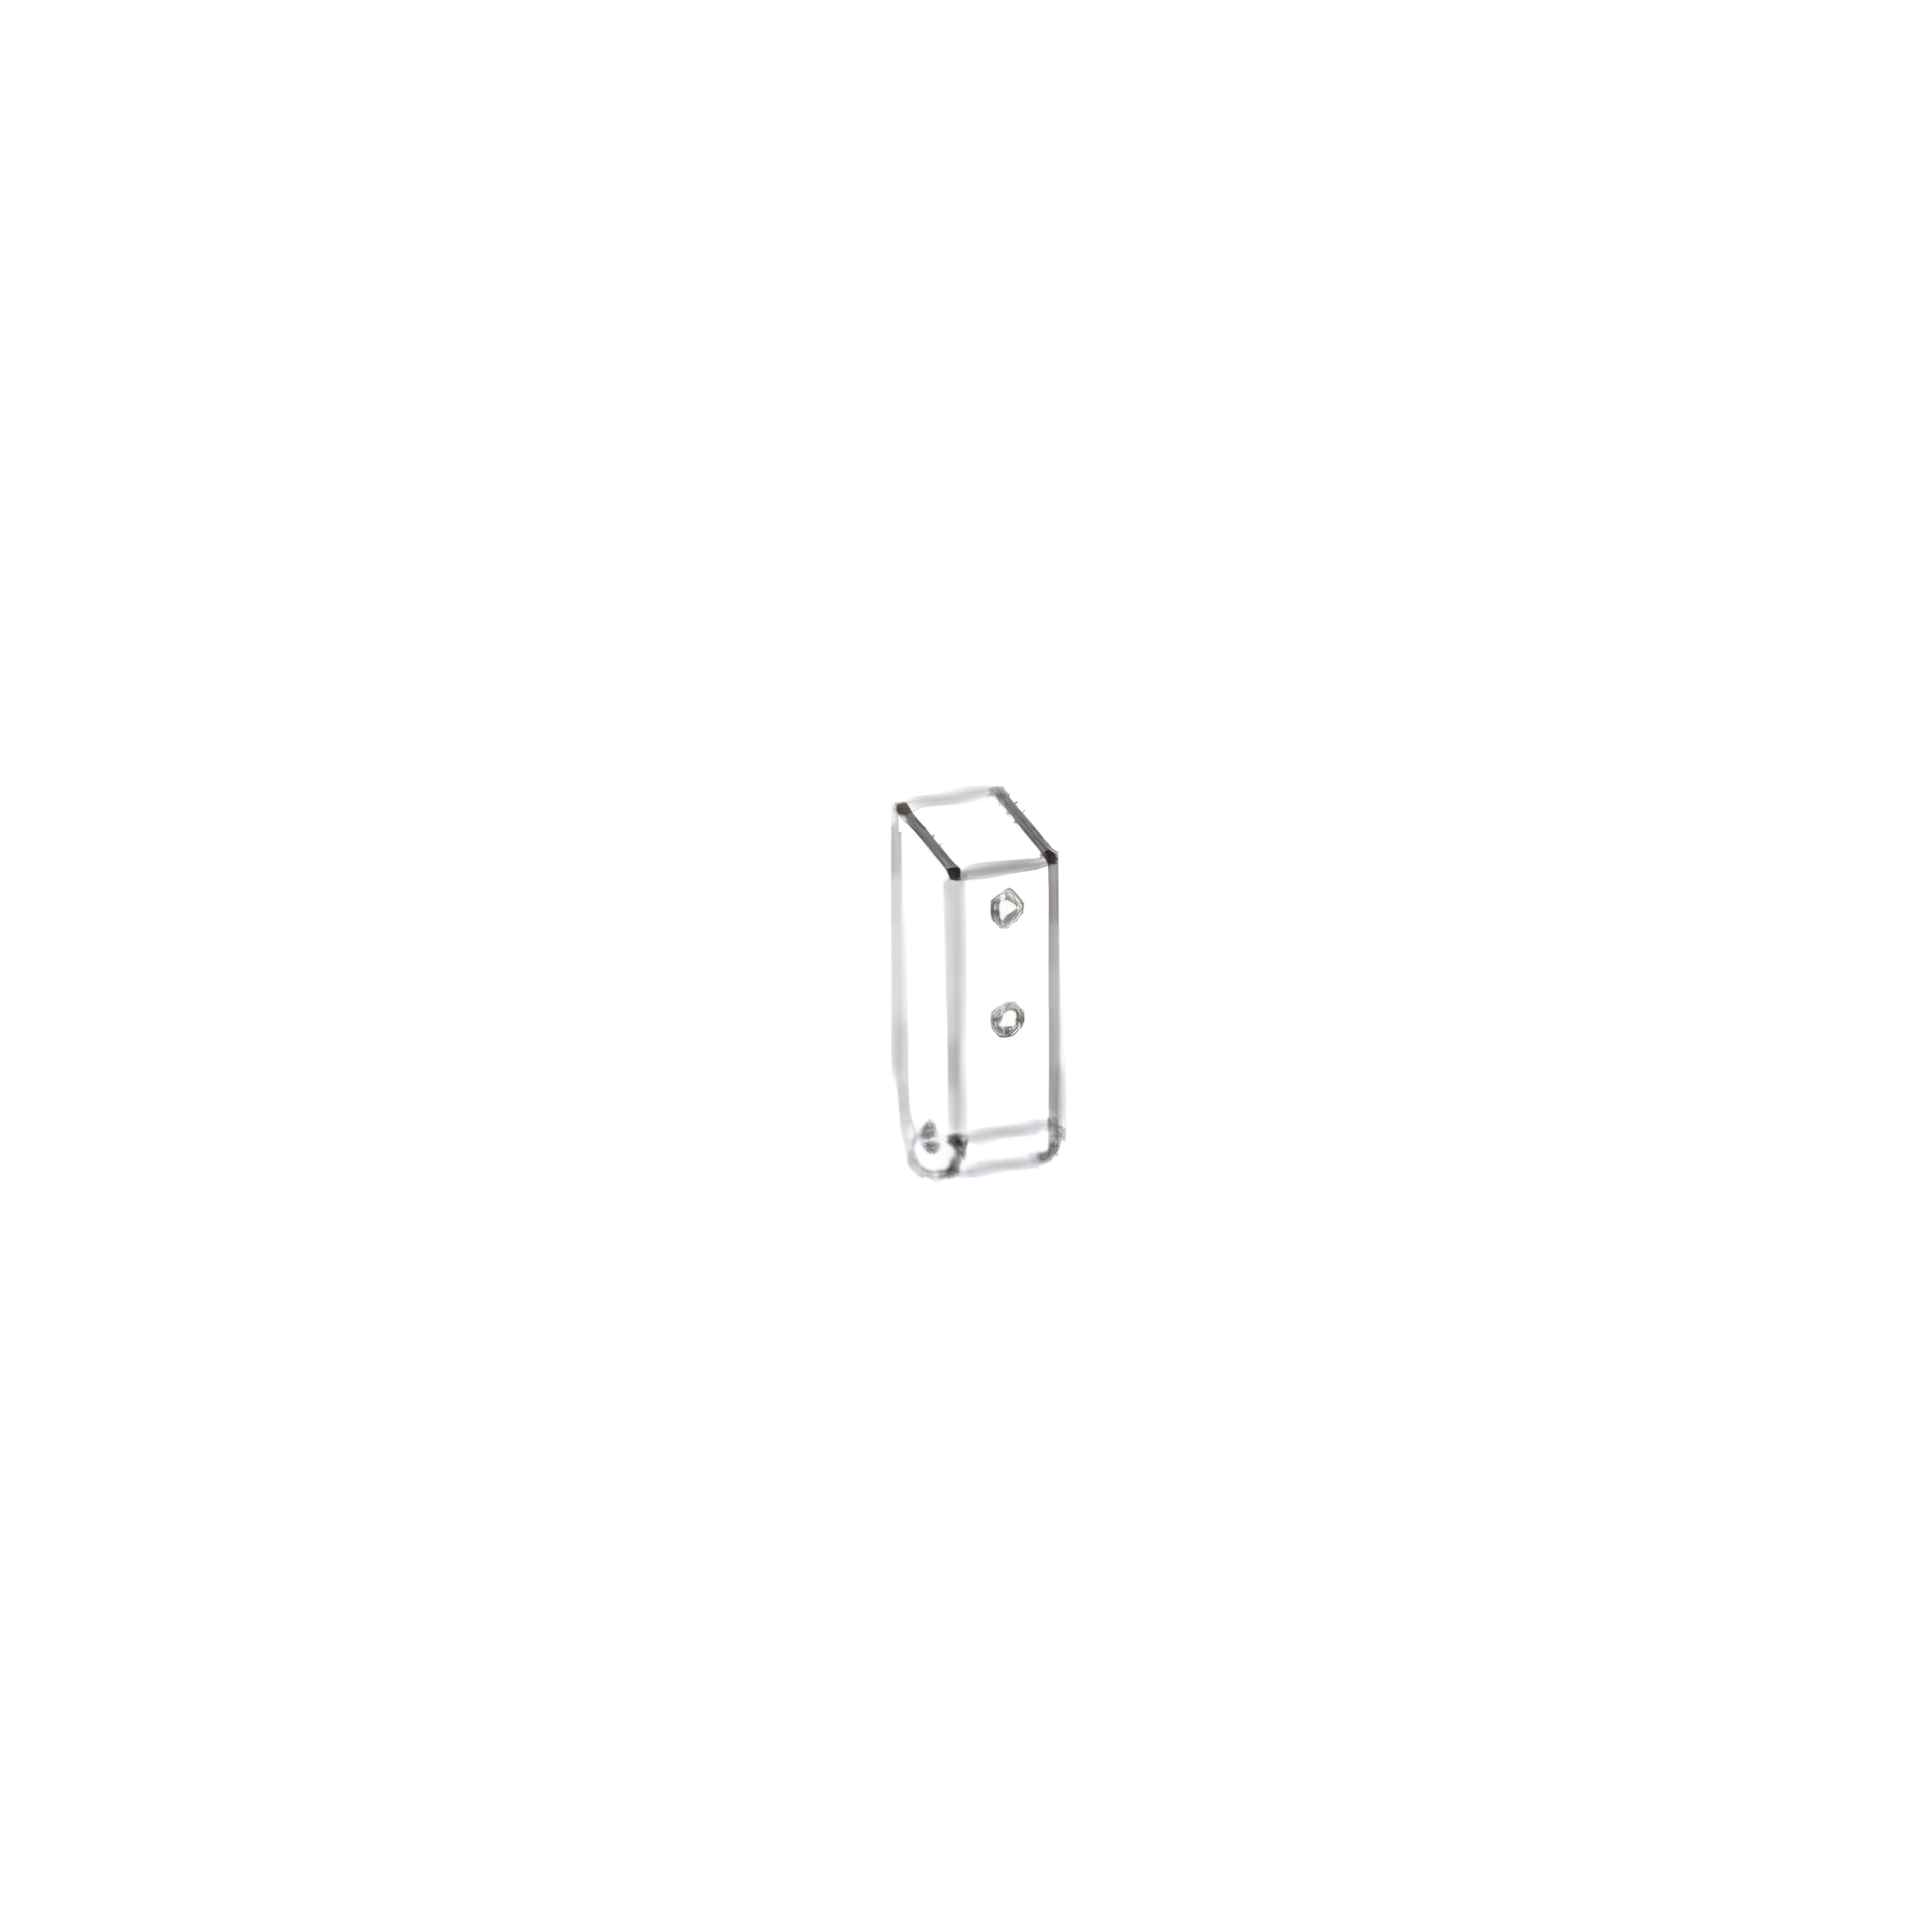
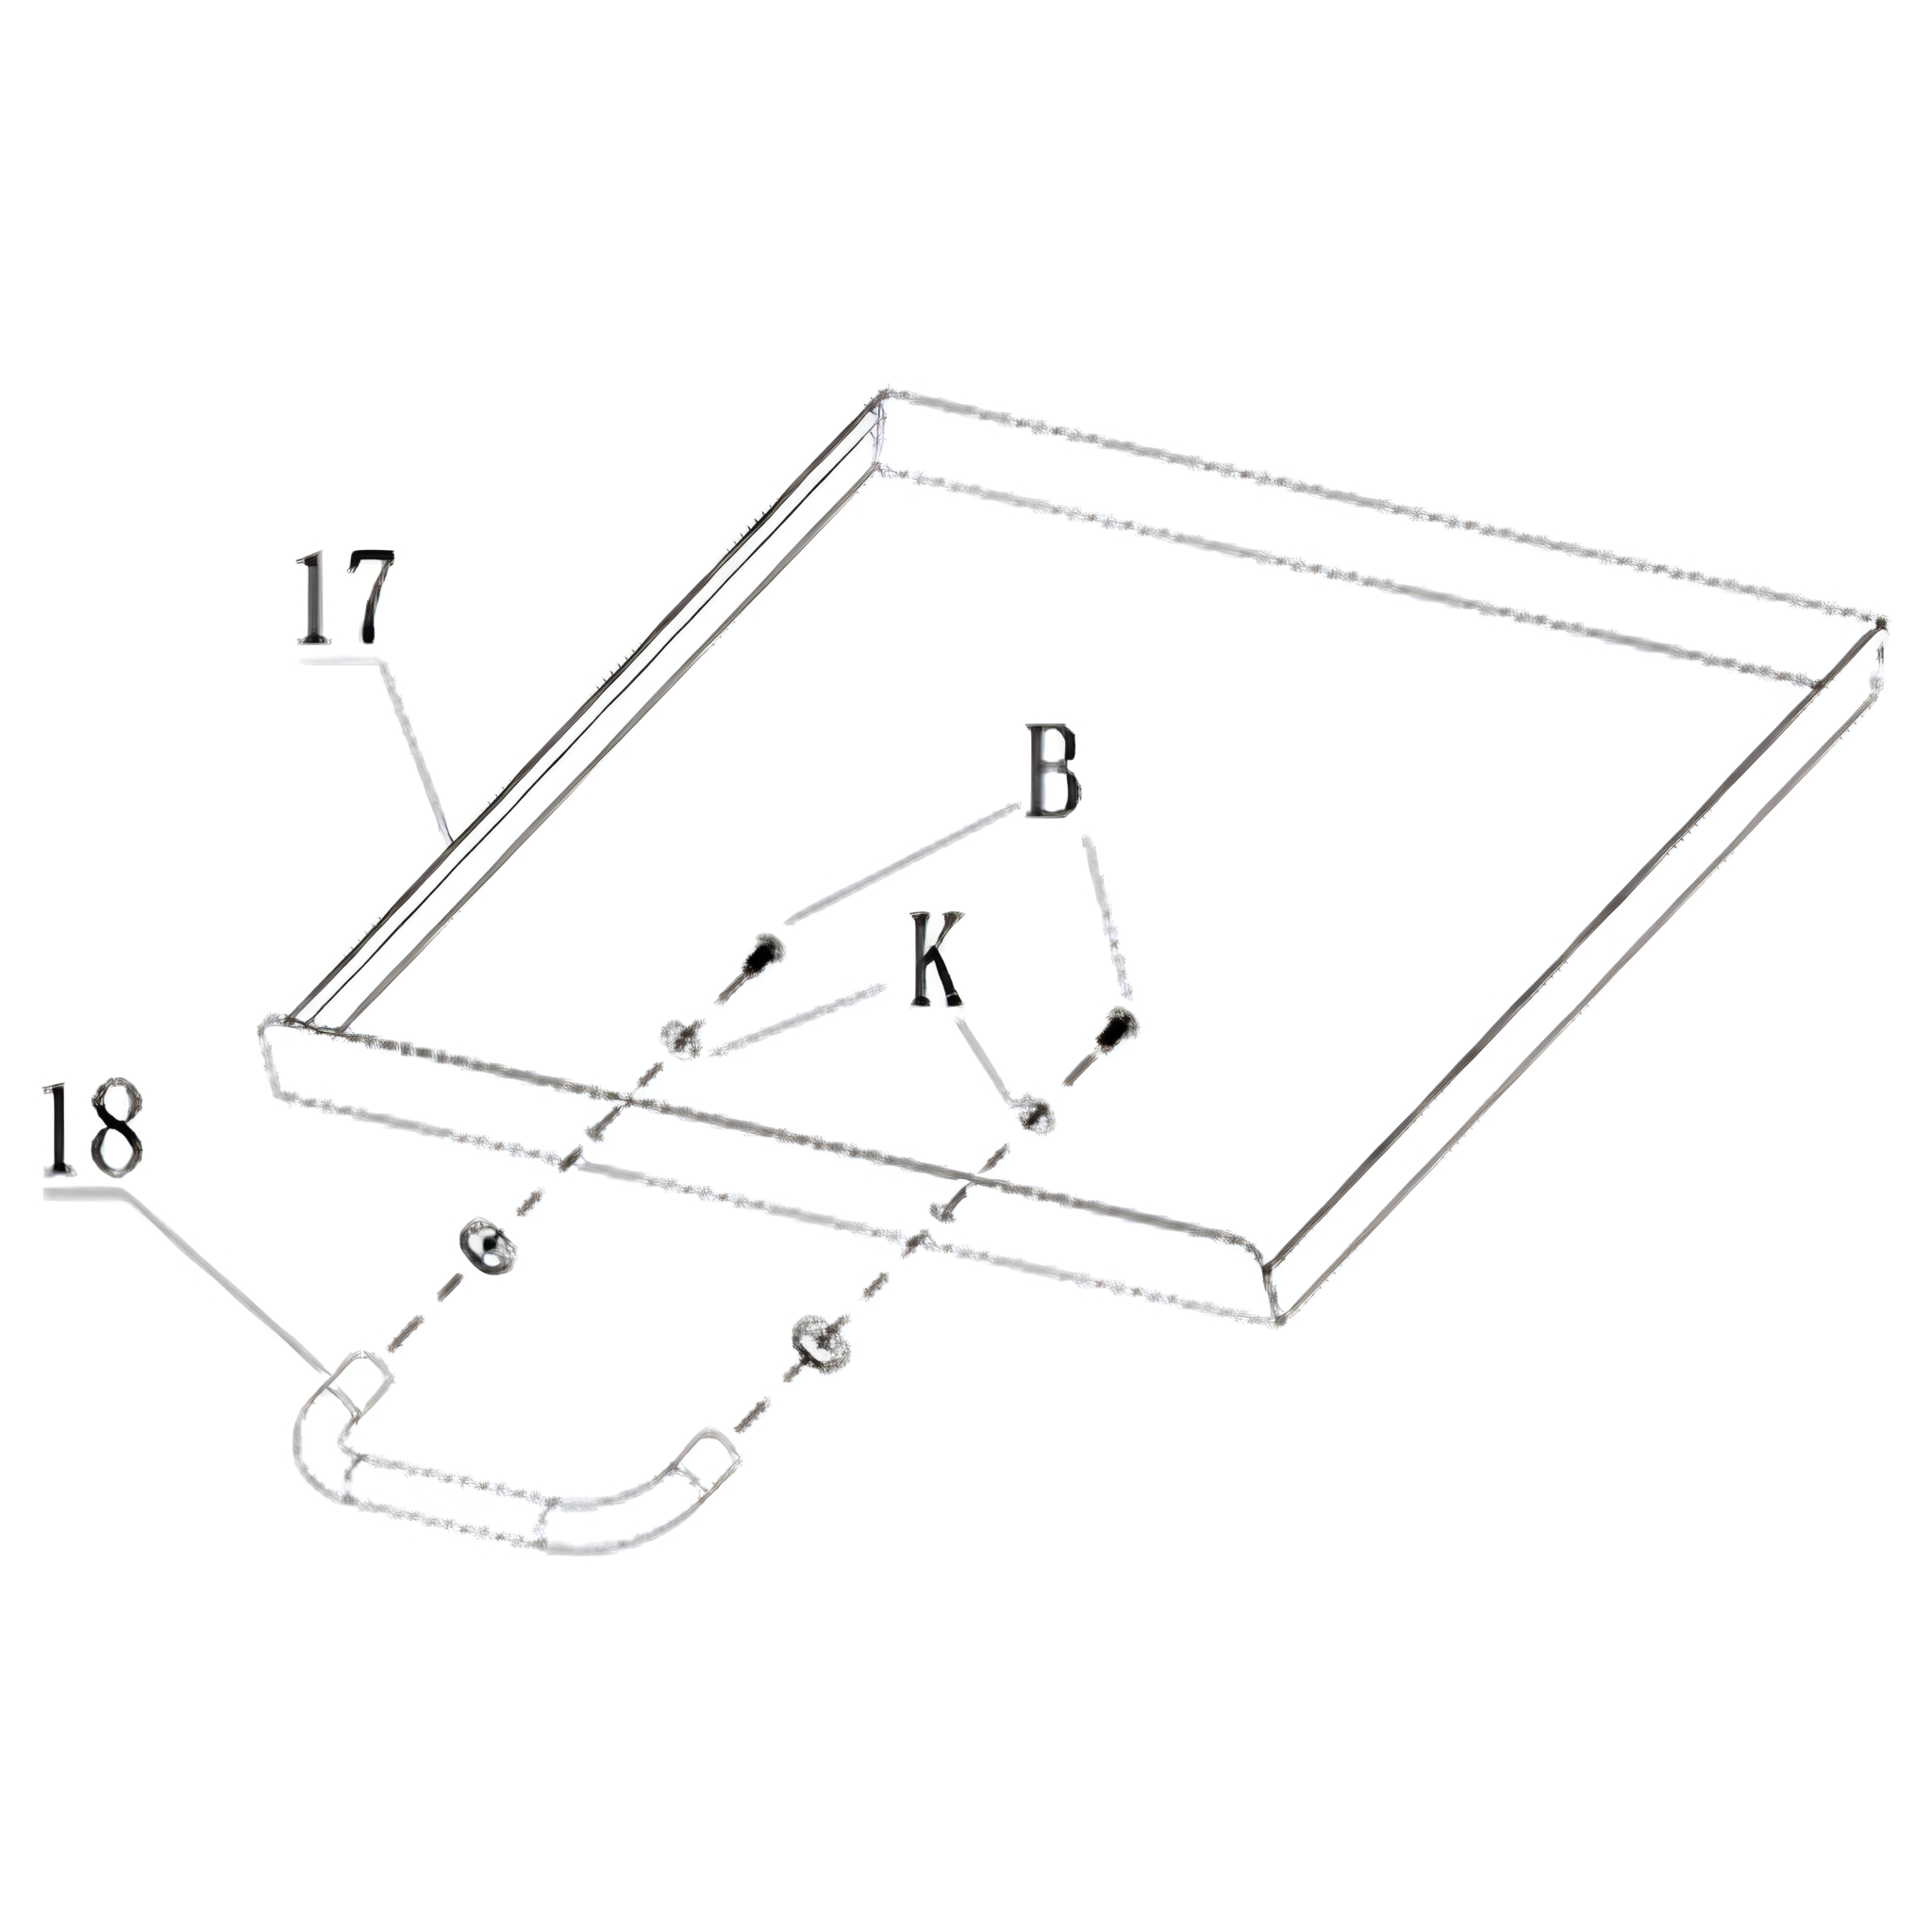
17. Attaching Ash Handle and Flange
Attach the ash handle (18) and the ash handle flange to the ash pan (17) by using 2x M6 flat gaskets (K) and 2x M6 20mm screws (B).
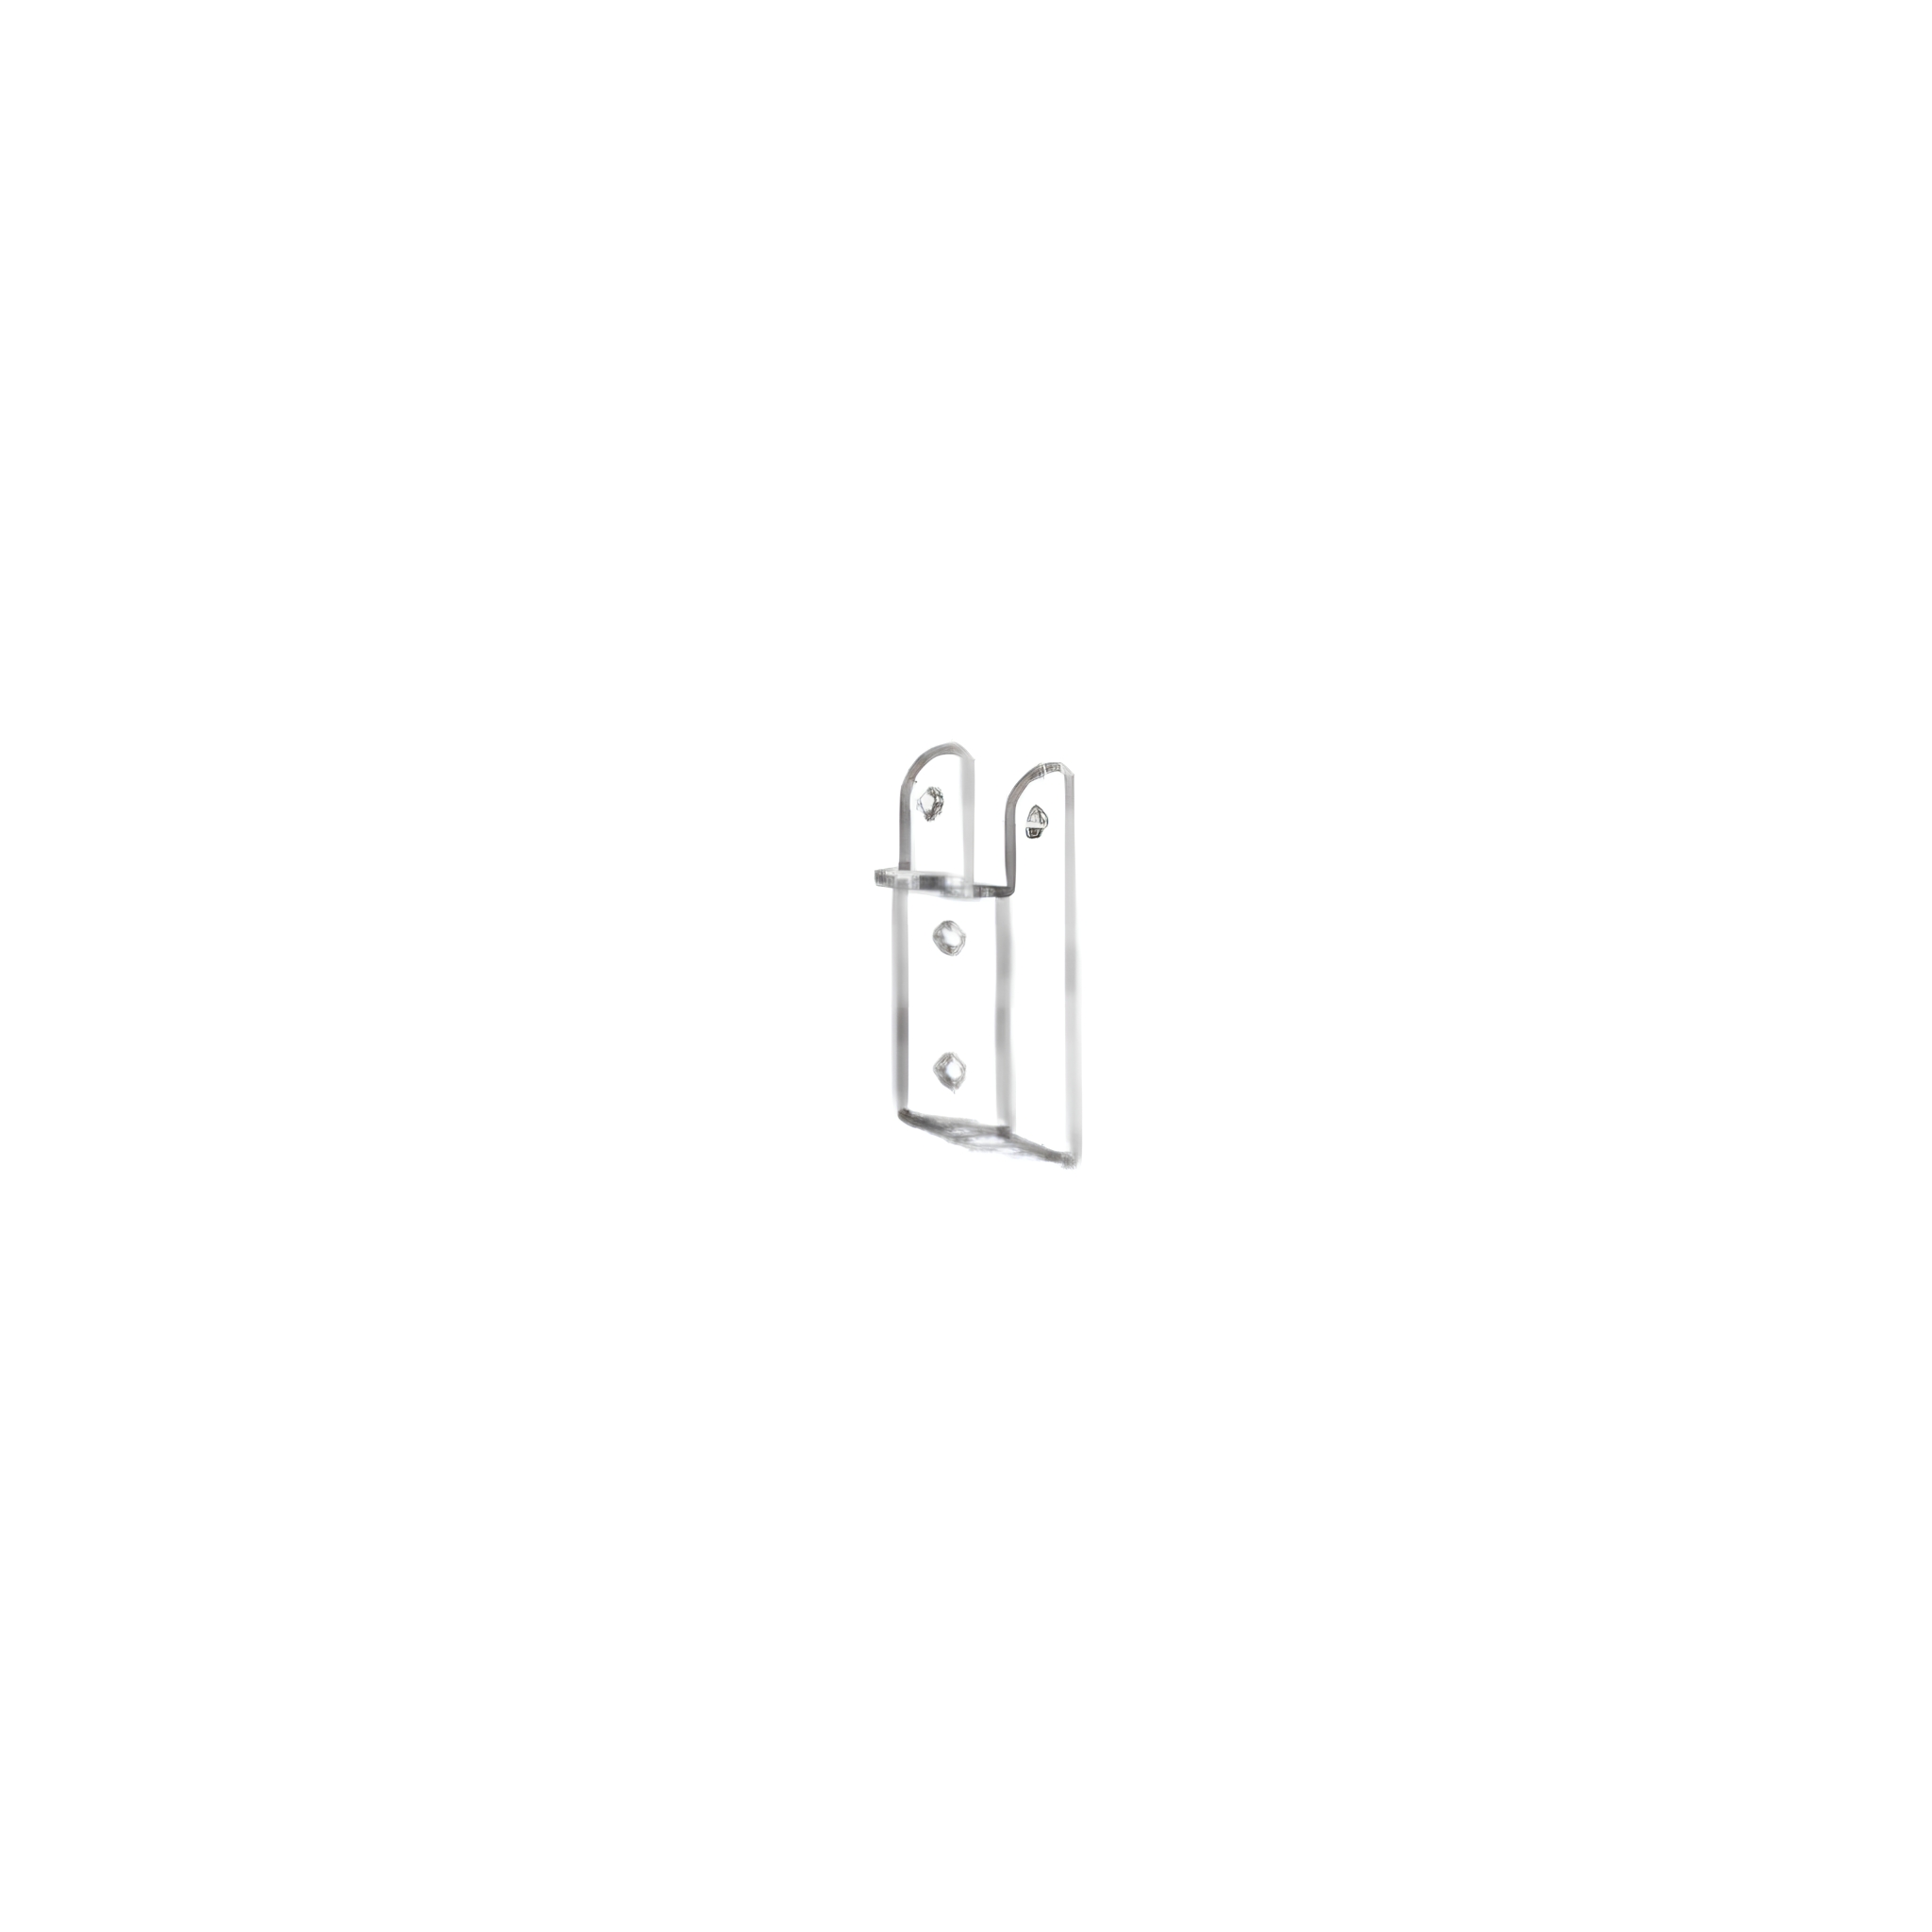
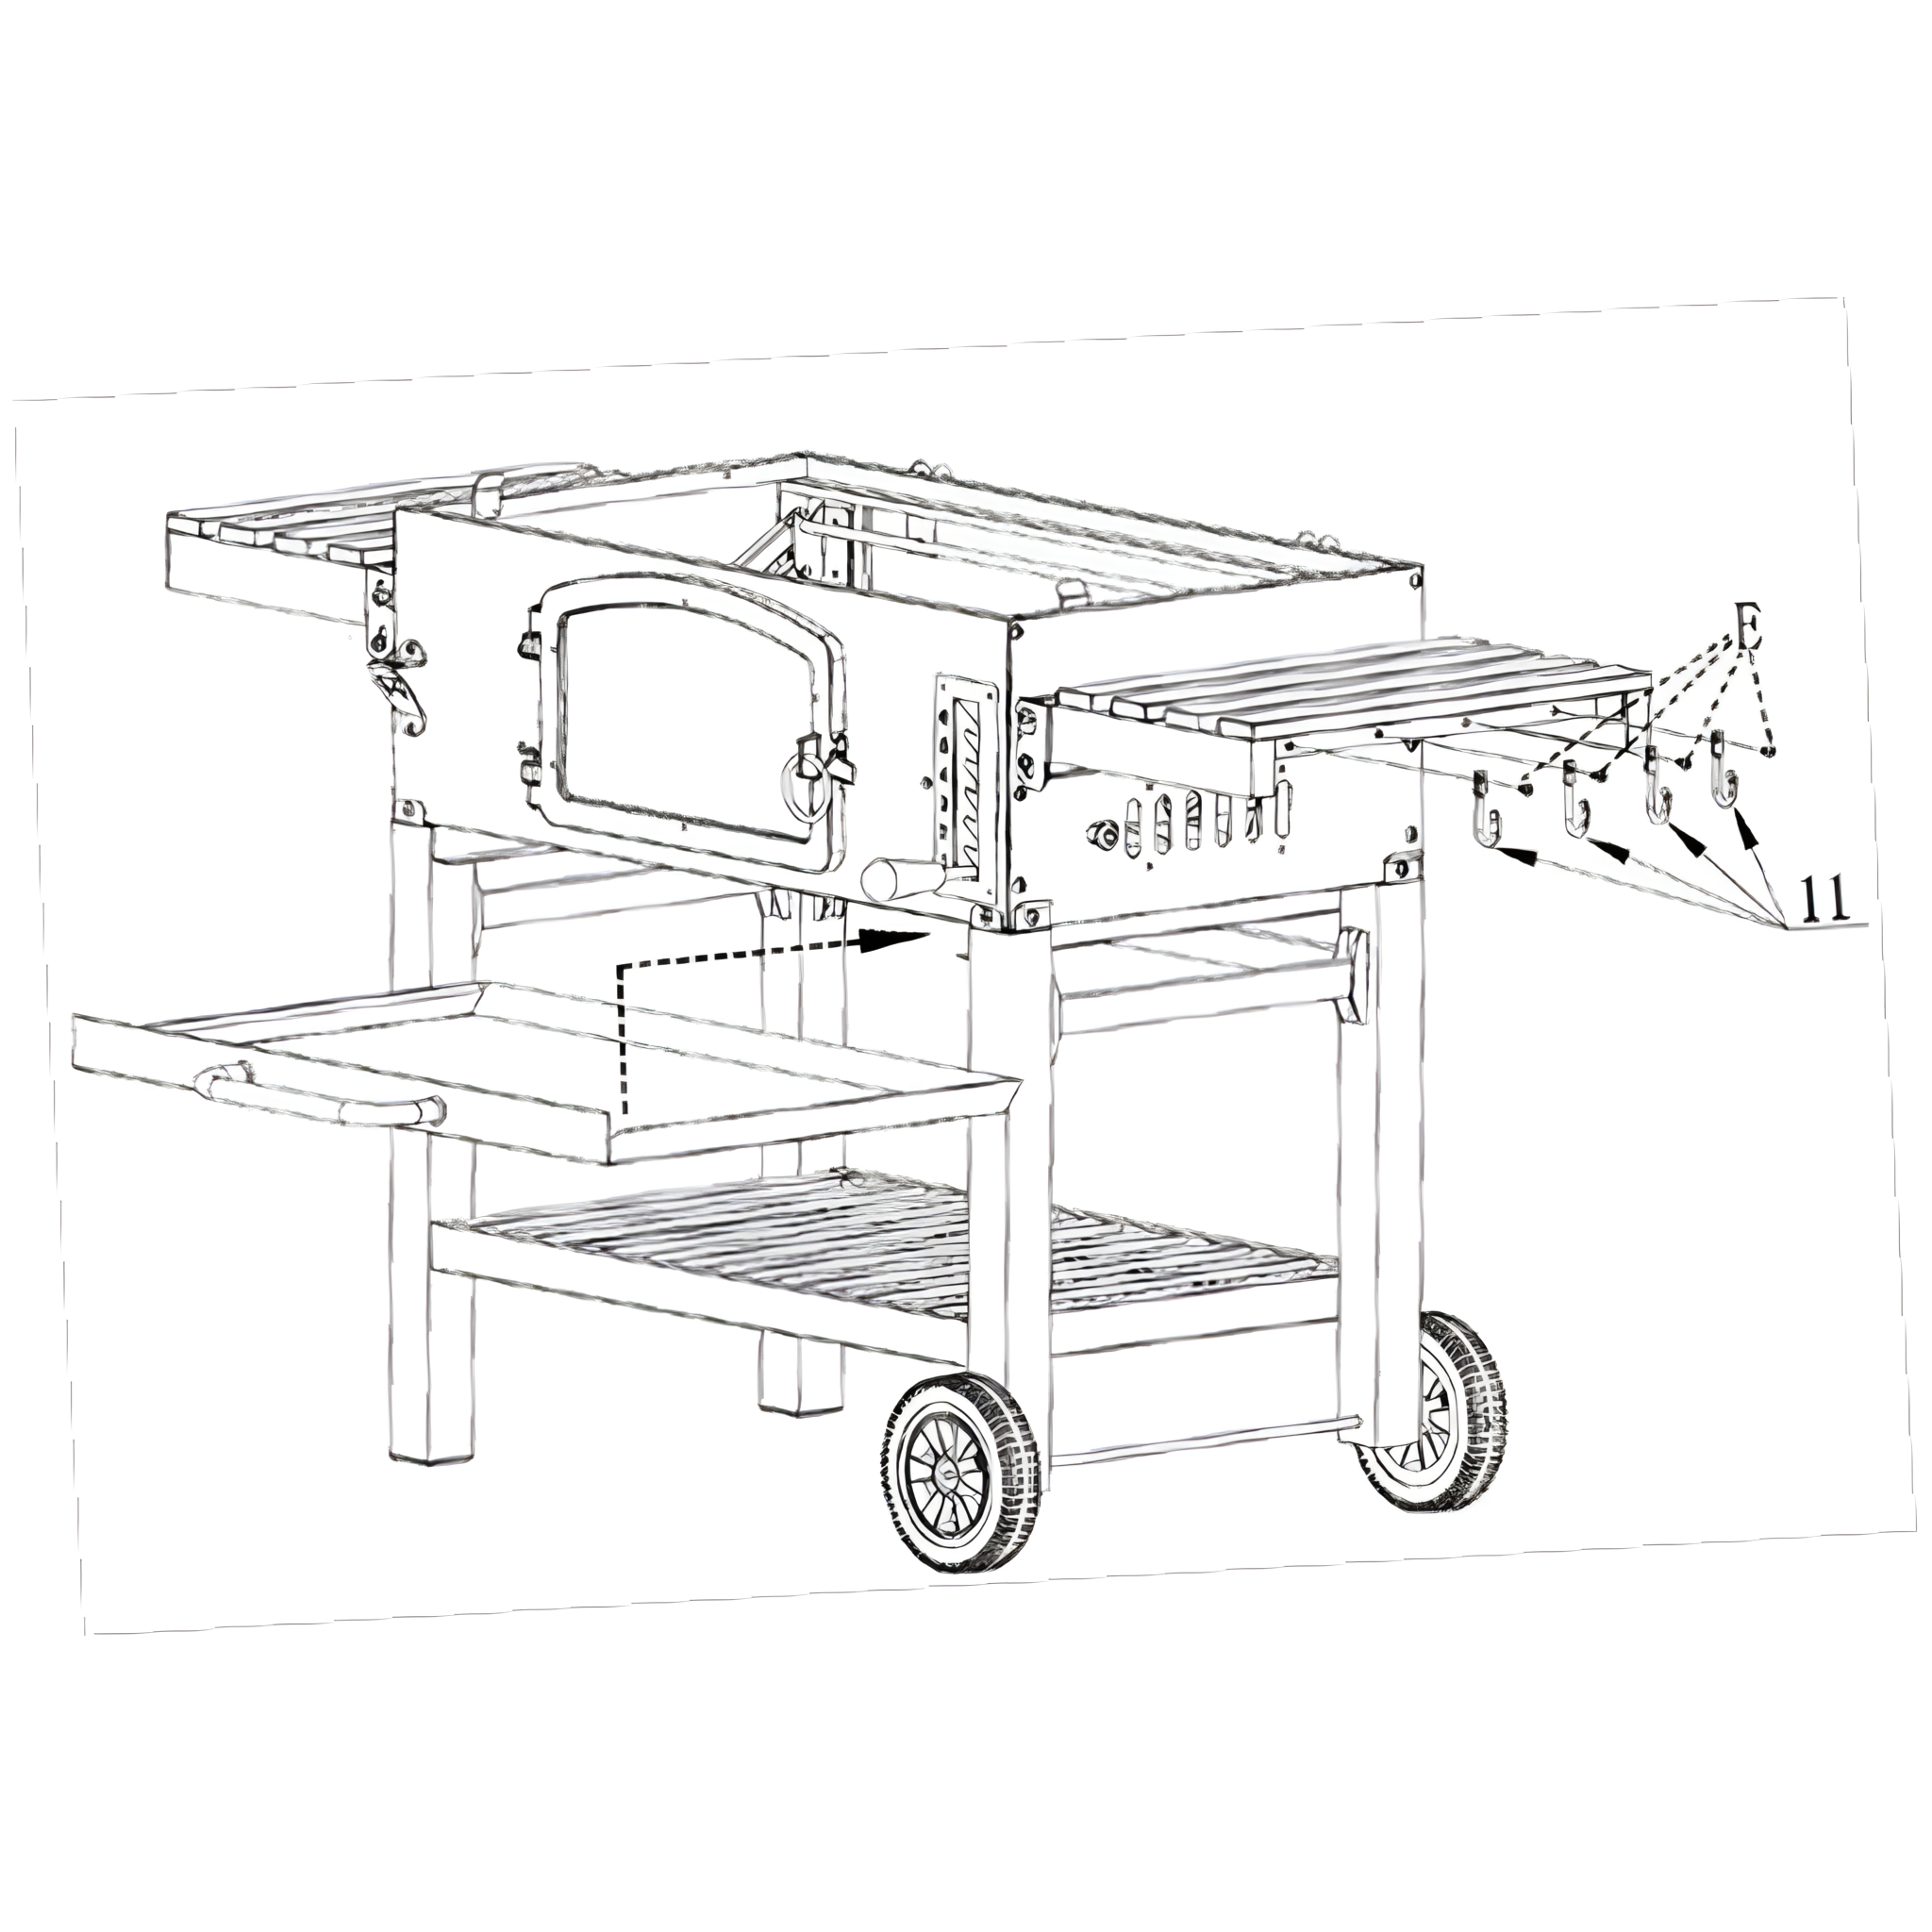
18. Sliding Ash Pan and Securing Hooks
Slide the ash pan into the front of the grill, directly under the front panel.
Secure the side hooks (11) to the right side shelf with 4x M5 12mm screws (E).
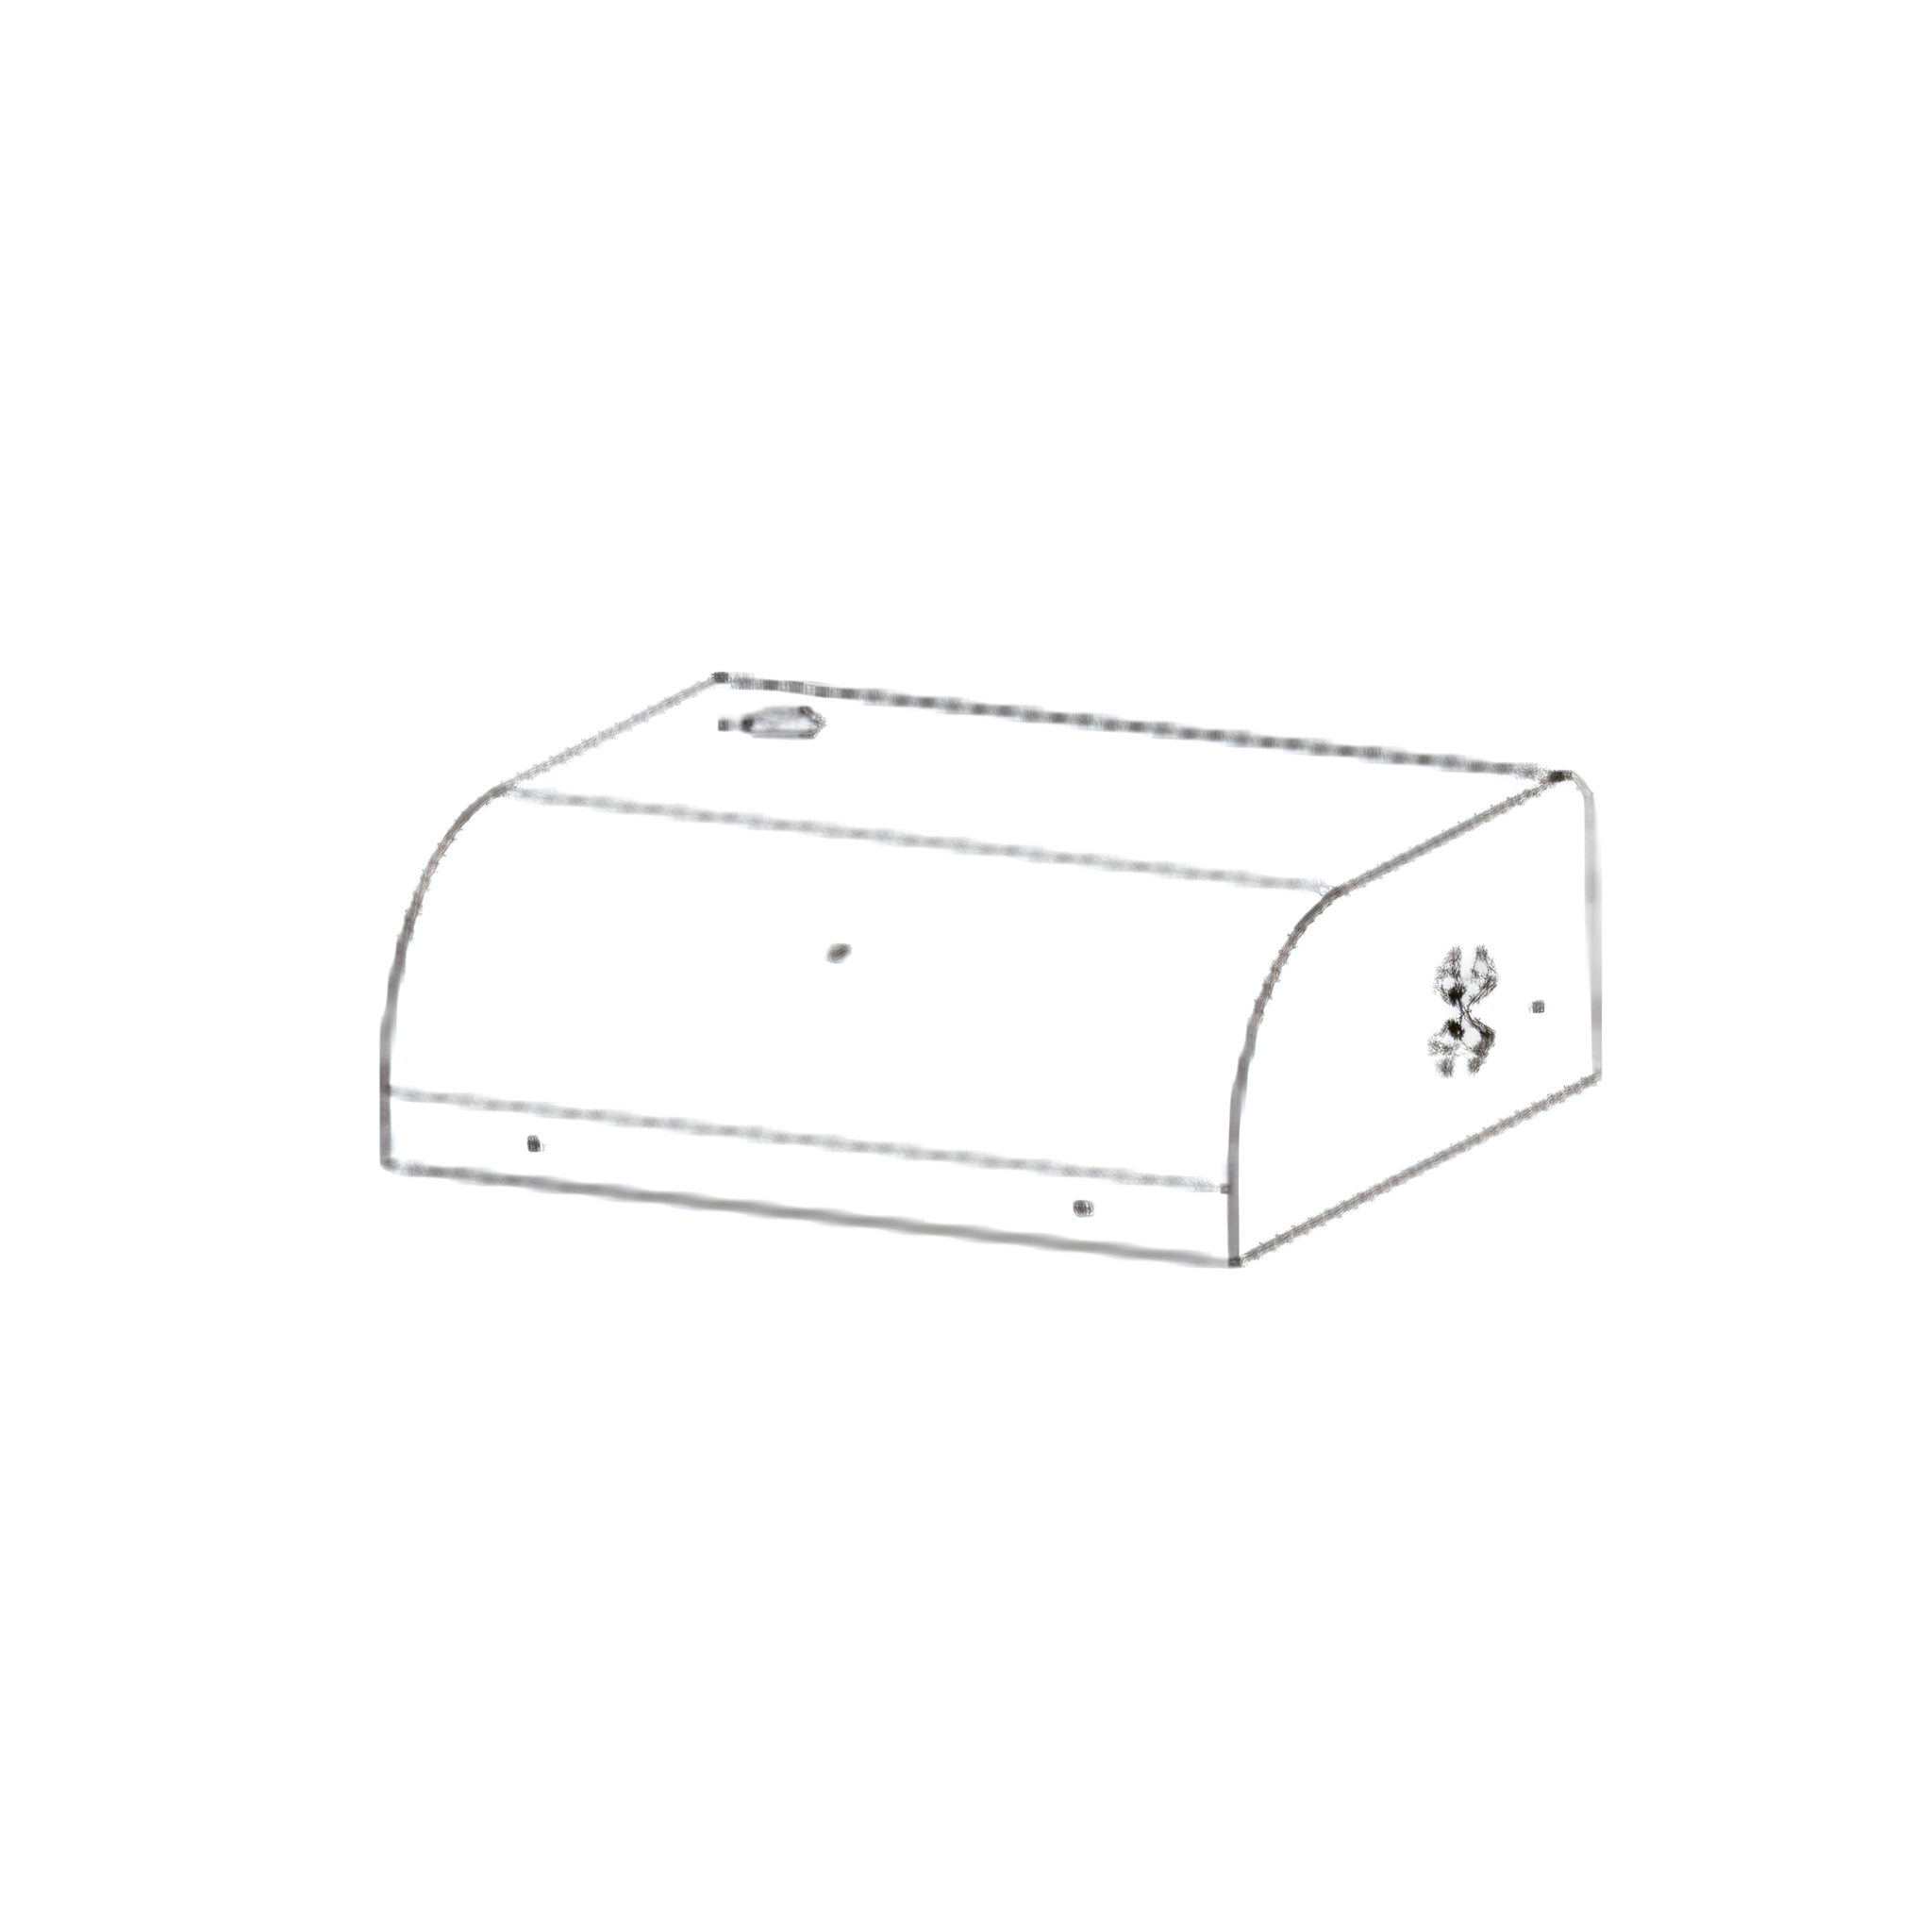
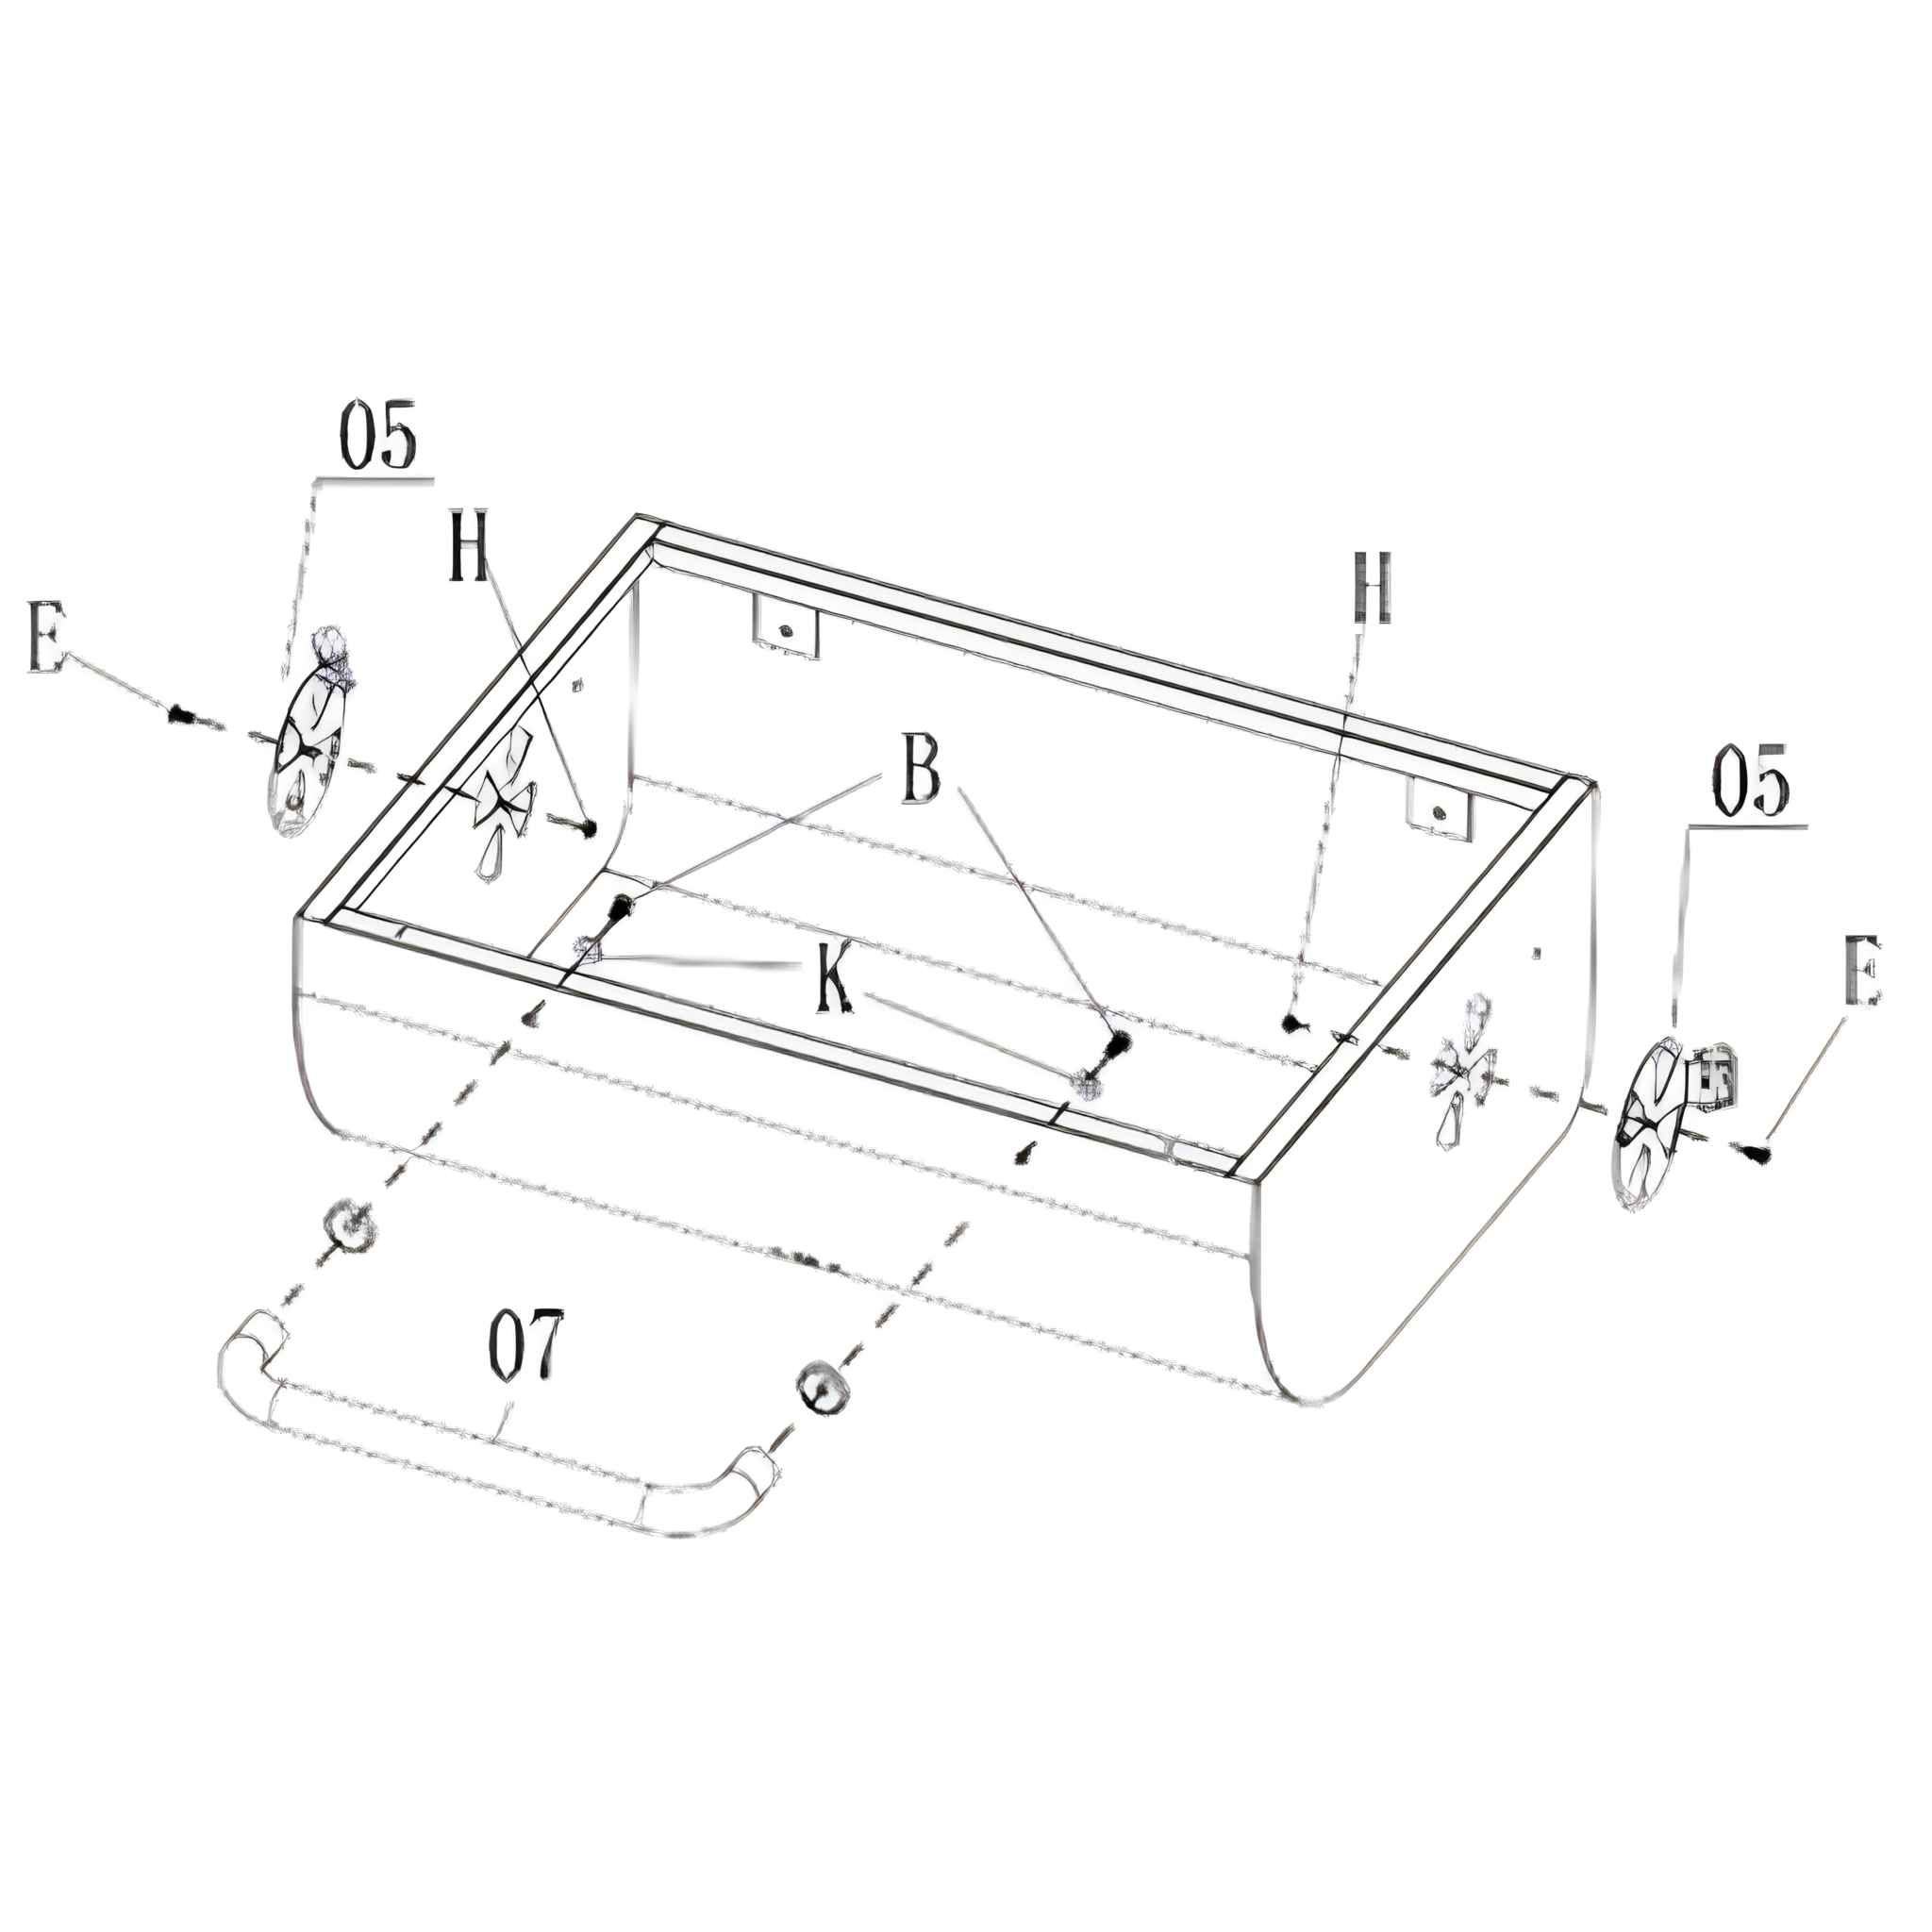
19. Assembling the Lid
Attach the lid handle (7) and the lid handle flange to the grill lid (1) by using 2x M6 flat gaskets (K) and 2x M6 20mm screws (B).
Secure the lid vents (5) to either side of the lid with 2x M5 12mm screws (E) and 2x M5 flange nuts (H).
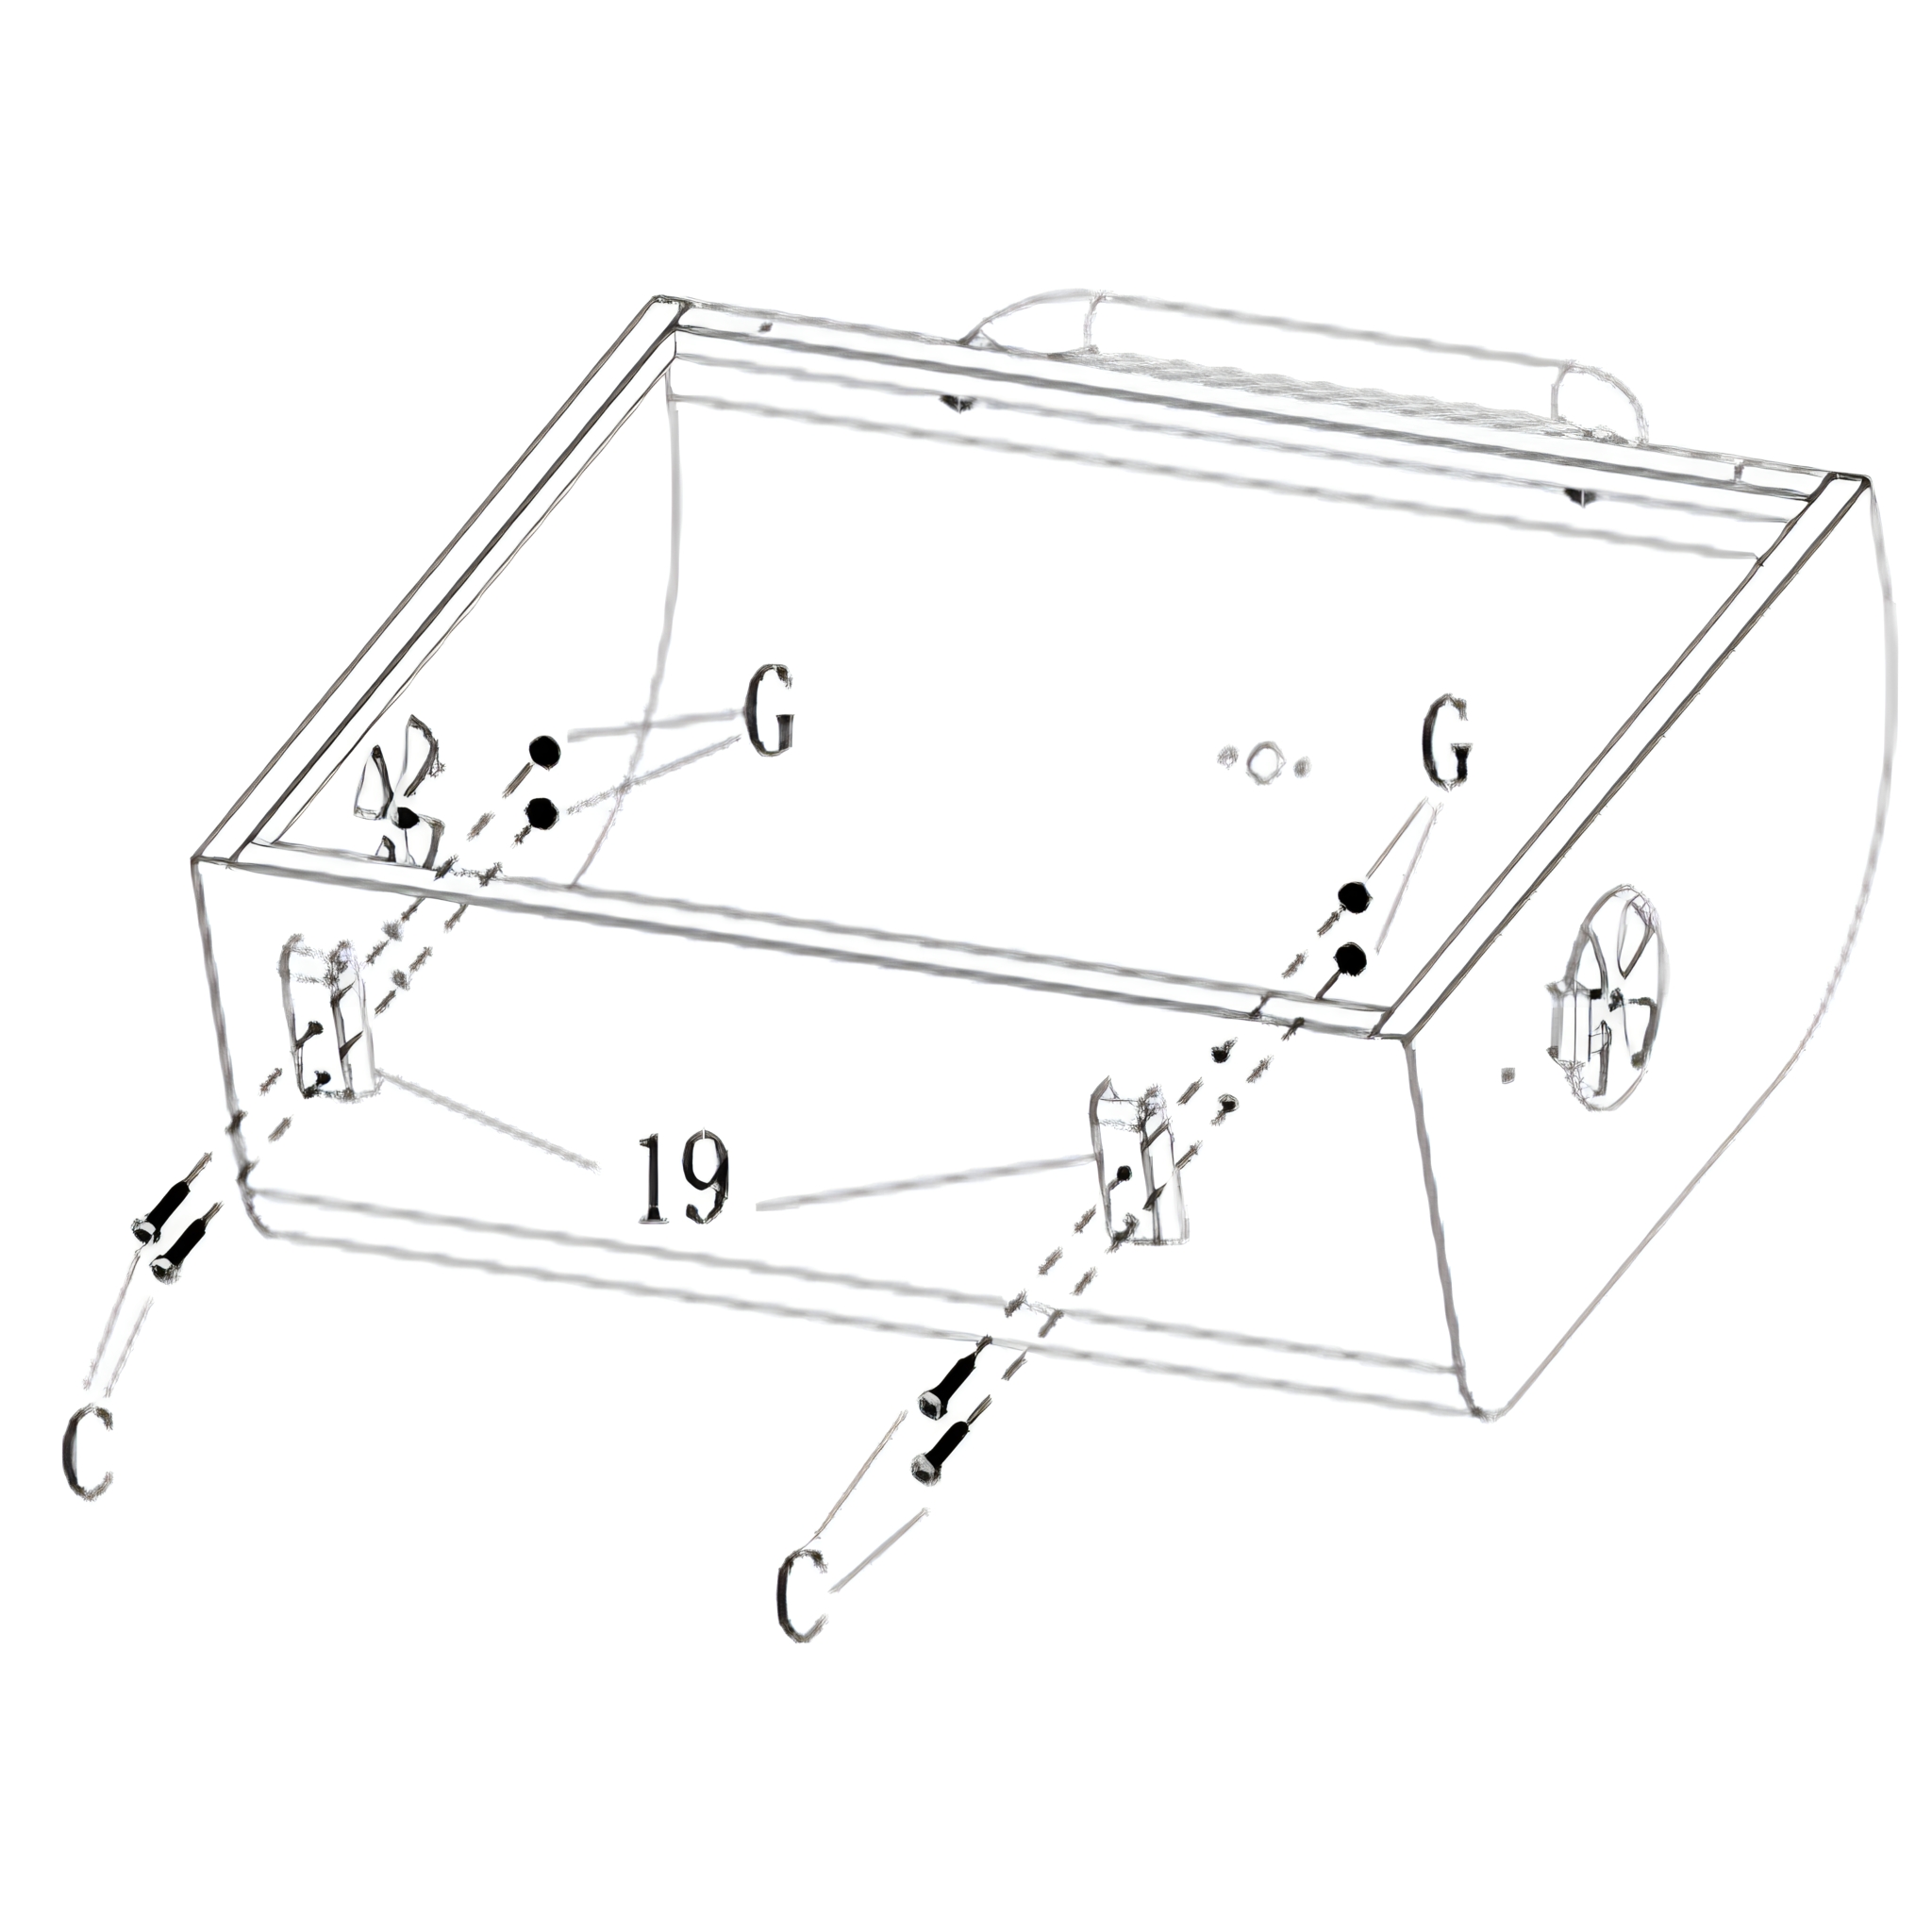
20. Securing Upper Hinges to Lid
Secure the upper hinges (19) to the grill lid using 4x M6 35mm screws (C) and 4x M6 flange nuts (G).
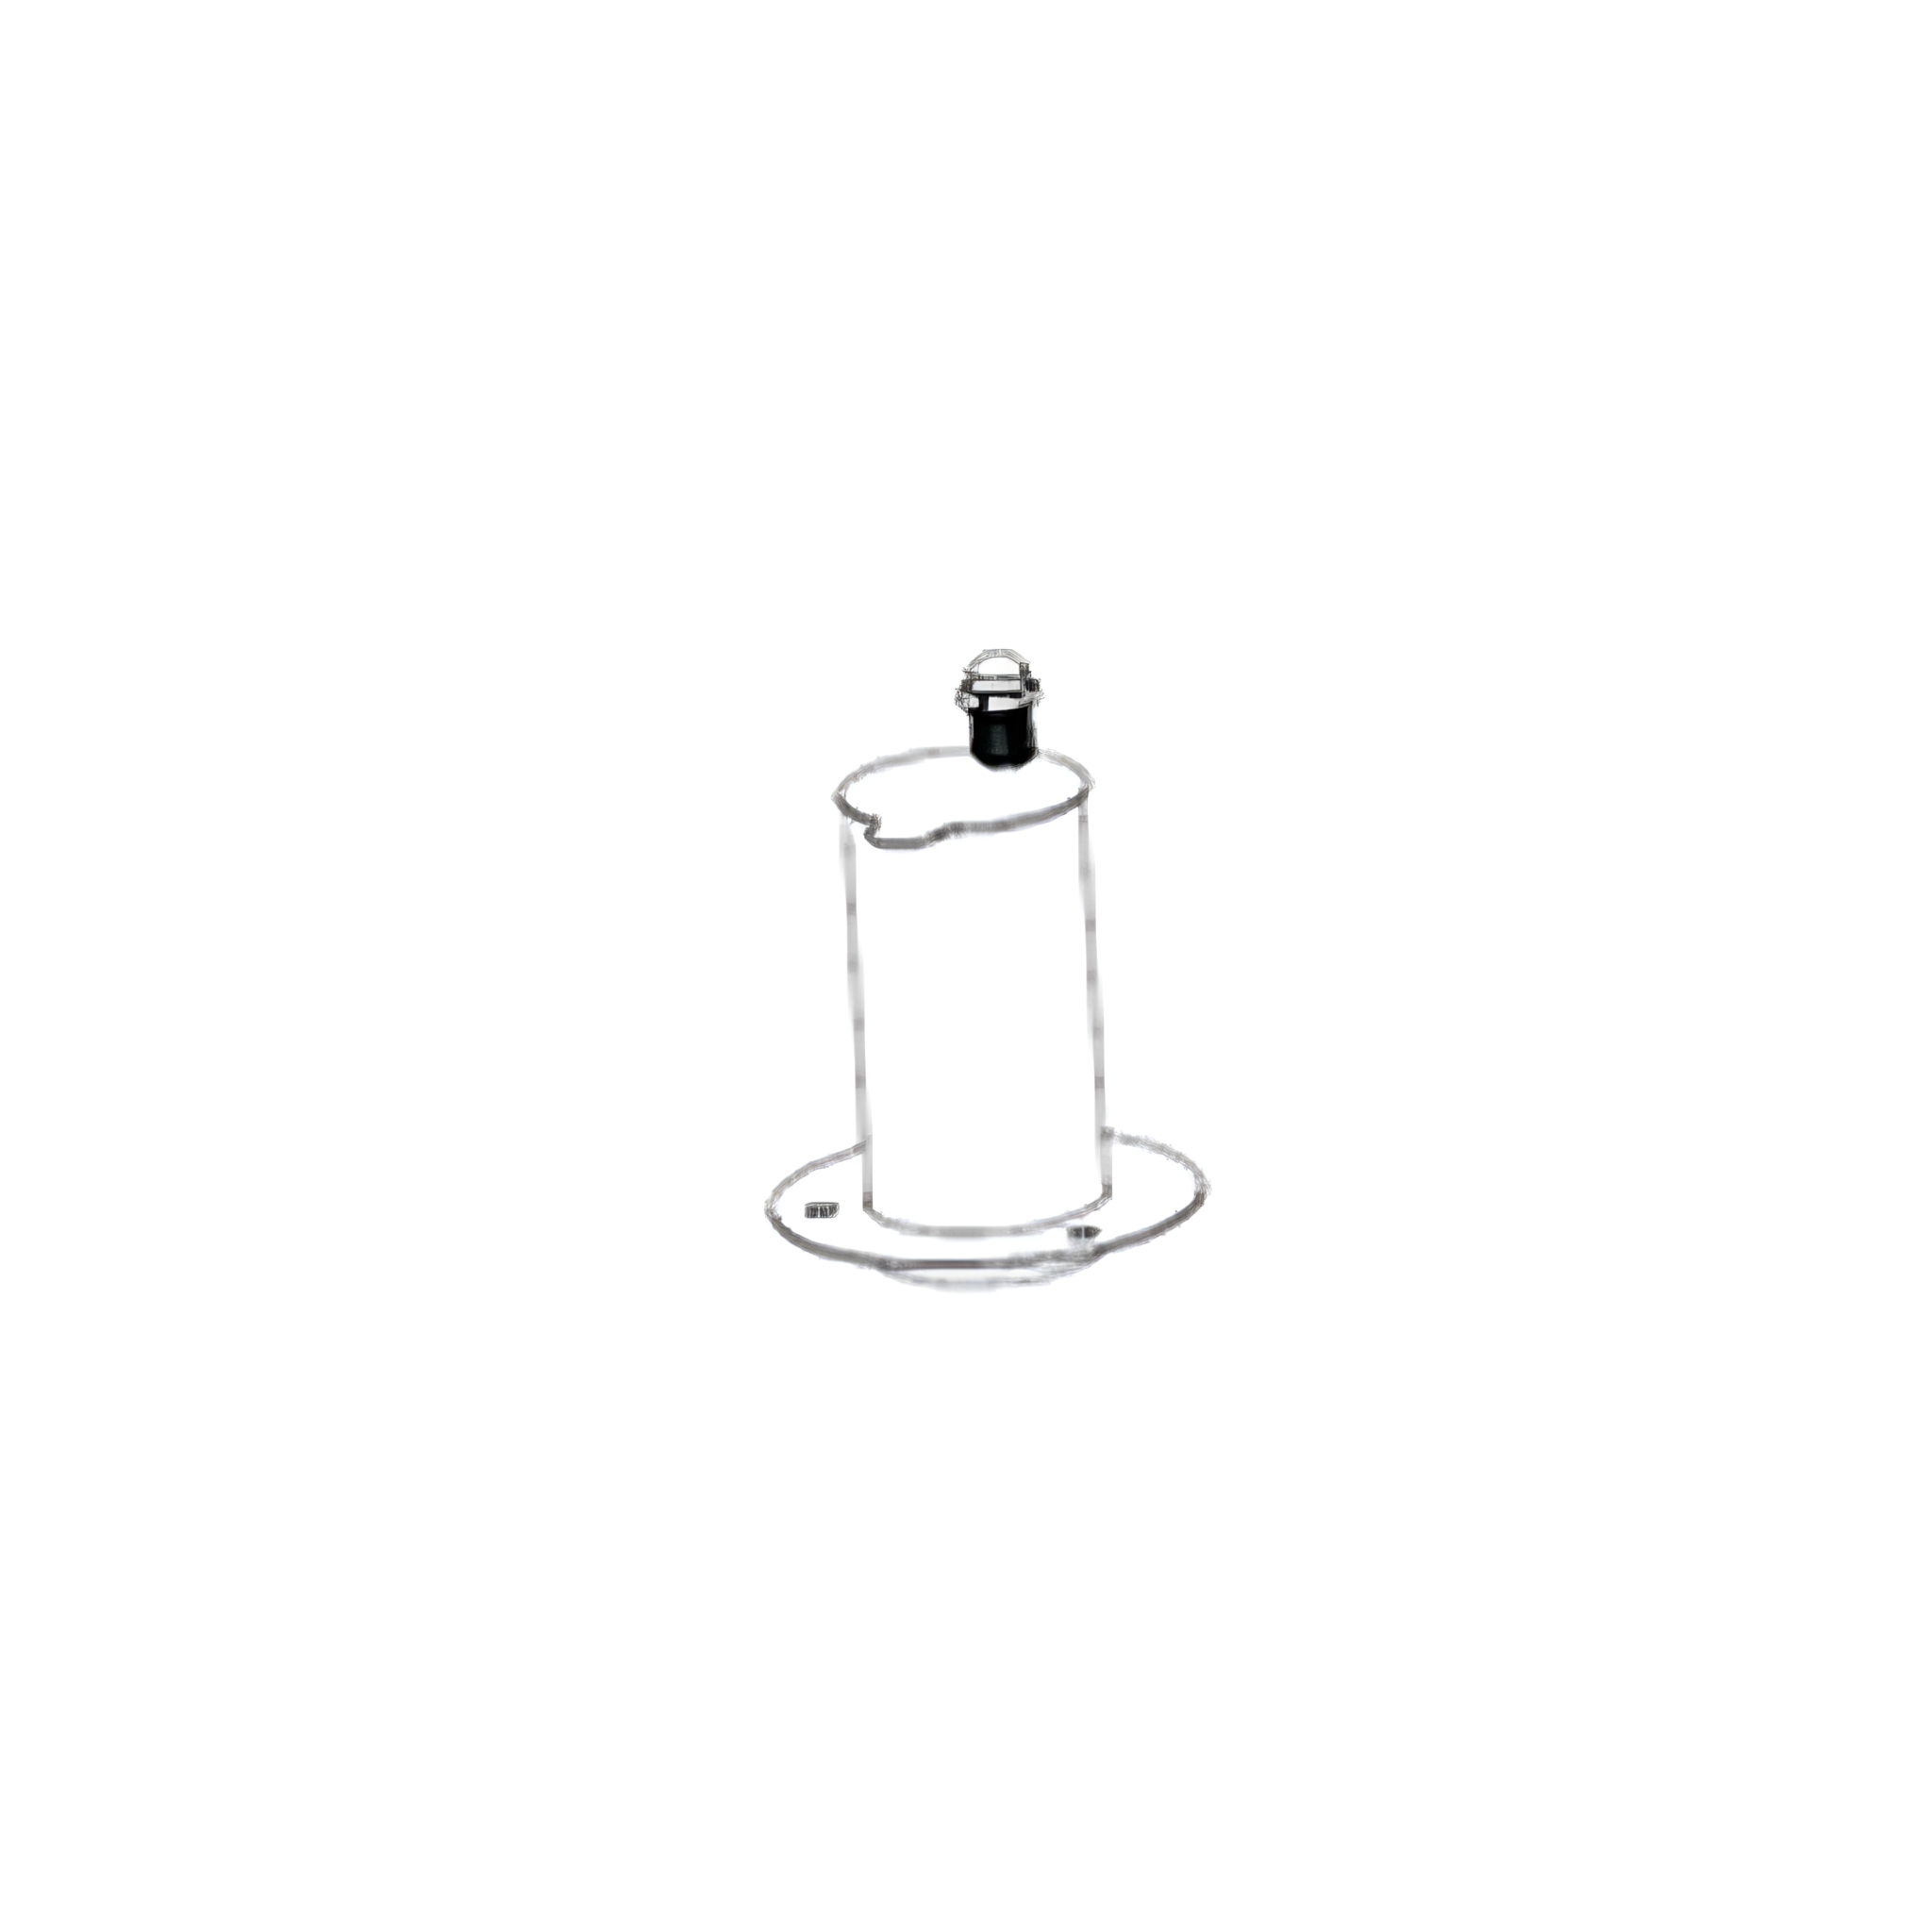
21. Attaching Chimney
Remove the chimney lid, then slide the chimney (2) into the grill lid from the inside.
Secure them with 3x M6 12mm screws (A) and 3x M6 flange nuts (G).
Secure the chimney lid back onto the chimney with the provided spring and chimney nut.
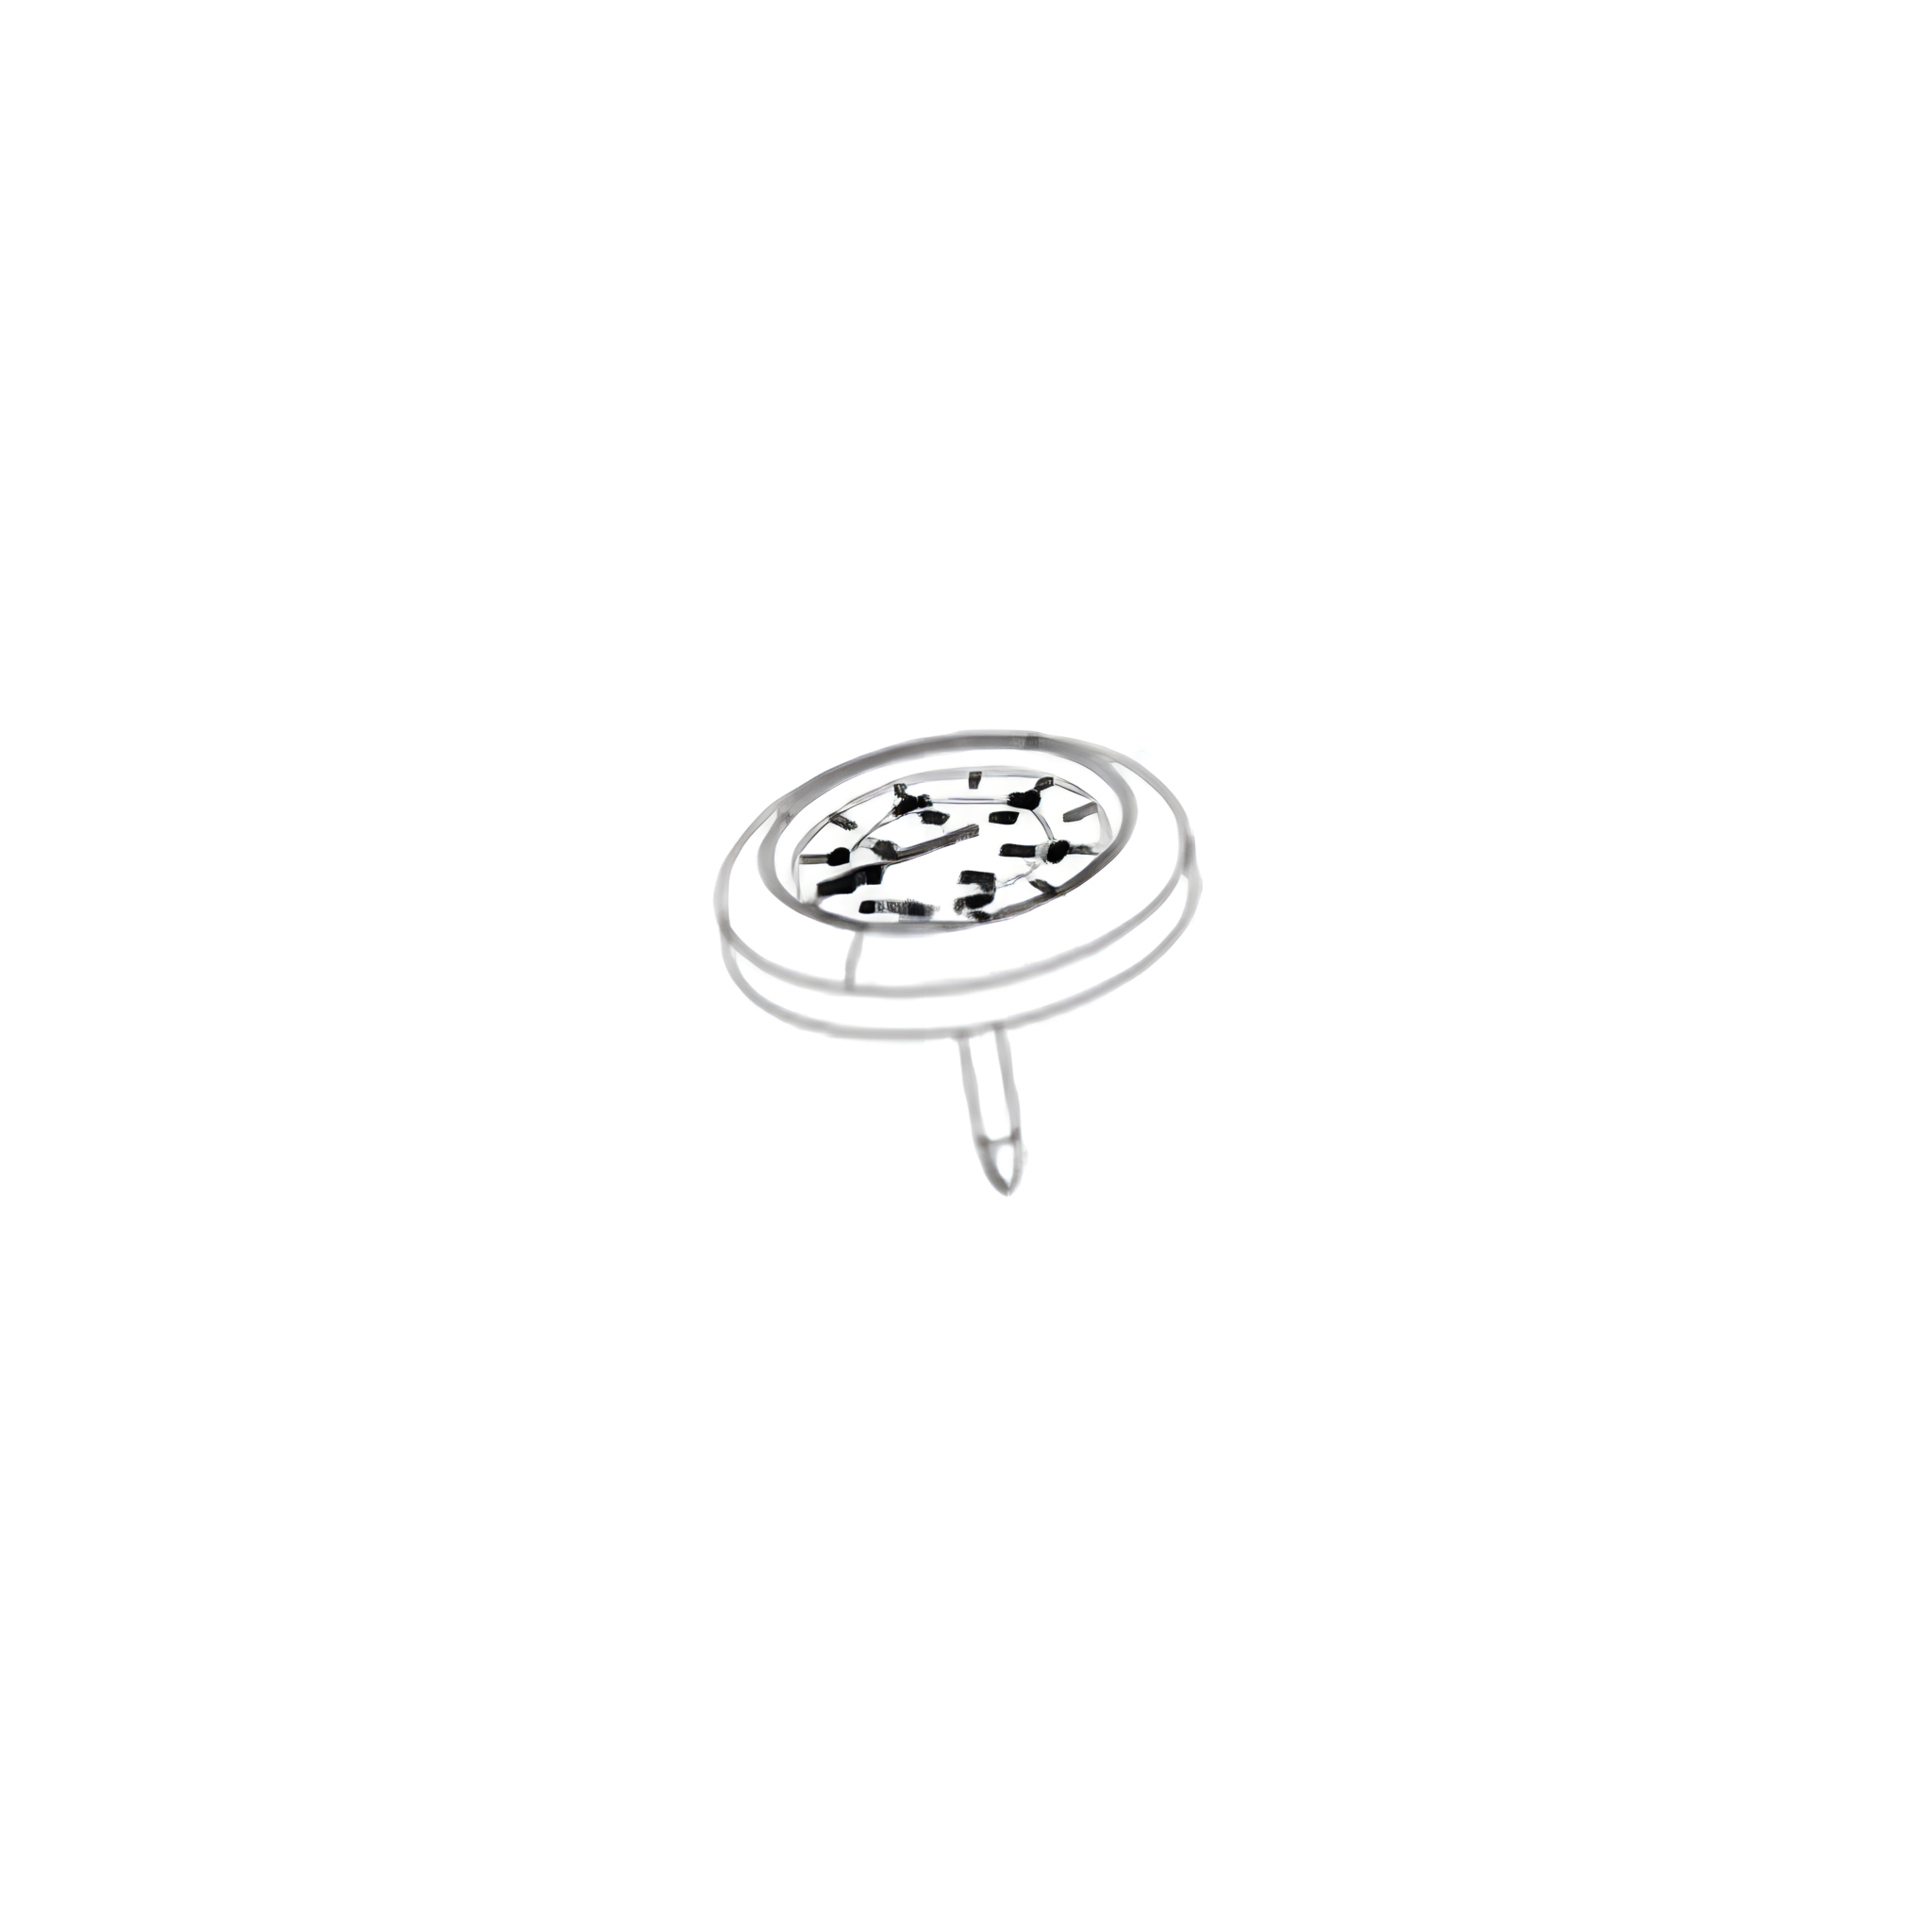
22. Placing Temperature Gauge
Place the temperature gauge (4) through the hole on the grill lid and secure with the provided hardware.
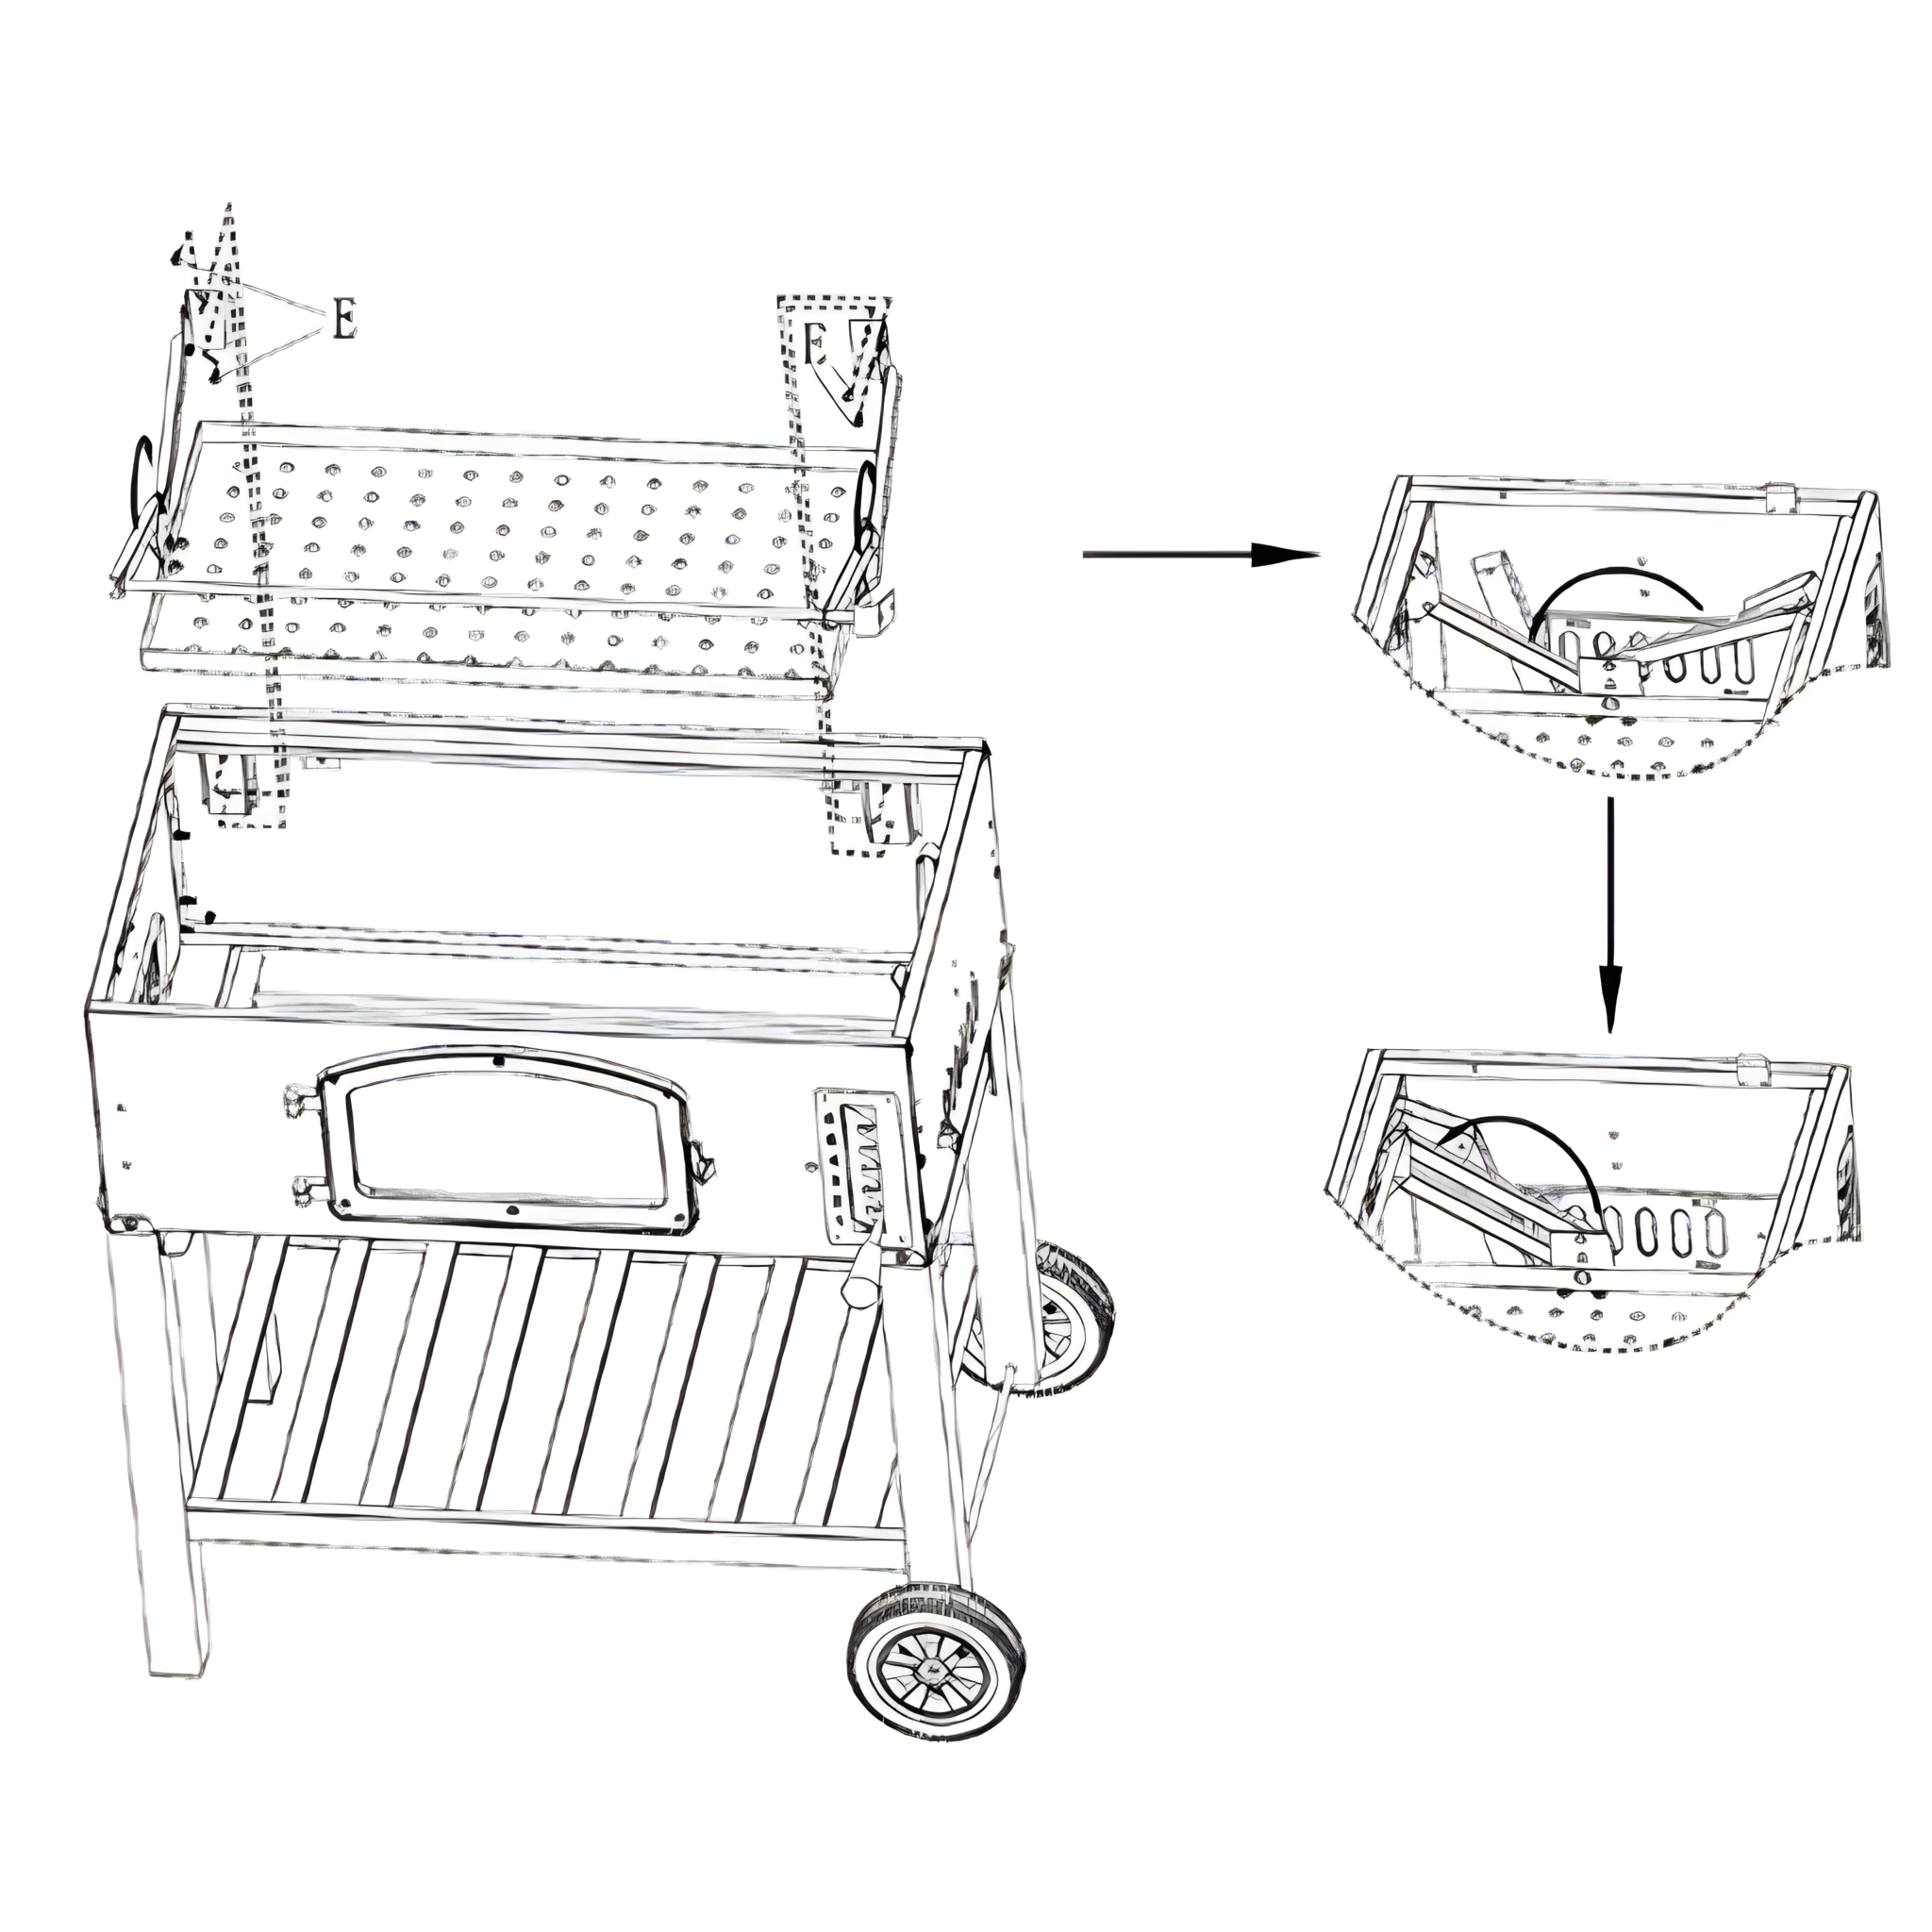
23. Attaching Grill Lid
Place the grill lid on top of the body of the grill, ensuring the upper hinges fit inside of the lower hinges.
Connect the hinges together using 2x M5 35mm hinge pins (Q) and cotter pins (M).
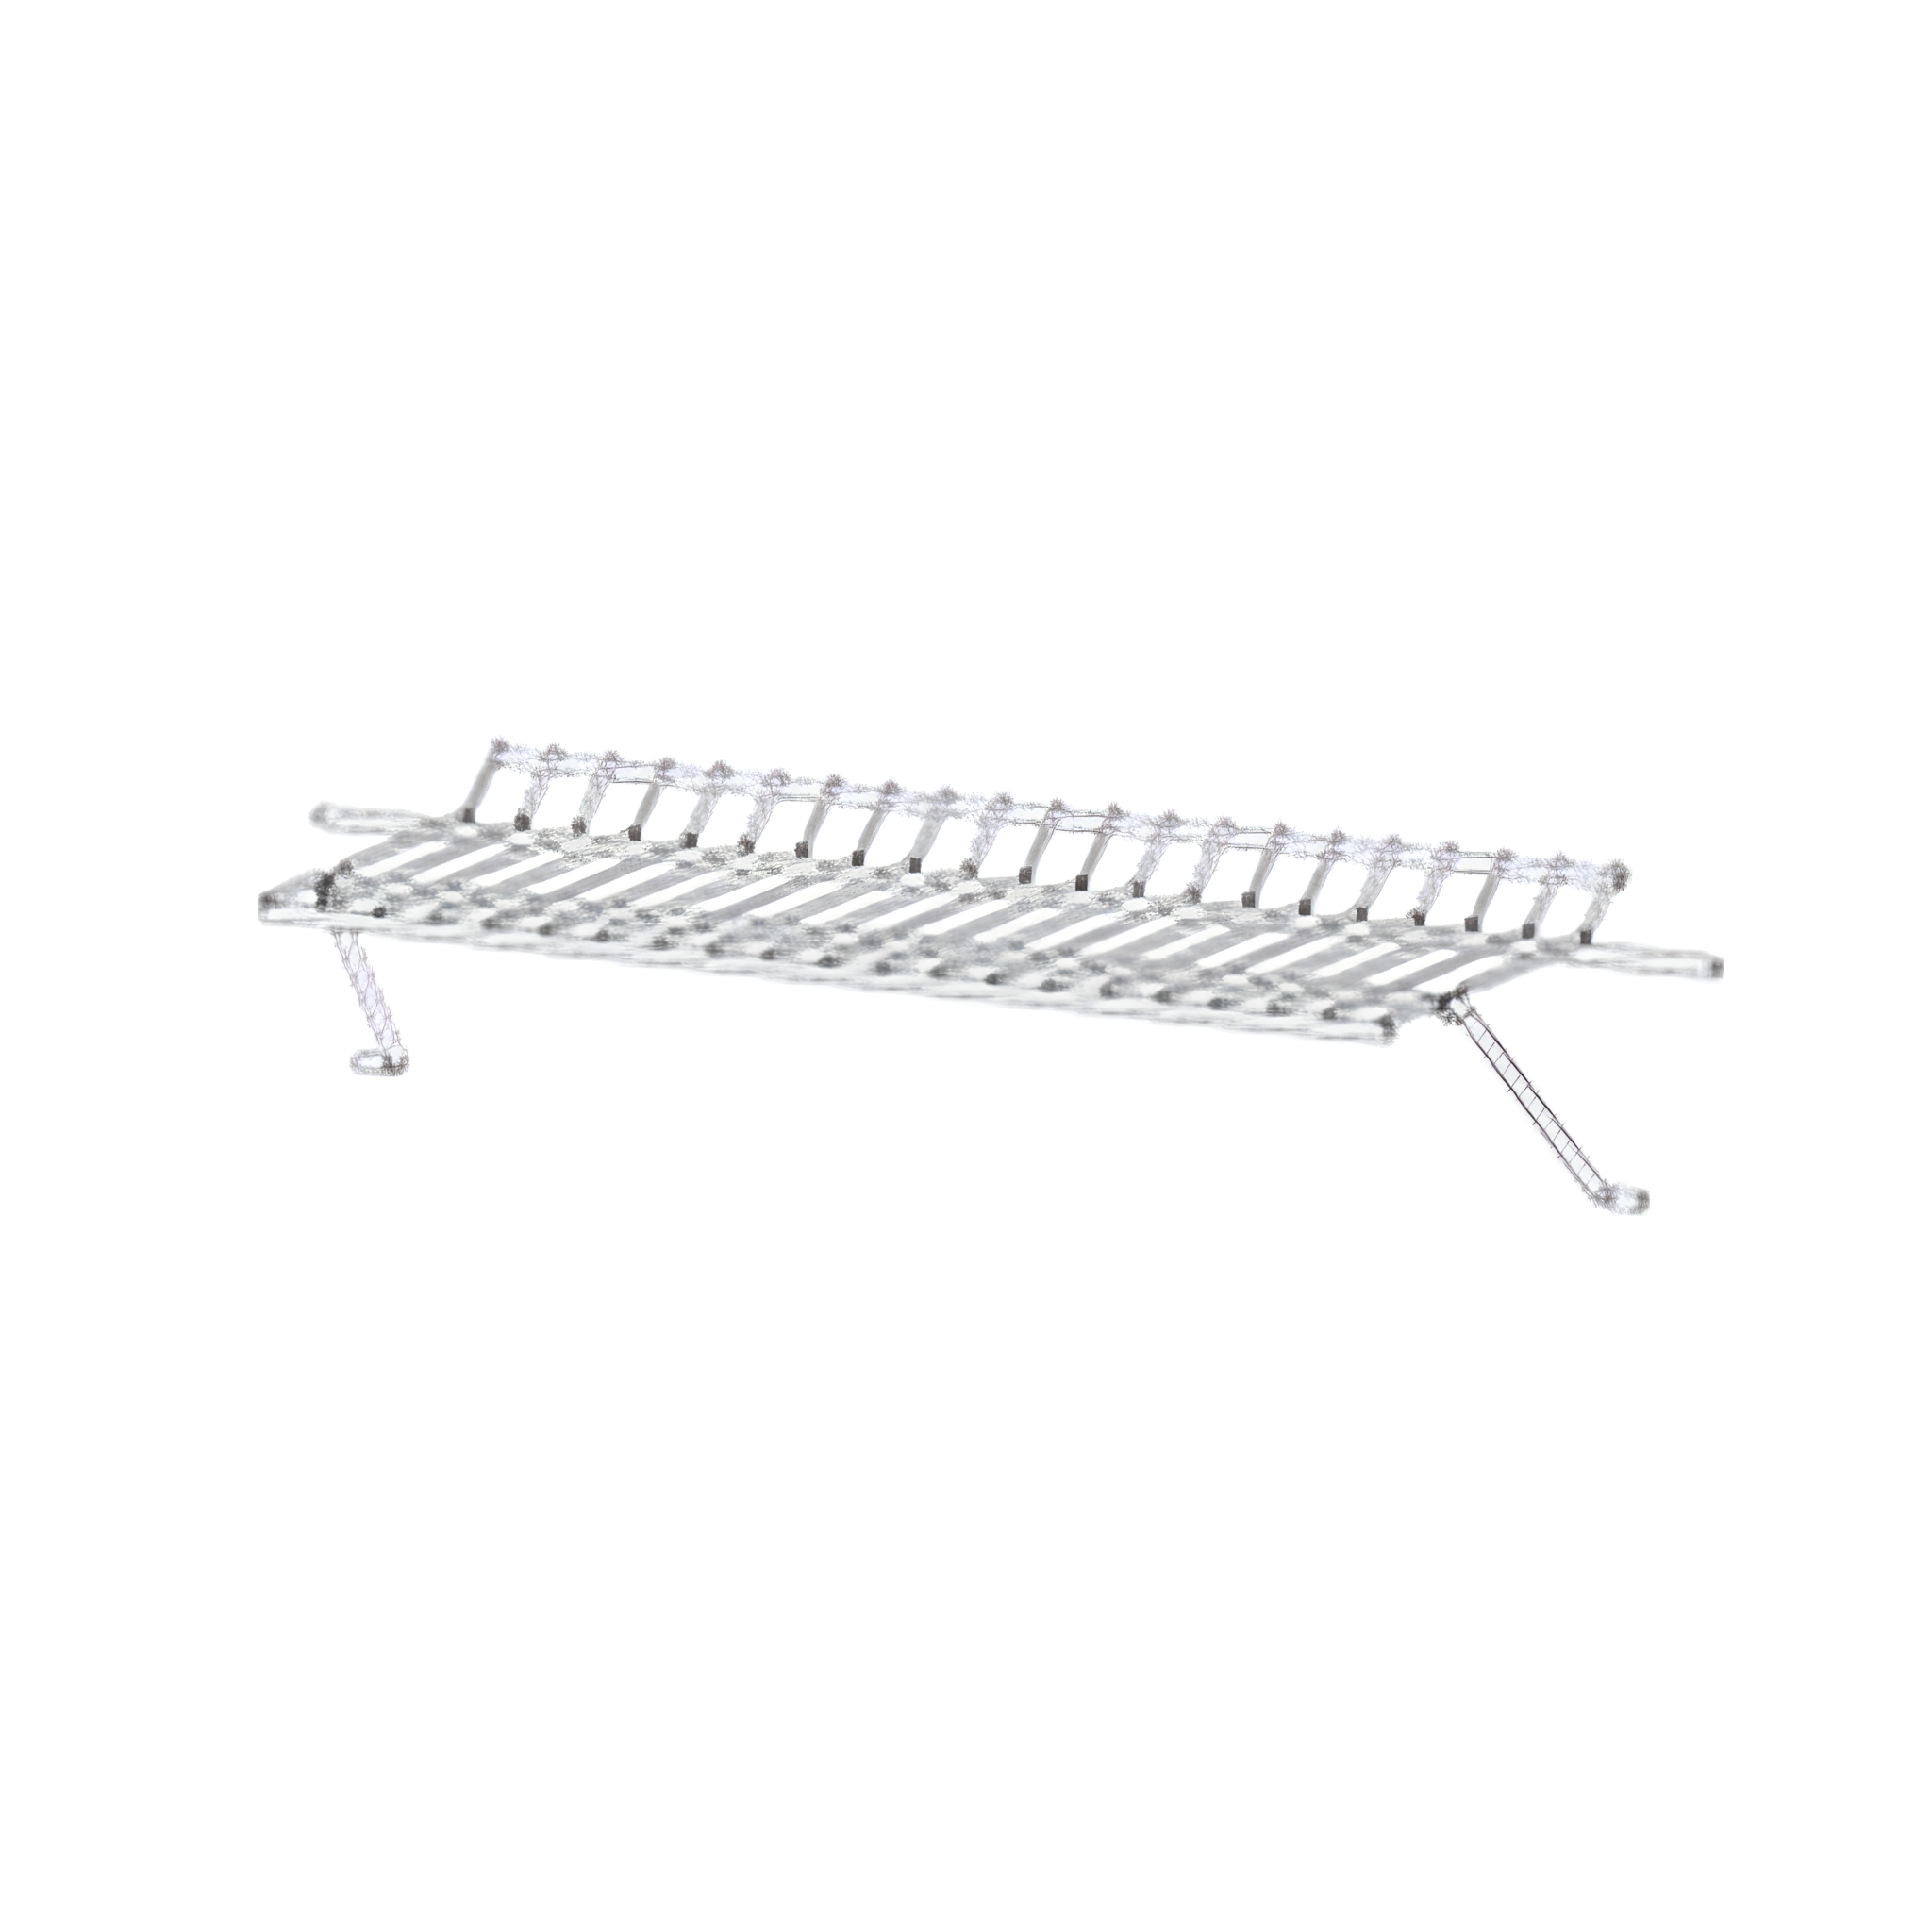
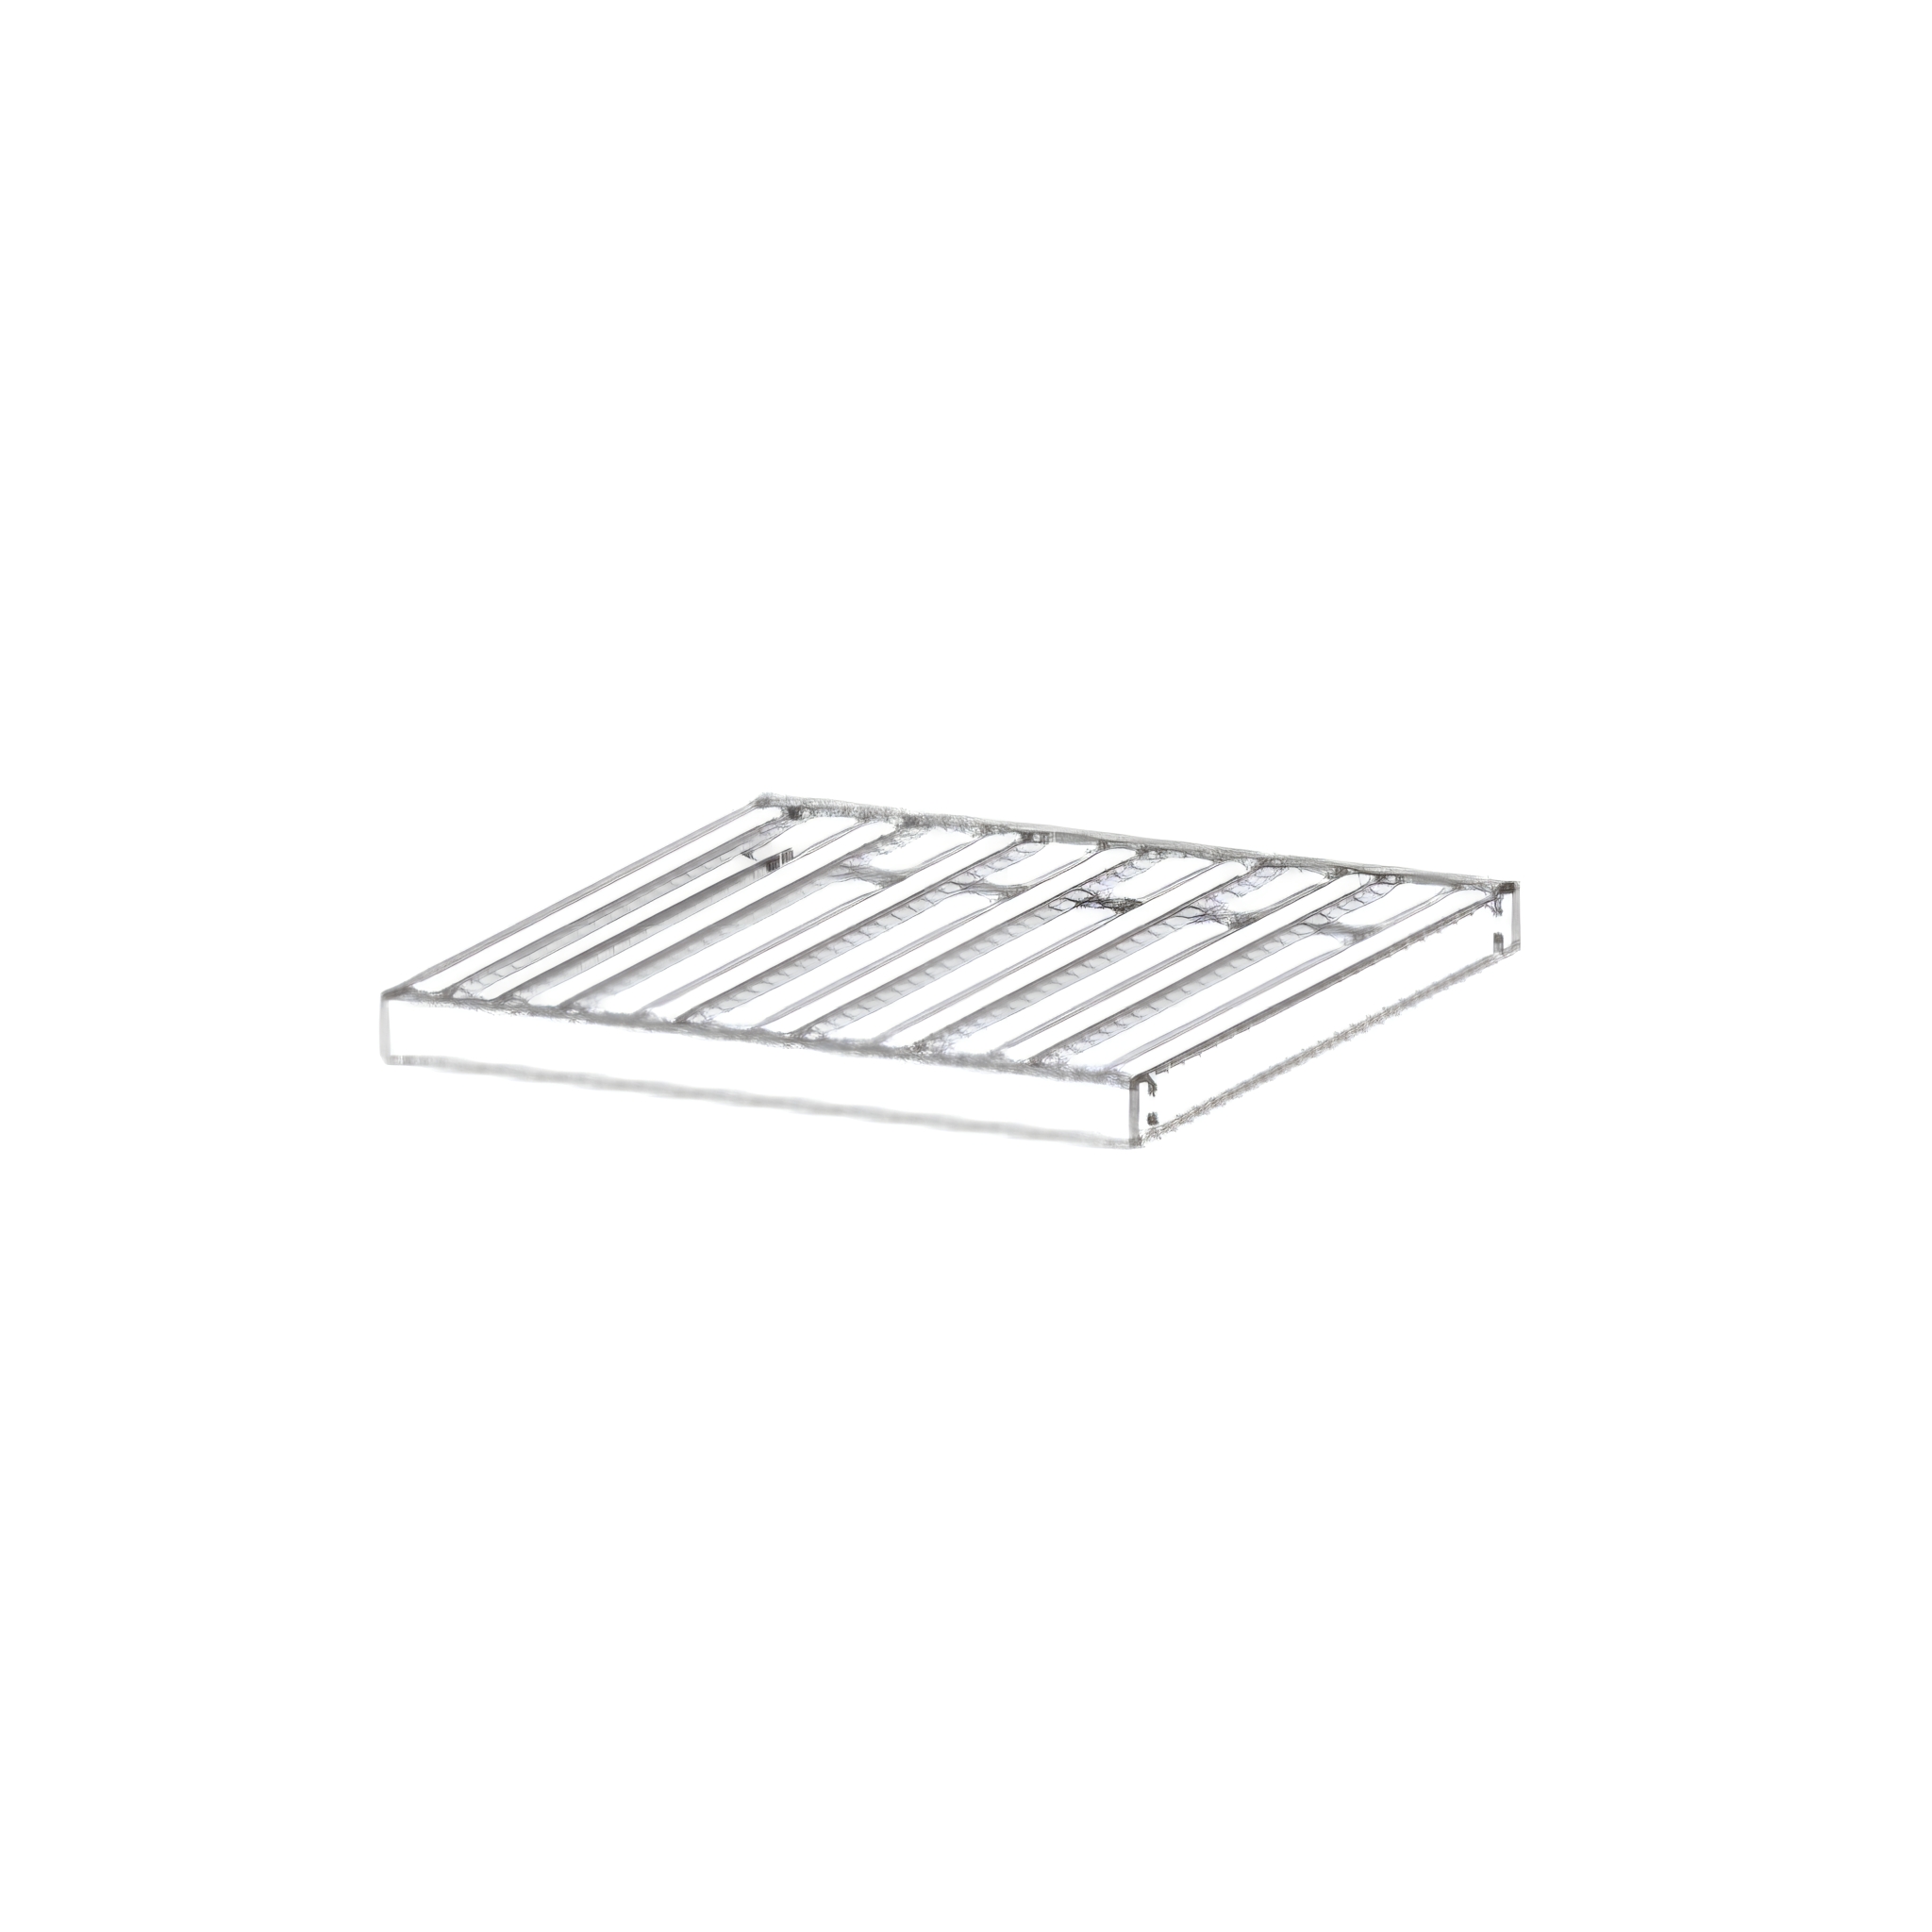
24. Securing Warming Rack and Cooking Grids
Snap the left and right sides of the warming rack (8) into the rack holders inside the grill lid and secure it with cotter pins (M).
Place the cast iron cooking grids (9) onto the top ledge of the grill body.
You should now have your fully assembled BBQ Smoker Grill!
25. Resolution Guide
WHAT DO I DO IF THERE ARE MISSING PARTS FROM MY ORDER?
If there appears to be any part missing from your order, contact our friendly and helpful Customer Support Team within 7 days of receipt.
HOW DO I CLEAN MY BBQ SMOKER GRILL?
We recommend that you clean the inside of your grill as soon as it is safe to do so with a combination of hot soapy water and your complimentary wire brush. For the frame, use only a soft cloth and hot soapy water. Make sure to dry it off thoroughly before covering with the cover provided.
FOR ALL OTHER ISSUES, PLEASE CONTACT OUR CUSTOMER SUPPORT TEAM.