1. Attaching Front and Bottom Panels to Middle Panel
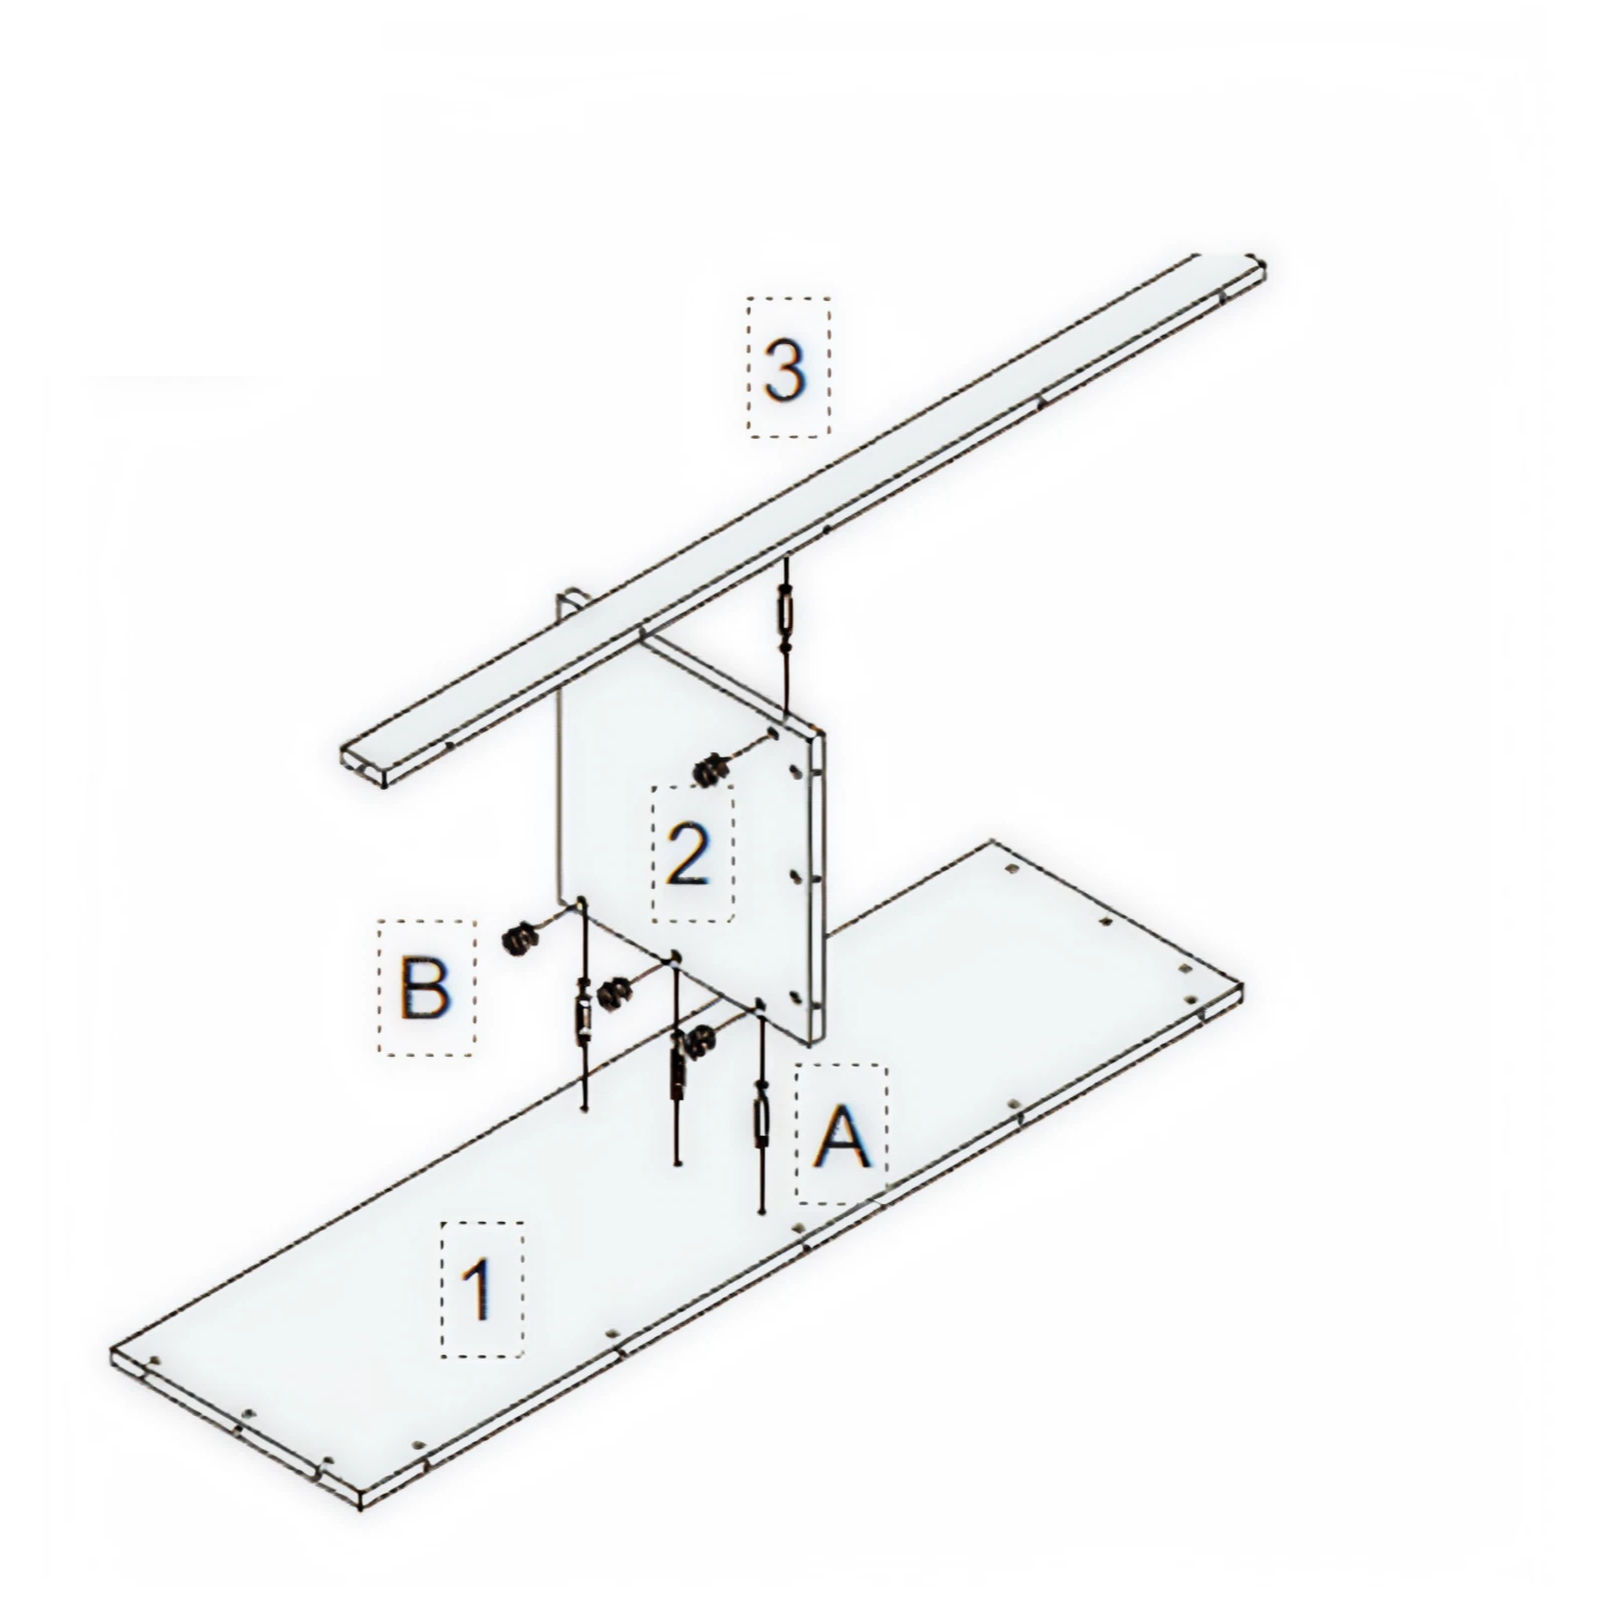
Attach the front panel (part 3) and bottom panel (part 1) to the middle panel (part 2) using Excentre fittings (B) and steel connectors (A).
Ensure all connections are secure and aligned properly.
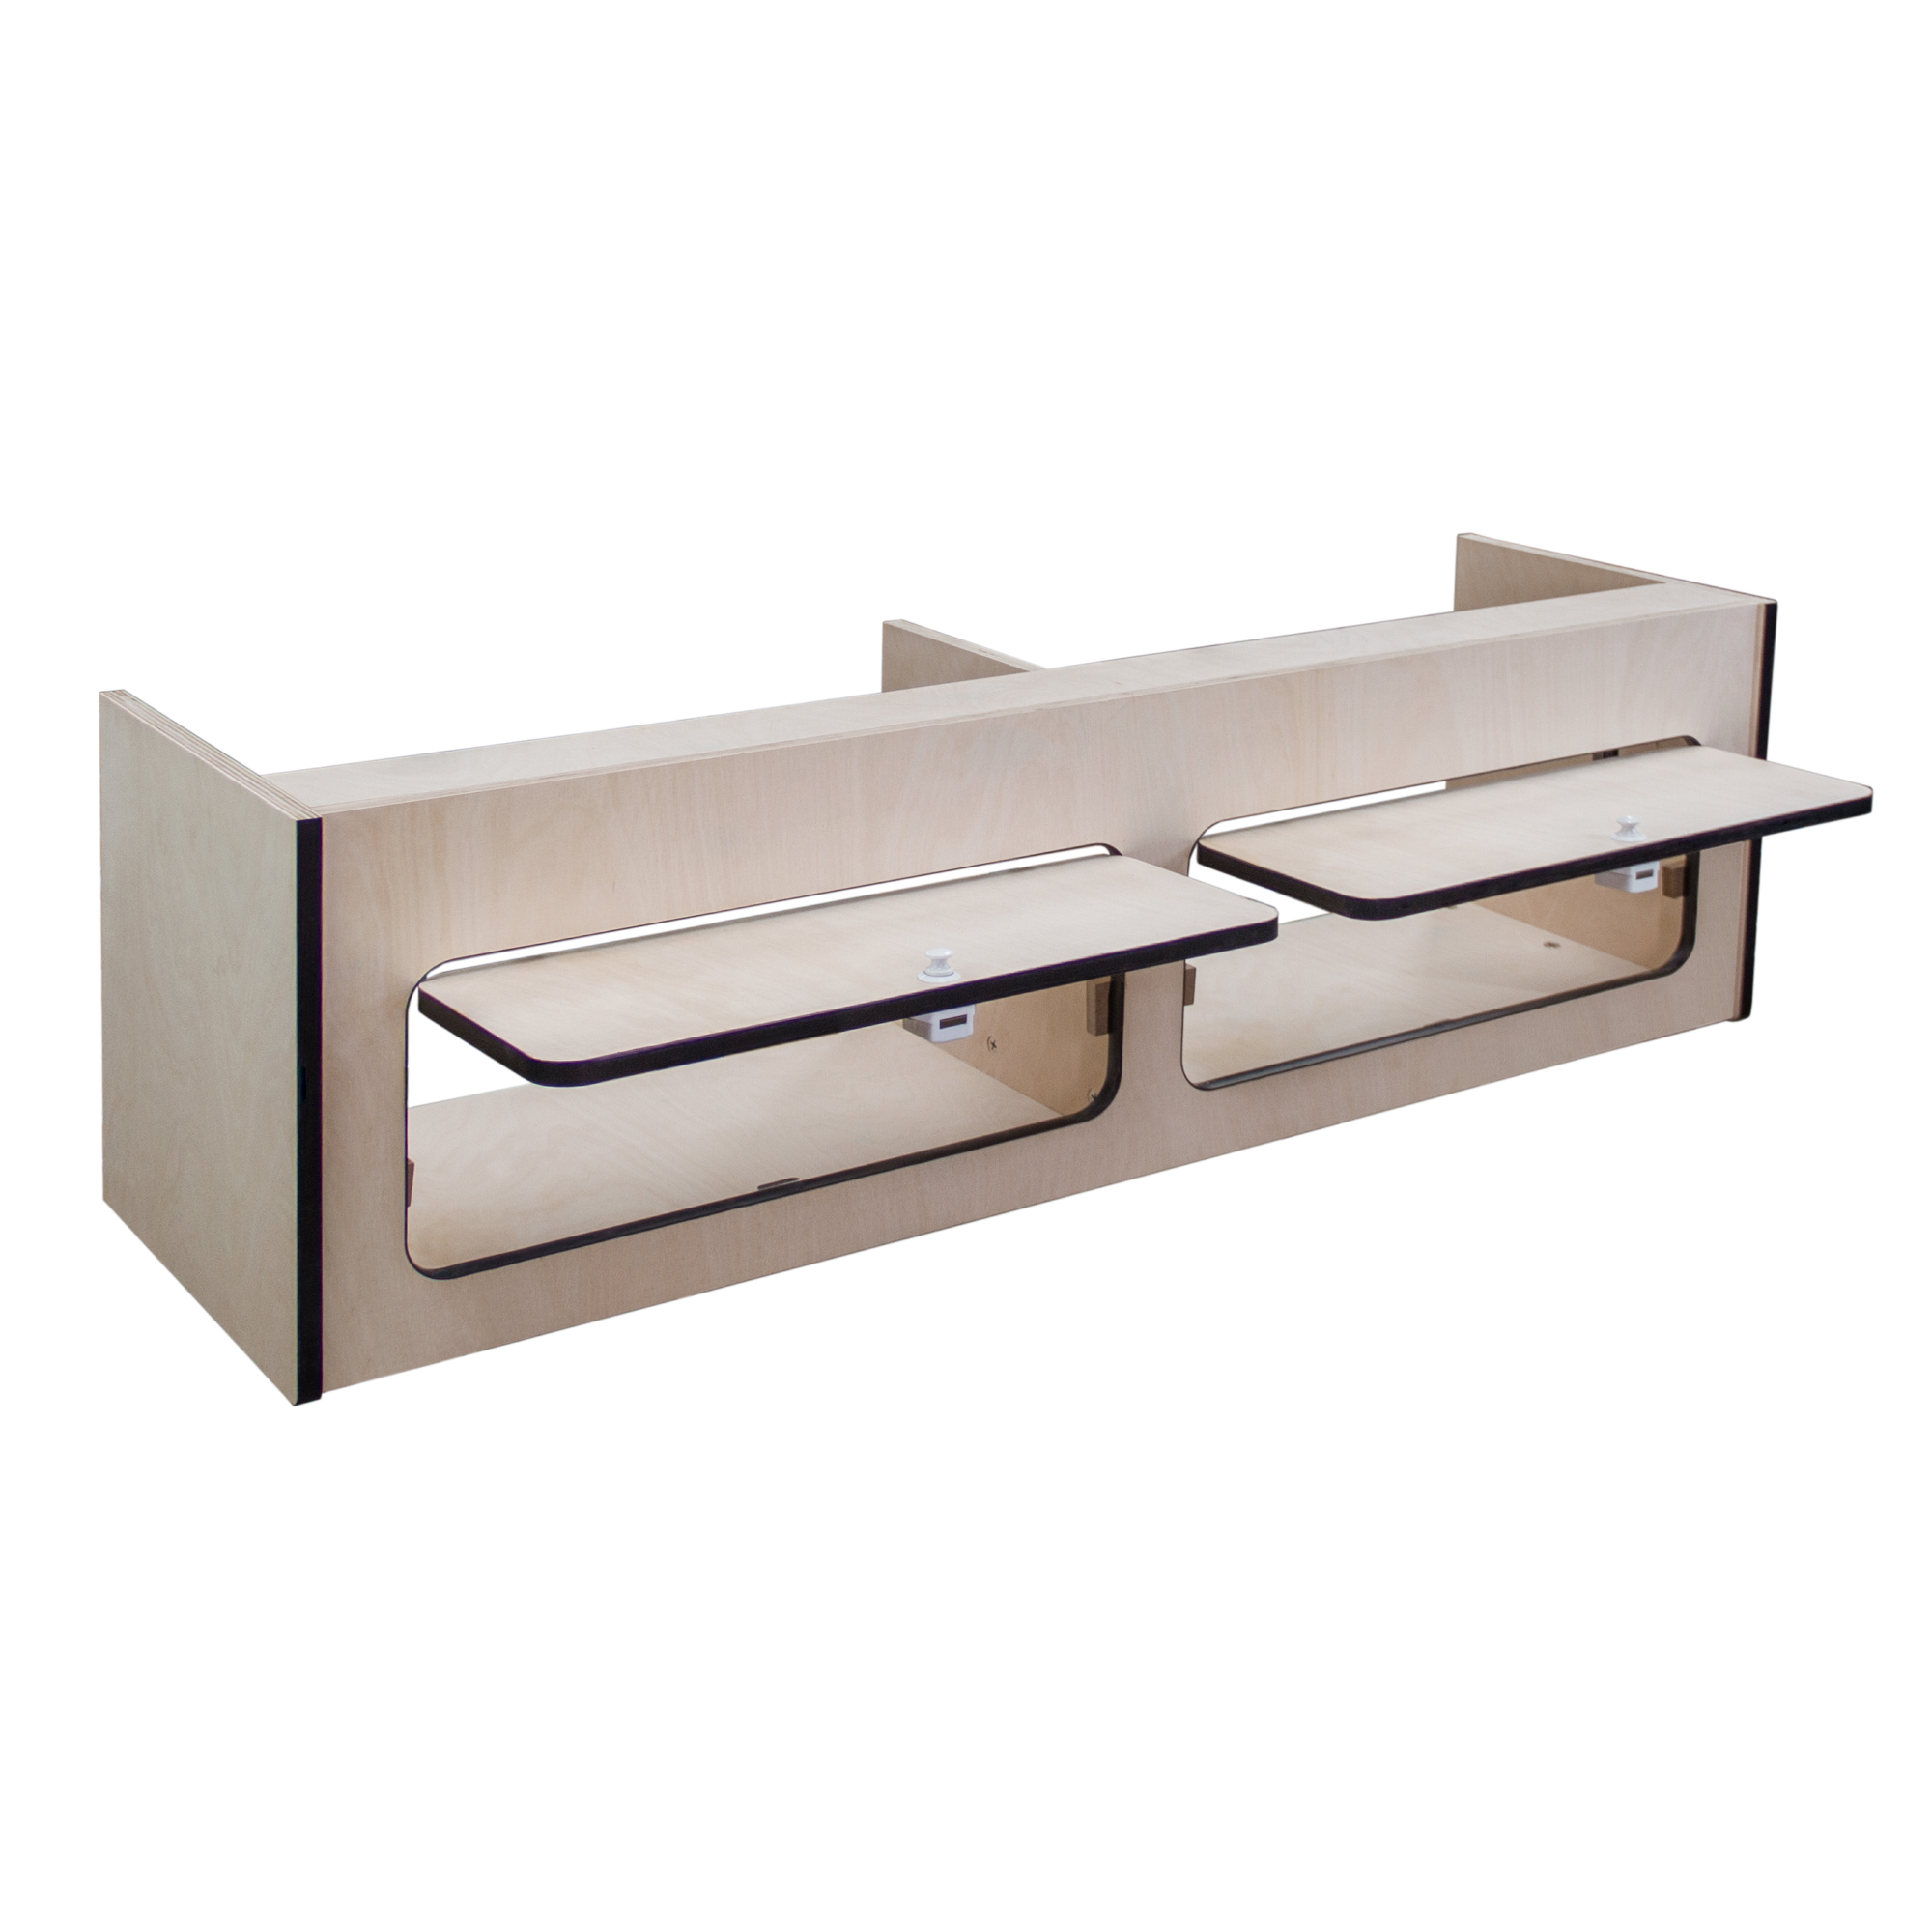 Instructions by monstershop Camper Overhead CabinetUpgrade your van with this 120x25x25cm overhead camper cabinet. Made from durable birch plywood, it features soft-close doors, push-button locks, and a customisable finish. Easy to install and perfect for secure, stylish storage on the road. Product InformationCamper Overhead CabinetOur Monster Camper Overhead Cabinets are designed to provide the perfect storage solution. We offer a wide range of sizes to ensure a perfect fit for your camper van. These cabinets are ideal for any self build project and are a great way to add additional storage in your camper van. View product (opens in new tab)
ToolsScrewdriver Gloves Respiratory PPE Parts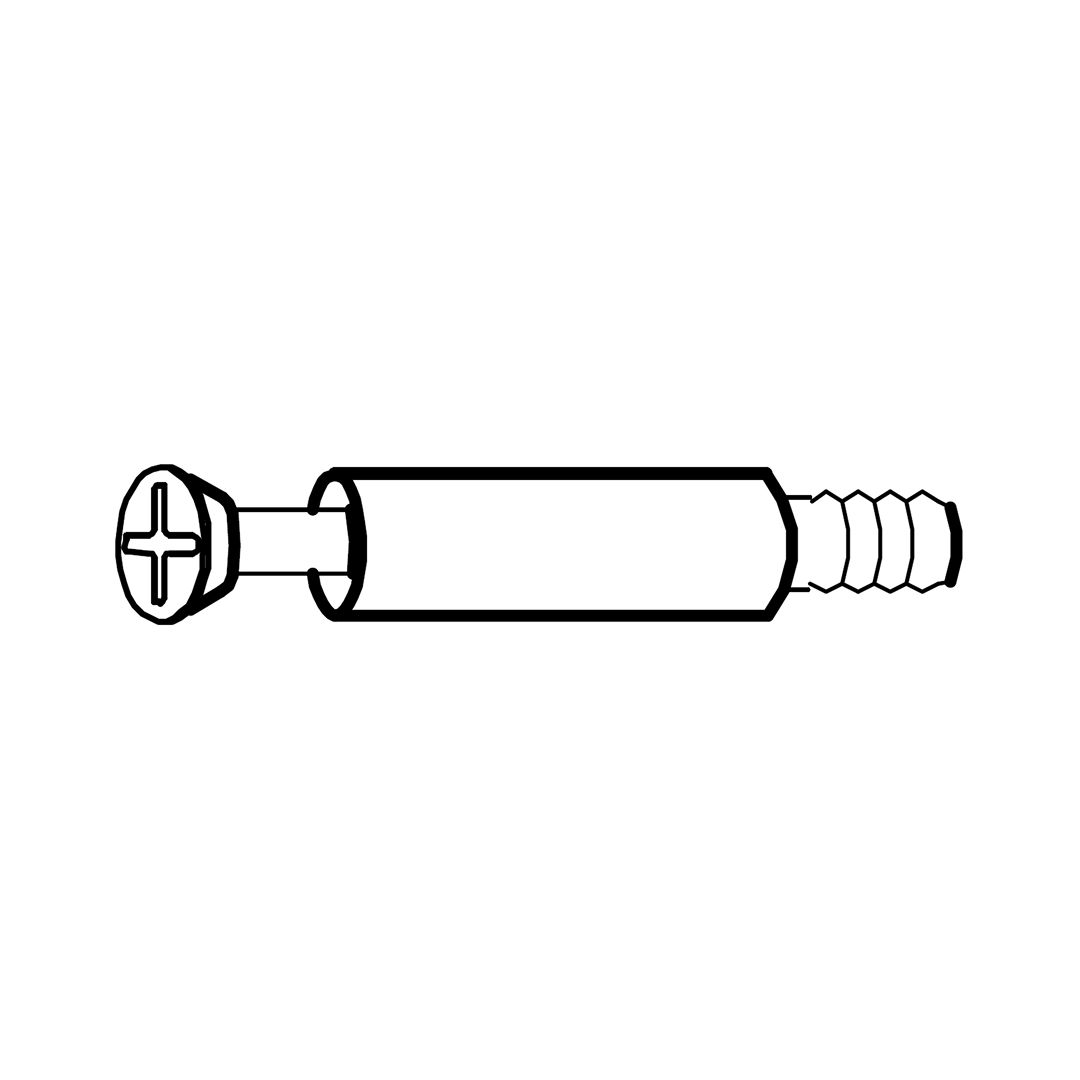 Steel Connectors (A)  Excentre Fittings (B)  Screws (C) 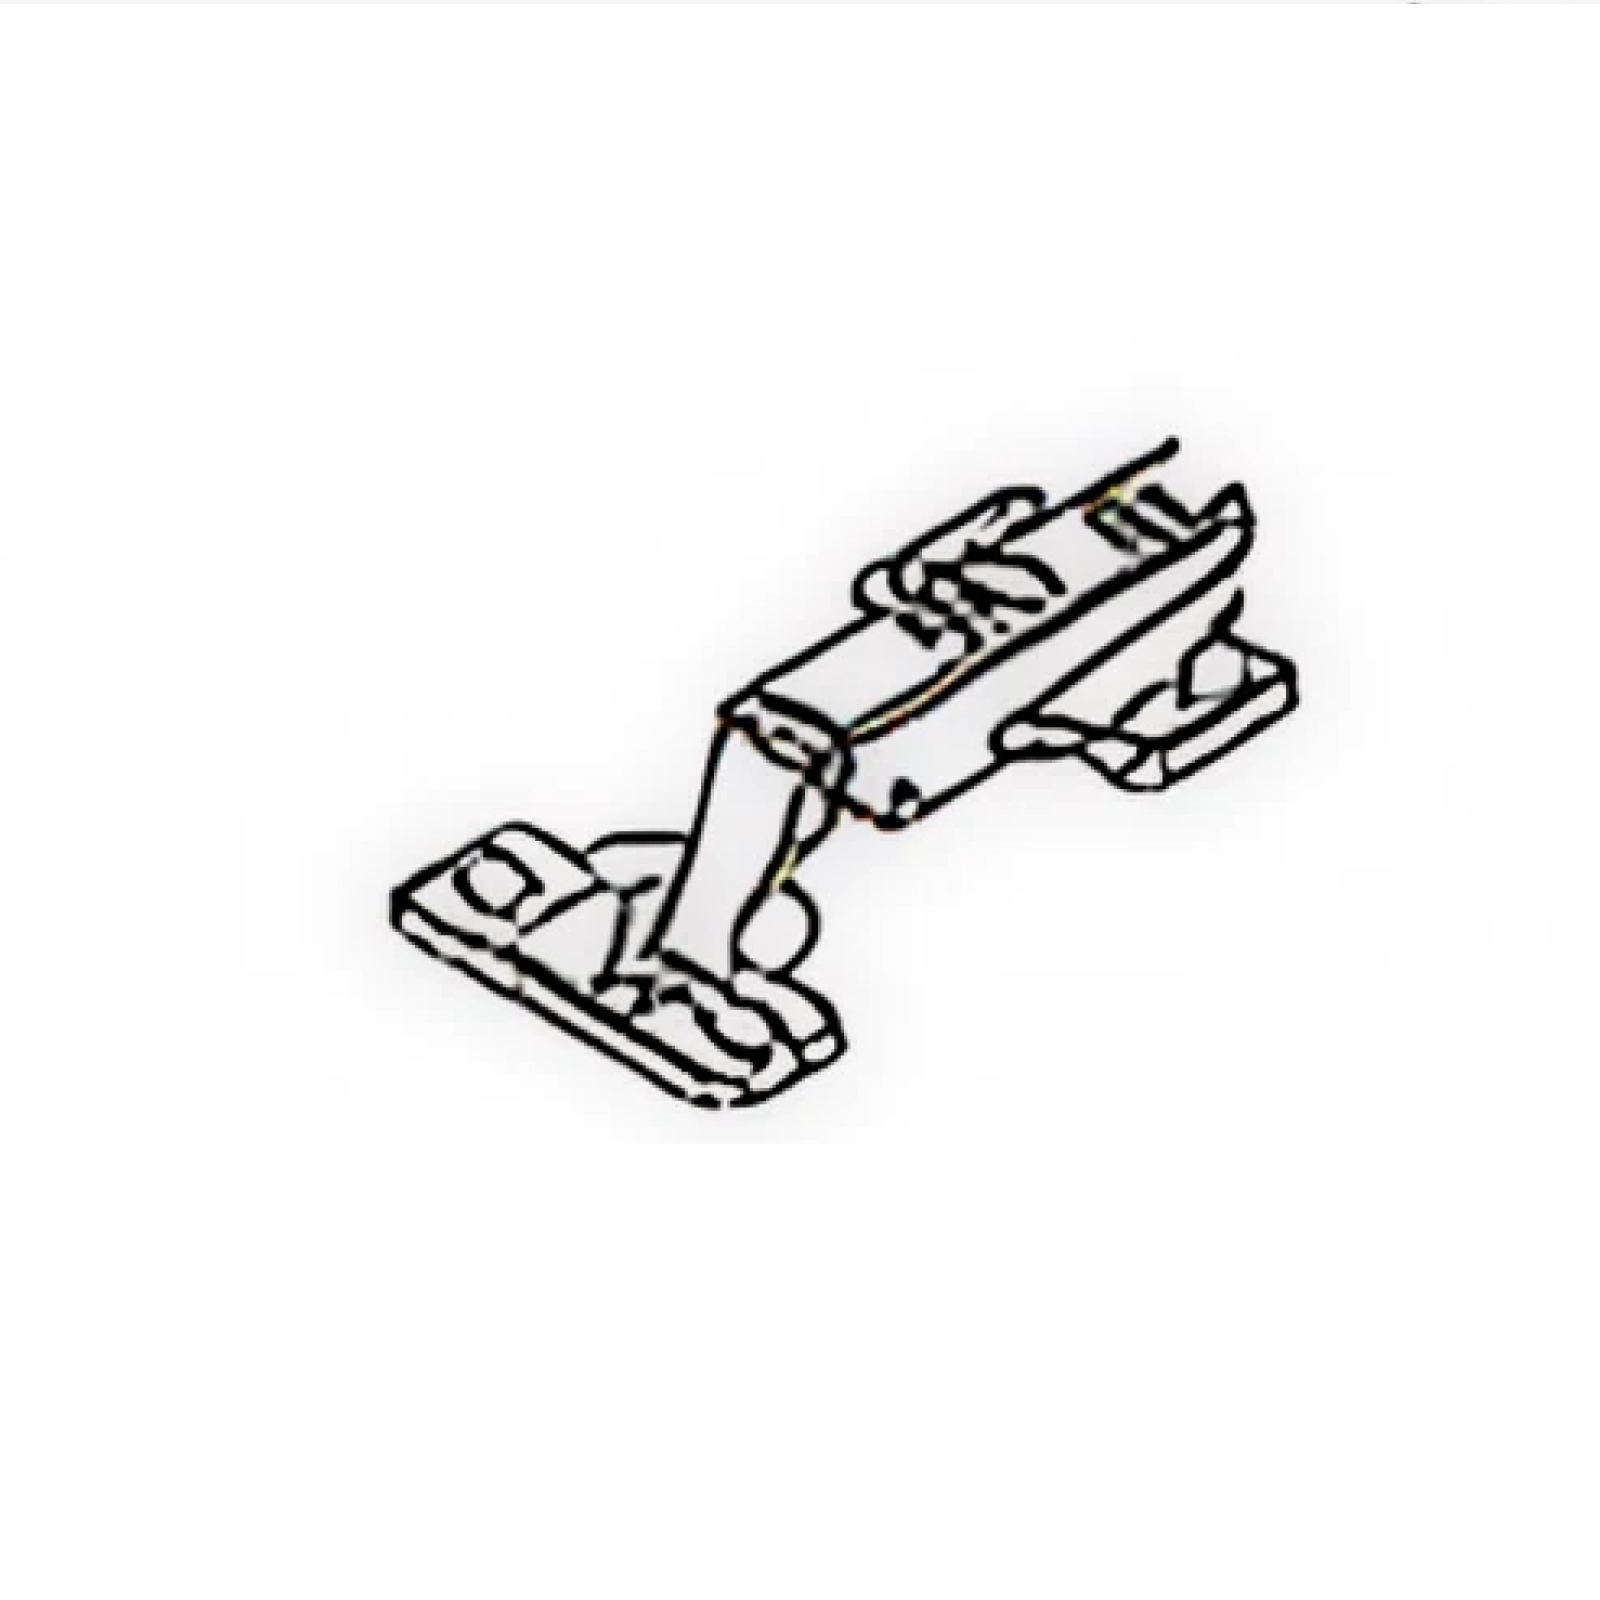 Hinges (D) 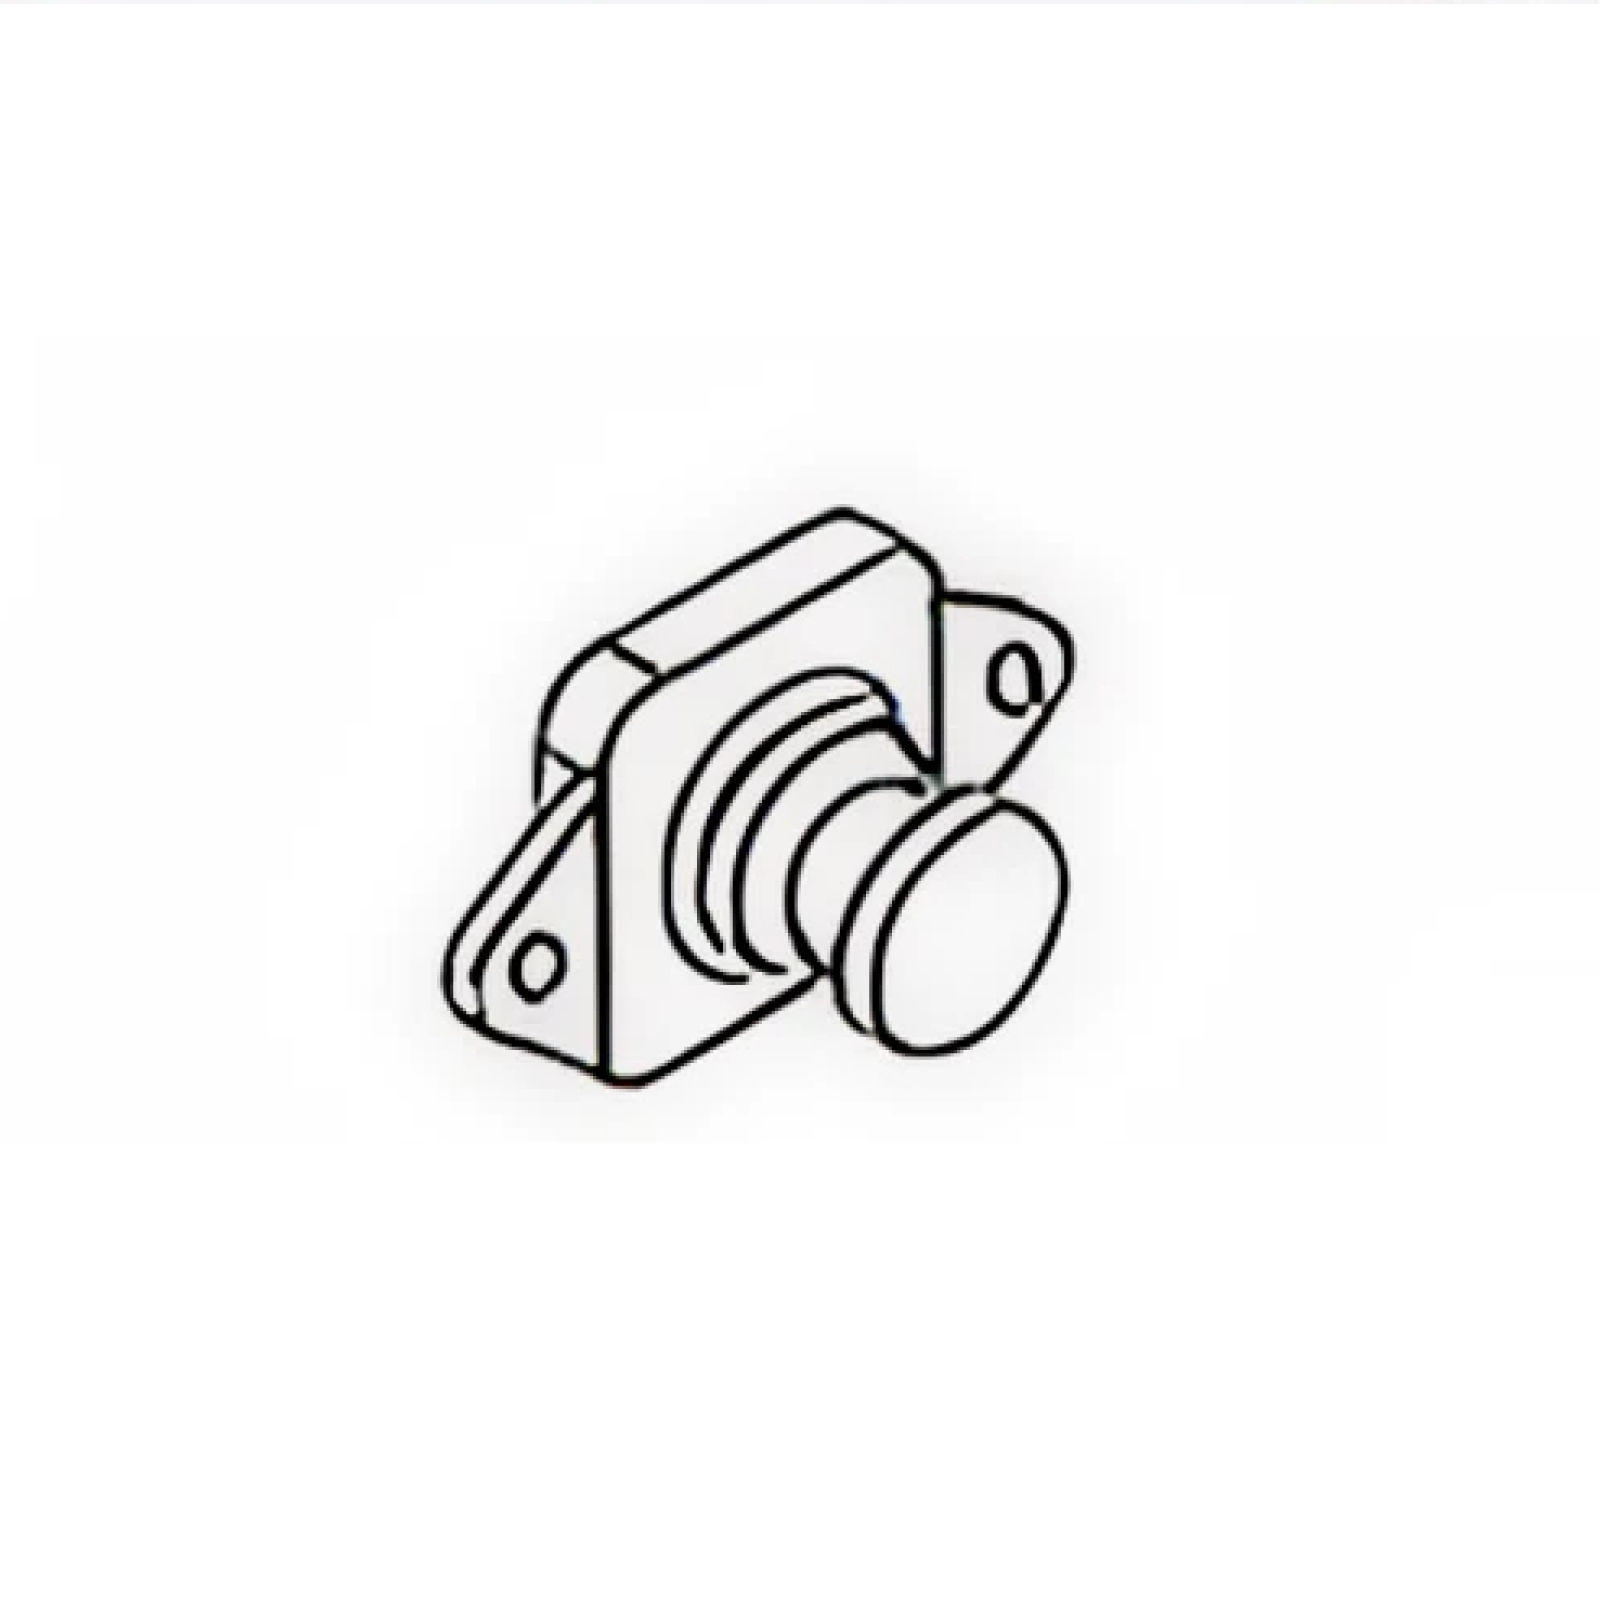 Door Lockers (E) 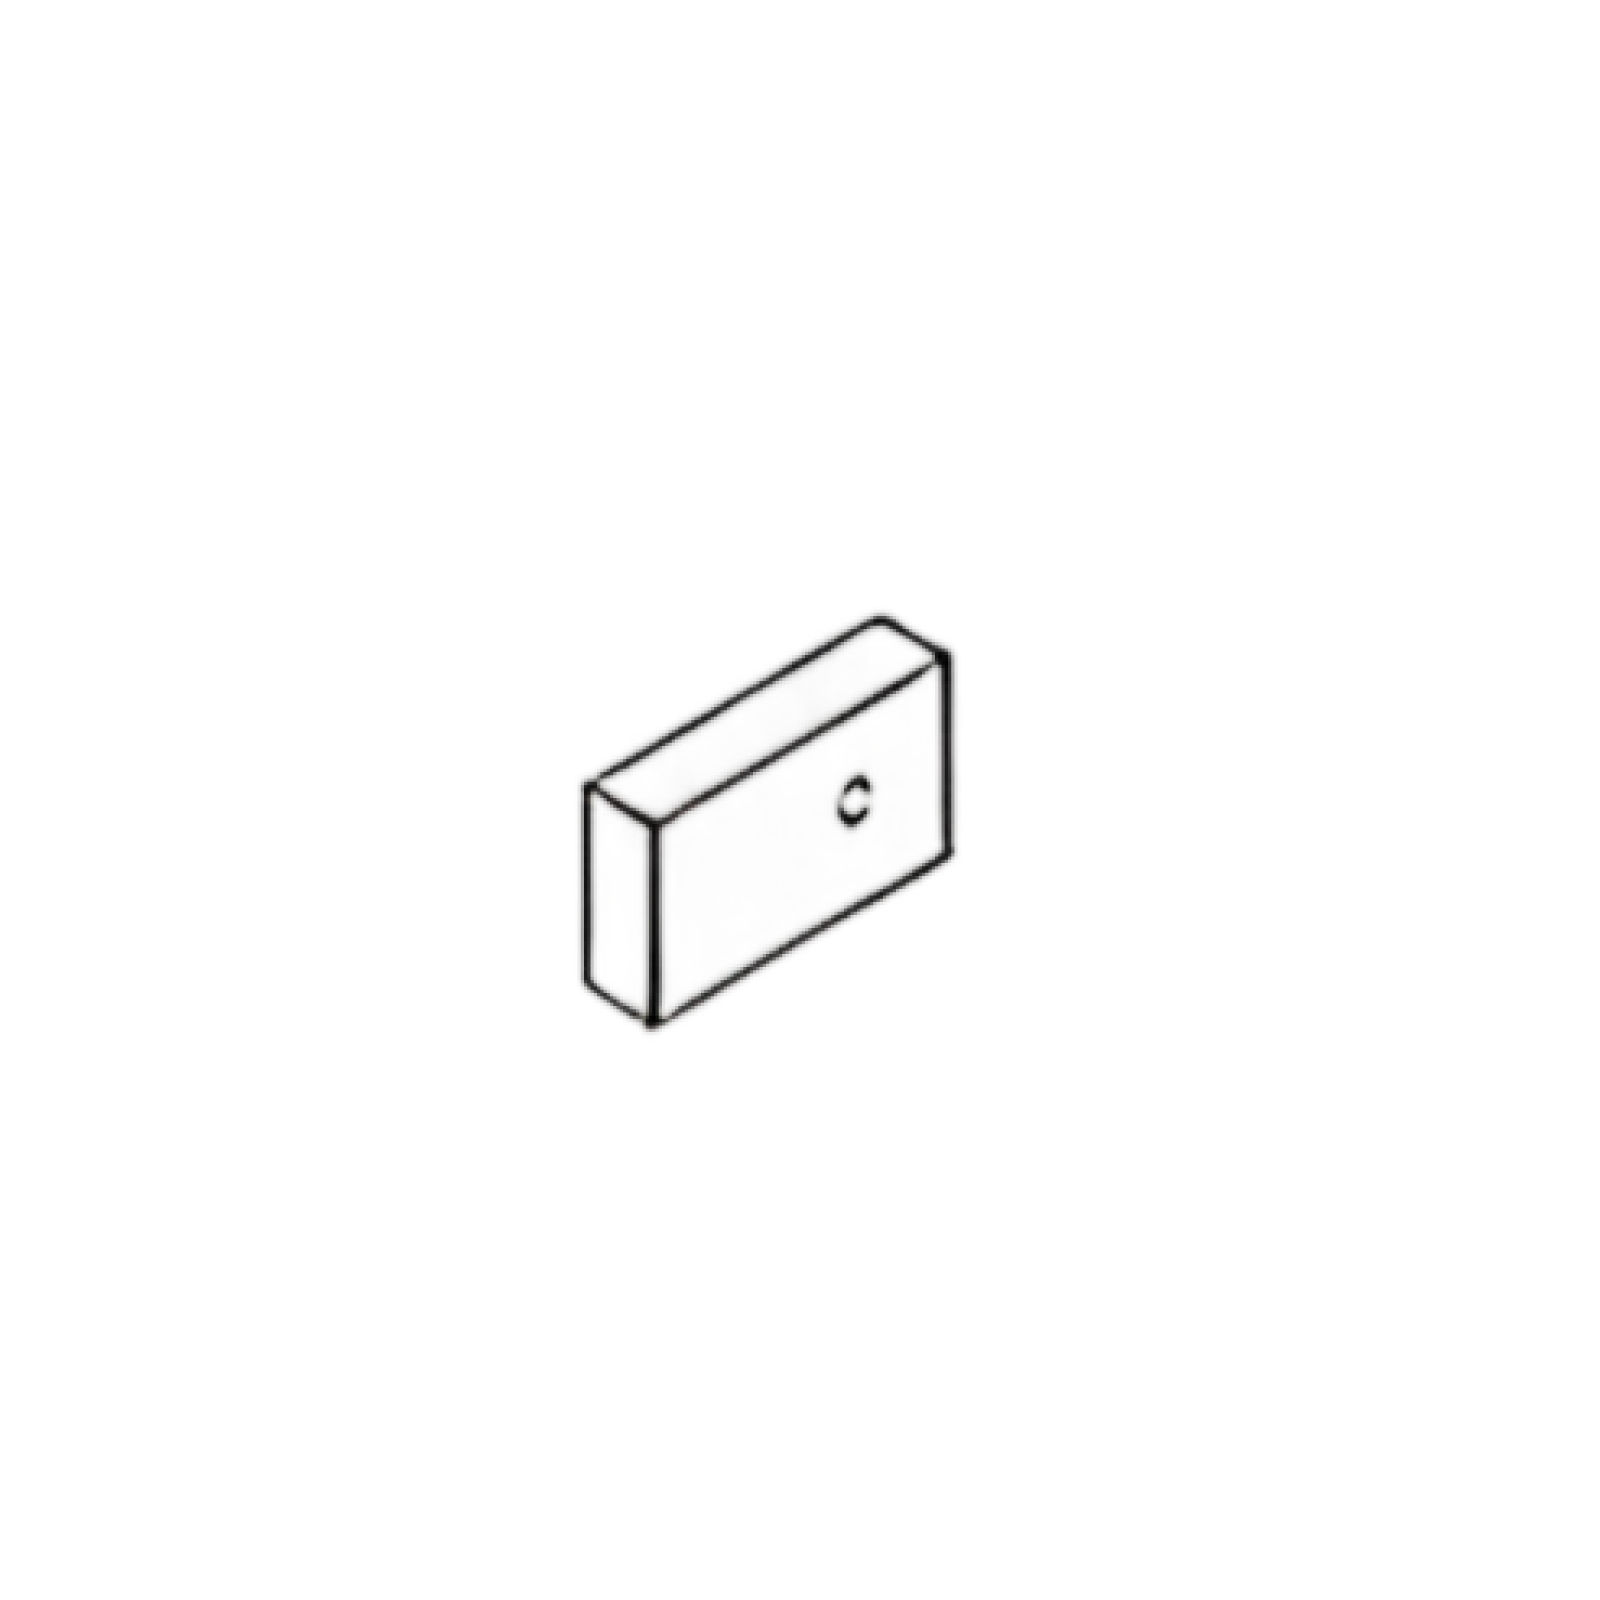 Door Blocks (F) 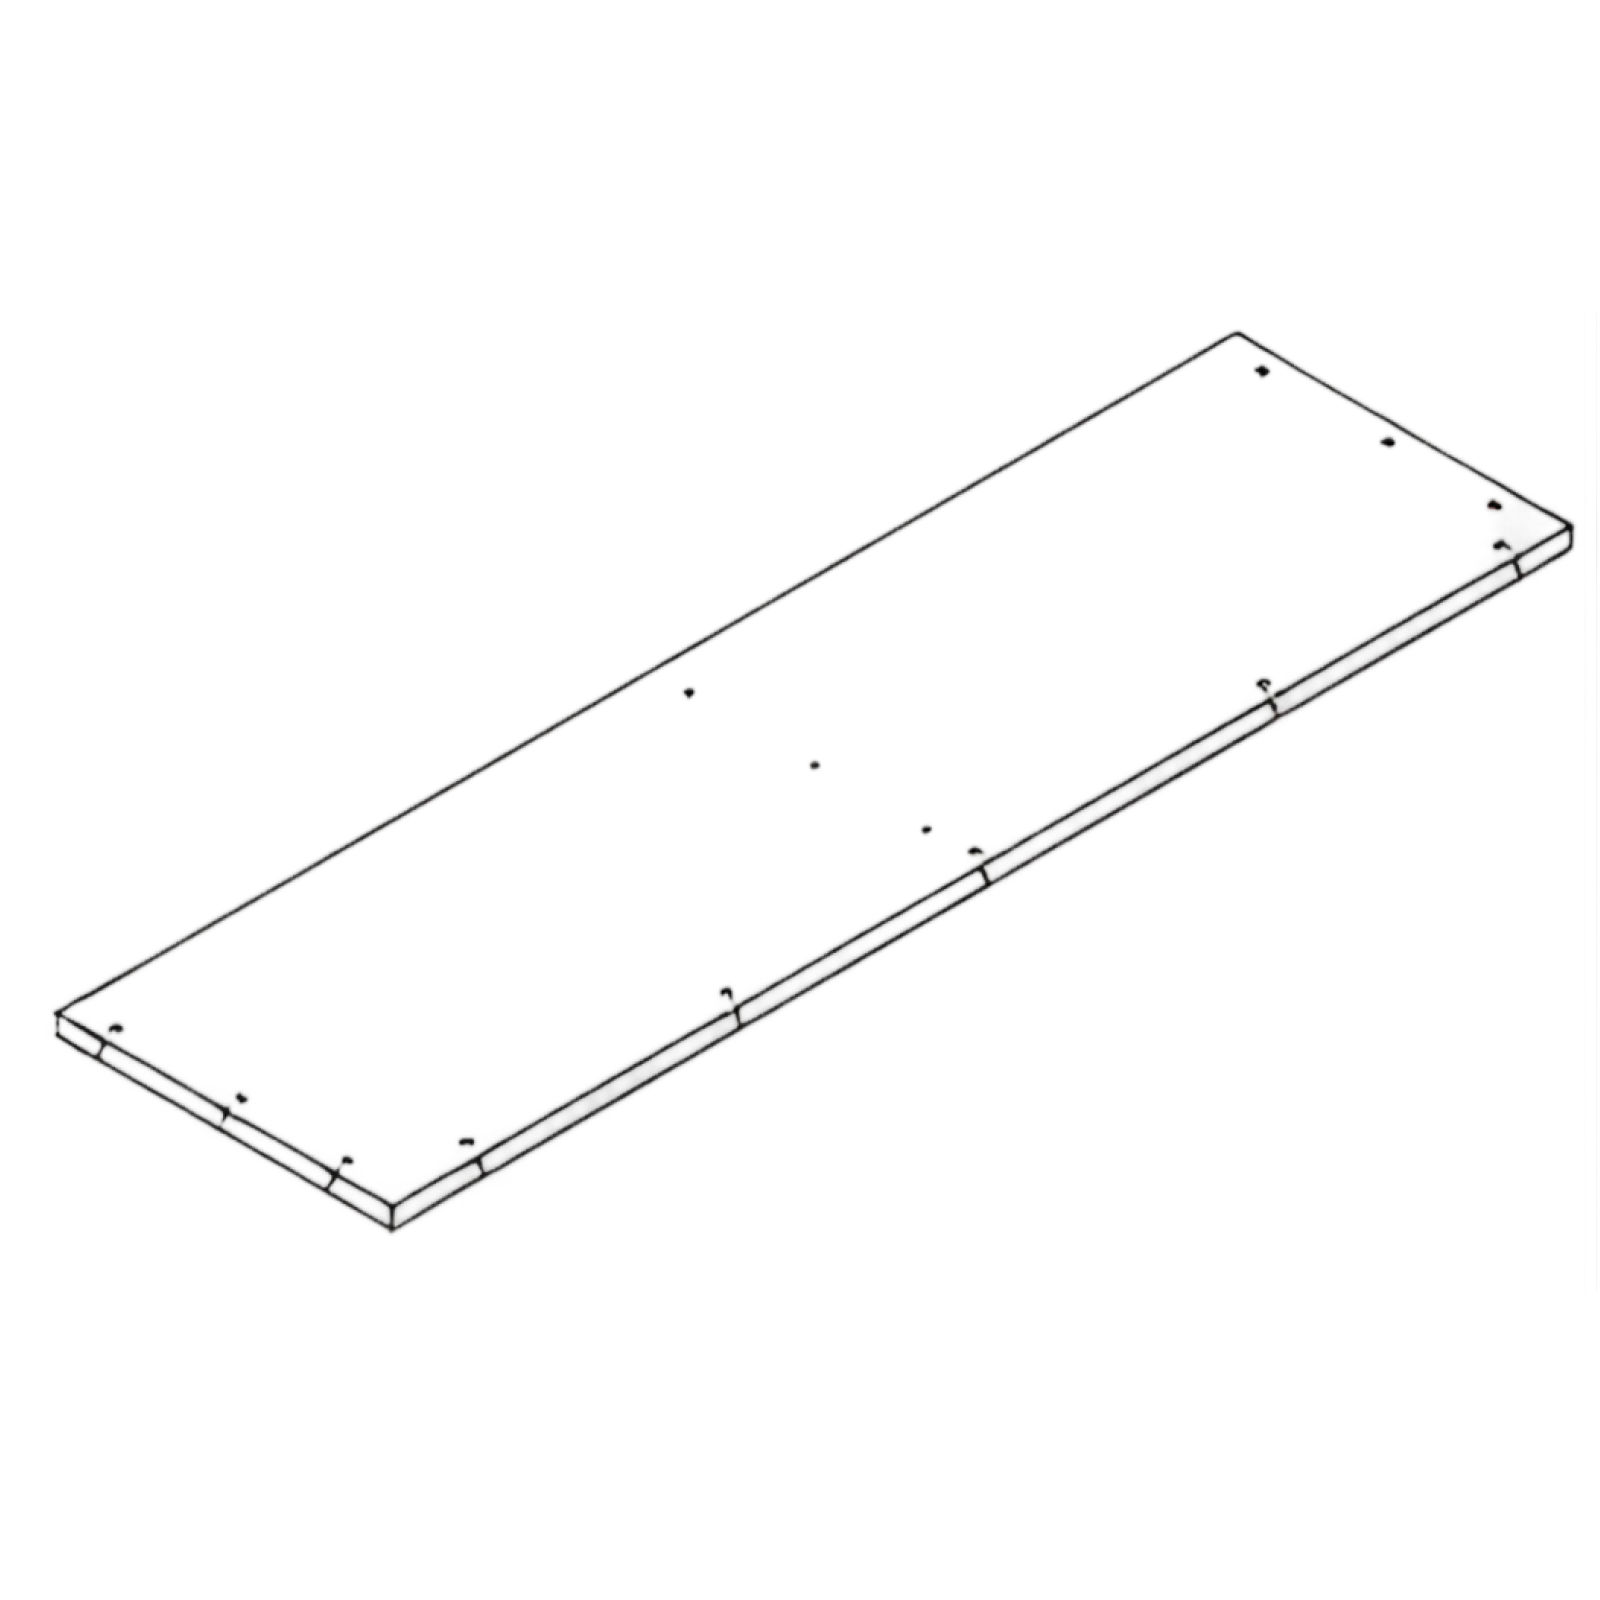 Bottom Panel (Part 1) 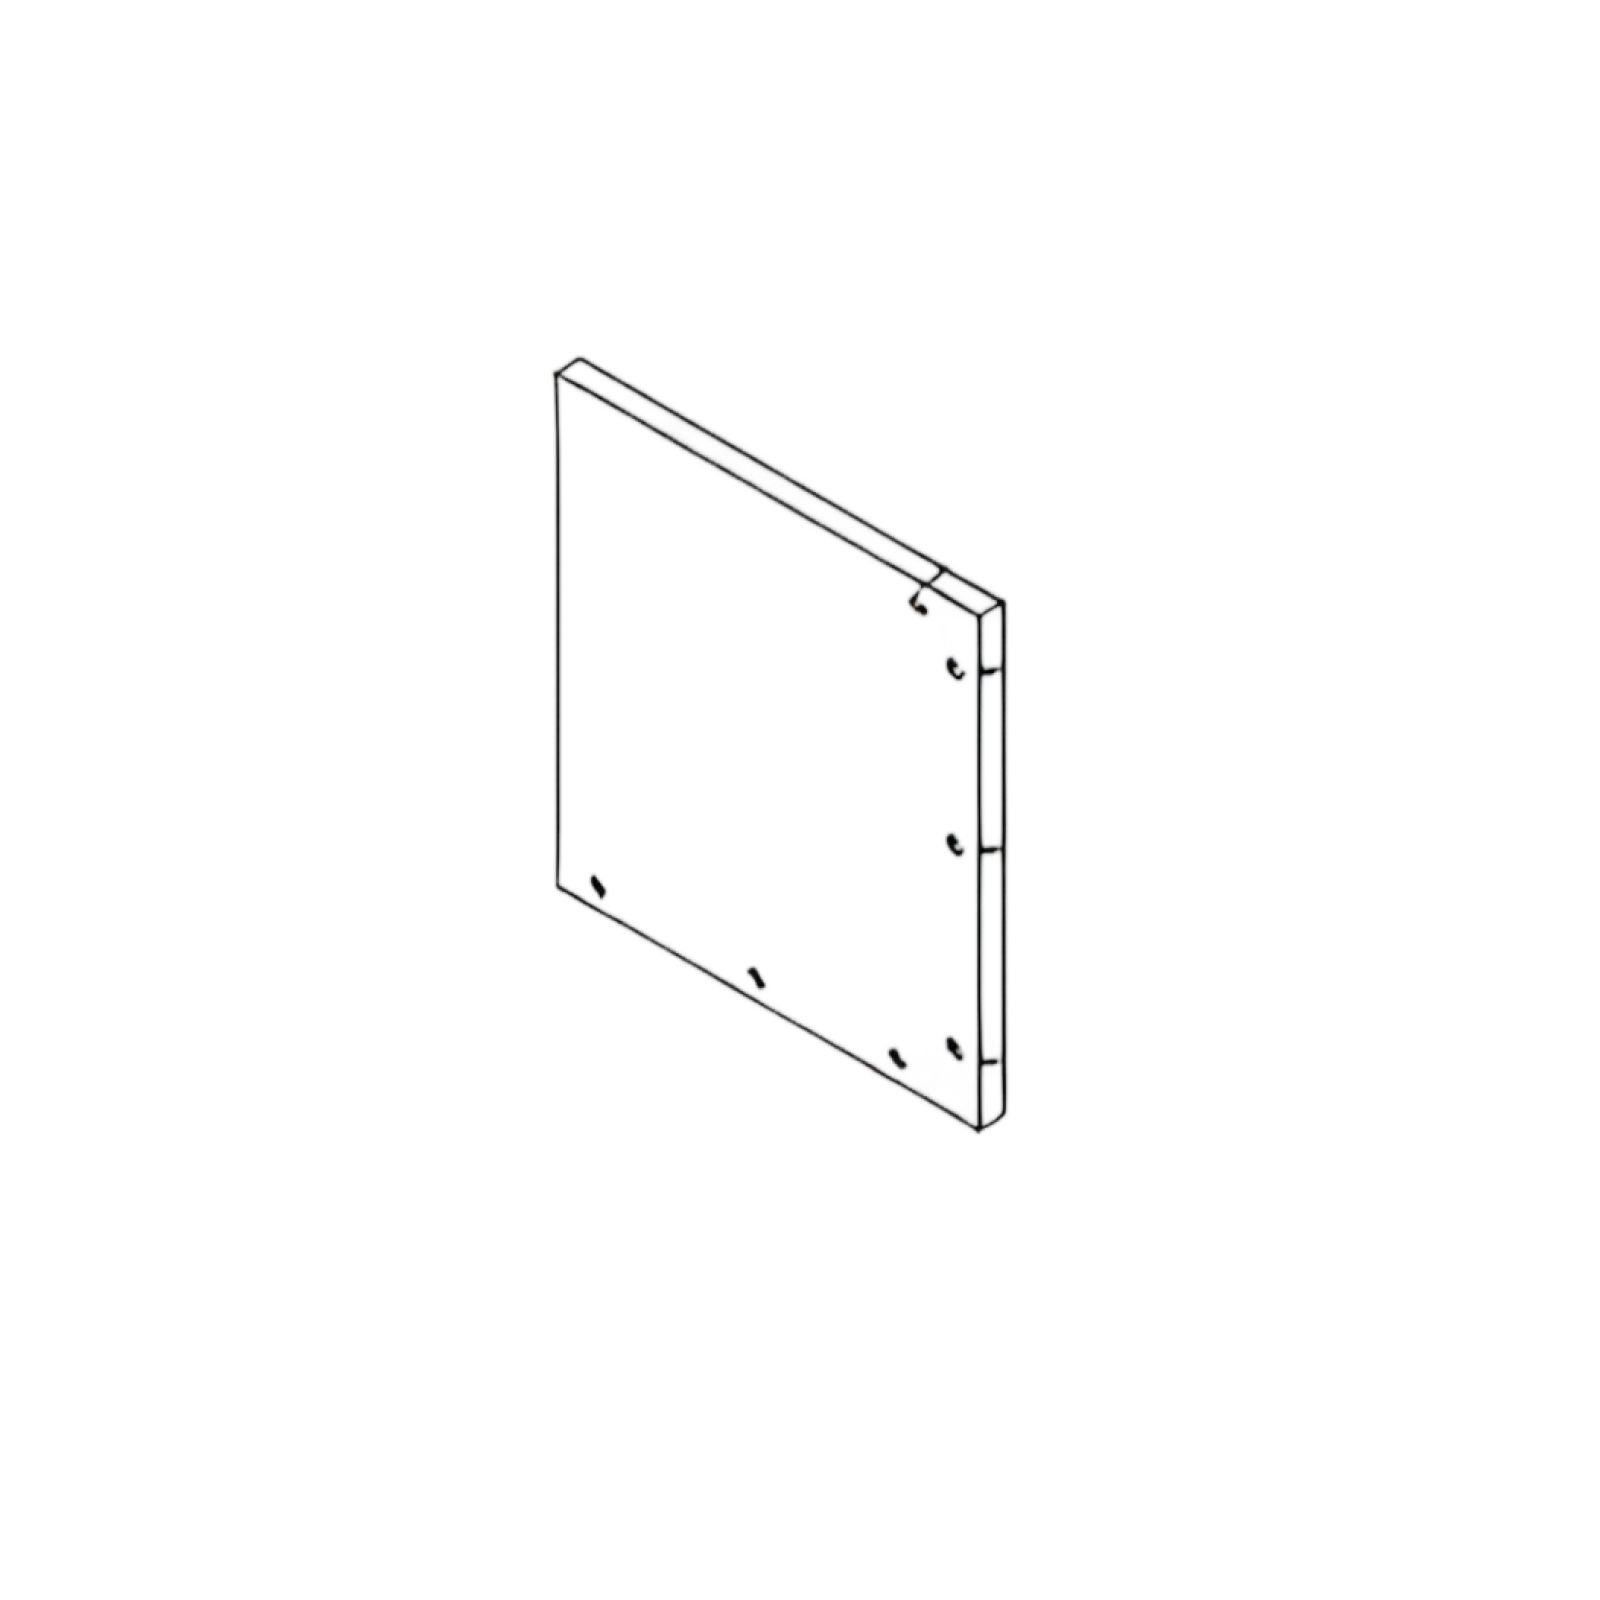 Middle Panel (Part 2) 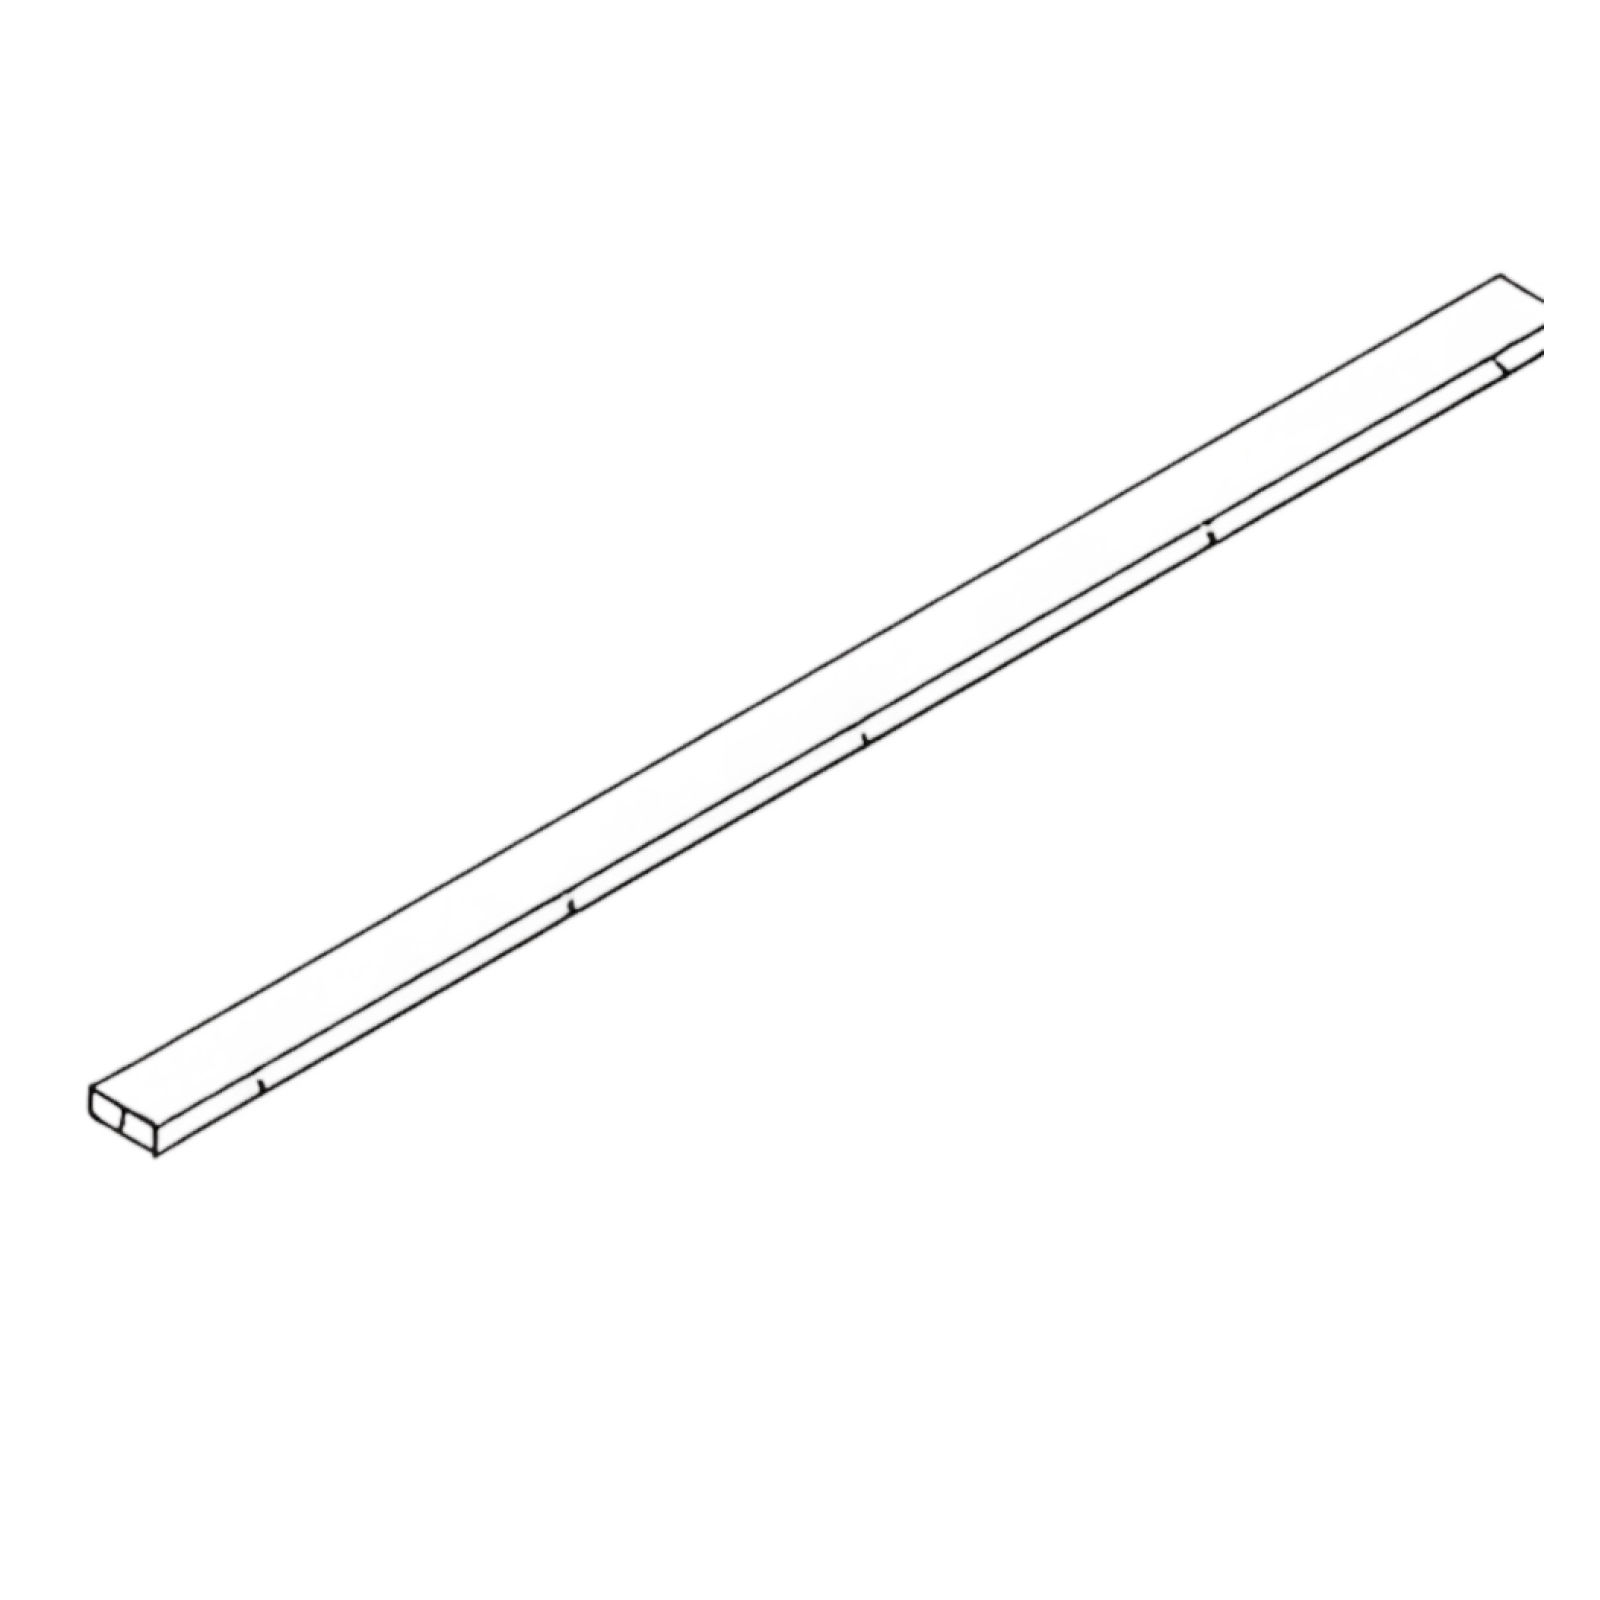 Front Panel (Part 3) 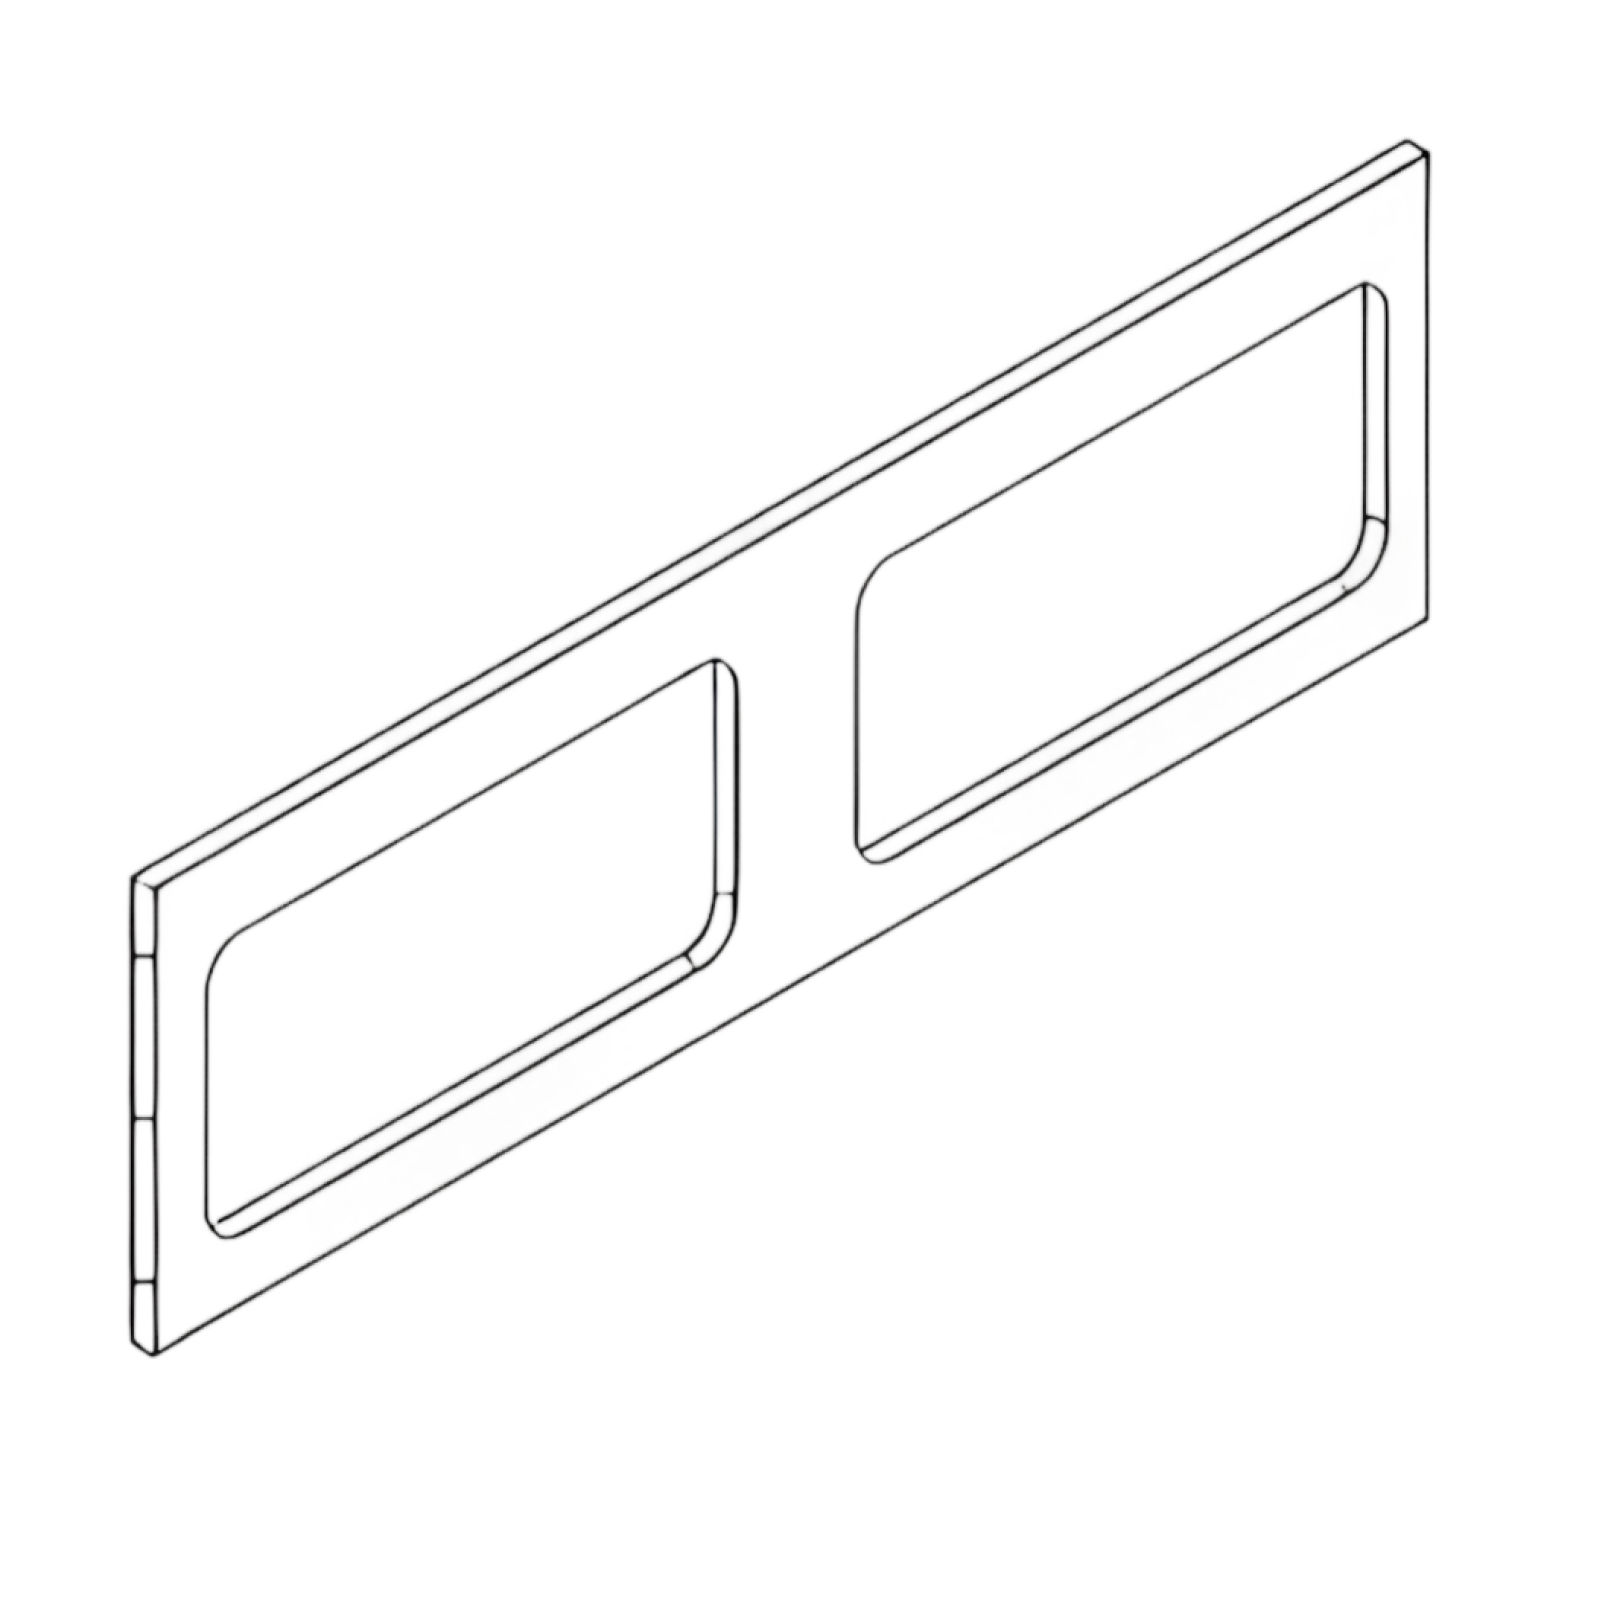 Front Panel (Part 4) 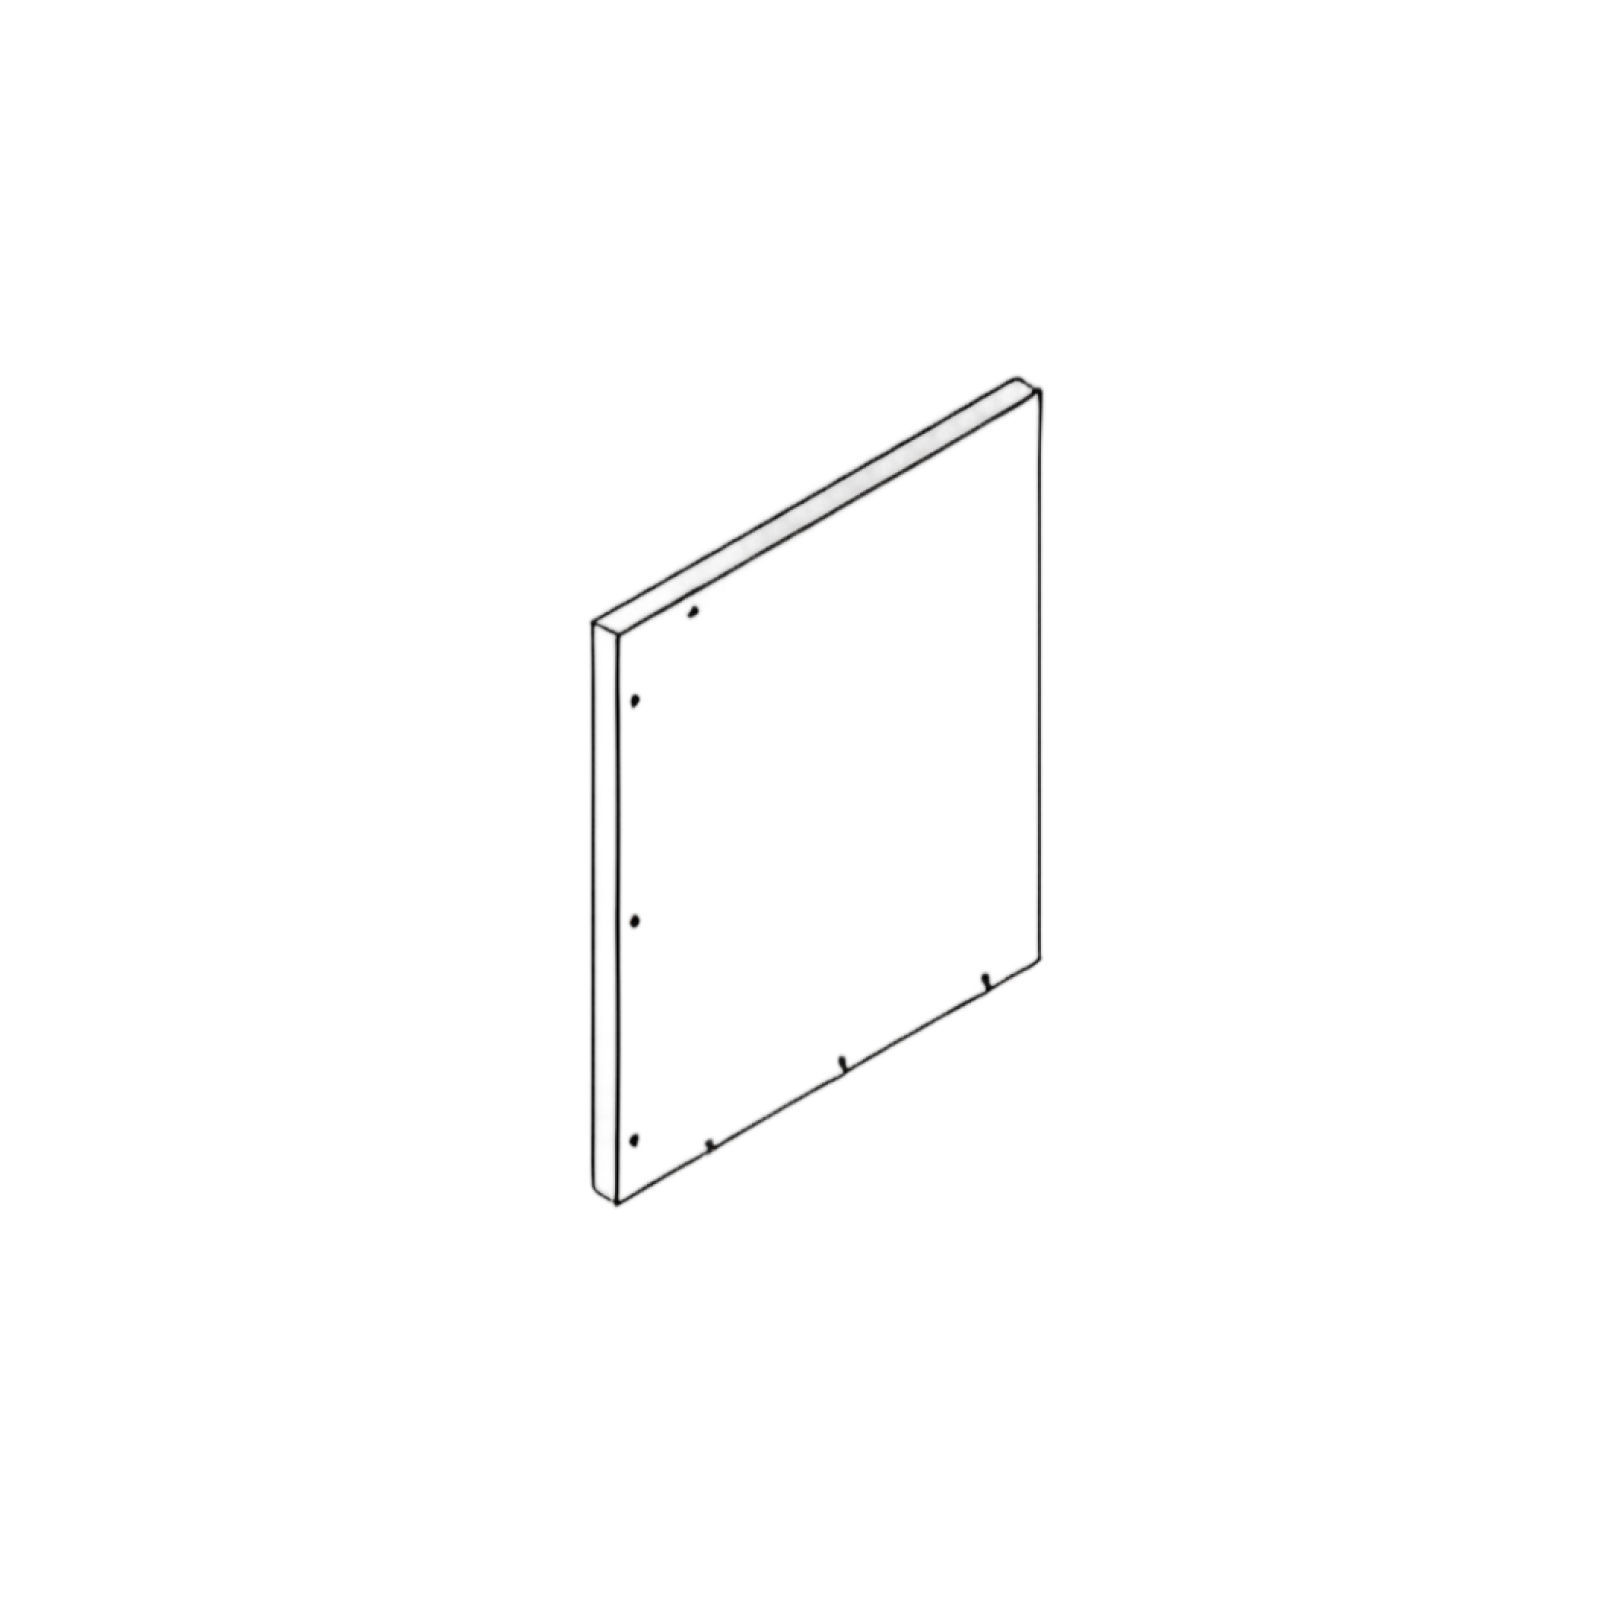 Left Side Panel (Part 5) 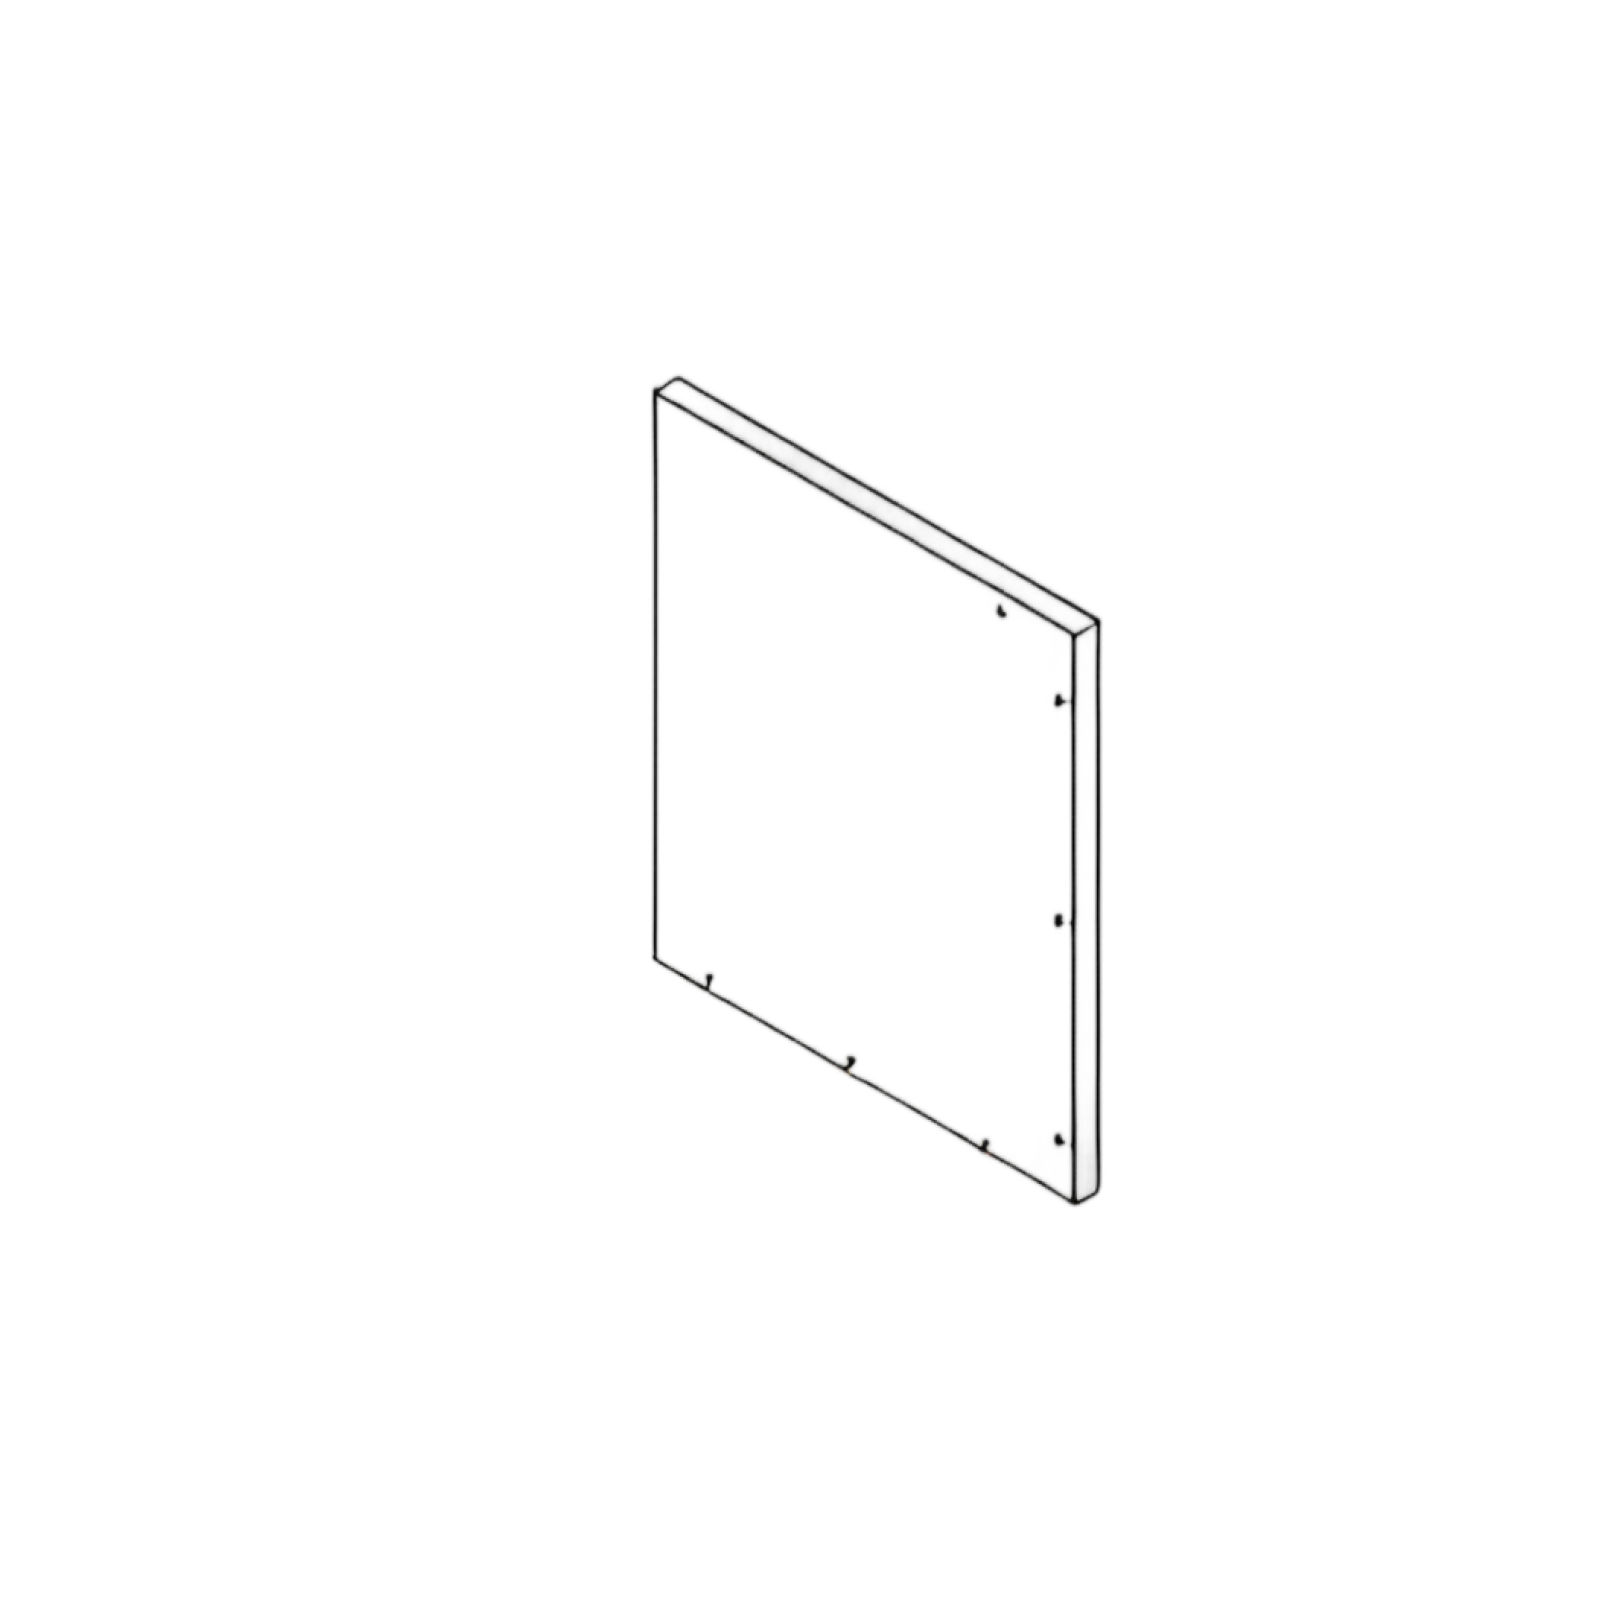 Right Side Panel (Part 6) 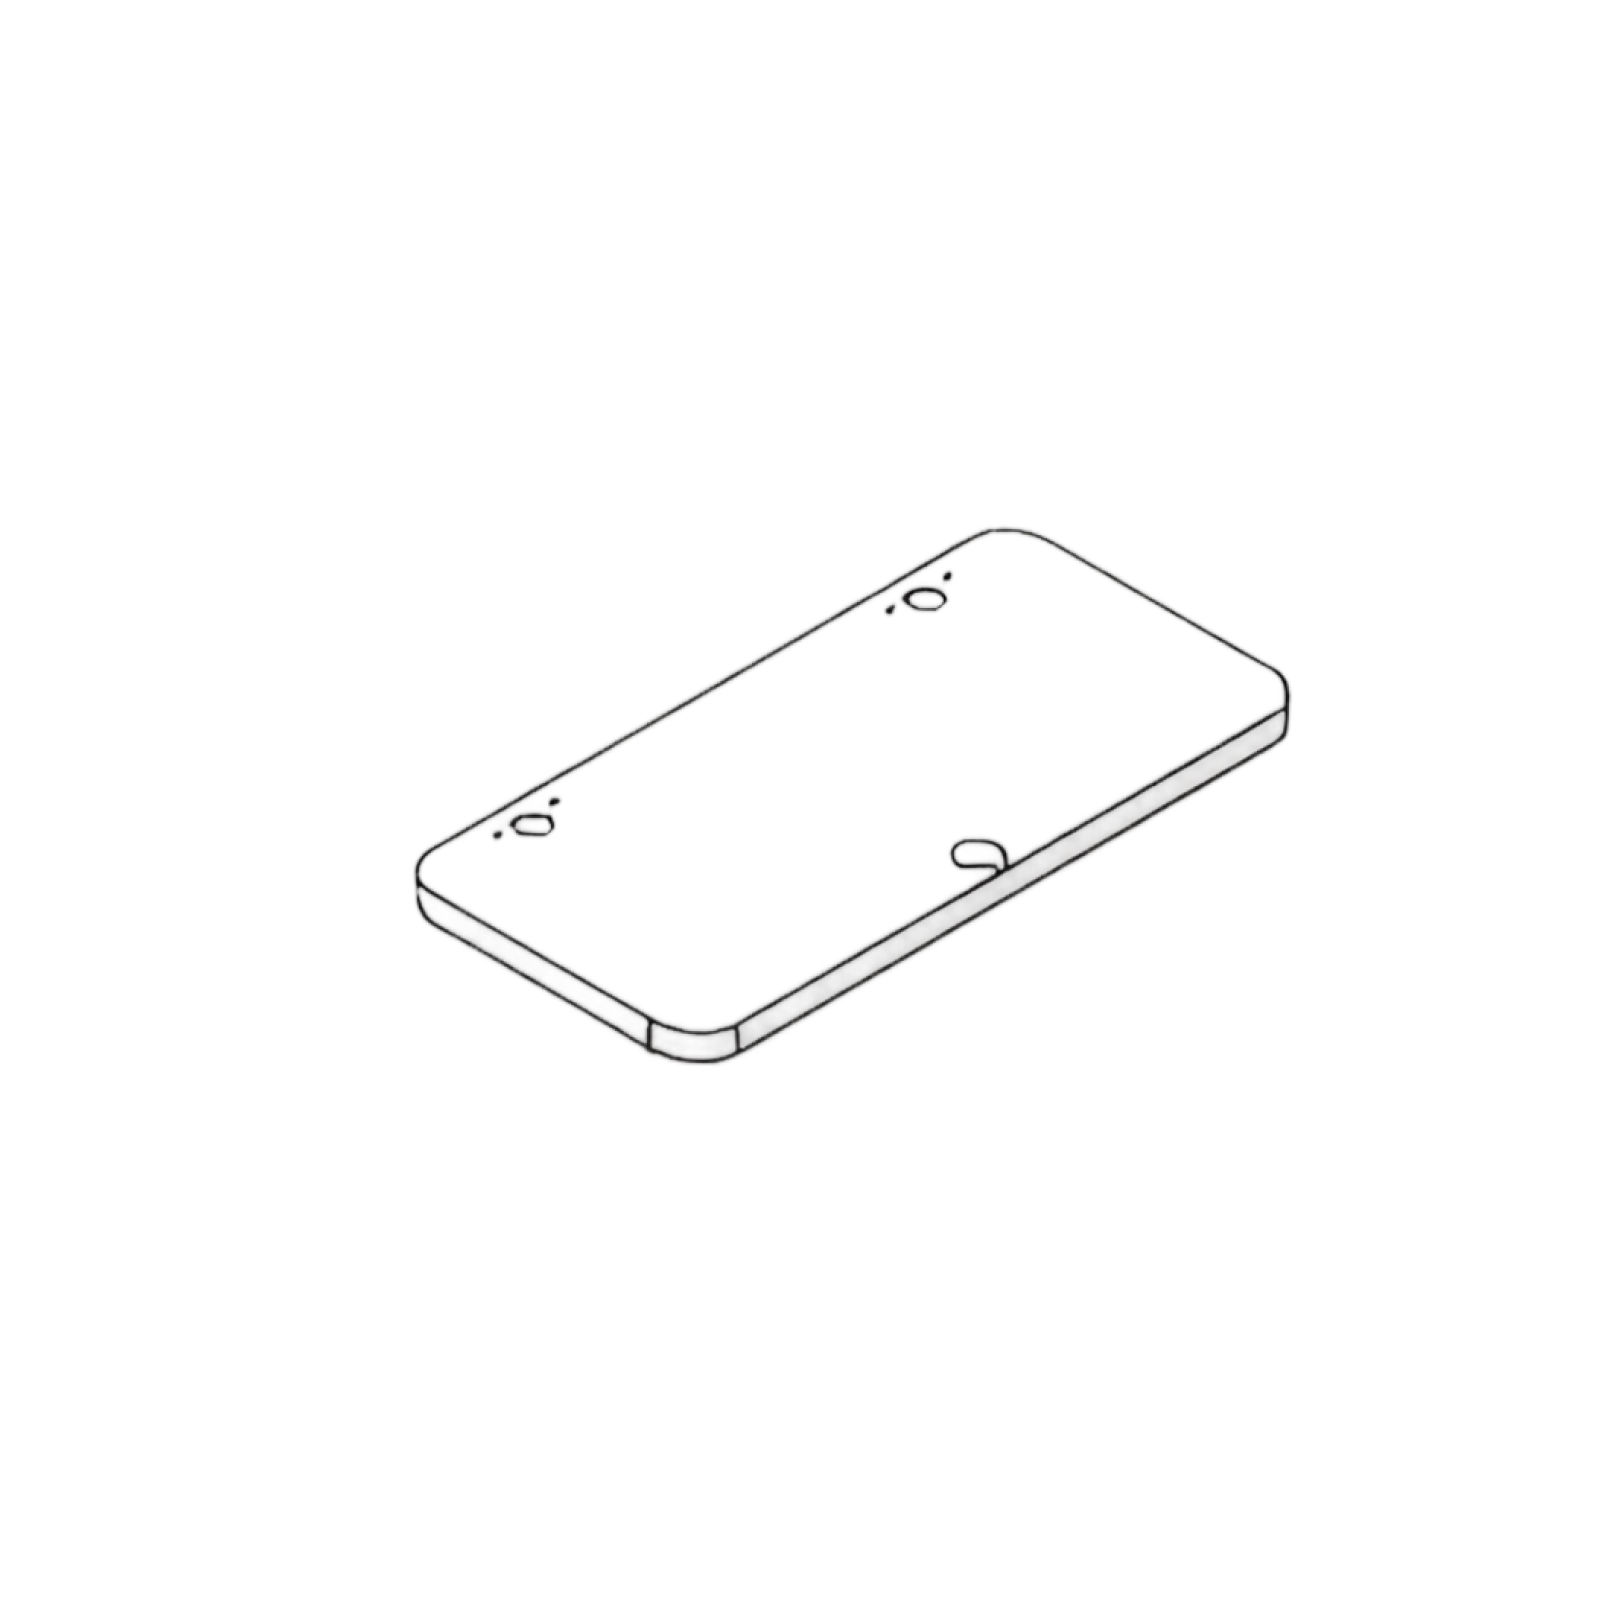 Doors (Parts 7 and 8) 1. Attaching Front and Bottom Panels to Middle PanelAttach the front panel (part 3) and bottom panel (part 1) to the middle panel (part 2) using Excentre fittings (B) and steel connectors (A). Ensure all connections are secure and aligned properly. 2. Attaching Hinges to Front Panel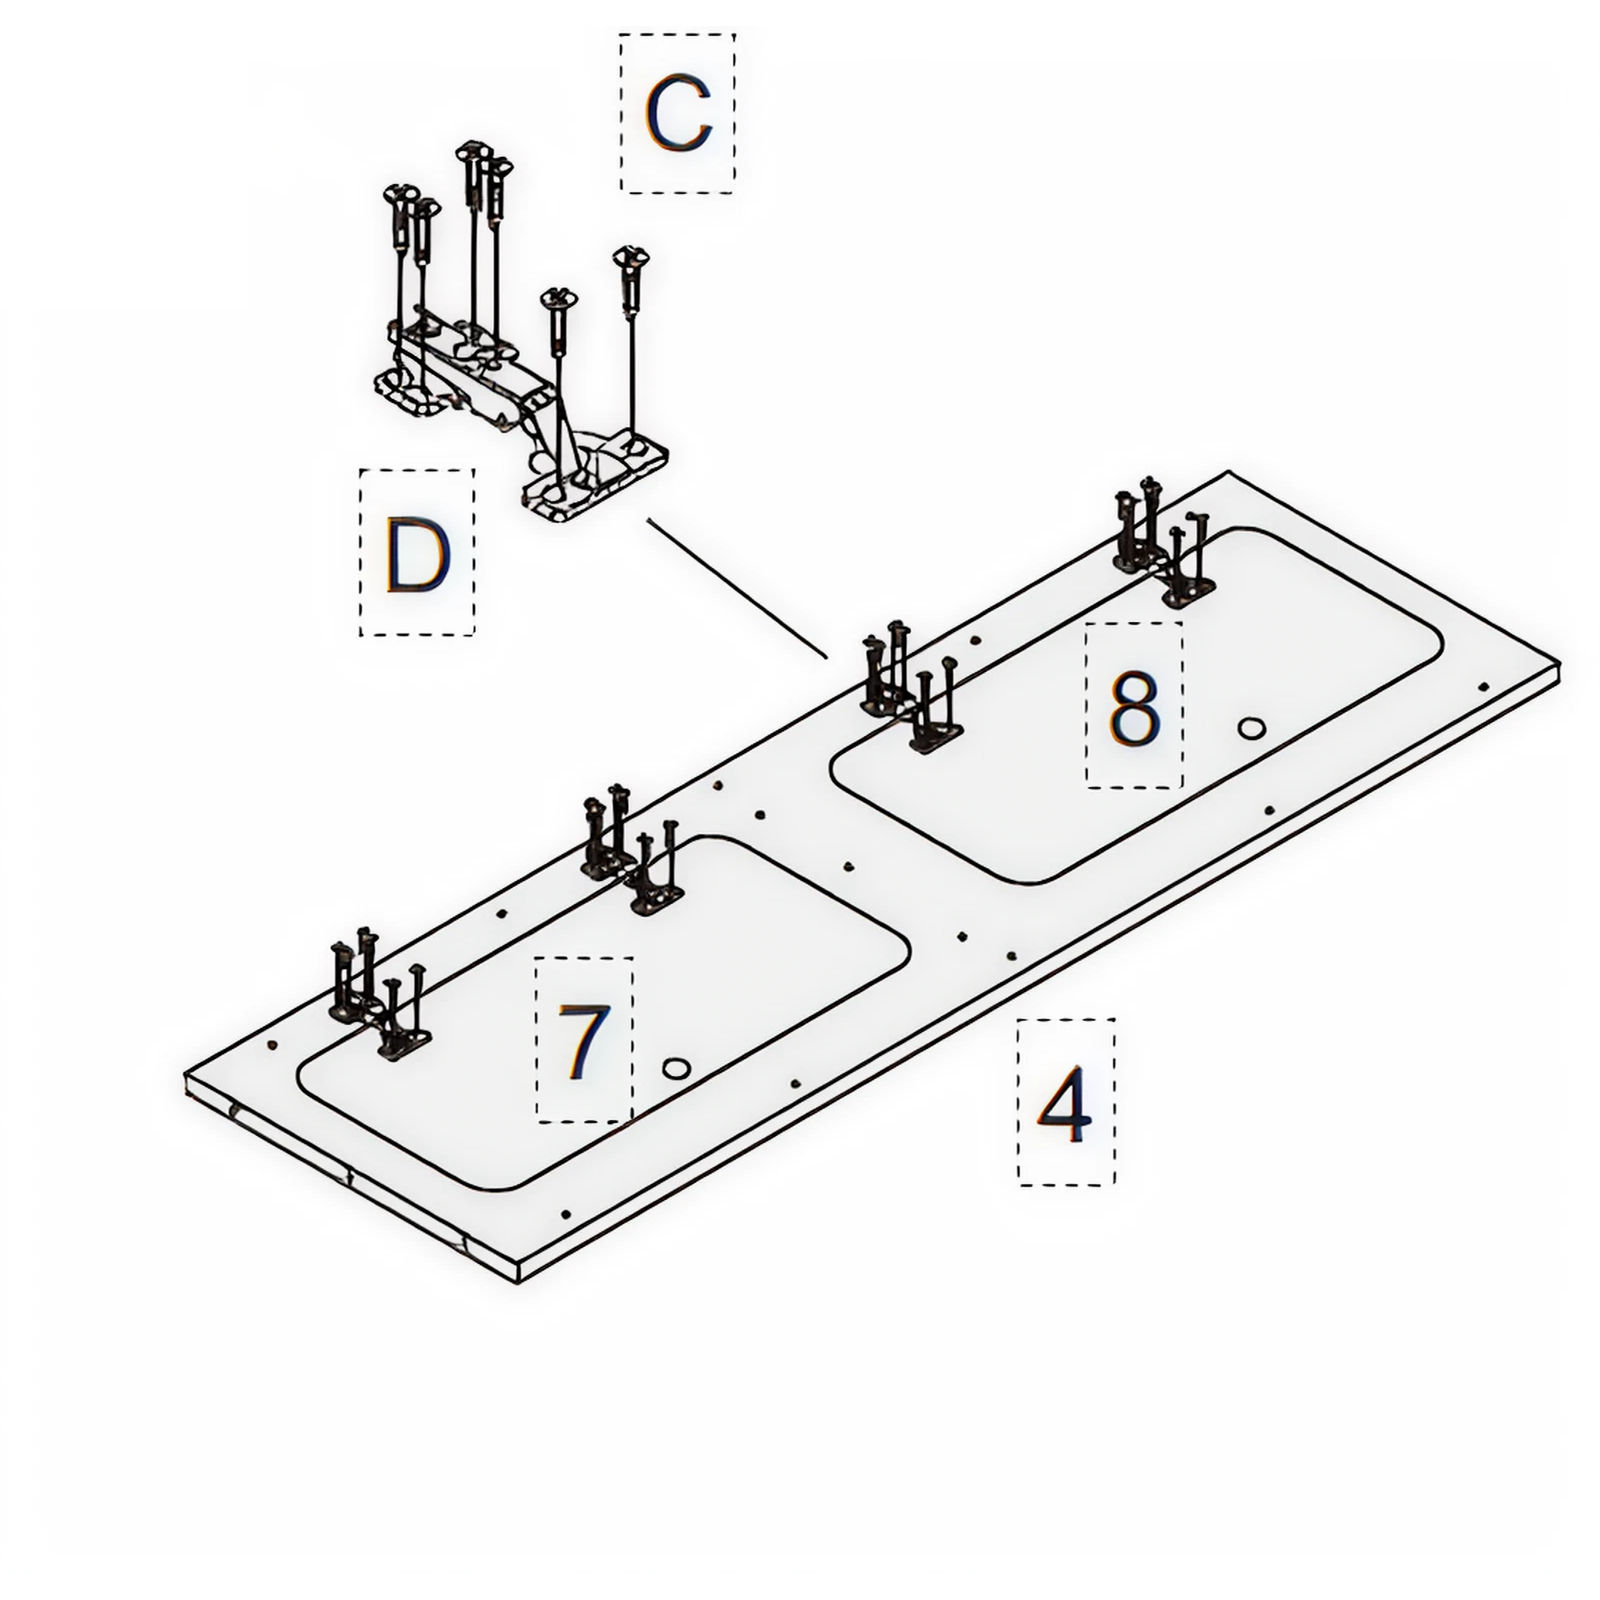 Screw the hinges (D) into pre-buried nuts using screws (C). If needed, adjust the left-right or up-down position by tightening or loosening the screws on the hinges to ensure the doors (part 7 and part 8) can be positioned correctly. 3. Fitting Front Panel to Top and Bottom Assembly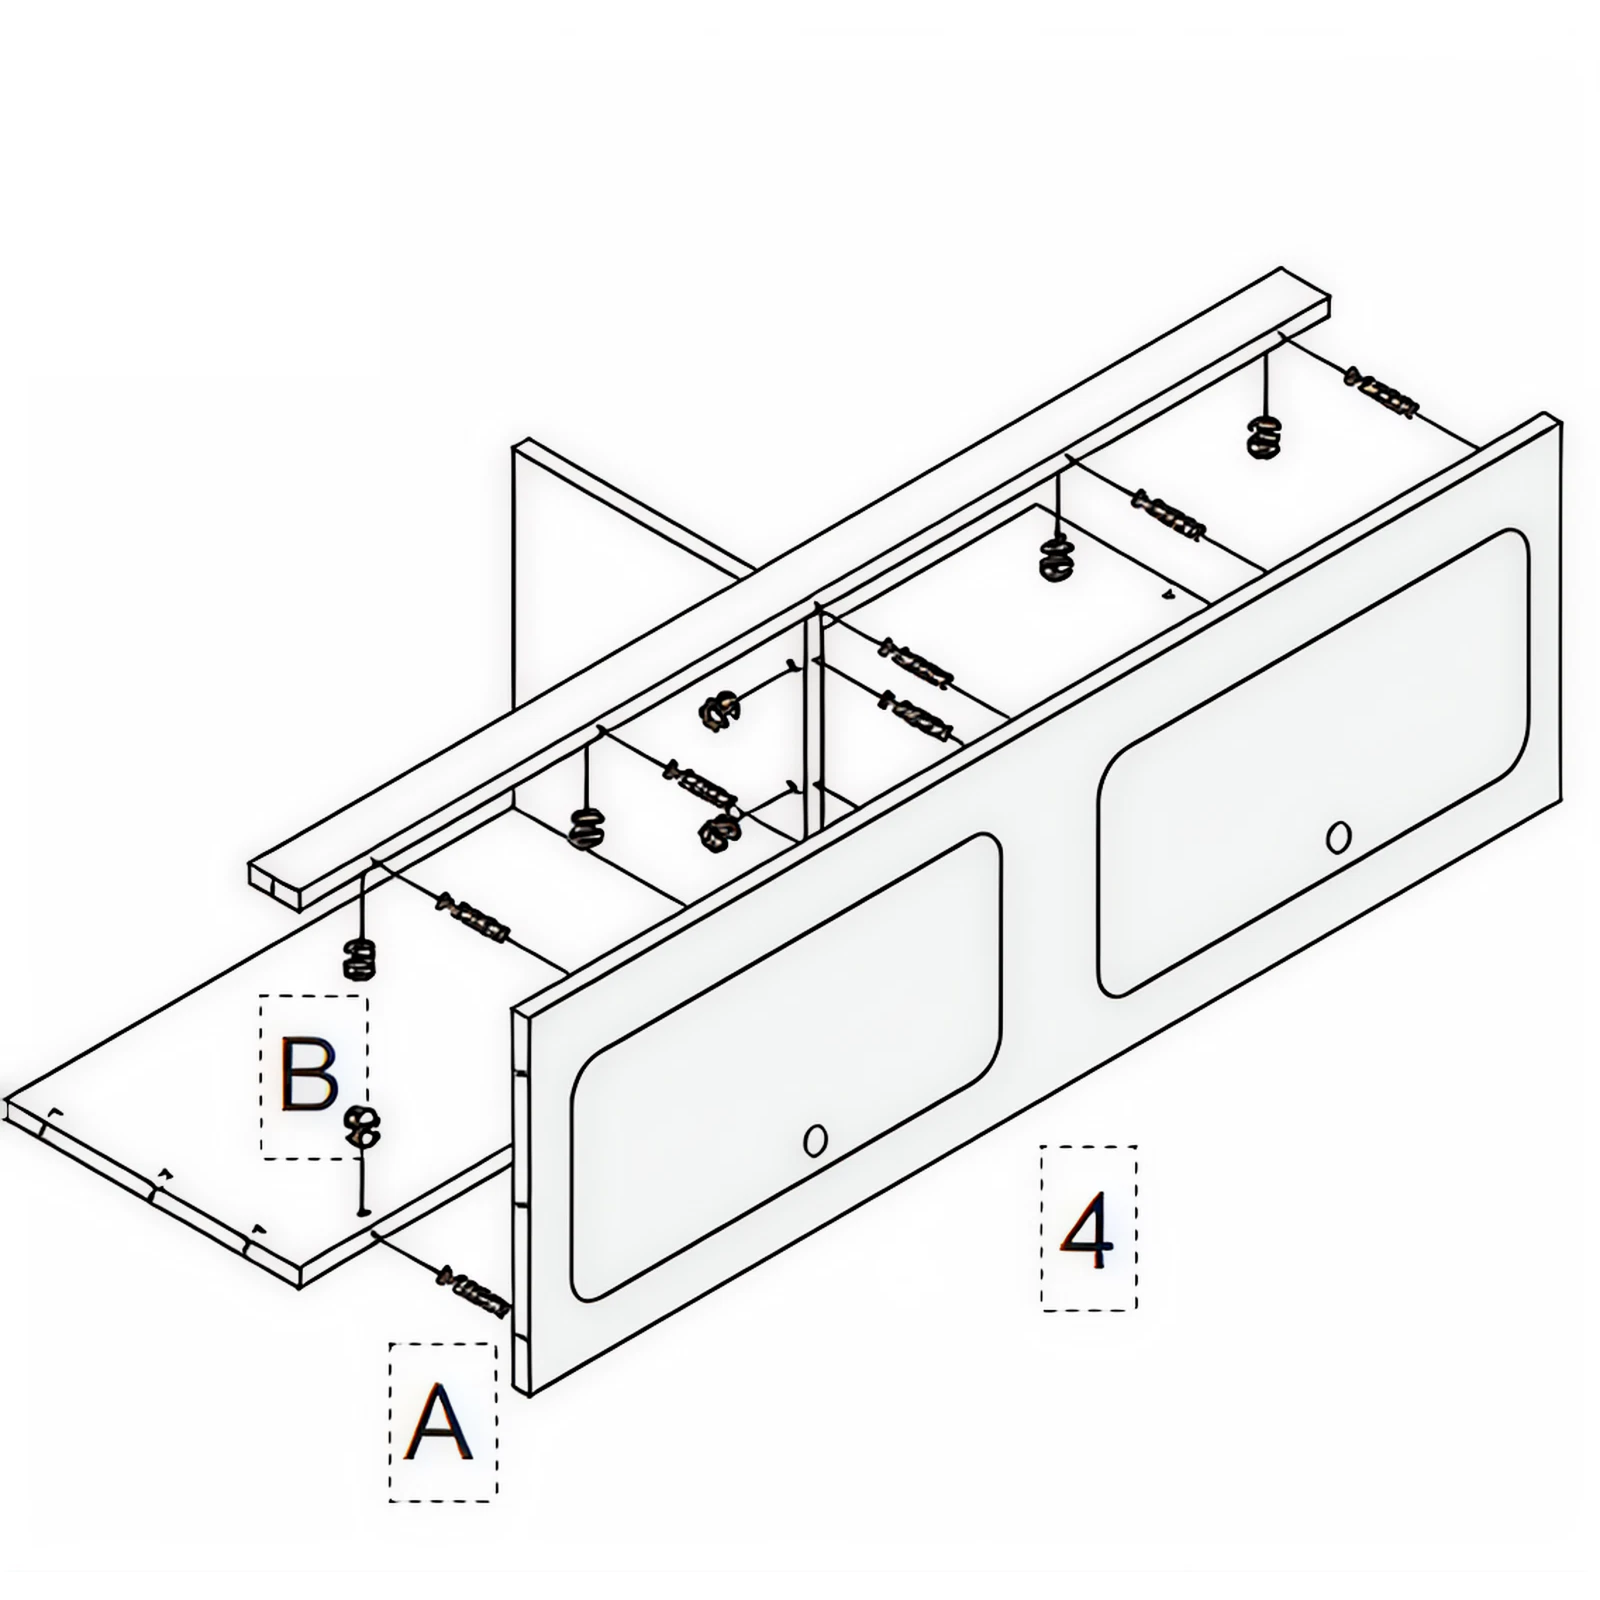 Fit the front panel (part 4) on the top and bottom panel assembly. 4. Attaching Right Side Panel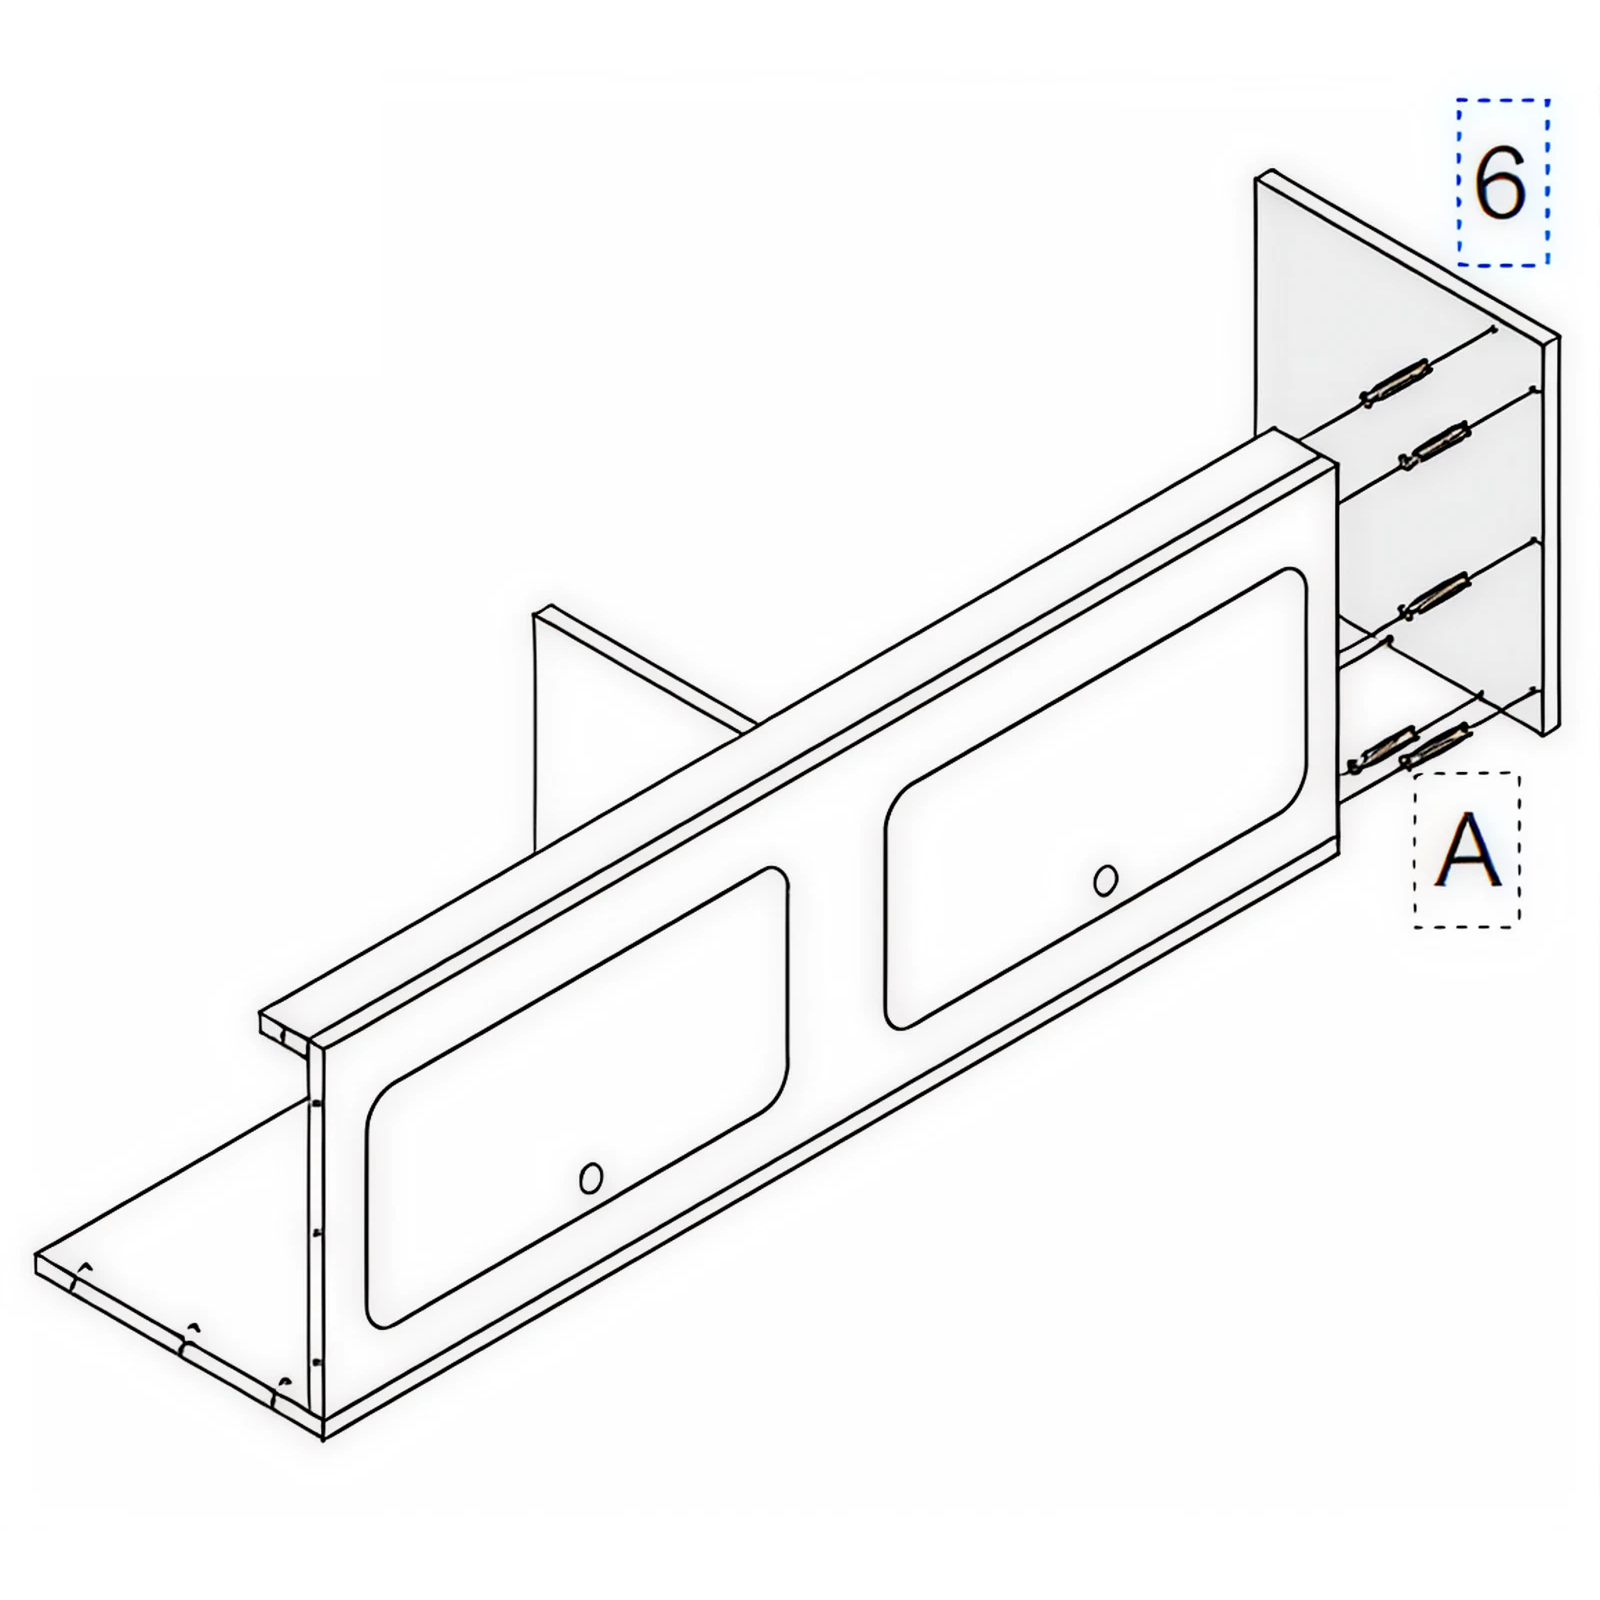 Fit the right side panel (part 6) on the front and bottom assembly. 5. Attaching Left Side Panel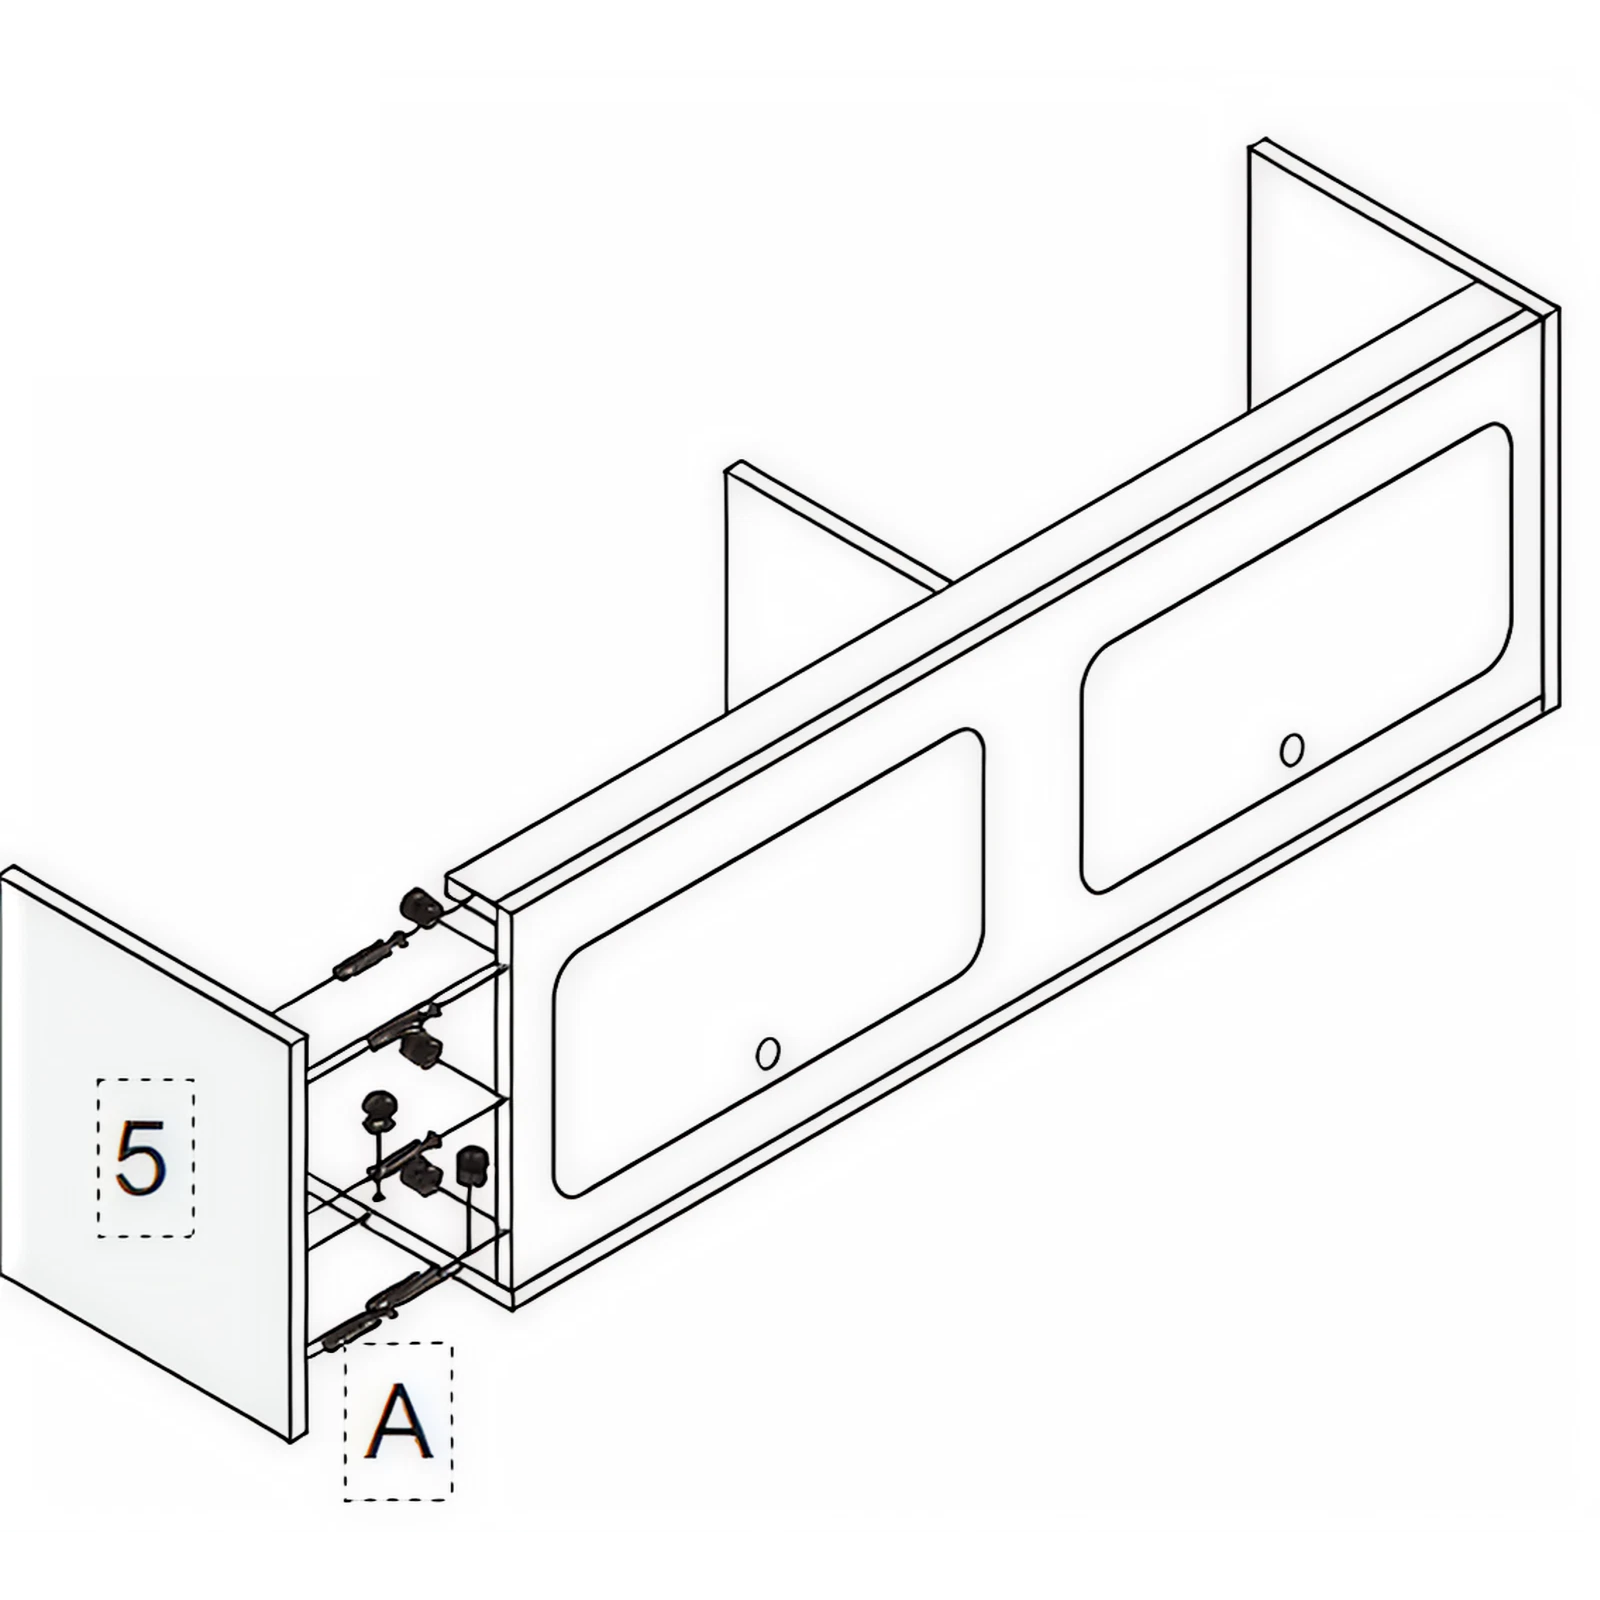 Attach the left side panel (part 5) to the front and bottom assembly. 6. Attaching Door Lockers and Blocks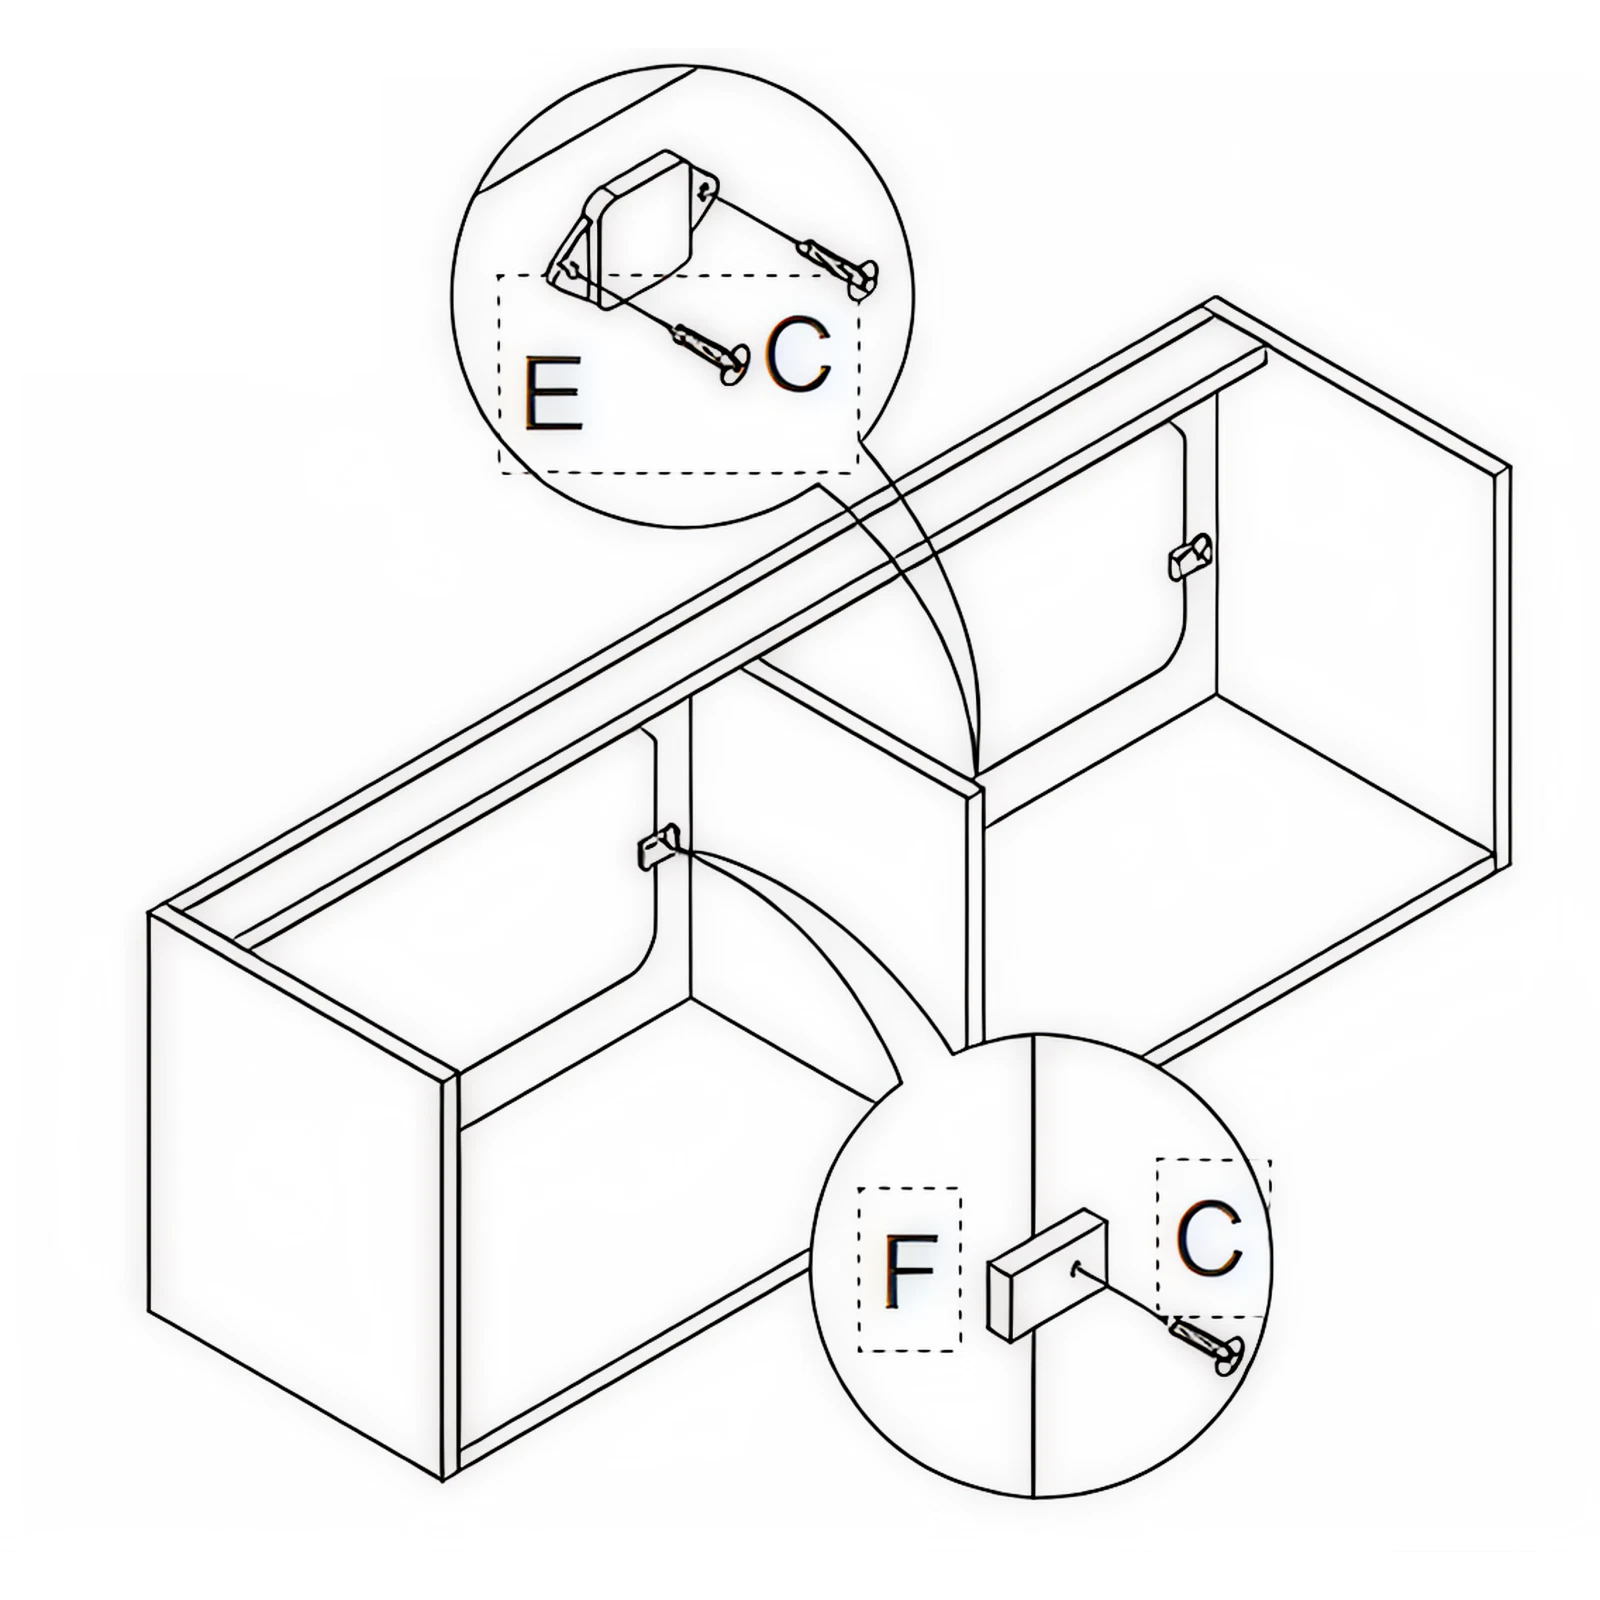 Attach the door lockers (E) with screws (C) and door blocks (F) with screws (C). 7. Resolution Guide
If there appears to be any part missing from your order, contact our friendly and helpful Customer Support Team within 7 days of receipt.
There may be some sawdust/debris in the holes. This will need to be removed before building recommences. Use gloves to remove any debris, just in case wood splinters are present. FOR ALL OTHER ISSUES, PLEASE CONTACT OUR CUSTOMER SUPPORT TEAM. |