1. Product Features
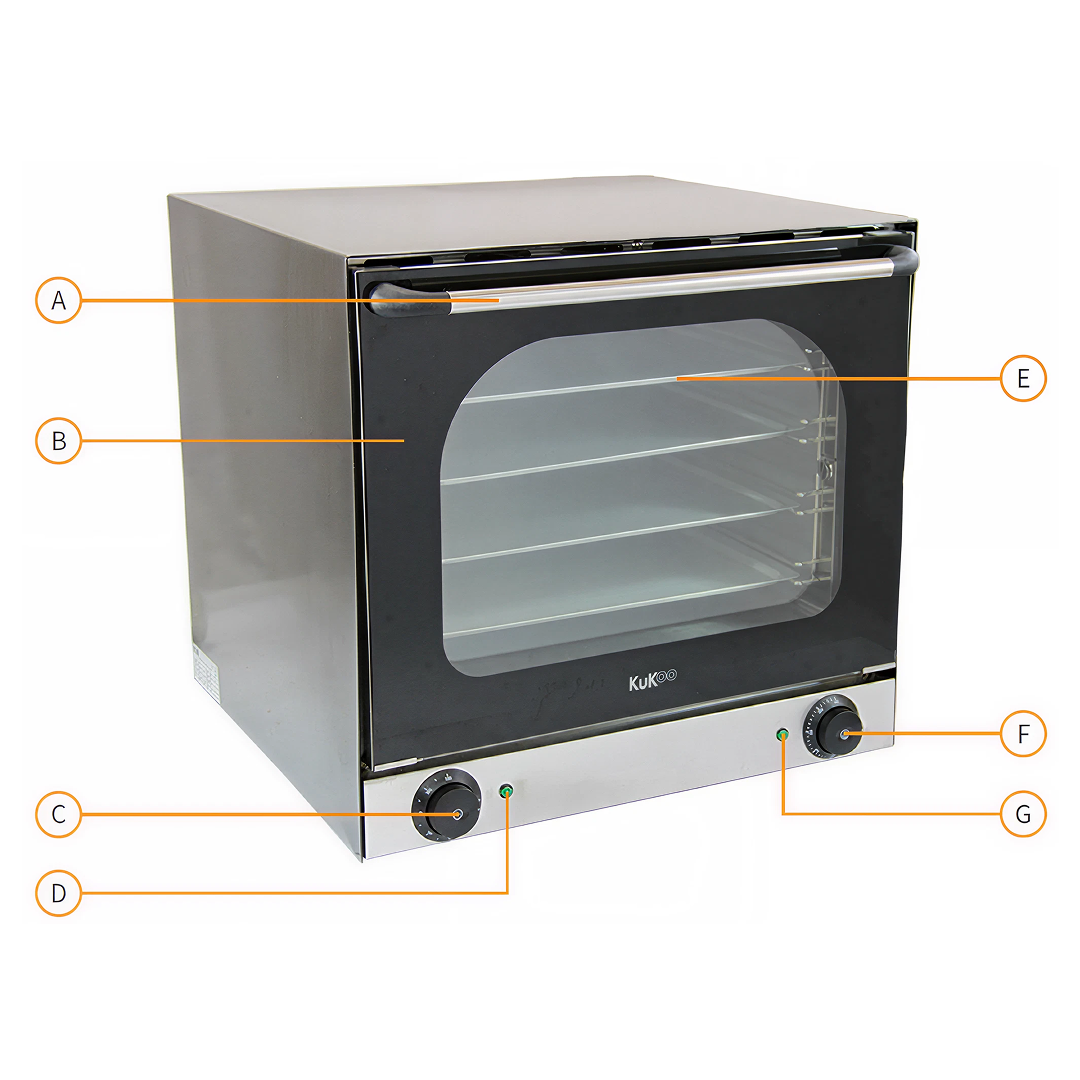
A. Oven Door Handle
B. Double Glazed Window/Door
C. Timer Control
D. Timer Indicator Light
E. Removable Oven Trays
F. Temperature Control
G. Temperature Indicator Light
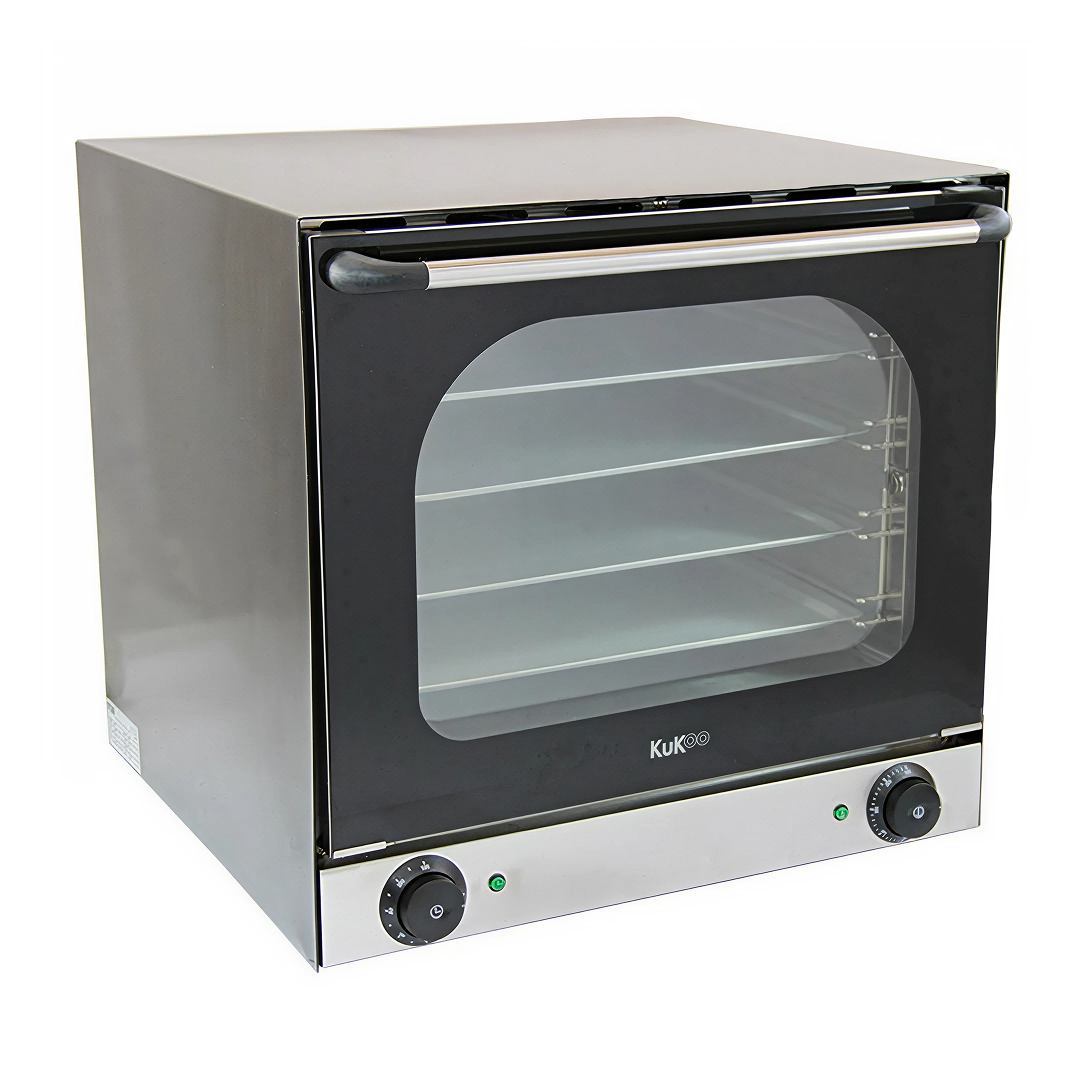 Instructions by monstershop Convection Baking OvenMeet your kitchen’s MVP: the KuKoo electric convection baking oven. With twin fans for even heat distribution, it cooks faster at lower temps—perfect for caterers and baking pros needing reliable, efficient performance at the heart of their operation. Product InformationConvection Baking OverThis KuKoo Electric Convection Oven is twin fan assisted, providing efficient circulation for fast and even baking. With a temperature range of 50 to 300°, this oven can be used to bake a wide variety of food stuffs. The audible timer can be set up to 120 minutes and the interior light allows you to view your food through the double glazed window as it bakes.
The included 4 baking trays can be spaced out across the shelves for baking a variety of sized foods; the included handle can be used to safely remove each tray.
It is an ideal space saving solution for use in bakeries, hotels, commercial kitchens and even in the home. View product (opens in new tab)
ToolsThermal or insulated oven gloves 1. Product FeaturesA. Oven Door Handle B. Double Glazed Window/Door C. Timer Control D. Timer Indicator Light E. Removable Oven Trays F. Temperature Control G. Temperature Indicator Light 2. Preparing the Oven for InstallationTake off all the packaging from around and inside the oven, including the plastic film. 3. Installing the OvenInstall your oven on a flat, solid, and clean surface. 4. Connecting the Oven to PowerConnect the oven to a power supply that complies with the 220-240V voltage. 5. Turning On the OvenTurn on the power supply. 6. Setting the Timer and Temperature
Please Note: The oven will only heat up if the Timer Control is set as well as the Temperature Control. 7. Preheating the Oven
8. Baking
9. Removing Food SafelyUse thermal gloves or oven mitts to remove the food from the oven. 10. Turning Off the Oven
Please Note: It is recommended to leave the oven door open to allow the oven to cool down, only do this if safe to do so, i.e., if the oven door is not in a walkway. 11. Cleaning the Oven
Warning: Do not use chemical cleaners or immerse the oven in water, as this will cause damage to the oven. 12. Accesories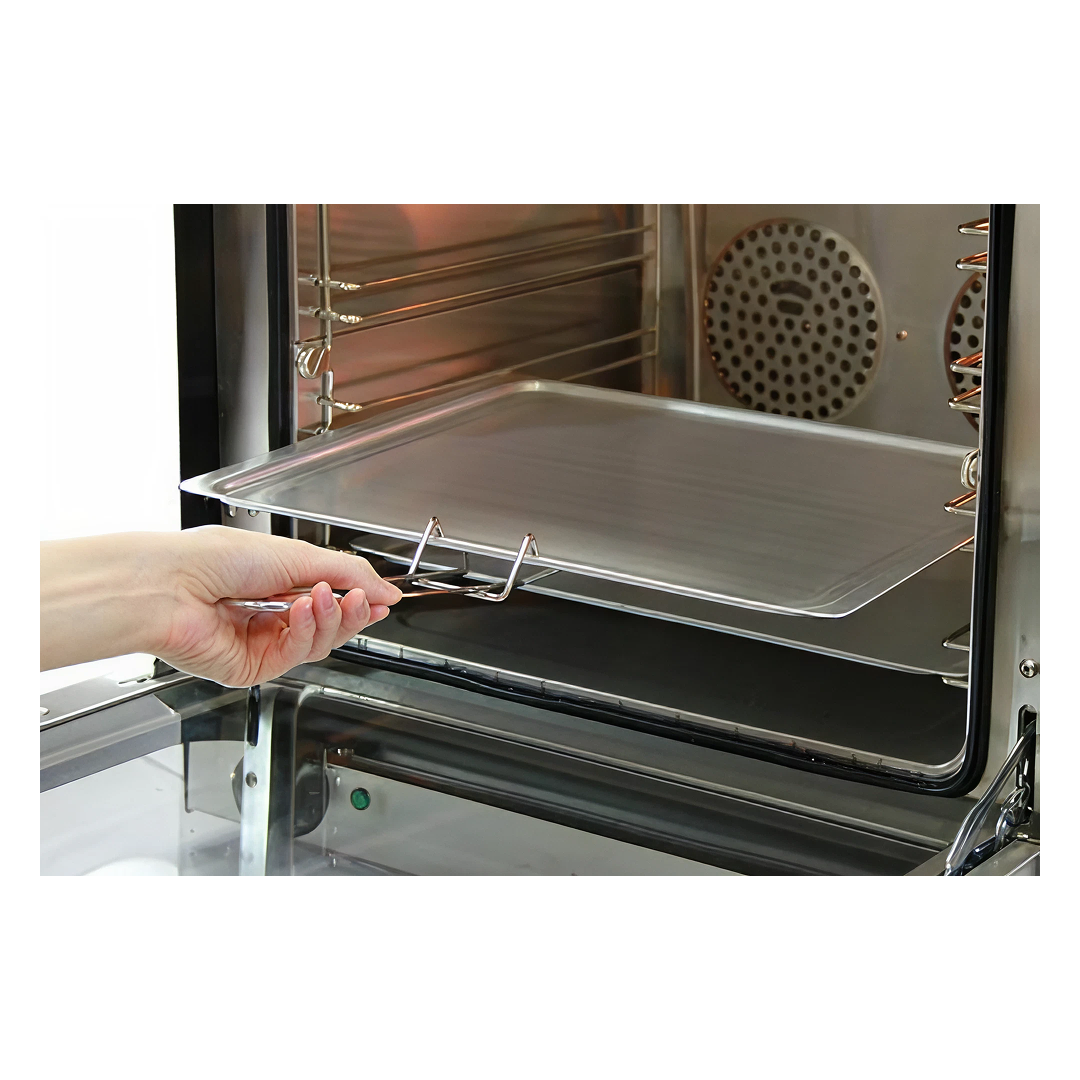  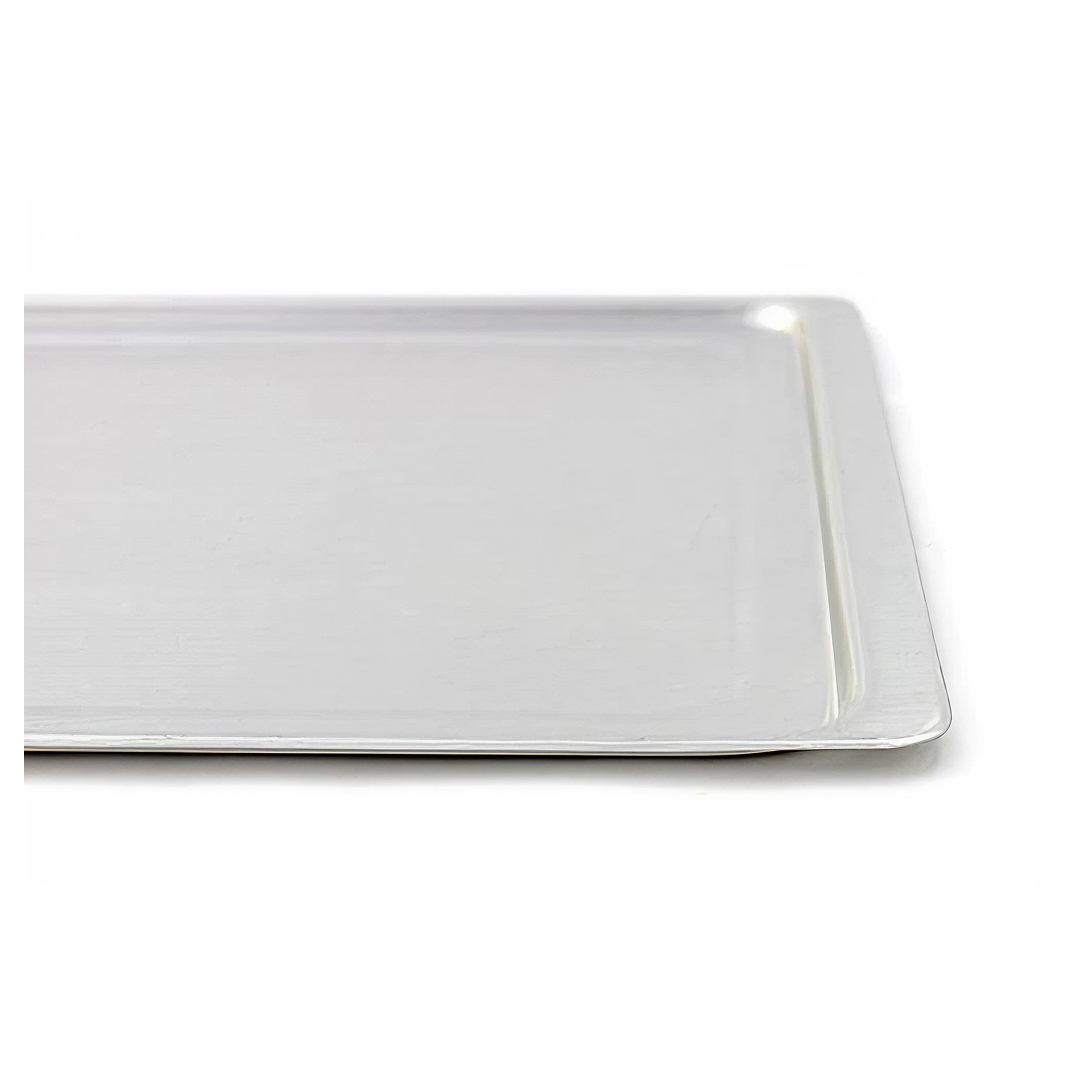 We also stock additional oven trays should you need any replacements or extra trays for ease of food preparation. These trays are available to purchase through our website or call our friendly Sales Team. 13. Resolution Guide
If there appears to be any part missing from your order, contact our friendly and helpful Customer Support Team within 7 days of receipt.
Ensure the Timer Control is set, if the Timer Control is not also set as well as the Temperature Control, the oven will not heat up. If this does not solve the issue, contact our Customer Support Team.
Ensure the door is kept shut whilst the oven is heating up and baking, and that the door is fully closed. If this does not solve the issue, contact our Customer Support Team.
If safe to do so, turn off the power supply and remove the plug. Open windows to relieve the area of smoke. Wait for the smoke to disappear before investigating the oven and possible causes. If the oven catches fire, phone the fire brigade and evacuate the area. Do not try to fight the flames yourself. FOR ALL OTHER ISSUES, PLEASE CONTACT OUR CUSTOMER SUPPORT TEAM. |