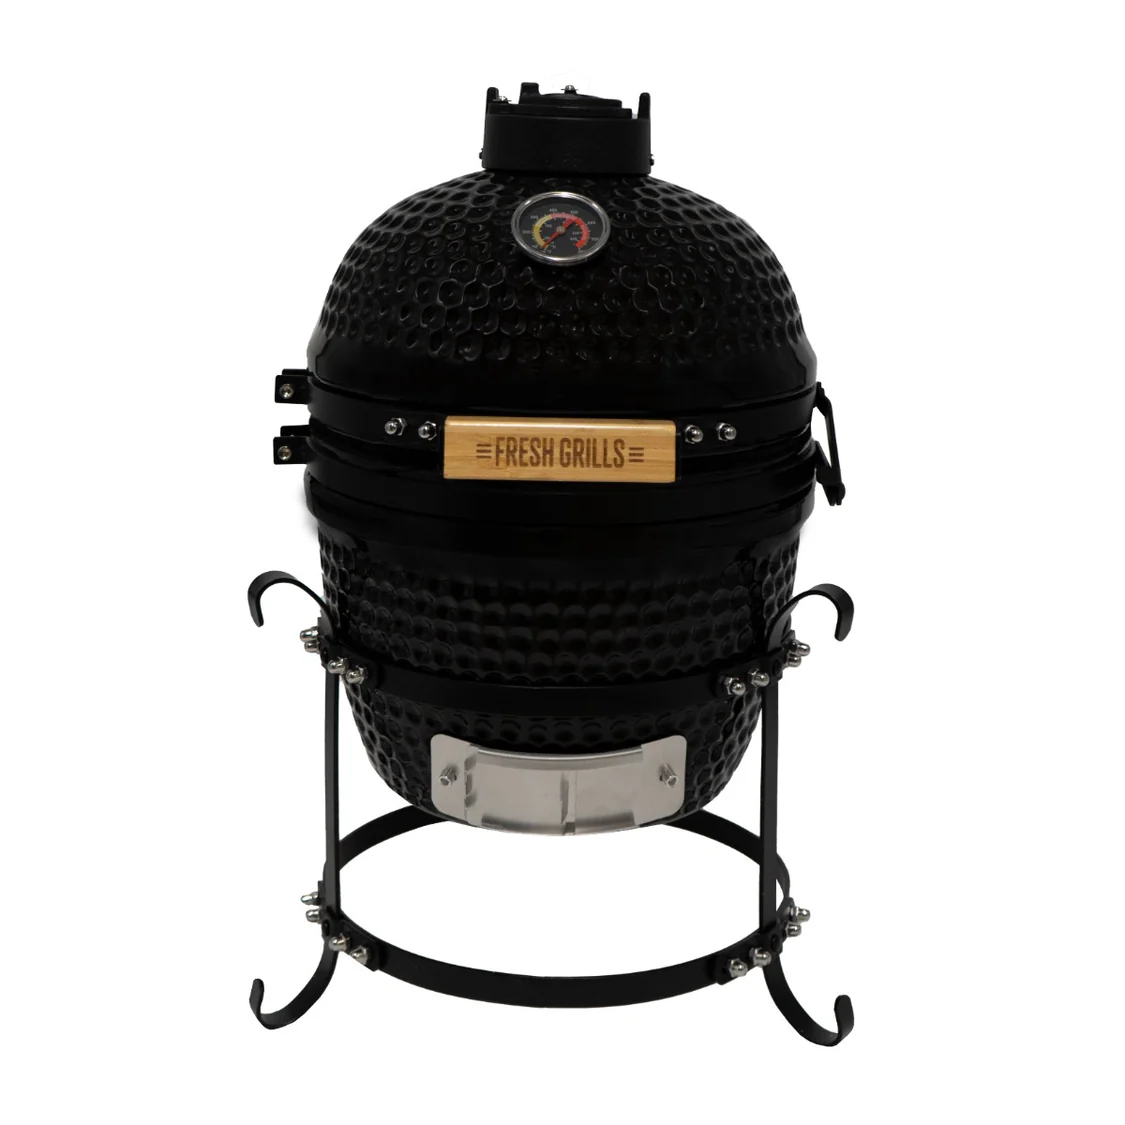
Elevate your outdoor cooking with our 13" Kamado BBQ Grill. Its ceramic egg-shaped design offers precise temps from 10°C to 400°C for grilling, smoking, baking, and more. Compact yet powerful, it’s fuel-flexible, durable, and perfect for patios or camping adventures.
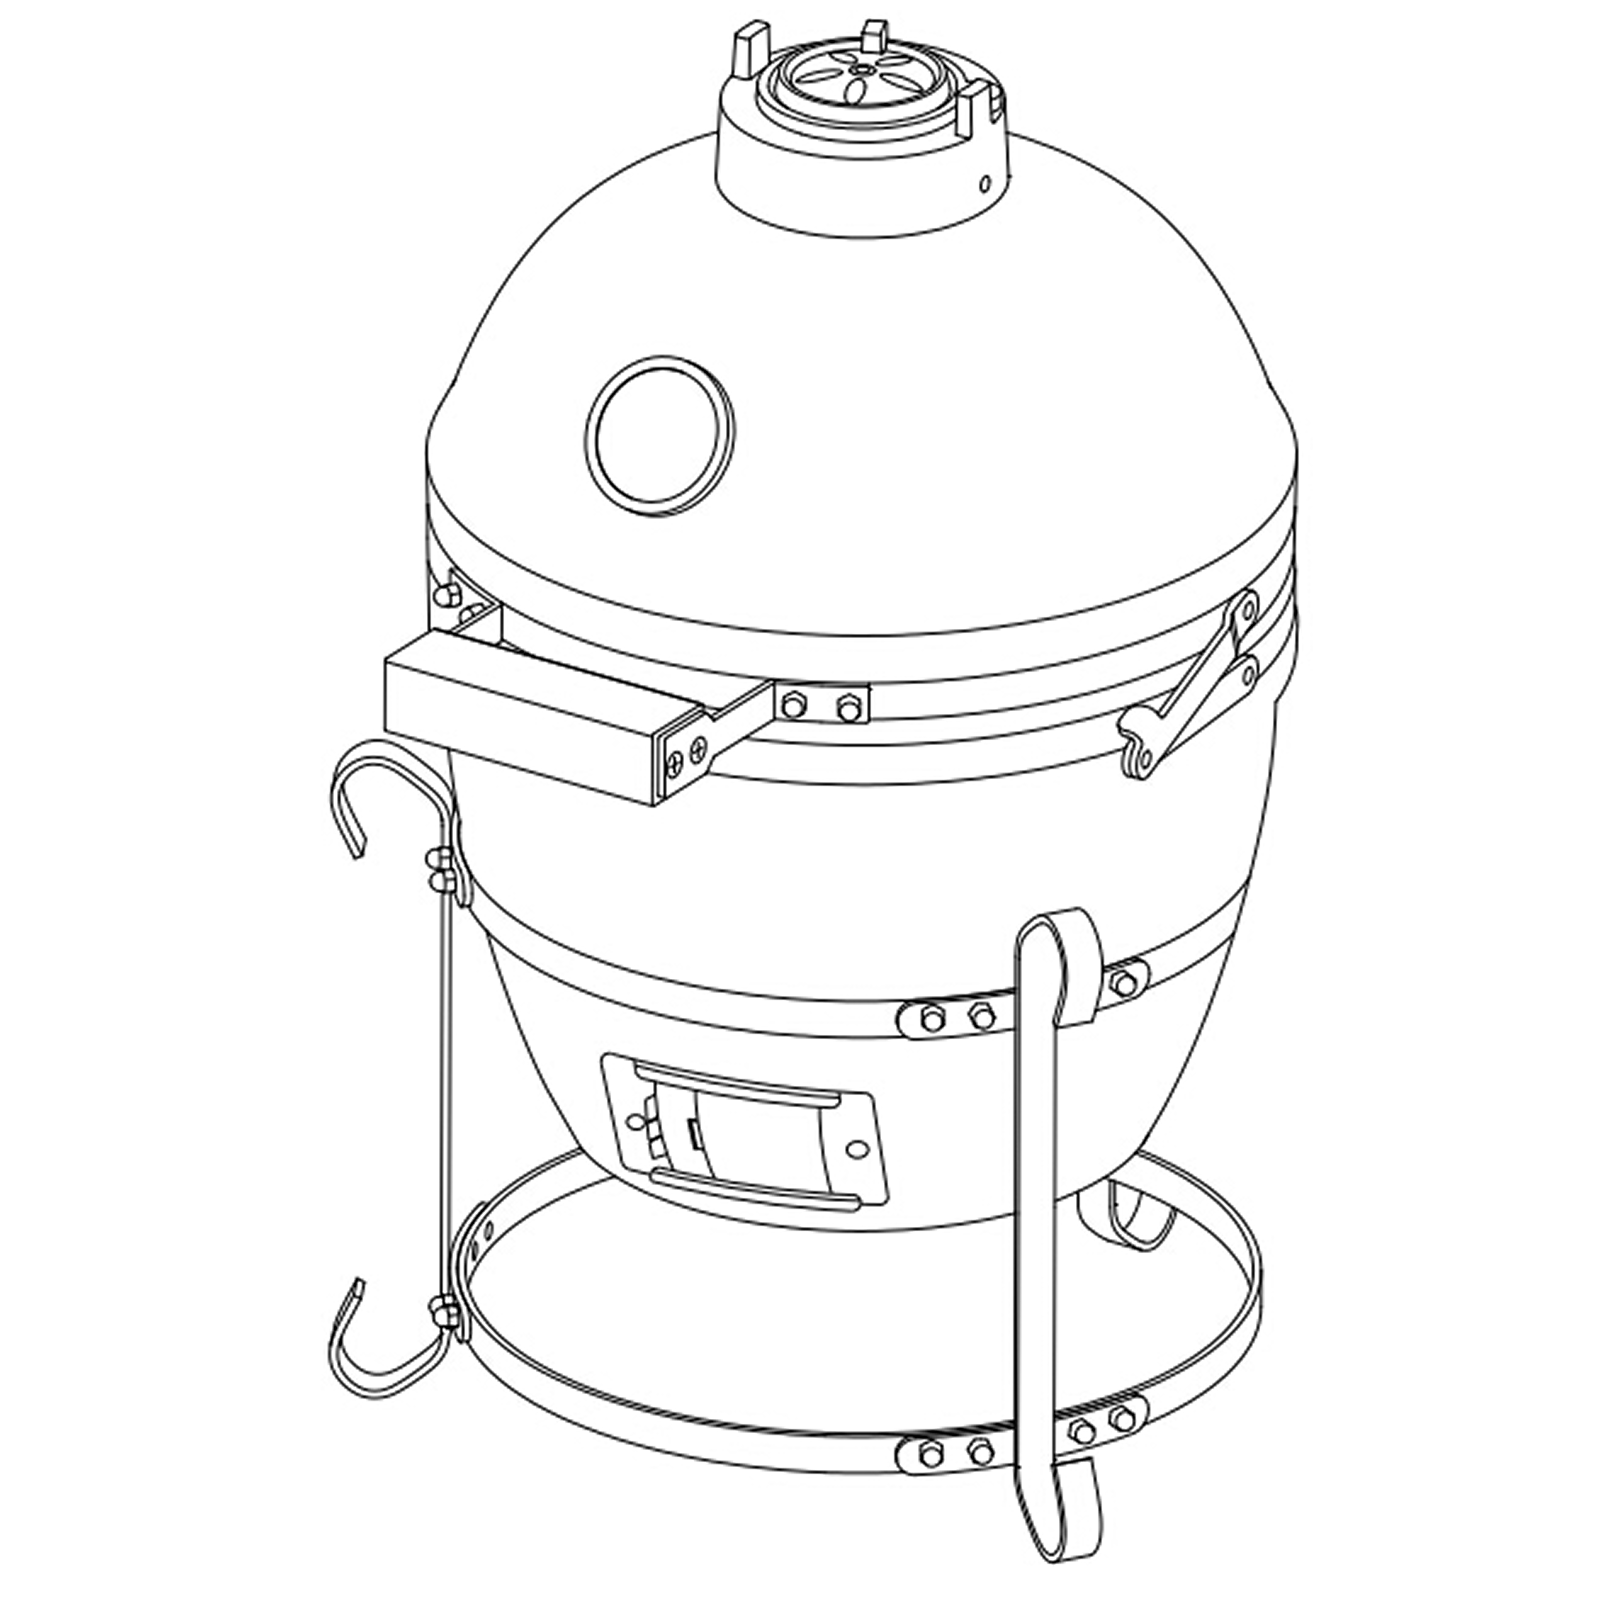
Product Information
Kamado Outdoor Oven and BBQ
Kamado cookers are extremely versatile. Not only can they be used for grilling or smoking but also pizzas, bread, pies and cookies can be baked effortlessly inside them. Due to their excellent heat retention properties, high temperatures can be achieved and maintained by precise control of airflow via the top and bottom vents.
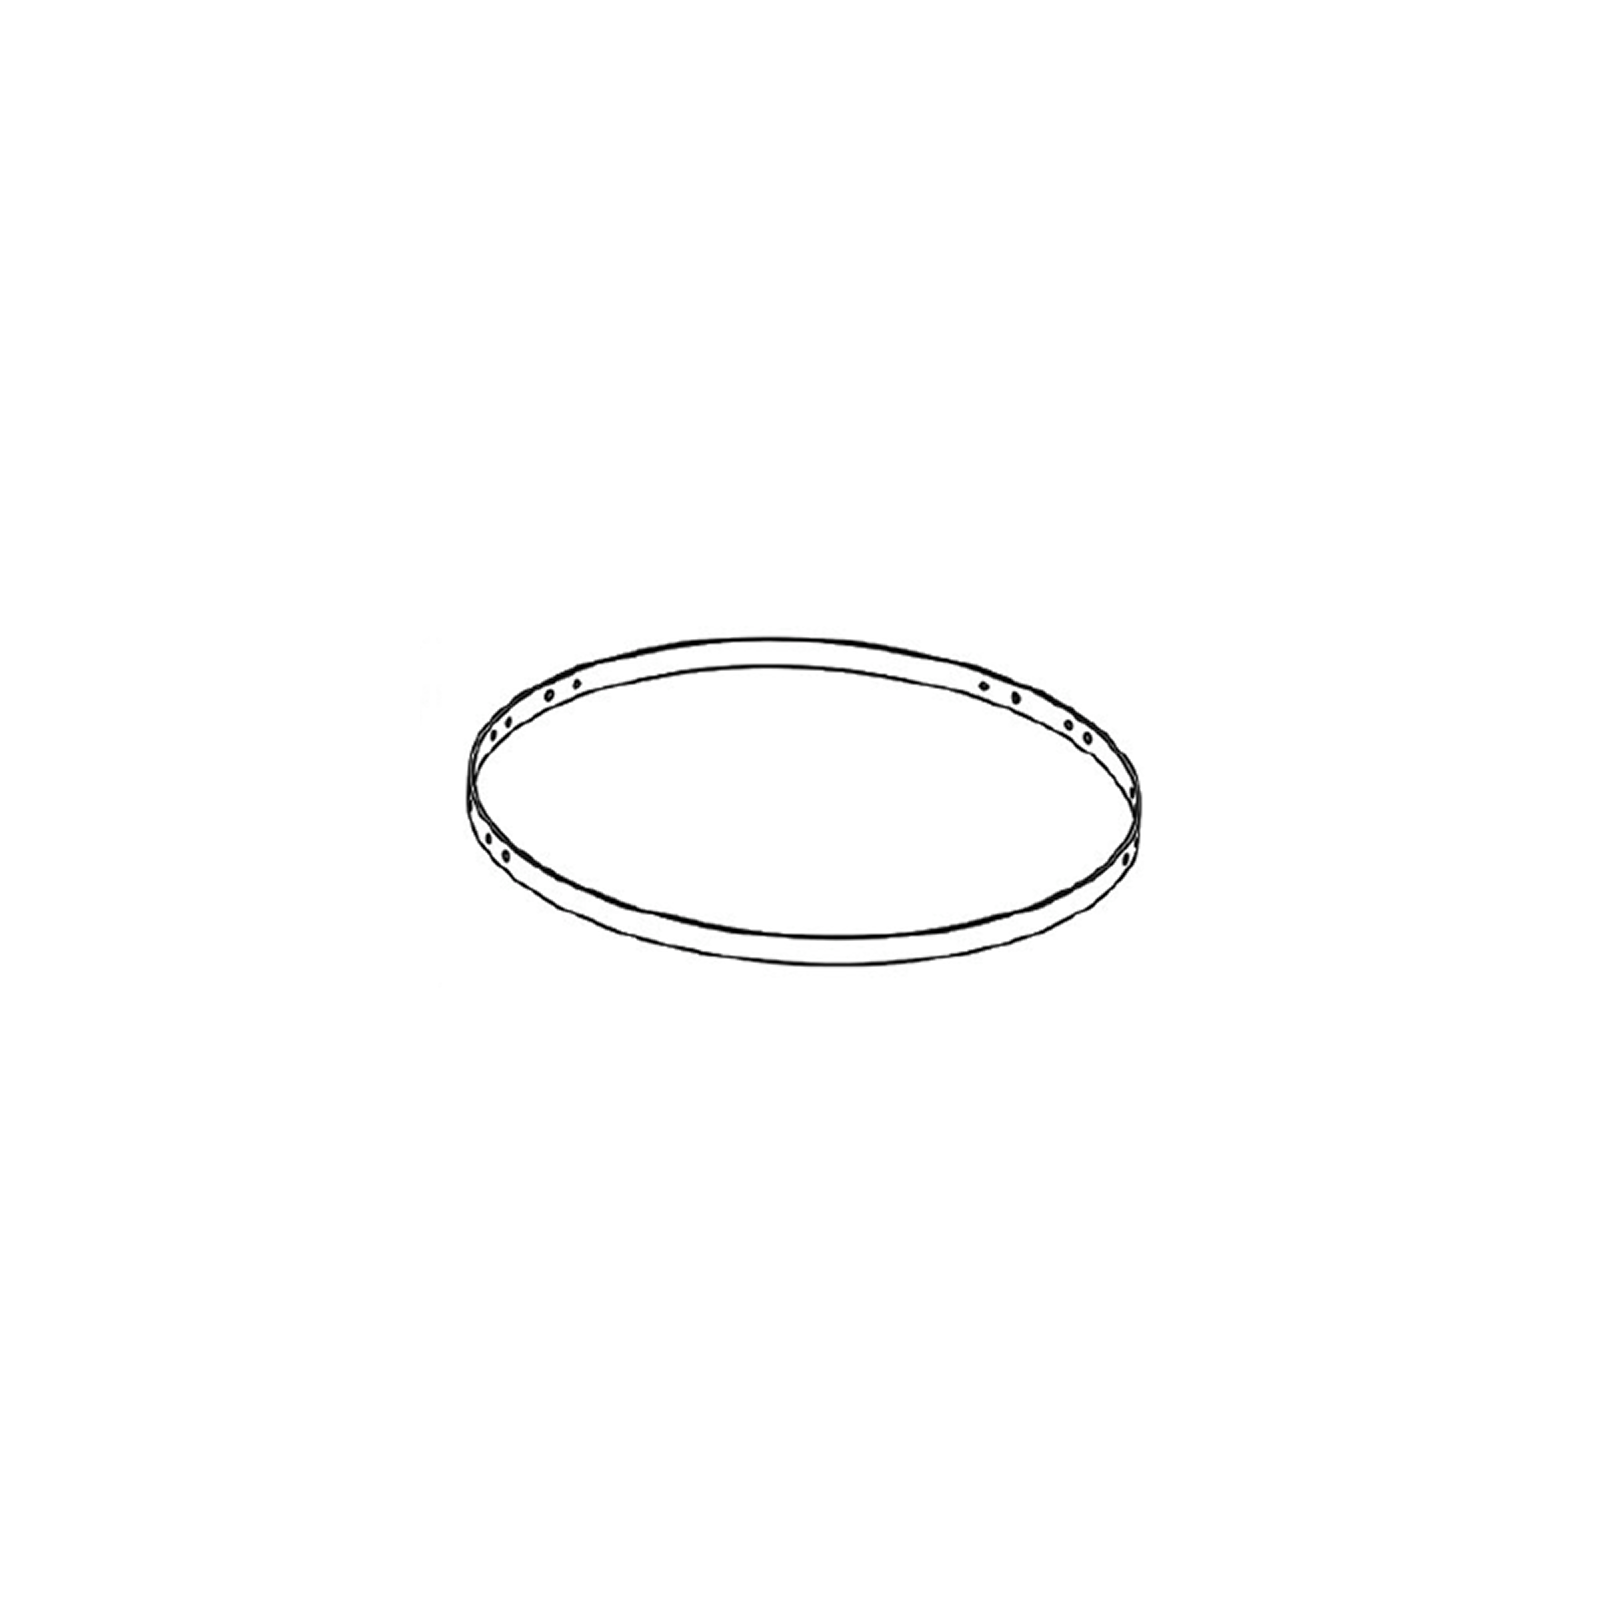
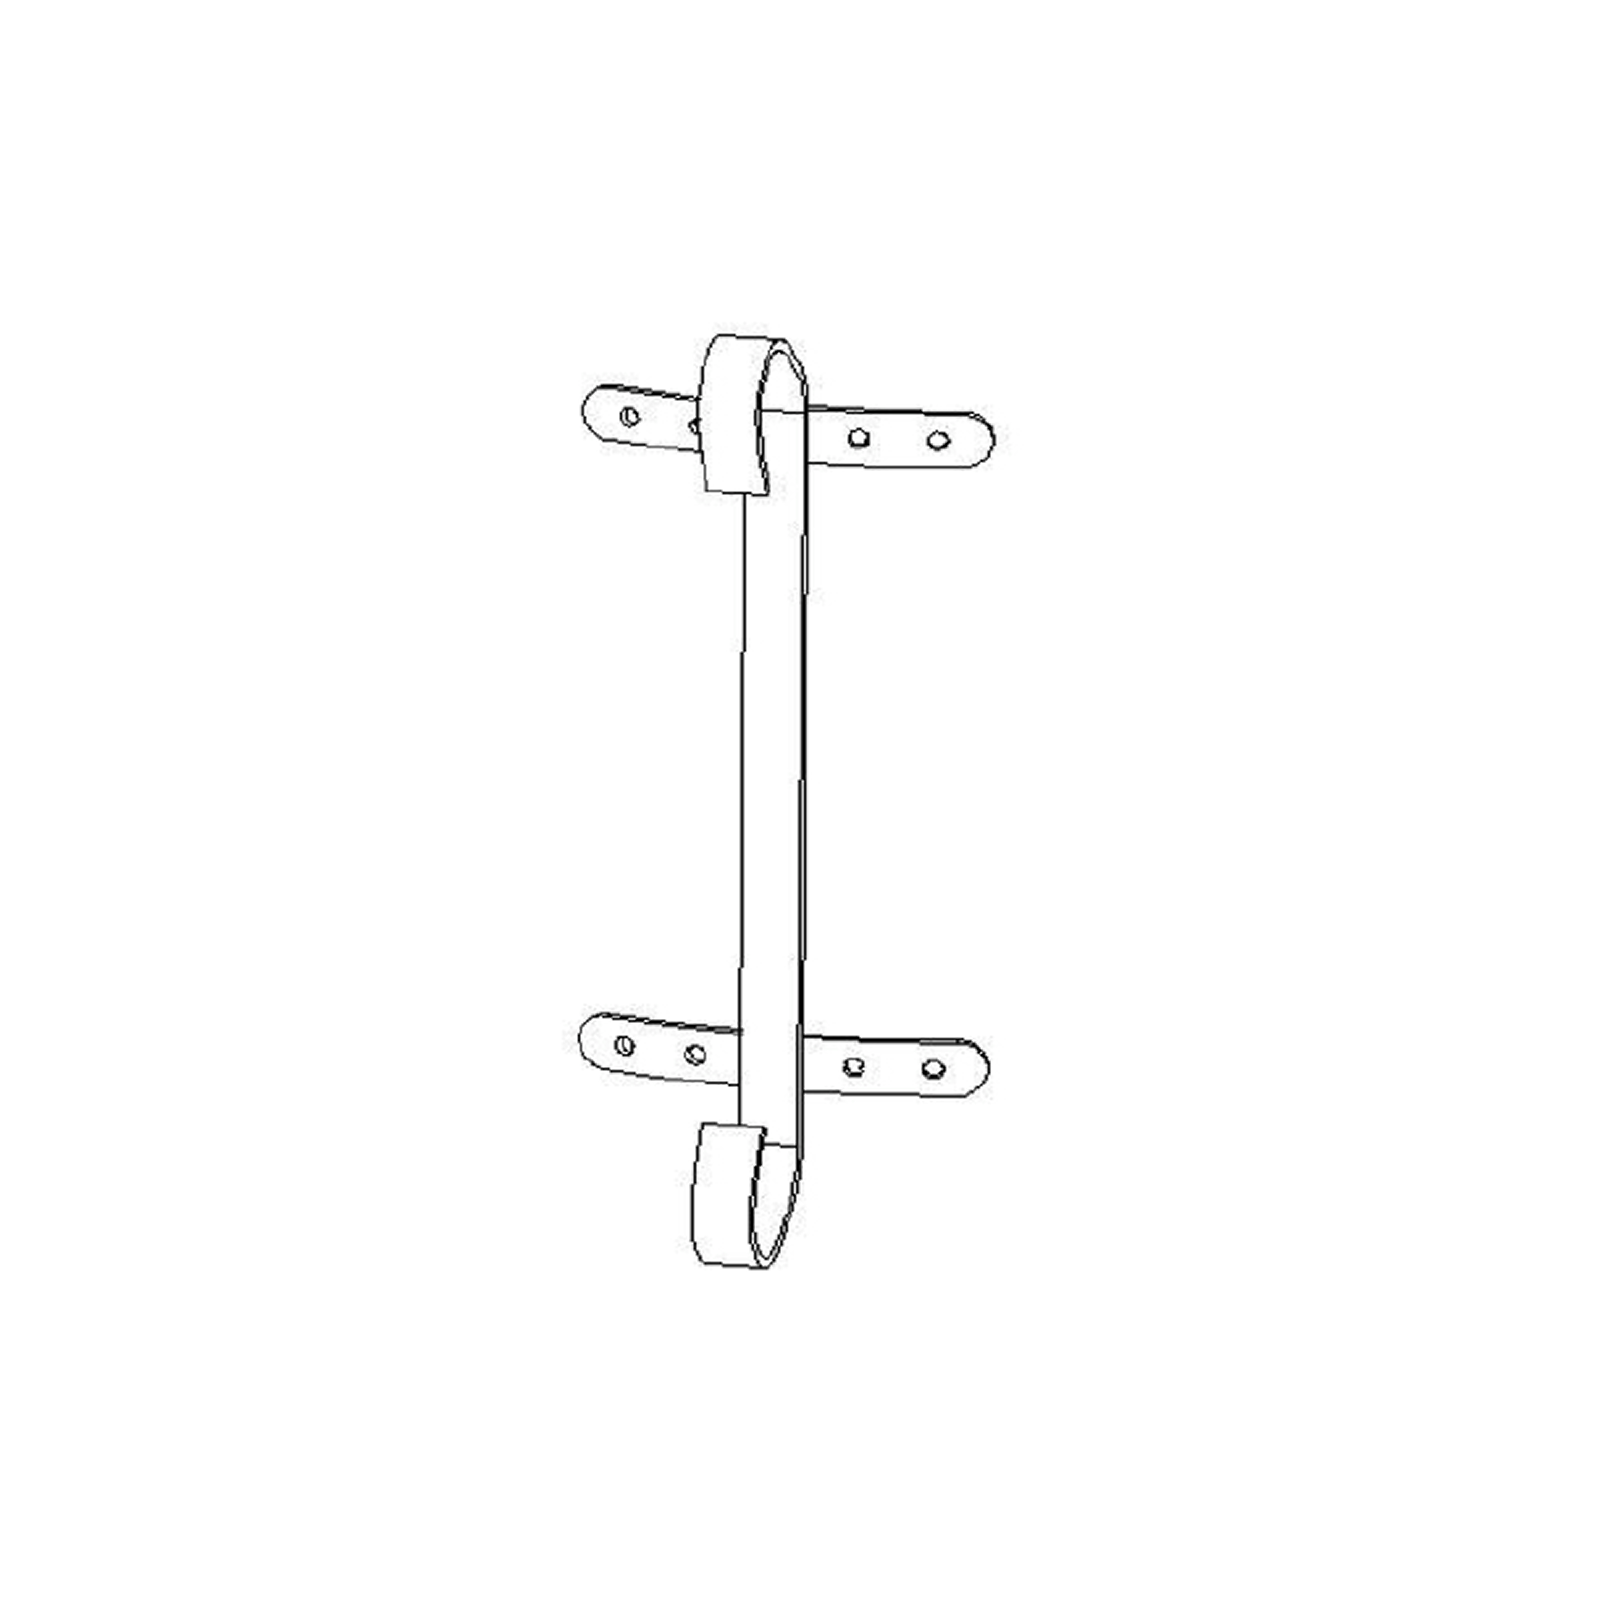
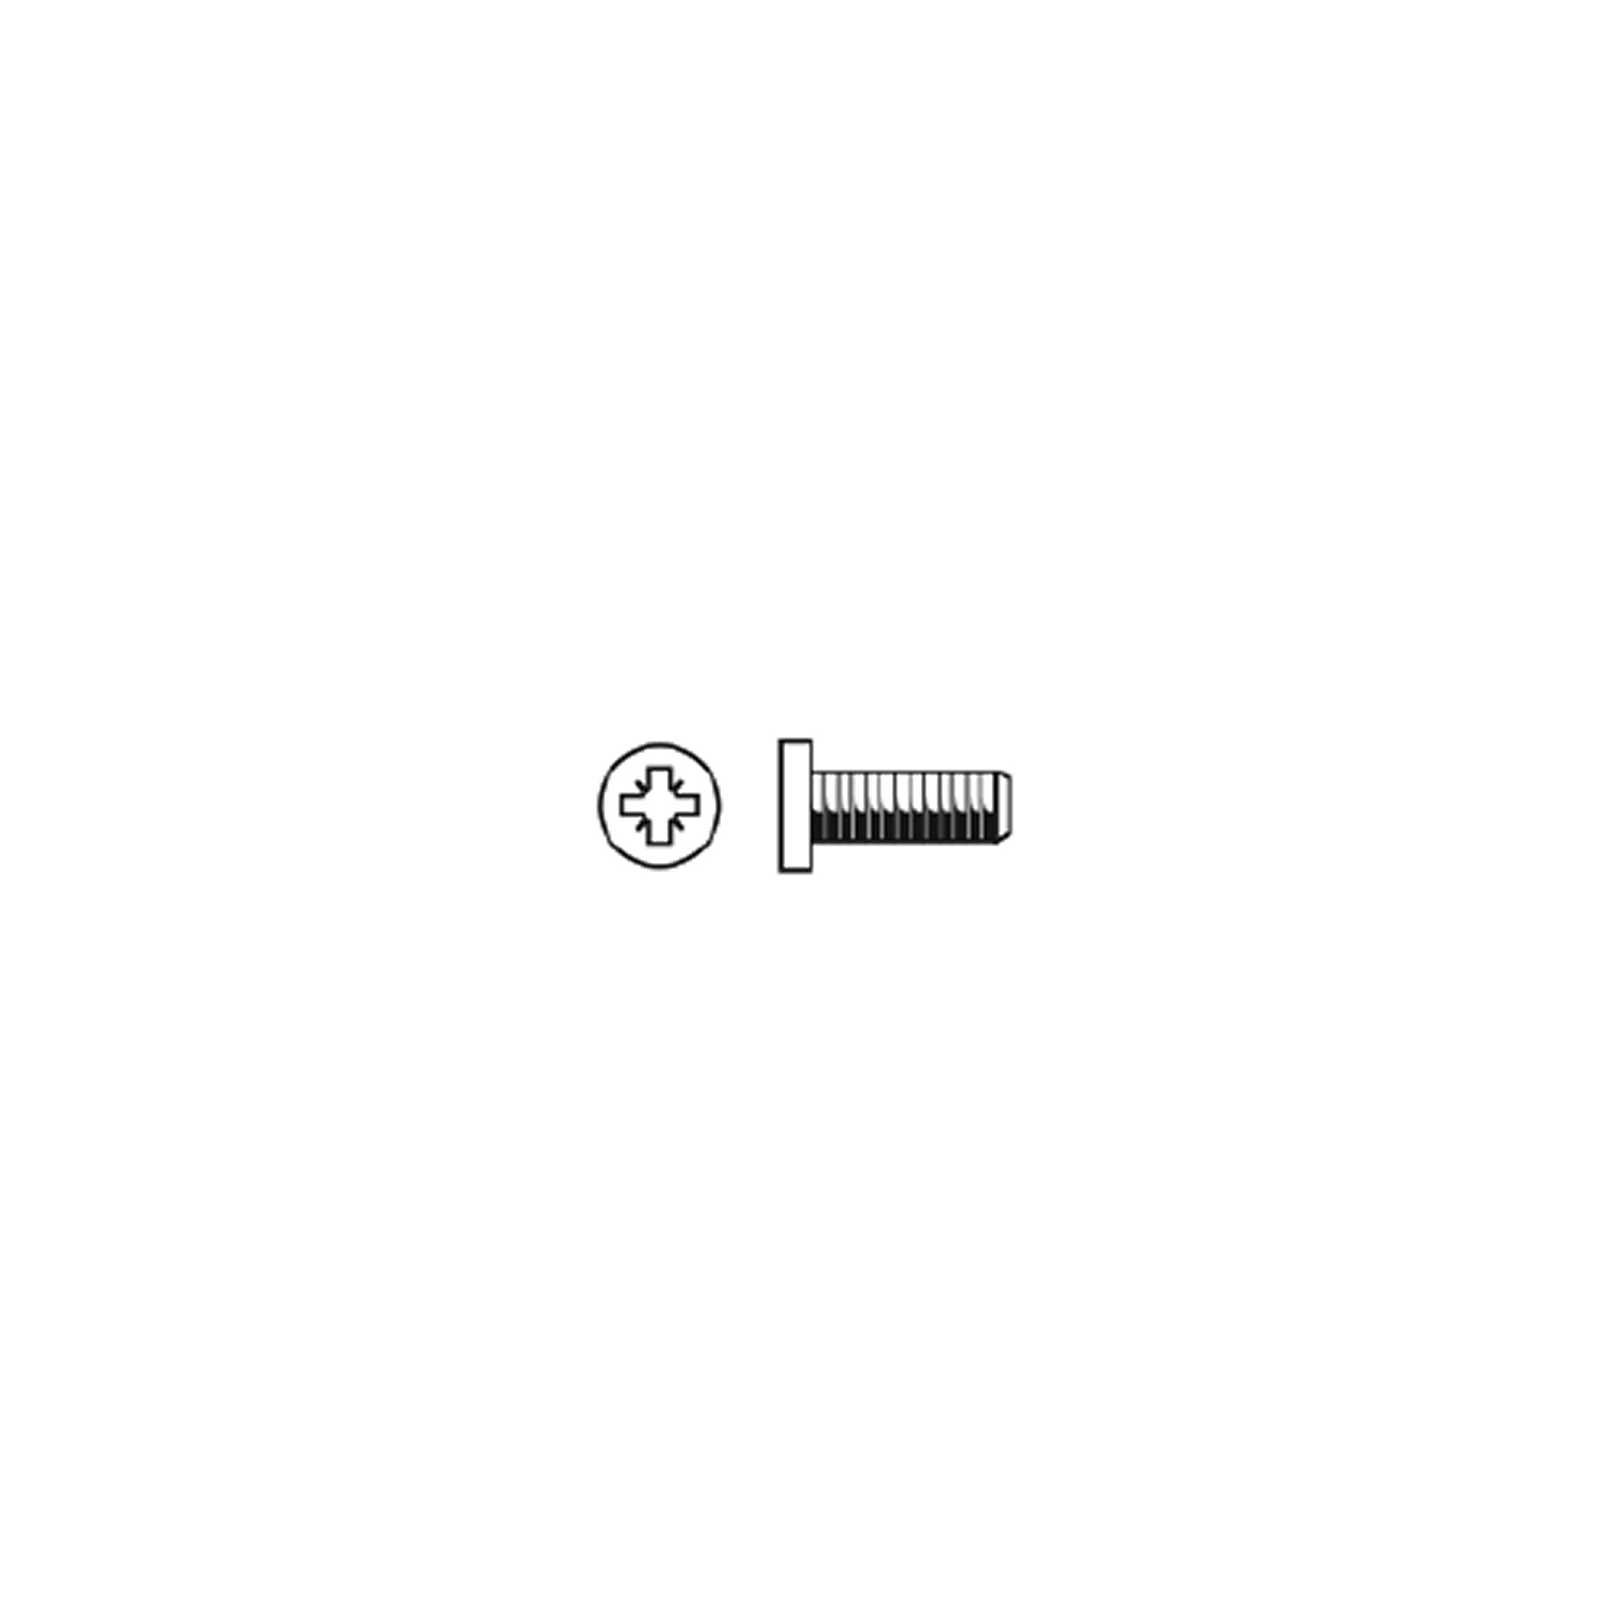
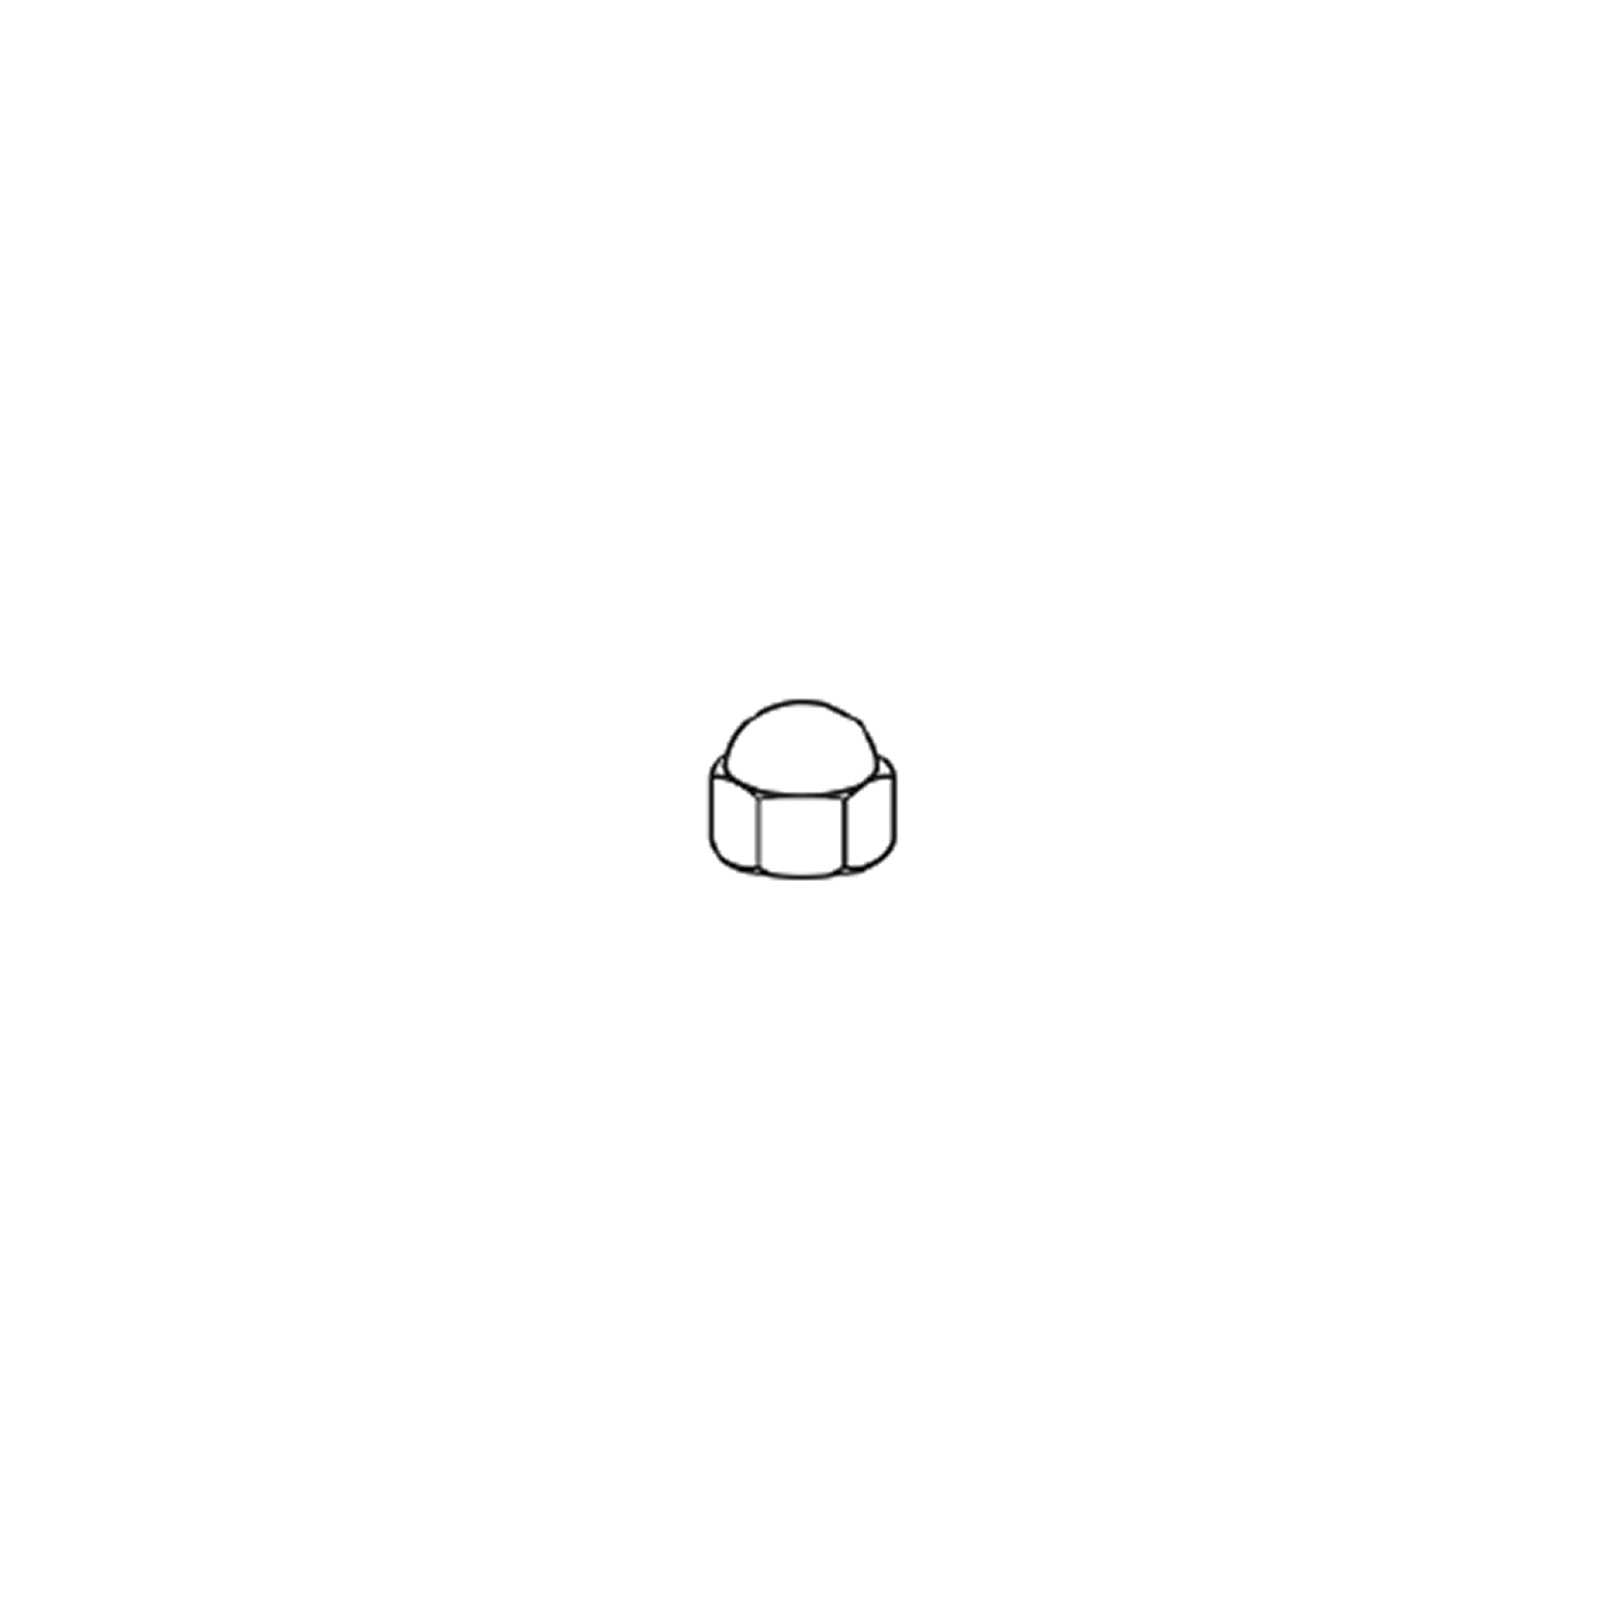
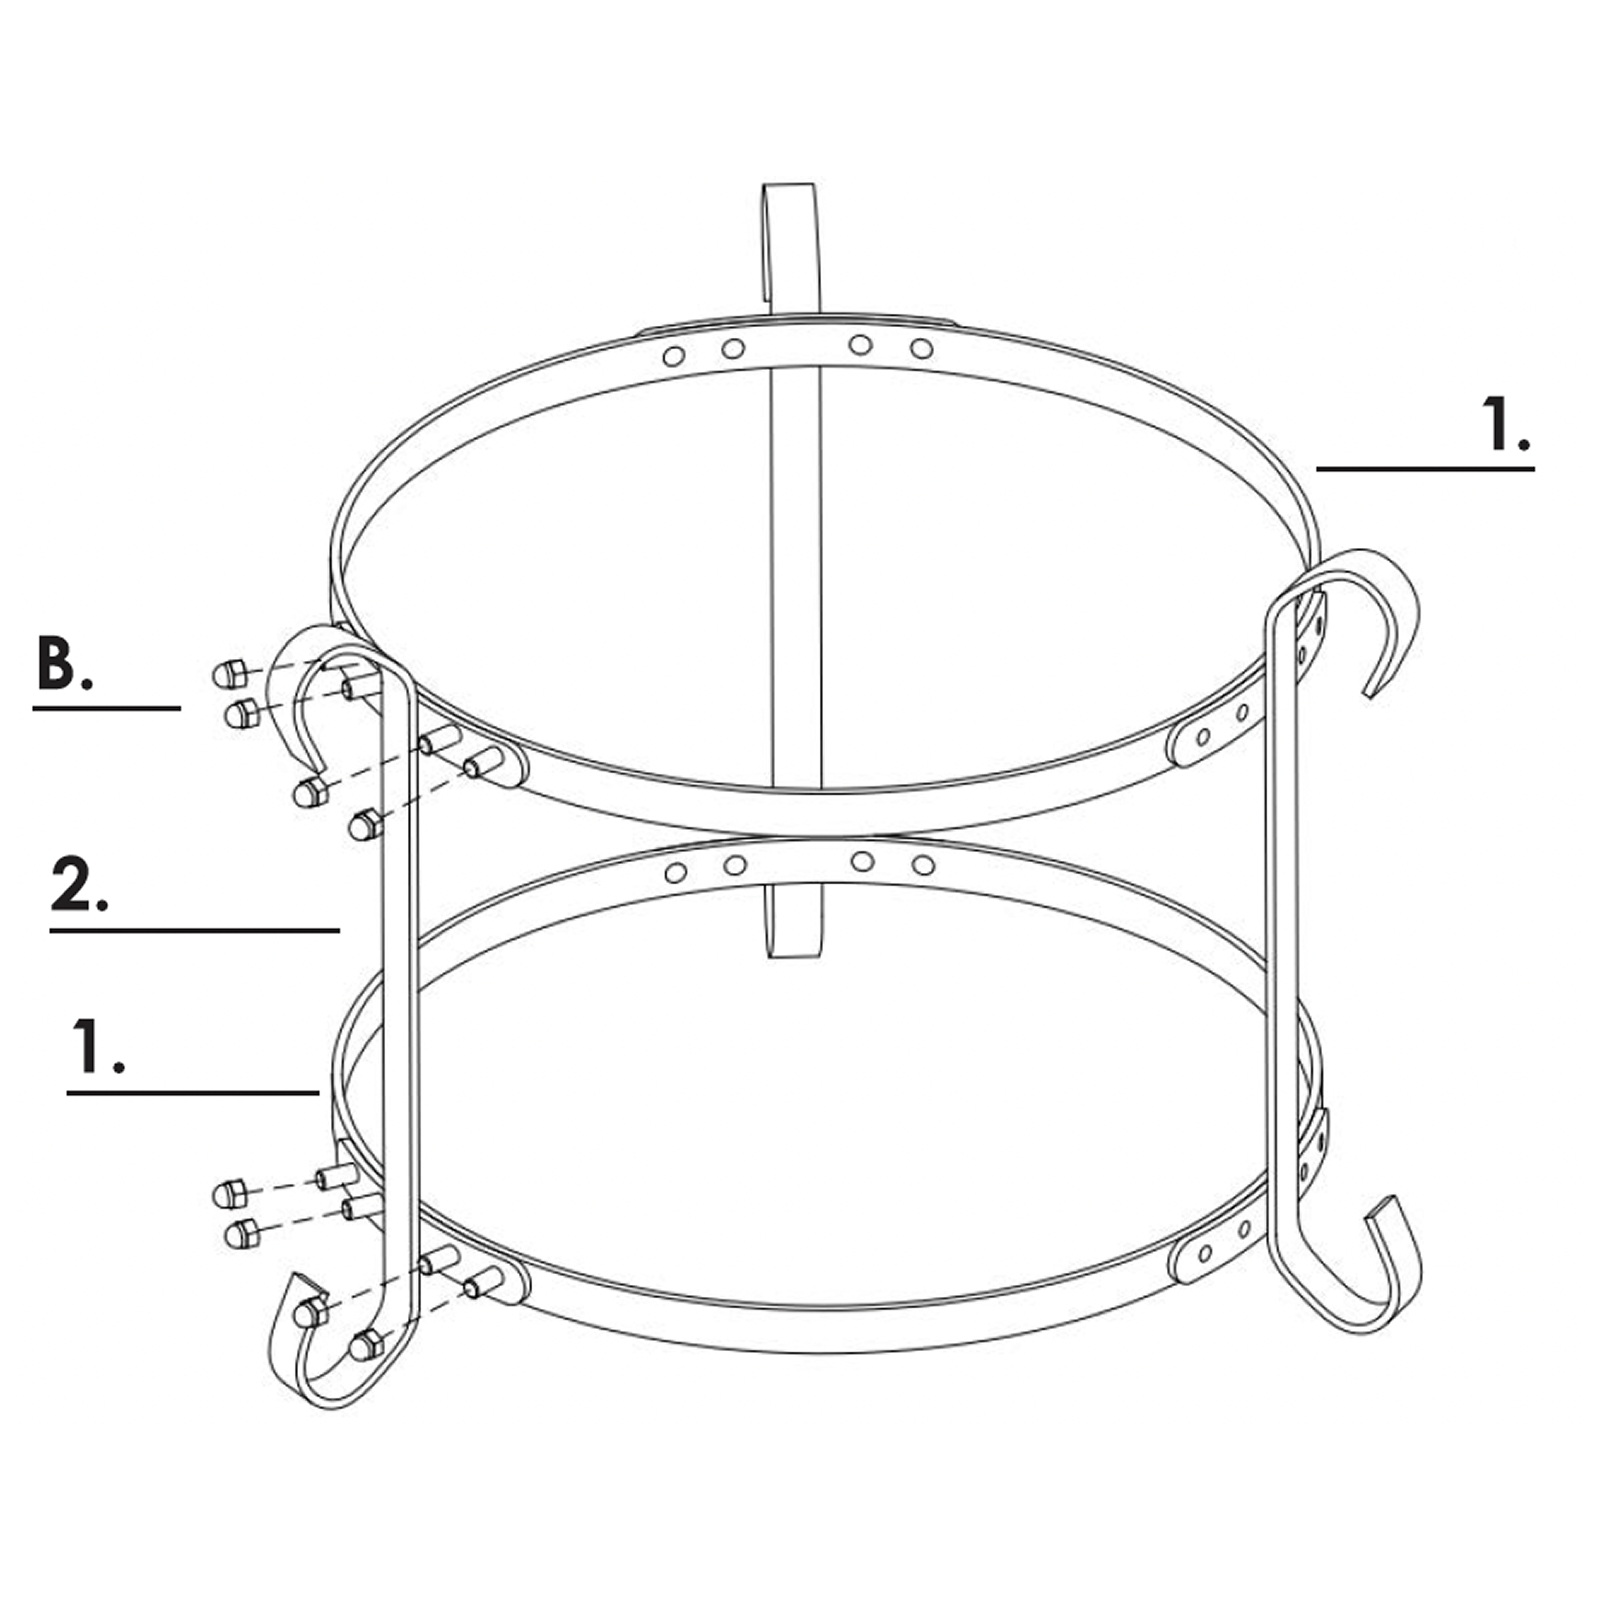
1. Attach one bracket piece (2) to the two brace rings (1). Secure the bracket to each brace ring using the 8x screws (A) with the 8x dome-headed nuts (B). 2. Continue to attach the other brackets to the brace rings by aligning screw holes, and using the screws (A) and dome headed nuts (B).
2. Adding Internal Components
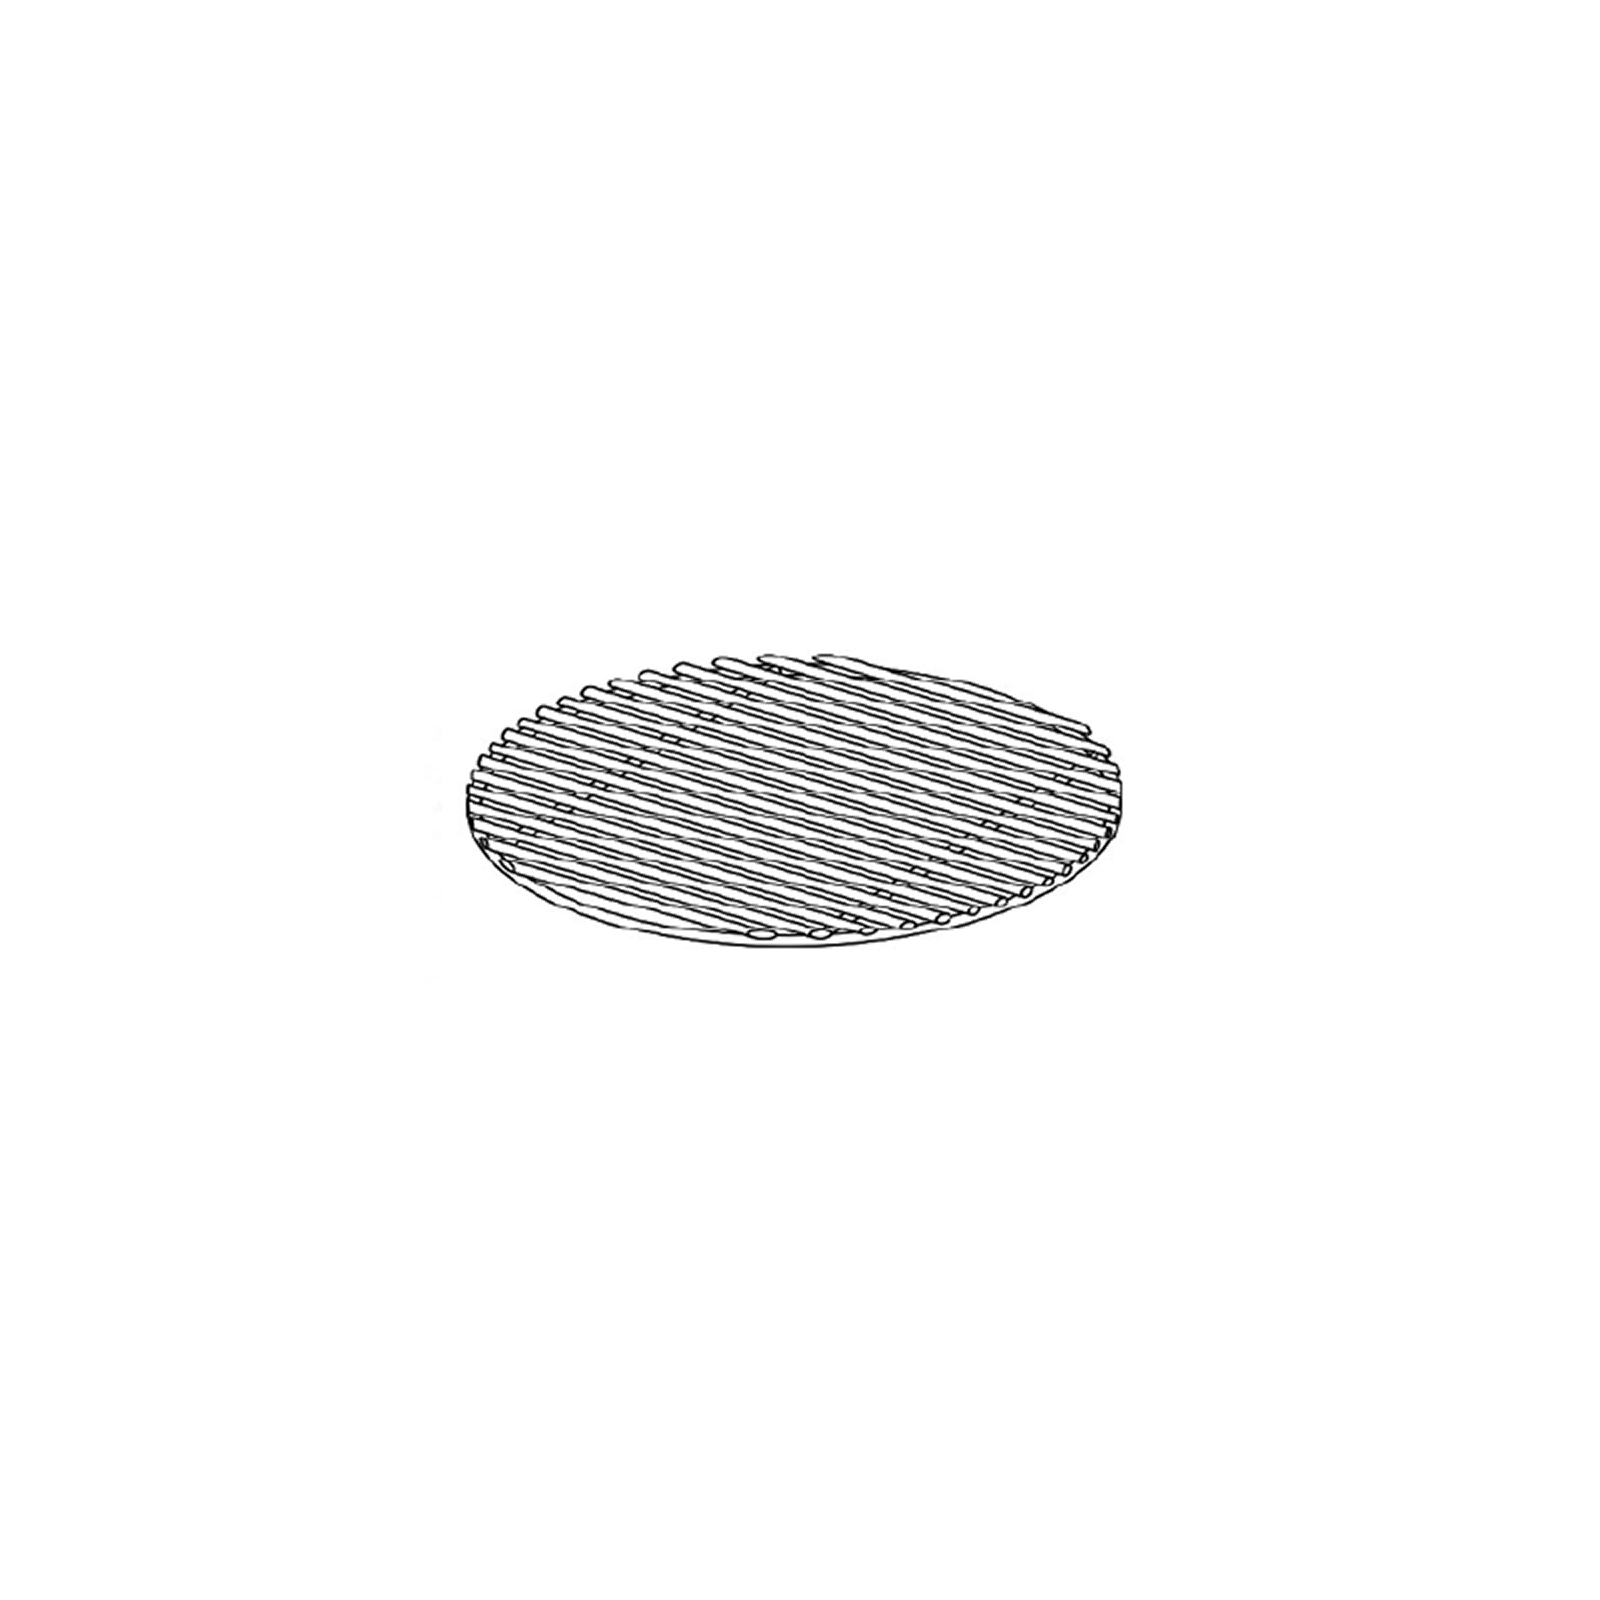
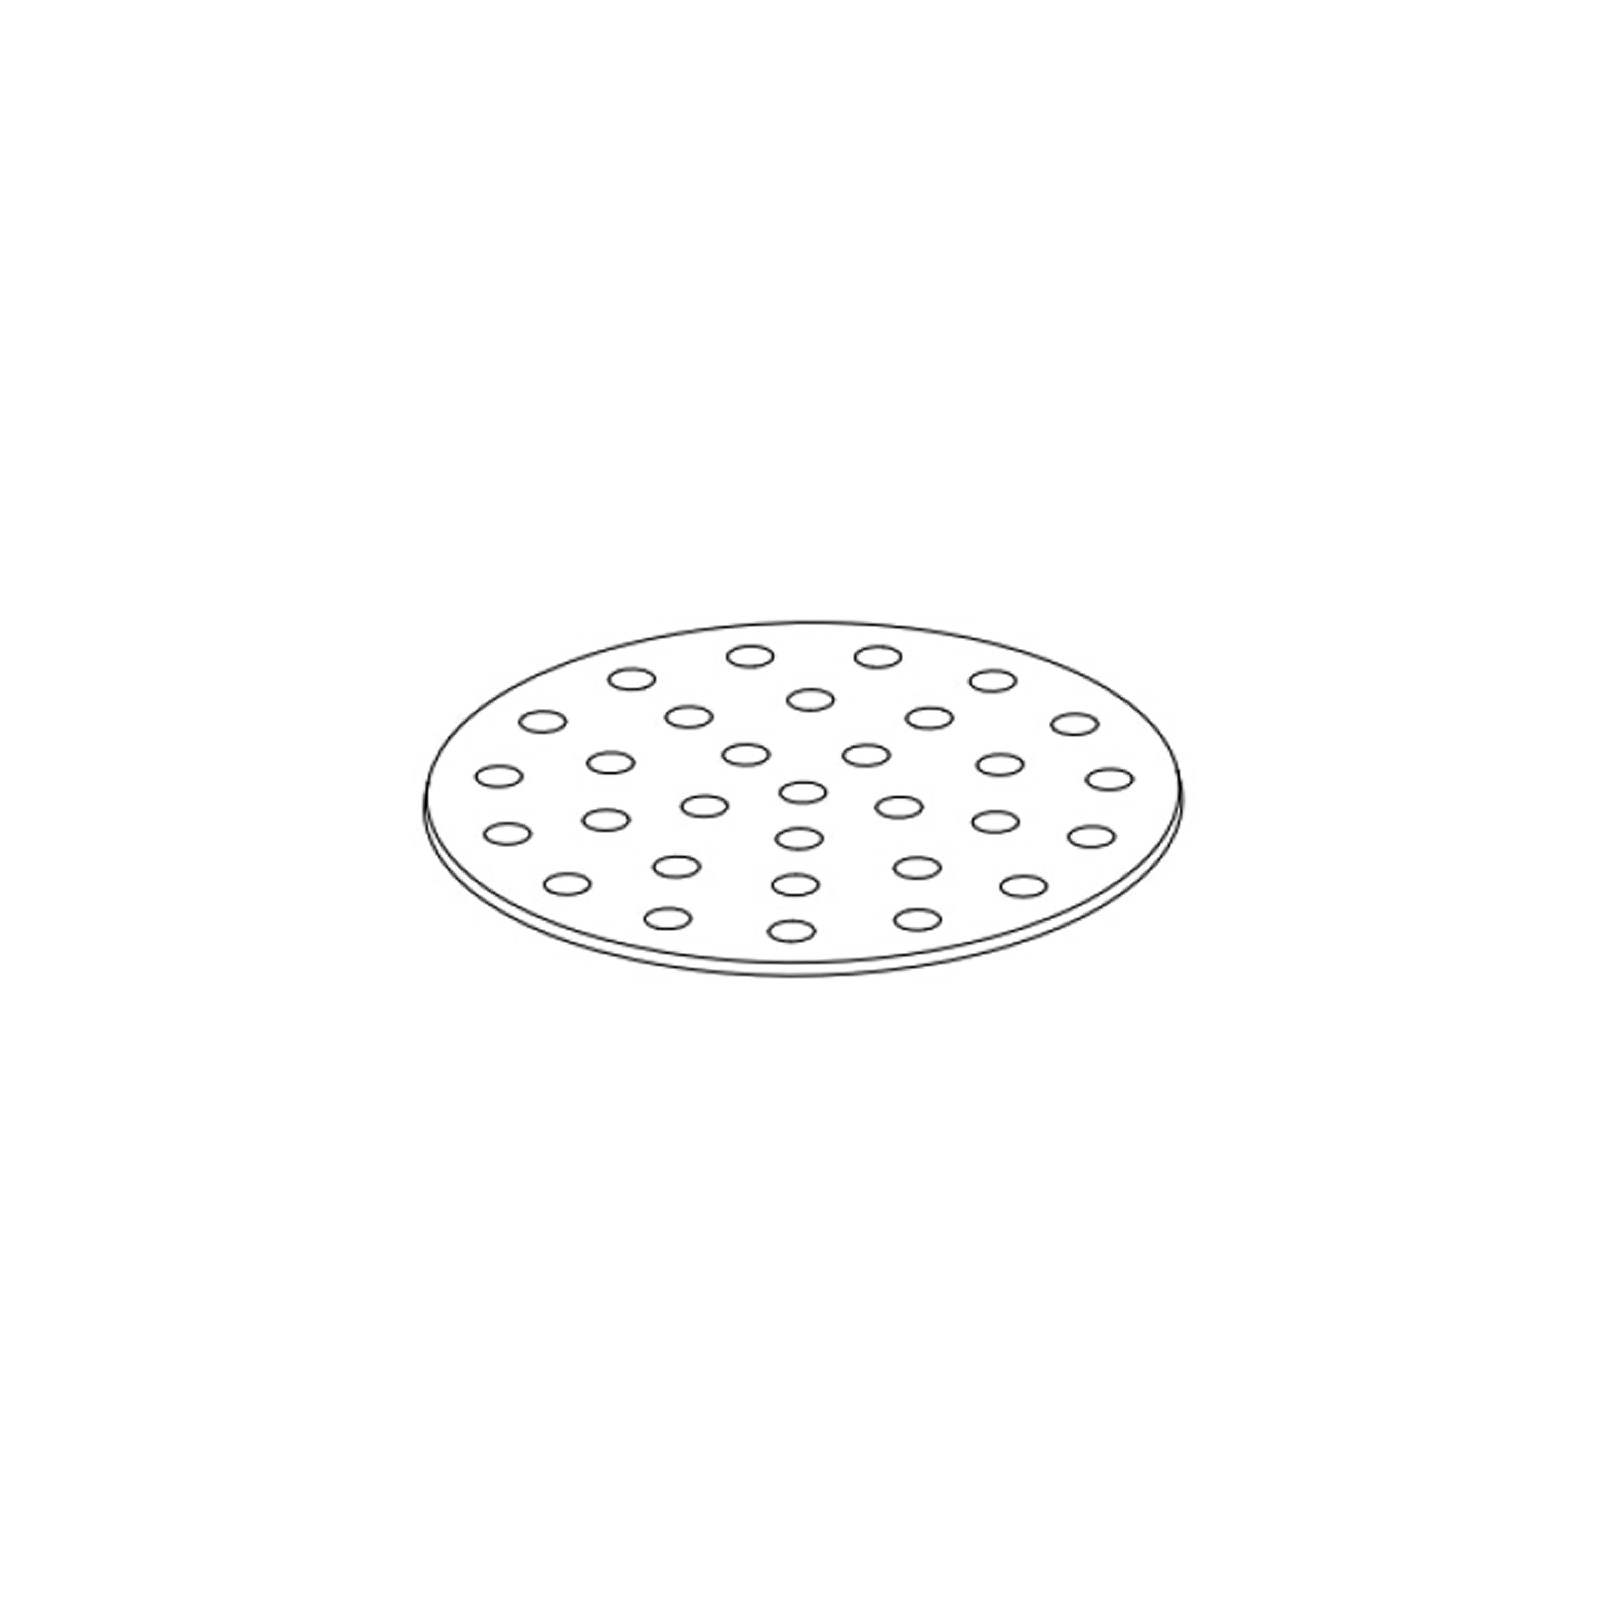
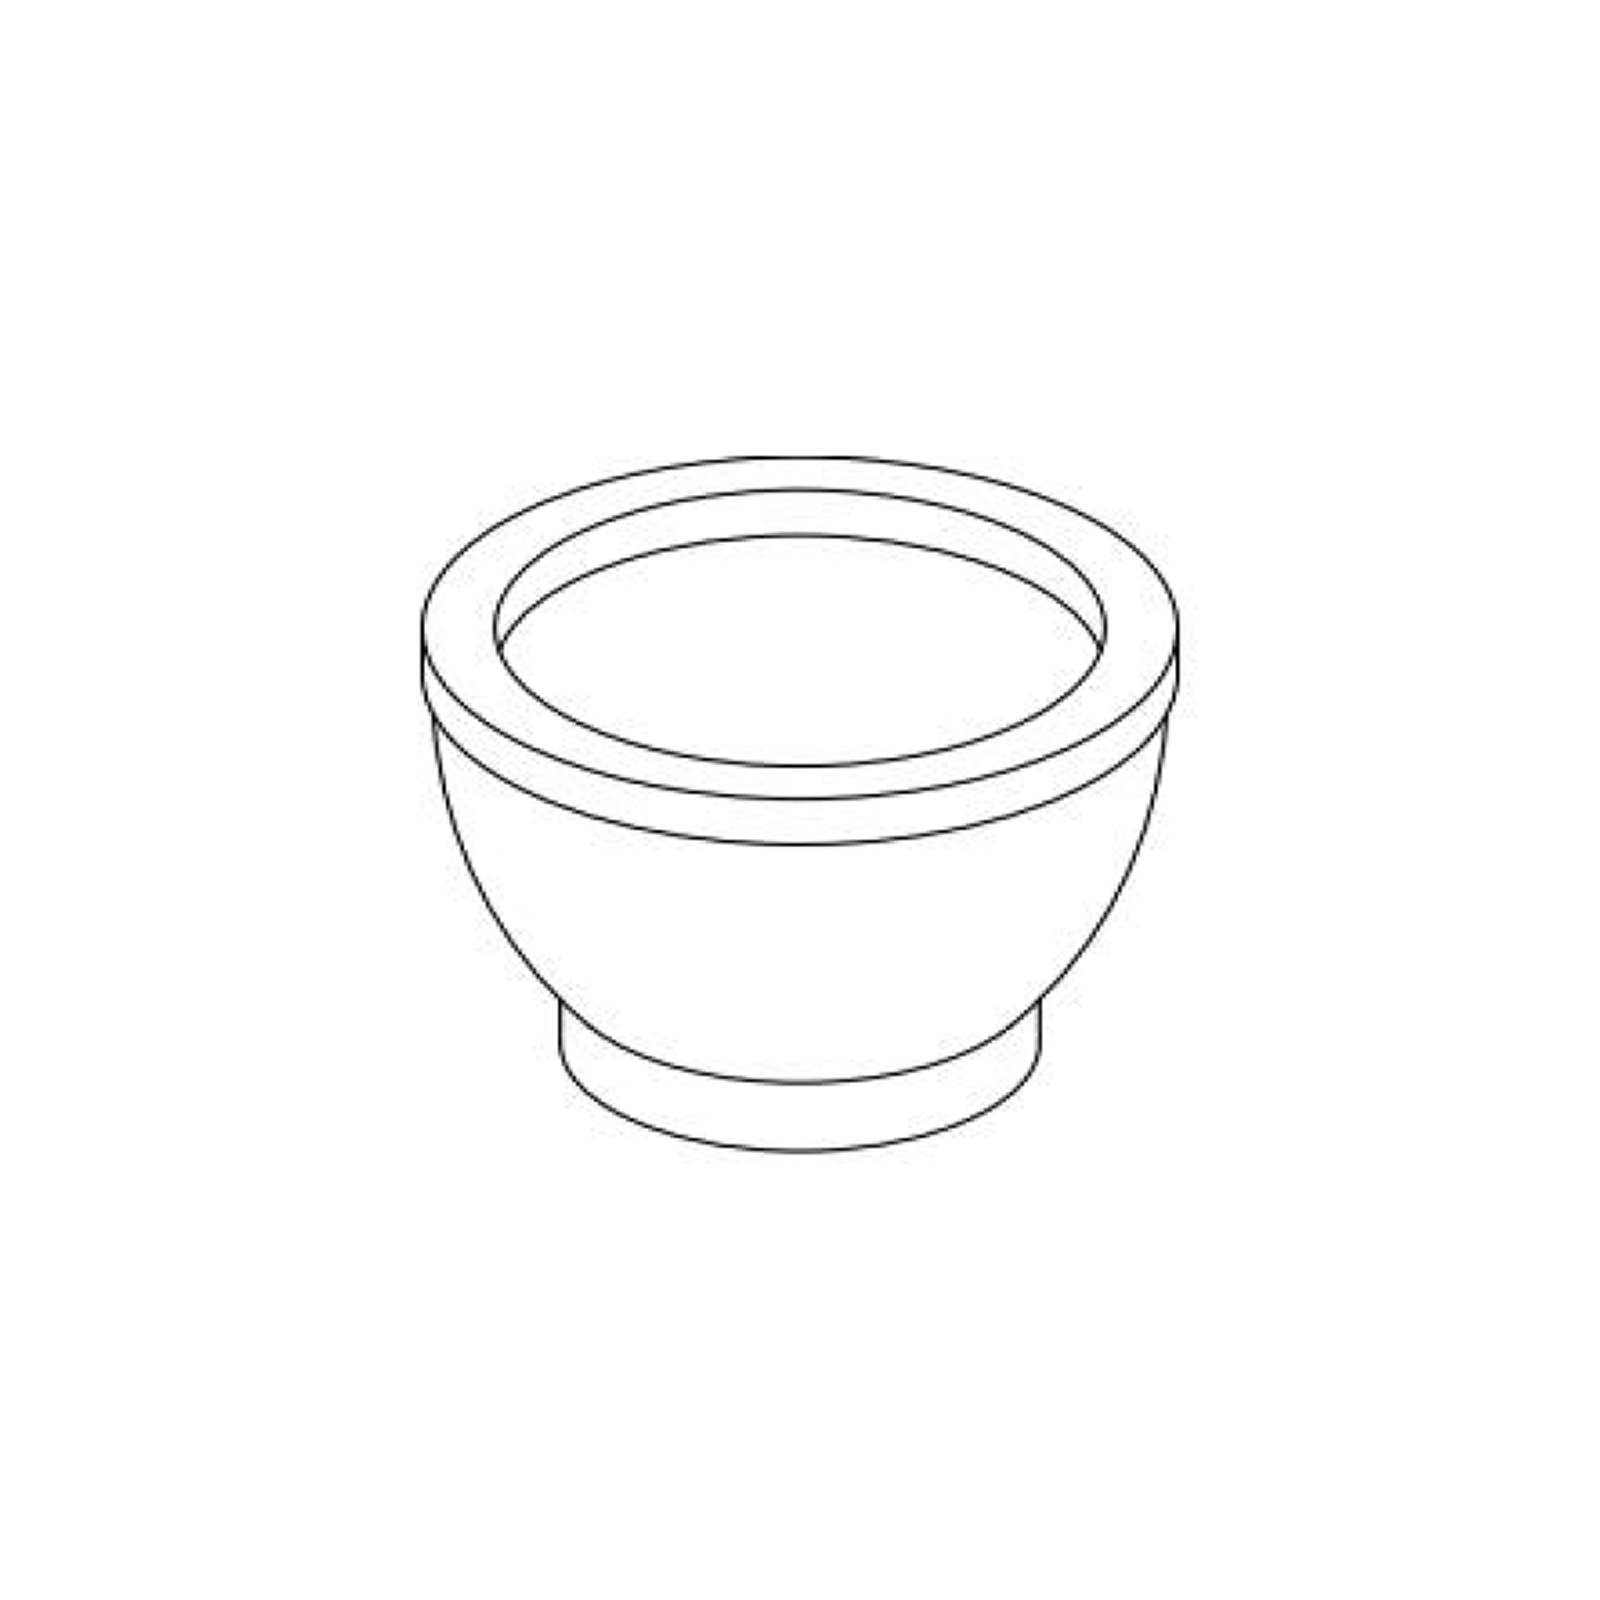
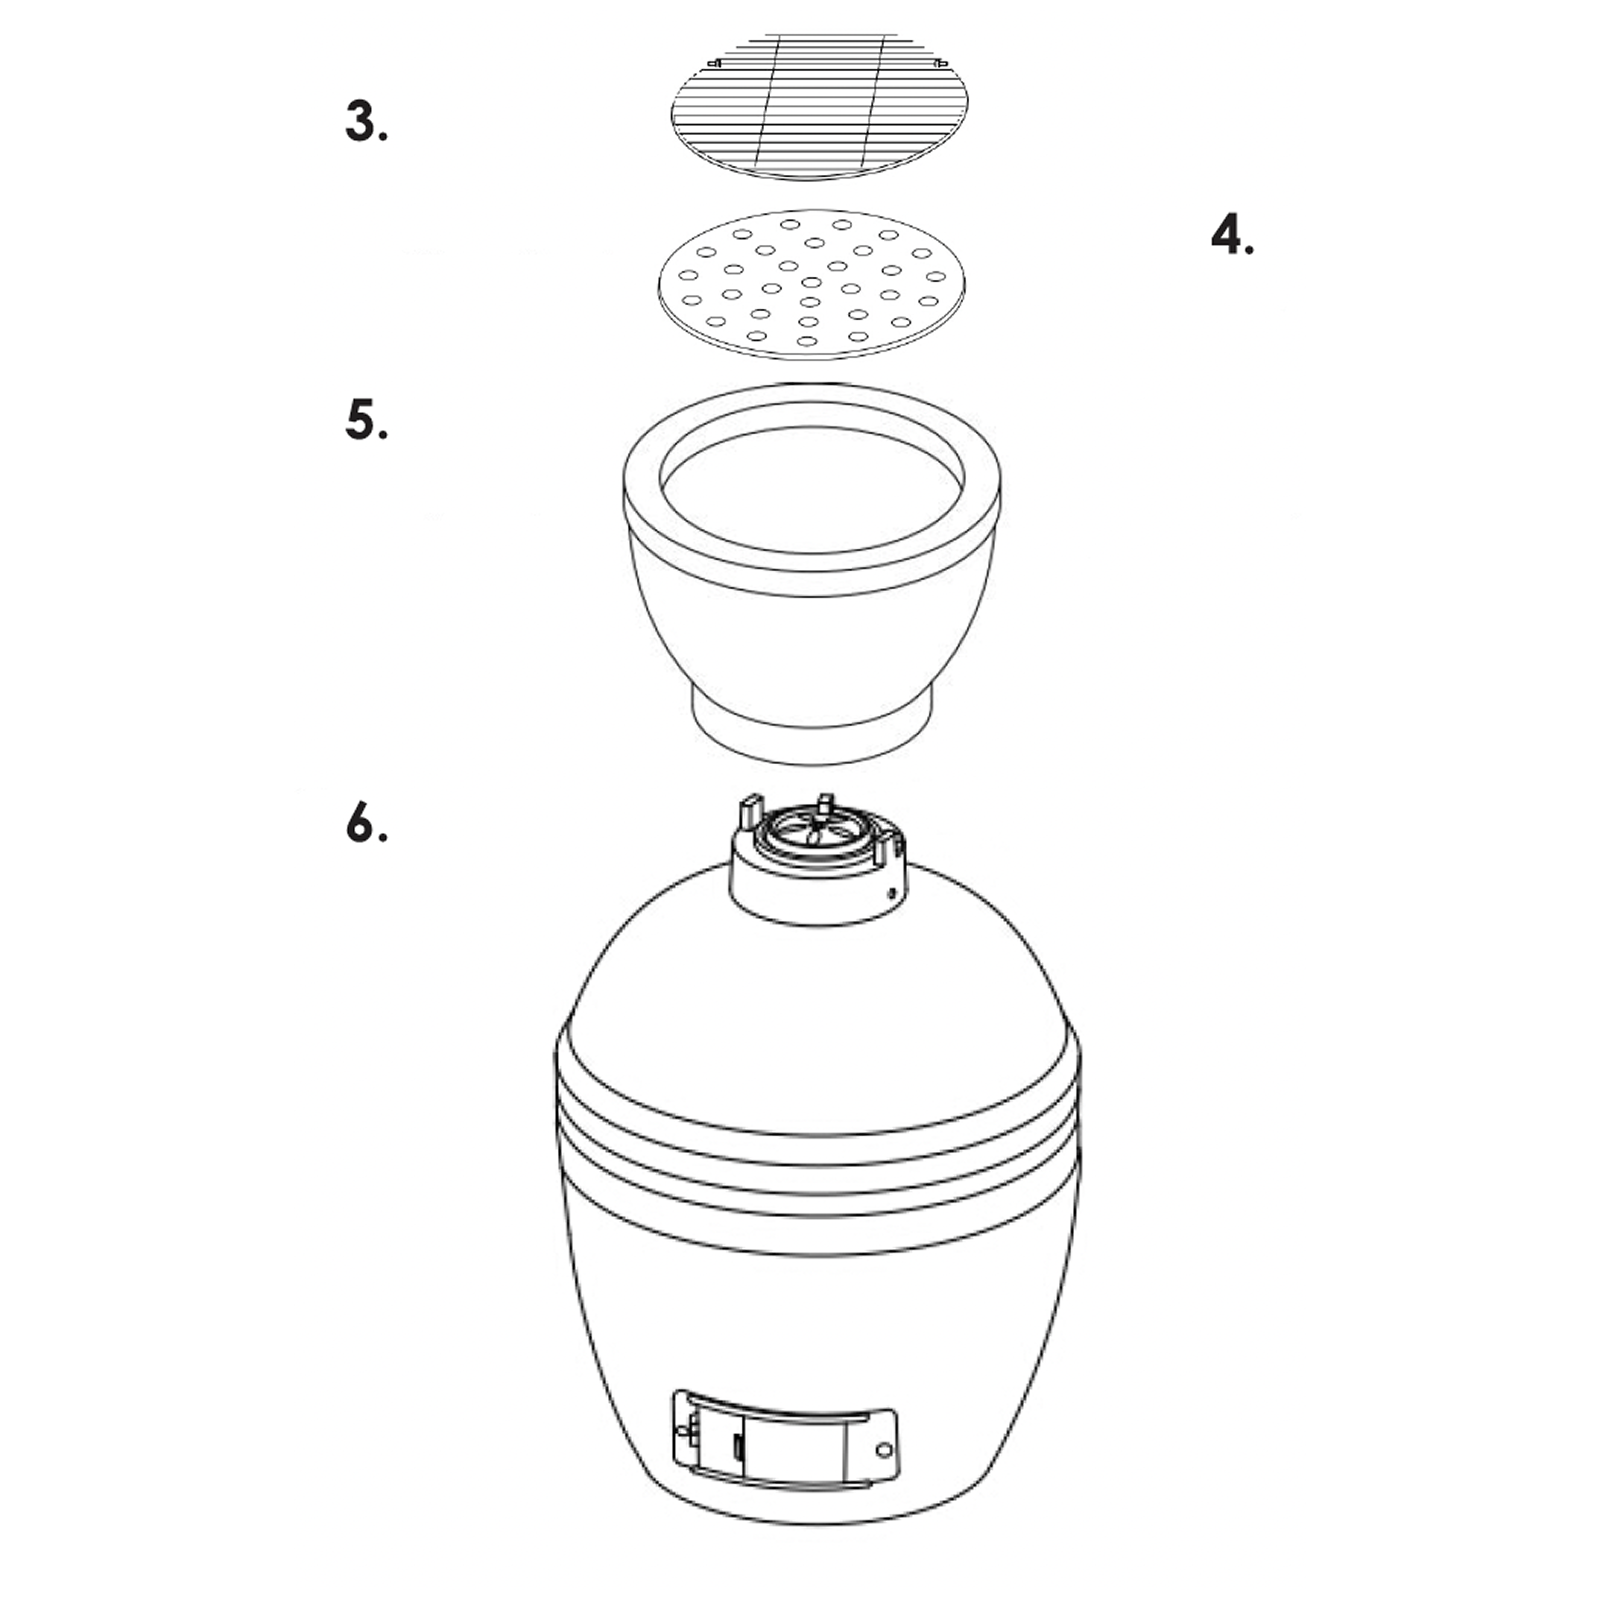
On the side, add the firebox (5), charcoal plate (4) and cooking grill (3) inside of the Kamado.
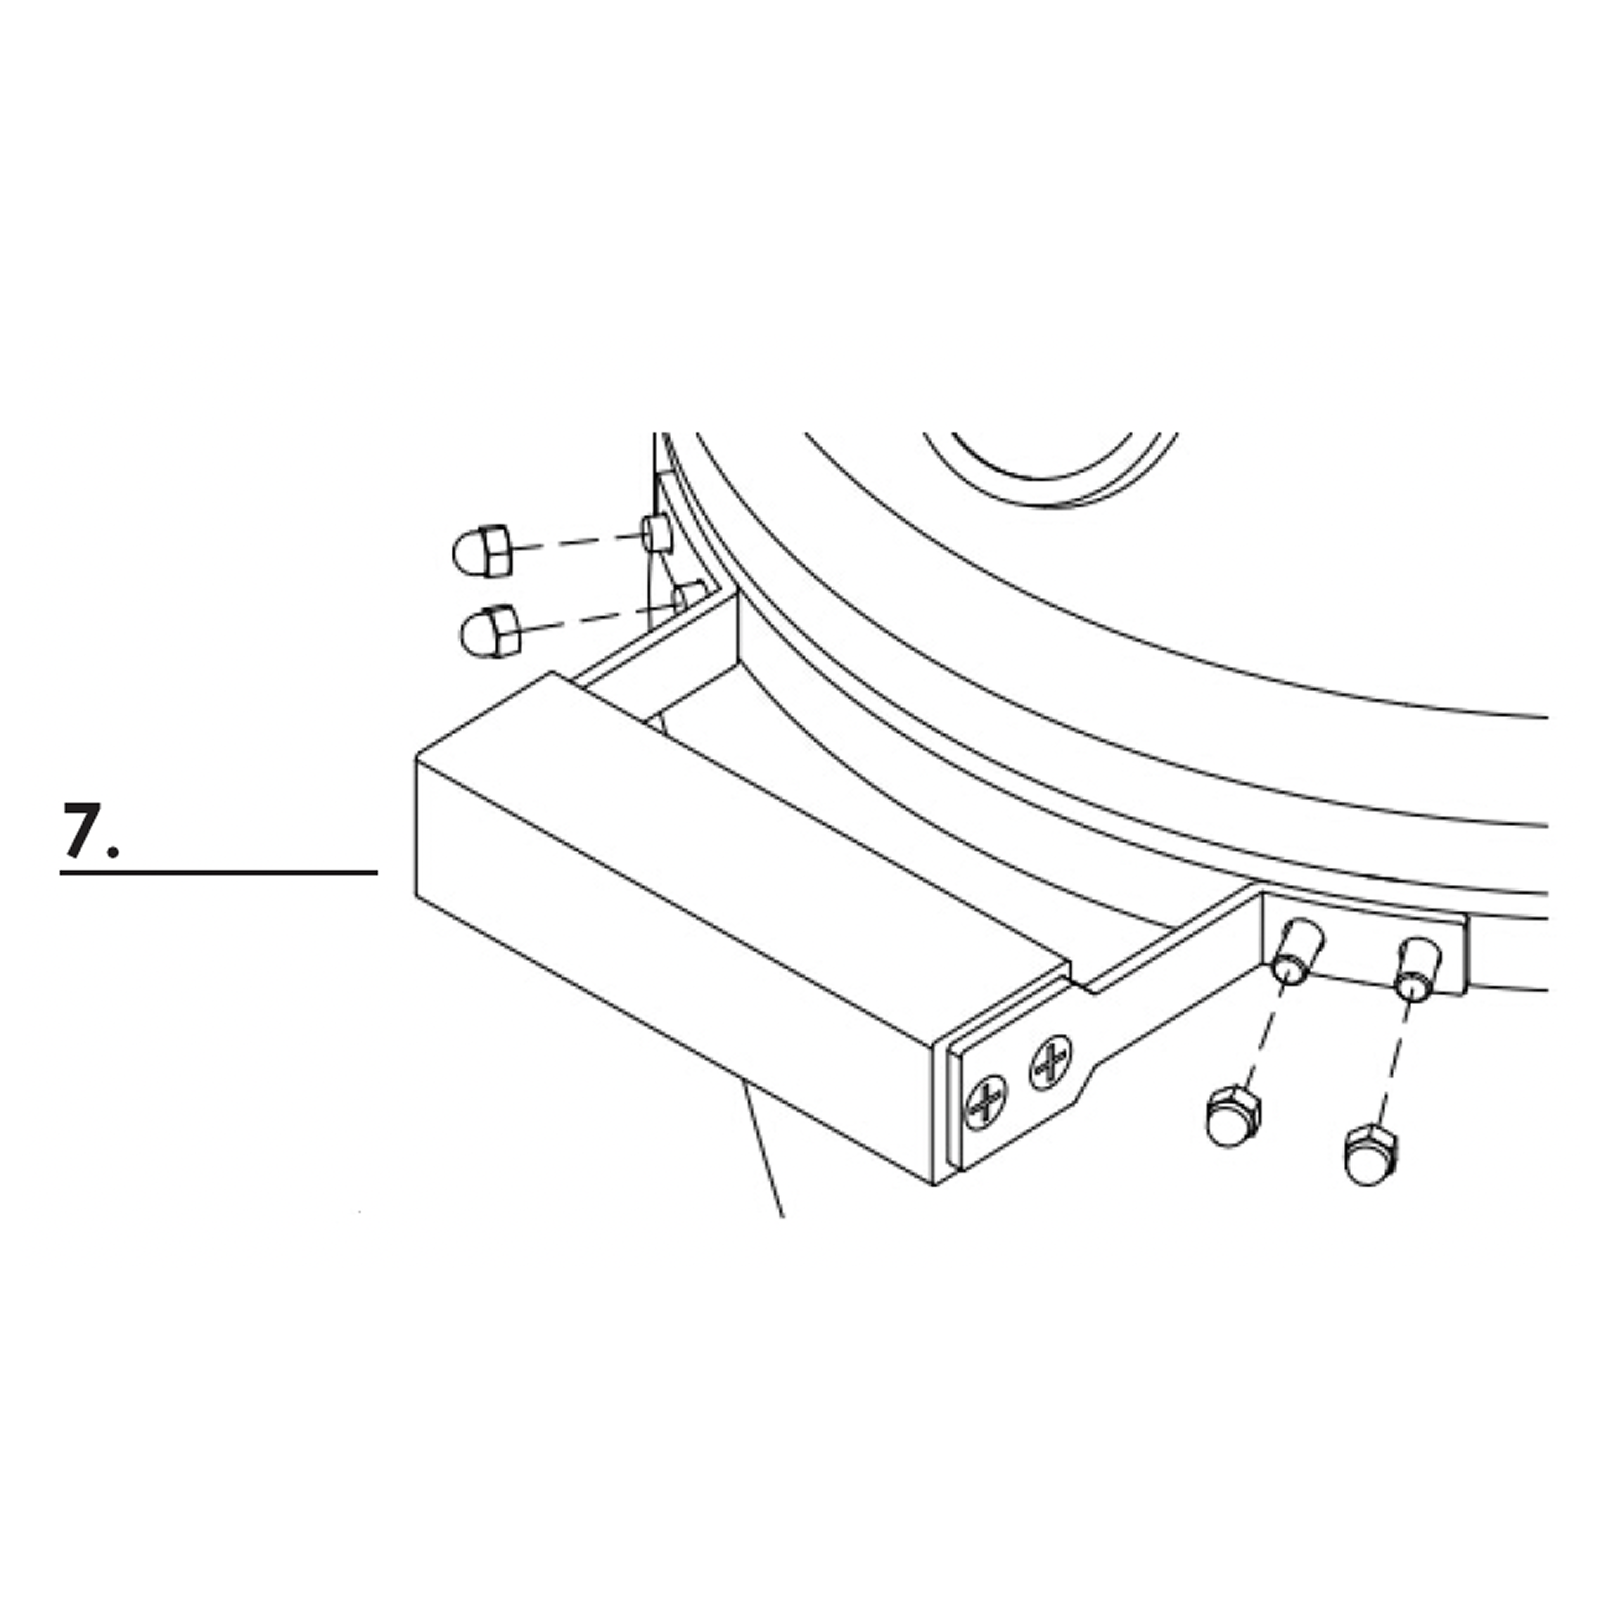
3. Attaching the Handle
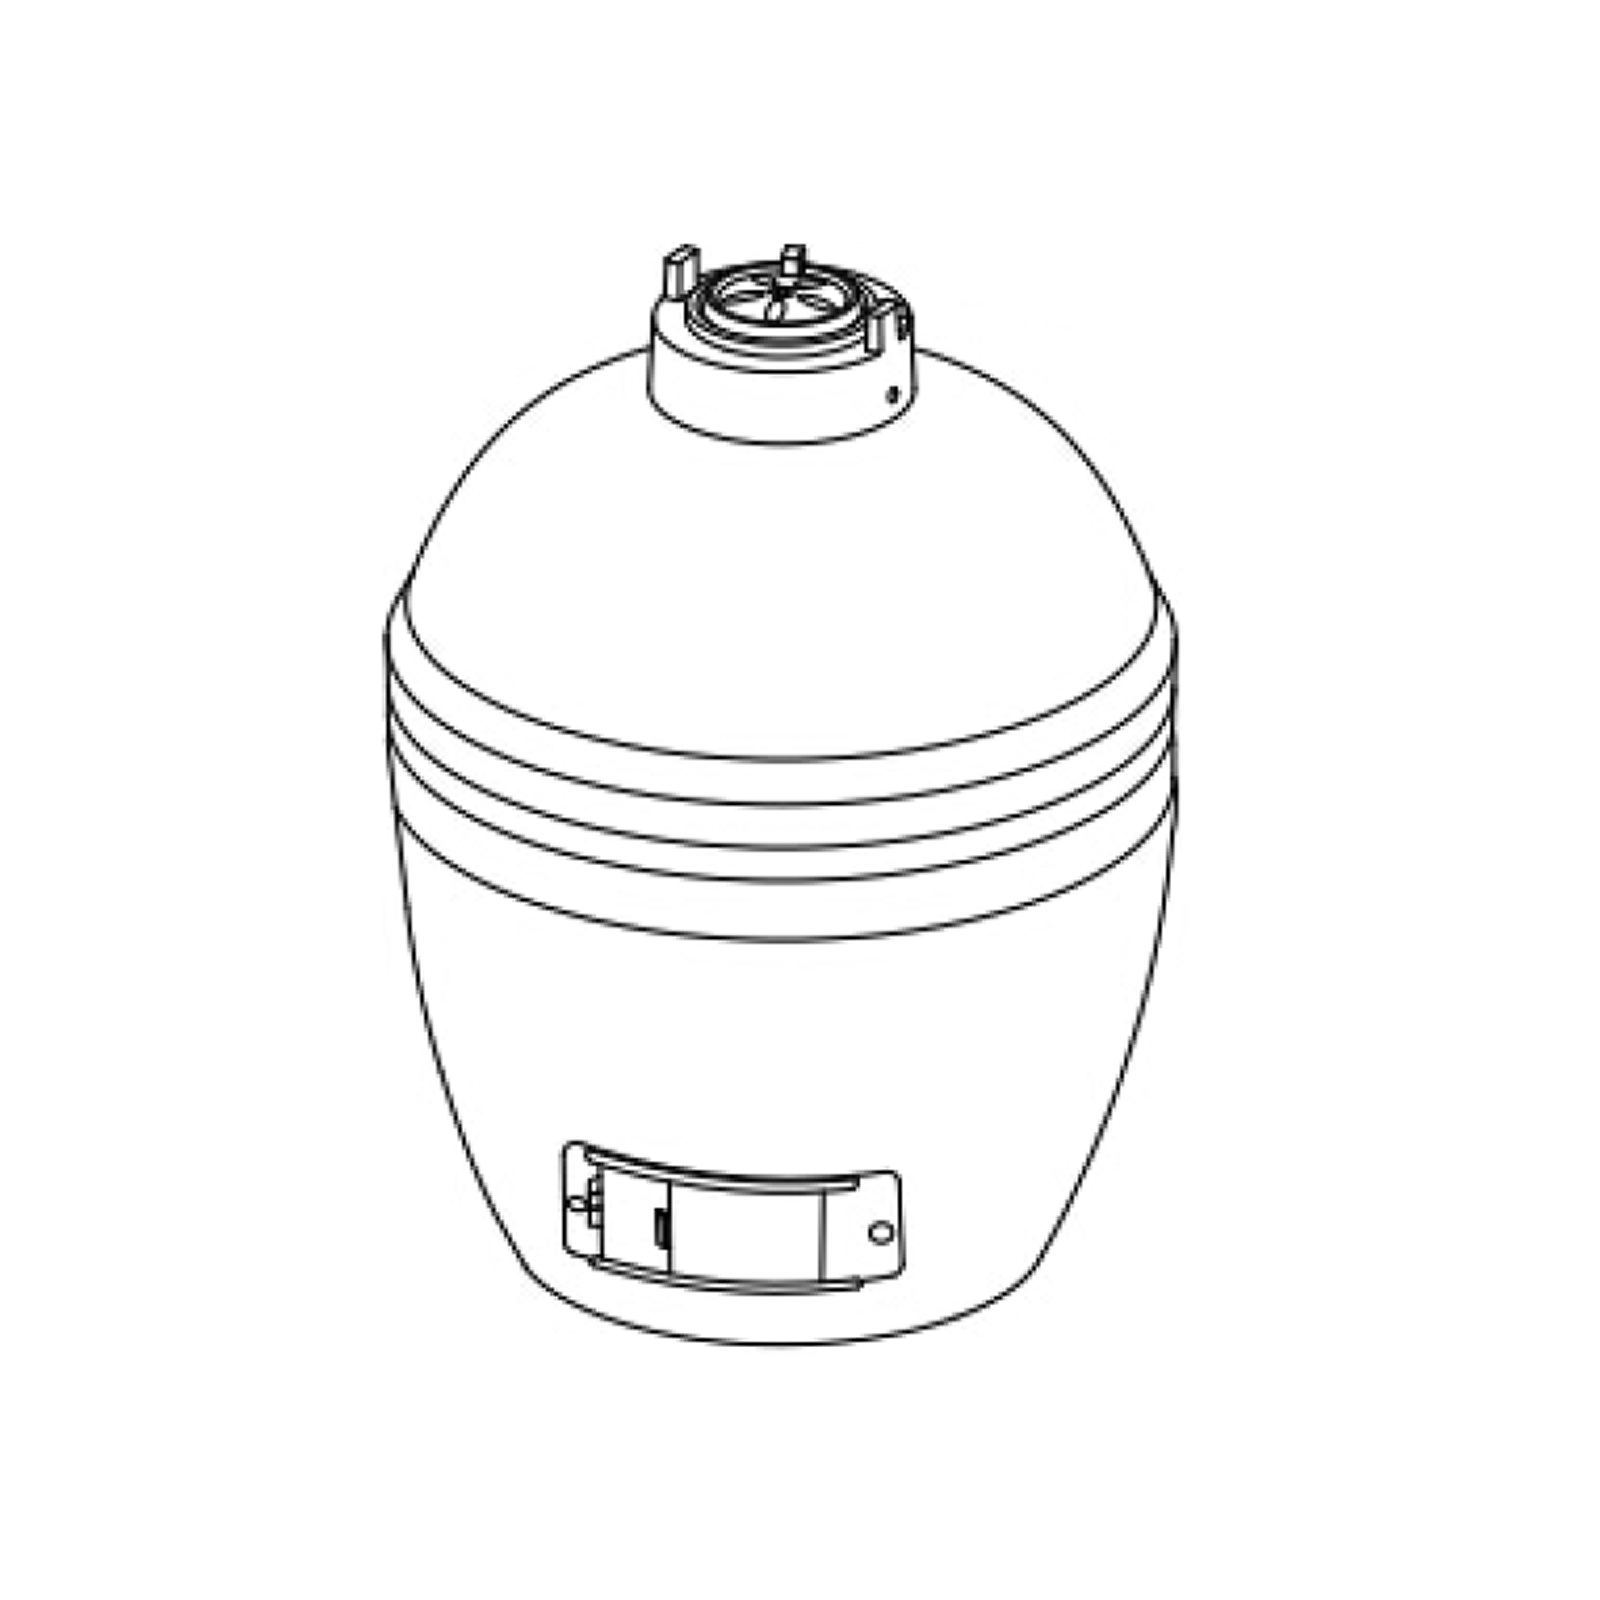
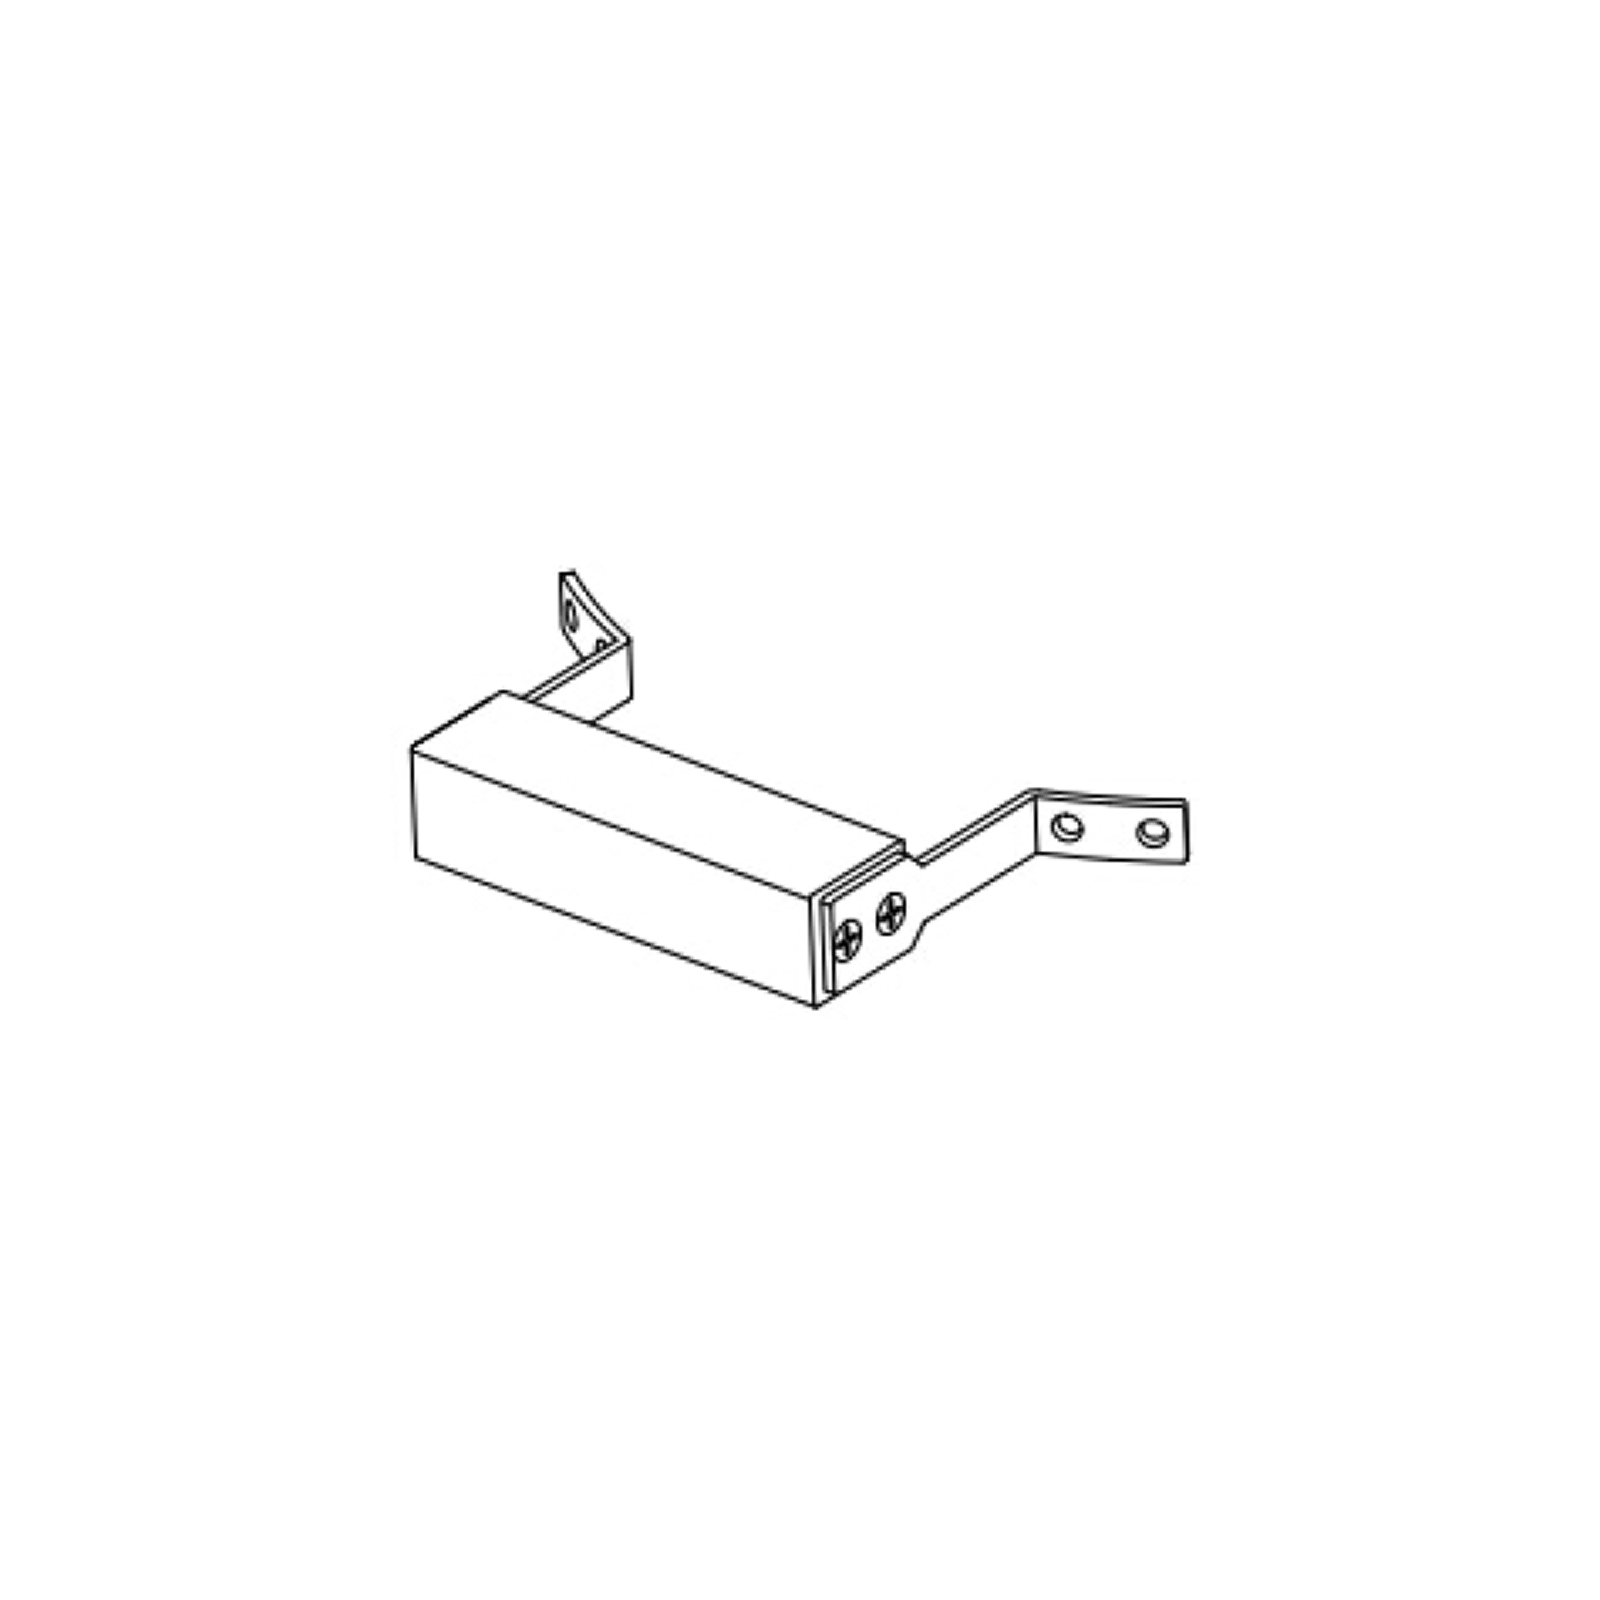
To attach the handle (7) to the lid of the Kamado Grill (6), start by aligning the bolt holes of the handle to pre-installed bolts on the lid. Secure the handle (7) with the 4x pre-attached dome headed nuts.
4. Placing the Grill on the Stand
Place the Kamado Grill on the stand with the bottom vent facing to the front of the stand, allowing the vent to open and close without any interruption.
When the grill is securely placed on the stand, it is recommended to place a level on the cooking grill to ensure there is a flat cooking surface.
1. Positioning the Kamado
Ensure the Kamado is positioned on a permanent, flat, level, heat resistant non-flammable surface away from flammable items.
Ensure the Kamado has a minimum of 2m overhead clearance and has a minimum 2m clearance from other surrounding items.
2. Lighting the Kamado
1. To start a fire, place rolled up newspaper with some lighter cubes or solid firelighters on the charcoal plate in the base of the Kamado. 2. Then place 1 or 2 handfuls of lump charcoal over the top of the newspaper. 3. DO NOT use petrol, white spirit, lighter fluid, alcohol or other similar chemicals for lighting or relighting. 4. Open the bottom vent and light the newspaper using a long nosed lighter or safety matches. 5. Once it has caught, leave the bottom vent and lid open for about 10 minutes to build a small bed of hot embers.
3. Extinguishing the Kamado
To extinguish the unit, stop adding fuel and close all the vents and the lid to allow the fire to die naturally.
DO NOT use water to extinguish the charcoals as this could damage the ceramic Kamado.
4. Refuelling the Kamado
1. With the vents closed, the Kamado stays at a high temperature for several hours. If you require a longer cooking time (e.g., when roasting a whole joint or slow smoking), it may be necessary to add more charcoal. 2. Just add some additional charcoal and continue.
5. Maintenance
Tighten the bands and oil the hinge 2 times a year or more if needed.
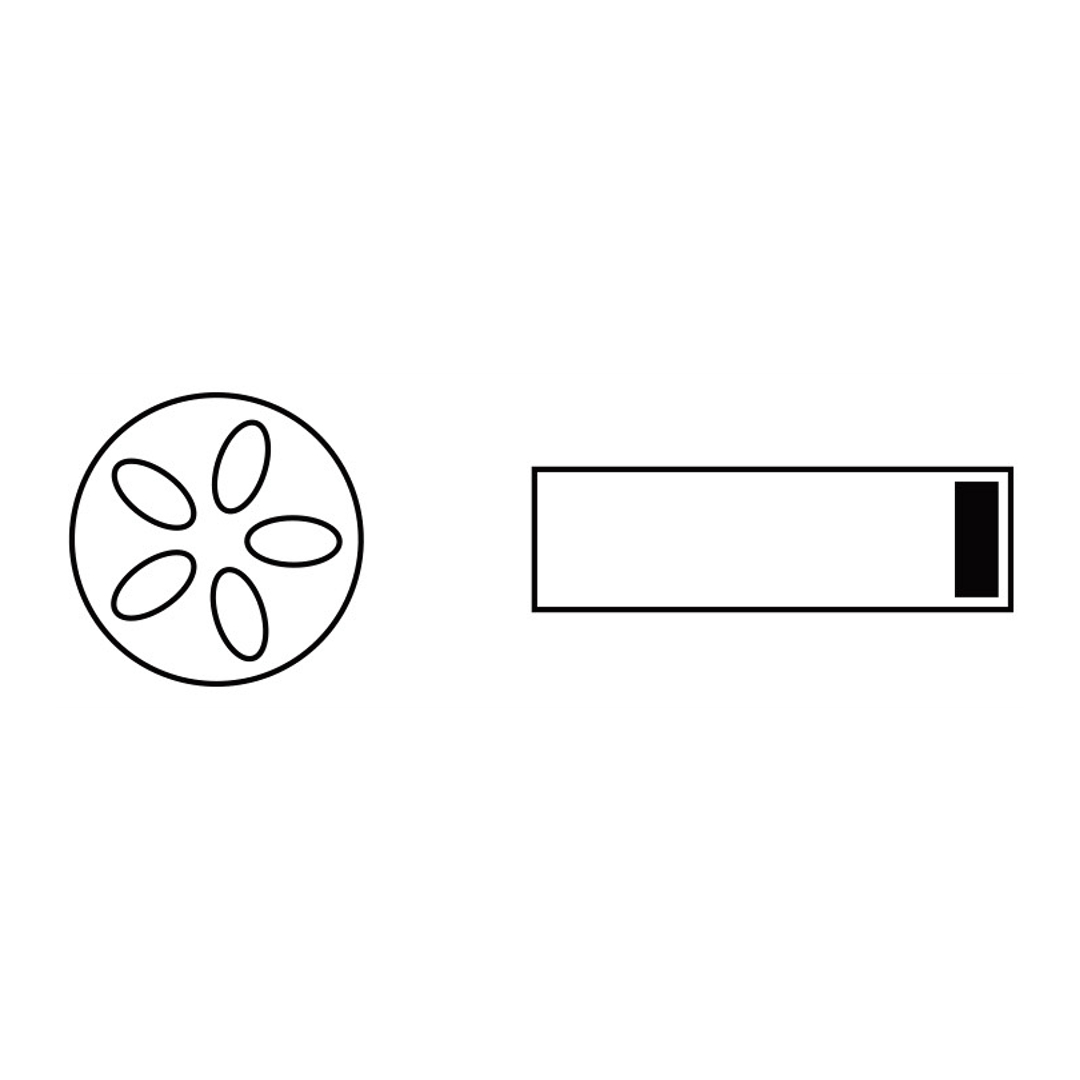
6. Cooking Temperature Guide: Slow cook / Smoke (110°C-135℃)
Beef Brisket: 2 Hrs per lb.
Pulled Pork: 2 Hrs per lb.
Whole Chicken: 3-4 Hr.
Ribs: 3-5 Hrs.
Roasts: 9+ Hrs.
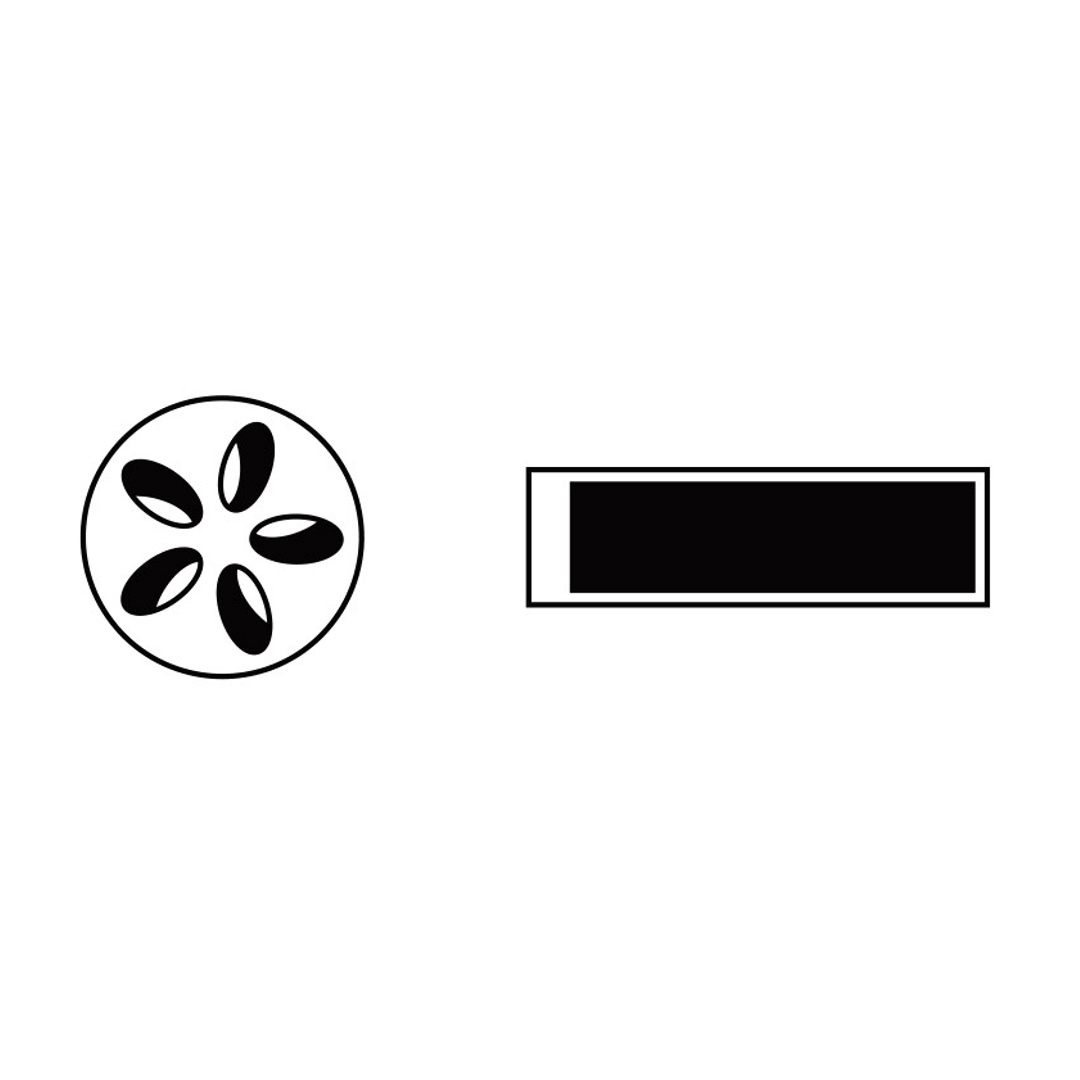
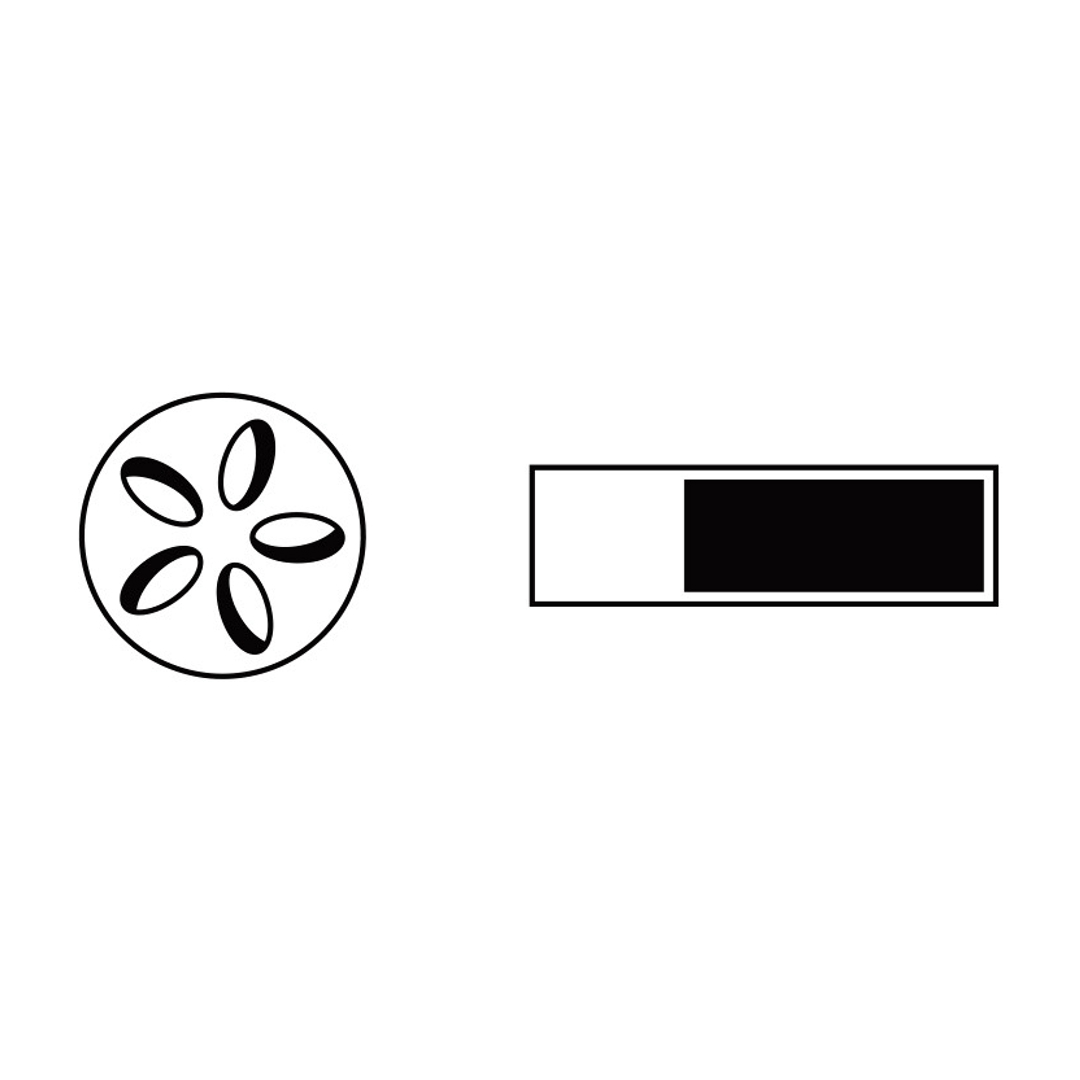
Follow the diagram to see how to position the vents for cooking at the desired temperatures
Open: 〇 Closed: ⬤
7. Cooking Temperature Guide: Grill / Roast (160°C-180°C)
Fish: 15-20 Min.
Pork Tenderloin: 15-30 Min.
Chicken Pieces: 30-45 Min.
Whole Chicken: 1-1.5 Hrs.
Leg of lamb: 3-4 Hrs.
Turkey: 2-4 Hrs.
Ham: 2-5 Hrs.
Follow the diagram to see how to position the vents for cooking at the desired temperatures
Open: 〇 Closed: ⬤
8. Cooking Temperature Guide: Sear (260°C-370°C)
Steak: 5-8 Min.
Pork Chops: 6-10 Min.
Burgers: 6-10 Min.
Sausages: 6-10 Min.
Follow the diagram to see how to position the vents for cooking at the desired temperatures