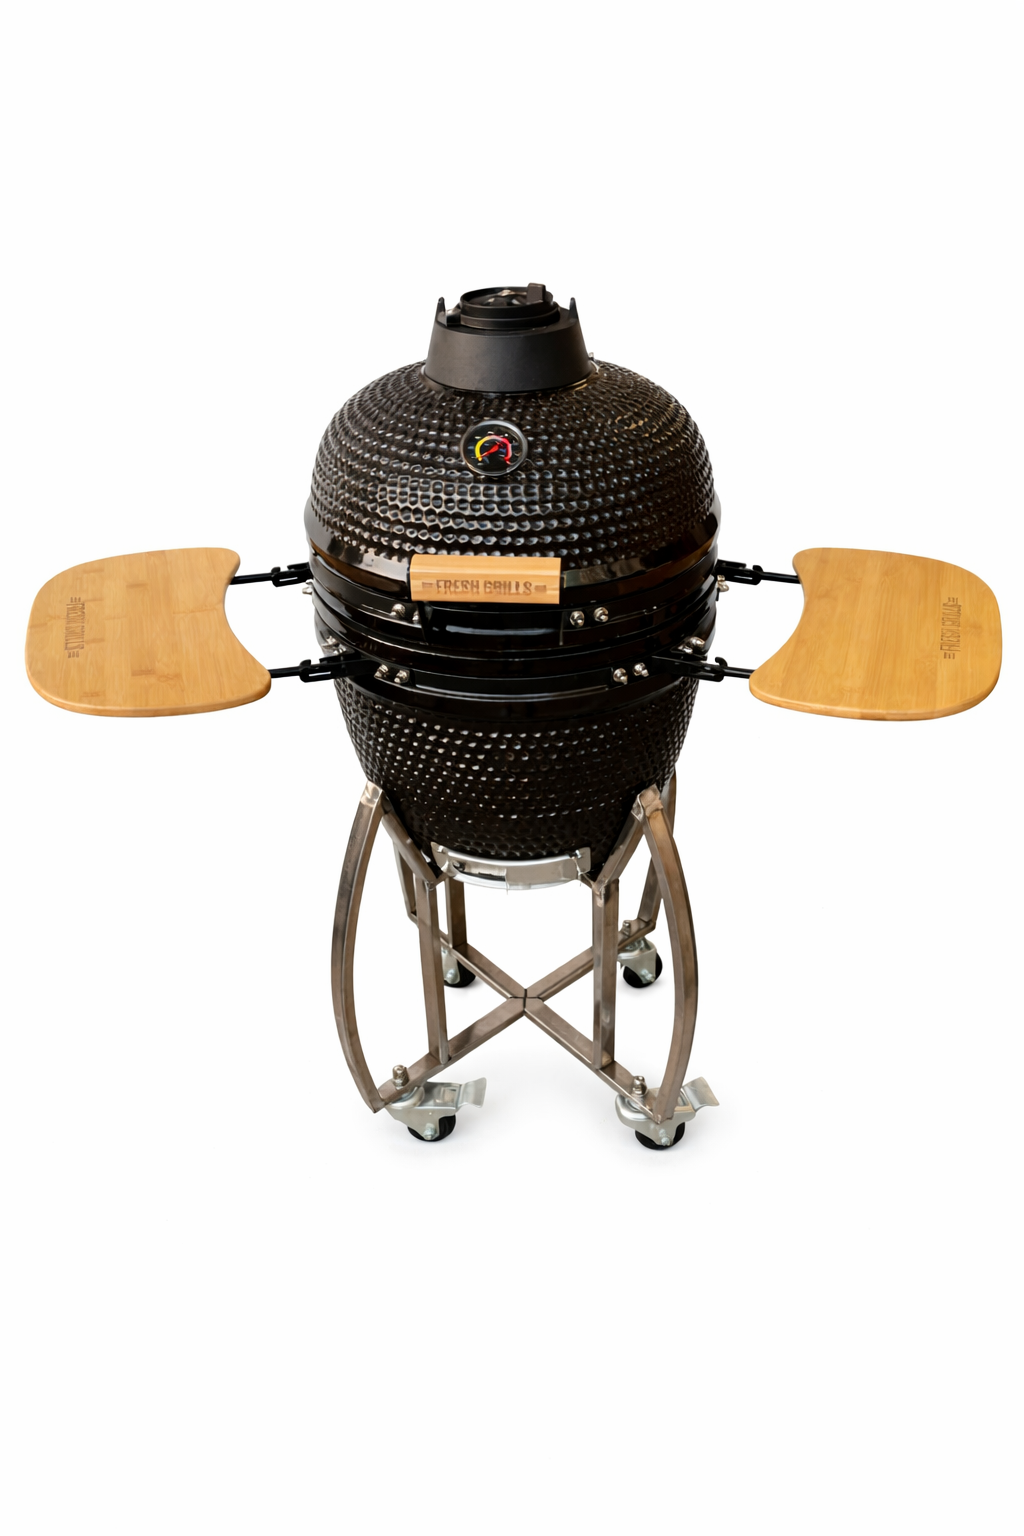
This guide provides step-by-step instructions for assembling, operating, and maintaining your Fresh Grills Kamado BBQ Grills 2.0.
Product Information
Fresh Grills Kamado BBQ Grills 2.0
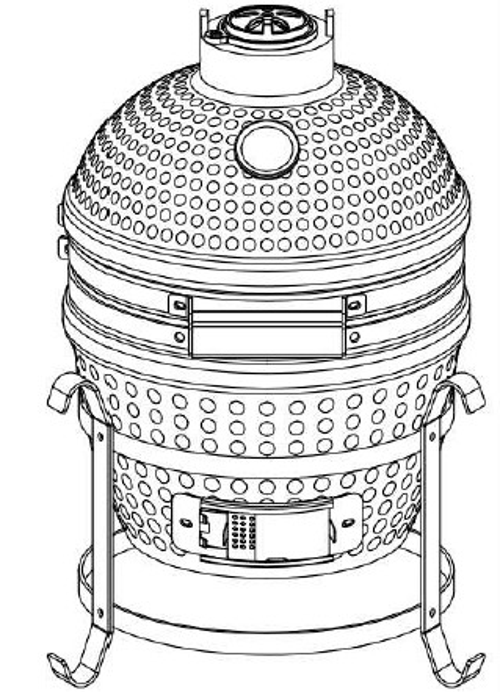
Discover the ultimate outdoor cooking experience with the Fresh Grills Kamado Grill. Crafted with a sleek black ceramic shell and stainless-steel grates, each grill comes complete with a protective rain cover and BBQ utensil kit — everything you need to grill with confidence. Designed for performance, style, and durability, Fresh Grills brings restaurant-quality results to your garden.
SKU
216981,216982,216983
Materials
Cast Iron, Stainless Steel, Ceramic, Bamboo and Powder Coating
Specifications
Attributes
13" Dimensions
56cm x 36xm x 42cm
16" Dimensions
56cm x 56xm x 54cm
18" Dimensions
103cm x 103cm x 61cm
13" Net Weight
21.3KGs
16" Net Weight
30.0KGs
18" Net Weight
58.0KGs
13" Gross Weight
22.7KGs
16" Gross Weight
33.6KGs
18" Gross Weight
61.0KGs
Parts
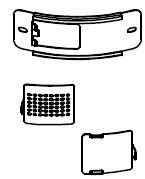
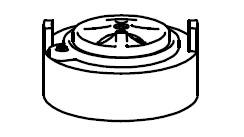
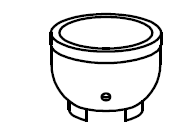
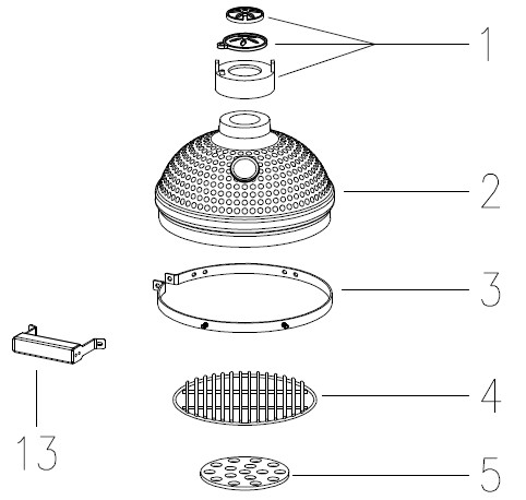
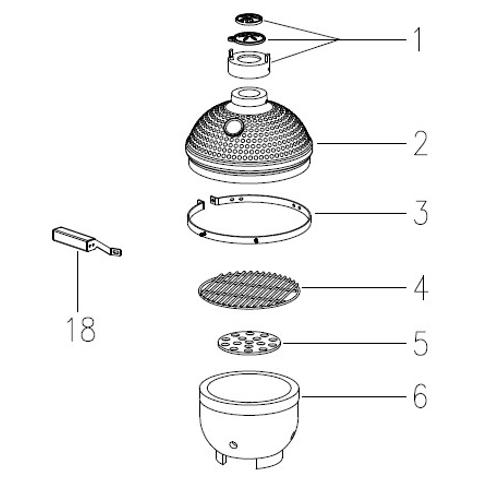
13" - Part 1 - Top Vent Cap
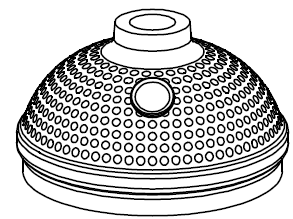
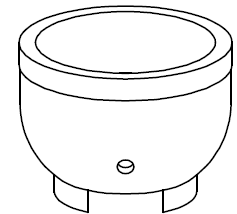
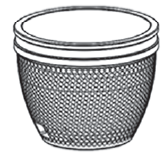
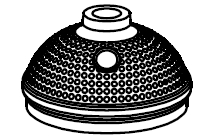
13" - Part 2 - Grill Dome
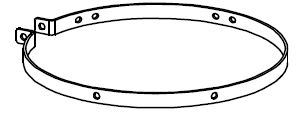
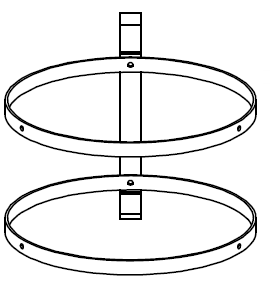
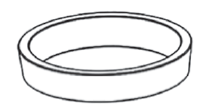
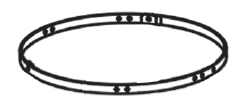
13" - Part 3 - Upper Support Ring
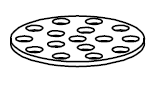
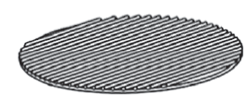
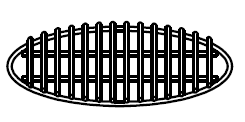
13" - Part 4 - Cooking Grill Grate
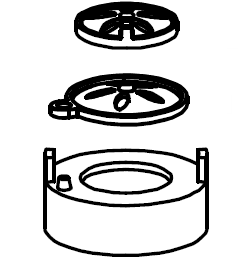
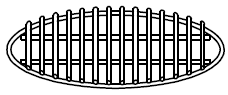
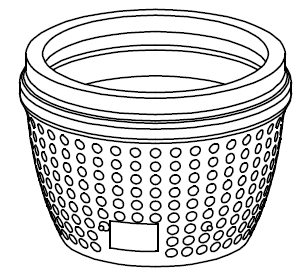
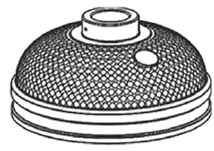
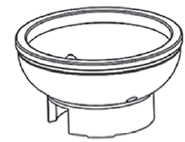
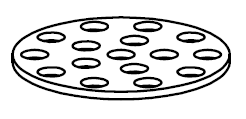
13" - Part 5 - Charcoal Plate
13" - Part 6 - FireBox
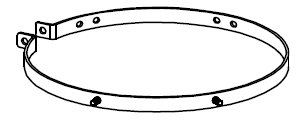
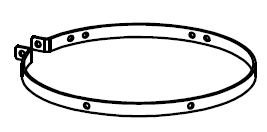
13" - Part 7 - Lower Support Ring
13" - Part 8 - Lower Grill Base
13" - Part 9 - Bottom support Stand Ring
13" - Part 10 - support Legs
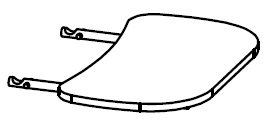
13" - Part 11 -Bottom Air Vent
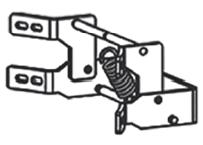
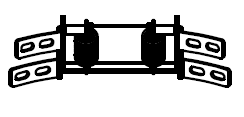
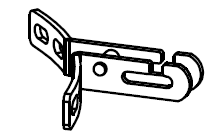
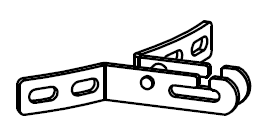
13" - Part 12 - Hinge Assembly
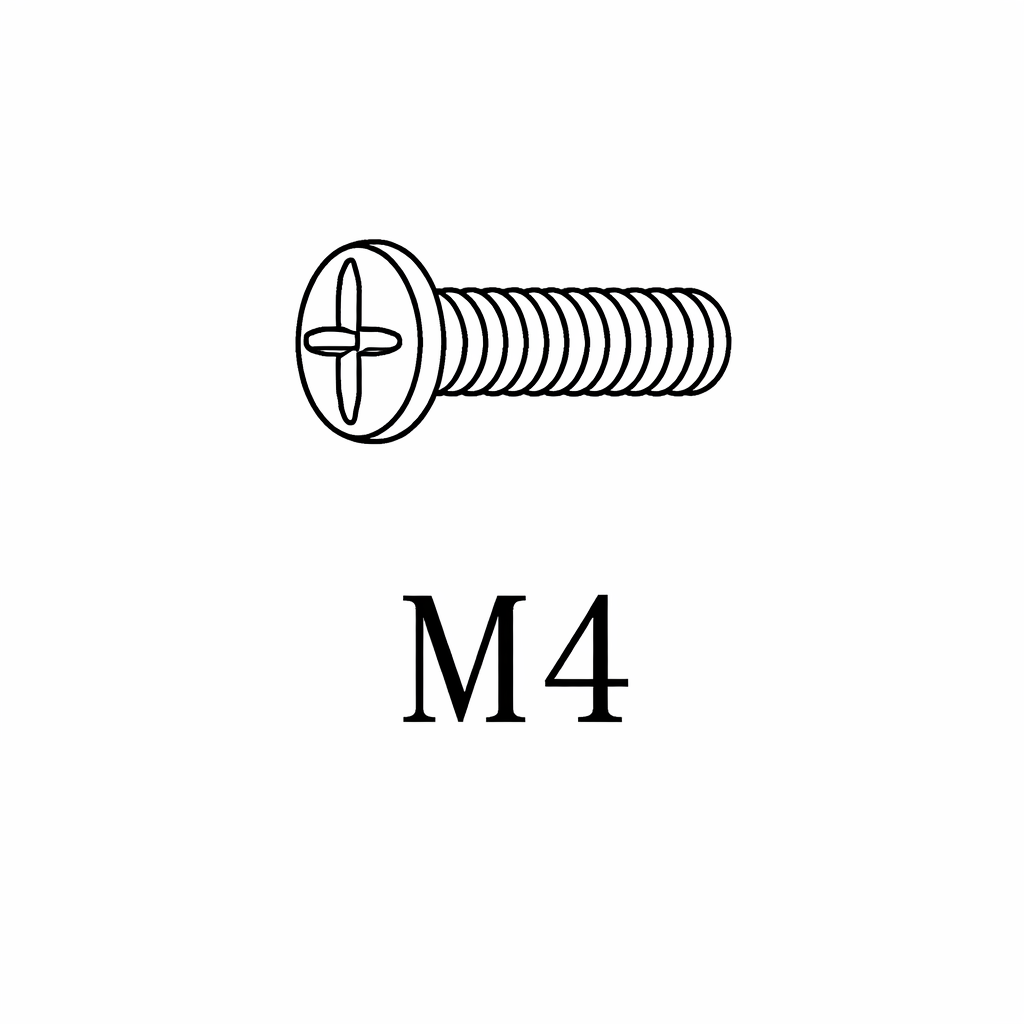
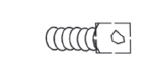
13" - Part A - Screw
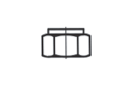
13" - Part C - Nuts
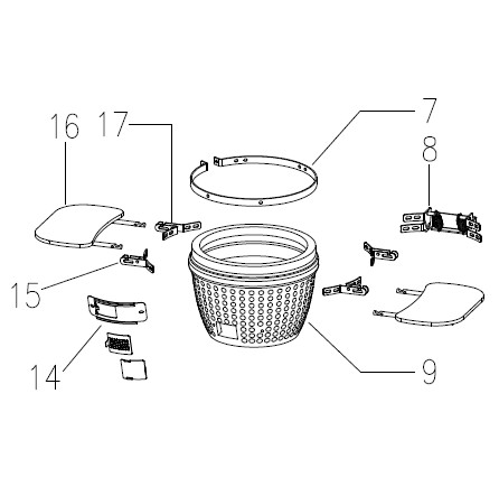
16" - Part 1 -Top Vent Cap
16" - Part 2 - Grill Dome
16" - Part 3 - Upper Support Ring
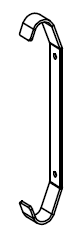
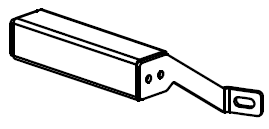
16" - Part 4 - Side Handles
16" - Part 5 - Cooking Grill Grate
16" - Part 6 - Inner Fire Ring
16" - Part 7 - Hinge Assembly
16" - Part 8 - Charcoal Plate
16" - Part 9 - FireBox
16" - Part 10 - Lower Support Ring
16" - Part 11 - Lower Grill Base.
16" - Part 12 - Bottom Air Vent
16" - Part 13 - Stand Frame Ring
16" - Part 14 - Support Legs
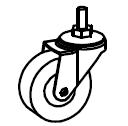
16" - Part 15 - Caster Wheels
16" - Part 16- Wheel Brackets
16" - Part 17 - Base Connector Plate
16" - Part A - Screw
16" - Part B - Nuts
16" - Part C - Washer
16" - Part D - Handle Brackets
16" - Part E - Handle Spacers
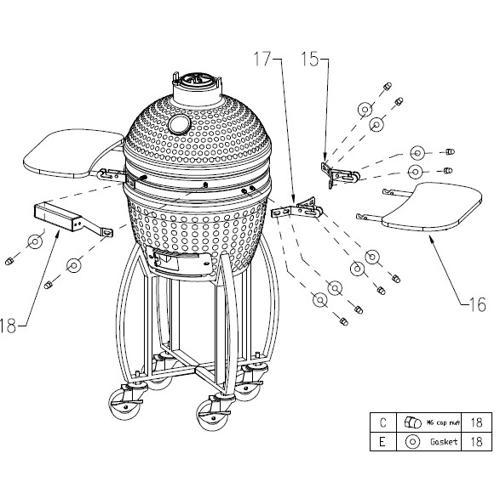
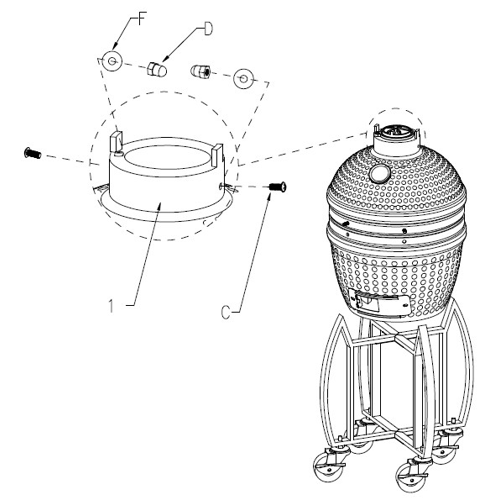
18" - Part 1 - Top Vent Cap
18" - Part 2 - Grill Dome
18" - Part 3 - Upper Support Ring
18" - Part 4 - Cooking Grill Grate
18" - Part 5 - Charcoal Plate
18" - Part 6 - FireBox
18" - Part 7 - Inner Fire Ring
18" - Part 8 - Lower Support Ring
18" - Part 9 - Lower Grill Base
18" - Part 10 - Support Frame Panels
18" - Part 11 - Locking Caster Wheels
18" - Part 12 - Standard Caster Wheels
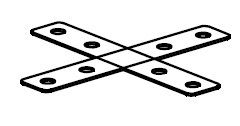
18" - Part 13 - Cross Base Braces
18" - Part 14 - Bottom Air Vent
18" - Part 15 - Hinge Arms
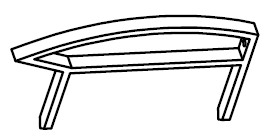
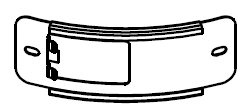
18" - Part 16 - Folding Side Tables
18" - Part 17 -Side Table Brackets
18" - Part 18 - Front Handle
18" - Part A - Screws
18" - Part B - Screws
18" - Part C - Nuts
18" - Part D - Nuts
18" - Part E - Washer
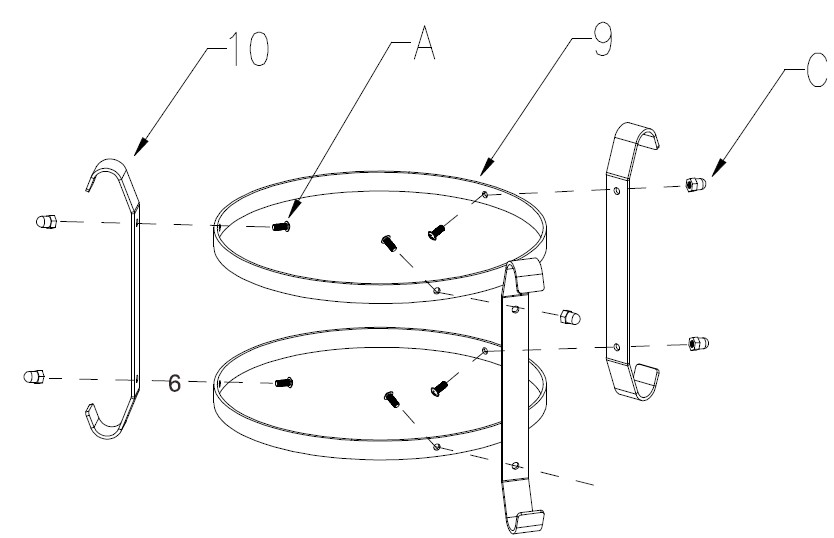
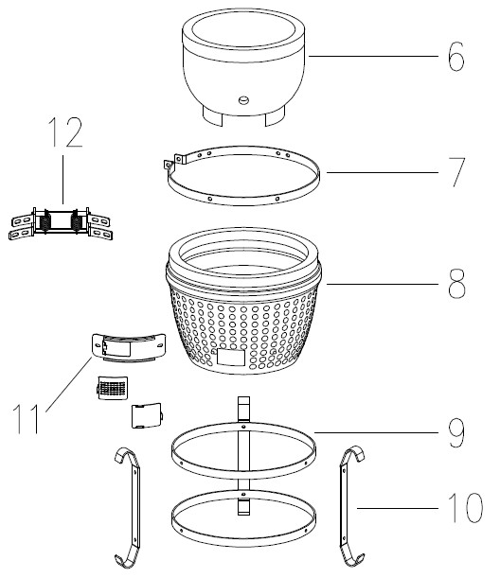
1. Building the Legs
Attach the Support Legs (Part 10) to the Bottom Support Stand Ring (Part 9) using the Screws (Part A) and Nuts (Part C).
Ensure all legs are evenly spaced and securely tightened.
2. Assembling the BBQ
Carefully place the Lower Grill Base (Part 8) onto the assembled stand and ensure it sits securely within the Bottom Support Stand Ring (Part 9).
Insert the following parts into the Lower Grill Base (Part 8) in this order: Lower Support Ring (Part 7), Firebox (Part 6), Charcoal Plate (Part 5), Upper Support Ring (Part 3), and Cooking Grill Grate (Part 4).
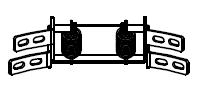
Secure the Hinge Assembly (Part 12) to the Lower Grill Base (Part 8) and the Grill Dome (Part 2), tightening all connections firmly while ensuring smooth opening and closing.
Attach the Bottom Air Vent (Part 11) to the front opening of the Lower Grill Base (Part 8), then place the Top Vent Cap (Part 1) onto the top of the Grill Dome (Part 2).
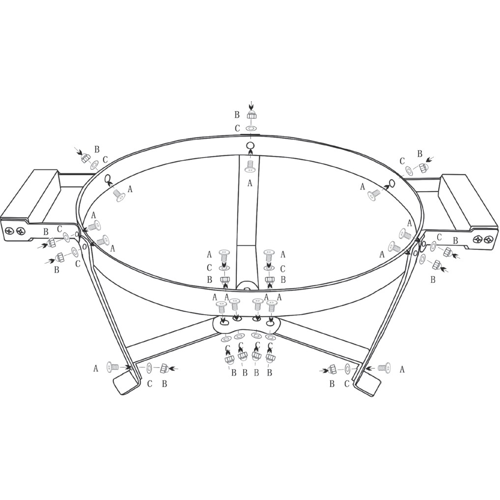
3. Building the Frame
Build the base frame by attaching the Stand Frame Ring (Part 13), Support Legs (Part 14), Caster Wheels (Part 15), Wheel Brackets (Part 16), and Base Connector Plate (Part 17) together using the Screws (Part A), Nuts (Part B), and Washers (Part C).
Attach the Side Handles (Part 4) to the assembled frame using the predrilled holes, along with the Handle Brackets (Part D) and Handle Spacers (Part E) where required.
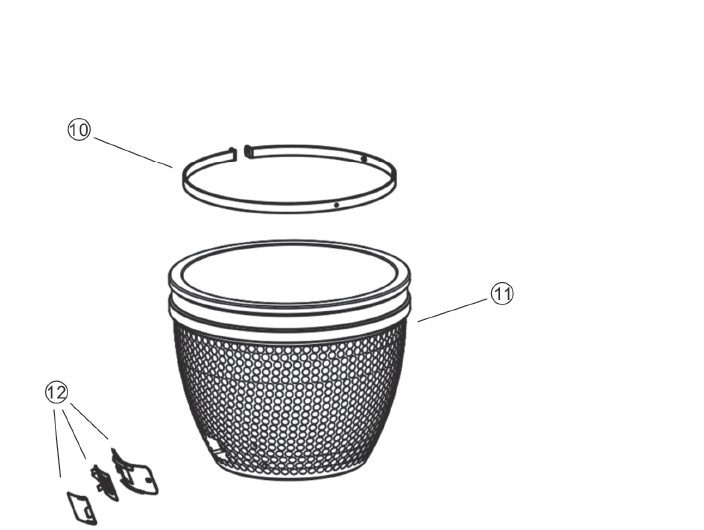
4. Assembling the BBQ
Attach the Bottom Air Vent (Part 12) to the Lower Grill Base (Part 11).
Install the Lower Support Ring (Part 10) onto the top of the Lower Grill Base (Part 11).
Insert the Firebox (Part 9) inside the Lower Grill Base (Part 11).
Place the Charcoal Plate (Part 8) inside the Firebox (Part 9).
Attach the Hinge Assembly (Part 7) to the Inner Fire Ring (Part 6) and install it on top of the Charcoal Plate (Part 8) and Firebox (Part 9).
Place the Cooking Grill Grate (Part 5) inside the Inner Fire Ring (Part 6).
Attach the Side Handles (Part 4) to the Upper Support Ring (Part 3), then fit the Upper Support Ring (Part 3) on top of the Cooking Grill Grate (Part 5) and Inner Fire Ring (Part 6).
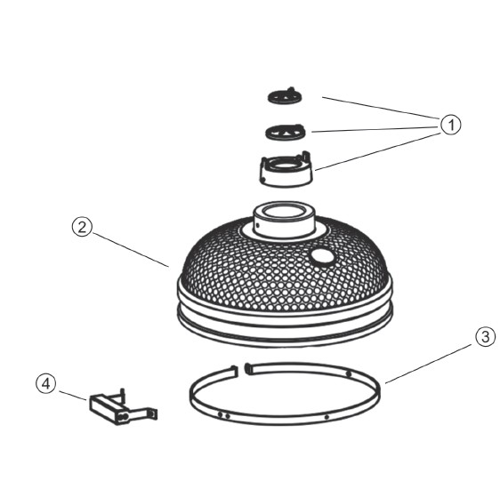
Install the Grill Dome (Part 2) on top of the Upper Support Ring (Part 3).
Attach the Top Vent Cap (Part 1) to the top of the Grill Dome (Part 2) using the Nuts (Part C), Handle Brackets (Part D), and Handle Spacers (Part E).
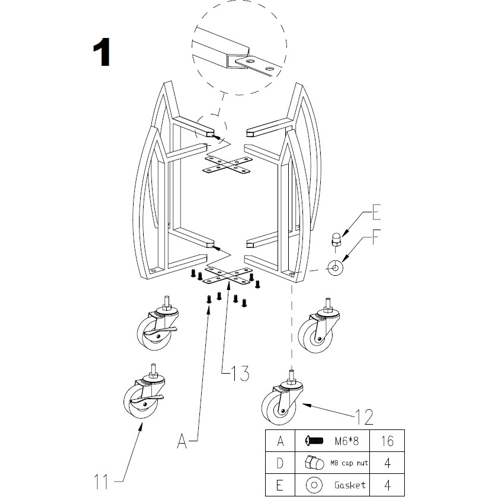
5. Building the Legs
Build the base frame by attaching the Locking Caster Wheels (Part 11), Standard Caster Wheels (Part 12), and Cross Base Braces (Part 13) to the Support Frame Panels (Part 10) using the Screws (Part A & Part B), Nuts (Part C & Part D), and Washers (Part E).
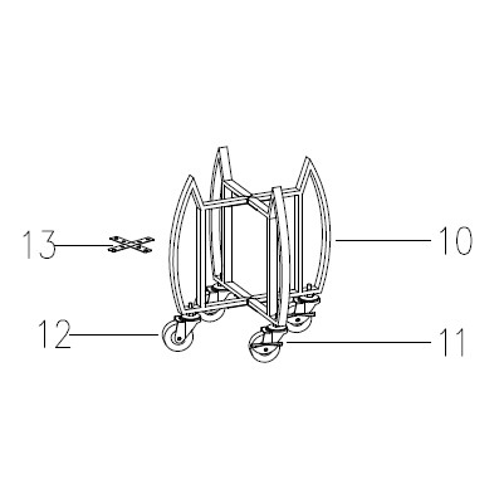
6. Assembling the BBQ
Install the Lower Grill Base (Part 9) on top of the assembled frame.
Attach the Bottom Air Vent (Part 14) to the Lower Grill Base (Part 9).
Attach the Hinge Arms (Part 15), Folding Side Tables (Part 16), Side Table Brackets (Part 17), Front Handle (Part 18), and Lower Support Ring (Part 8) to the Lower Grill Base (Part 9) using the Nuts (Part C) and Washers (Part E).
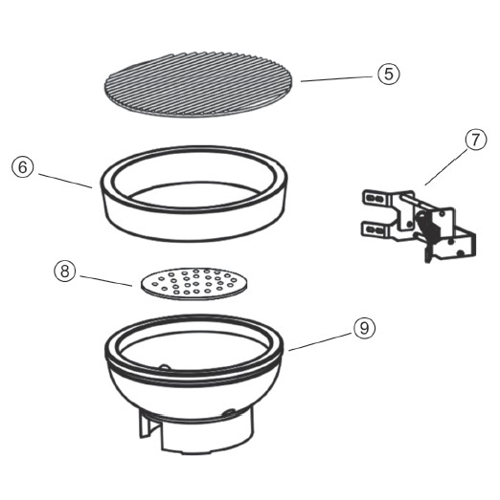
7. Assembling the BBQ Part 2
Following on from the previous step, install the Firebox (Part 6) into the Lower Grill Base (Part 9).
Place the Charcoal Plate (Part 5) inside the Firebox (Part 6).
Add the Cooking Grill Grate (Part 4) on top of the Charcoal Plate (Part 5).
Attach the Front Handle (Part 18) to the Upper Support Ring (Part 3), then install the Upper Support Ring (Part 3) on top of the Cooking Grill Grate (Part 4).
Install the Grill Dome (Part 2) on top of the Upper Support Ring (Part 3).
Install the Top Vent Cap (Part 1) onto the Grill Dome (Part 2) using the Nuts (Part D) and Washers (Part E).
8. Maintenance
Clean the stainless steel grates with a grill brush after each use, once the grill has completely cooled.
Empty the ash tray regularly and check that air vents are free from obstruction.
Inspect the felt gasket periodically for wear and replace it as needed to maintain proper sealing.
Store the grill under its included rain cover only when completely cool and dry to prevent moisture damage.
Apply food-safe oil lightly to the grills after cleaning to reduce rust risk.
Check the tightness of all bolts, hinges, bamboo handles, and shelves before each use, especially on the 18" model.
Avoid using abrasive cleaners or scouring pads on ceramic surfaces to prevent damage.
Do not use water to extinguish hot charcoal inside the ceramic shell, as rapid cooling may cause cracking.
9. Troubleshooting
Please read through the guide below if you have any issues or faults with your device. The information covers and resolves the majority of frequently asked questions.
Q: There are parts missing from my order. A: If there appears to be any part missing from your package contact our Customer Support team via the details on the Contact Us page within 7 days of receipt.
For all other issues please contact our Customer Support department via the details on the Contact page.