Elevate your outdoor cooking with the 18" Ceramic Kamado BBQ Grill. Ideal for grilling, smoking, baking, and slow cooking, it offers multi-fuel flexibility, durable ceramic construction, and sleek design—perfect for BBQ lovers and outdoor entertainers.
Product Information
Fresh Grills Kamado Charcoal BBQ Grill 21" - Mega
Dating back 4000 years ago archaeologists have discovered large clay vessels thought to be early incarnations of the Kamado ceramic cooker. Since then it has evolved in many ways; removable lid, added draft door for better heat control and the switch from wood to charcoal as the primary fuel. In Japan the Mushikamado was a round clay pot with a removable domed lid designed for steaming rice. The name ‘Kamado’ is, in fact, the Japanese word for ’stove’ or ‘cooking range’. This name was adopted by the Americans and has now become a generic term for this style of ceramic cooker.
Kamado cookers are extremely versatile. Not only can they be used for grilling or smoking but also pizzas, bread, pies and cookies can be
baked effortlessly inside them. Due to their excellent heat retention properties, high temperatures can be achieved and maintained by
precise contol of airflow via the top and bottom vents. High temperatures are ideal for fast cooking burgers and sausages whilst low heats
will cook larger joints over a longer period of time. Why not try adding some wood chips to the charcoal or try combining different flavour
wood chips to make your meats even more flavoursome.
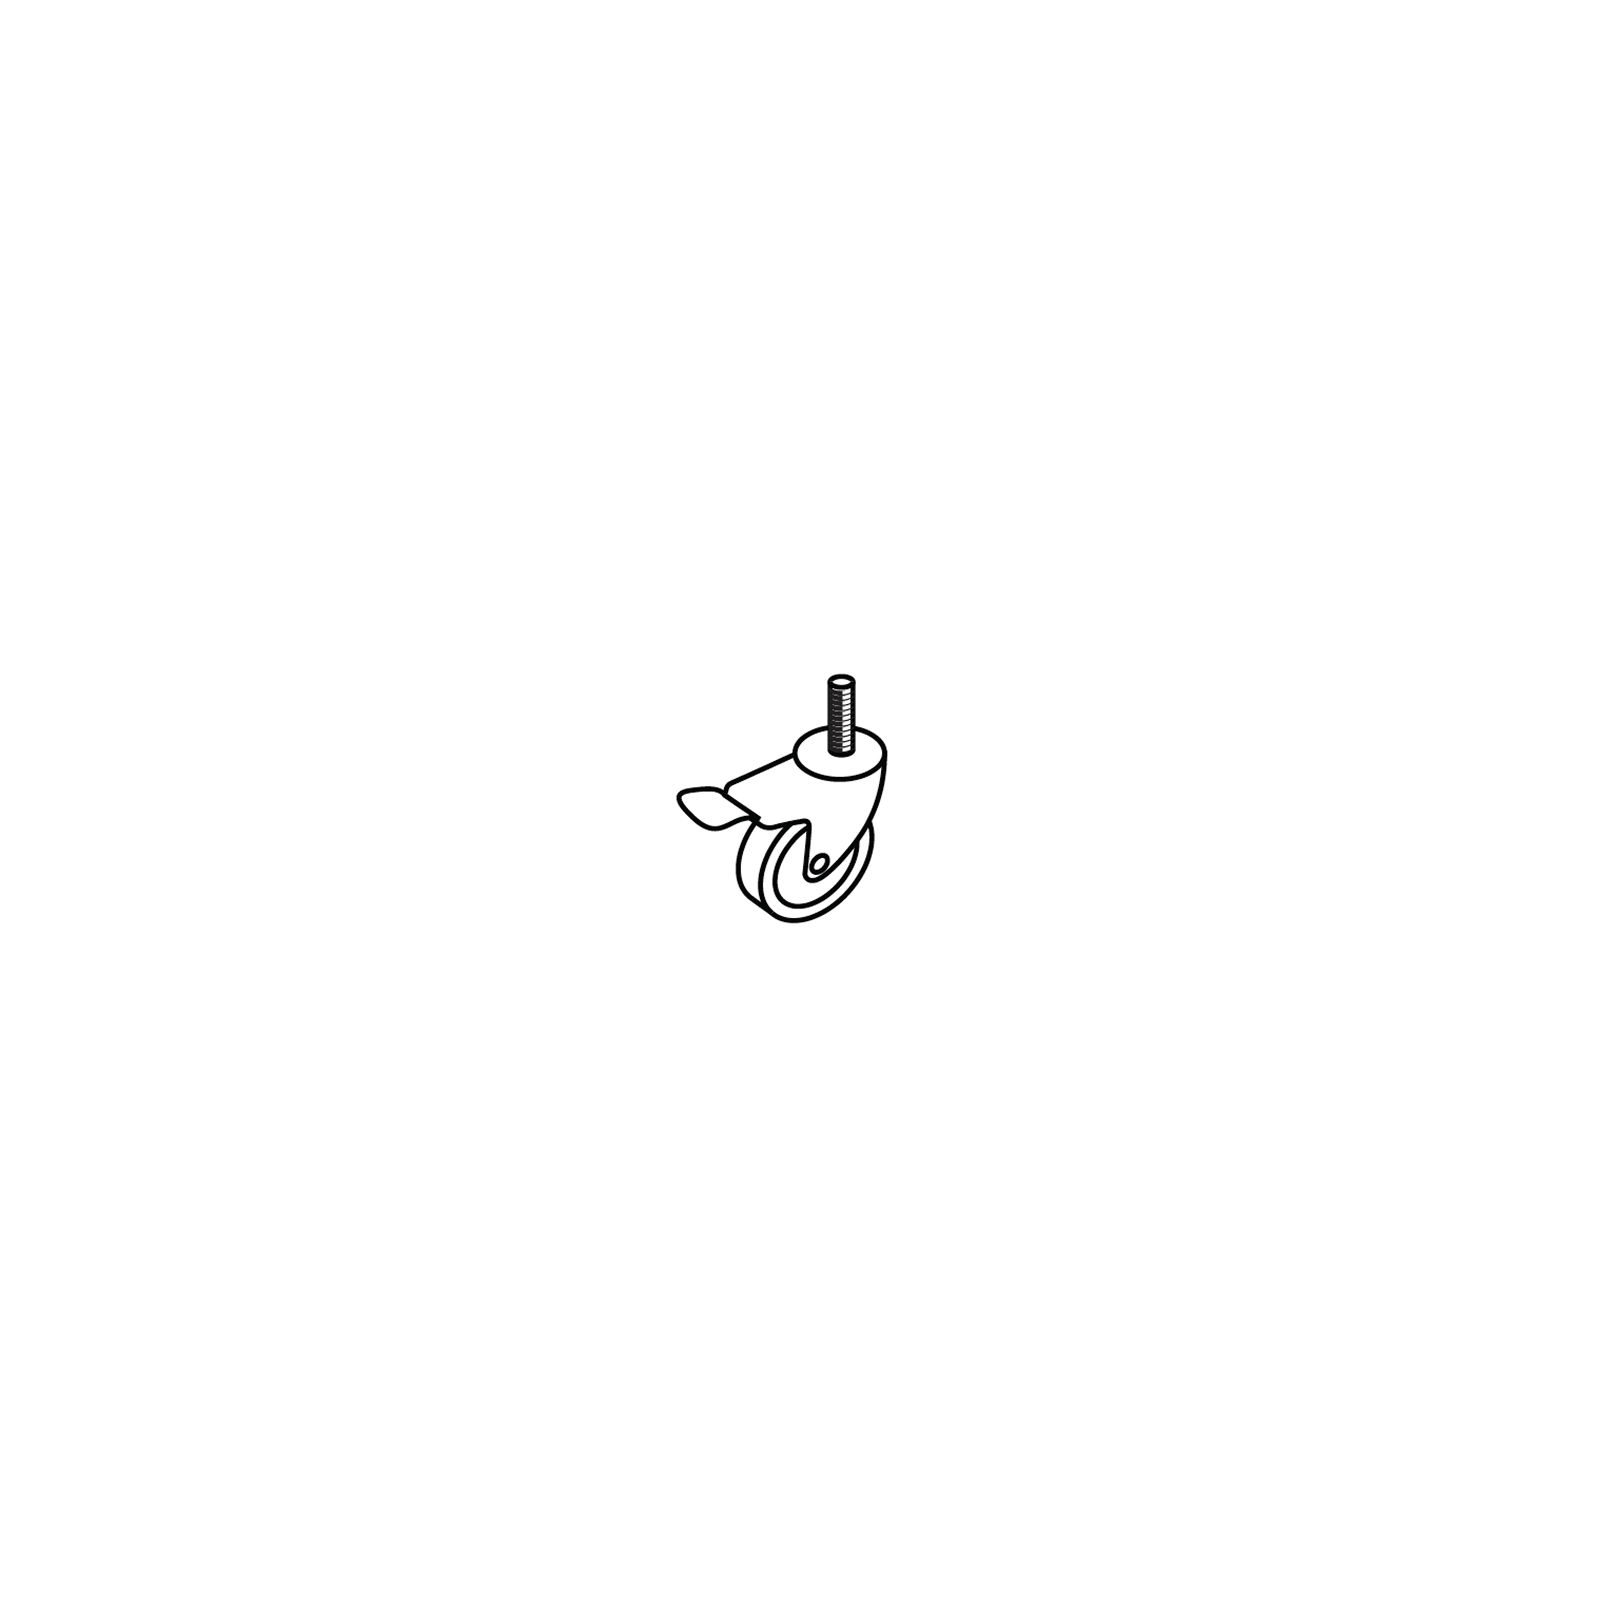
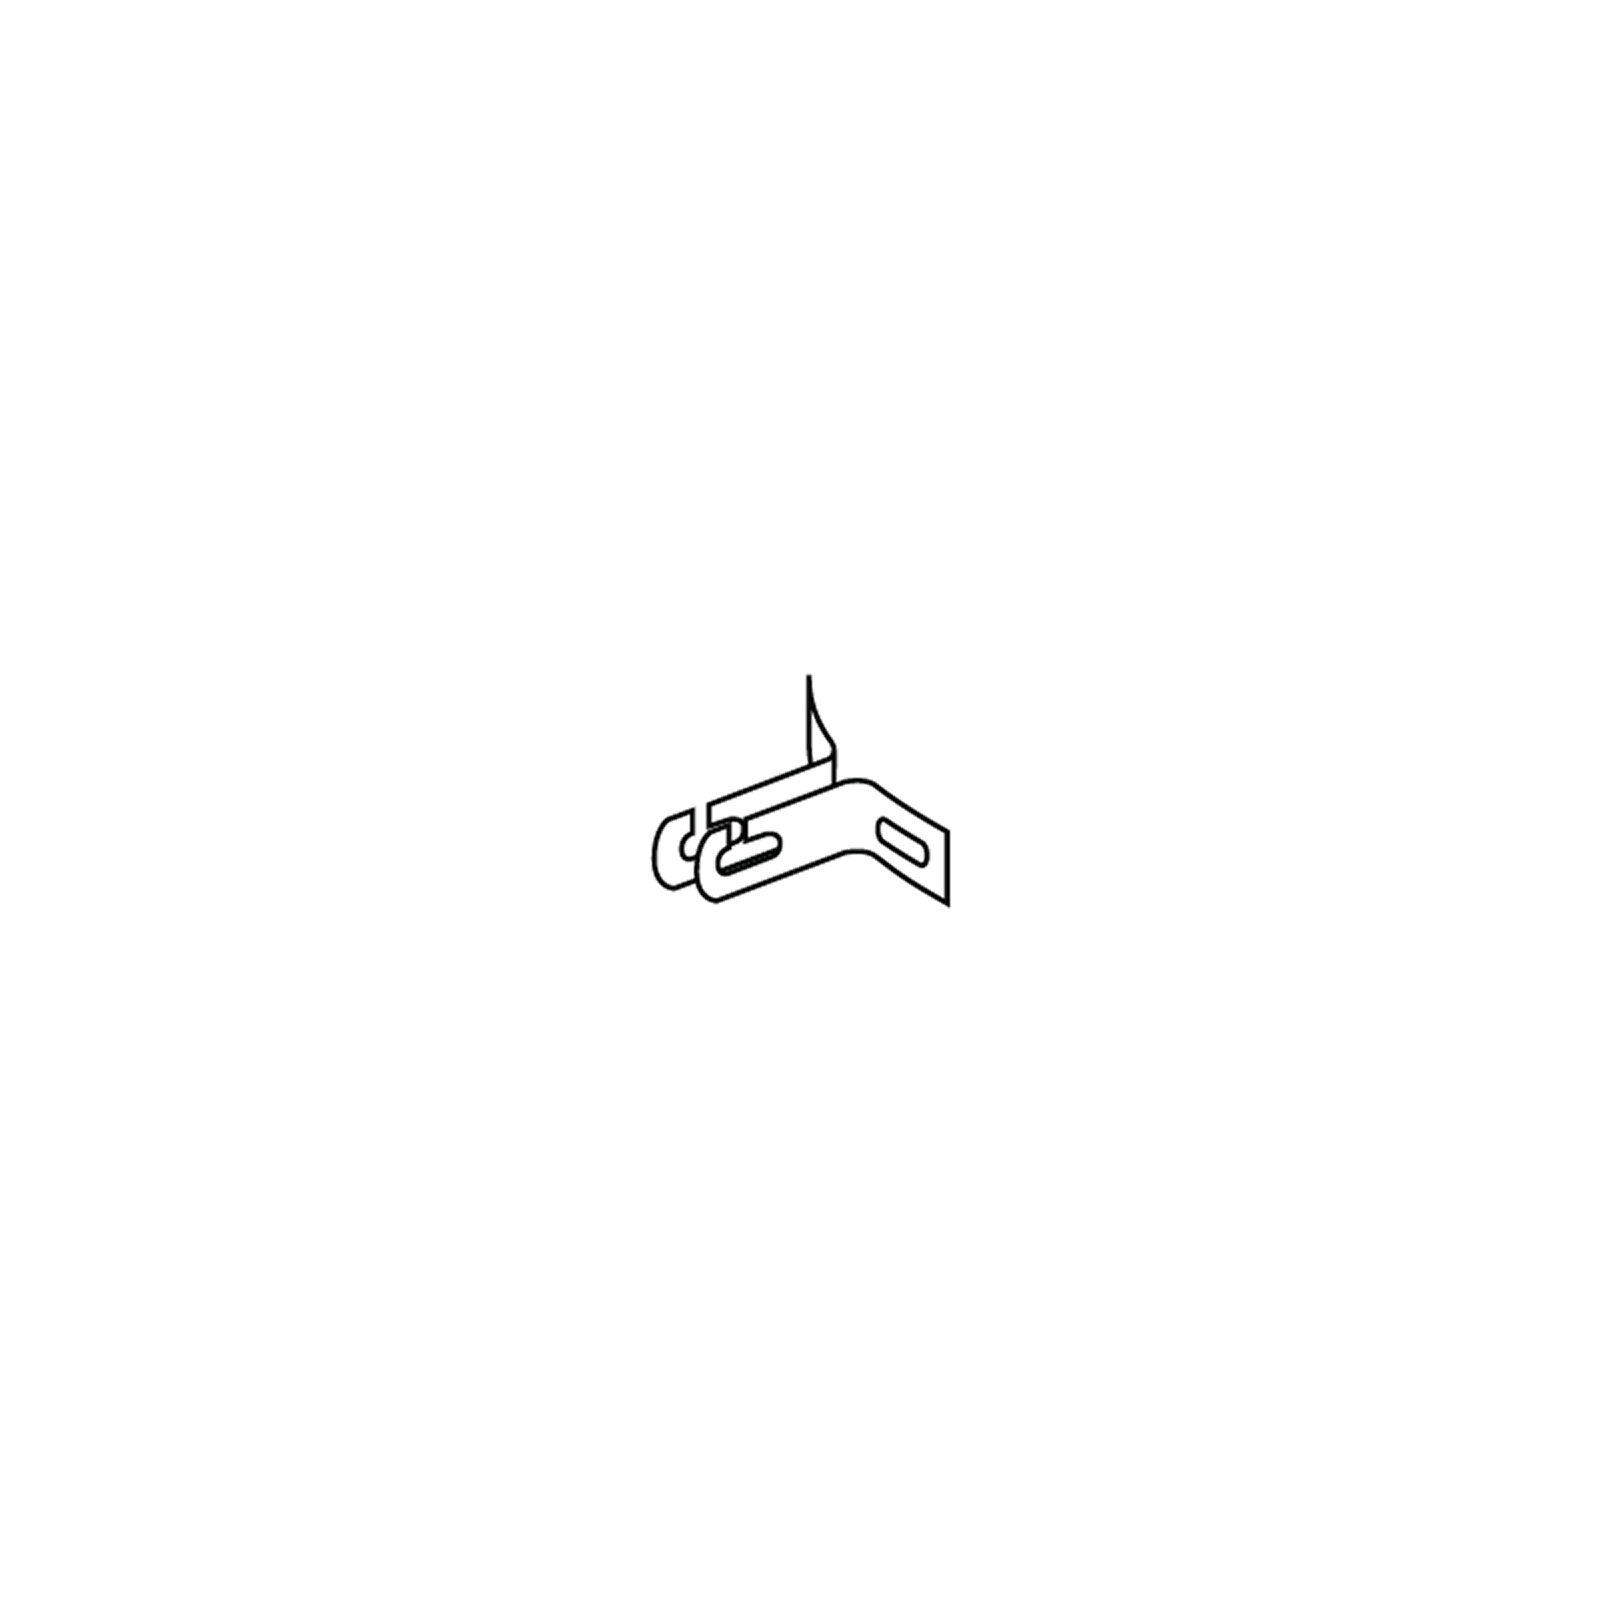
Attach the four pre-threaded castor wheels (2 & 3) to each of the four brackets (1) by pushing them through the hole.
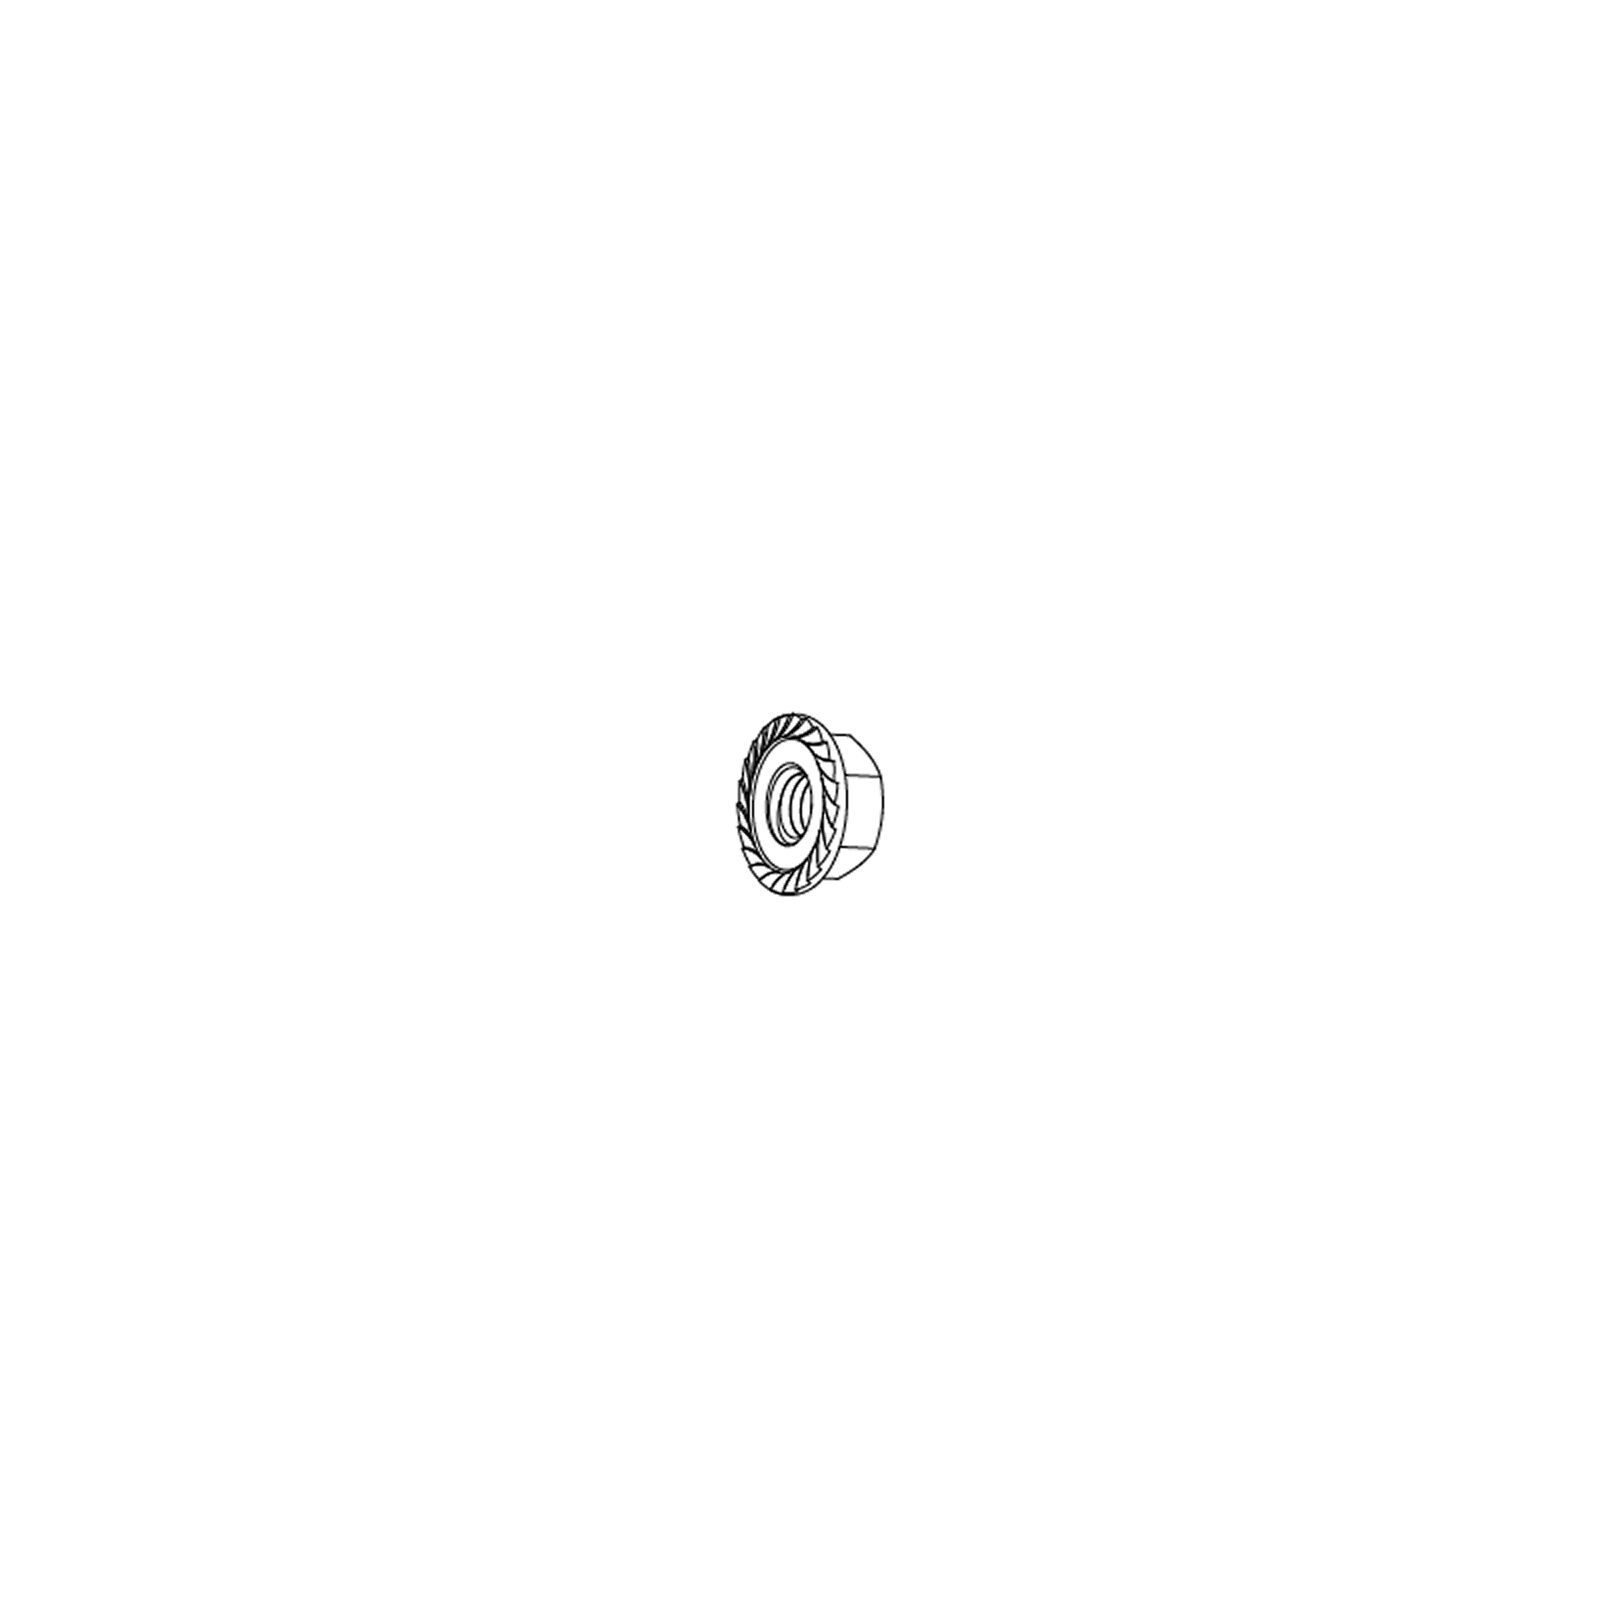
Secure each castor wheel with 1 nut (B) and 1 washer (F) using an adjustable spanner.
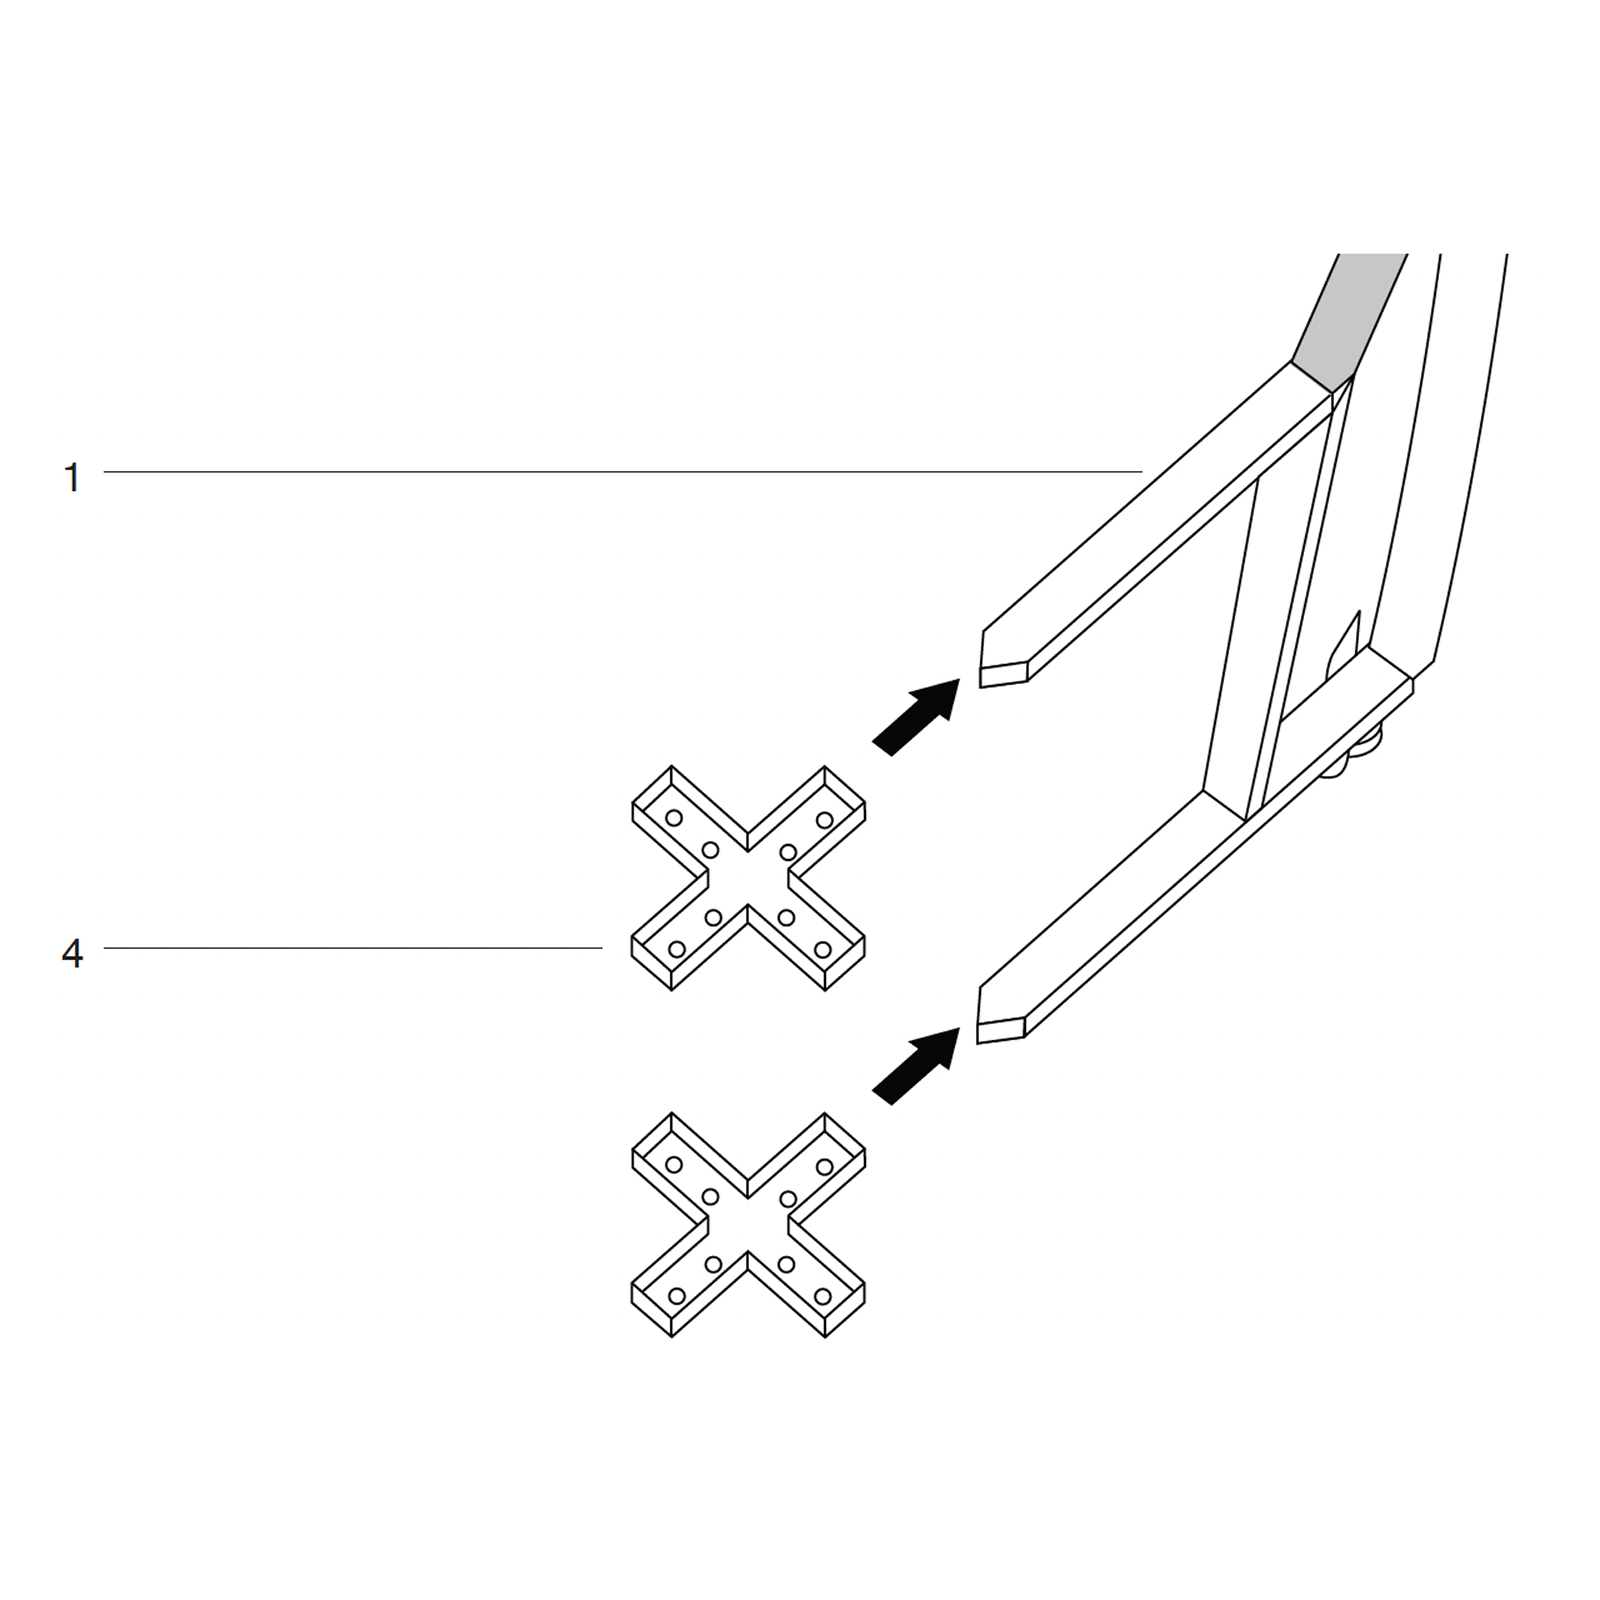
2. Assembling the Cart
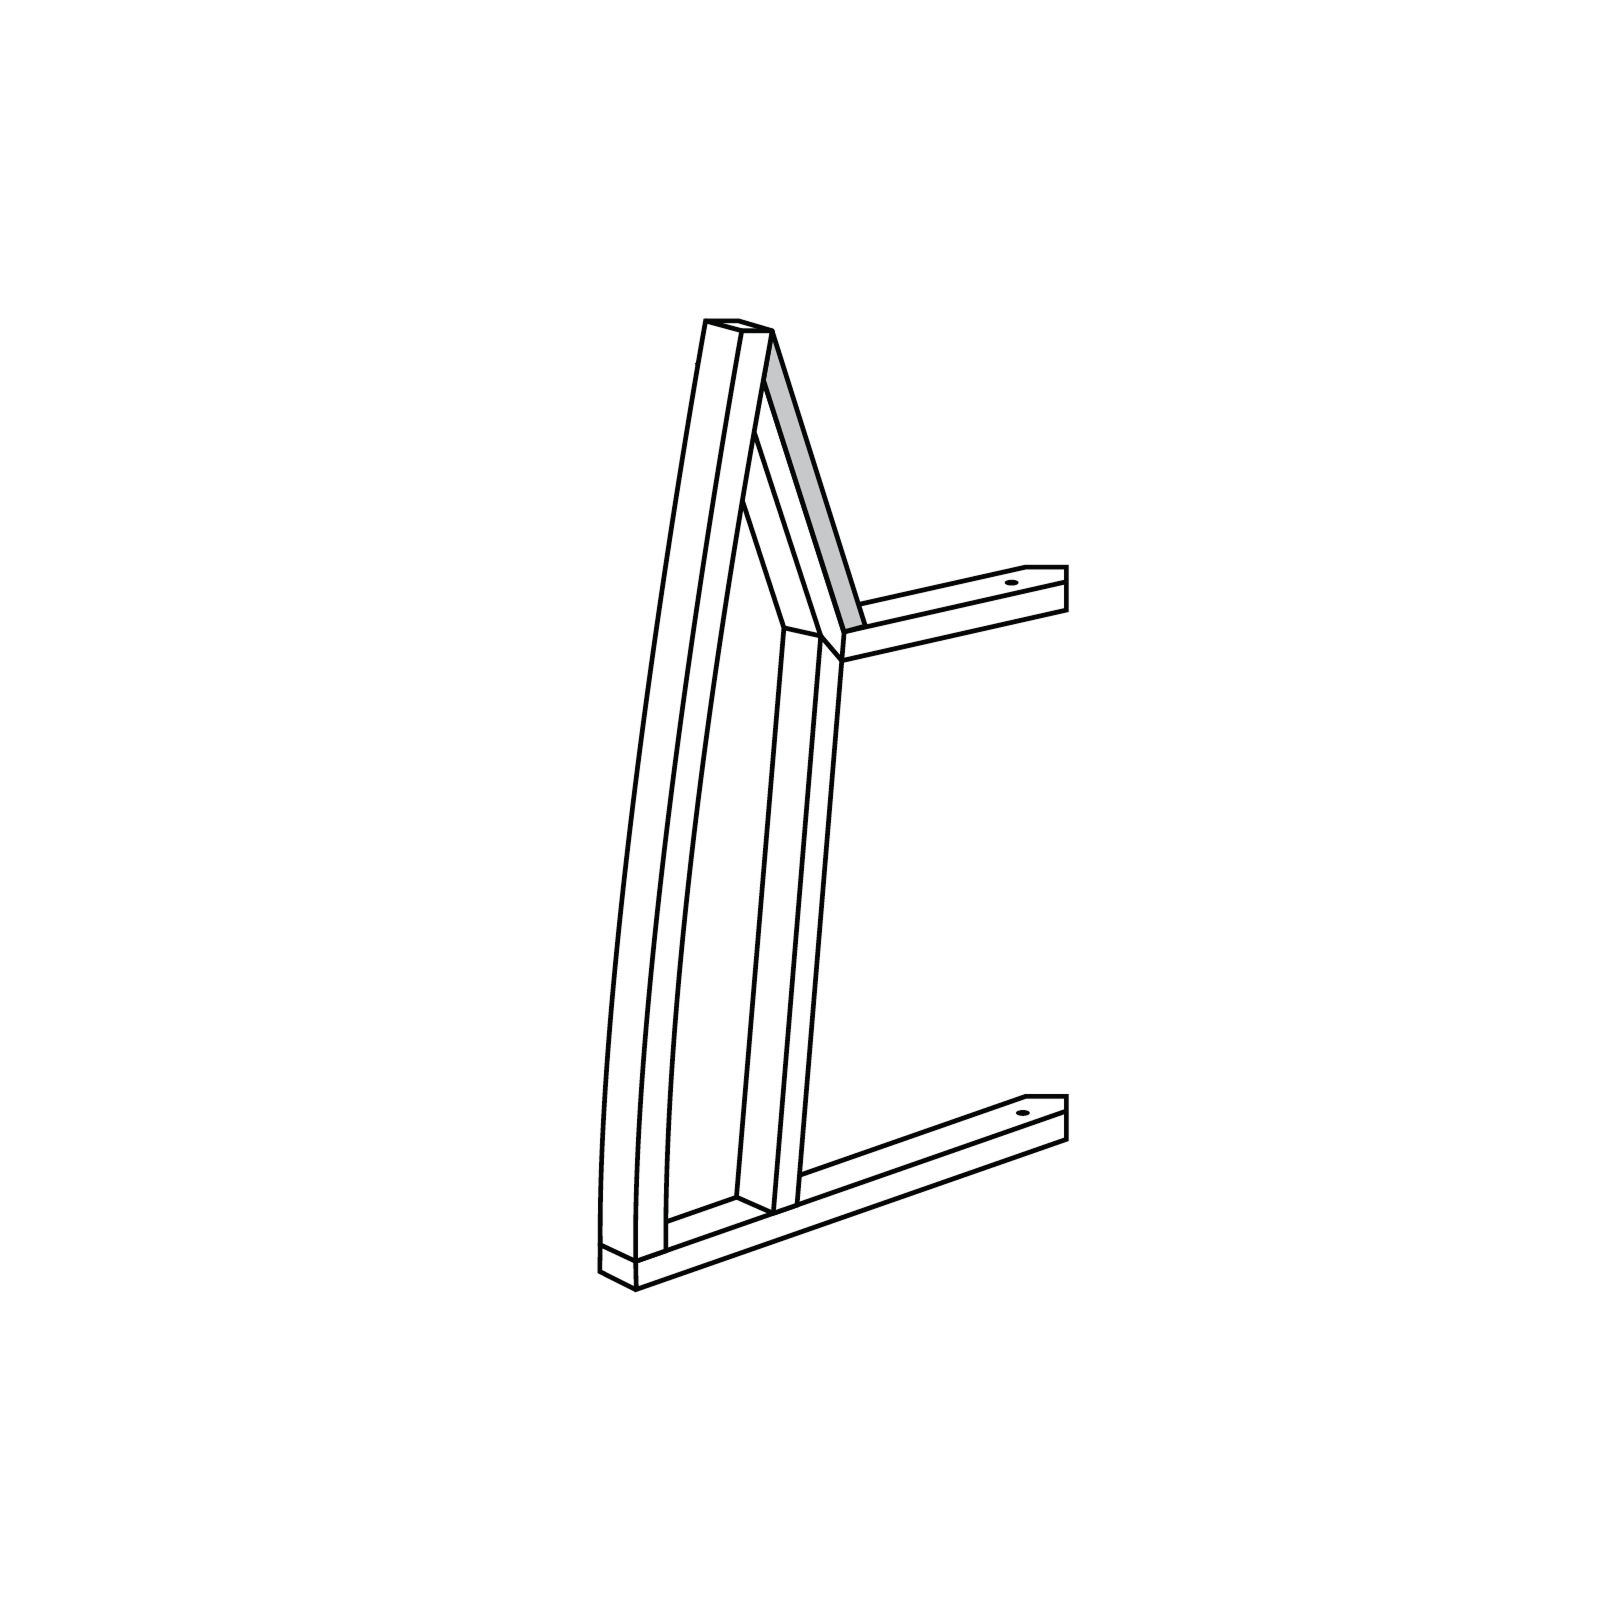
To assemble the cart insert the two cross pieces (4) into one of the four brackets (1) from both the top and bottom.
3. Completing the Cart Assembly
Continue to insert the cross pieces (4) into the other three brackets (1).
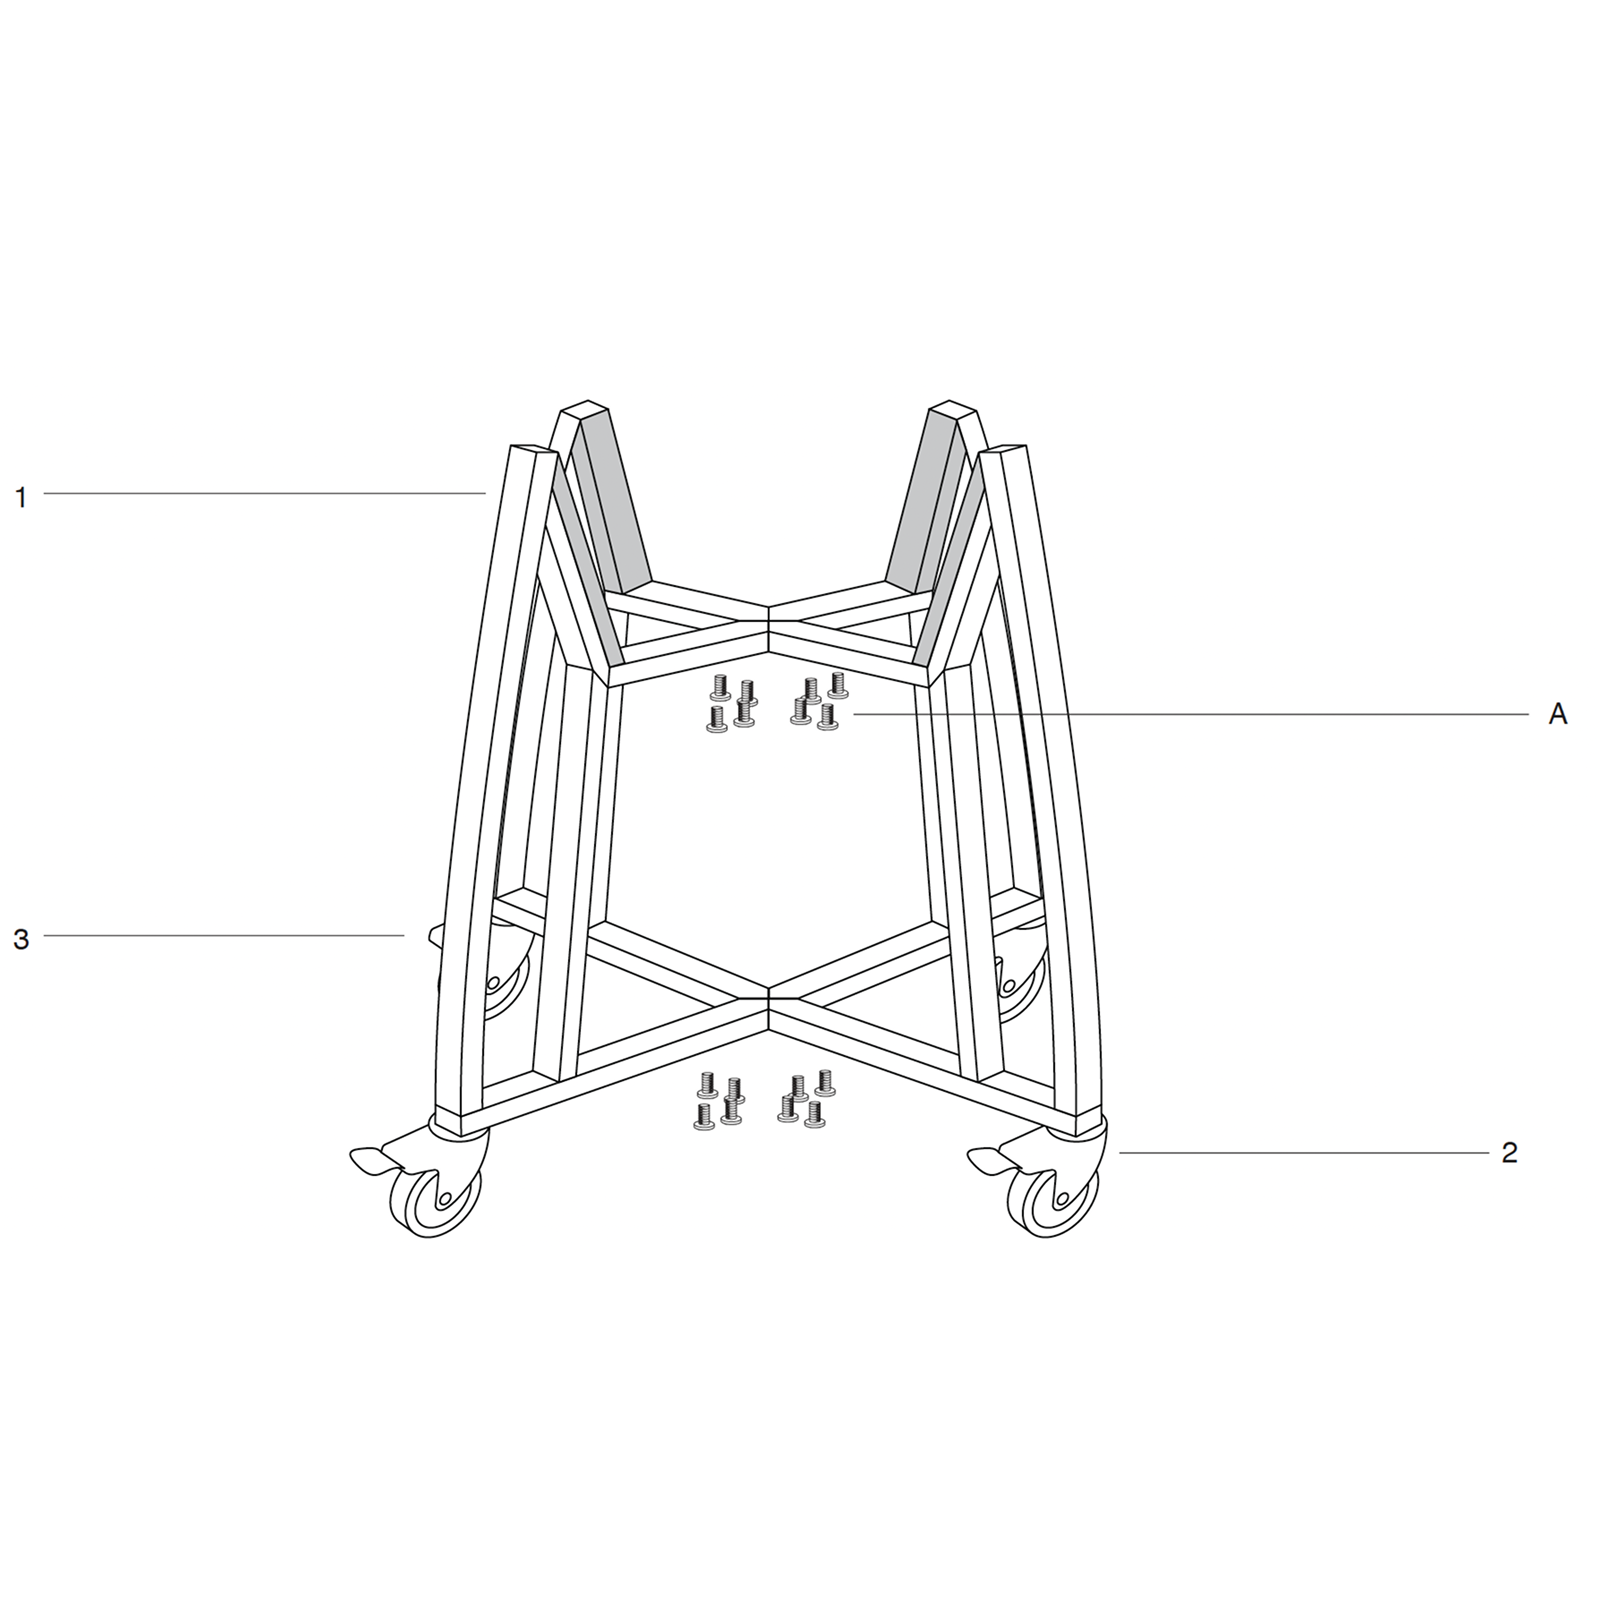
4. Securing the Cart
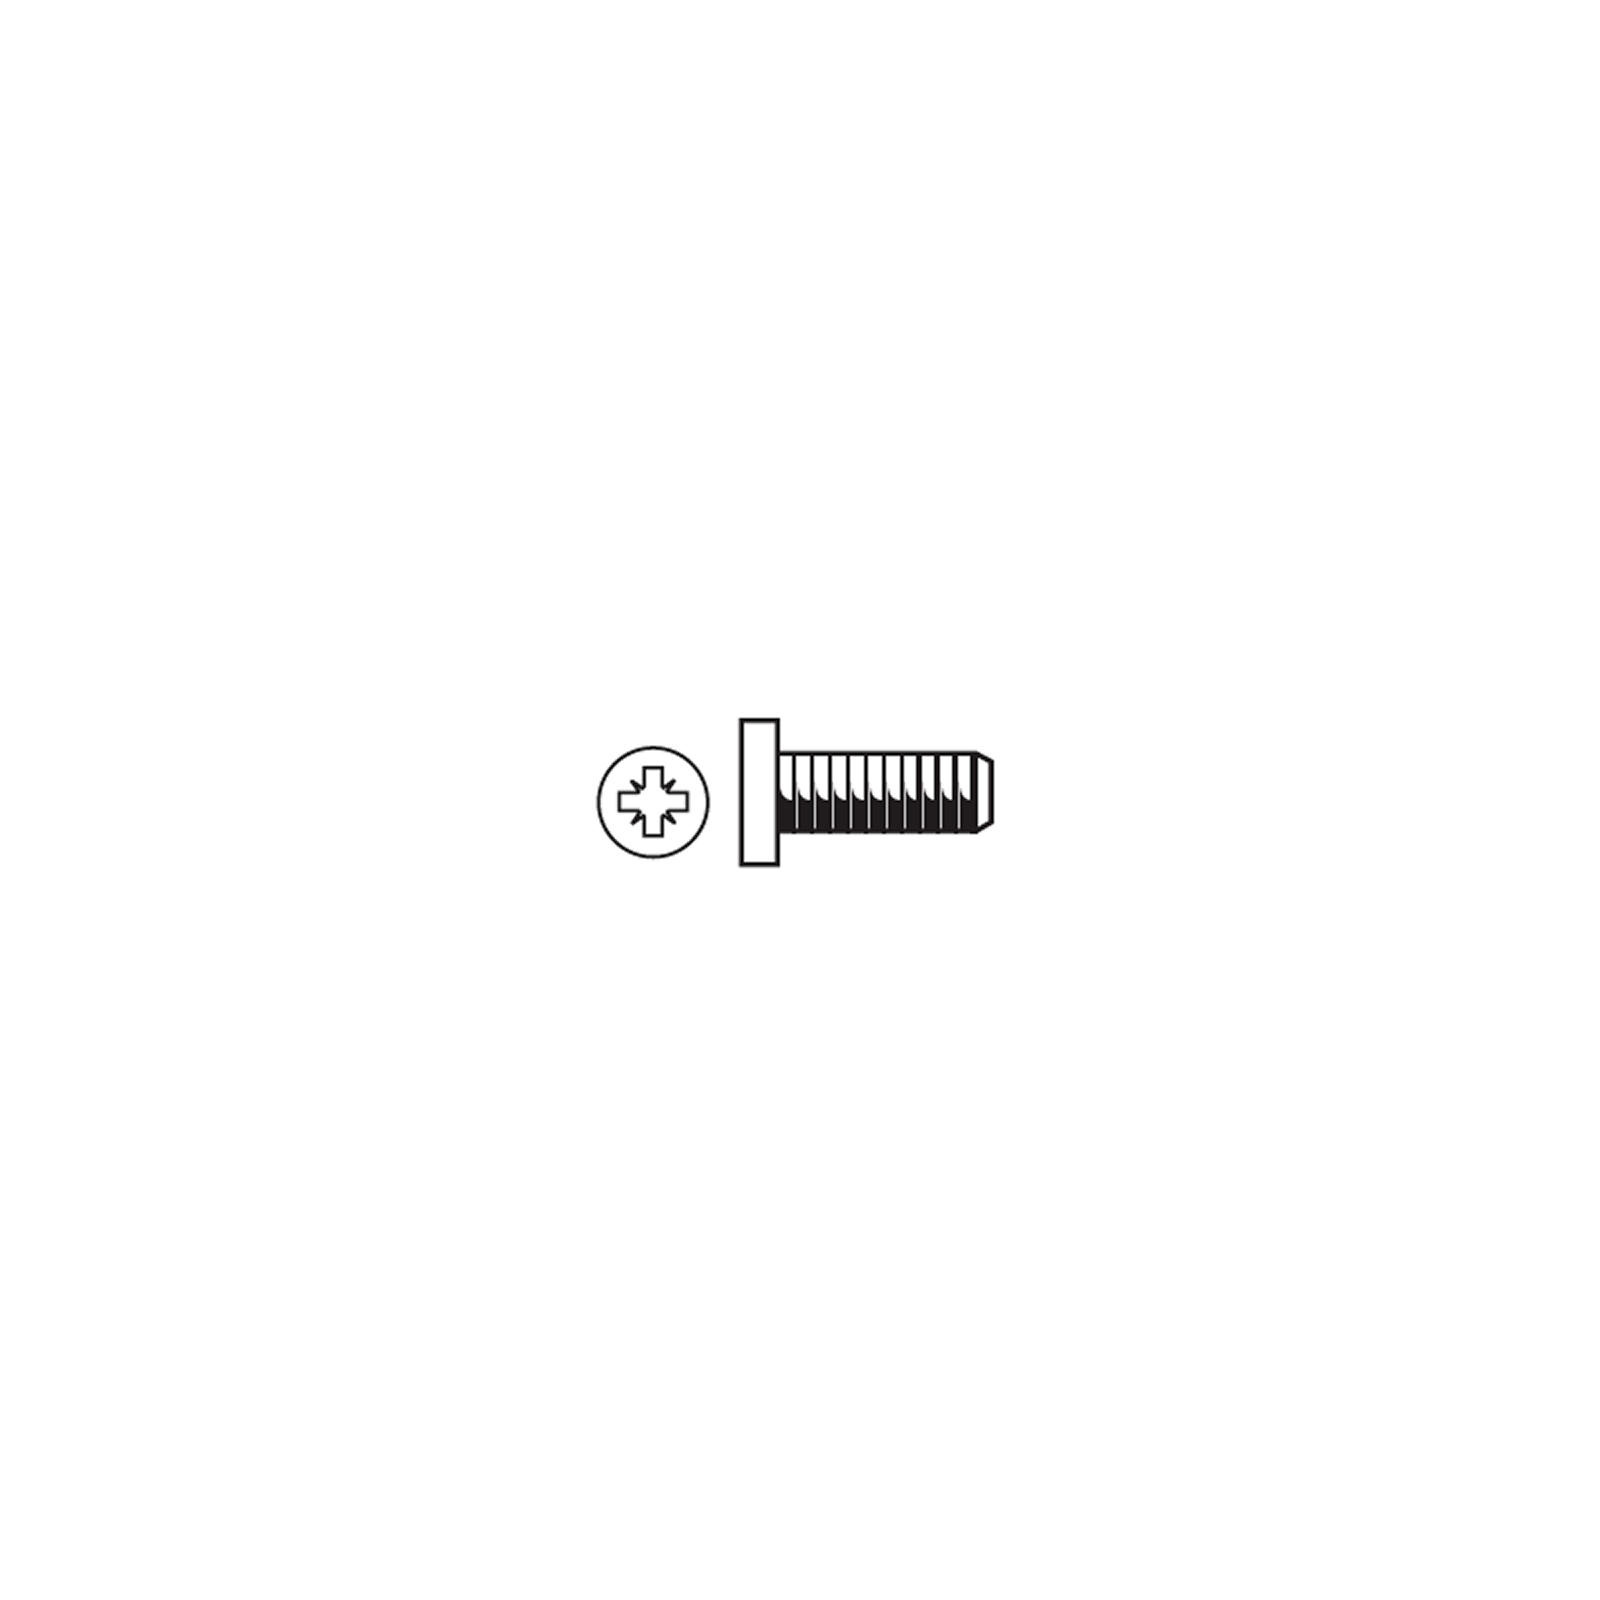
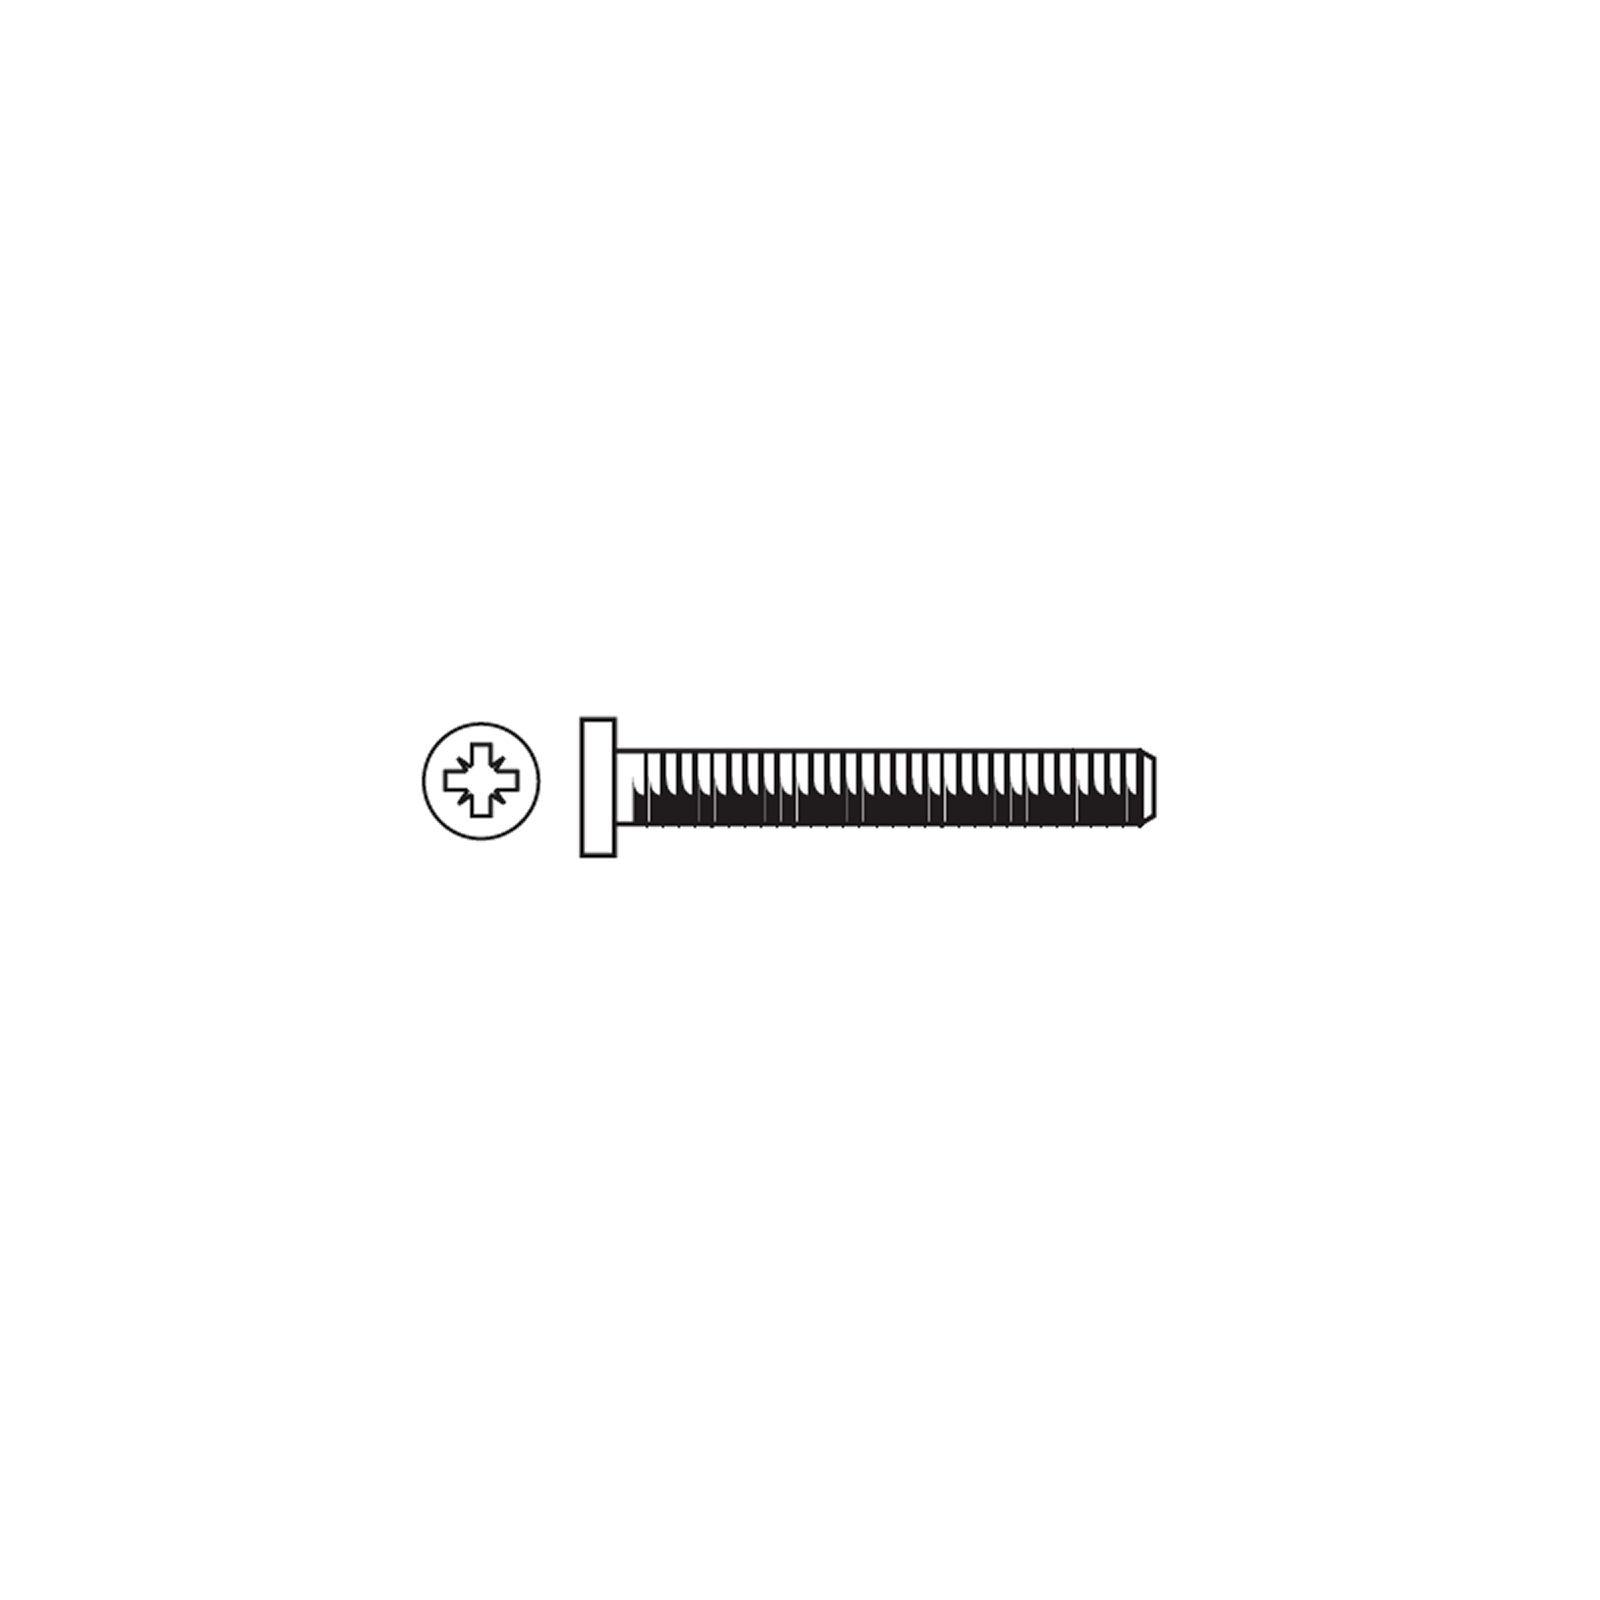
Secure the brackets (1) to the cross pieces (4) using the 16 screws (A).
Ensure the cart is secure and all screws are tight before placing the Kamado Grill (9) into it.
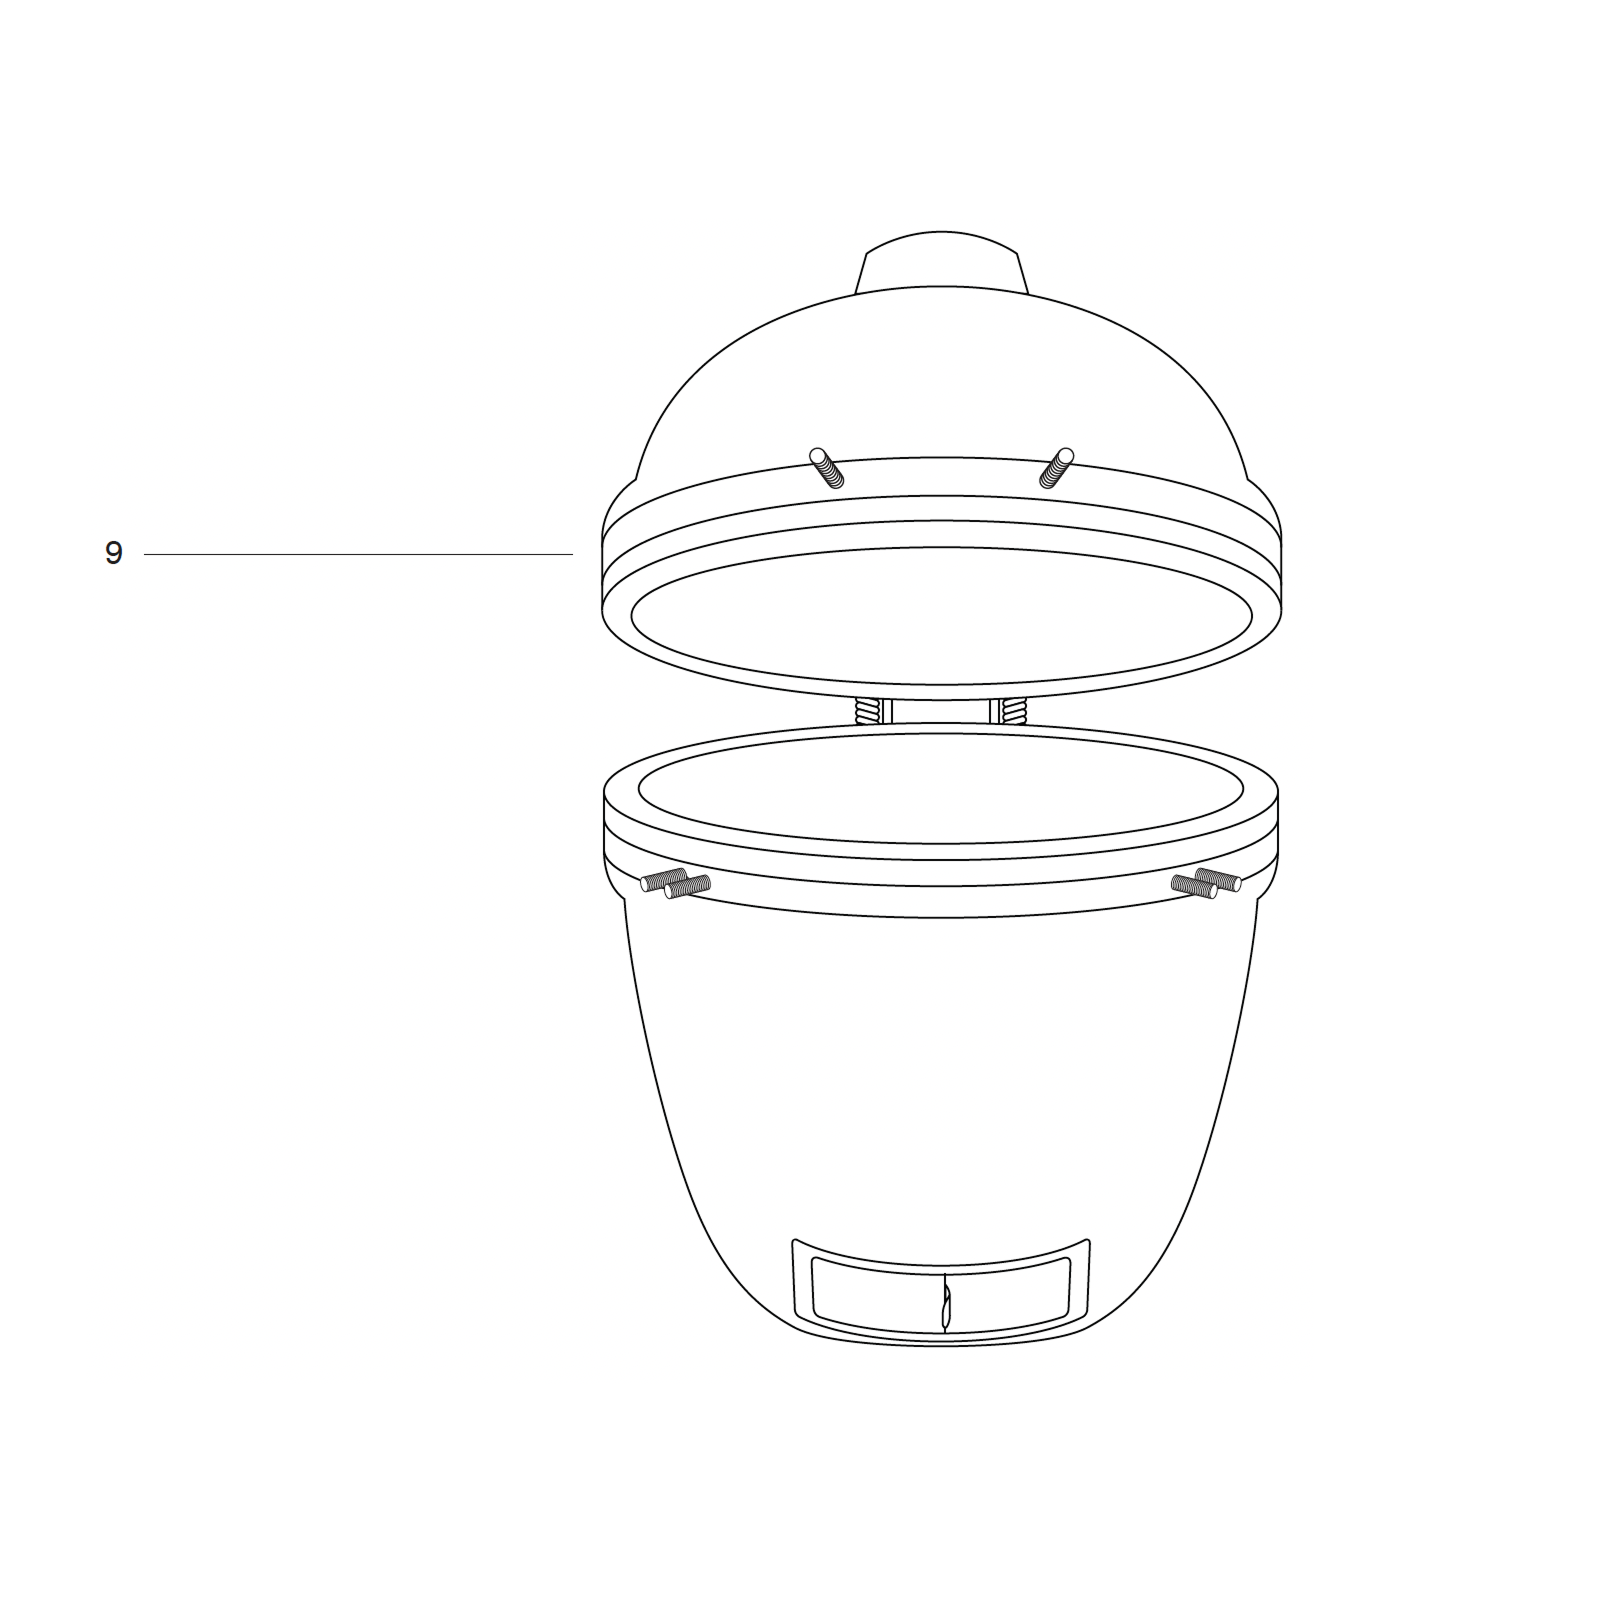
5. Preparing the Kamado Grill for Placement
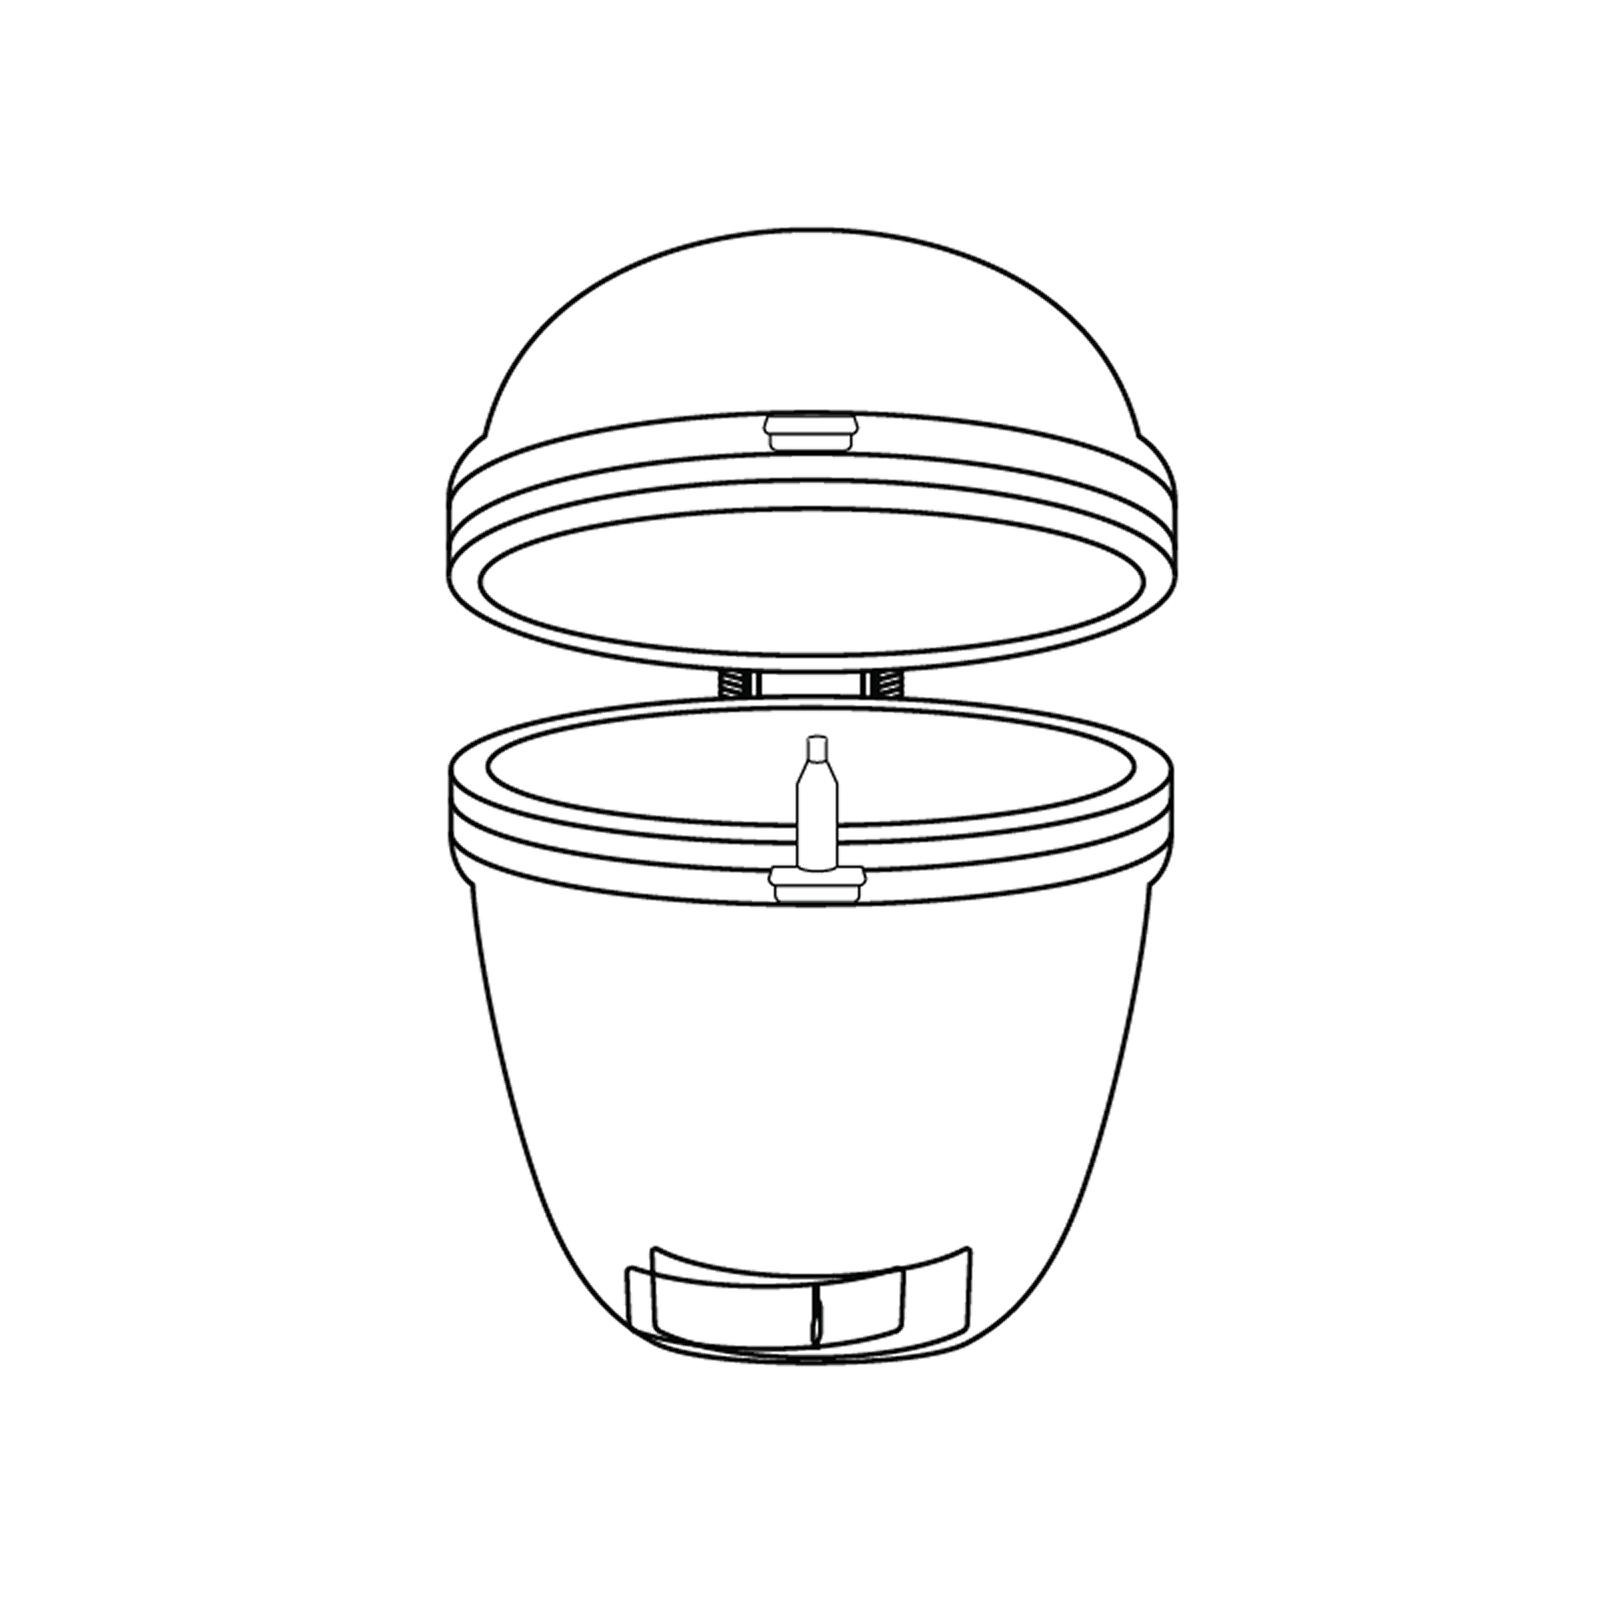
To place the Kamado Grill (9) on the cart first remove all items inside the grill to make lifting easier.
6. Lifting the Kamado Grill
Use a minimum of two people when lifting the Kamado Grill onto the cart.
Place one of your hands in the bottom vent of the Kamado and the other under the grill.
Important: Lifting by the hinge or the side tables could result in injury and damage to the product.
7. Positioning the Kamado Grill
Place the Kamado Grill on the cart with the bottom vent facing the front, allowing the vent to open and close without interruption.
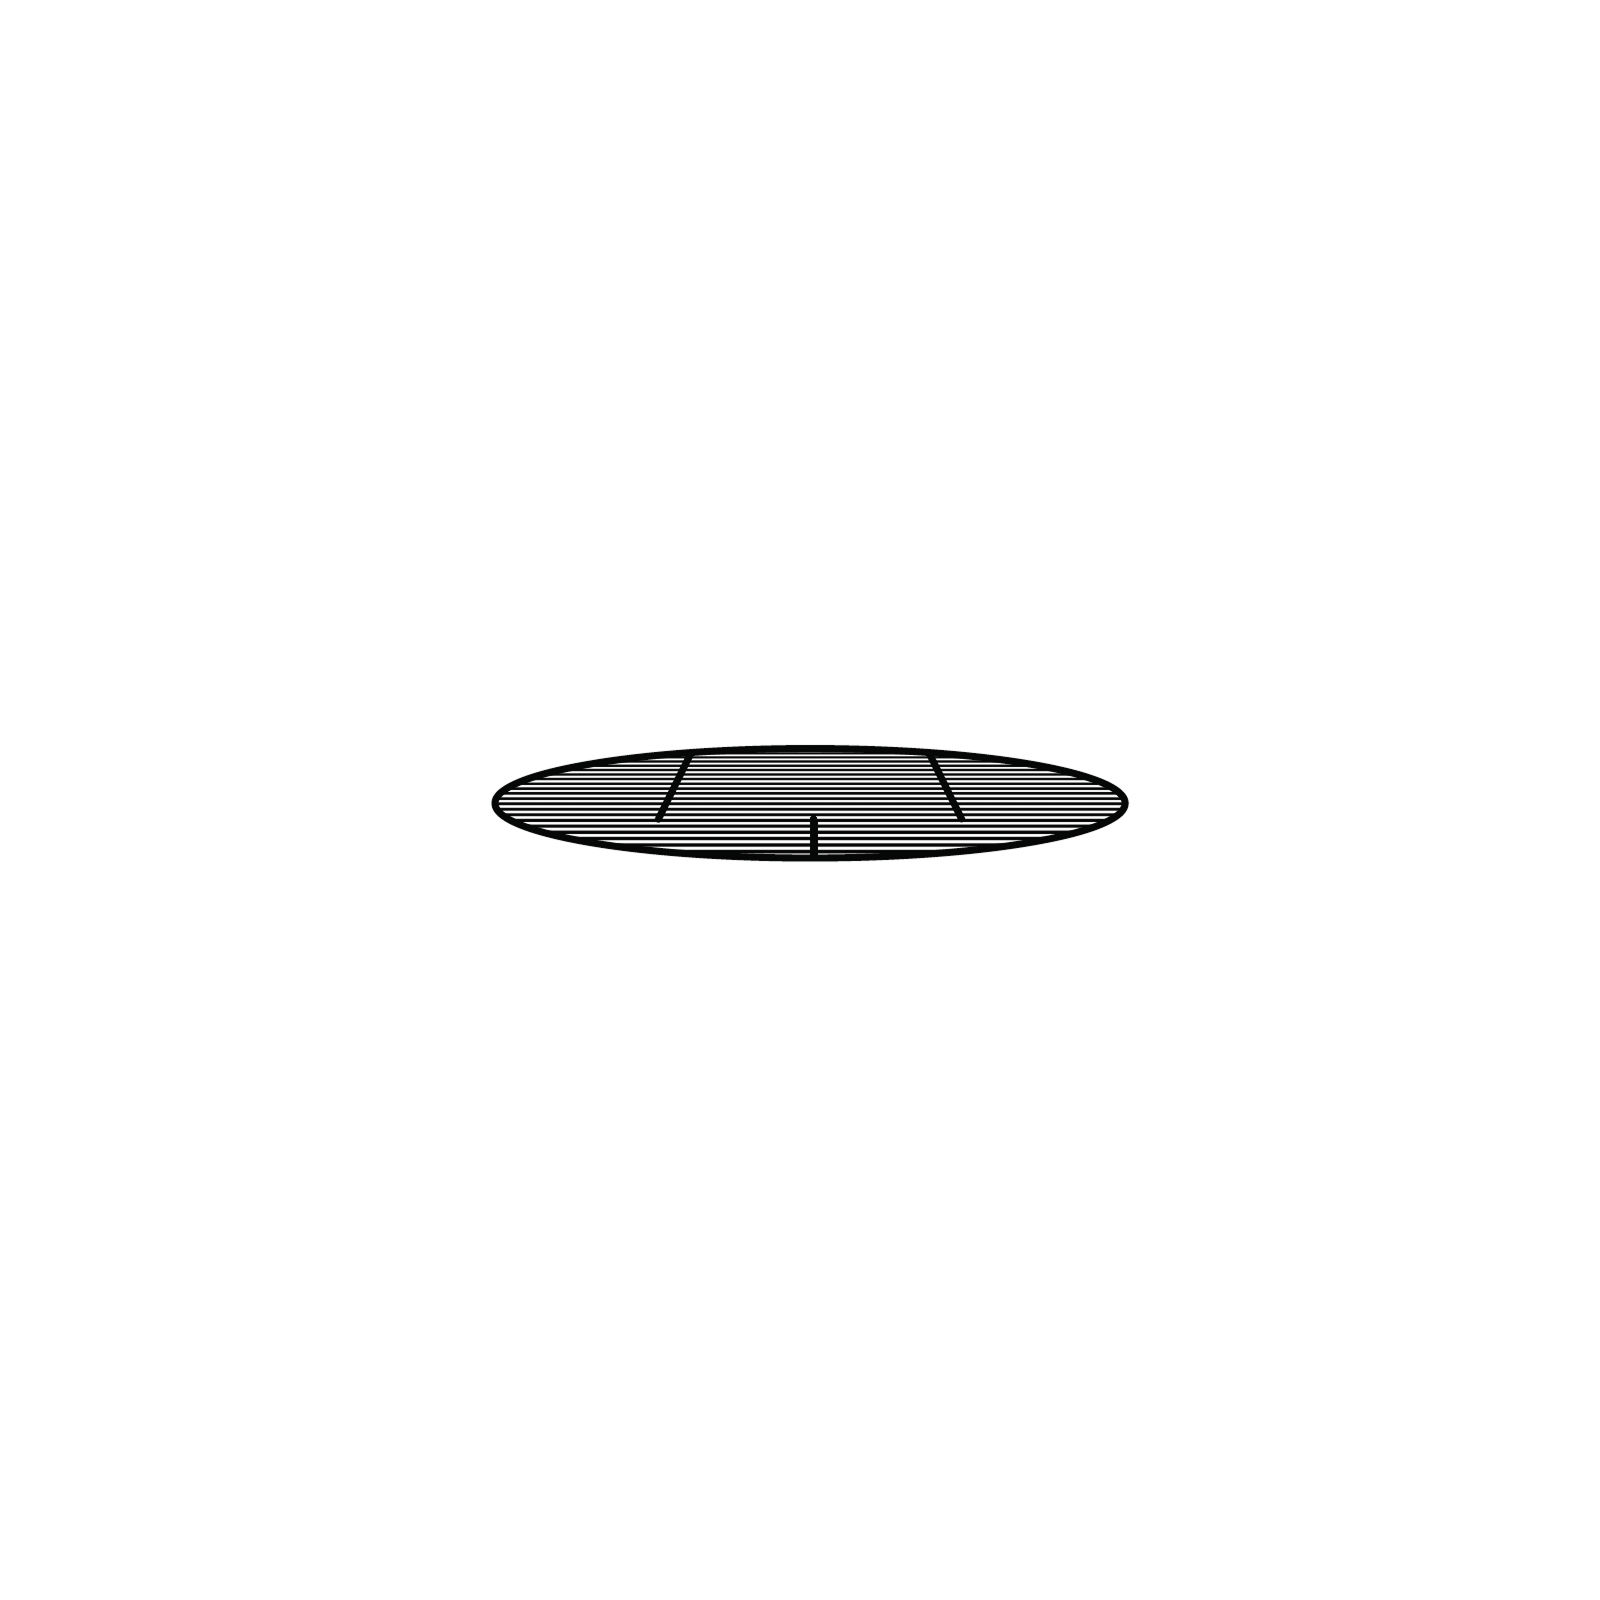
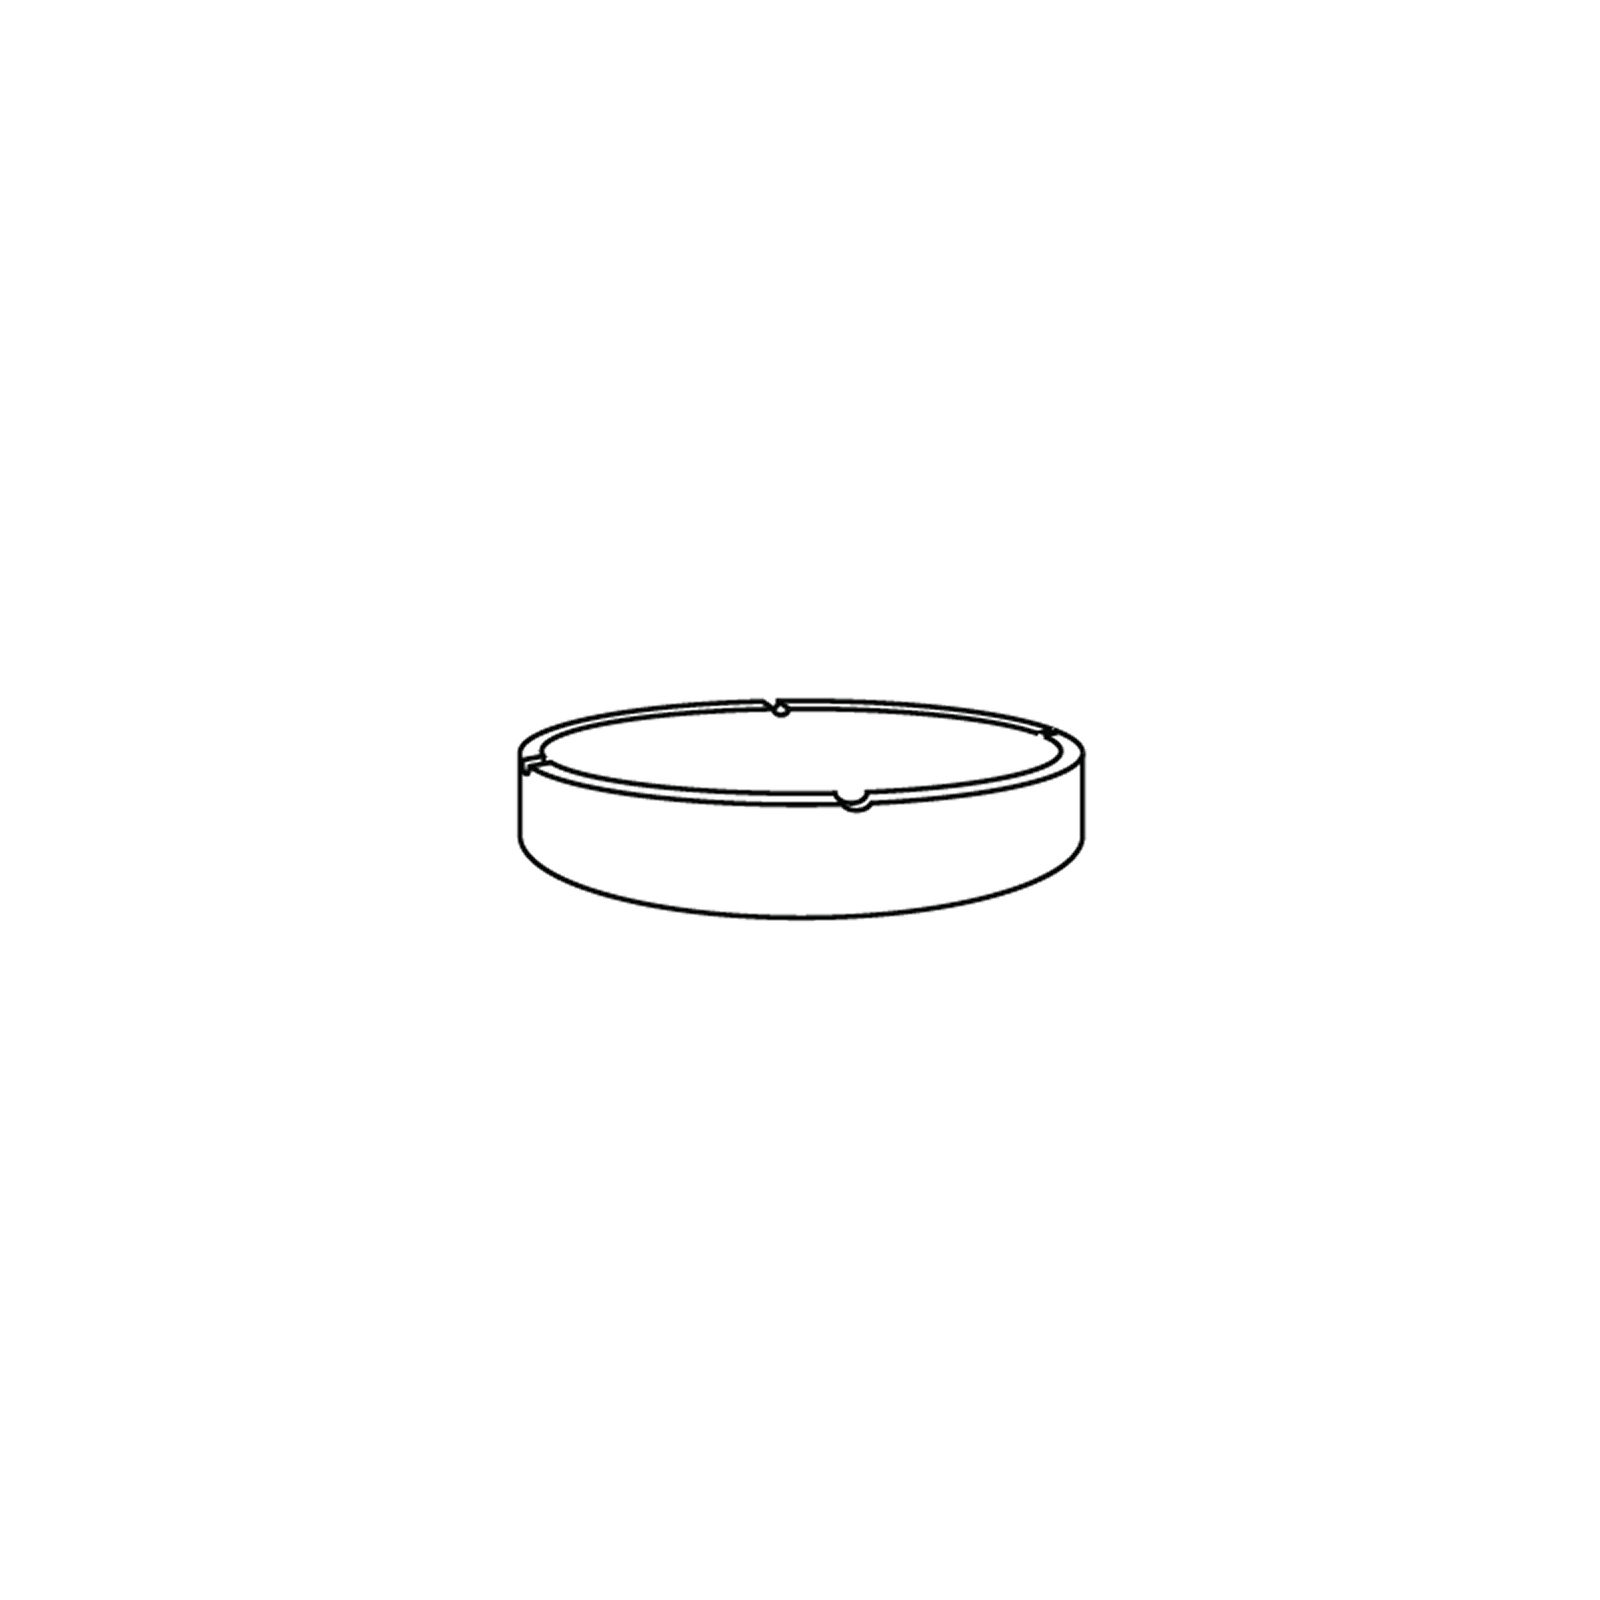
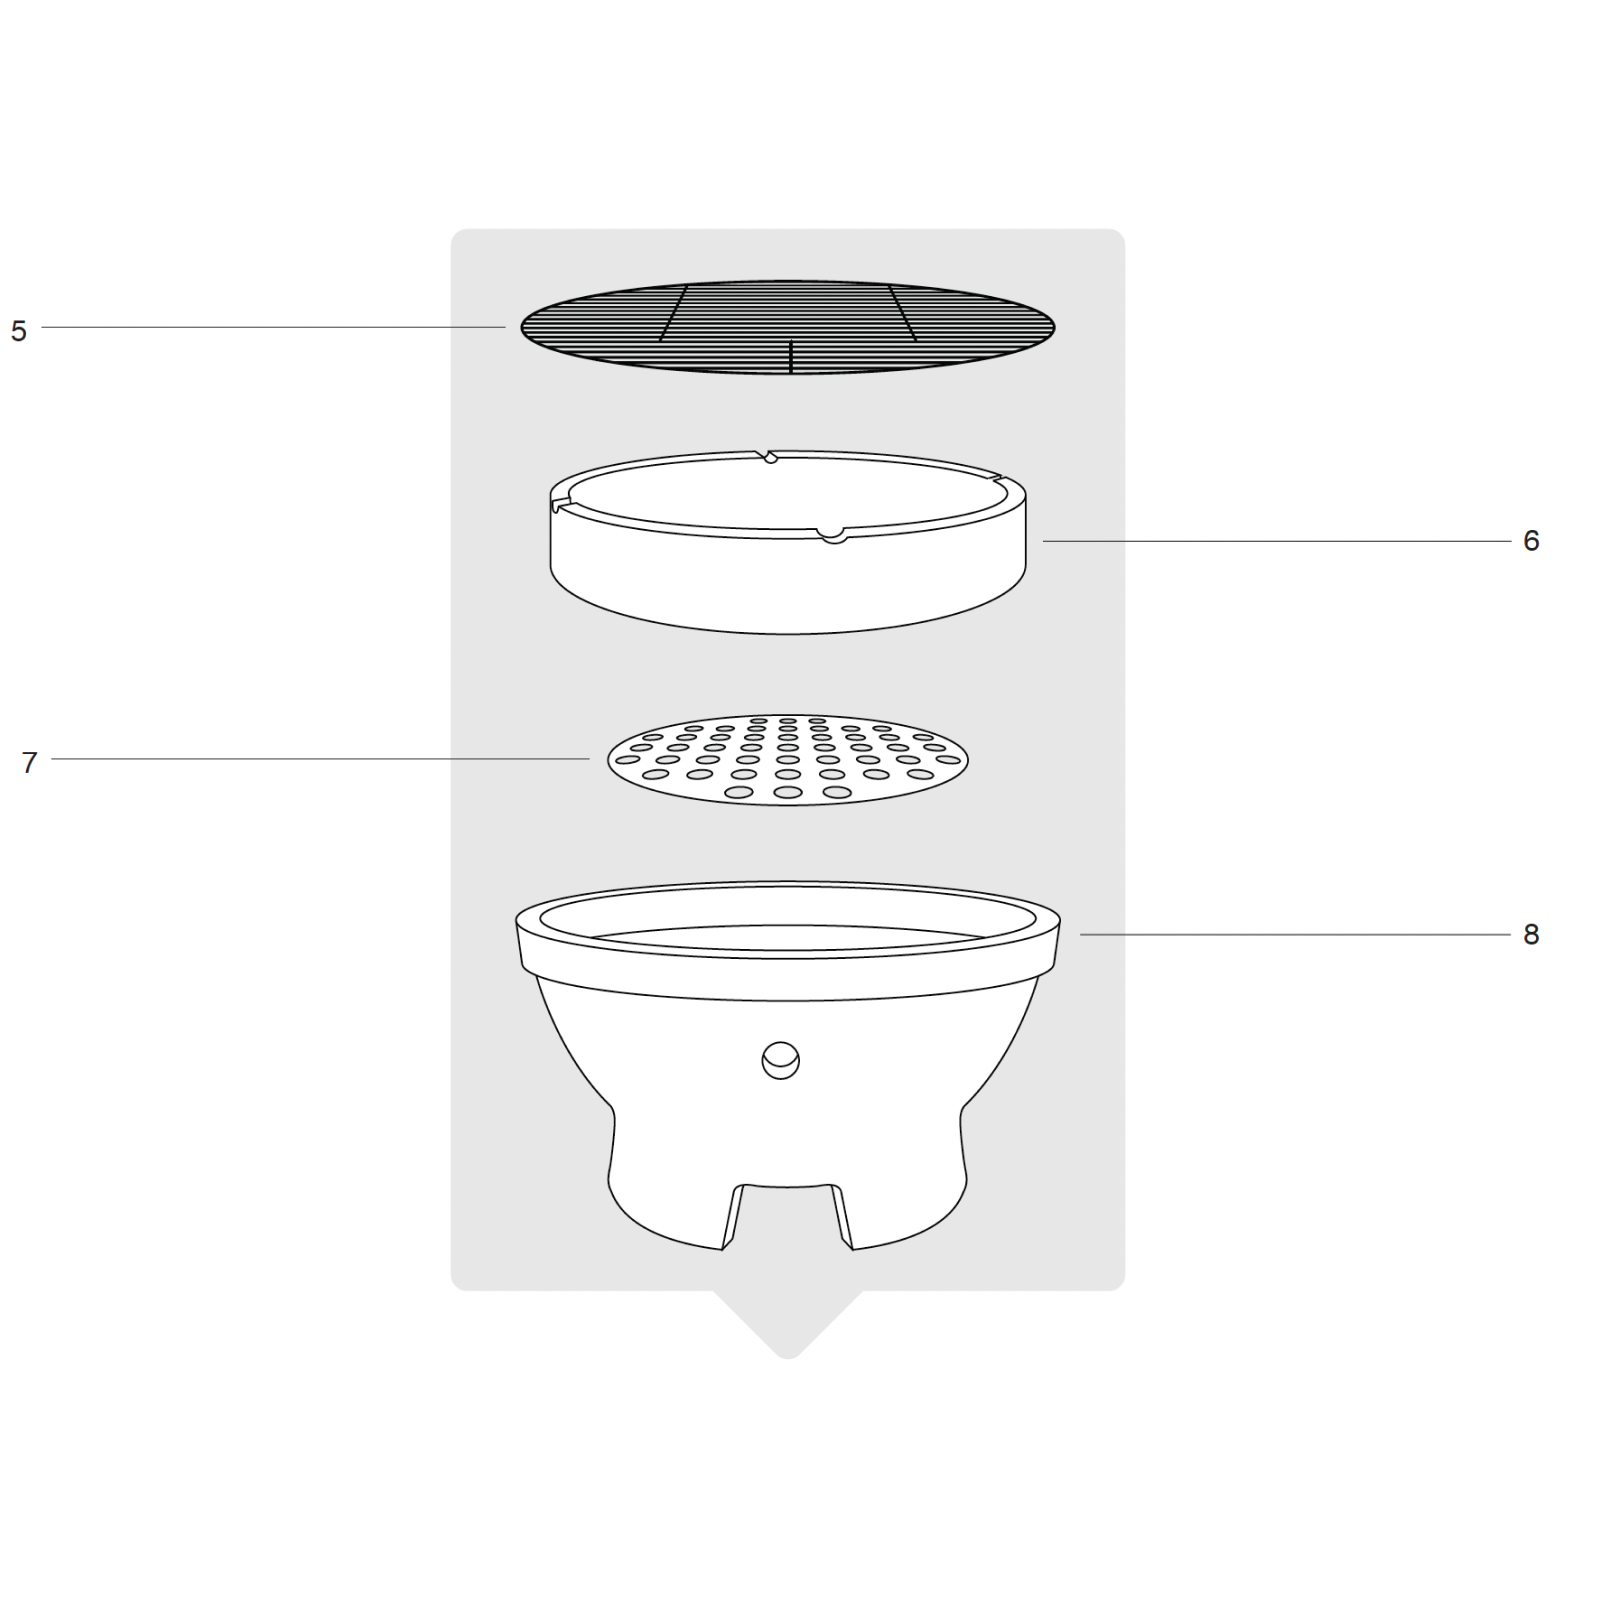
8. Installing Internal Components
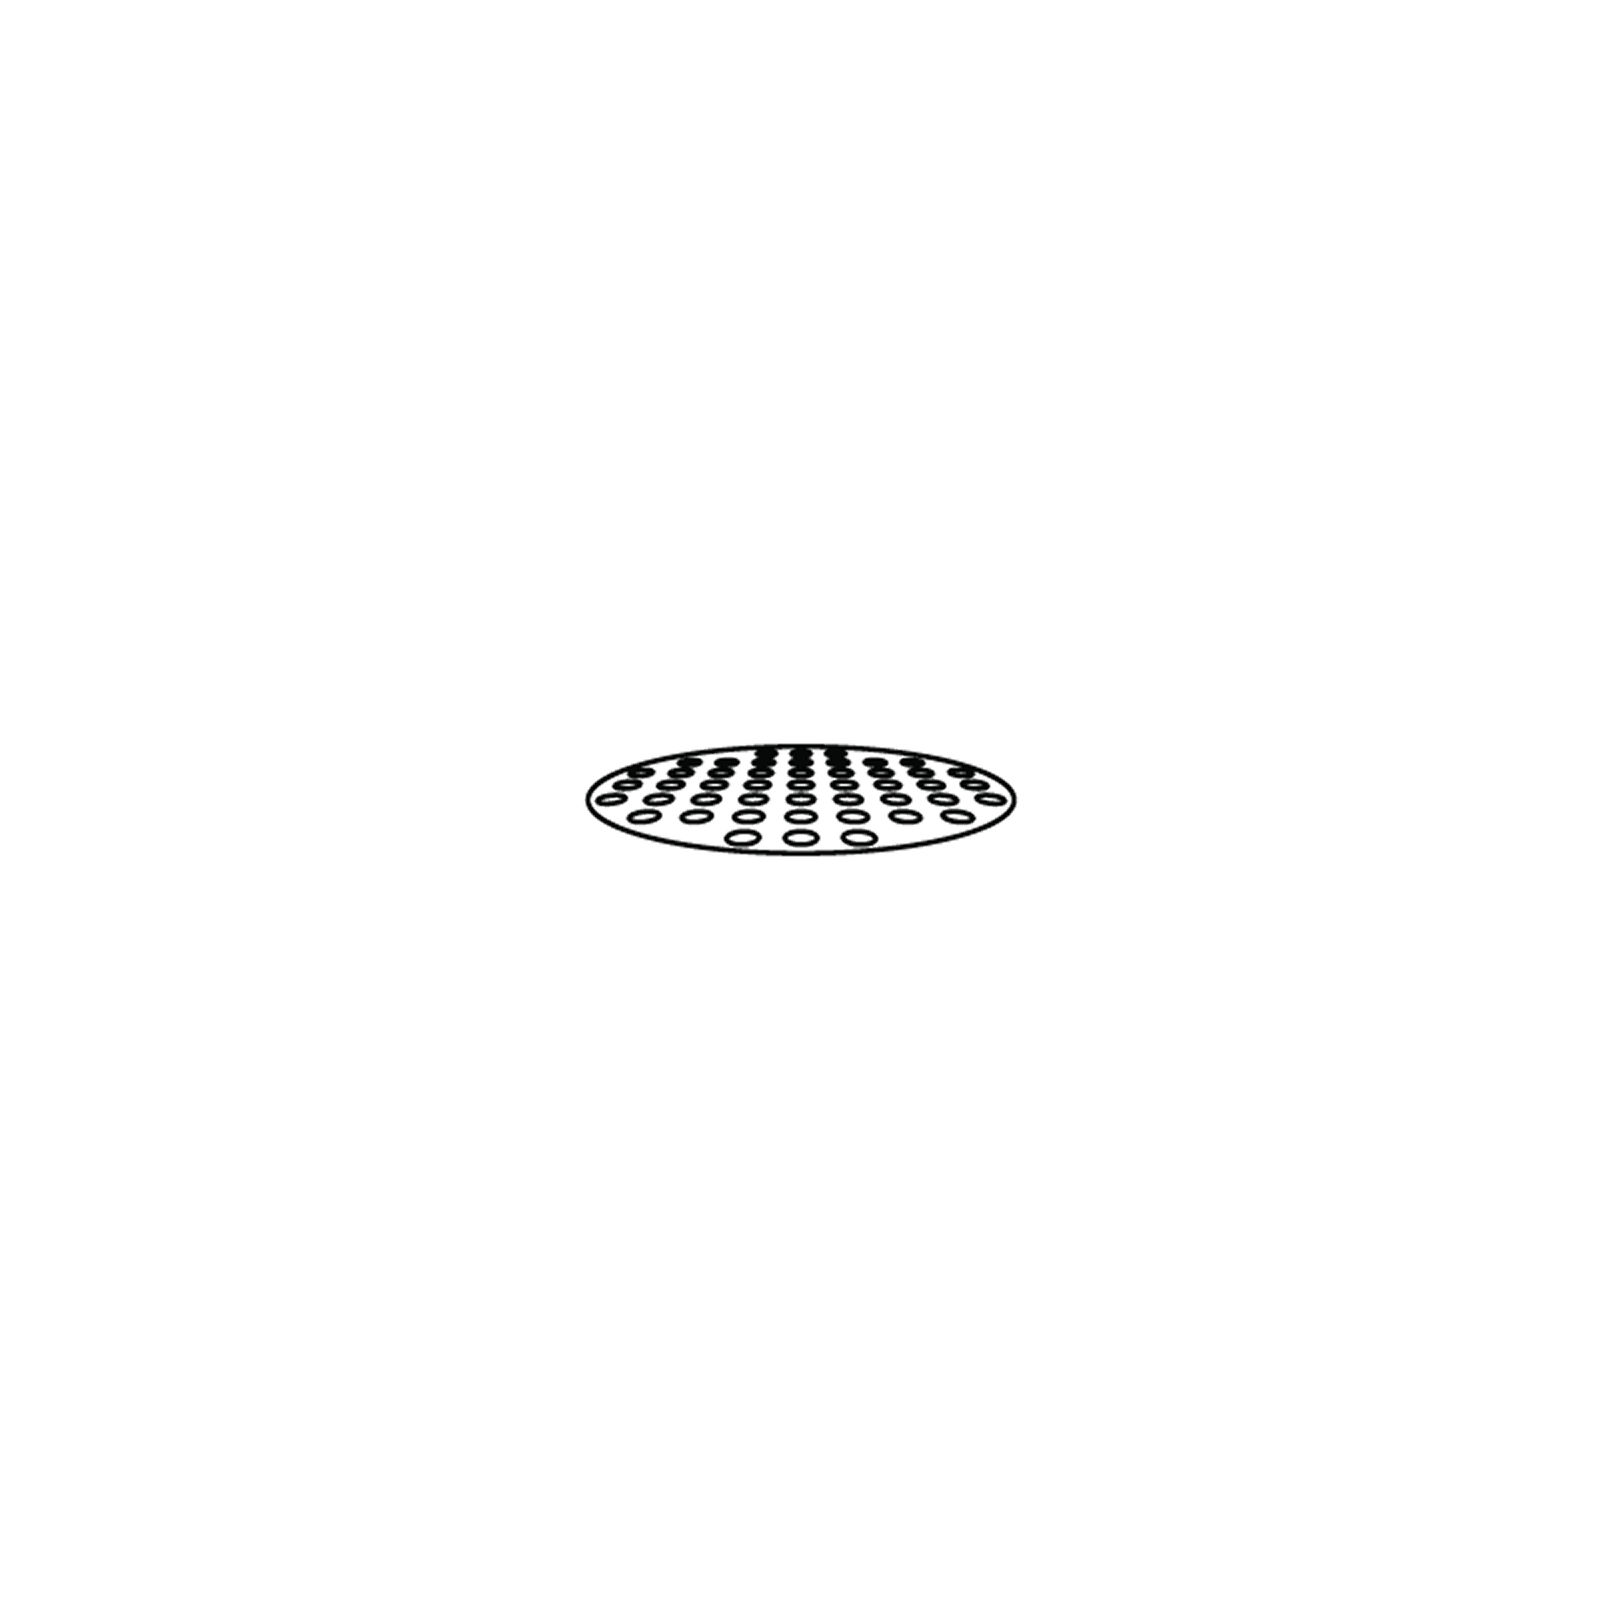
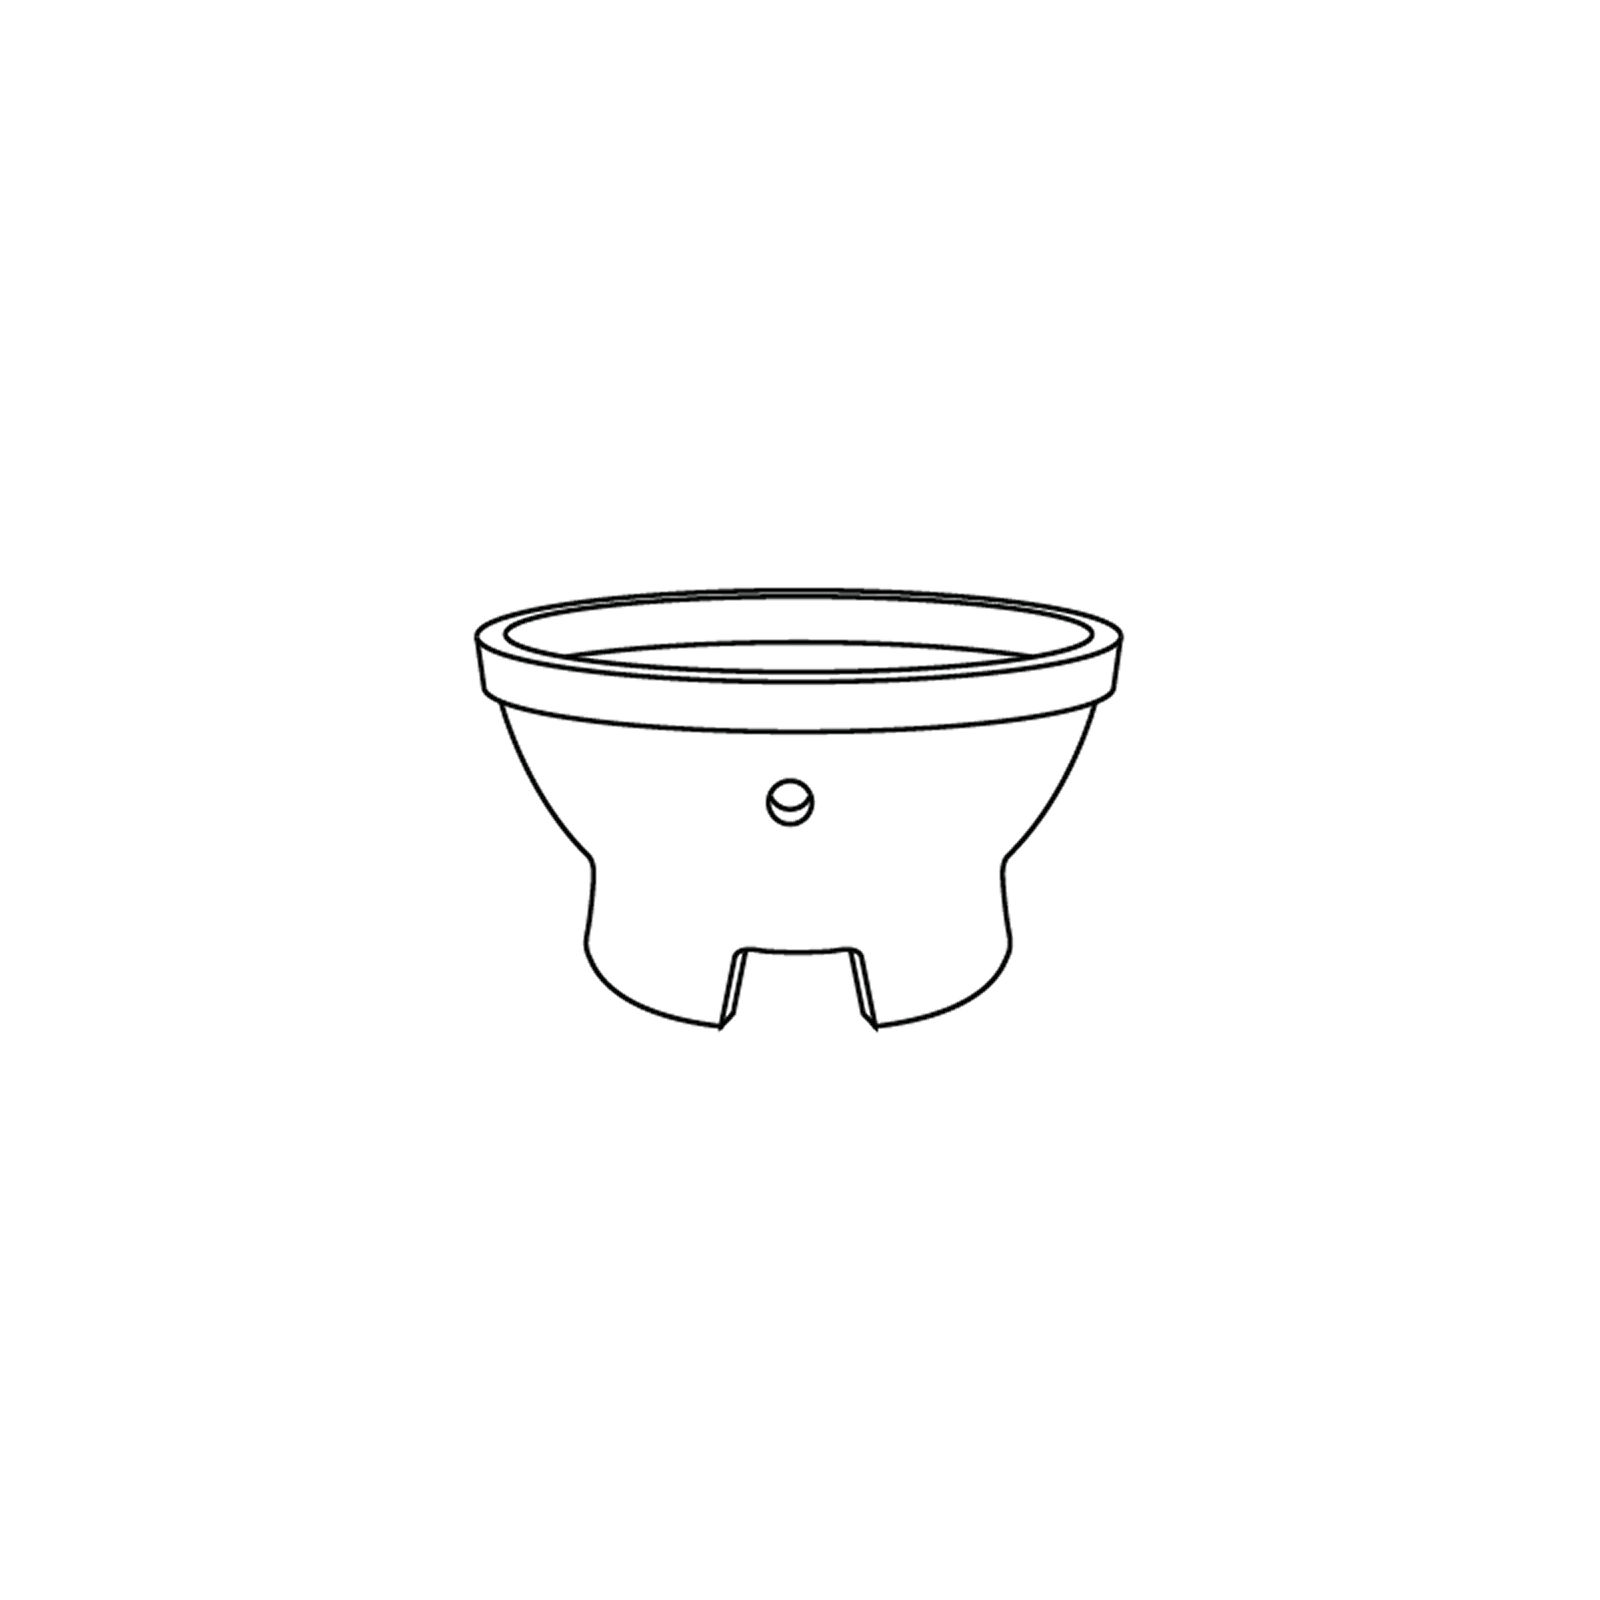
When the grill is securely placed on the cart add the firebox (8), charcoal plate (7), upper ring (6) and cooking grill (5) inside of the Kamado Grill as displayed in the assembly diagram.
9. Locking the Castor Wheels
Press down on the castor levers (2) to lock the castor wheels, ensuring the Kamado cannot move during use.
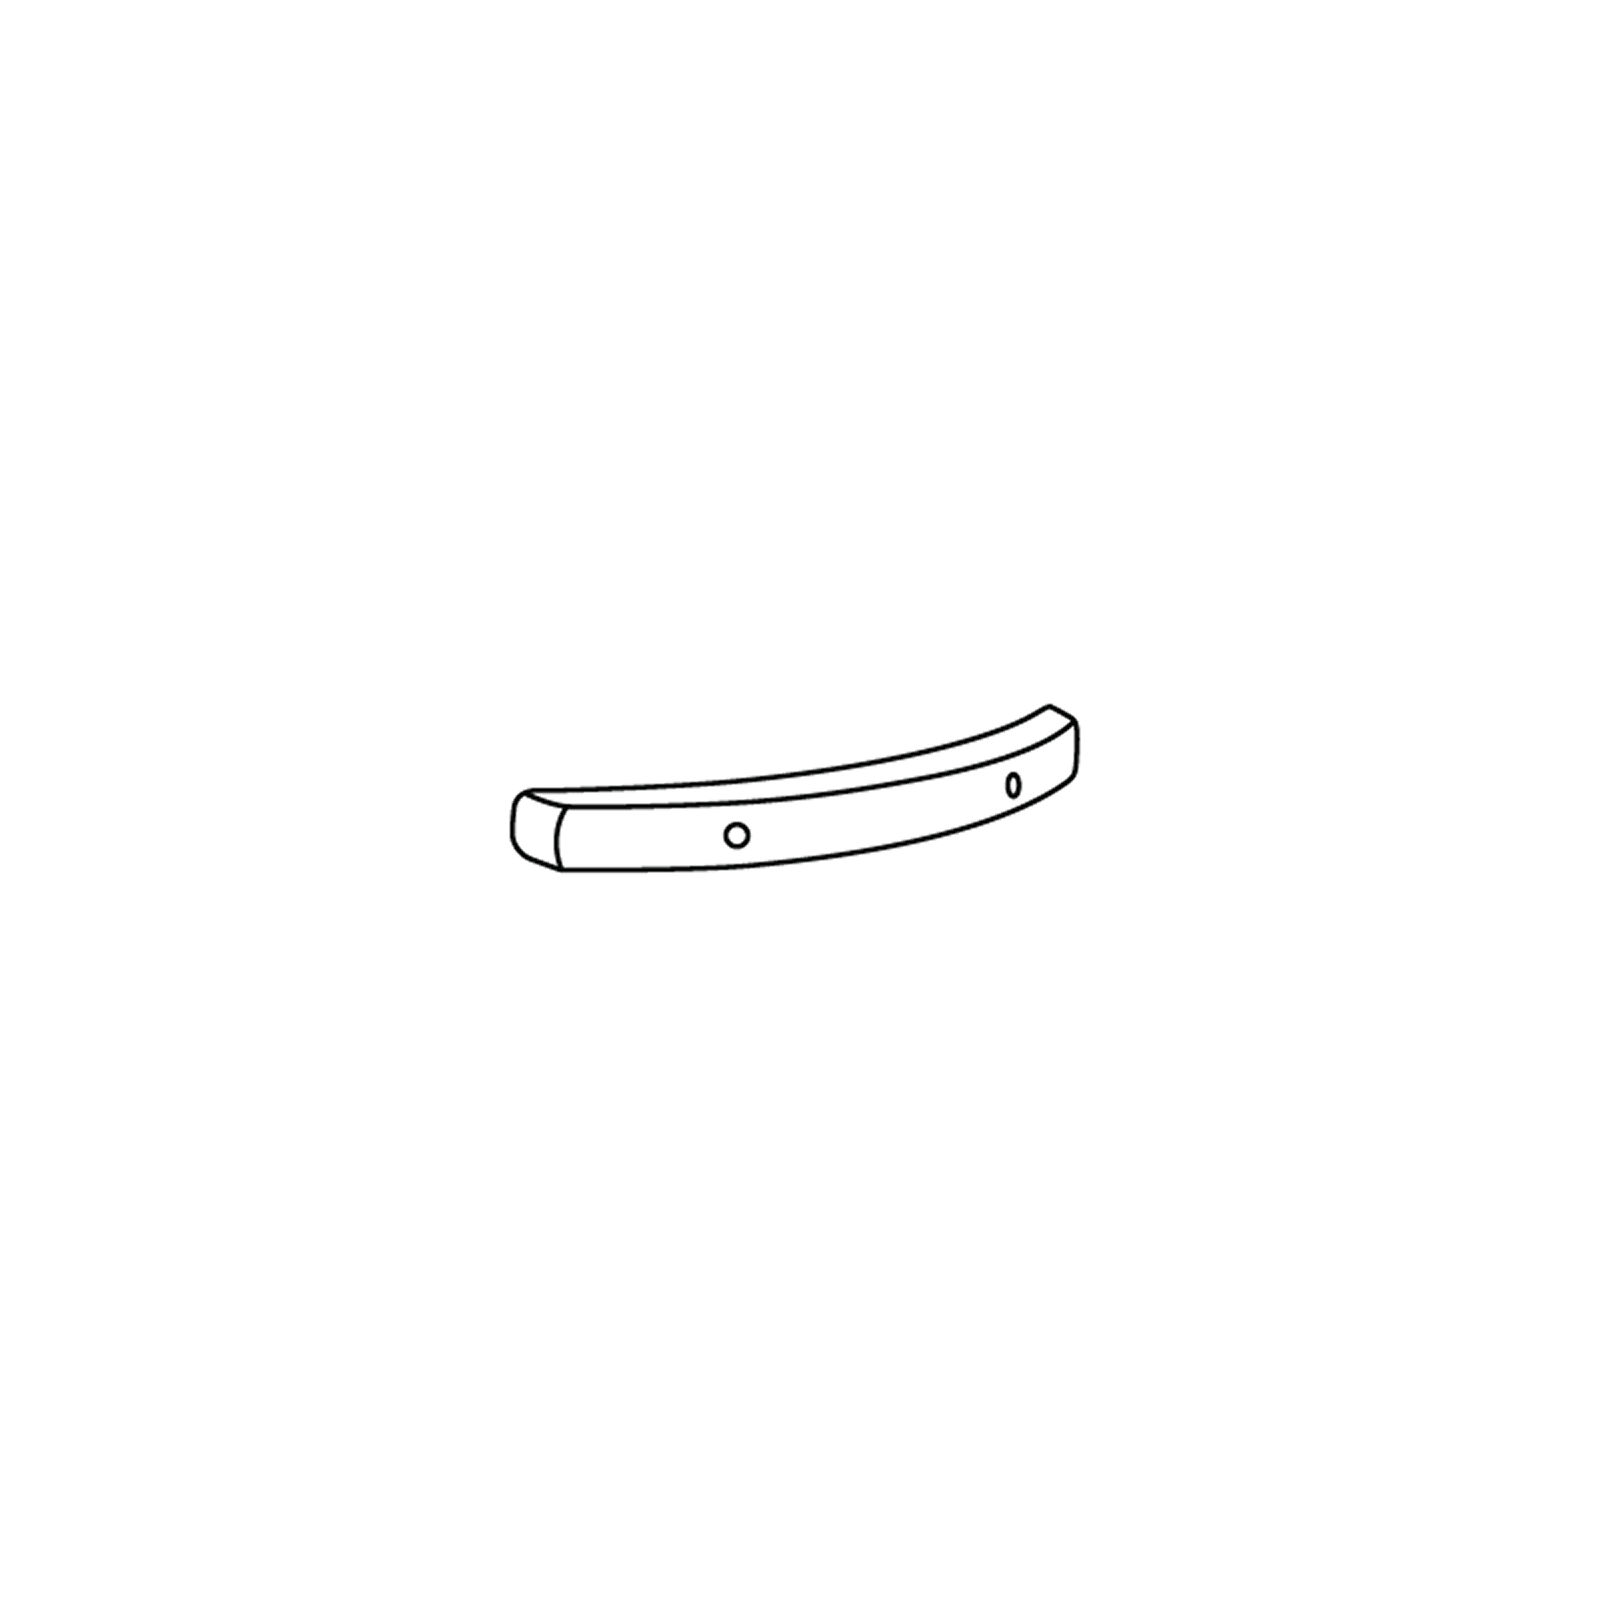
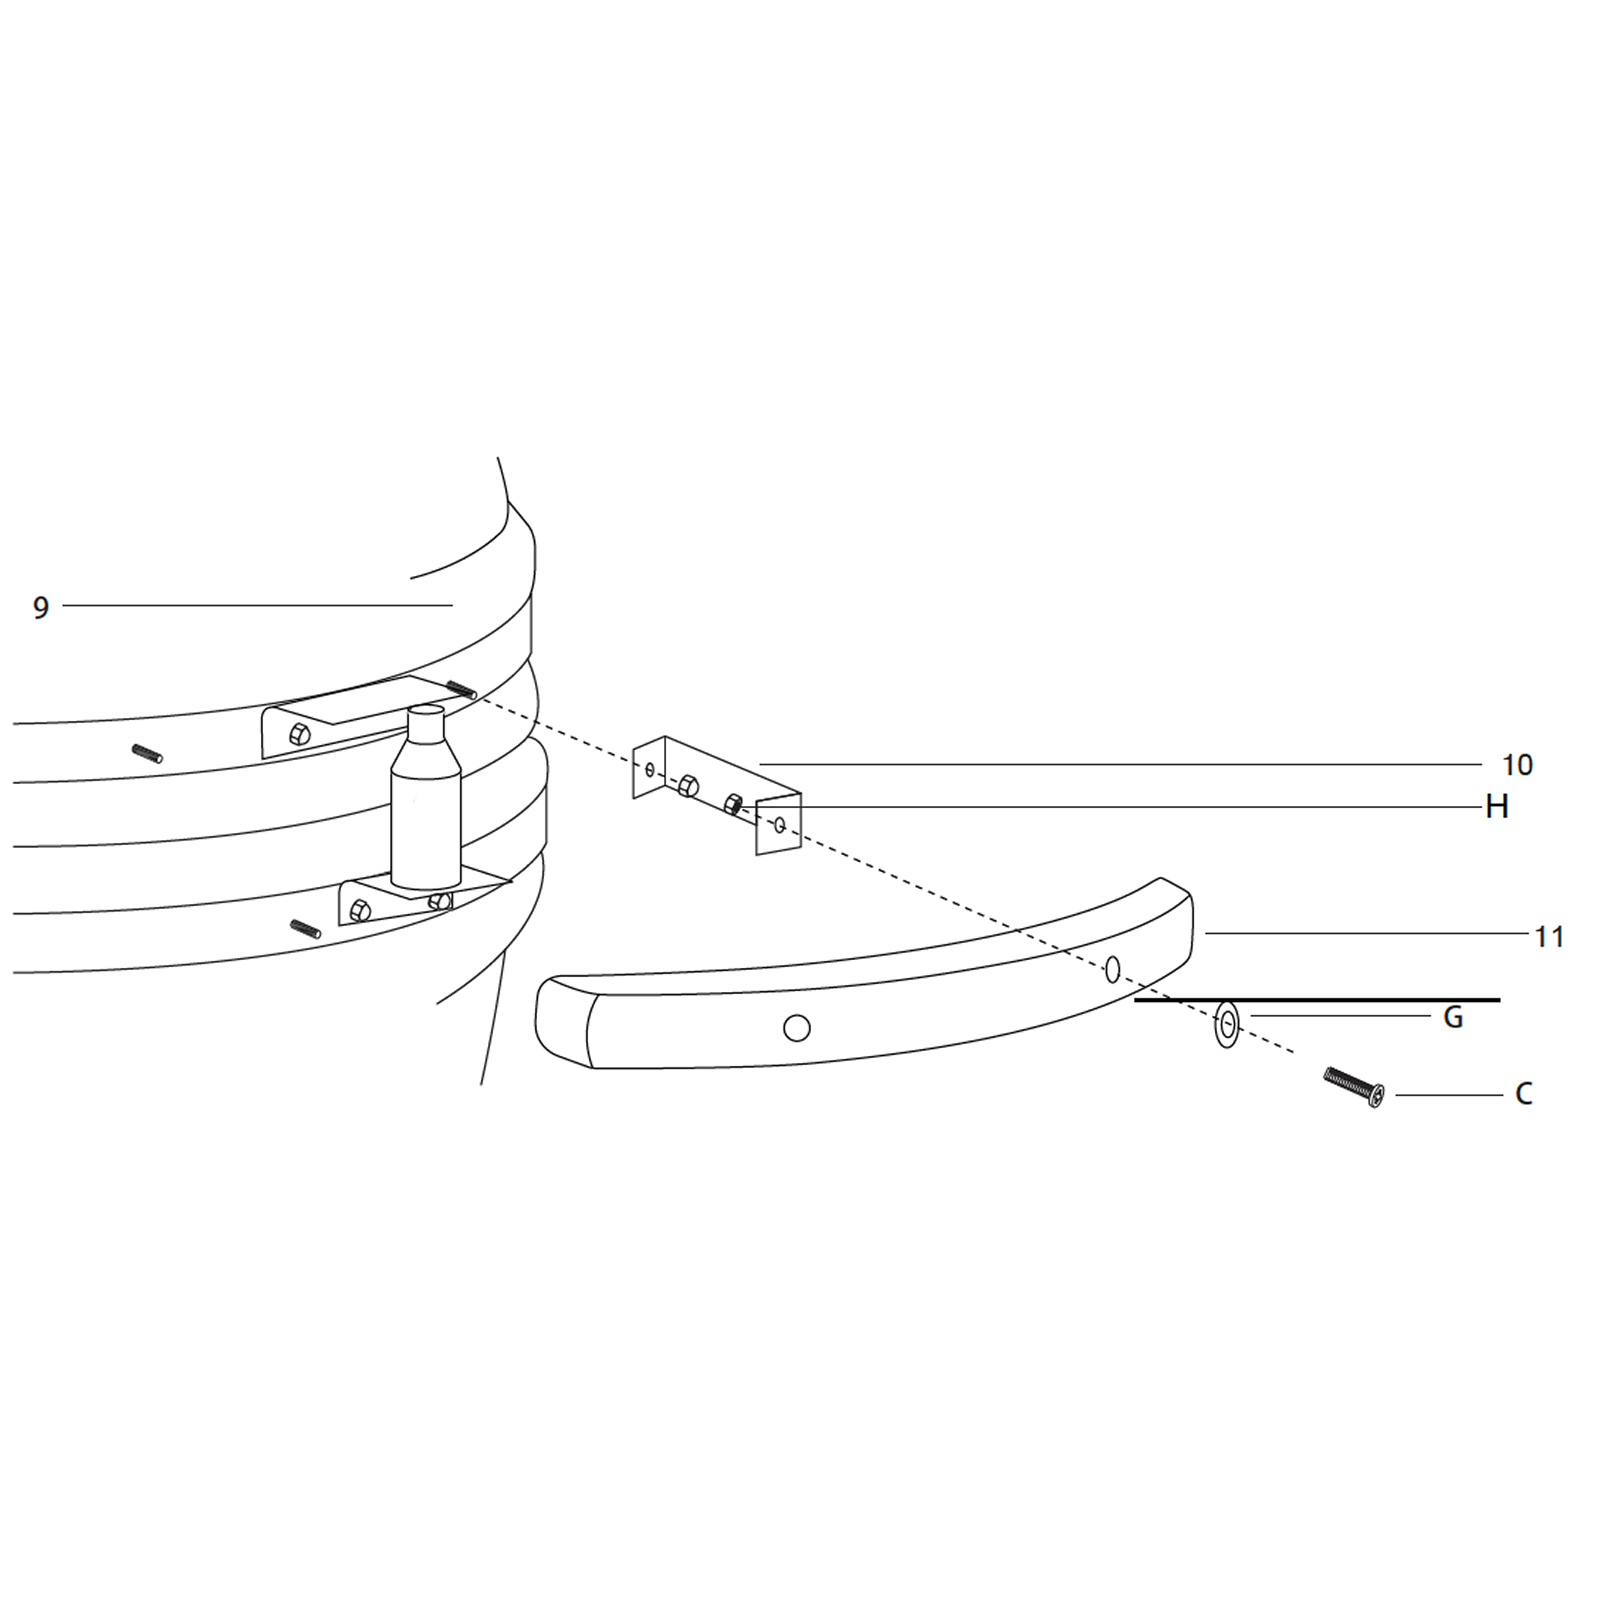
10. Attaching the Handle
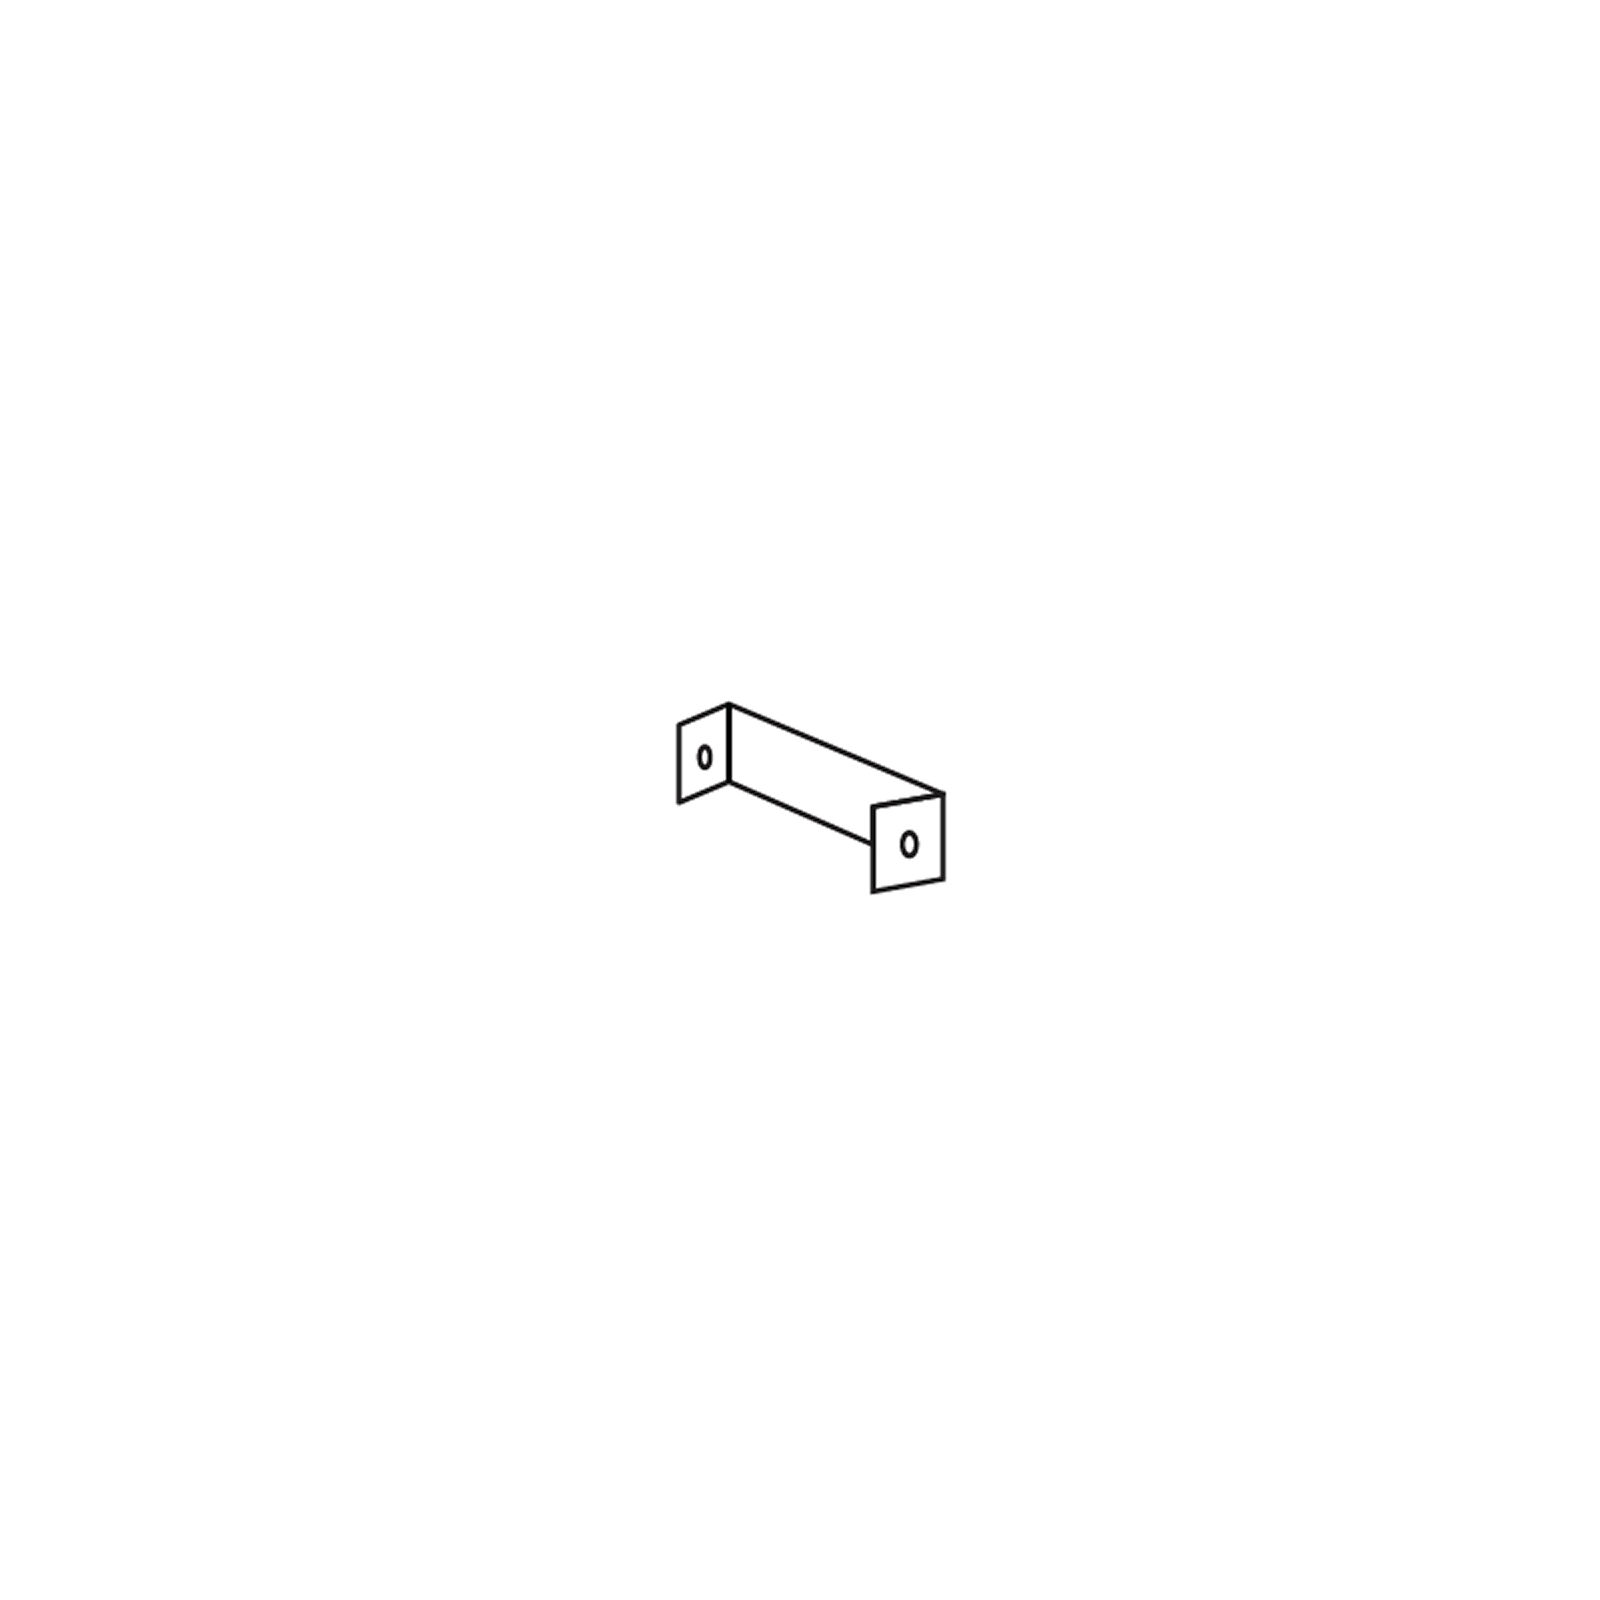
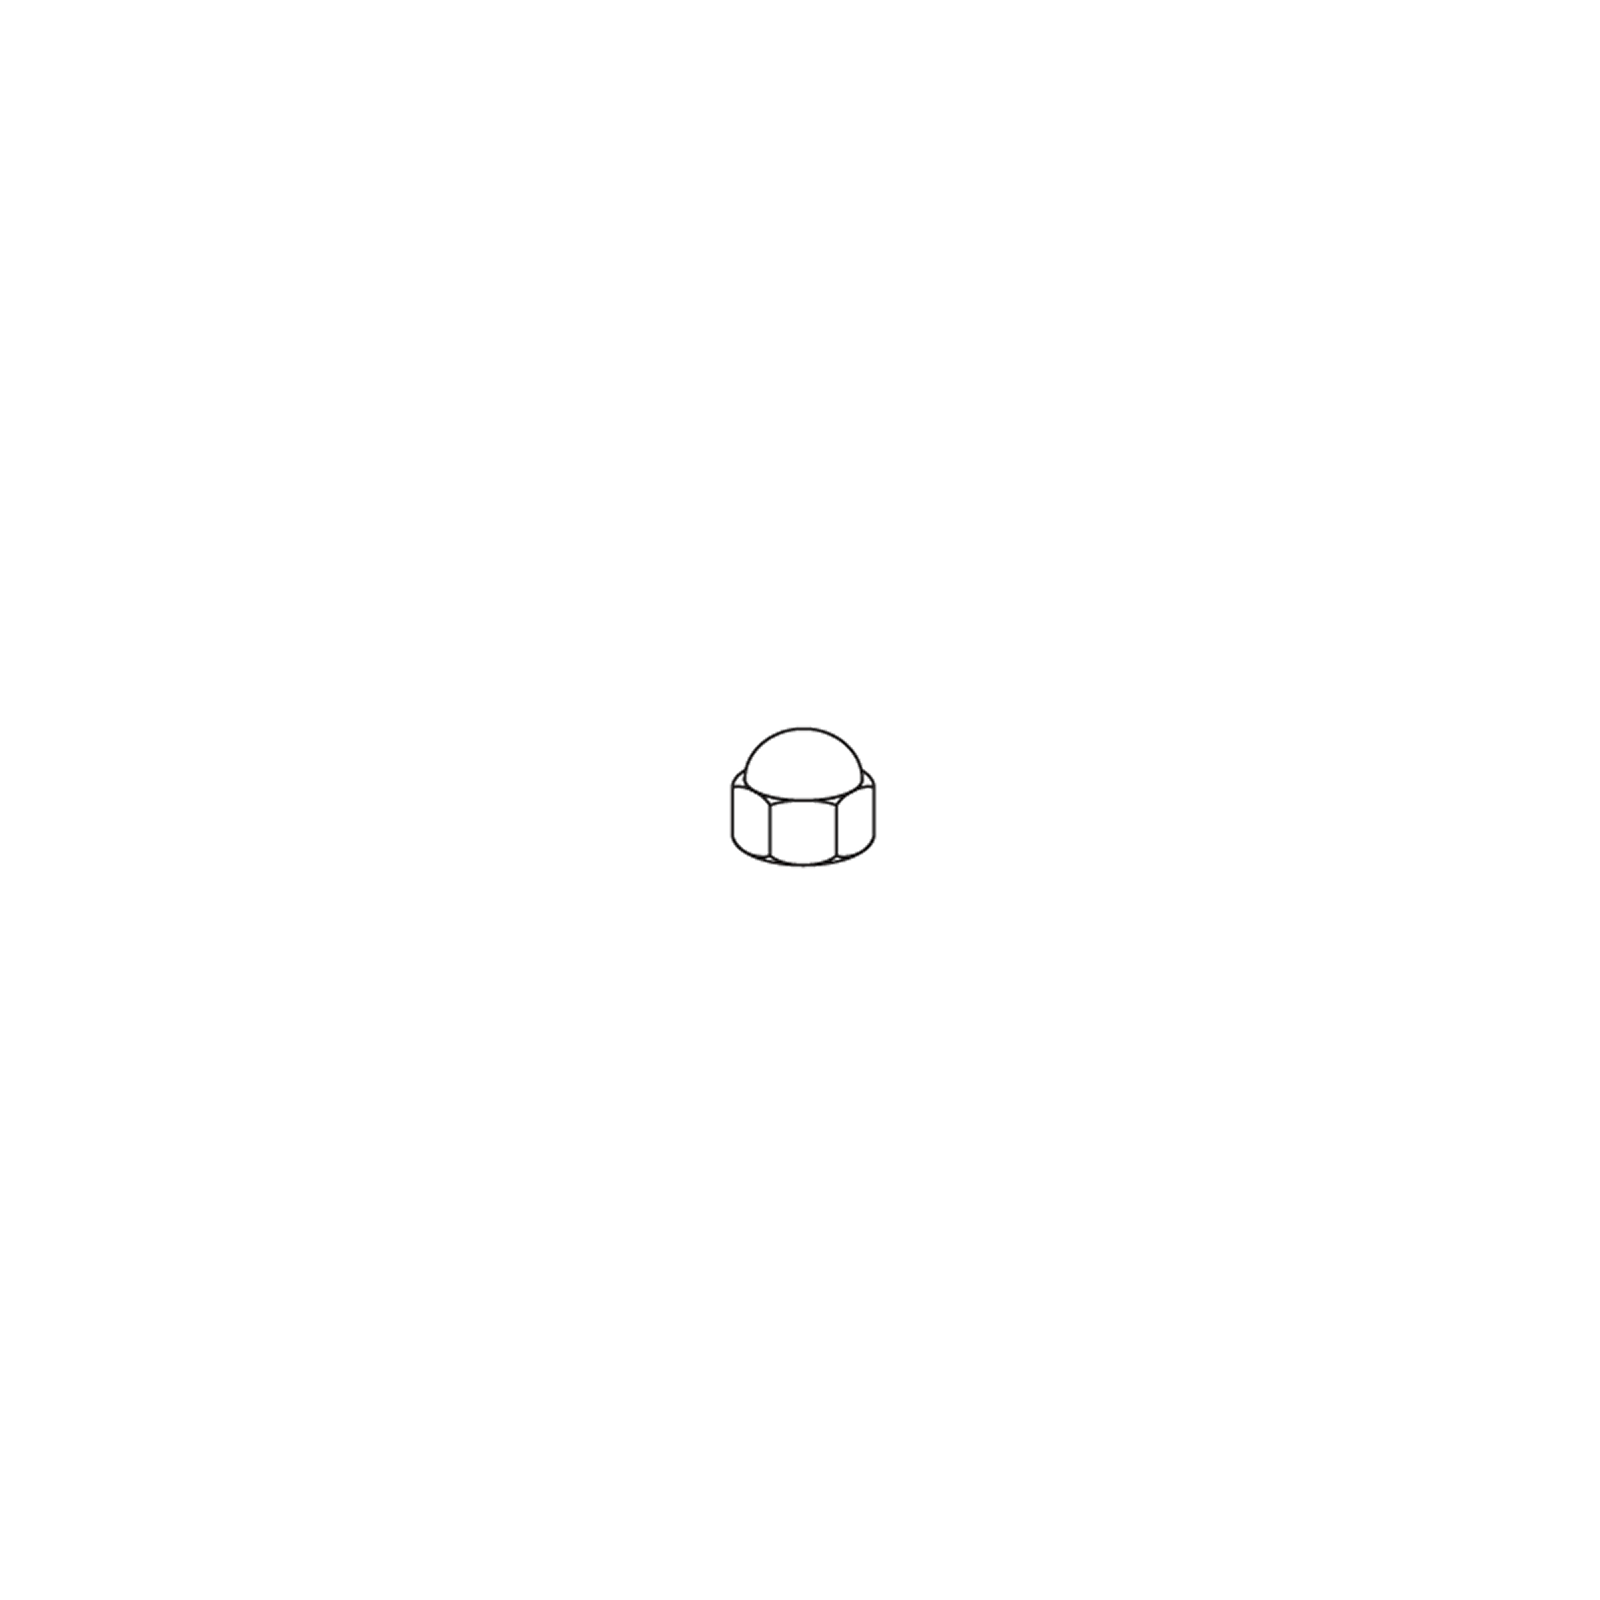
Start by attaching 2 handle brackets (10) using the 2 pre-attached bolts and dome headed nuts.
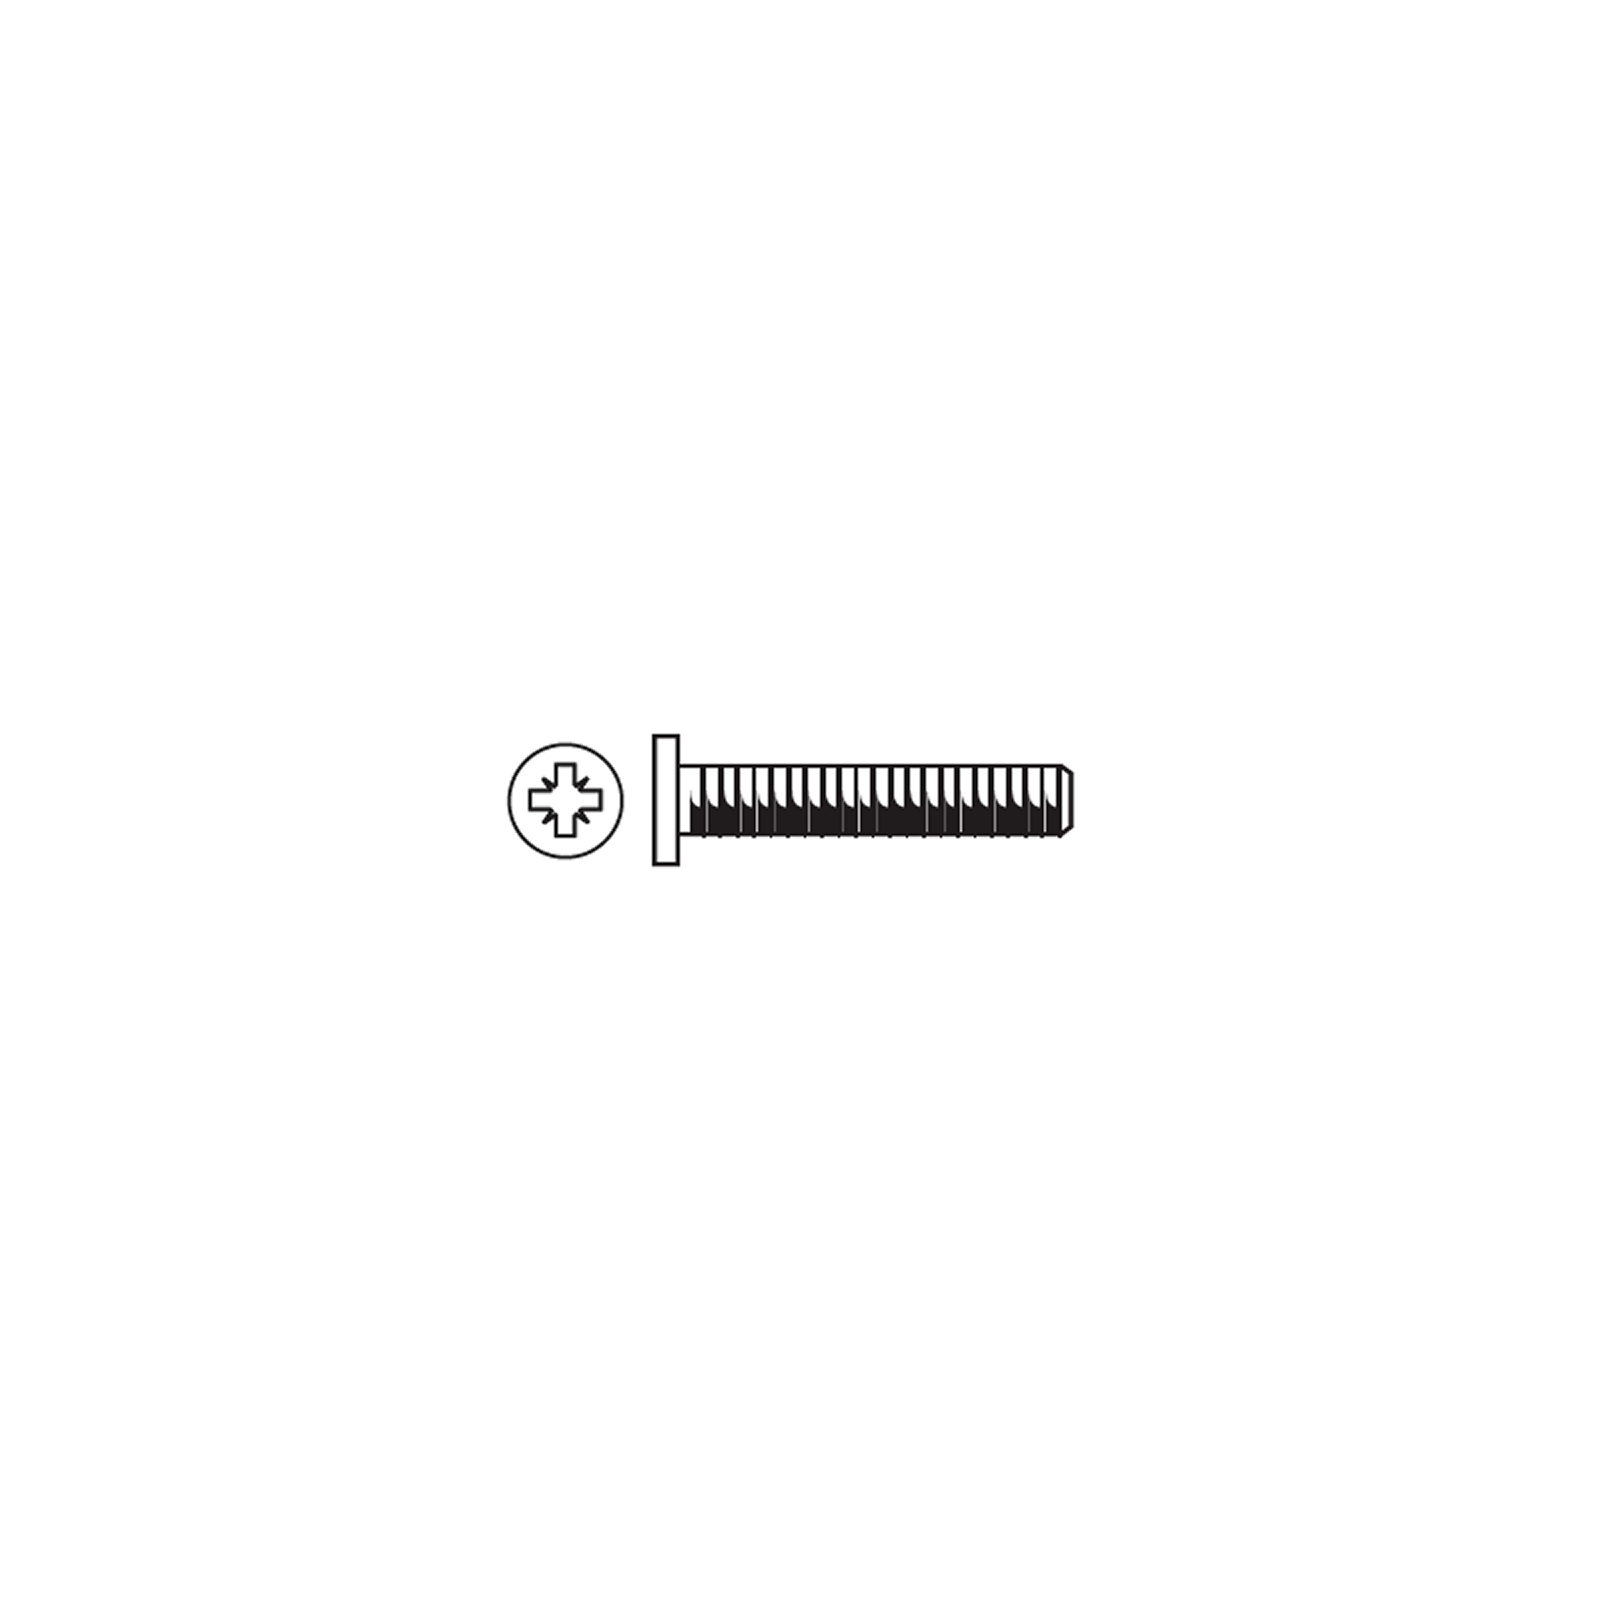
Attach the handle (11) to the brackets (10) using 2 bolts (C) and nuts (H).
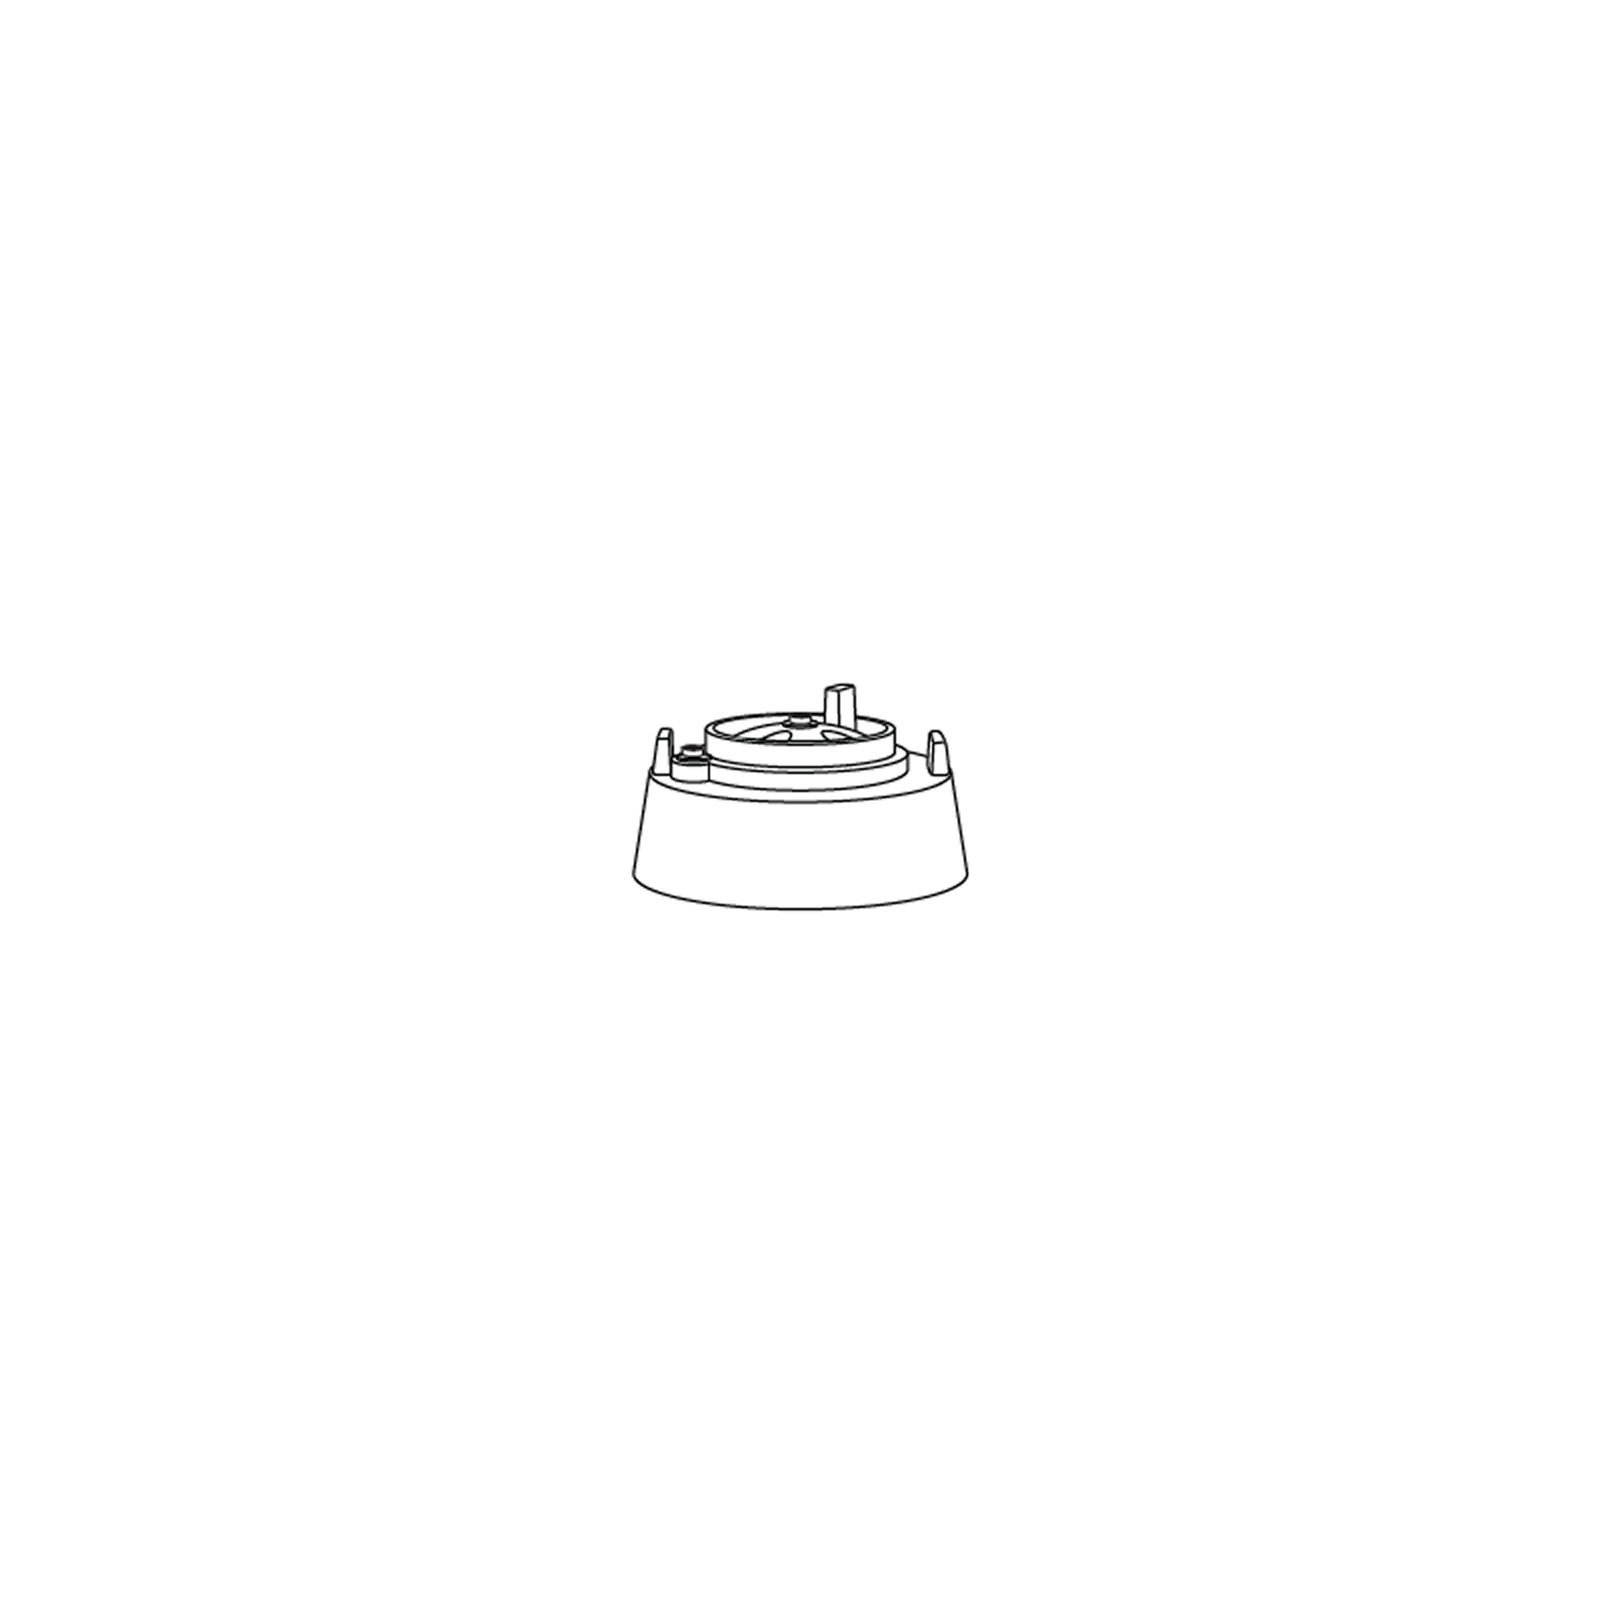
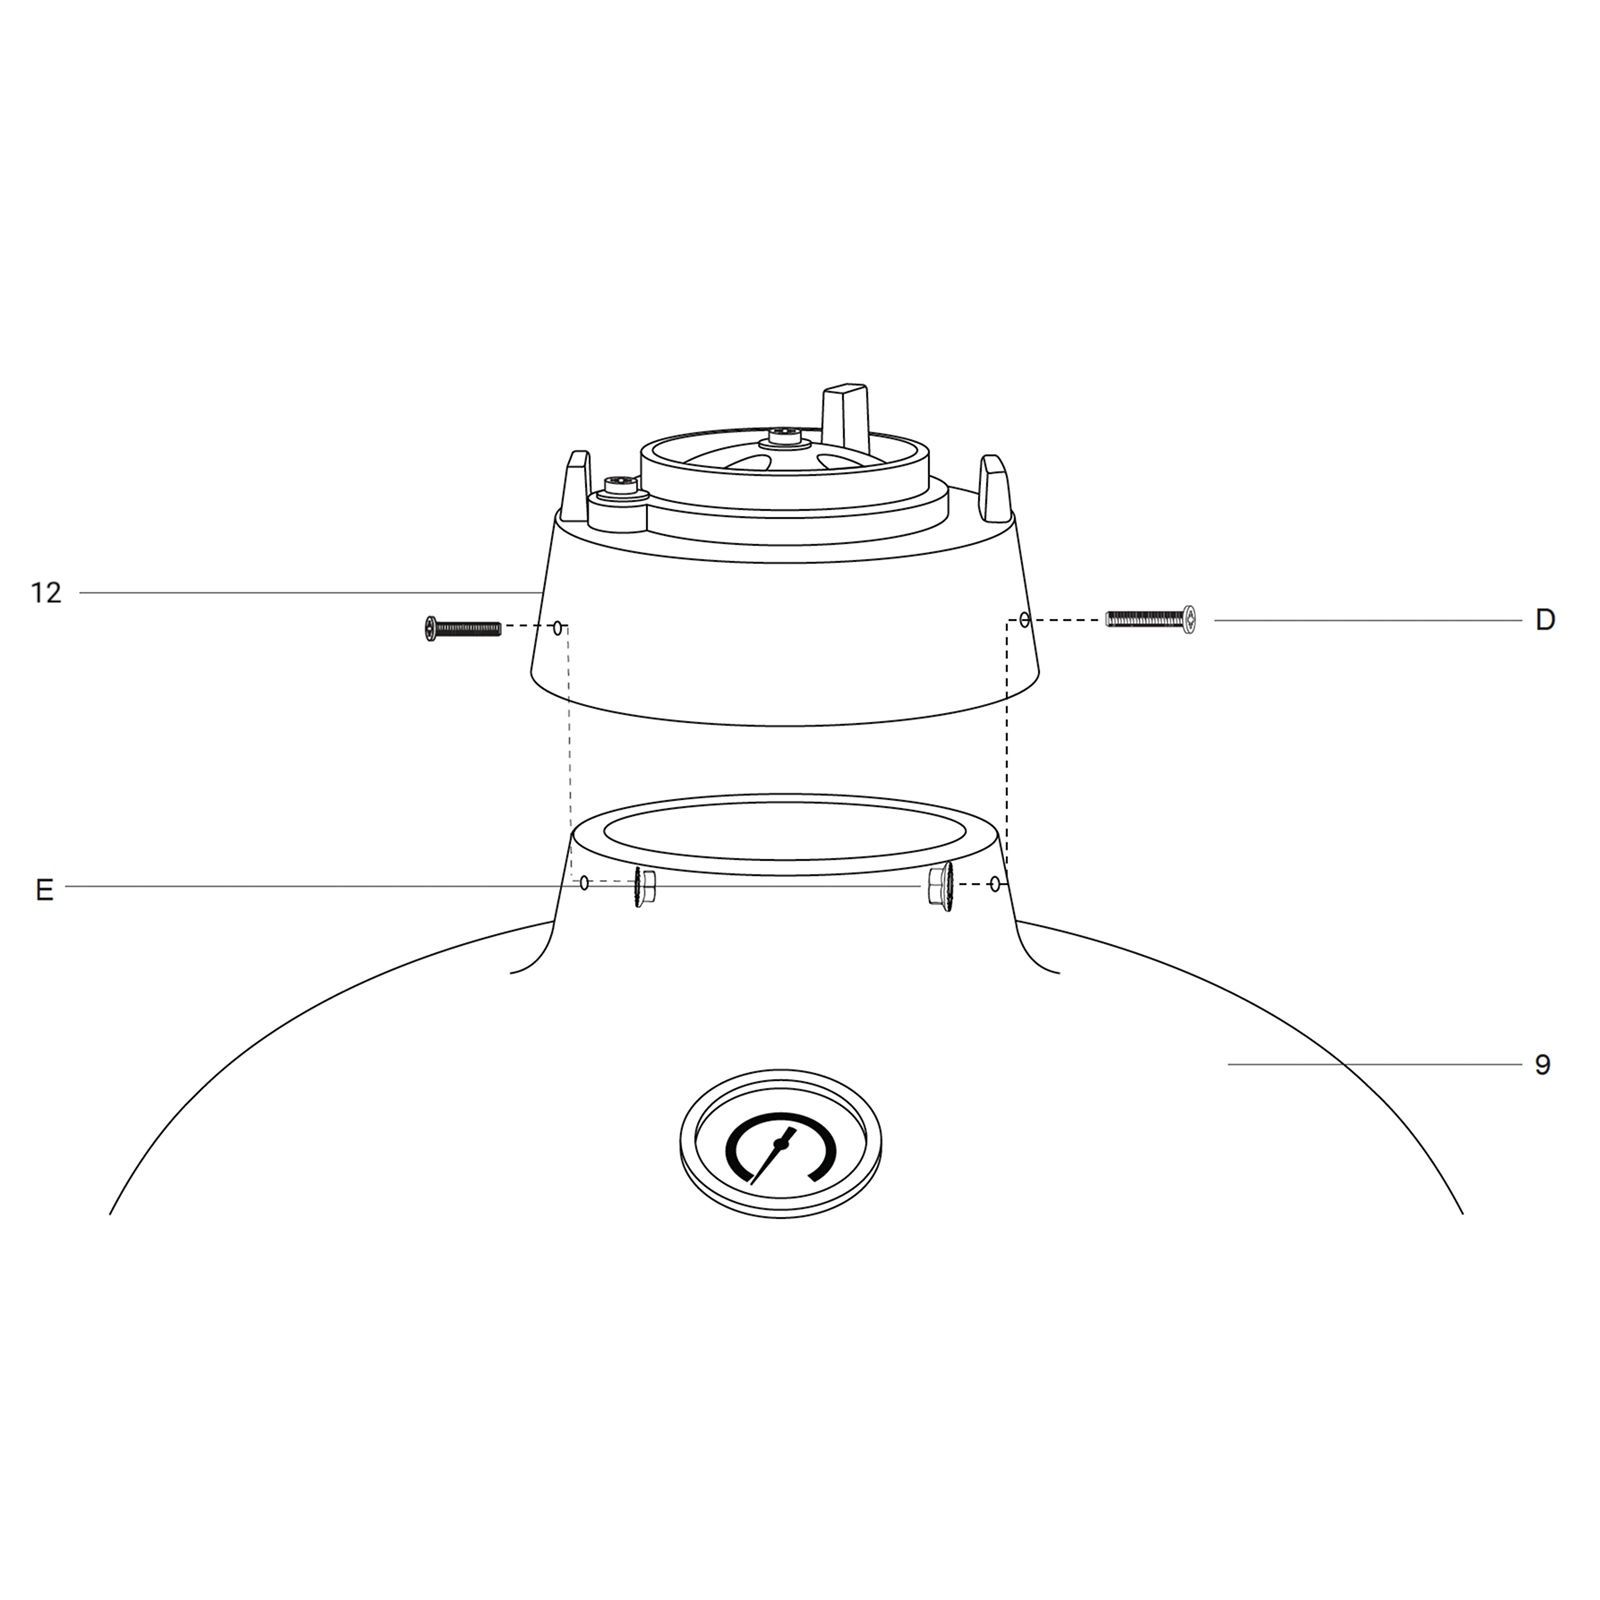
11. Attaching the Top Vent
To attach the top vent (12) to the Kamado Grill (9) place it on top and align both the bolt holes.
Secure using 2 bolts (D) and nuts (E).
Ensure that the top vent bolt is on the left hand side when assembling it.
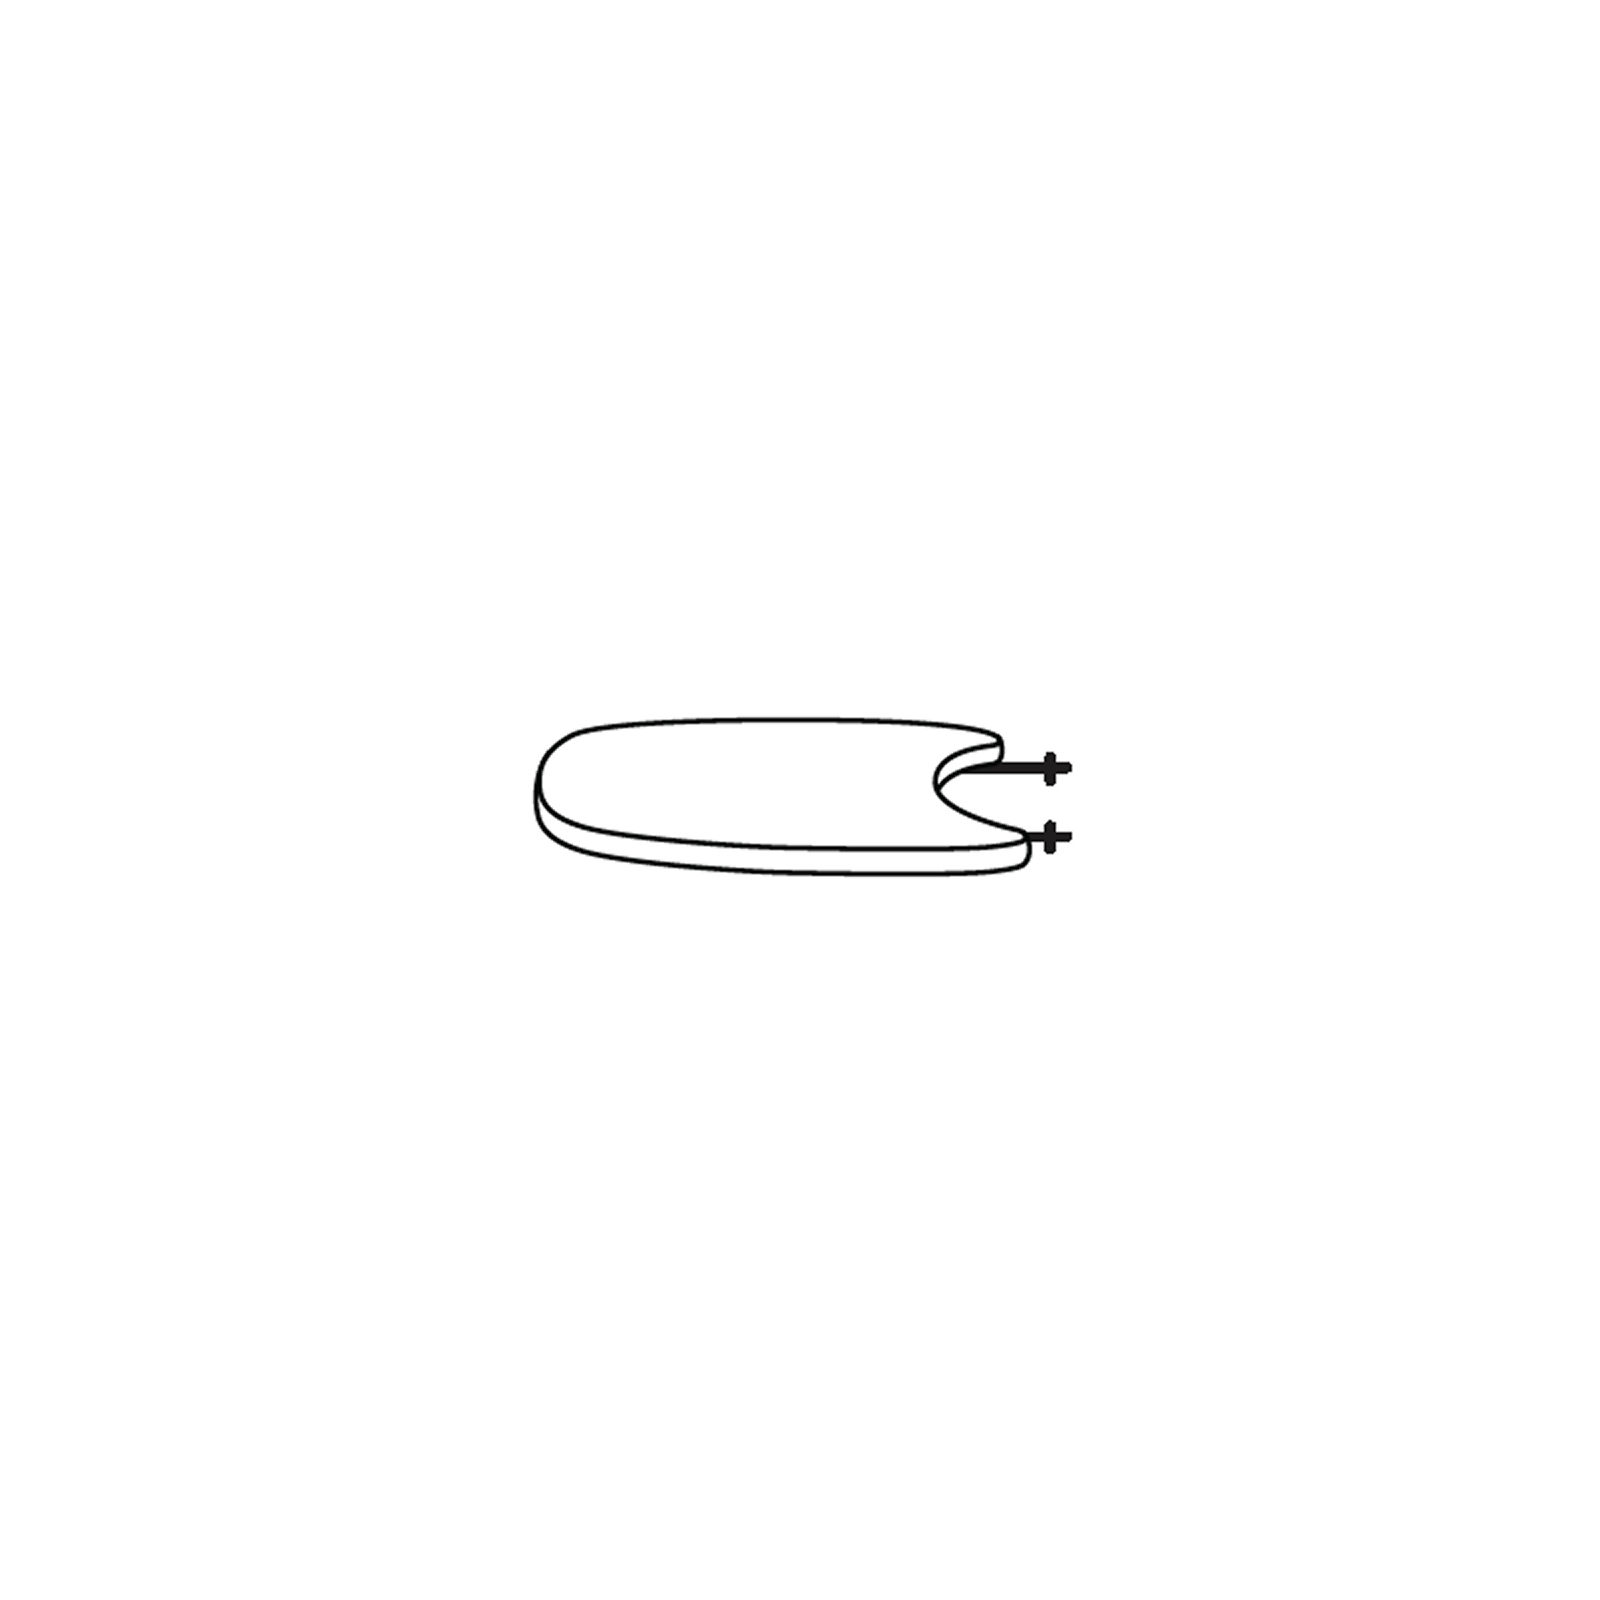
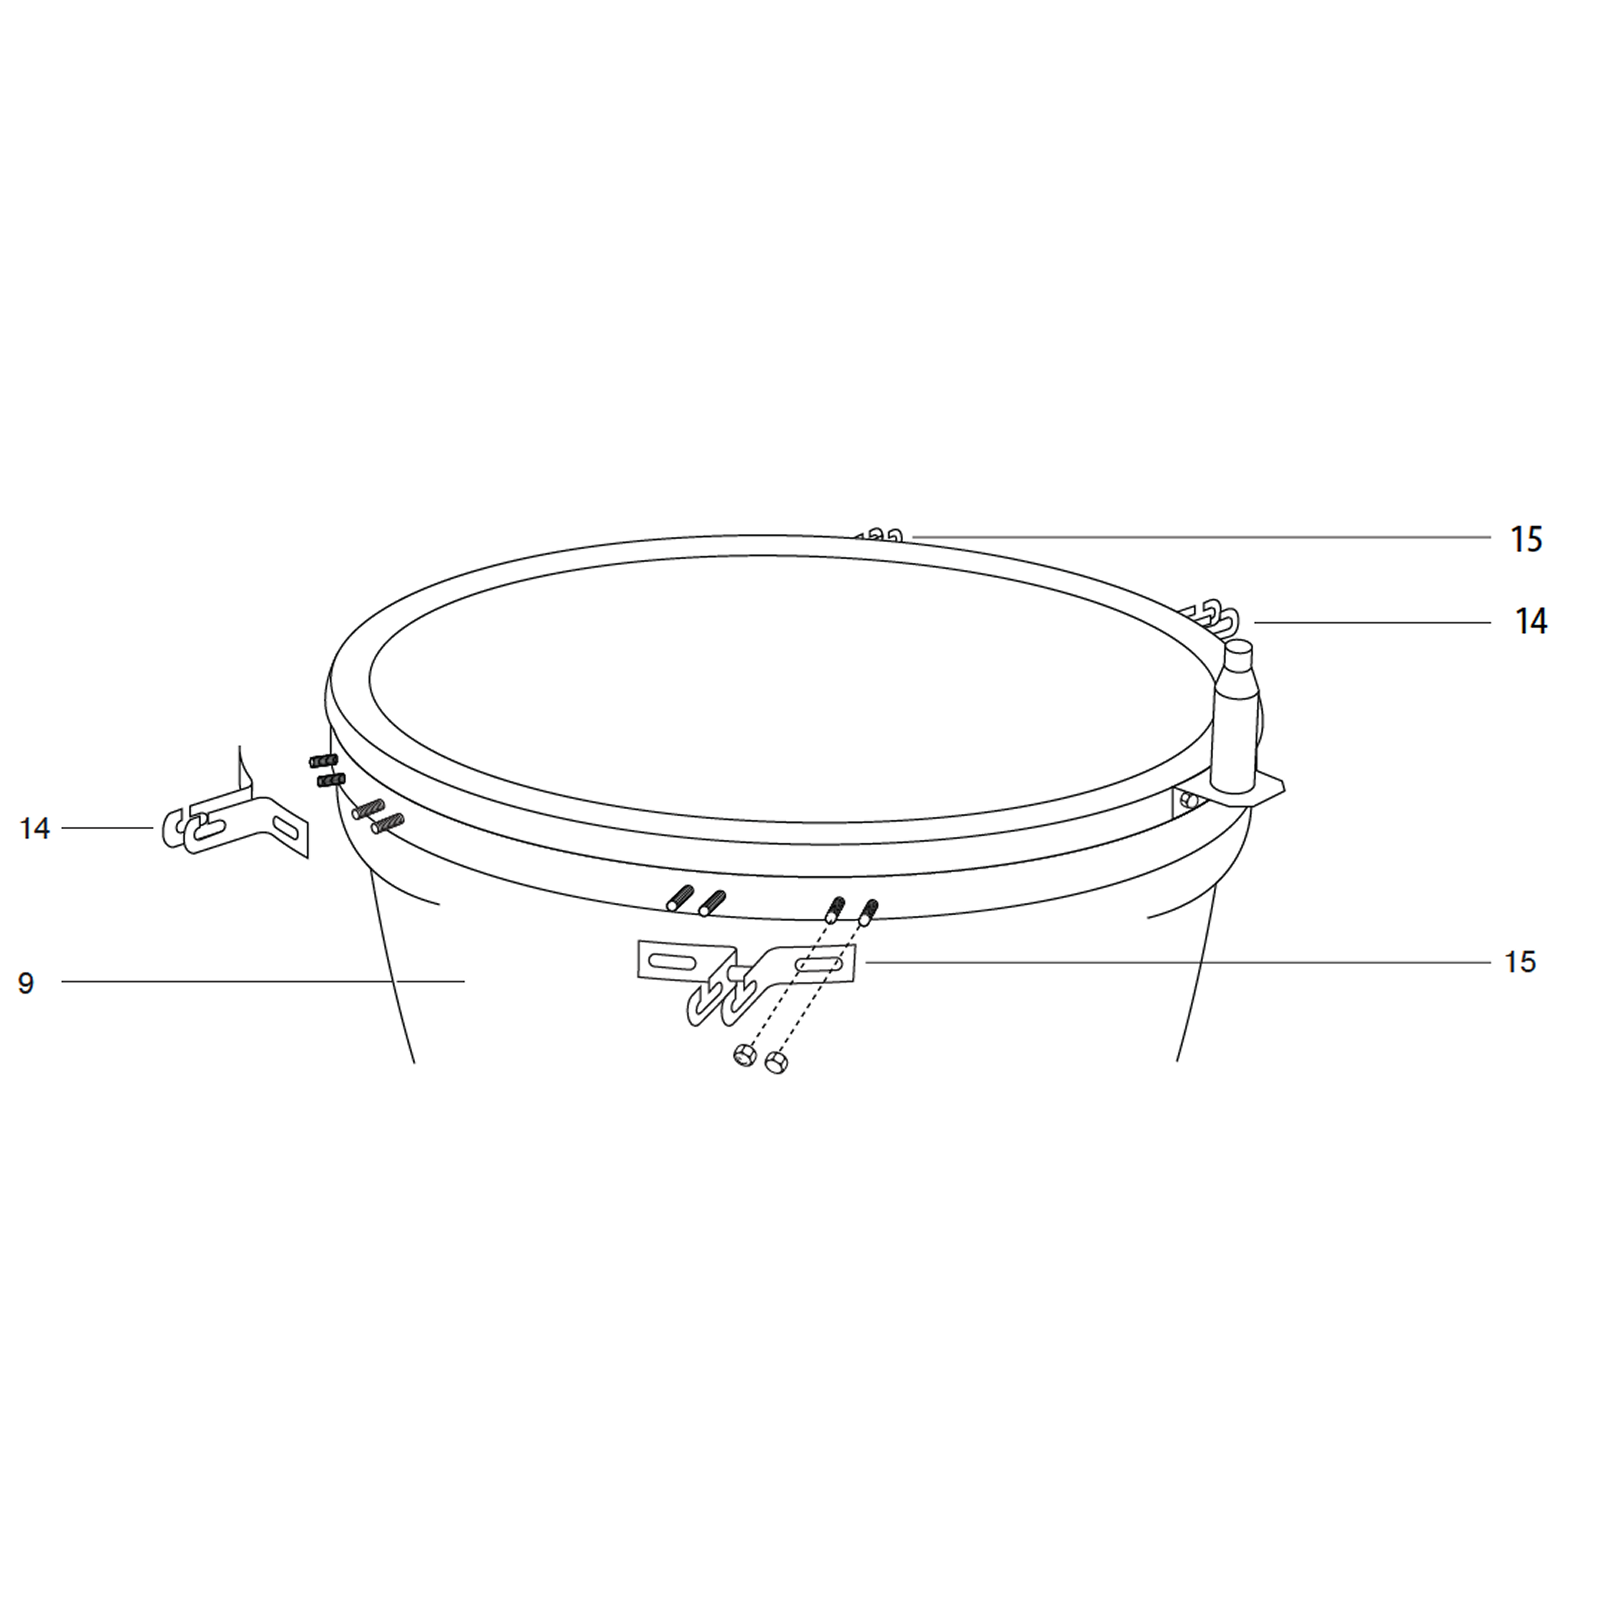
12. Attaching Table Brackets
Attach the table brackets (14) to the Kamado Grill using the 4 pre-attached bolts and dome-headed nuts per bracker.
Repeat this process for the remaining table brackets (15).
Note the position shown in the diagram.
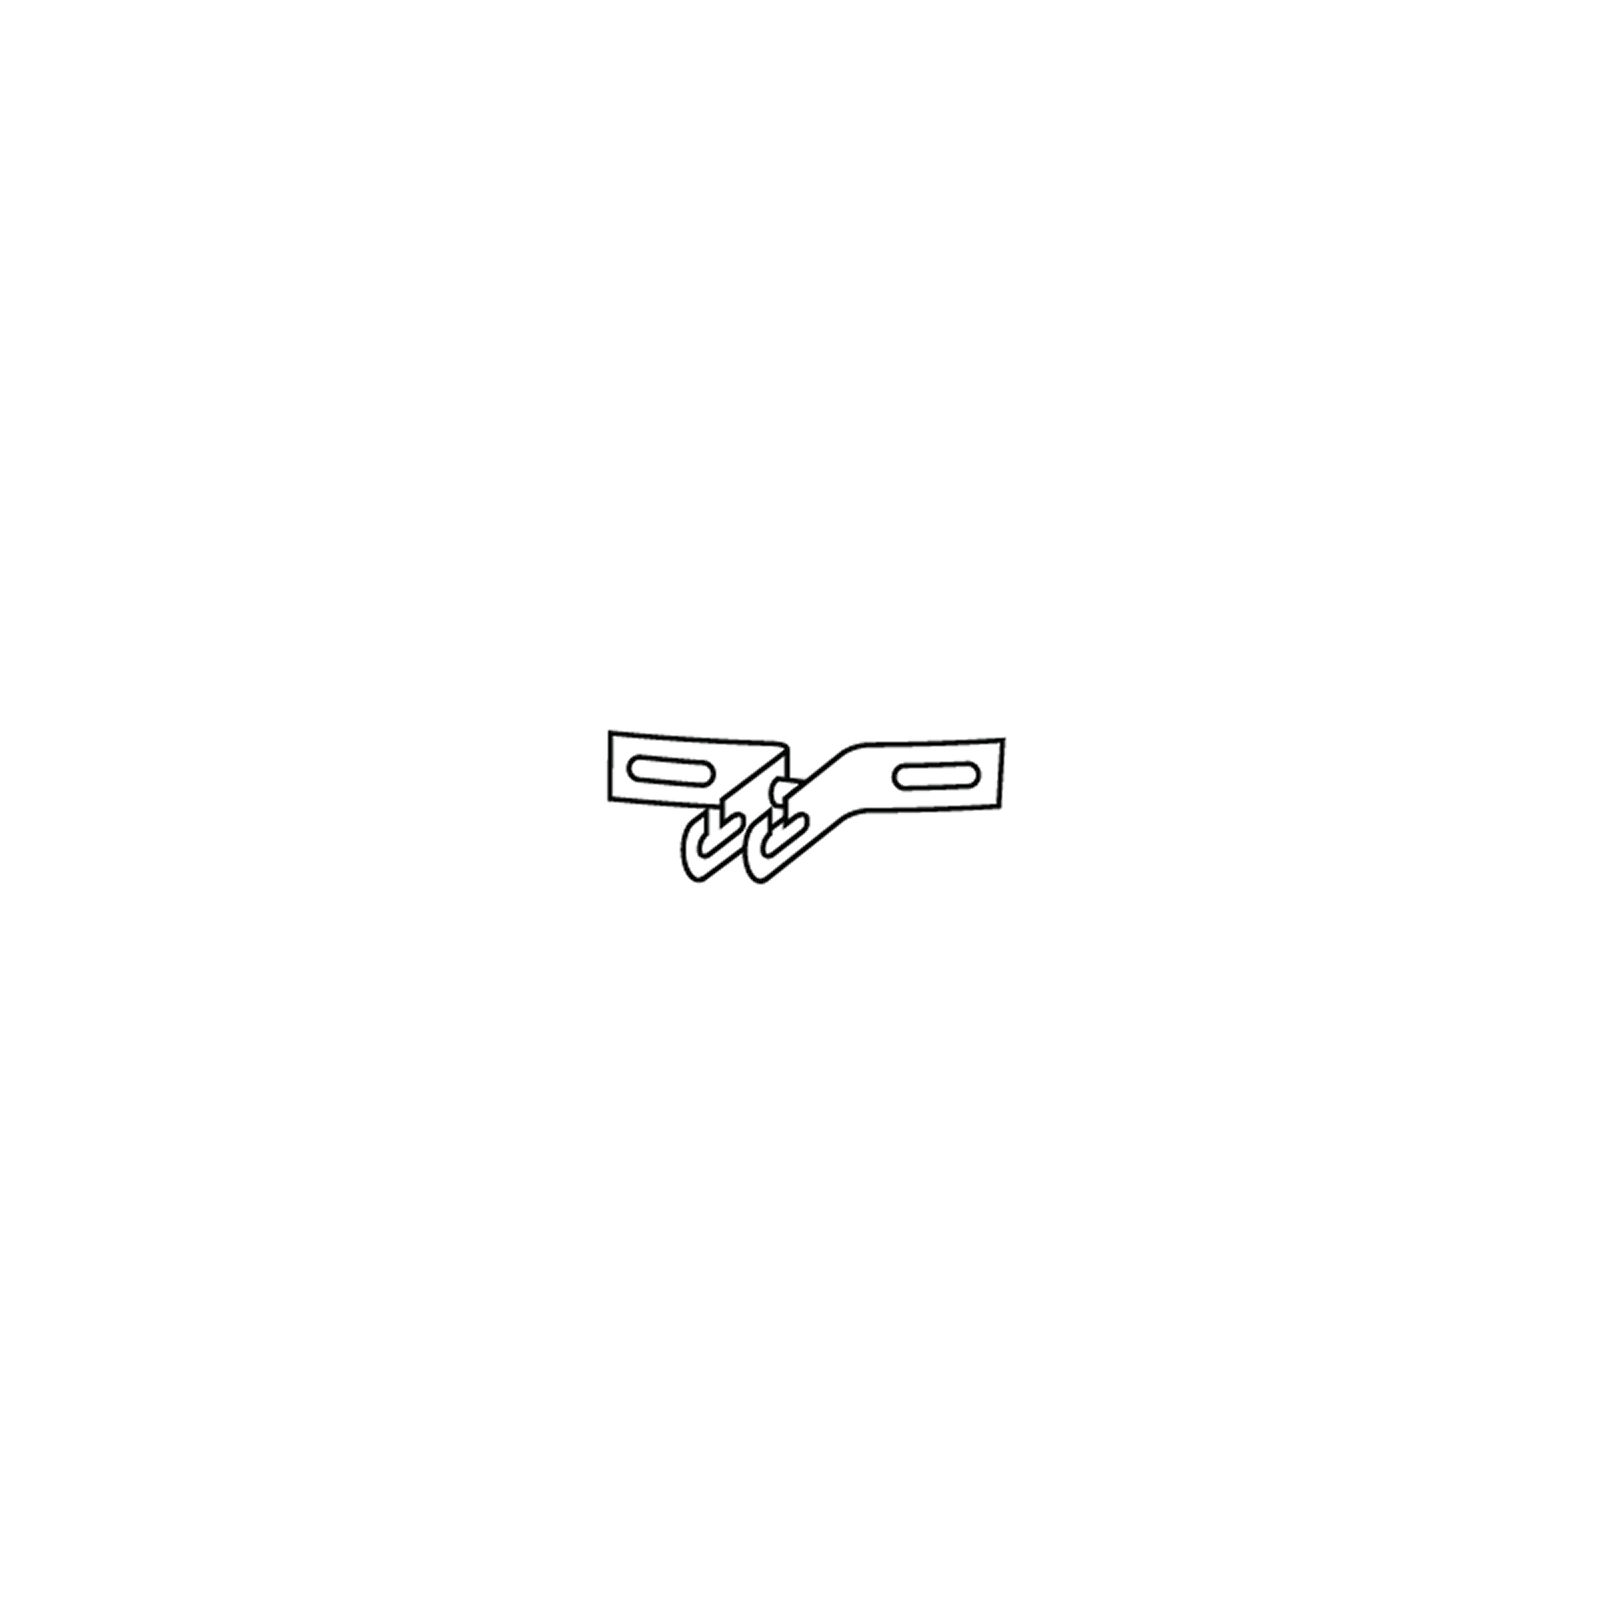
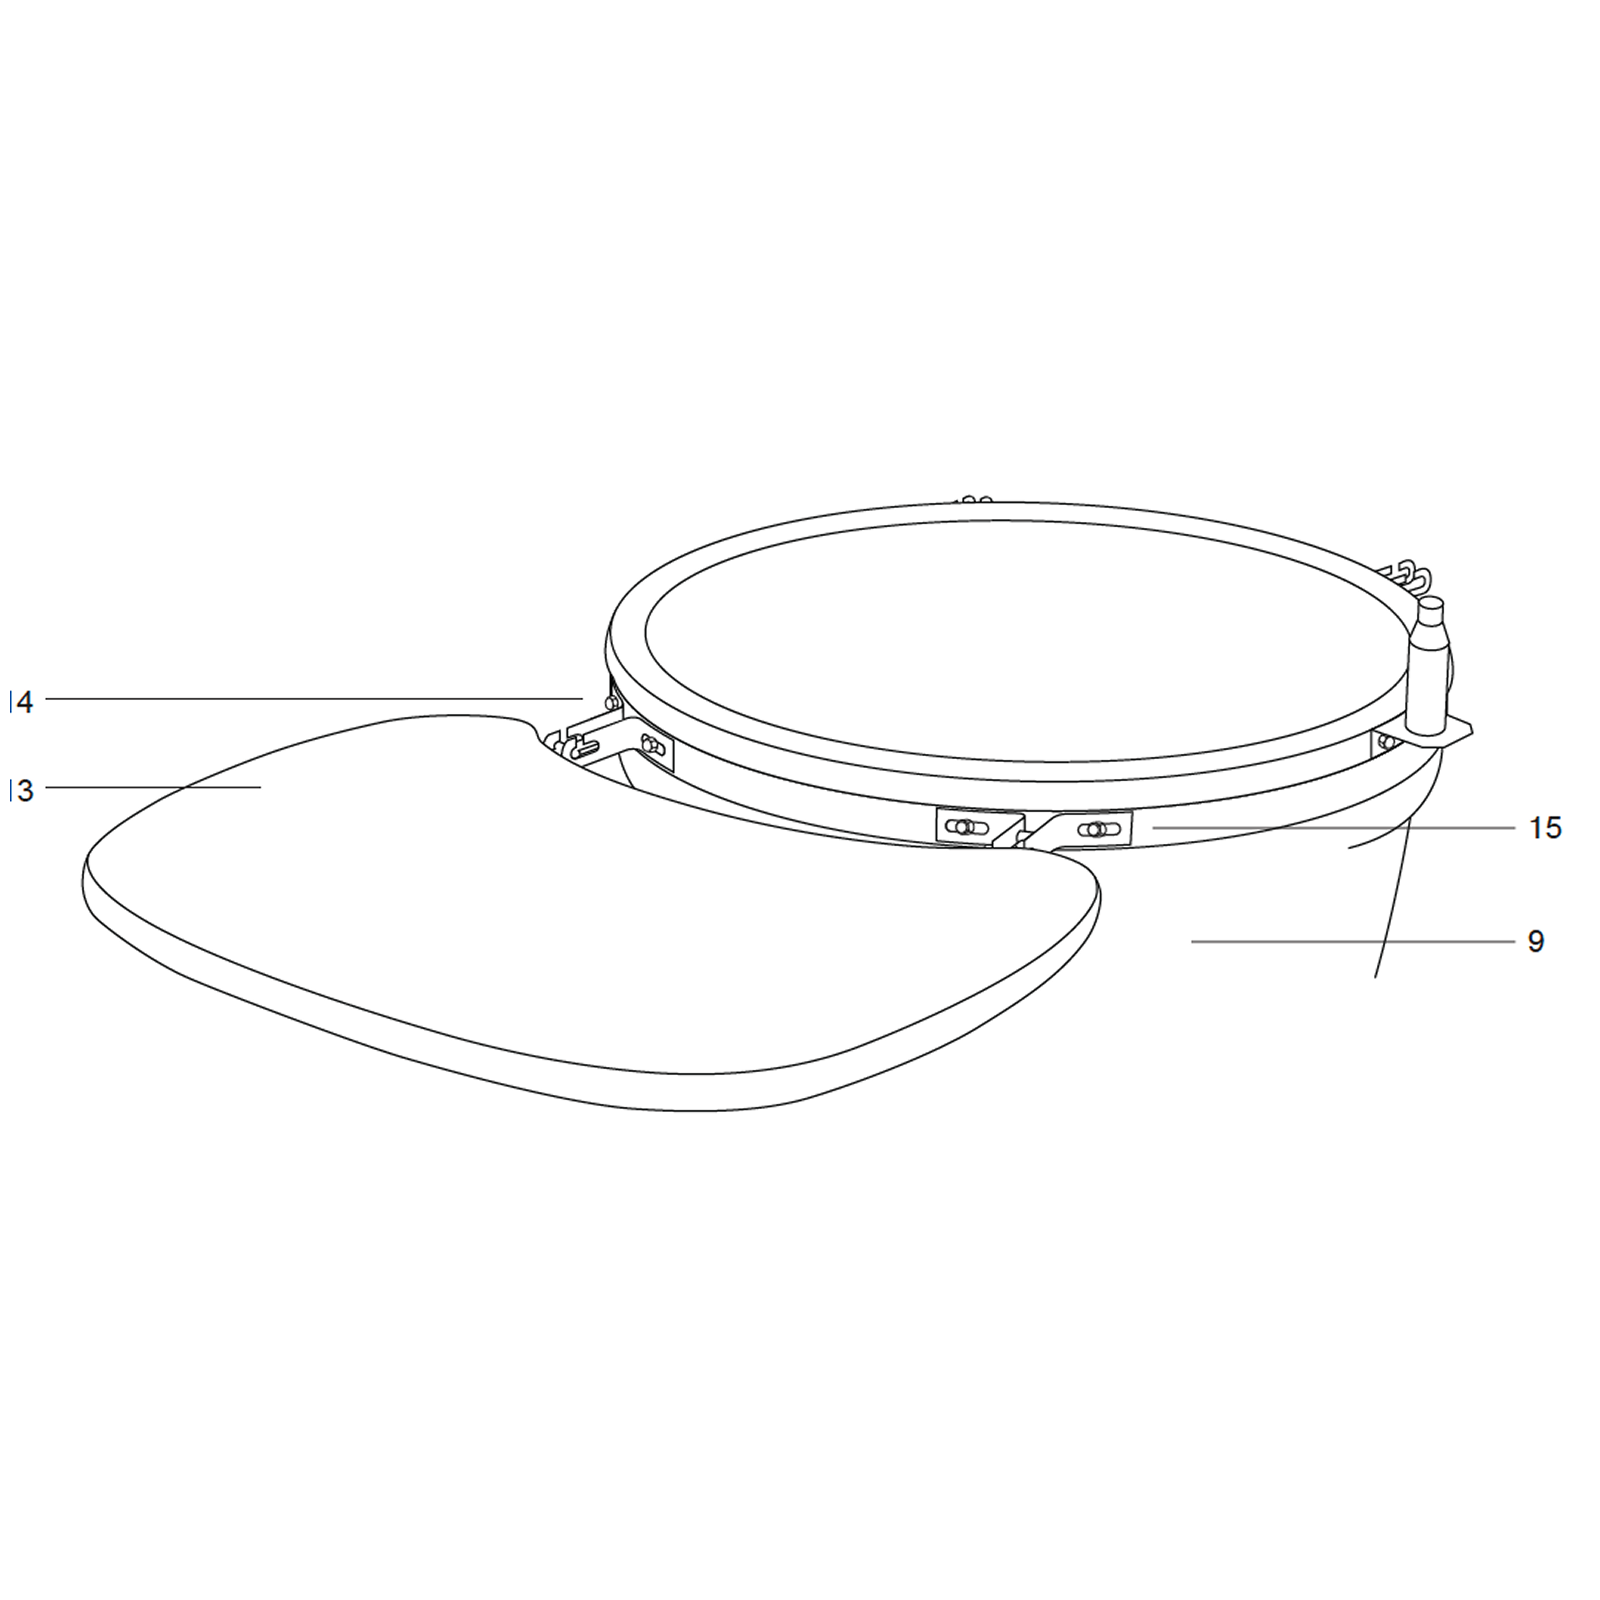
13. Inserting Table Hinges
Insert the table hinges (13) into each of the table brackets (14 & 15).
14. Final Preparations
The Kamado Grill is now ready to use.
Ensure you have read the curing instructions thoroughly prior to use.
15. Lighting the Kamado
Ensure the Kamado is positioned on a permanent, flat, level, heat resistant non-flammable surface away from flammable items.
Ensure the Kamado has a minimum of 2m overhead clearance and has a minimum 2m clearance from other surrounding items.
To start a fire, place rolled up newspaper with some lighter cubes or solid firelighters on the charcoal plate in the base of the Kamado. Then place 2 or 3 handfuls of lump charcoal over the top of the newspaper.
DO NOT use petrol, white spirit, lighter fluid, alcohol or other similar chemicals for lighting or relighting.
Open the bottom vent and light the newspaper using a long nosed lighter or safety matches. Once it has caught, leave the bottom vent and lid open for about 10 minutes to build a small bed of hot embers.
Allow the charcoal to heat up and be kept red hot for at least 30 minutes prior to the first cooking on the Kamado. DO NOT cook before the fuel has a coating of ash
16. Low Temperature Cooking
Light the lump charcoal according to the instructions above. DO NOT move or stoke the coals once lit.
Open the bottom vent fully and leave the lid open for about 10 minutes to build a small bed of hot embers.
Monitor the Kamado until it has risen to the desired temperature. See page 4 for a temperature cooking guide.
Fully close the bottom vent to maintain the temperature.
You are now ready to use the Kamado for cooking on.
IMPORTANT: When opening the lid at high temperatures, lift the lid only slightly, allowing air to enter slowly and safely, preventing any backdraft or flare-ups that may cause injury.
ALWAYS use heat resistant gloves when handling hot ceramics or cooking surfaces.
17. High Temperature Cooking
Light the lump charcoal according to the instructions on page 3.
Close the lid and fully open the top and bottom vents.
Monitor the Kamado until it has risen to the desired temperature. See page 4 for a temperature cooking guide.
Close the top vent halfway and continue to check the temperature for a few more minutes.
You are now ready to use the Kamado for cooking on.
IMPORTANT: When opening the lid at high temperatures, lift the lid only slightly, allowing air to enter slowly and safely, preventing any backdraft or flare-ups that may cause injury.
ALWAYS use heat resistant gloves when handling hot ceramics or cooking surfaces.
18. Smoking Guide
Follow the instructions above as if you were starting a slow cook.
Monitor the Kamado until it has risen to the desired temperature.
Leave the bottom vent slightly open.
Close the top vent and continue to check the temperature for a few more minutes.
Using heat resistant gloves sprinkle the wood chips in a circle over the hot charcoal.
You are now ready to use the Kamado to smoke on.
Tip: Soak your wood chips or cooking planks in water for 15 minutes to prolong the smoking process.
Important: When opening the lid at high temperatures it is essential to lift the lid only slightly, allowing air to enter slowly and safely, preventing any backdraft or flare-ups that may cause injury.
ALWAYS follow the FOOD COOKING INFORMATION stated on page 4 of this instruction manual.
ALWAYS use heat resistant gloves when handling hot ceramics or cooking surfaces.
19. Refuelling
With the vents closed, the Kamado stays at a high temperature for several hours.
If you require a longer cooking time (e.g., when roasting a whole joint or slow smoking), it may be necessary to add more charcoal.
Just add some additional charcoal and continue as above.
20. Food Cooking Information
DO NOT cook until the fuel has a coating of ash.
Please read and follow this advice when cooking on your Kamado.
Always wash your hands before and after handling uncooked meat and before eating.
Always keep raw meat away from cooked meat and other foods.
Before cooking ensure grill surfaces and tools are clean and free of old food residues.
DO NOT use the same utensils to handle cooked and uncooked foods.
Ensure all meat is cooked thoroughly before eating.
CAUTION – eating raw or under cooked meat can cause food poisoning (e.g. bacteria strains such as E.coli).
To reduce the risk of under cooked meat cut open to ensure it is cooked all the way through.
CAUTION – if the meat has been cooked sufficiently the meat juices should be clear and there should be no traces of pink/red juice or meat colouring.
Pre-cooking larger pieces of meat and joints is recommended before finally cooking on your grill.
After cooking on your Kamado always clean the grill cooking surfaces and utensils.
21. Extinguishing the Kamado
To extinguish the unit, stop adding fuel and close all the vents and the lid to allow the fire to die naturally.
DO NOT use water to extinguish the charcoals as this could damage the ceramic Kamado.
22. Cleaning the Kamado
The Kamado is self-cleaning. Heat it up to 260°C for 30 minutes and it will scorch off all of the food and debris.
DO NOT use water or any other types of cleaning product to clean the inside of your Kamado. The walls are porous and will absorb any fluids used, which could cause the Kamado to crack.
If the soot becomes excessive, use a wire brush or the ash tool (not supplied) to scrape off the carbon remnants before the next use.
To clean the grills and grates, use a non-abrasive cleaner once the unit has fully cooled.
To clean the outer surface, wait until the Kamado is cool and use a damp cloth with a mild detergent.
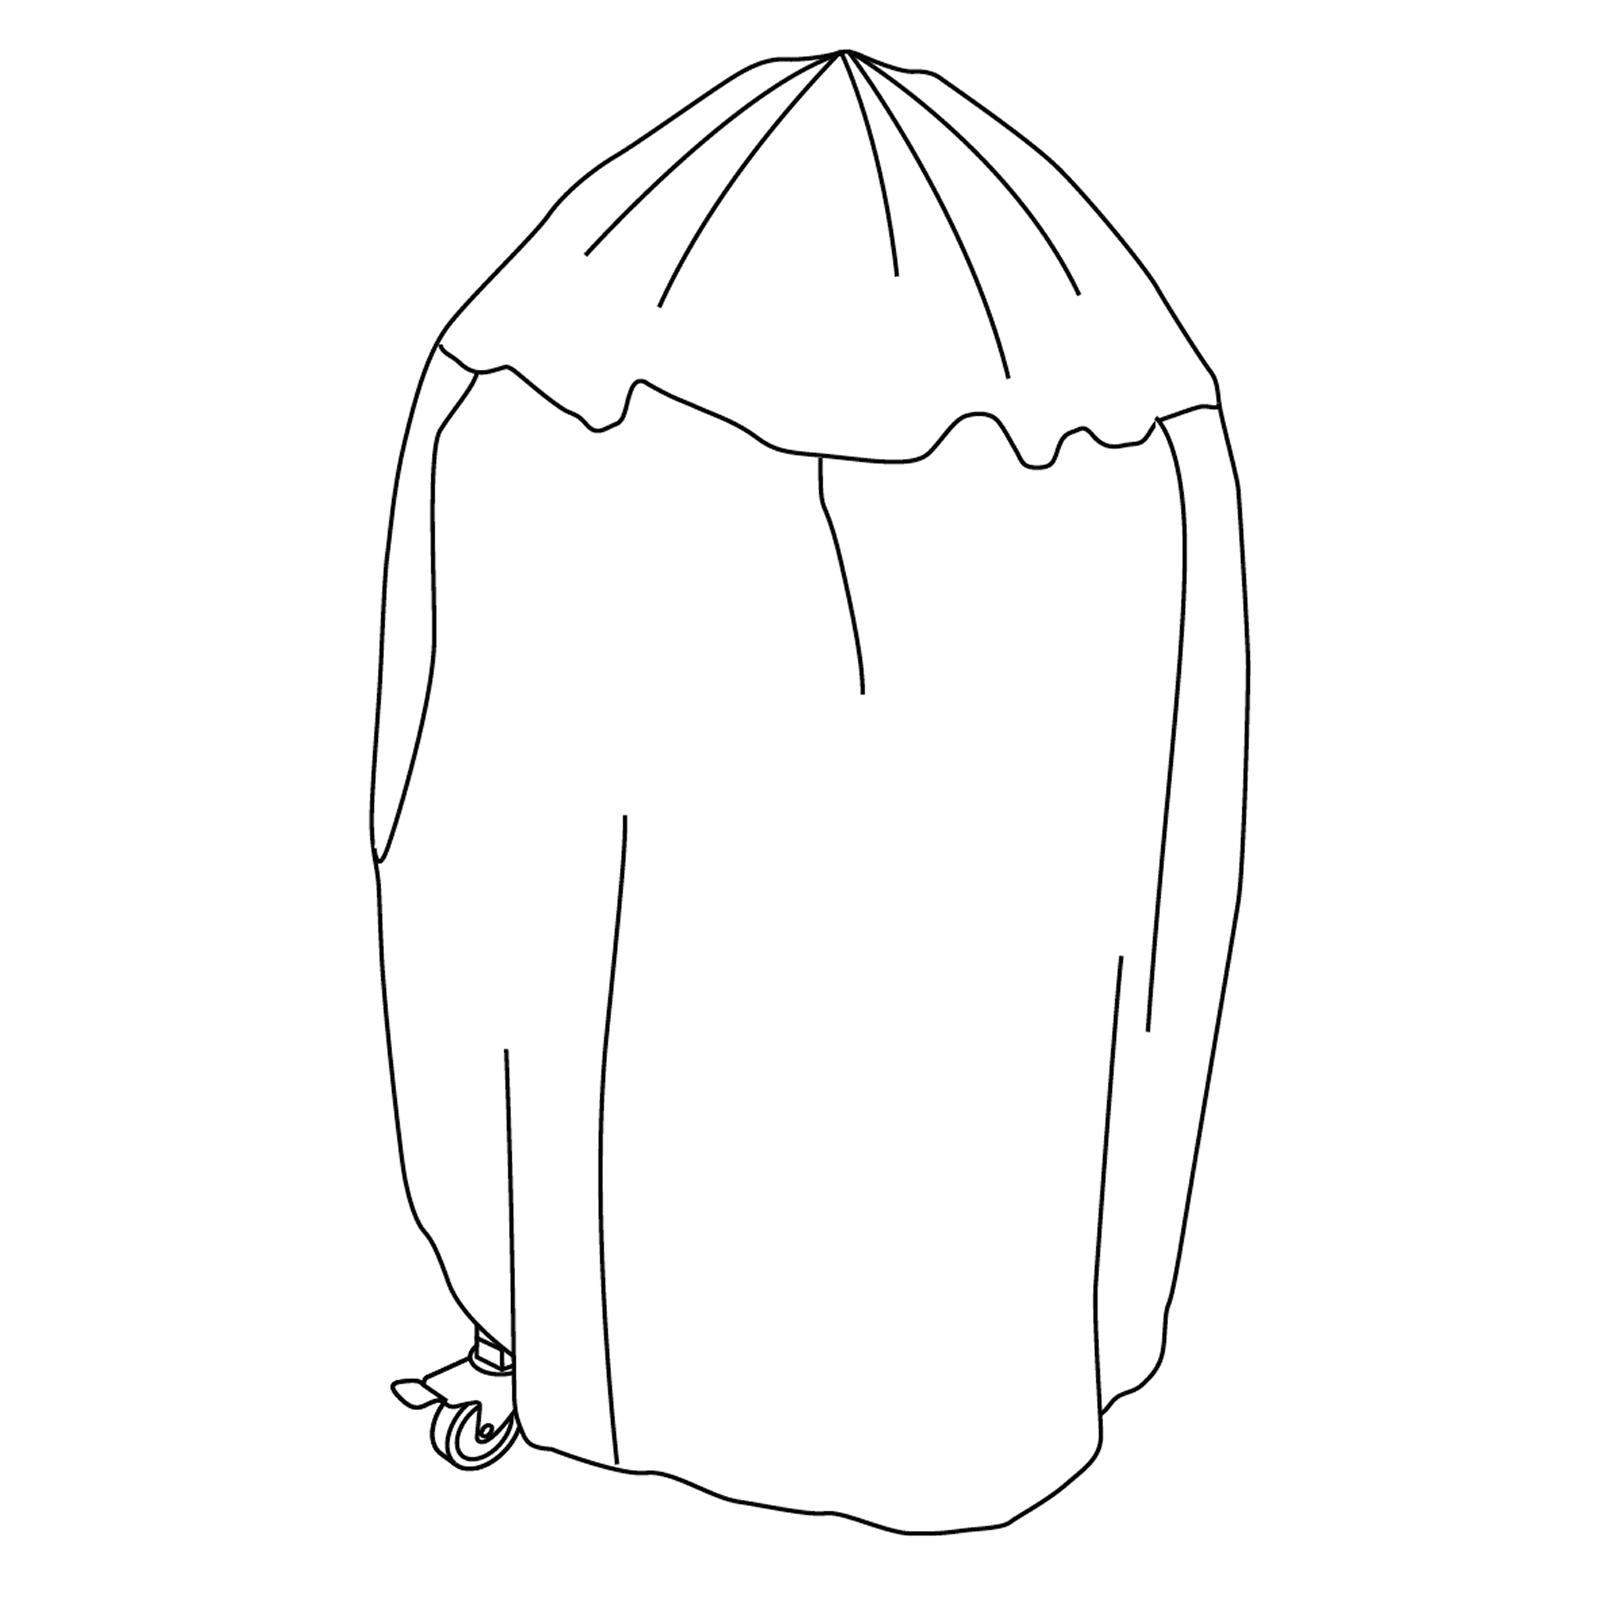
23. Storage
When not in use, and if stored outside, cover the Kamado once completely cooled with a suitable rain cover.
The chrome plated cooking grill is NOT dishwasher safe; use a mild detergent with warm water.
When using the Kamado, push down on both of the locking wheels to stop the unit moving about during use.
It is recommended the Kamado be stored under cover in a garage or shed over winter for complete protection
24. Maintenance
Tighten the bands and oil the hinge 2 times a year or more if needed.
25. Cooking Temperature Guide: Slow cook / Smoke (110°C-135°C)
Beef Brisket: 2 Hrs per lb.
Pulled Pork: 2 Hrs per lb.
Whole Chicken: 3-4 Hr.
Ribs: 3-5 Hrs.
Roasts: 9+ Hrs.
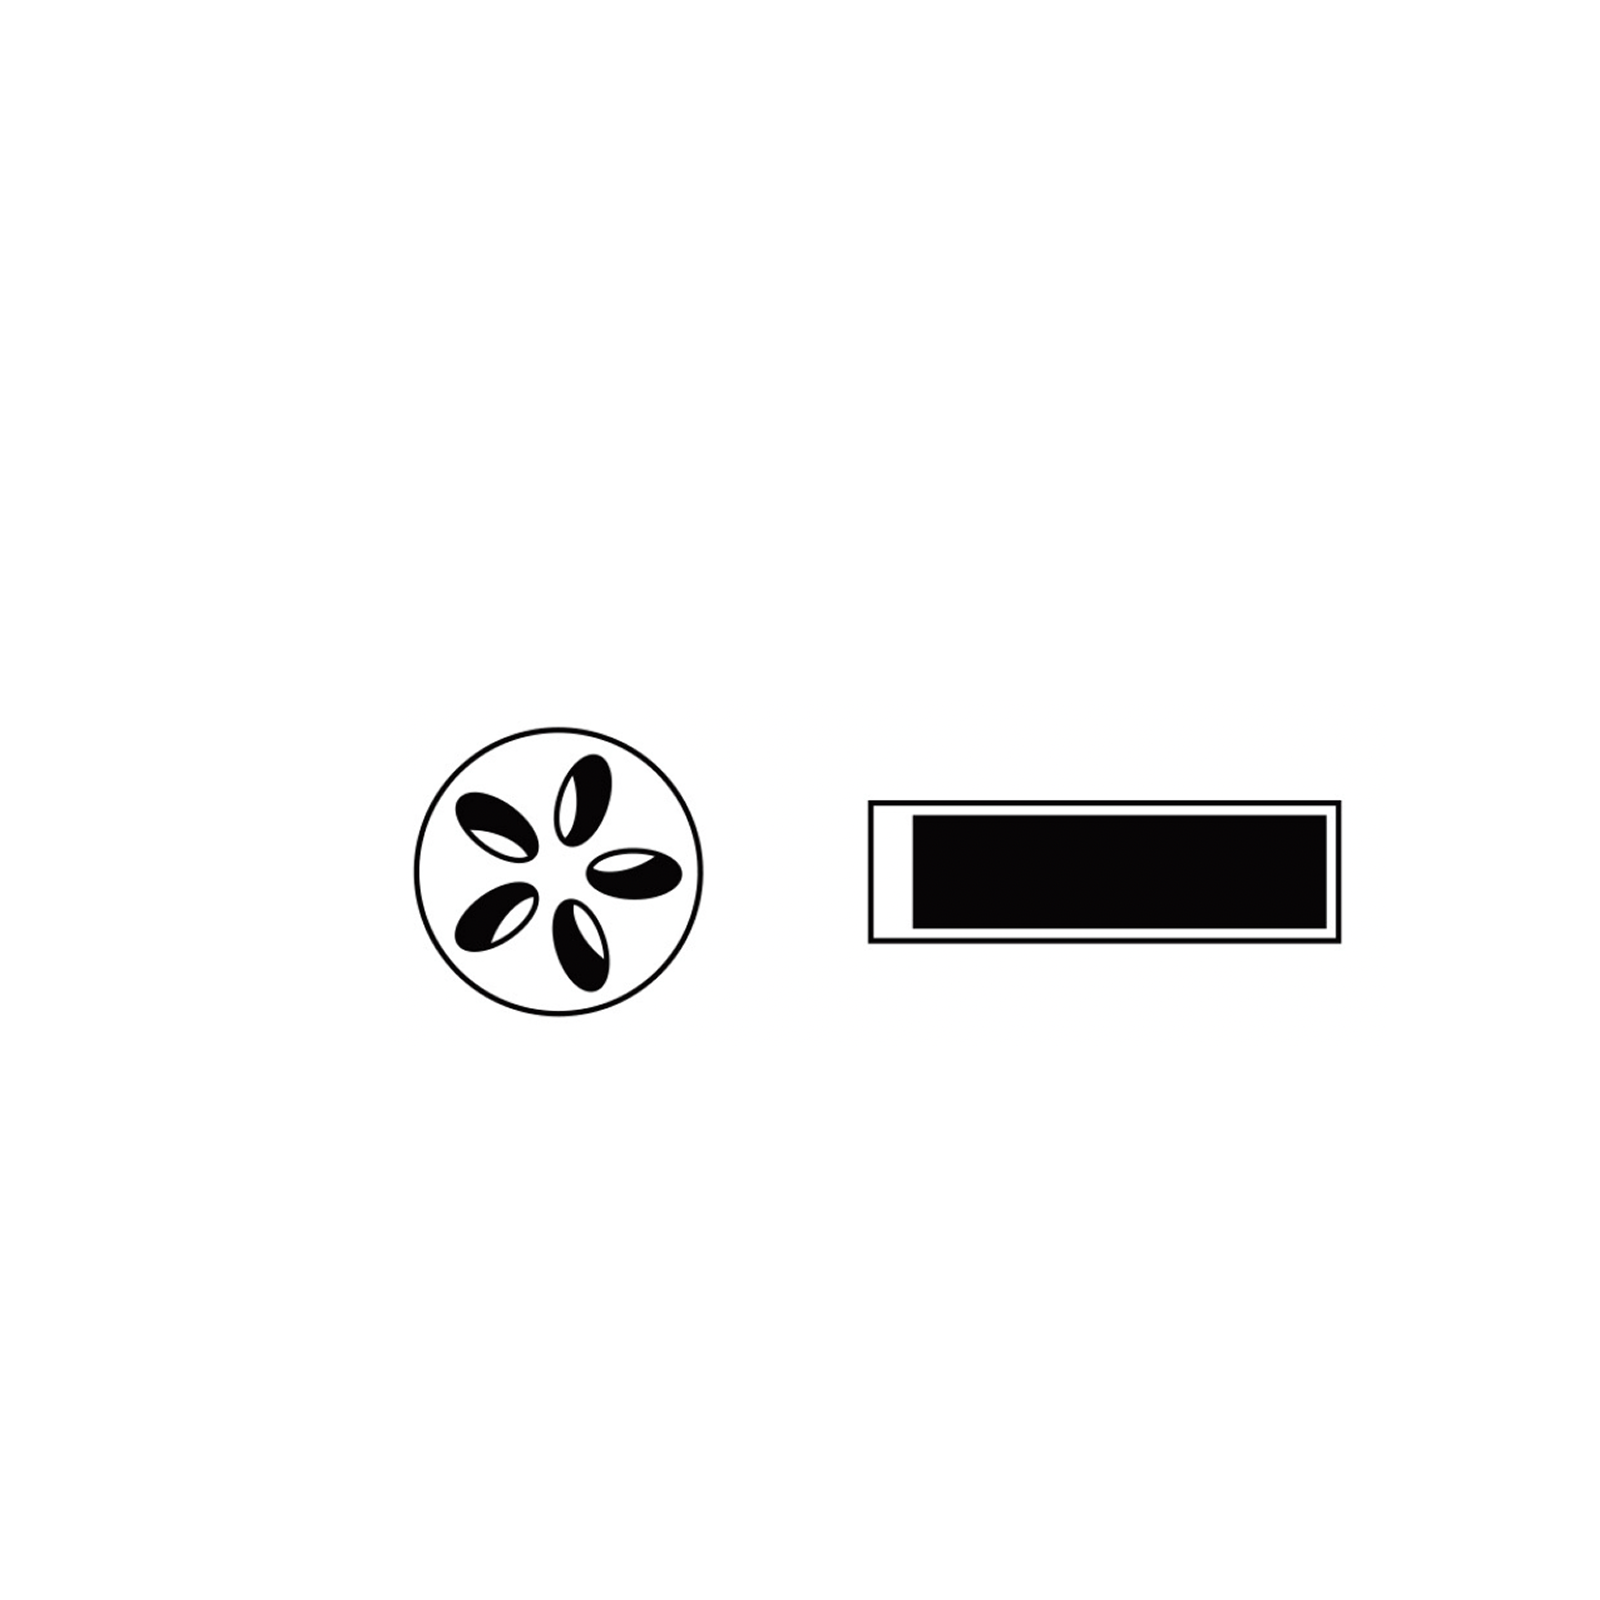
Follow the diagram to see how to position the vents for cooking at the desired temperatures
Open: 〇
Closed: ⬤
26. Cooking Temperature Guide: Grill / Roast (160°C-180°C)
Fish: 15-20 Min.
Pork Tenderloin: 15-30 Min.
Chicken Pieces: 30-45 Min.
Whole Chicken: 1-1.5 Hrs.
Leg of lamb: 3-4 Hrs.
Turkey: 2-4 Hrs.
Ham: 2-5 Hrs.
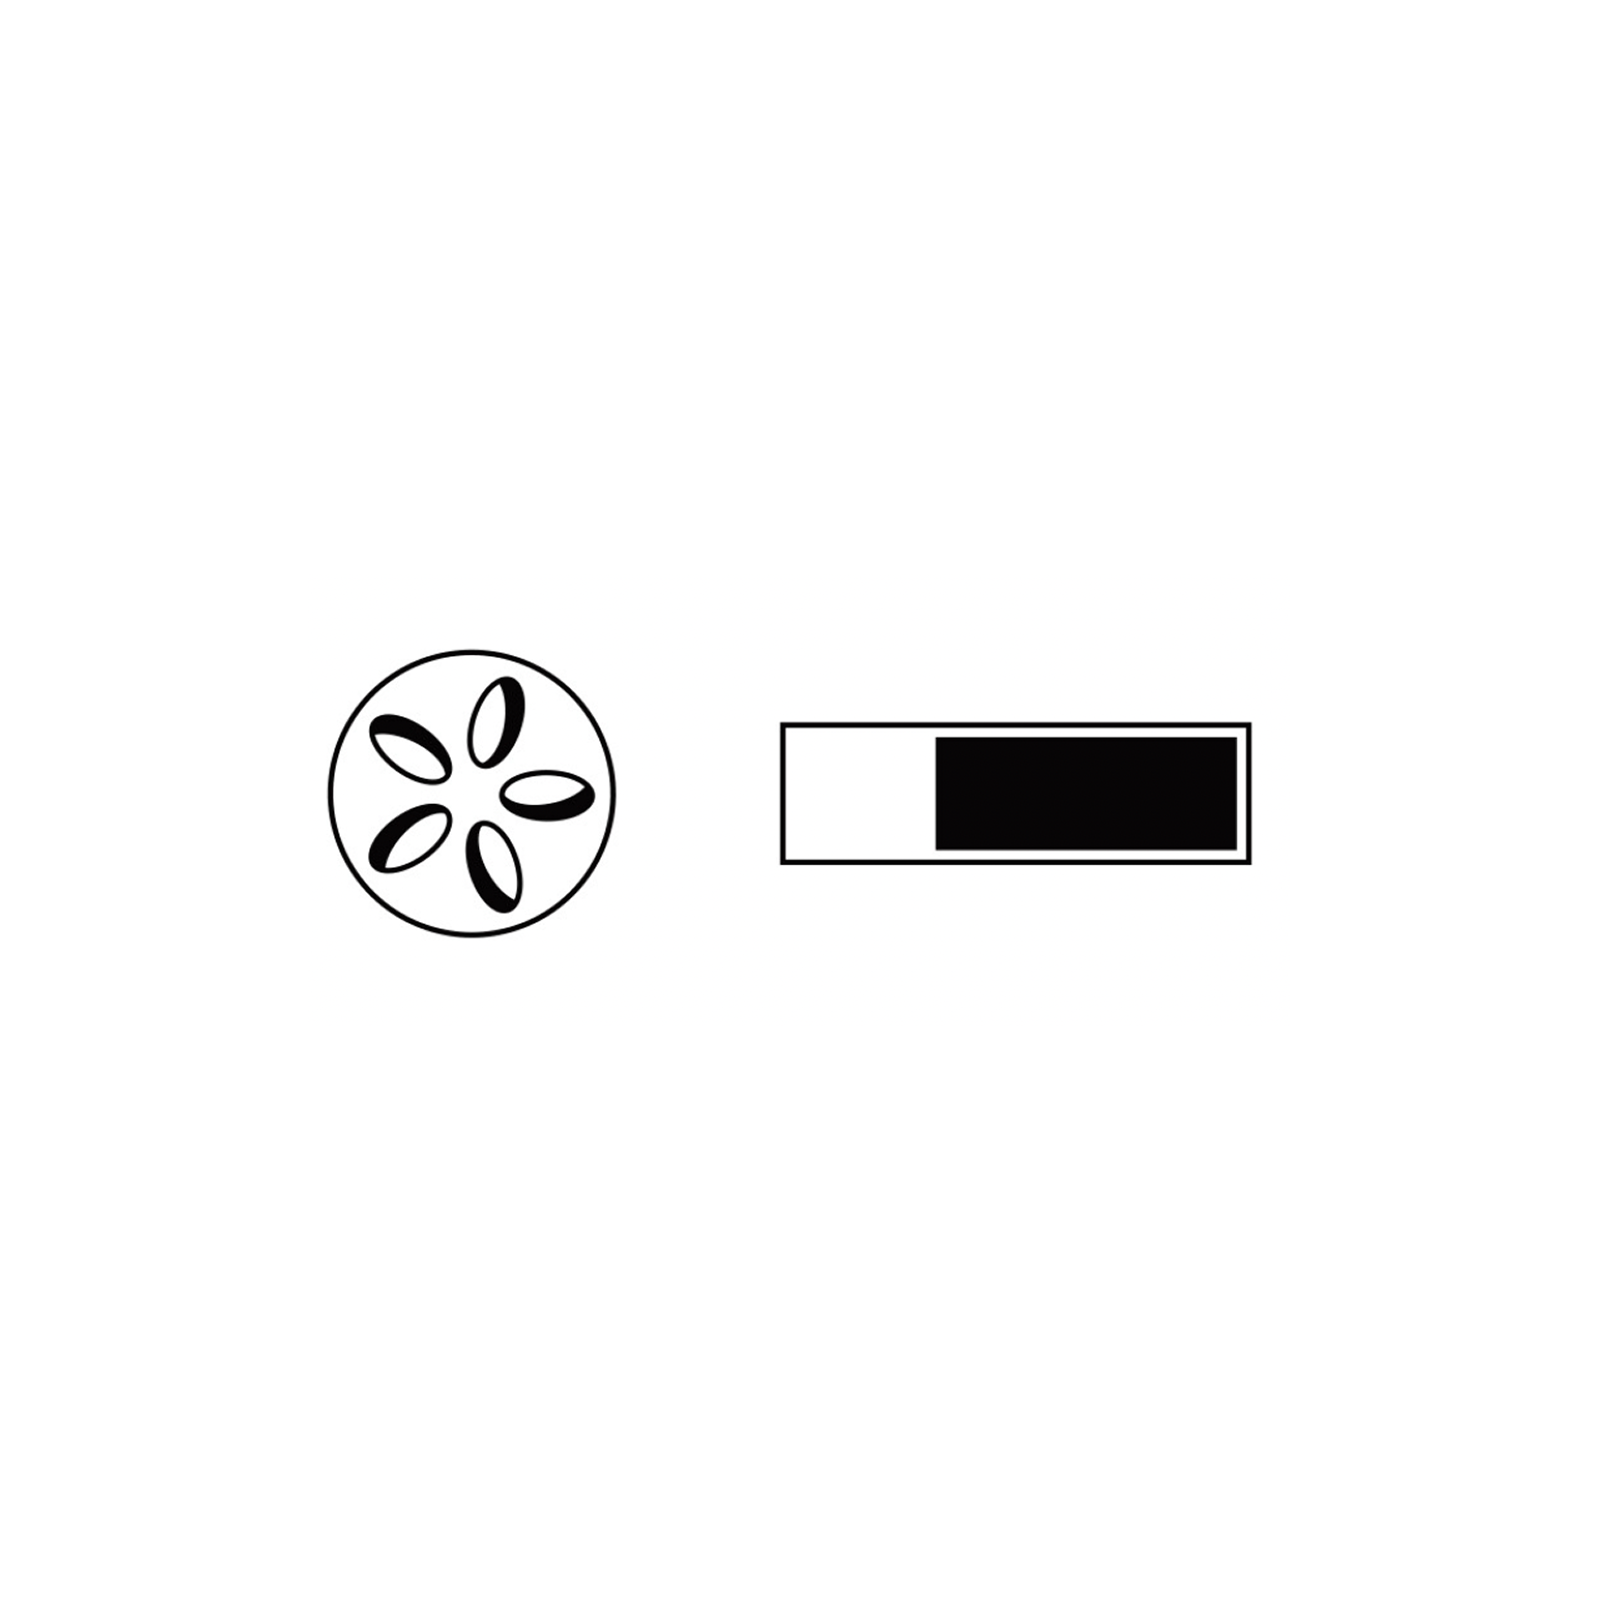
Follow the diagram to see how to position the vents for cooking at the desired temperatures
Open: 〇
Closed: ⬤
27. Cooking Temperature Guide: Sear (260°C-370°C)
Steak: 5-8 Min.
Pork Chops: 6-10 Min.
Burgers: 6-10 Min.
Sausages: 6-10 Min.
Follow the diagram to see how to position the vents for cooking at the desired temperatures
Open: 〇
Closed: ⬤
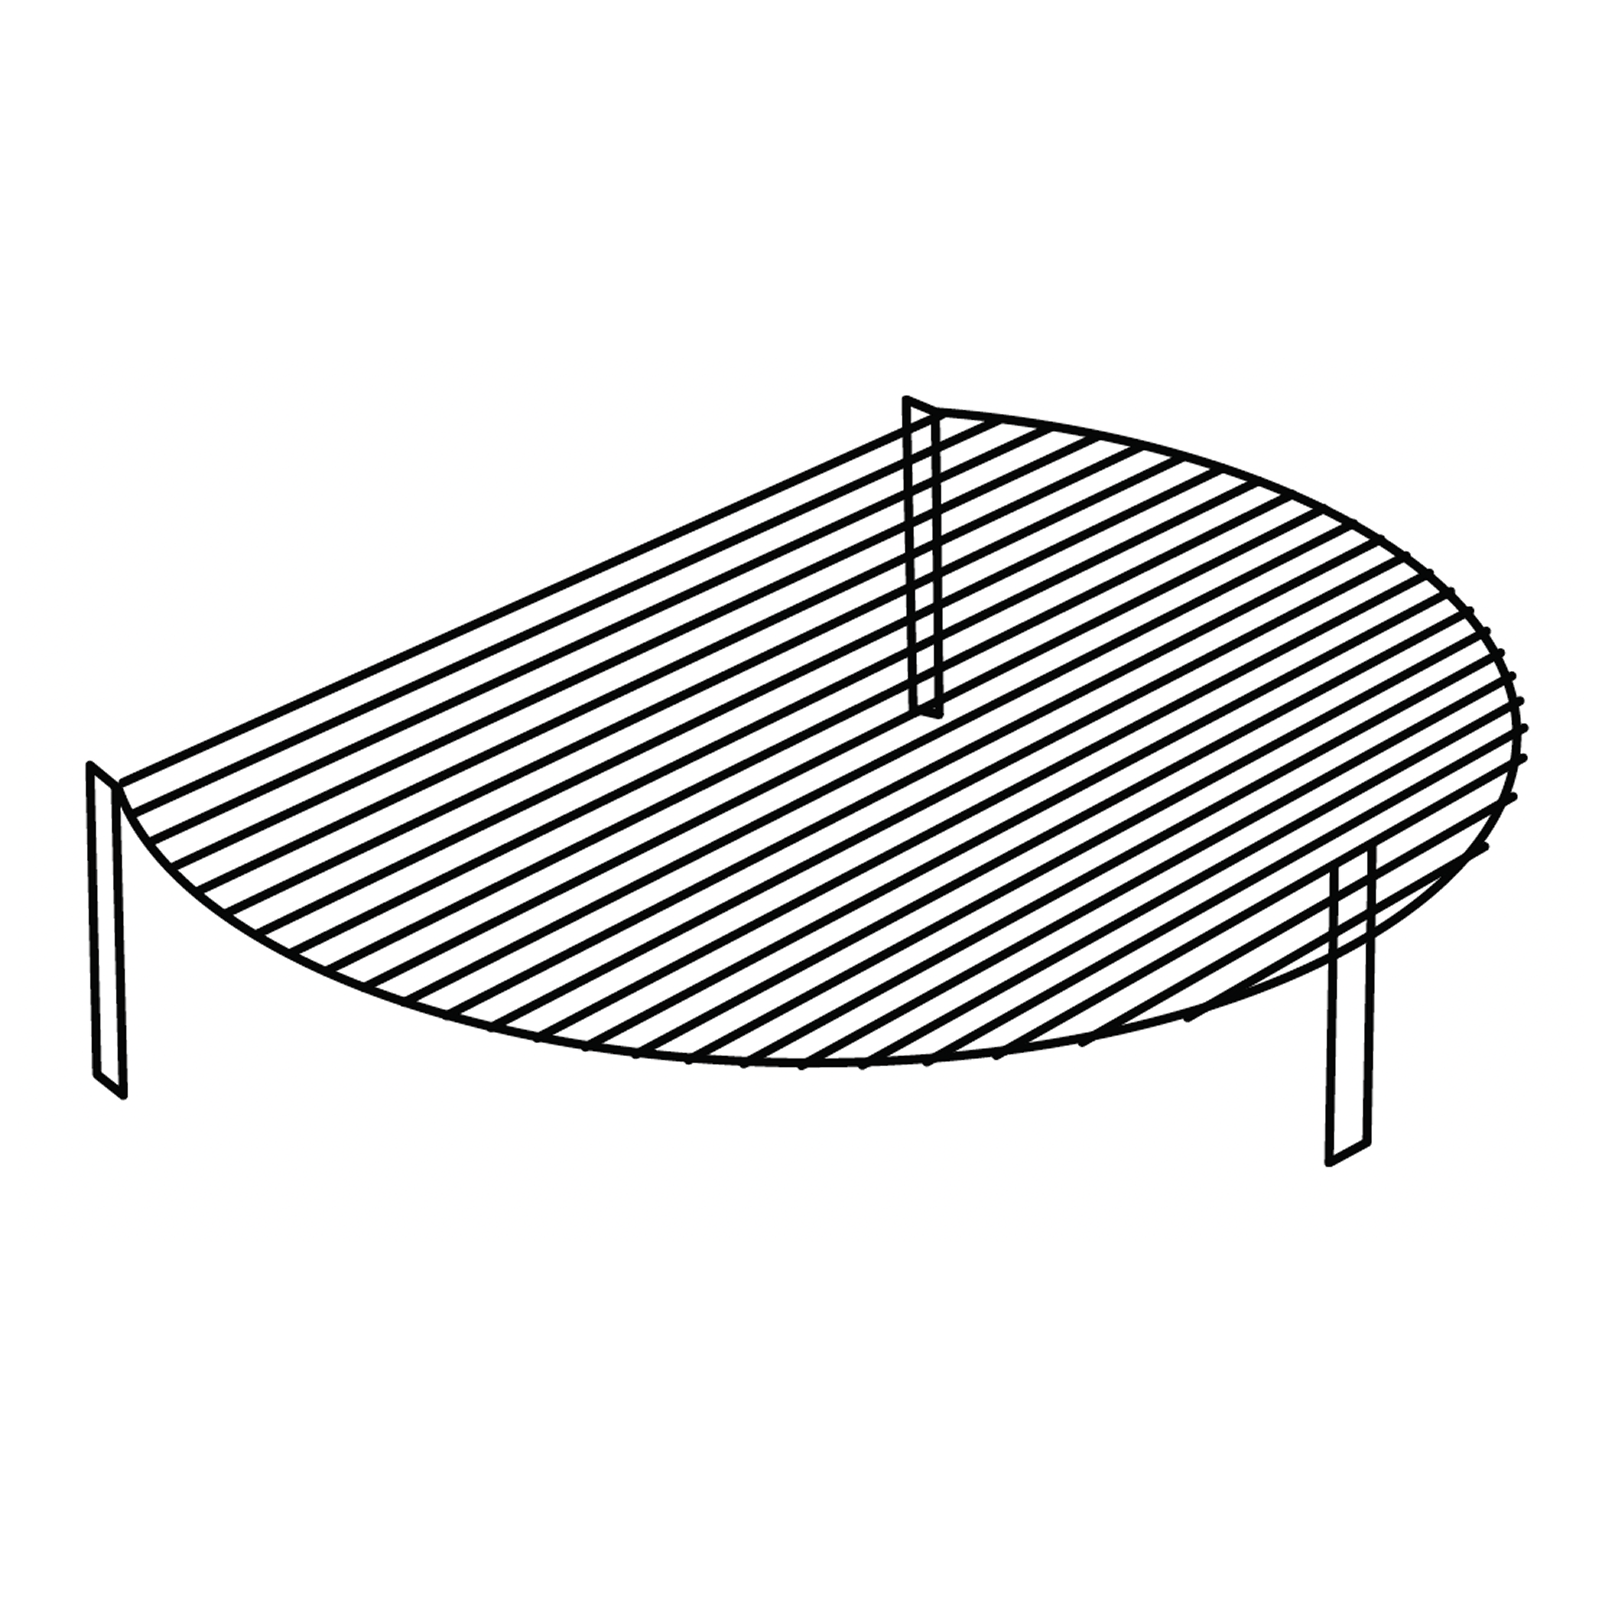
28. Raised Cooking Grid
Stainless steel extra grill for additional cooking space.
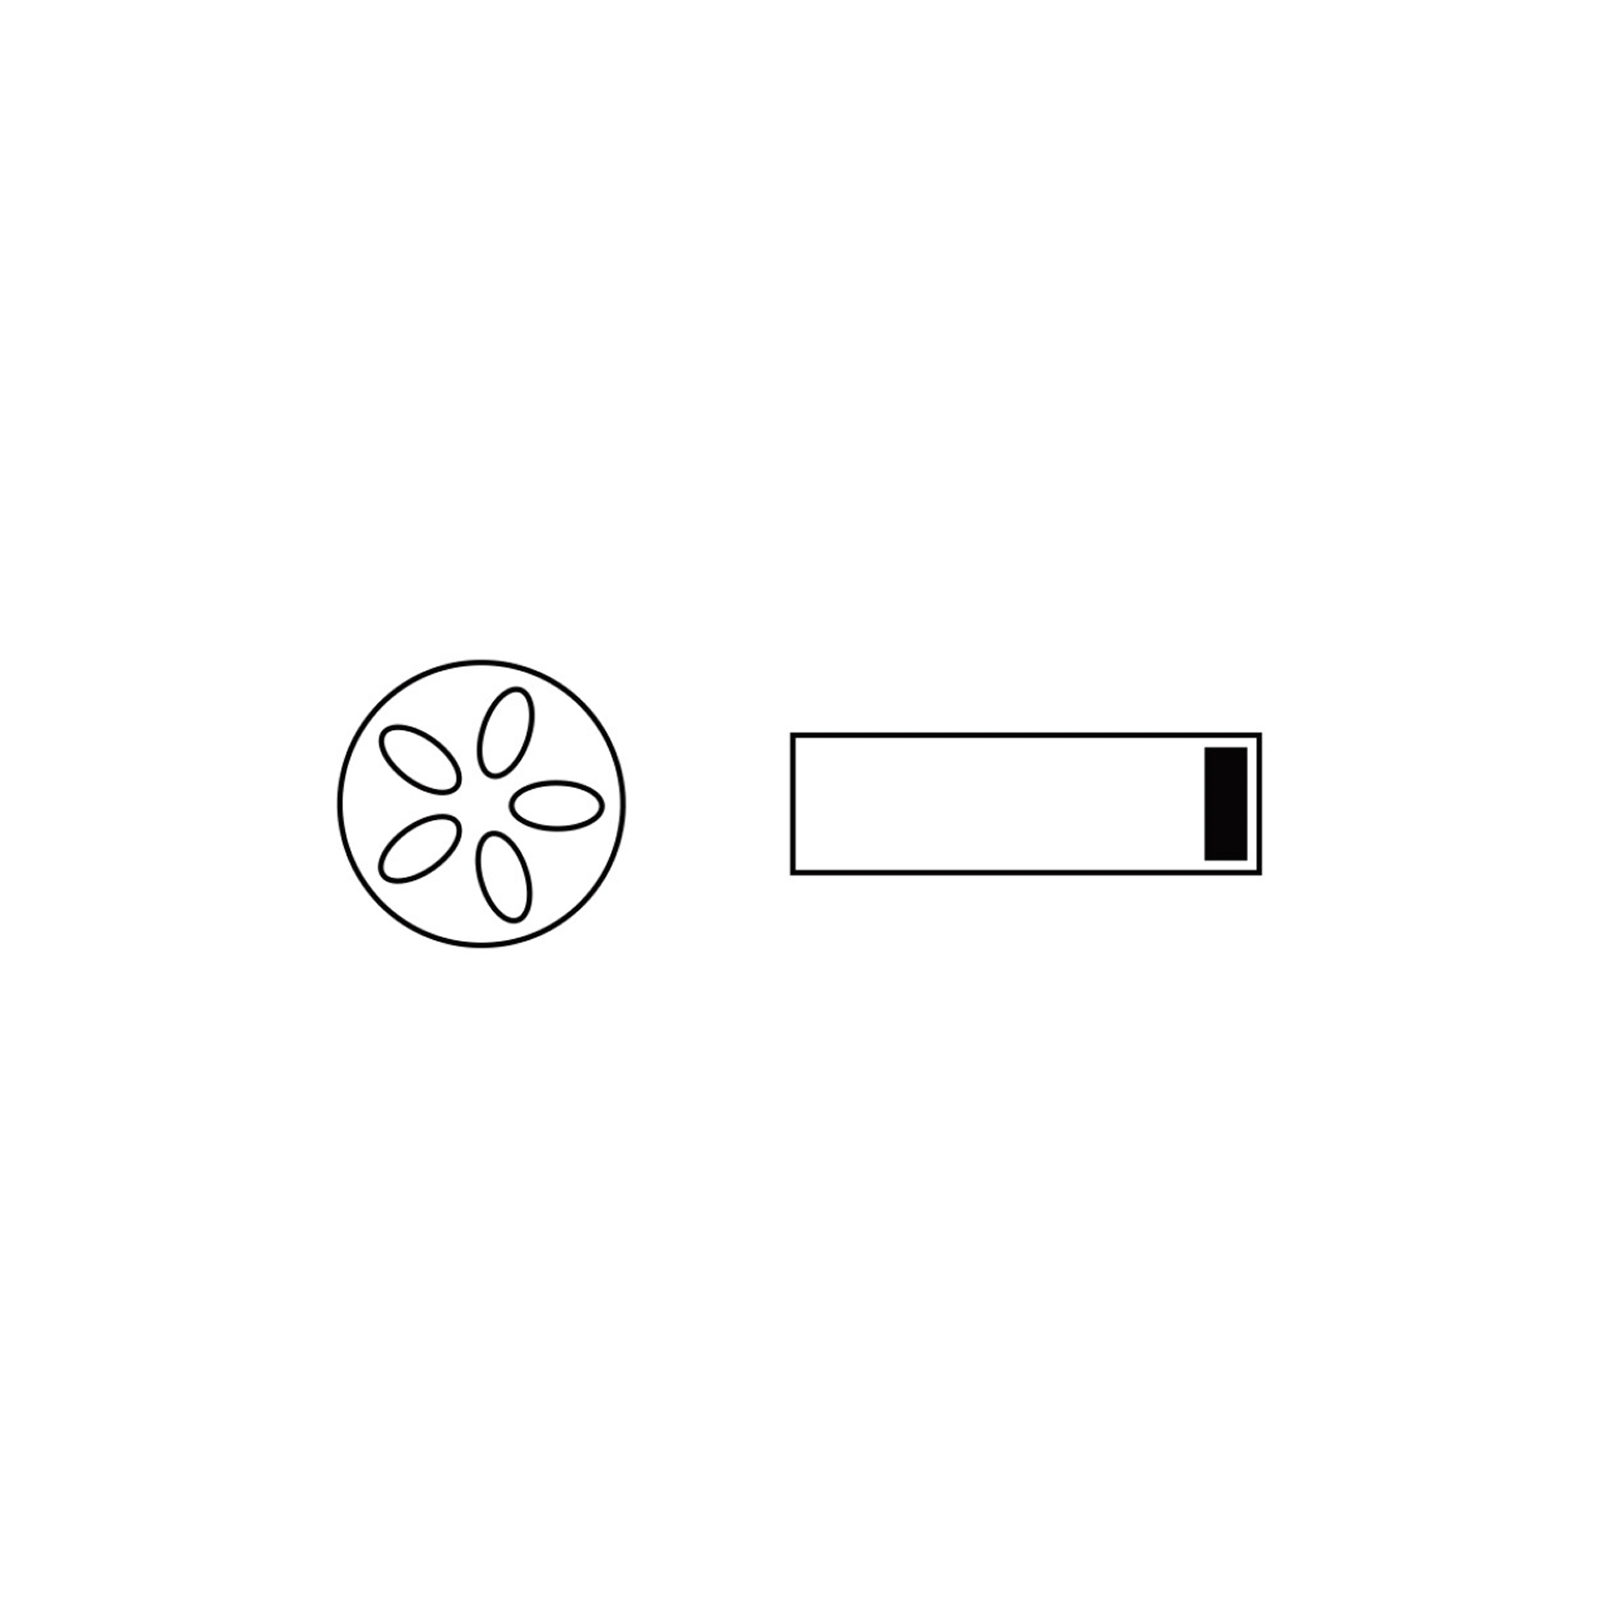
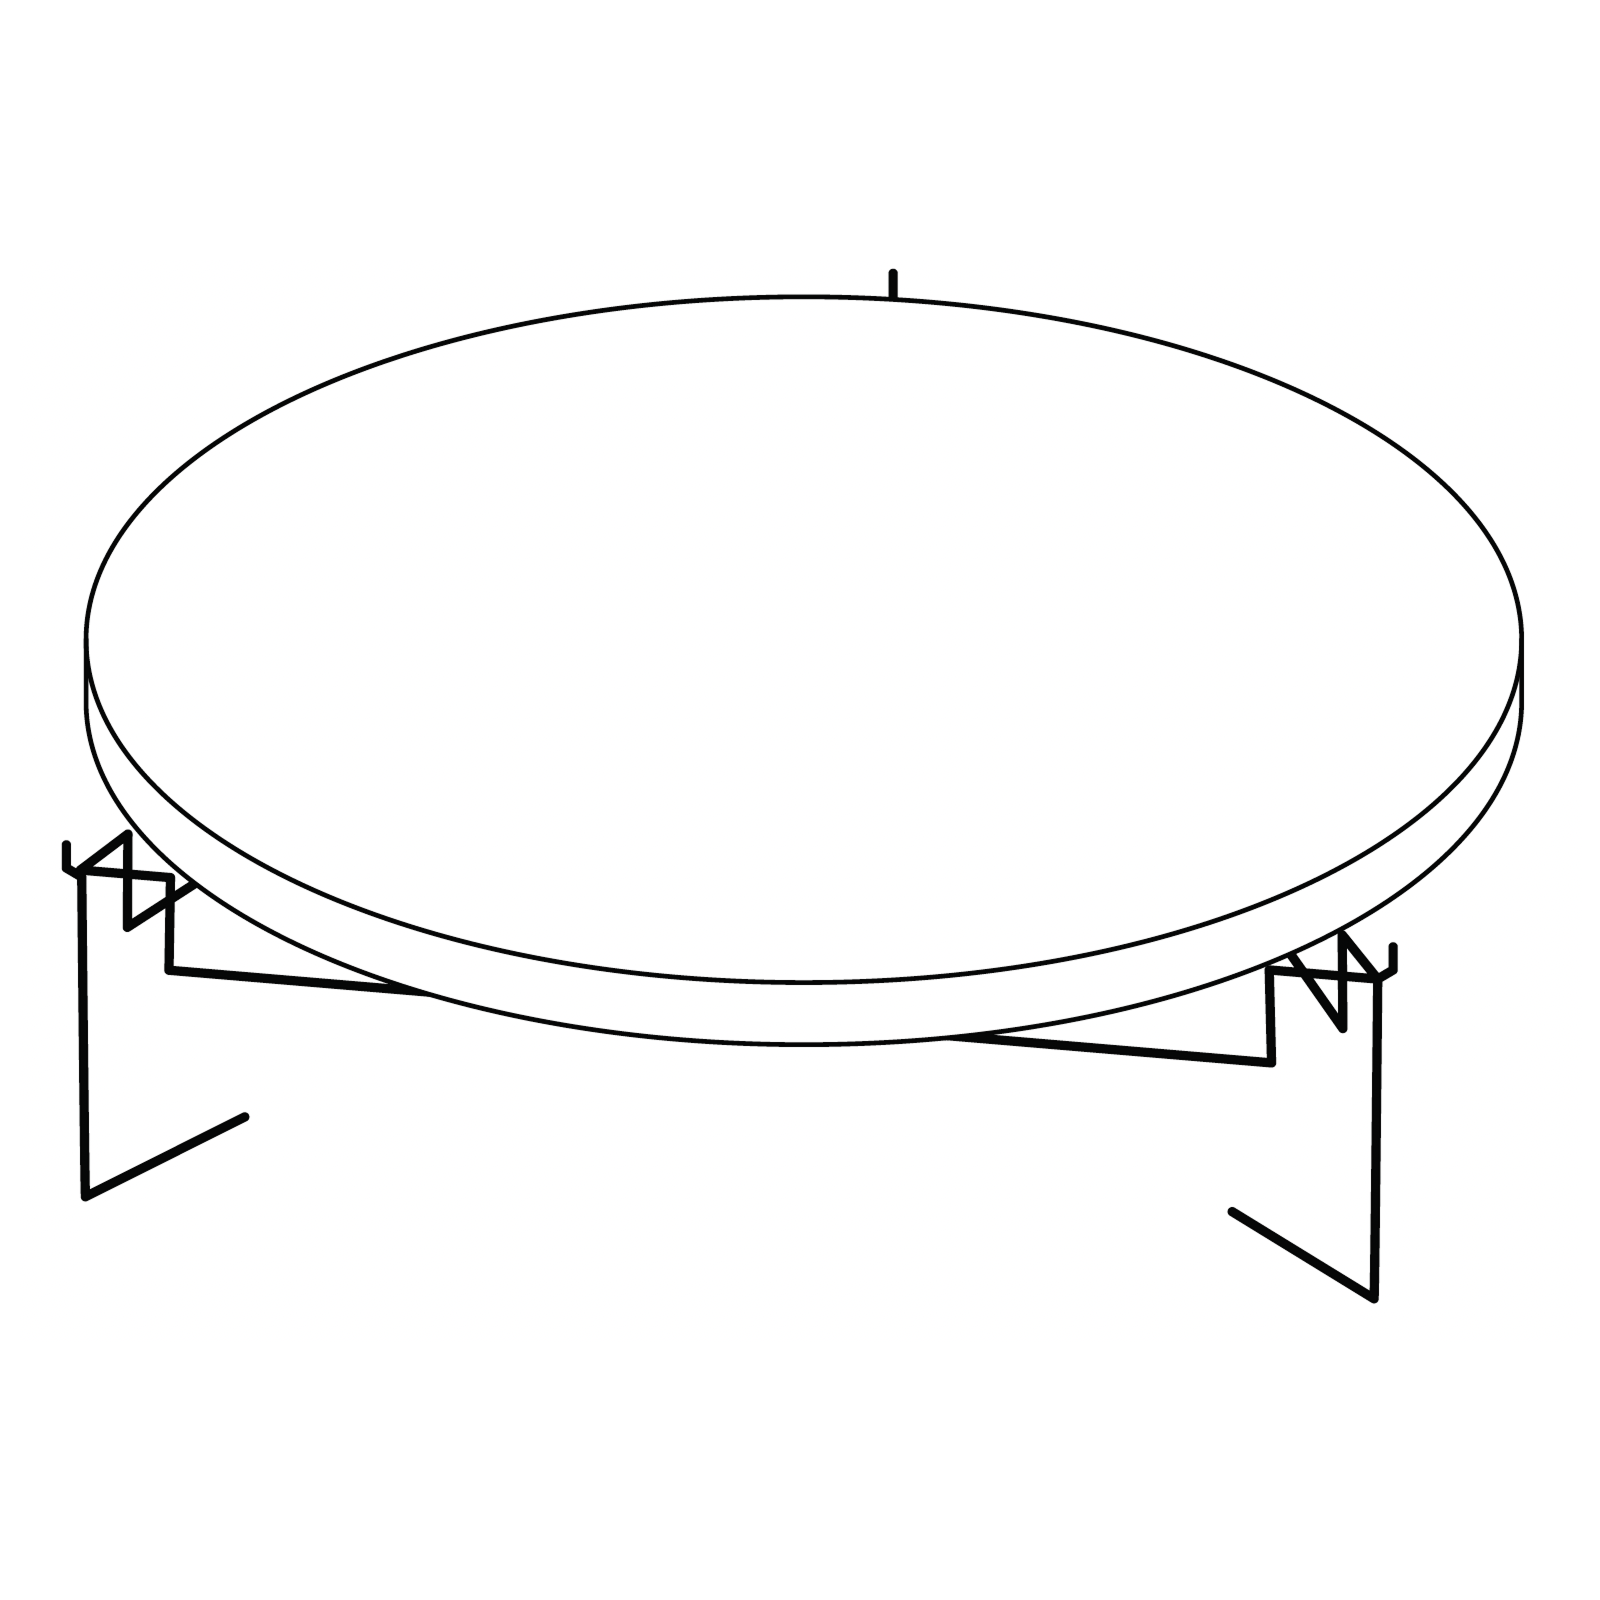
29. Pizza Stone with Support Frame
Essential accessory for evenly cooking chrispy pizzas, flat breads and other delights.
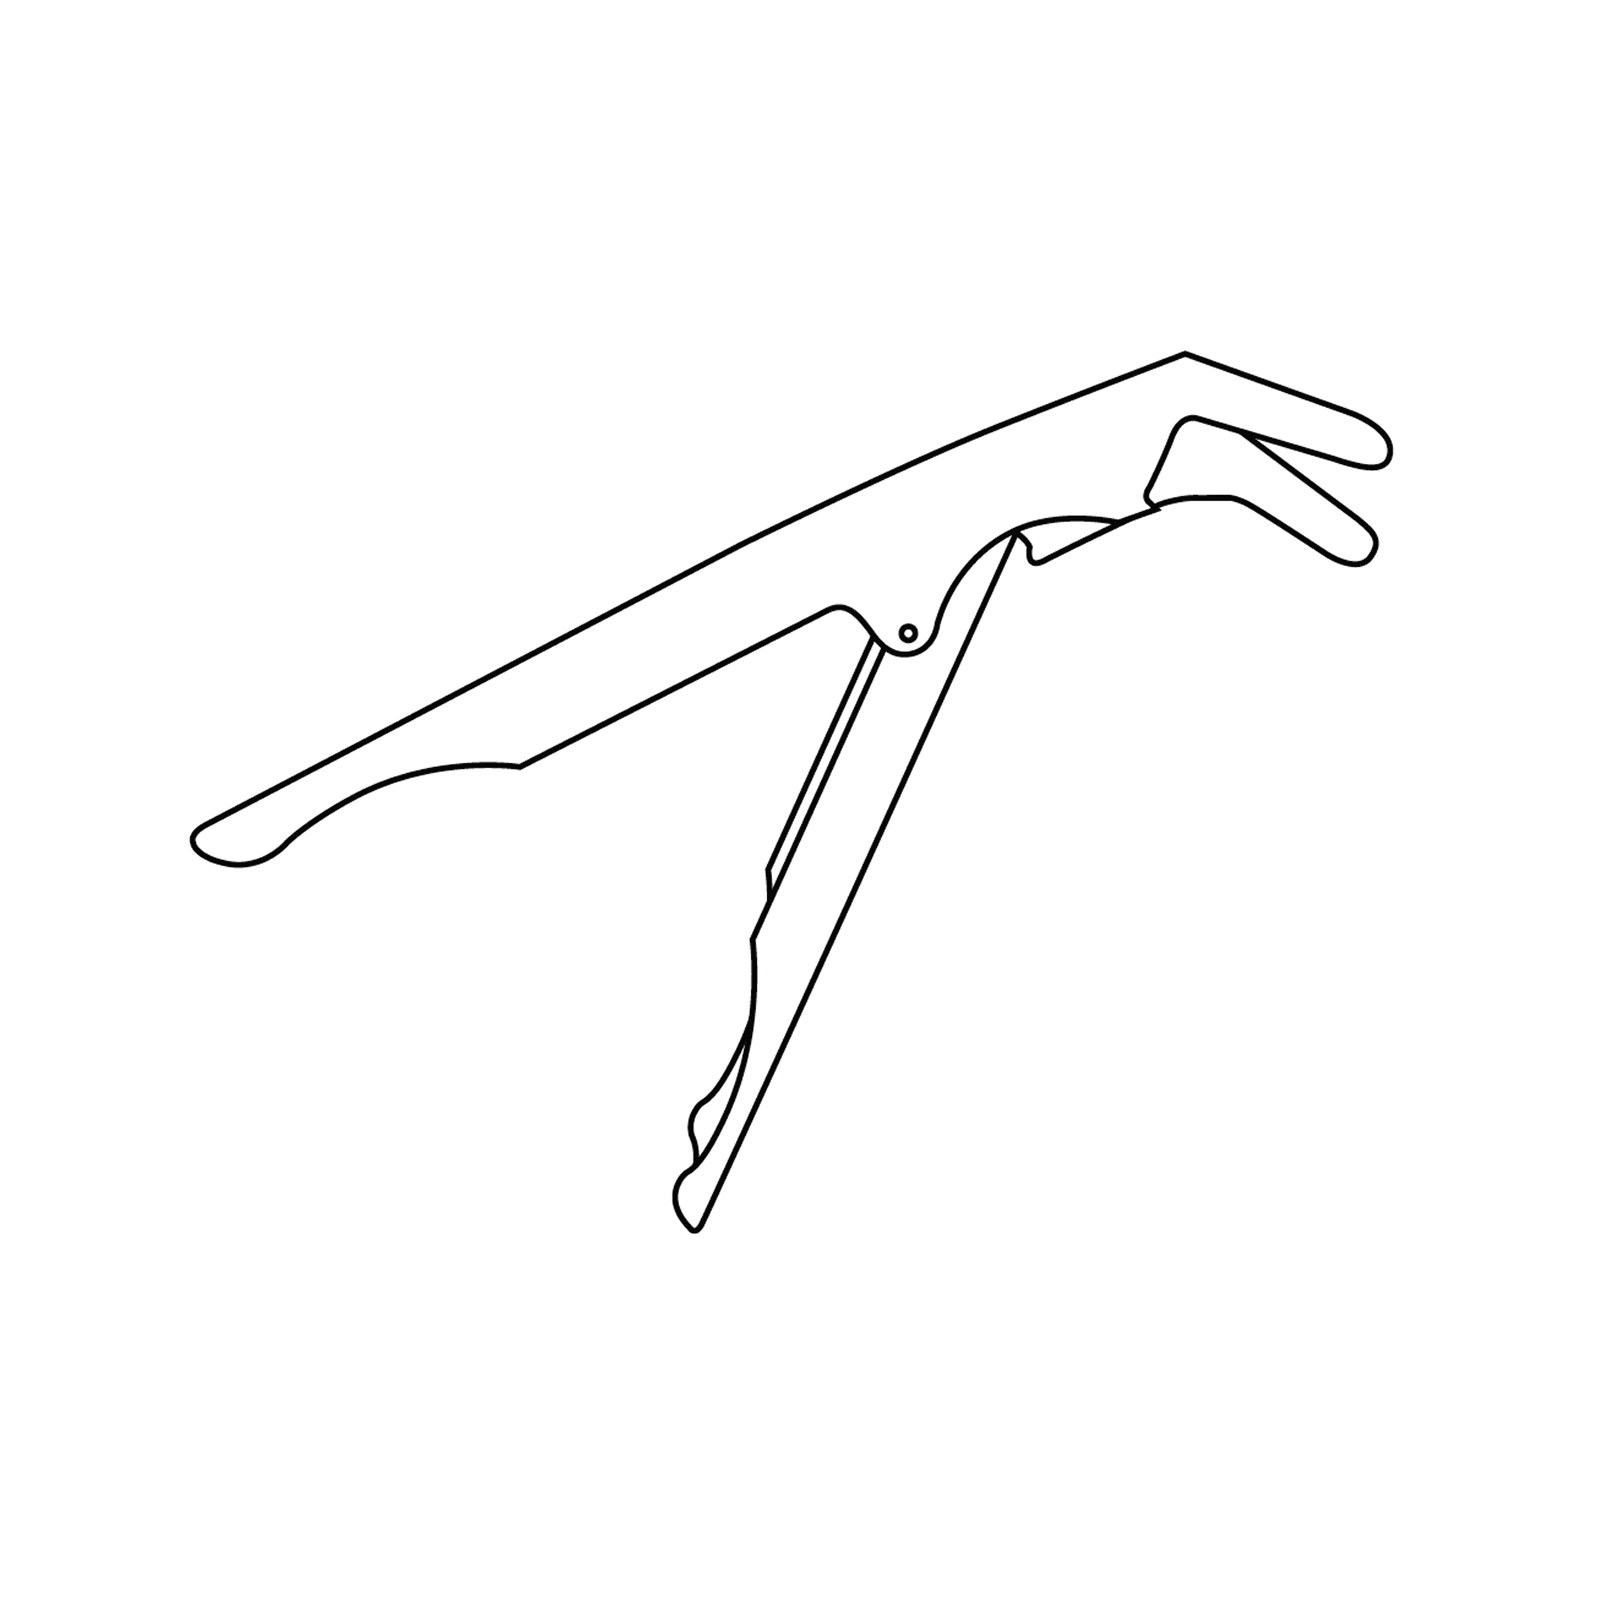
30. Clip Tool
Allows you to lift the pizza stone or cooking grills when they are too hot to handle.
31. Rain Cover
When the Kamado has cooled and is not in use, cover it with the Kamado raincover for extra protection.
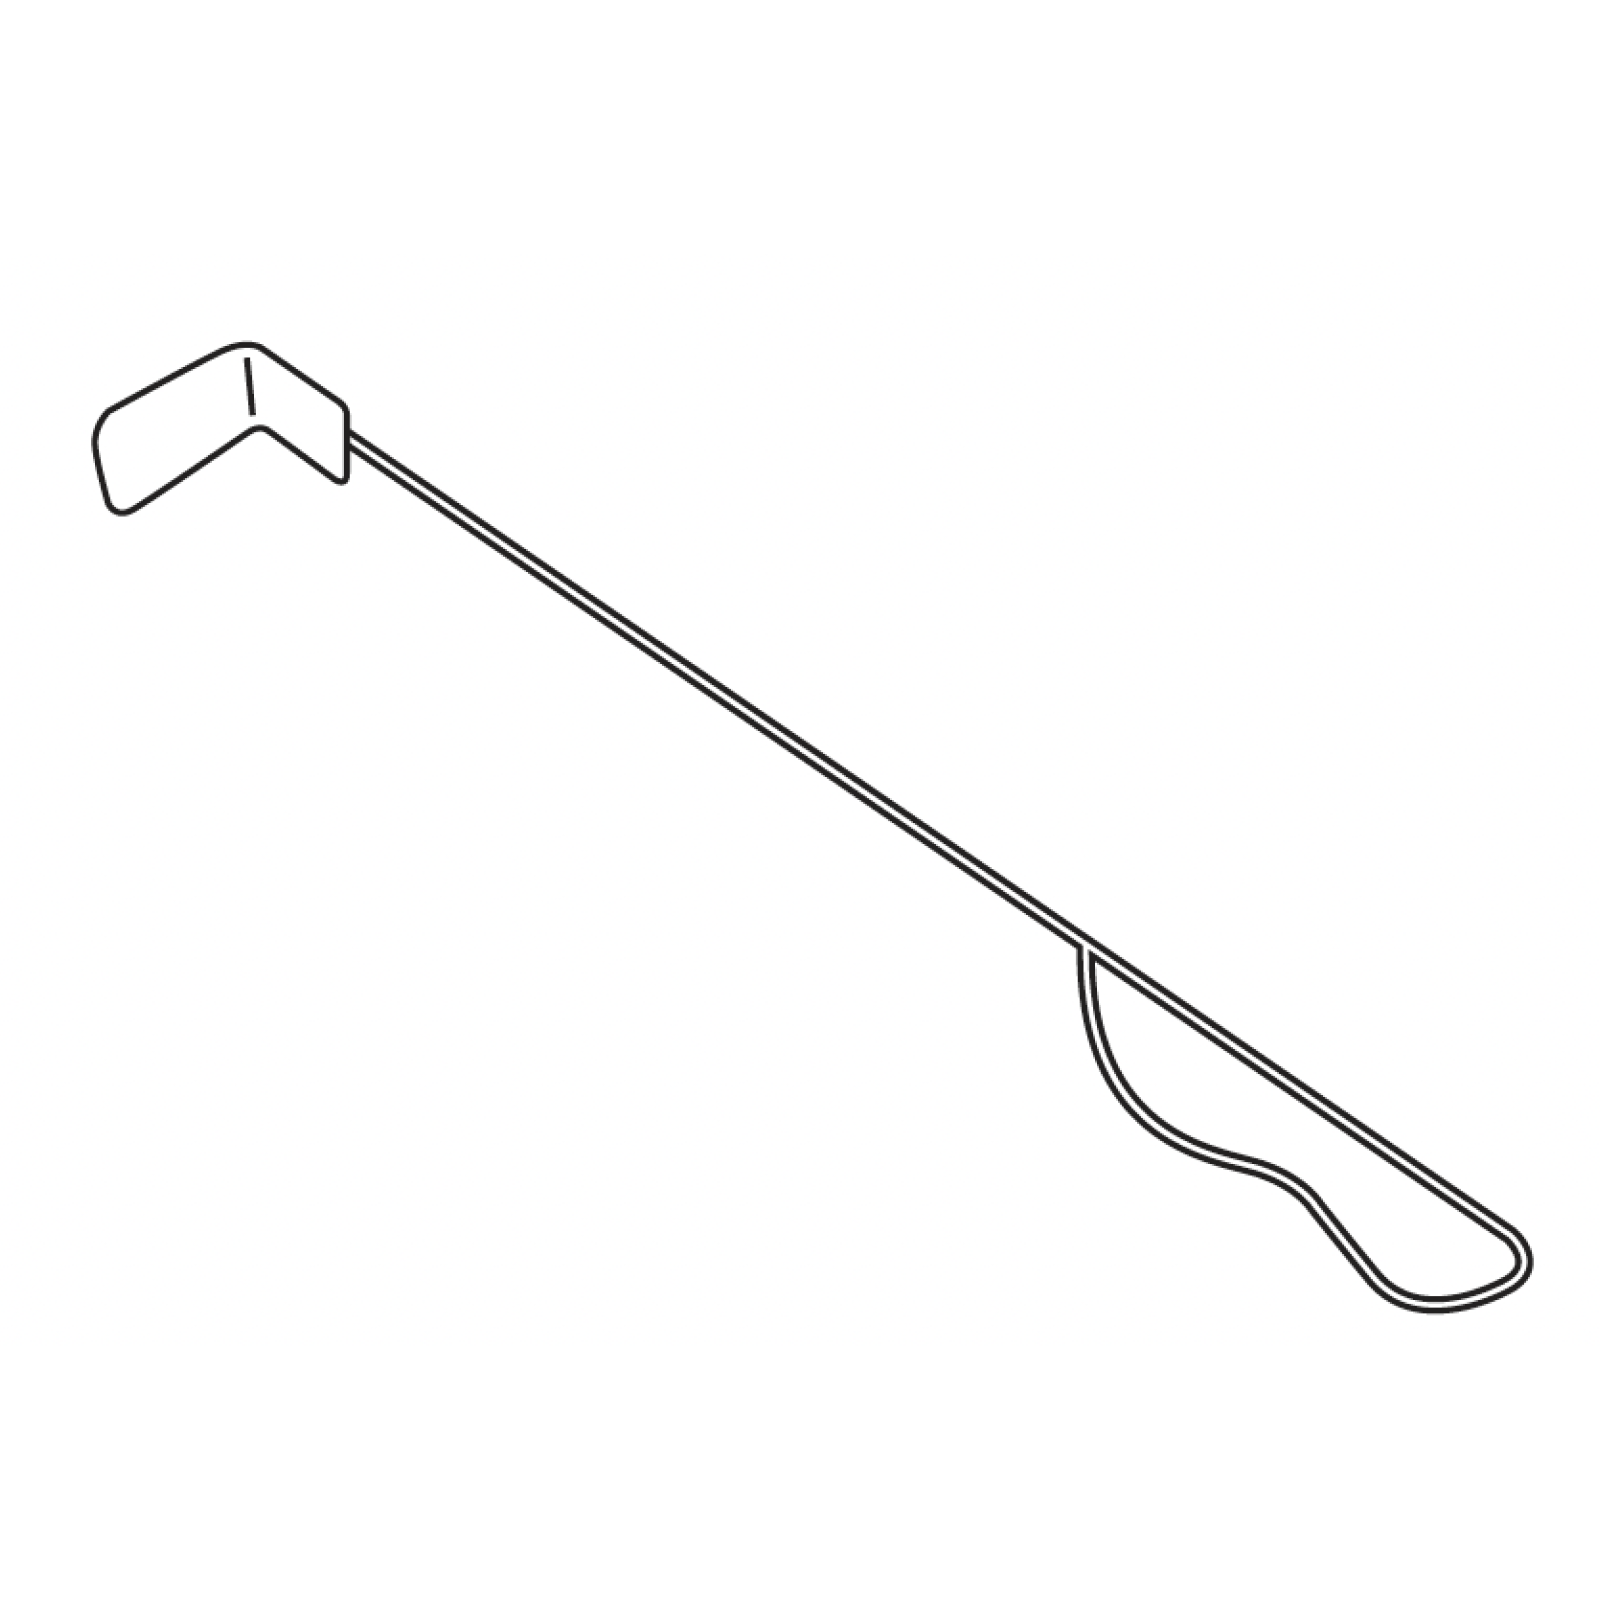
32. Ash Tool
Once your Kamado has burnt all its fuel and cooled down use this tool for removing the ash from the bottom.