· Ensure you have read and fully understood the instruction manual and safety advice before using this product.
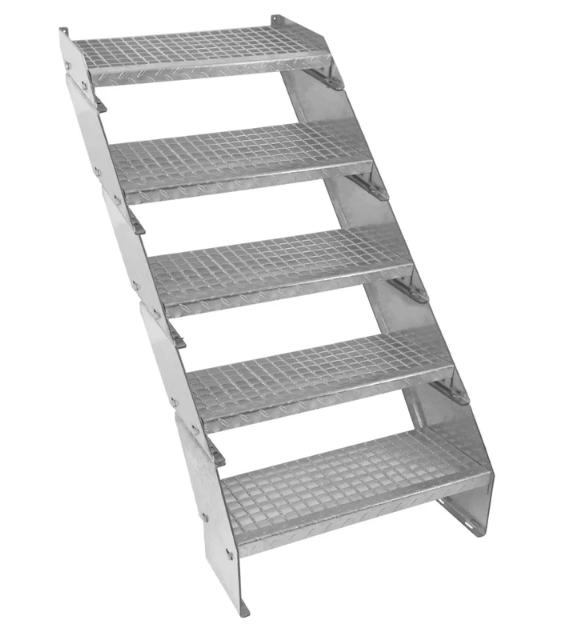
· This staircase is intended solely for pedestrian access between levels and must not be used for any other purpose, including as a ladder substitute, platform, or for supporting equipment or heavy loads.
· The product must only be assembled and installed by competent individuals with appropriate technical ability to ensure structural integrity and safe use.
· Verify all components are present, undamaged, and free from defects before assembly; do not use if any part shows signs of deformation, corrosion beyond expected galvanised finish, or sharp protrusions.
· During assembly, wear appropriate personal protective equipment (PPE), including cut-resistant gloves and safety footwear, to prevent injury from metal edges as identified in the risk assessment.
· Take care when handling galvanised steel components, as edges and mesh may cause cuts or abrasions; avoid direct skin contact with sharp edges.
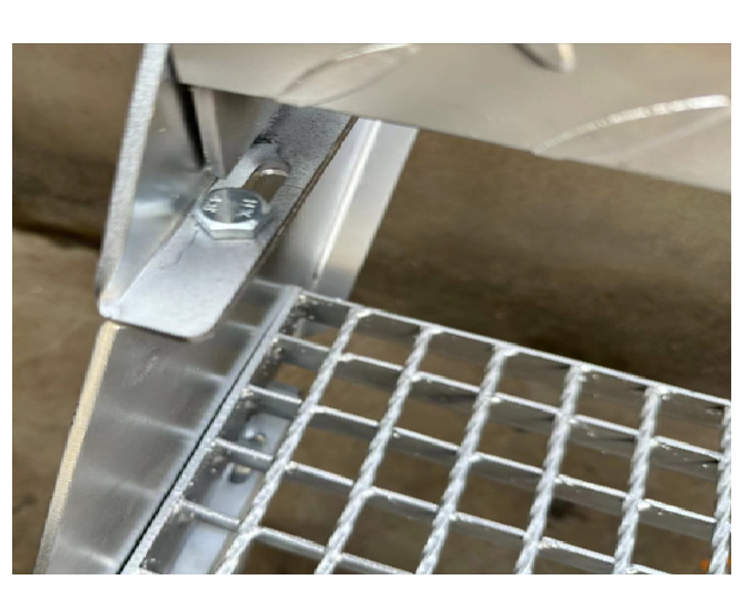
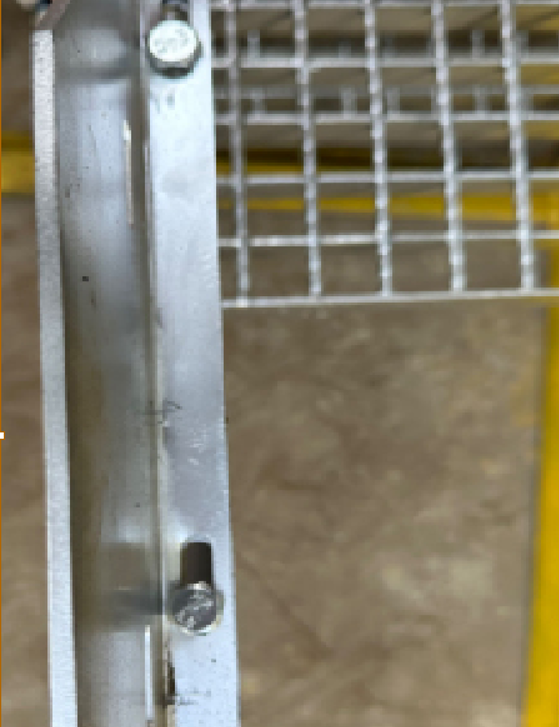
· Ensure all fixings are securely tightened and periodically rechecked to prevent loosening that could lead to instability or collapse.
· The staircase must be installed on a firm, level, and load-bearing surface capable of supporting the total weight of the structure and users.
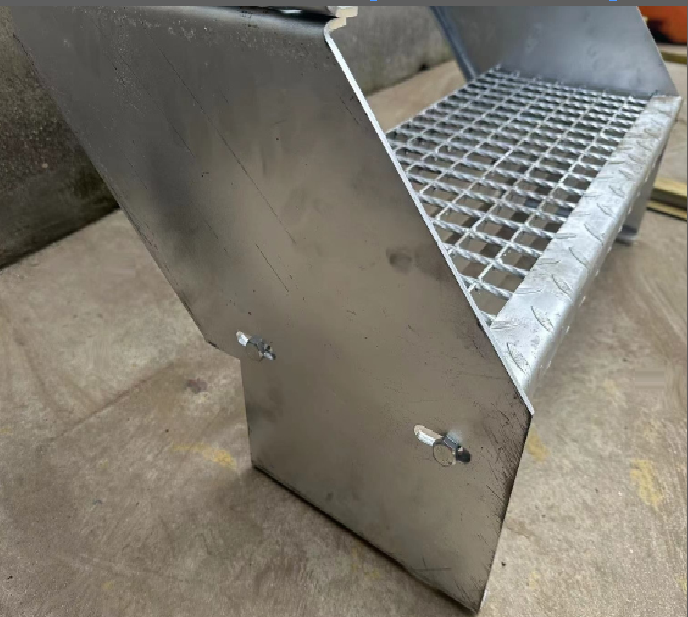
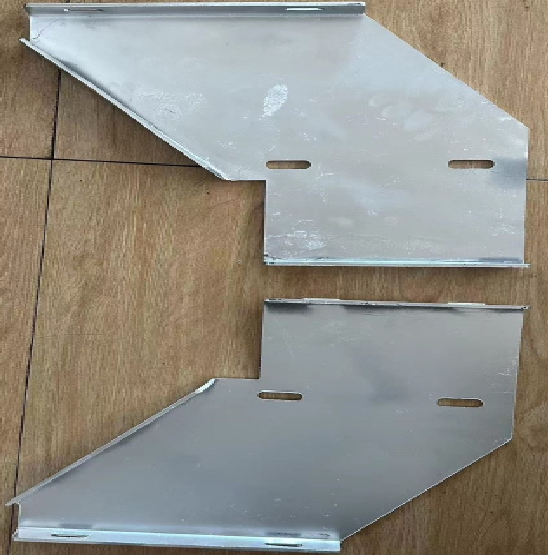
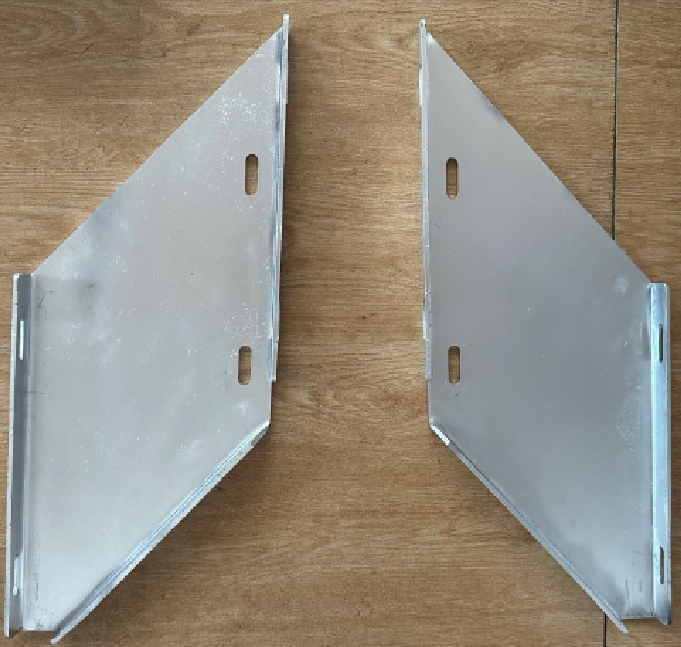
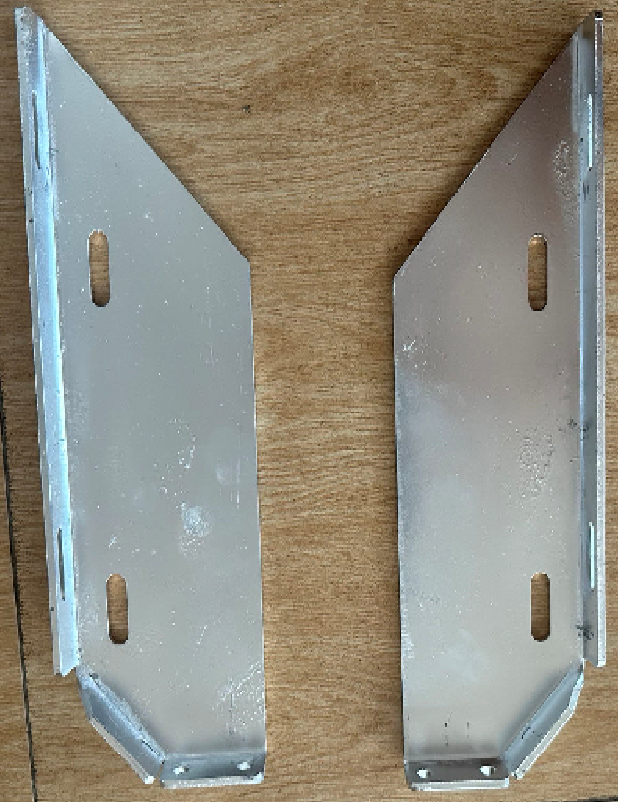
· Ensure correct alignment and secure fixing of upper, holding, and lower plates to prevent movement, shifting, or detachment during use.
· Do not exceed the maximum configuration of 12 steps or modify the structure beyond manufacturer specifications, as this may compromise safety and void liability.
· This product does not include an integrated handrail; users must exercise increased caution and maintain three points of contact where possible to reduce fall risk.
· Falls from height present a significant hazard; always ascend and descend carefully, facing the steps, and do not rush or skip steps.
· Children, elderly individuals, or persons with reduced mobility must be supervised at all times when using the staircase due to increased fall risk.
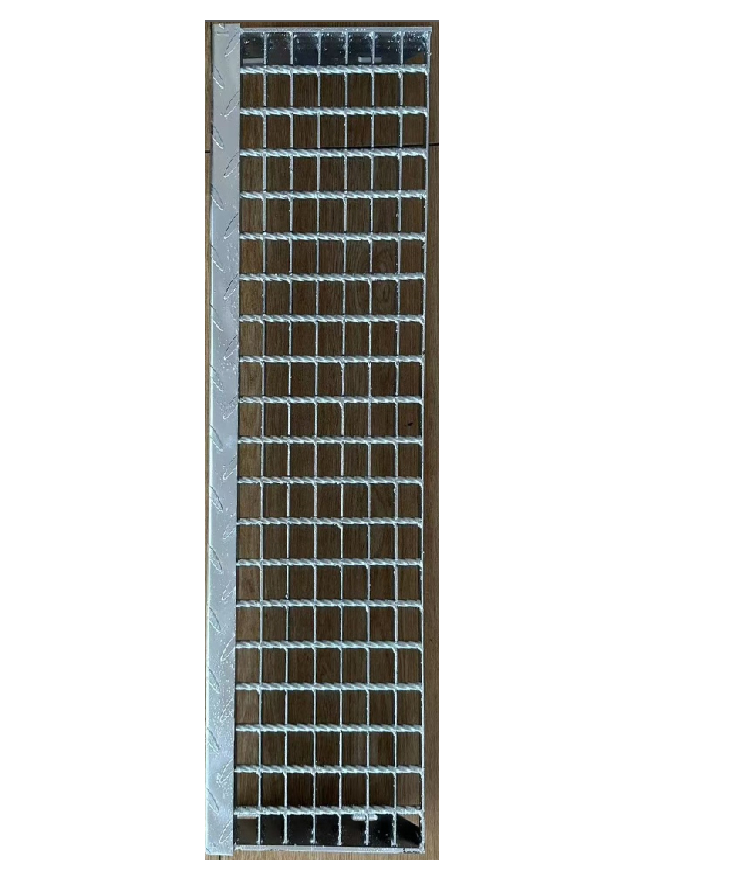
· The open mesh step design may increase trip risk, particularly with unsuitable footwear; avoid use with high heels, loose footwear, or barefoot use.
· Always wear appropriate footwear with good grip to minimise the risk of slipping, especially in outdoor conditions.
· Metal steps may become slippery in wet, icy, or muddy conditions; regularly inspect and clear debris, water, ice, or contaminants from the treads before use.
· In hazardous weather conditions such as ice, snow, or heavy rain, take additional precautions or avoid use where safe footing cannot be guaranteed.
· Ensure adequate lighting is provided around the staircase to prevent missteps due to poor visibility.
· Consider marking step edges or surrounding areas to improve visibility in low-light conditions where appropriate.
· Do not use the staircase in high winds or severe weather conditions where balance or visibility may be impaired.
· Do not overload the staircase; it is designed for normal pedestrian use only and must not be subjected to excessive weight, multiple users beyond reasonable capacity, or dynamic loads such as jumping.
· Always ensure only one user per step at a time to maintain load distribution and stability.
· Keep the staircase free from obstructions at all times to prevent trips and falls.
· Do not attach additional structures, coverings, or loads to the staircase unless explicitly approved by the manufacturer.
· Regularly inspect the staircase for signs of wear, corrosion, loose fixings, or structural weakness, particularly at joints and load-bearing points.
· Although galvanised for corrosion resistance (EN ISO 1461), prolonged exposure to harsh environments may degrade protection; inspect periodically for rust or coating damage.
· If any instability, unusual movement, or damage is detected, discontinue use immediately until repairs are completed by a competent person.
· Ensure the staircase is used only within its specified dimensional and environmental limits as outlined in the product specifications.
· Keep hands clear of pinch points during adjustment or repositioning of staircase sections.
· The product is not intended for use by children as a play structure; misuse may result in serious injury.
· Small gaps within the mesh (20mm x 25mm) may pose trapping hazards for inappropriate footwear or small objects; ensure careful footing at all times.
· Dispose of packaging materials safely, keeping plastic coverings and small components away from children to prevent suffocation or choking hazards.
· At end of life, dispose of the staircase in accordance with local regulations for metal products; galvanised steel should be recycled where facilities exist.