This guide provides step-by-step instructions for assembling components and using the GRP Electric Enclosure (H800mm x 600mm)
Product Information
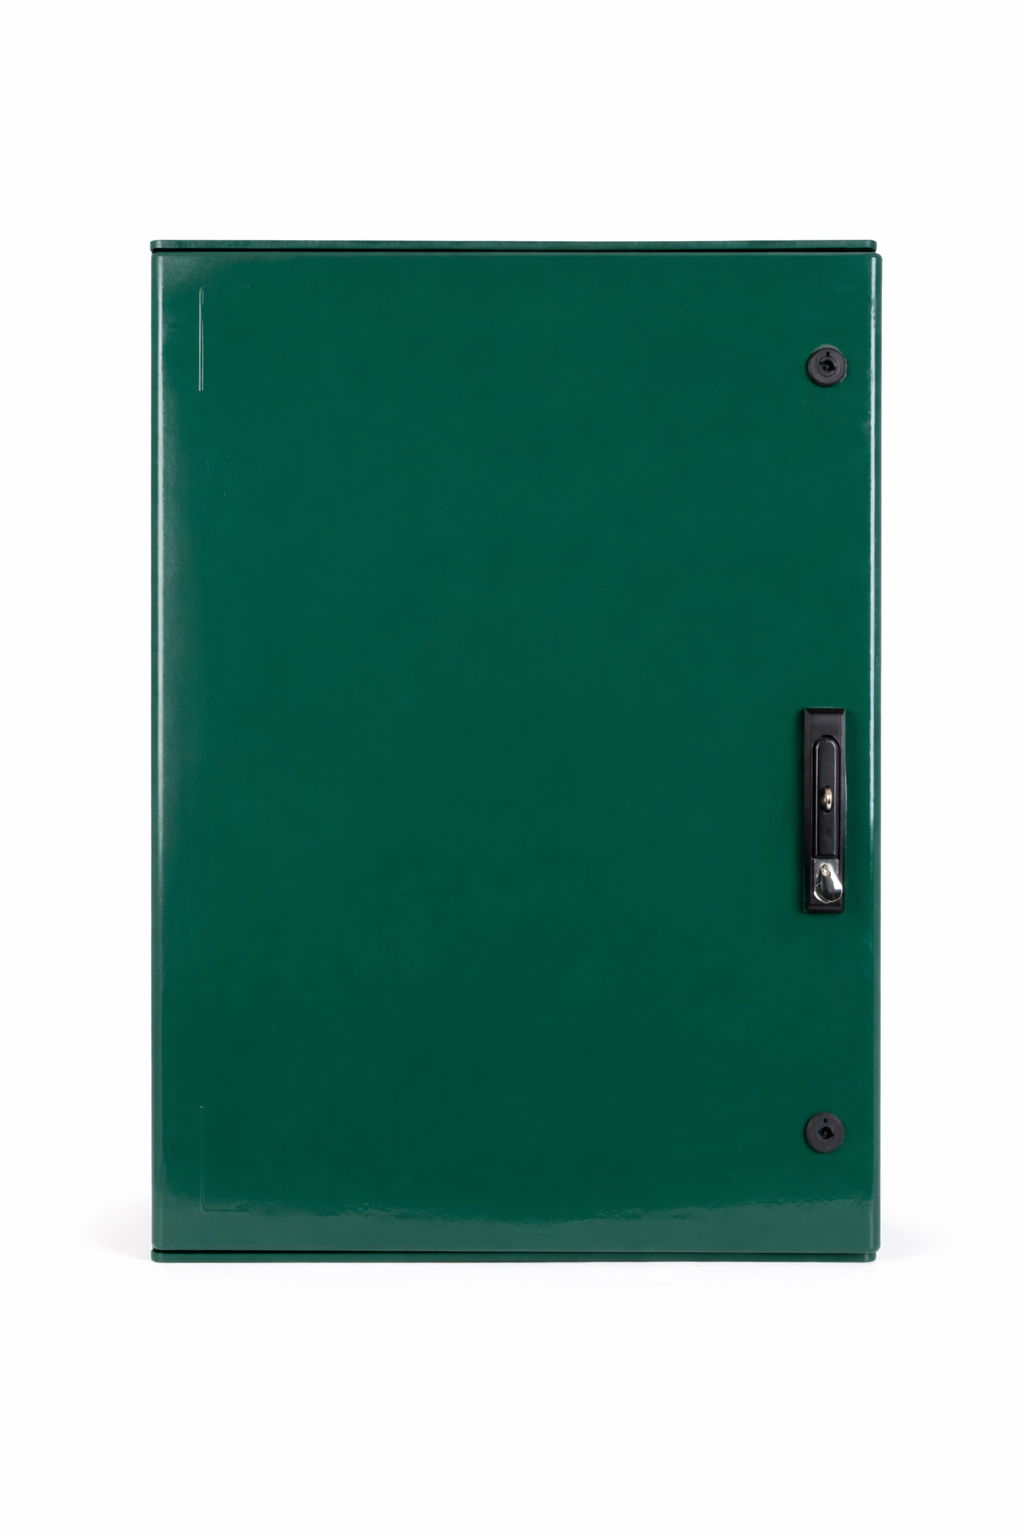
GRP Electrical Enclosure (H800mm x W600mm)
Thank you for choosing T-MECH’s GRP electrical enclosures. These models are designed to offer secure, long-lasting protection for your electrical components. Built from durable glass-reinforced plastic, it features an internal door and integrated DIP rails for easy equipment installation and organisation, helping to keep internal systems safe from dust, water, and accidental impact.
SKU
217293
Specifications:
Attribute:
External Dimensions:
800 x 600 x 300mm
Internal Dimensions (Door to Mounting Plate):
754 x 577 x 275mm
Internal Size including mounting plate
750 x 542 x 250mm
Wall mounting Distance A1
727.5 x 633
Wall mounting Distance A2
811 x 549.5
Net Weight:
14.5KG
Gross Weight:
16.5KG
Materials:
SMC Fiberglass, Plywood, Metal Hardware and DIP Rails, Plastic Accessories
IP Level:
IP66
IK Level:
IK09
Parts
Bolts
Nuts
Din Rails
Mounting Plate
Key
1. Step 1 - The Lock
To lock the GRP door, turn the key by 90 degrees to the left and into a vertical position.
To unlock the GRP door, turn the key 90 degrees to the right and into a horizontal position.
Note: Press your hand down onto the door when turning the key.
2. Step 2 - Din Rails
To disassemble the din rails, use a M6 spanner to unscrew the 2 nuts in an anti-clockwise direction.
To install the din rails, place the rail into the correct position and screw the 2 nuts with the bolts in a clockwise direction, using a M6 spanner.
3. Step 3 - The Mounting Plate
To disassemble the mounting plate, use an M6 spanner to unscrew the 4 nuts in an anti-clockwise direction.
To install the mounting plate, place the plate into the correct position, and use an M6 spanner to screw in the 4 nuts and bolts in a clockwise direction.
4. Step 4 - The Wall Mounting Brackets
Drill through the holes in the wall mount.
Place the nut in the correct position of the wall mounting bracket.
Install the wall mounting pendant into the hexagonal mounting hole so you can easily adjust its angle (horizontal, vertical, or 45°). Use mounting distance A2 (H×W) for vertical installation and A1 (H×W) for horizontal installation, as specified in the data sheet.
Insert the bolts and fix the nuts to the brackets.
Repeat this for the remaining 3 corners.
Select a suitable position to fix the box to the wall.
Please note: It is the installer’s responsibility to verify suitability for the intended mounting surface and load. The manufacturer accepts no liability for failure resulting from inappropriate fixings.
5. Maintenance
Clean the exterior using a soft cloth and mild detergent; avoid harsh chemicals or abrasive tools that may degrade the GRP or PVC label.
Inspect door seals and locking mechanisms quarterly to ensure continued IP protection; replace seals showing signs of cracking or wear.
Re-tighten all mounting hardware and check for enclosure movement or instability during routine maintenance checks.
Check warning label visibility during every inspection cycle; ensure replacement labels are waterproof and compliant with original specifications.
Schedule internal inspections at least annually, or more frequently in harsh environments, to identify any signs of electrical wear or enclosure compromise.
Always use compatible fixings and gaskets when replacing or adding components to preserve enclosure integrity.
6. Troubleshooting
WHAT DO I DO IF THERE ARE MISSING PARTS FROM MY ORDER?
If there appears to be any part missing from your order, contact our friendly and helpful Customer Support Team within 7 days of receipt.