1.
1. Insert the crank handle into the wringer.
2. Use the Allen key to tighten it securely.
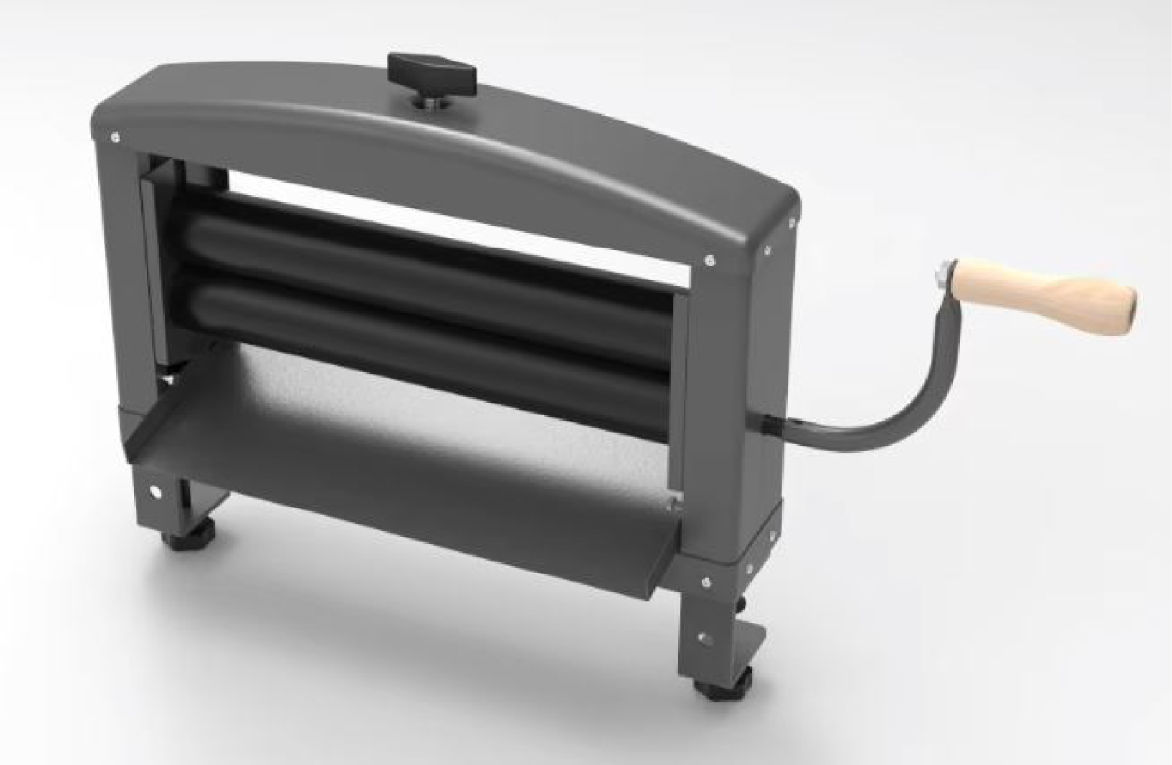 Instructions by monstershop Heavy Duty Hand WringerInstructions for assembling, installing, and using the Heavy Duty Hand Wringer. It includes safety advice, operational guidelines, and maintenance tips. Product InformationHeavy Duty Hand WringerThis heavy-duty manual hand wringer quickly and efficiently removes liquids from cloths, rags, and pads—no power needed. Built with chemical-resistant NBR rollers and a sturdy steel frame, it’s perfect for industrial, agricultural, marine, and emergency cleanup use. The extended handle makes operation easy and safe, while the drainage tray keeps your workspace clean.
This wringer is equipped with NBR (nitrile rubber) rollers, which are resistant to water and most petroleum-based liquids, including:
Do not use this wringer with:
> Note: NBR materials are not resistant to strong solvents or chemicals. Using incompatible liquids may damage the rollers or create safety hazards. Parts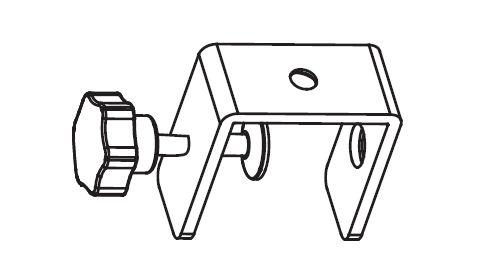 Clamp 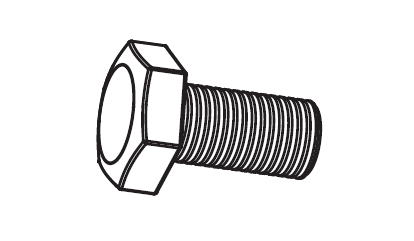 Screw 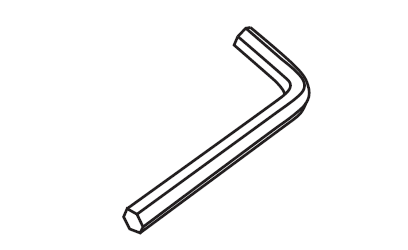 Allen Key 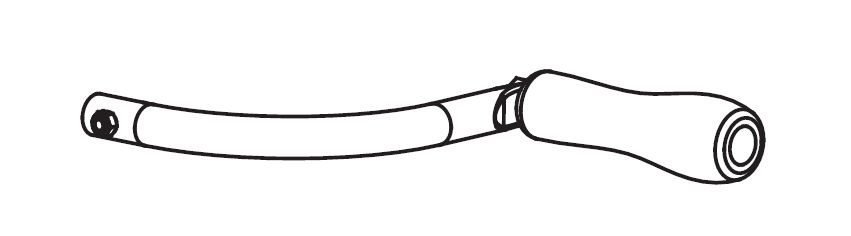 Crank Handle 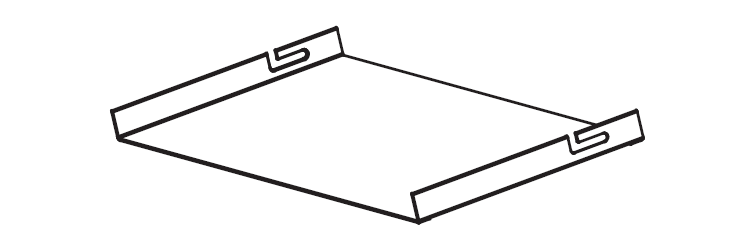 Drain plate 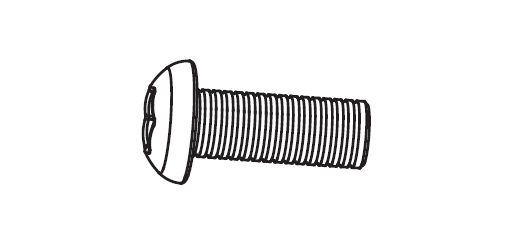 Cross round-head screw  Nut  Spanner 1.1. Insert the crank handle into the wringer. 2.
3.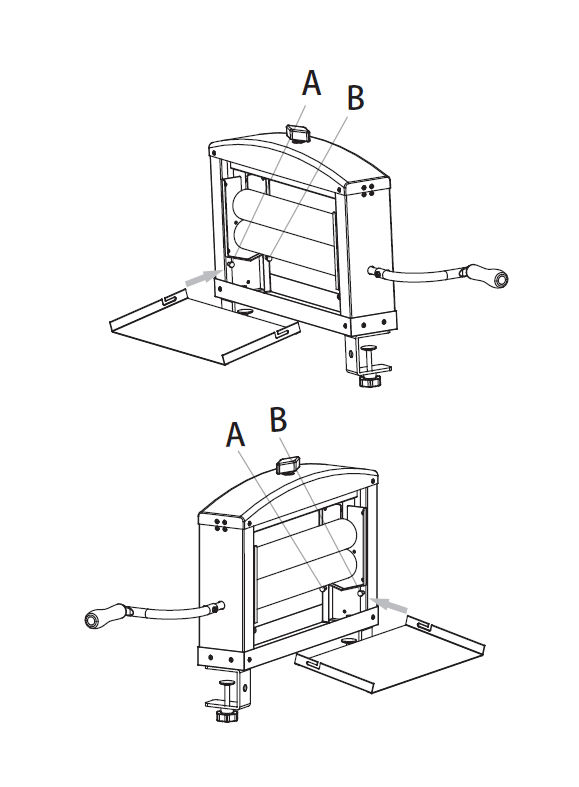 The drain plate should be attached to one side of the wringer. It has two L-shaped grooves that slide into fixed screws under the rollers.
Insert the B-side fixed screws fully into the L-shaped grooves, then slide the drain plate toward A to lock it in place.
Insert the A-side fixed screws fully into the L-shaped grooves, then slide the drain plate toward B to lock it in place. 4.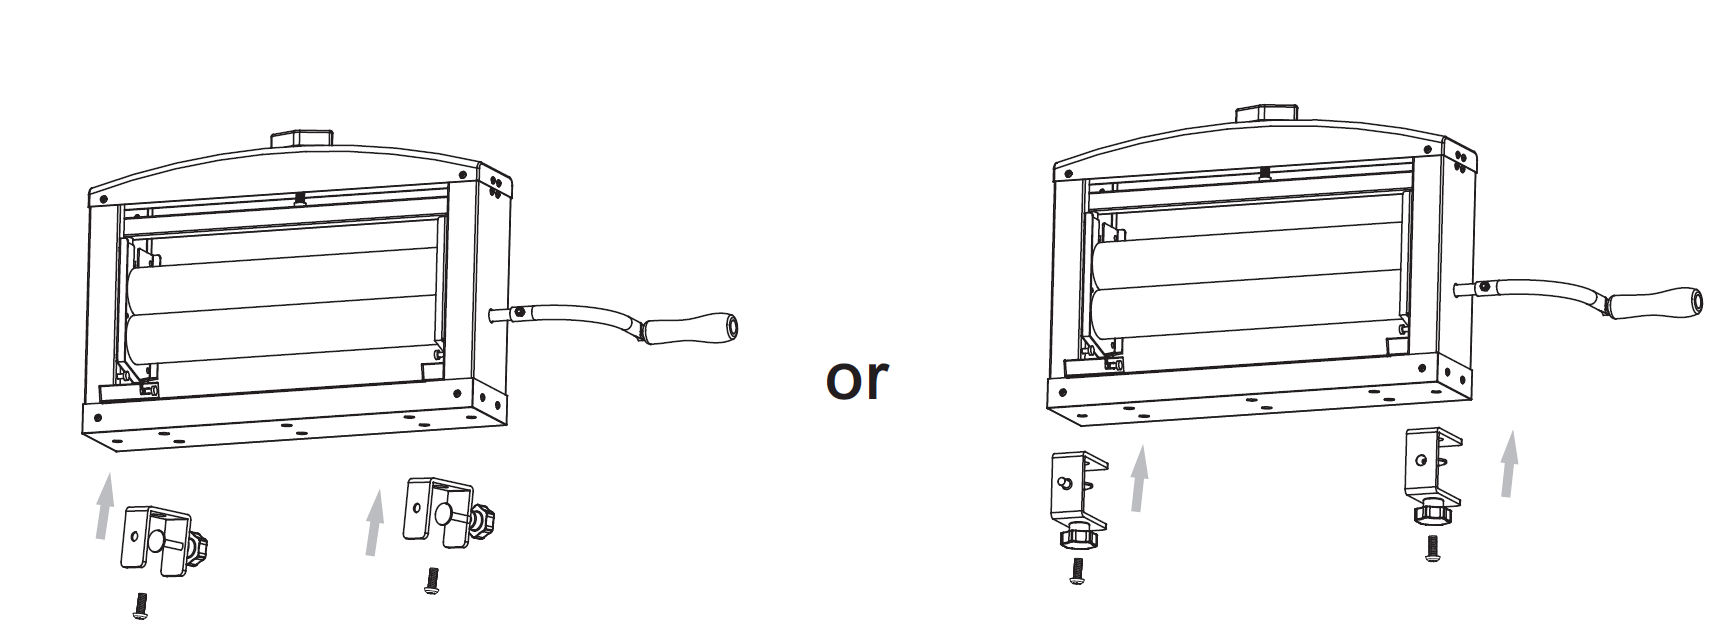 The clamps can be attached horizontally or vertically, depending on your setup.
Note:
5. Maintenance
6. Troubleshooting
If there appears to be any part missing from your order, contact our friendly and helpful Customer Support Team within 7 days of receipt.
|