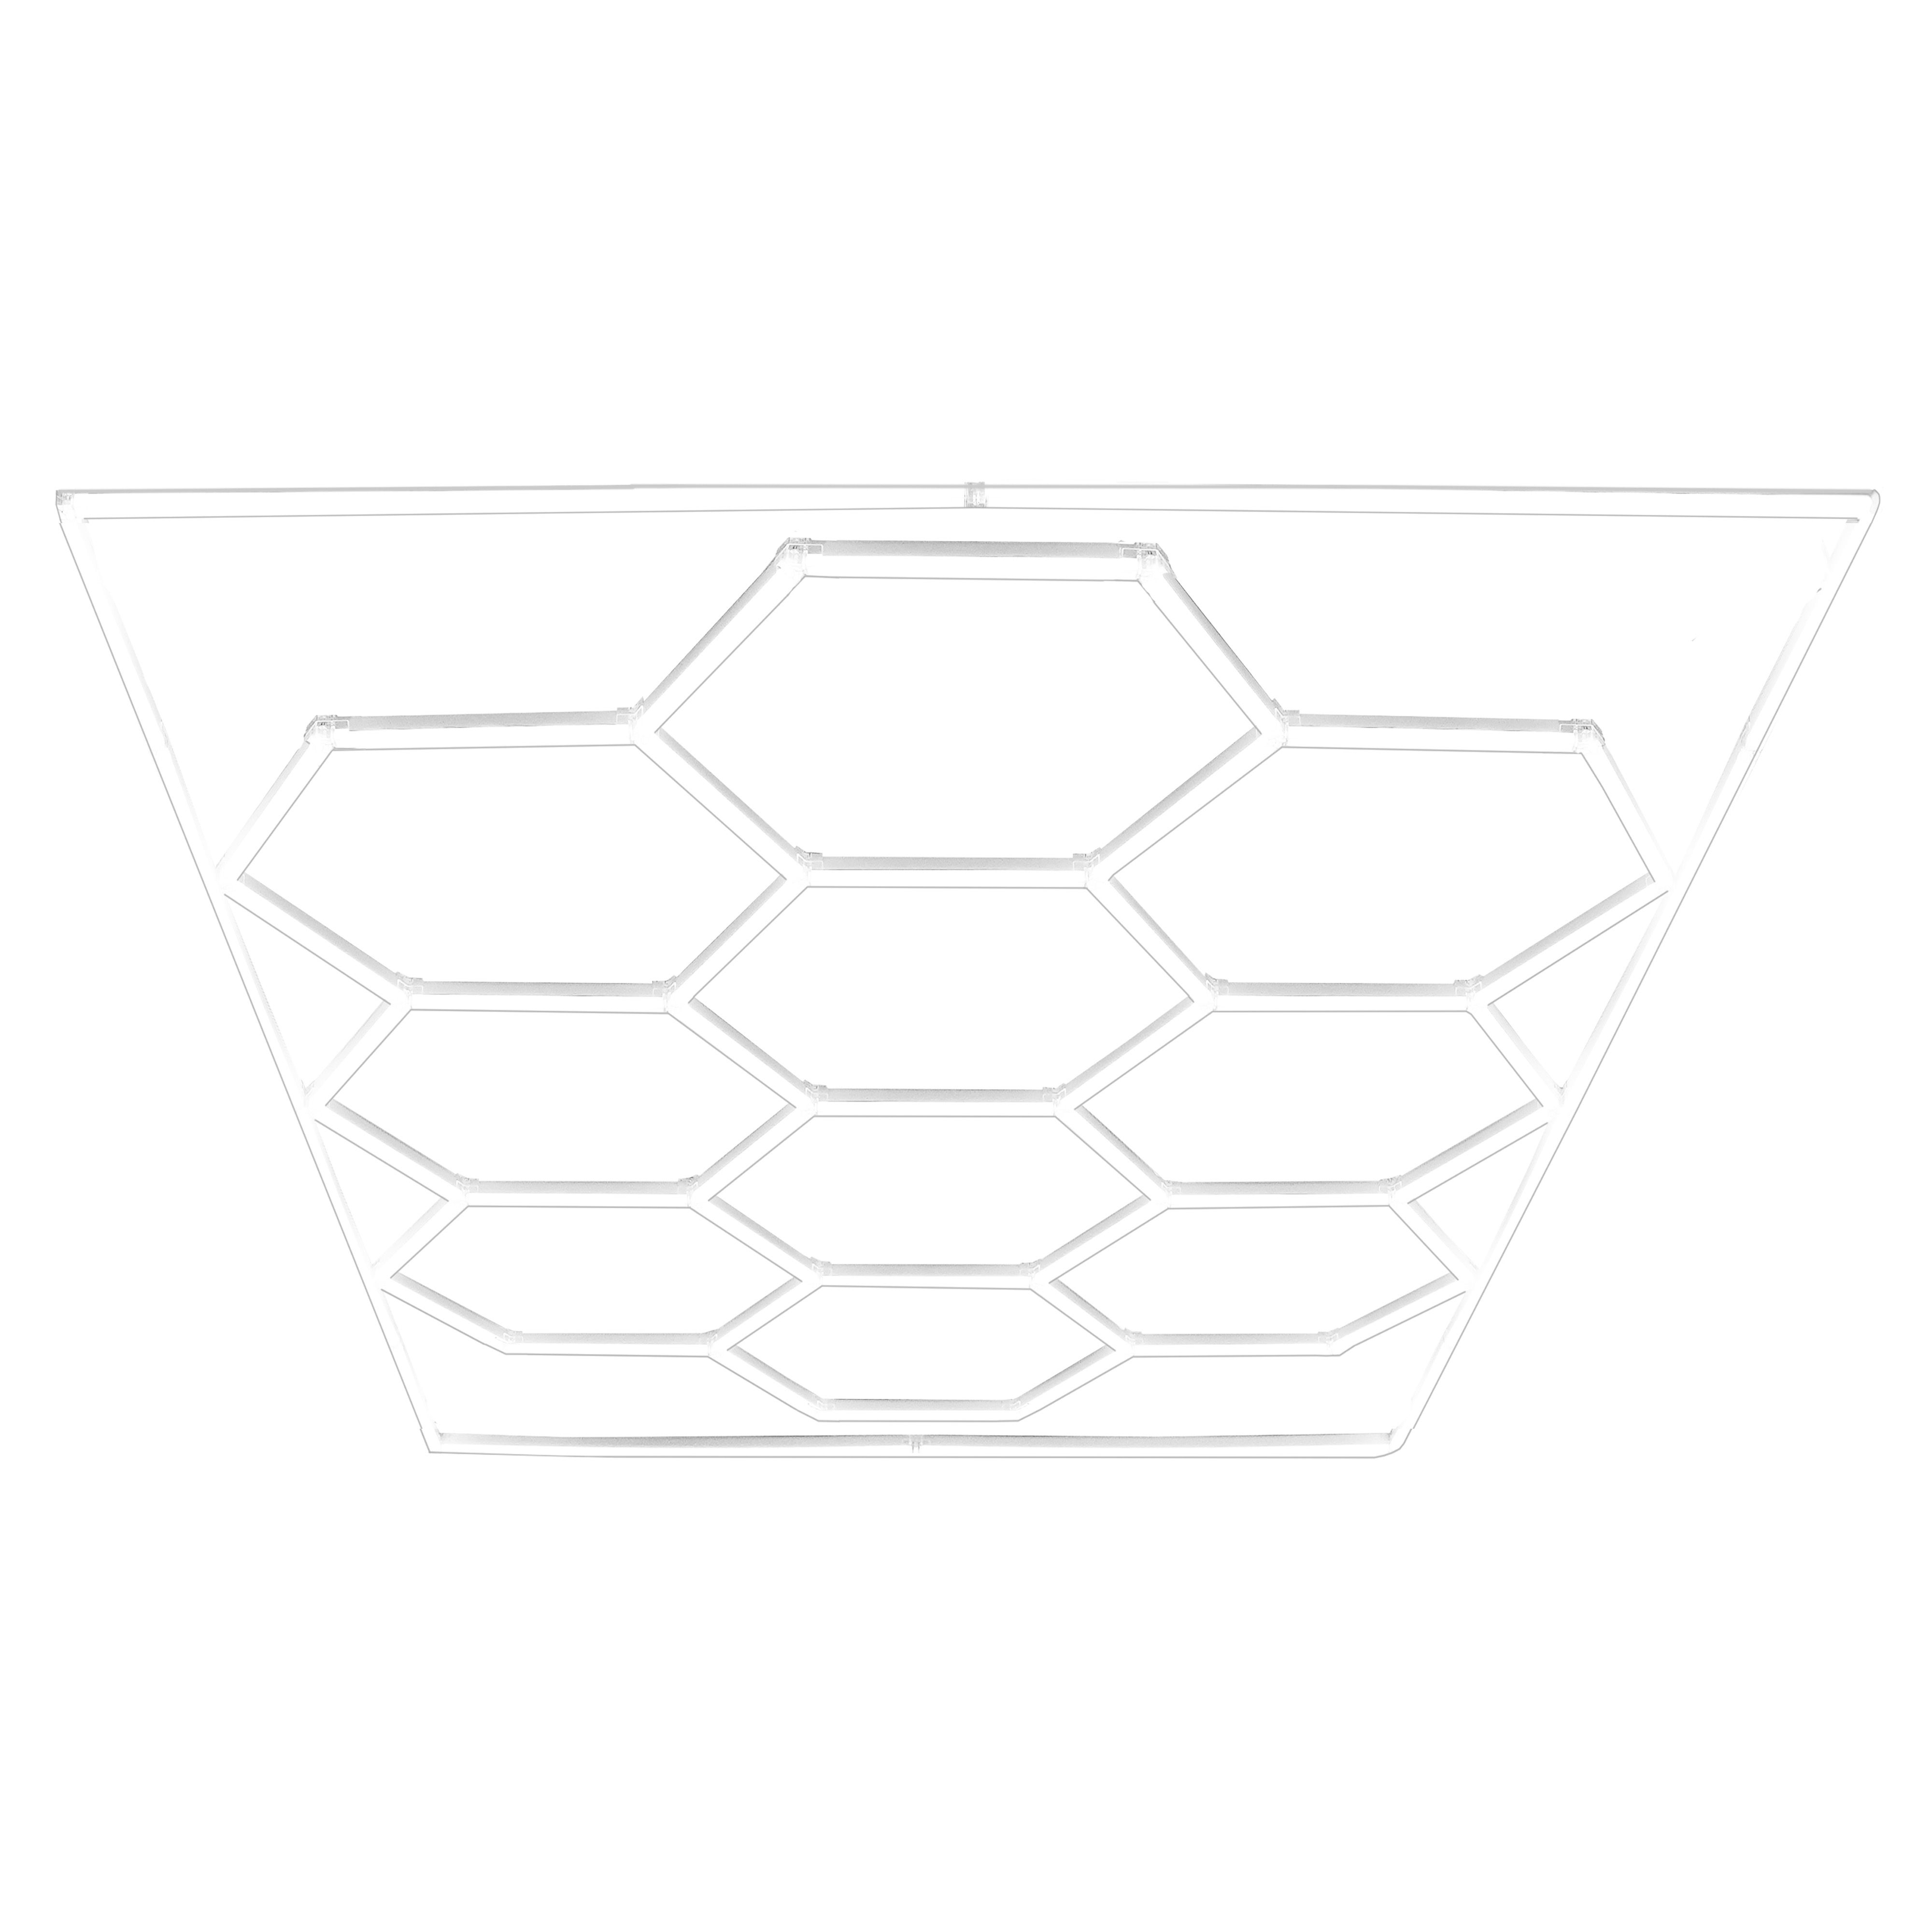
Introducing Monster Shop’s 10 Hexagon LED Lighting System: a versatile 2-in-1 lighting solution featuring ten hexagon lights with a stylish border for a modern, polished look. Designed for flexibility, the system can be used as a full set of 10 lights or split into two sets of five, adapting seamlessly to your space. Ideal for workshops, garages, and studios, it includes wall and ceiling mounting kits as well as a suspended ceiling kit for effortless installation. Elevate your lighting with this customisable and sophisticated solution.
SKU
215060
10x Hexagon Light Formation
Dimensions
357 x 238cm
Power Source
100-230V AC, 50Hz, Class I
Rating Power Input
440mm LED: 6W / 565mm LED: 8W
Product Weight
8.7
Temperature
20-50°C
RA
90
Lumen
110-120
Colour Temperature
6500K
Working Lifetime
50,000 Hours
GPSR Information
UK
Manufacturer: Monster Group UK Limited, Monster House 19-23 Alan Farnaby Way, Industrial Estate Sheriff Hutton, York YO60 6PG
Person Responsible: Rana Harvey, Monster Group UK Limited, Monster House 19-23 Alan Farnaby Way, Industrial Estate Sheriff Hutton, York YO60 6PG, England, +441347878880
EU
Manufacturer: Monster Group BV, Van Heemskerckweg 28A & B, Venlo 5928LL Netherlands +441347878880
Person Responsible: Rana Harvey, Monster Group BV, Van Heemskerckweg 28A & B, Venlo 5928LL, Netherlands, +44134787888
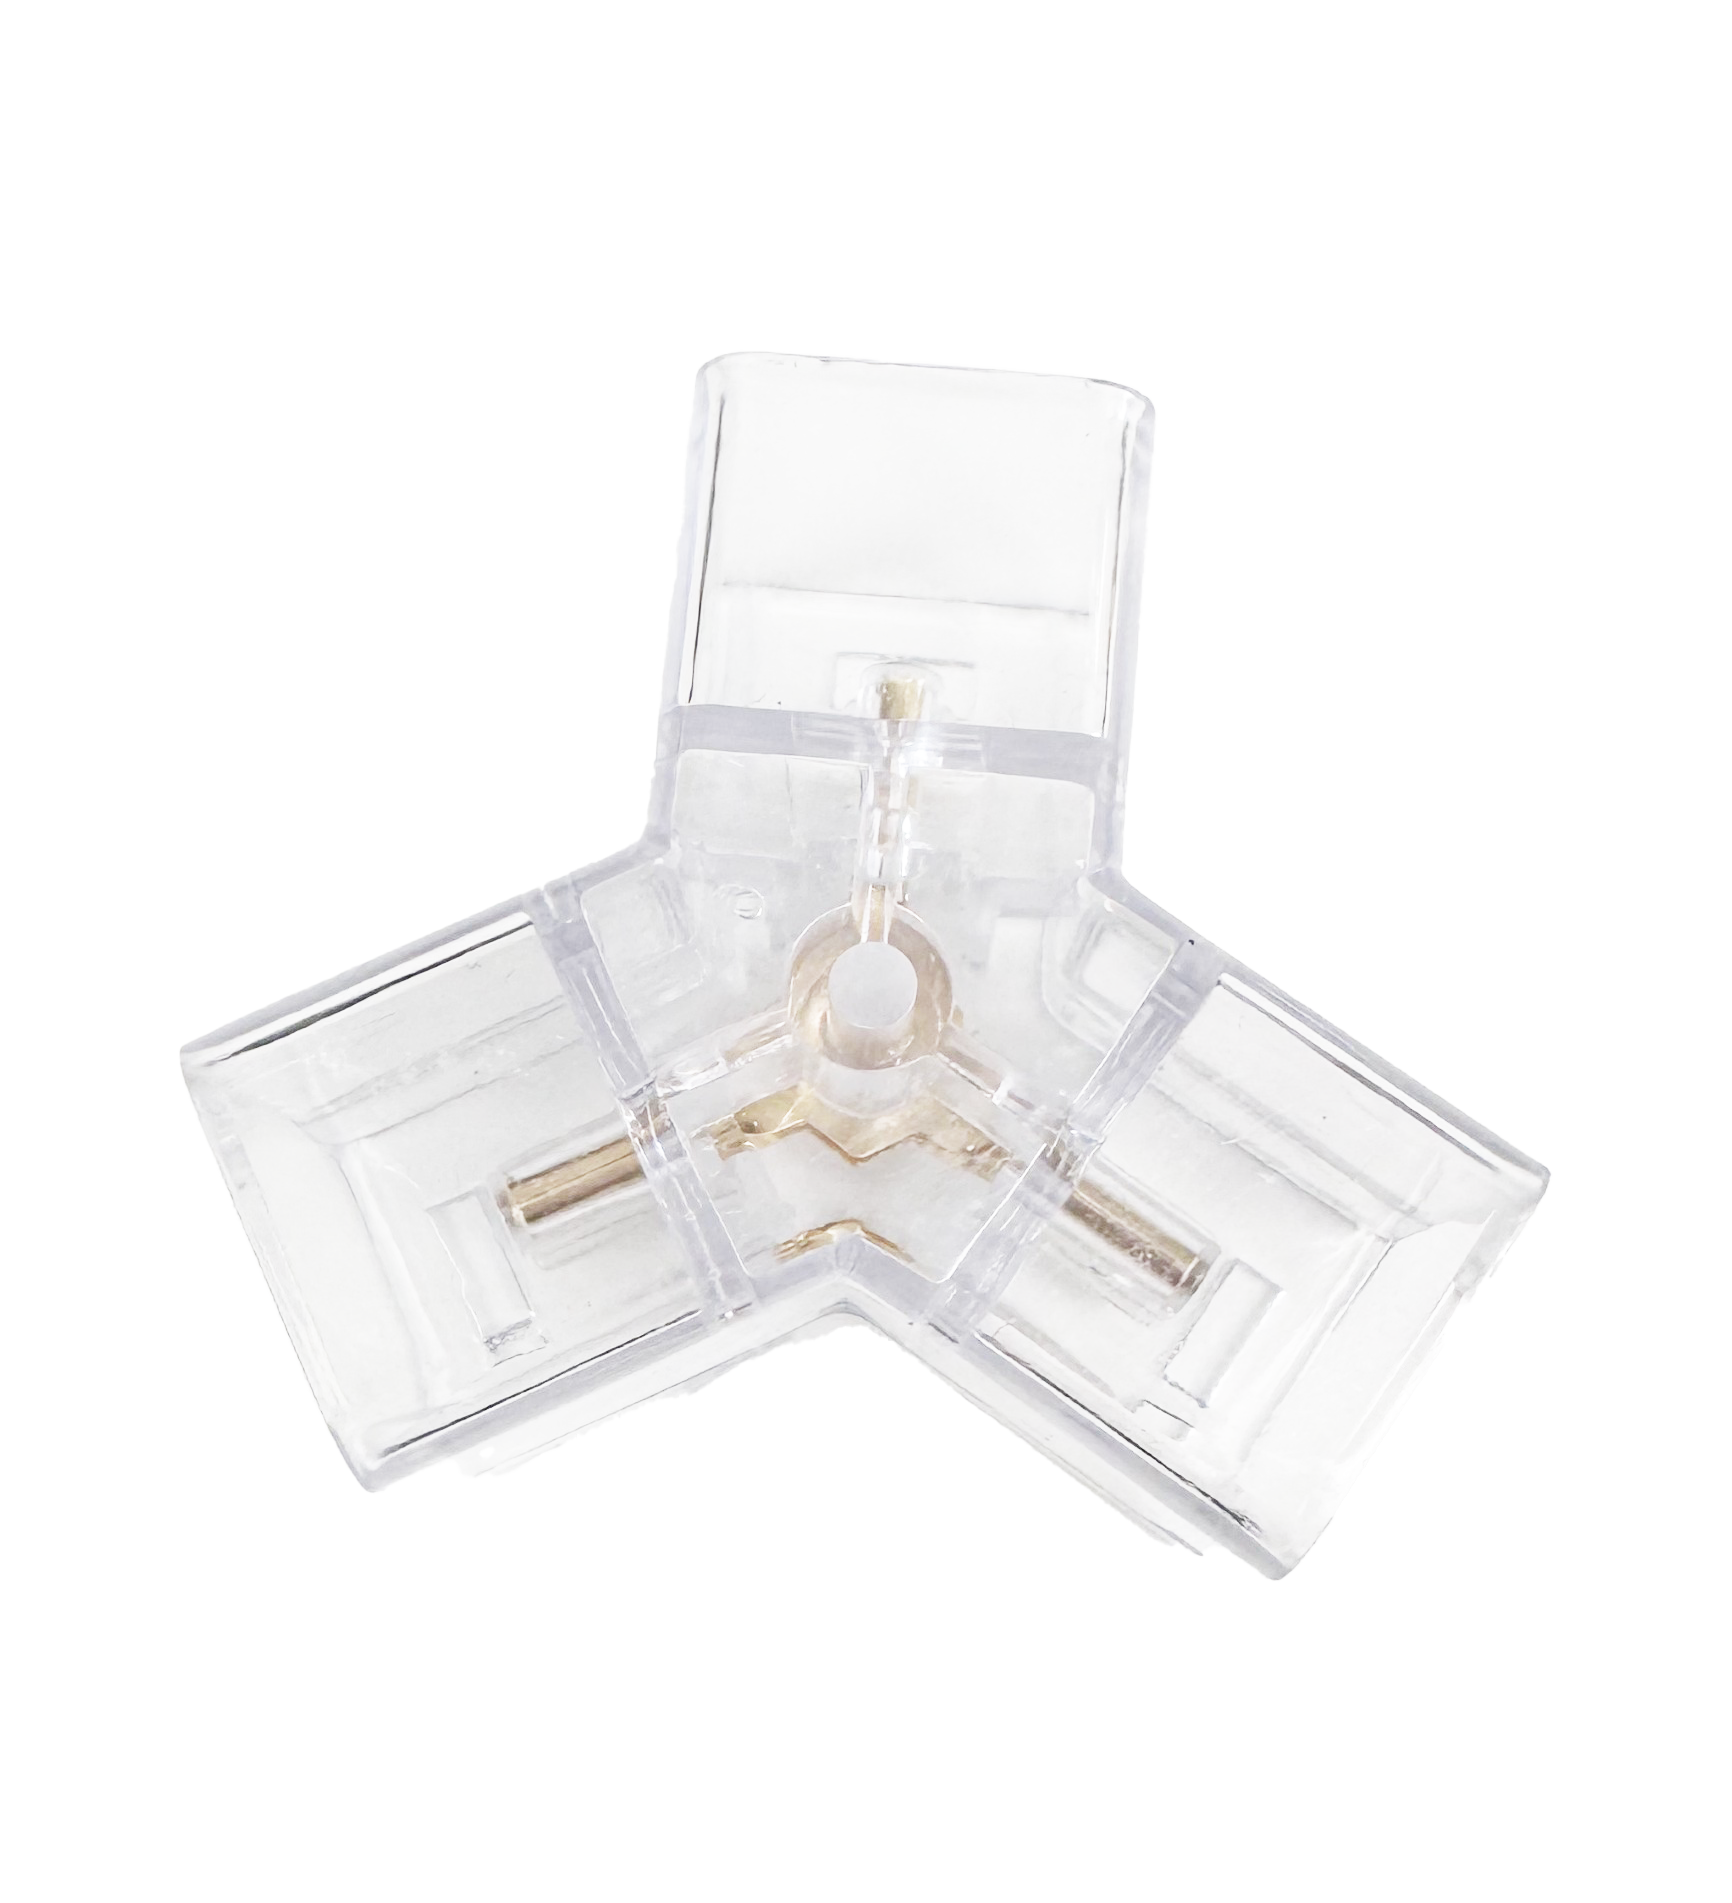
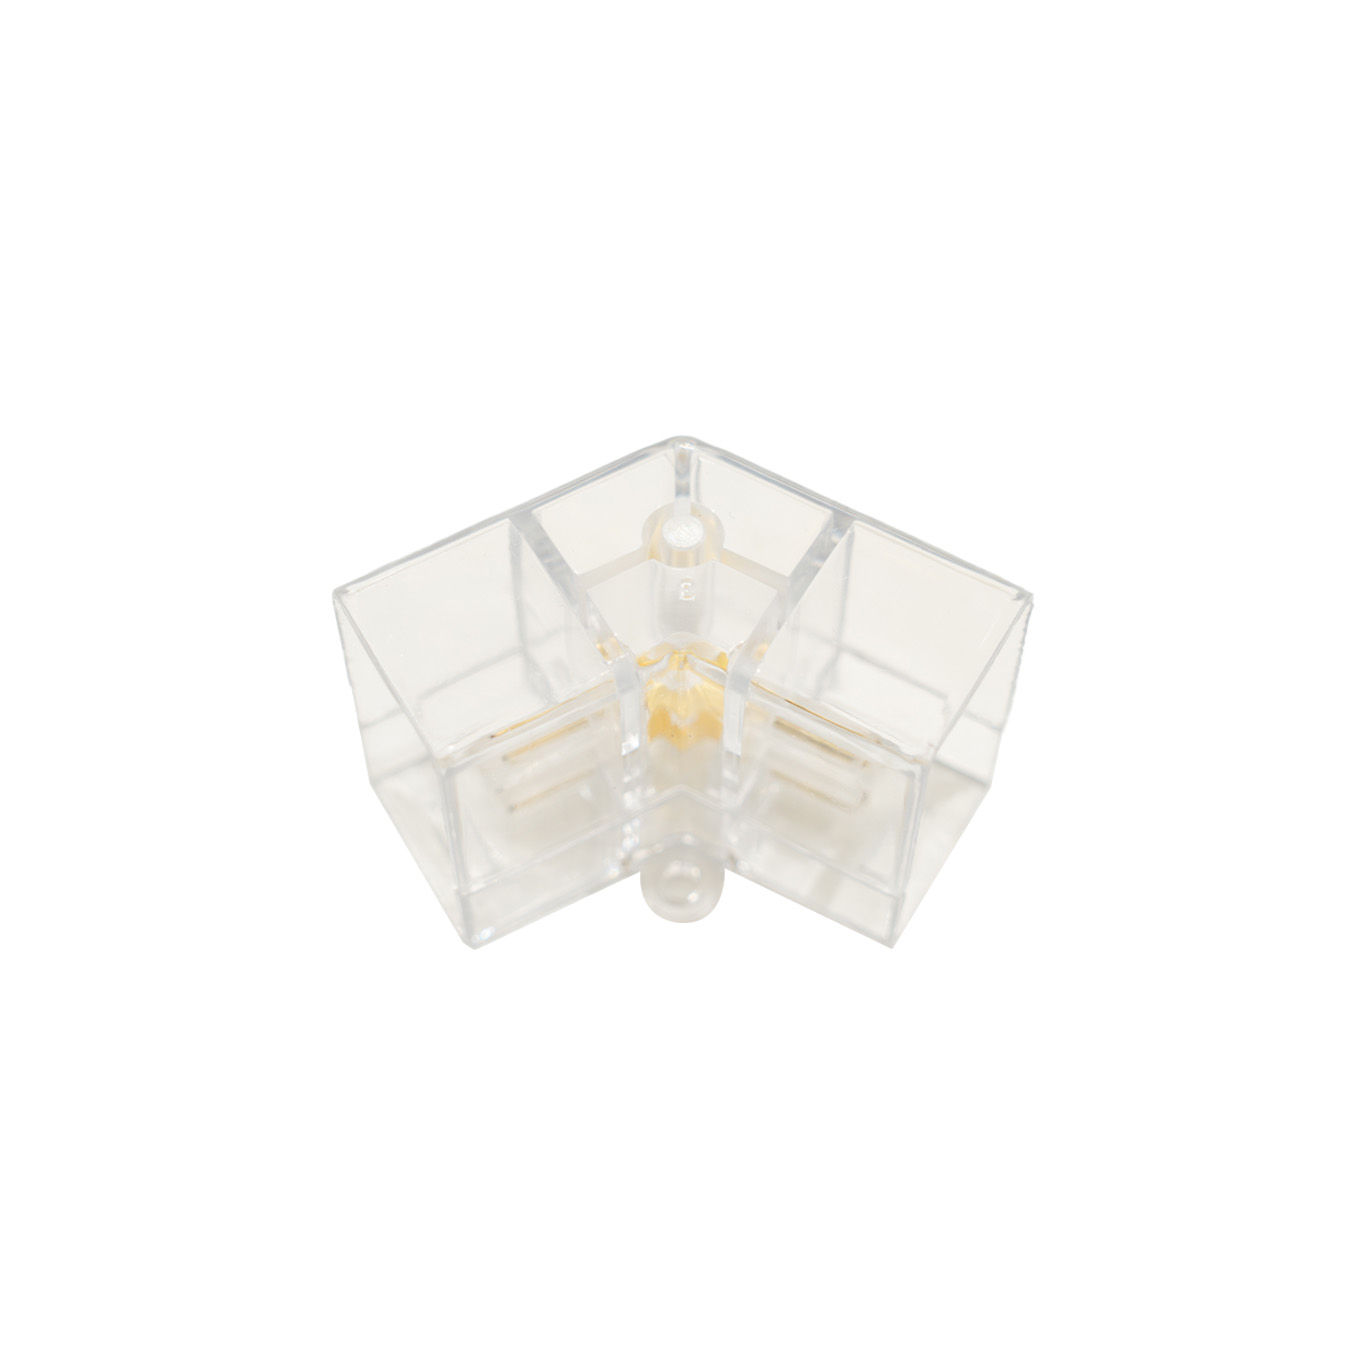
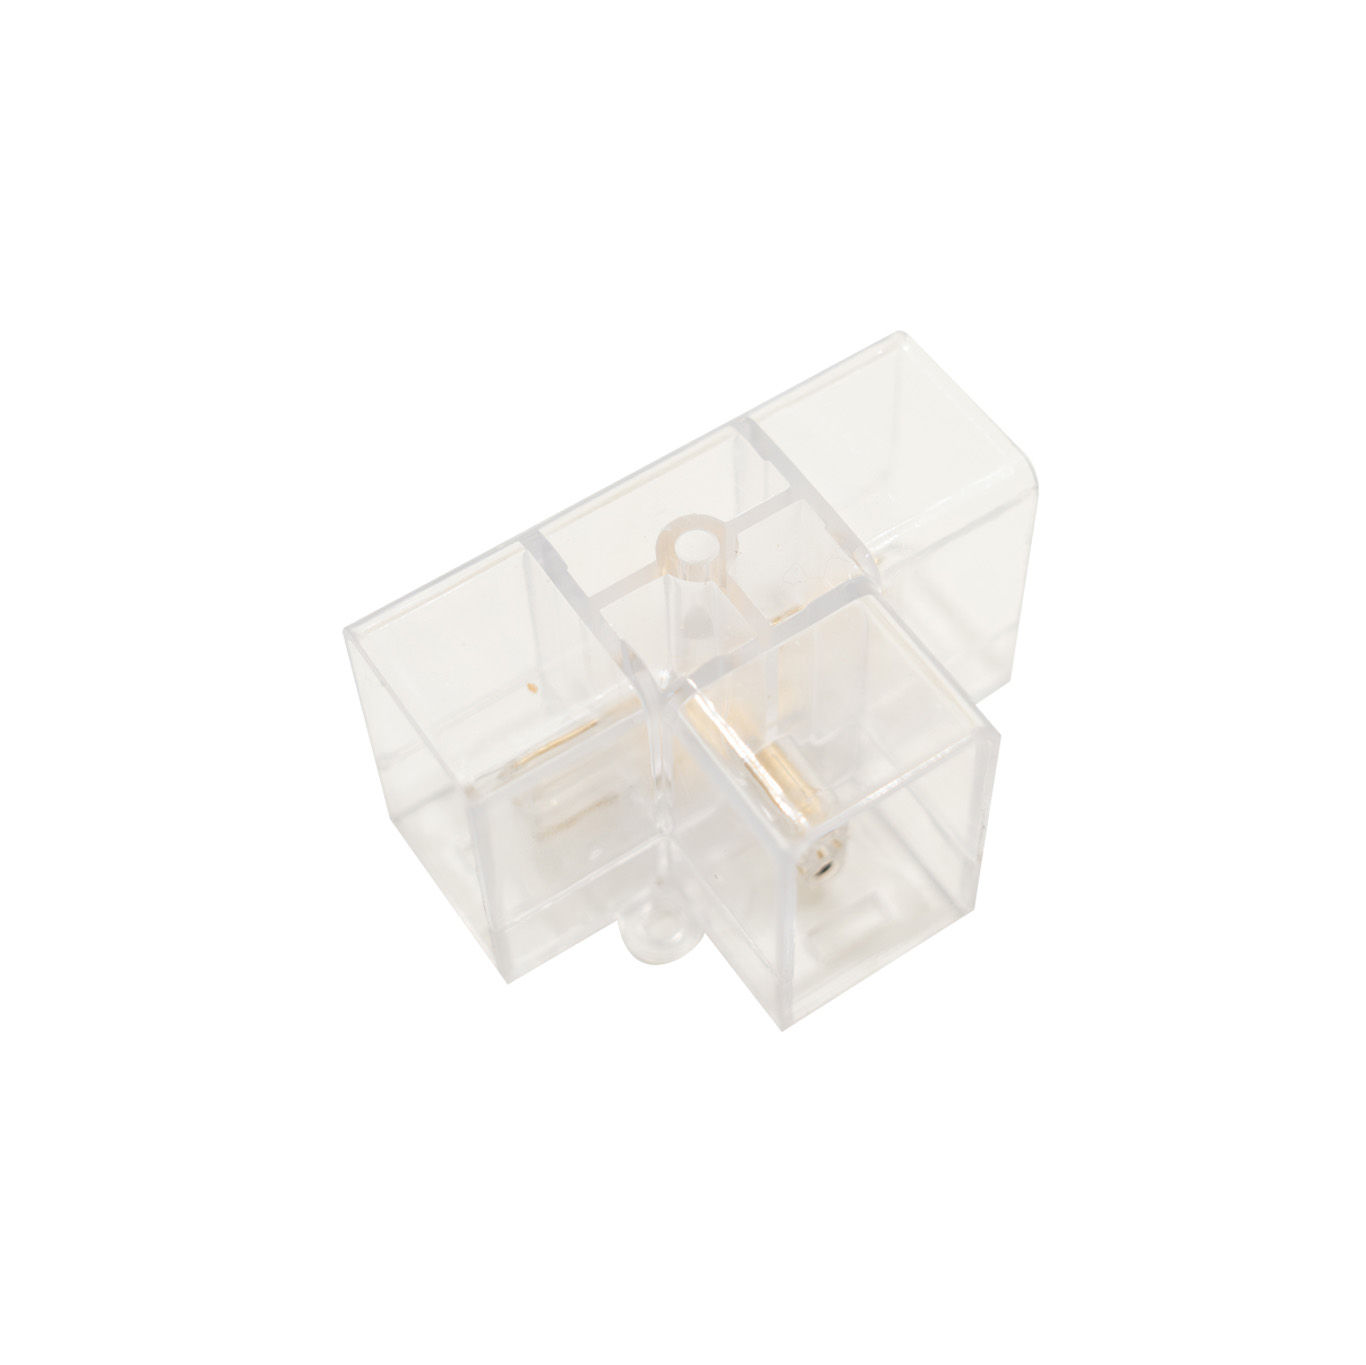
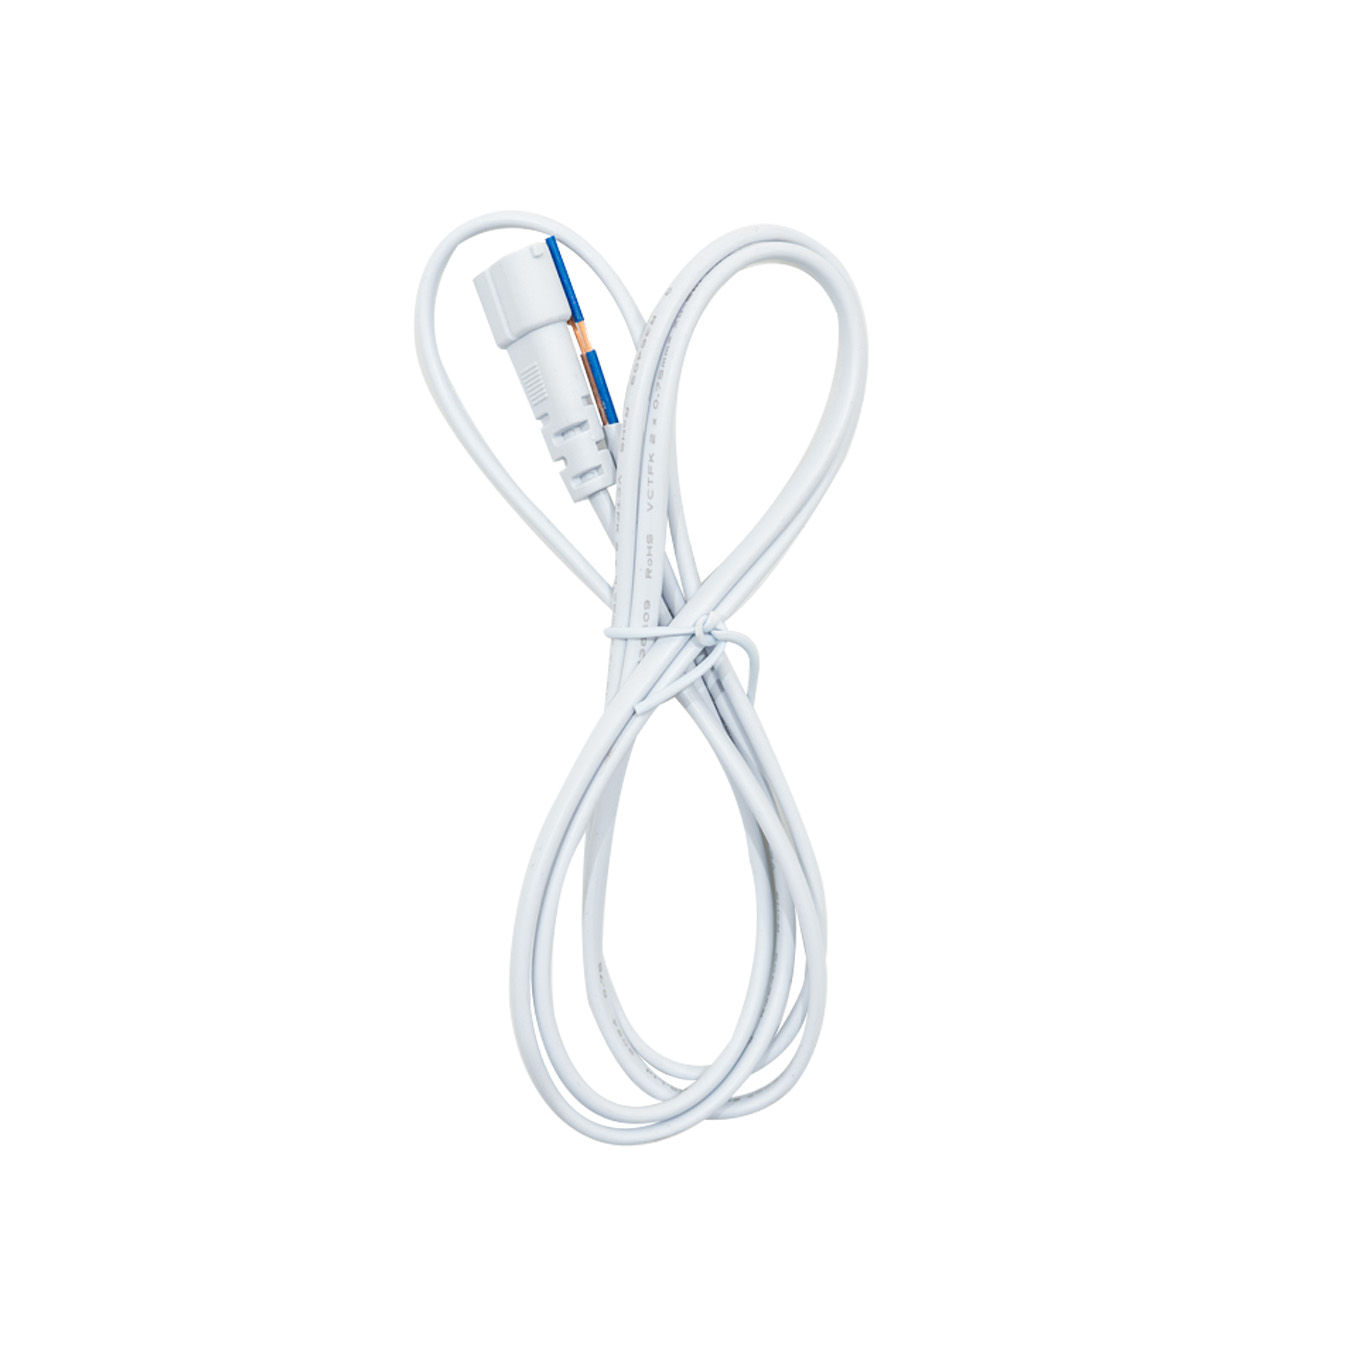
Parts
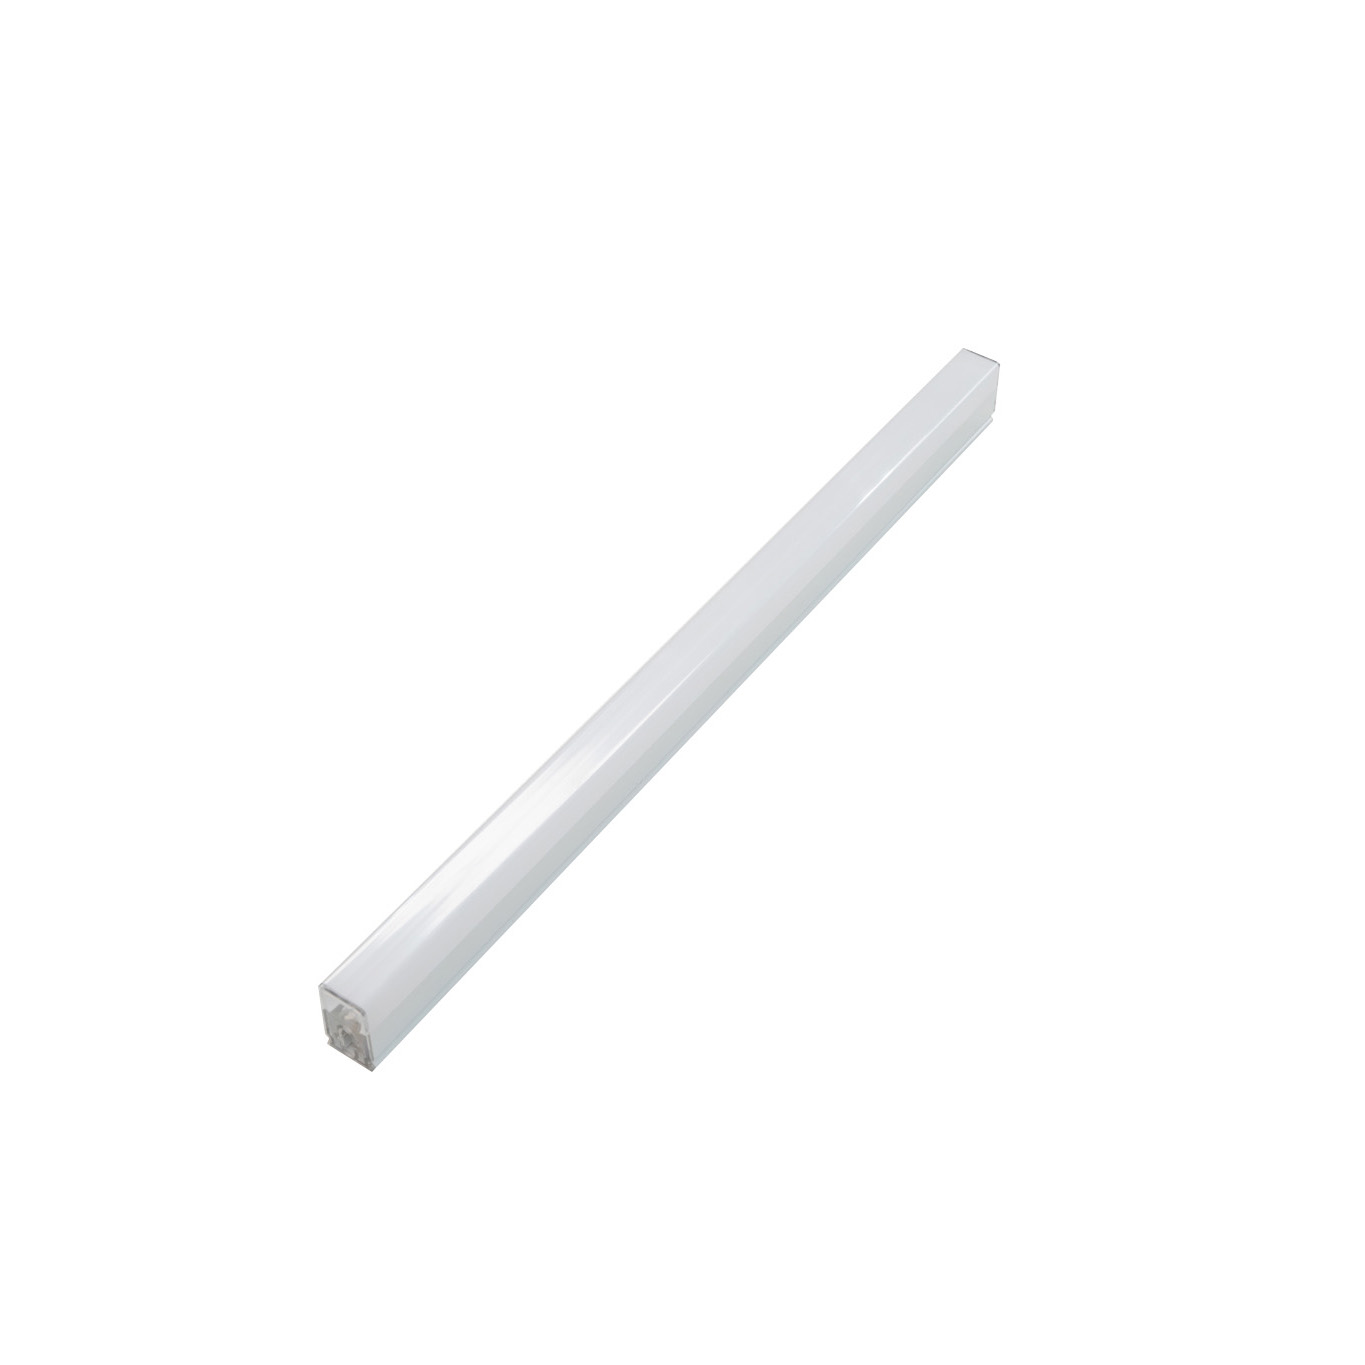
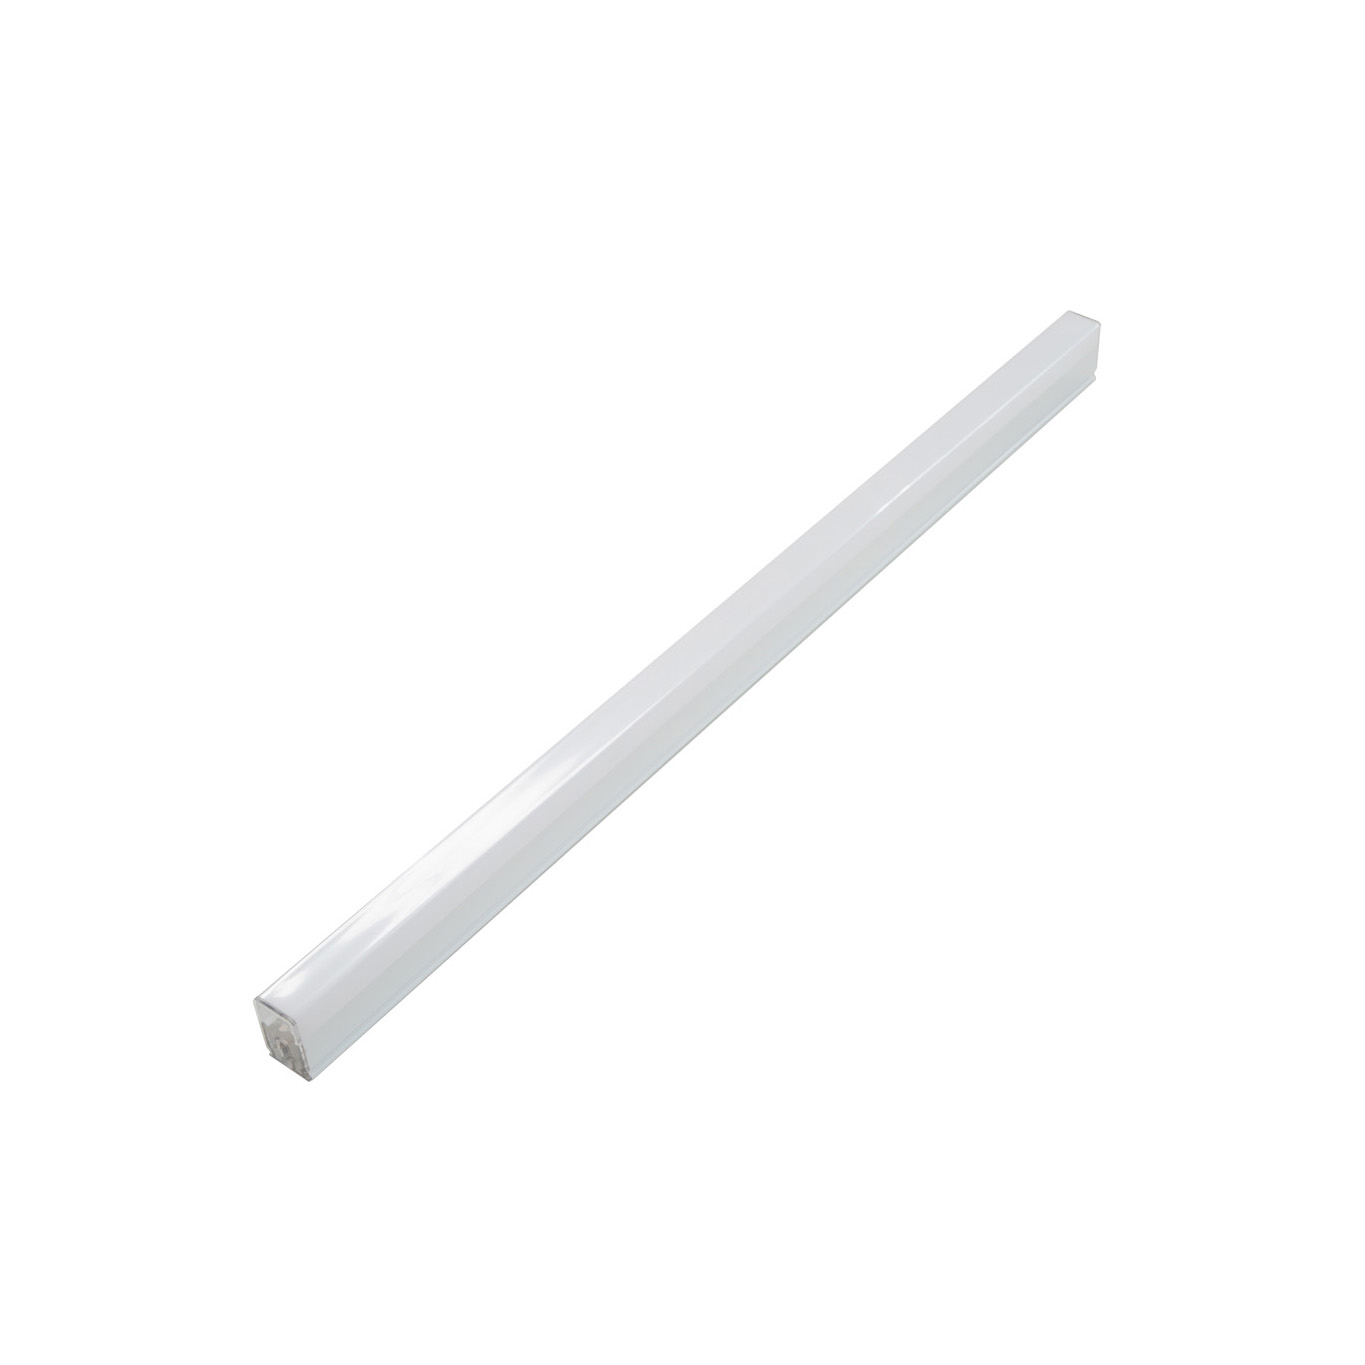
440mm Light Tube
565mm Light Tube
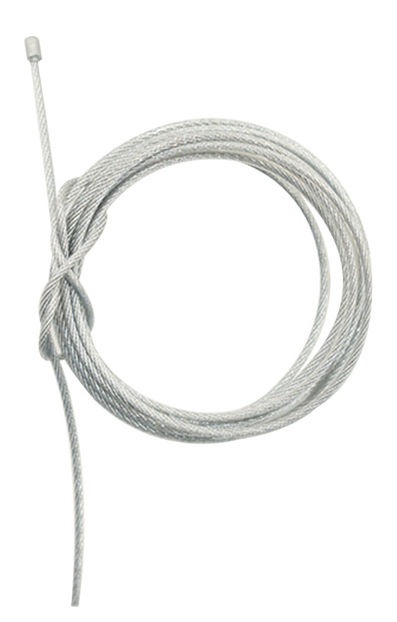
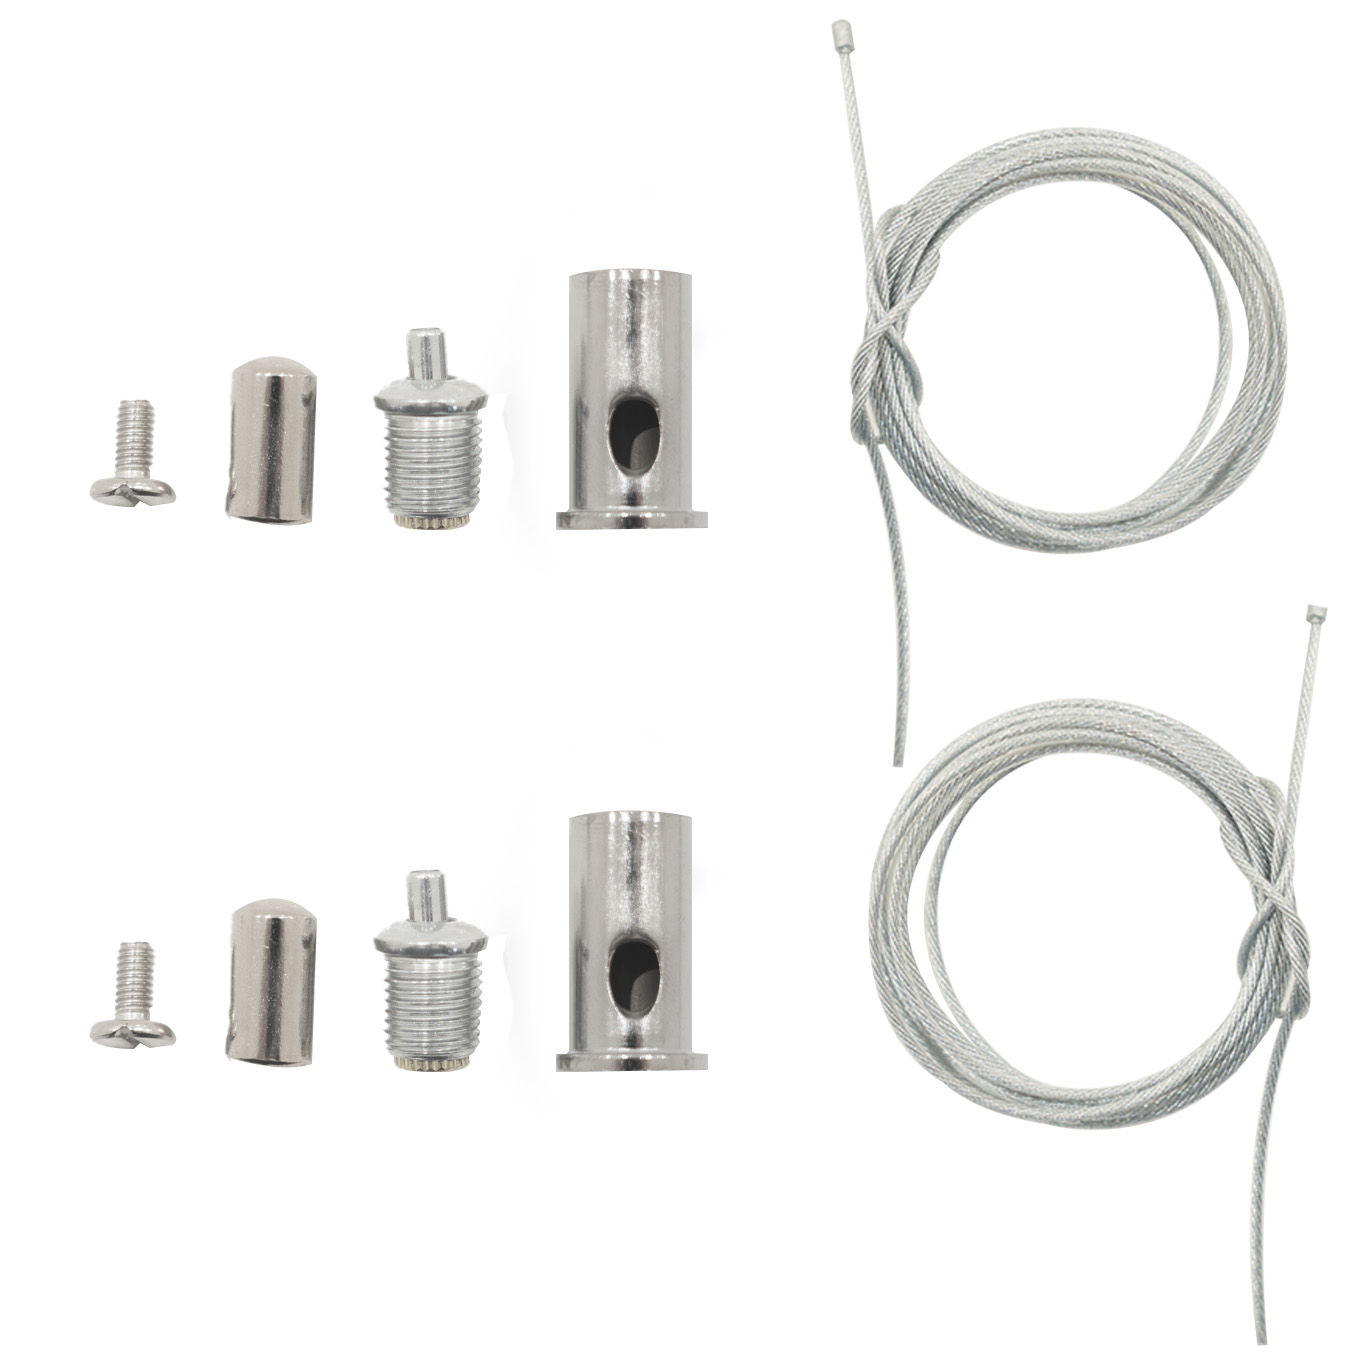
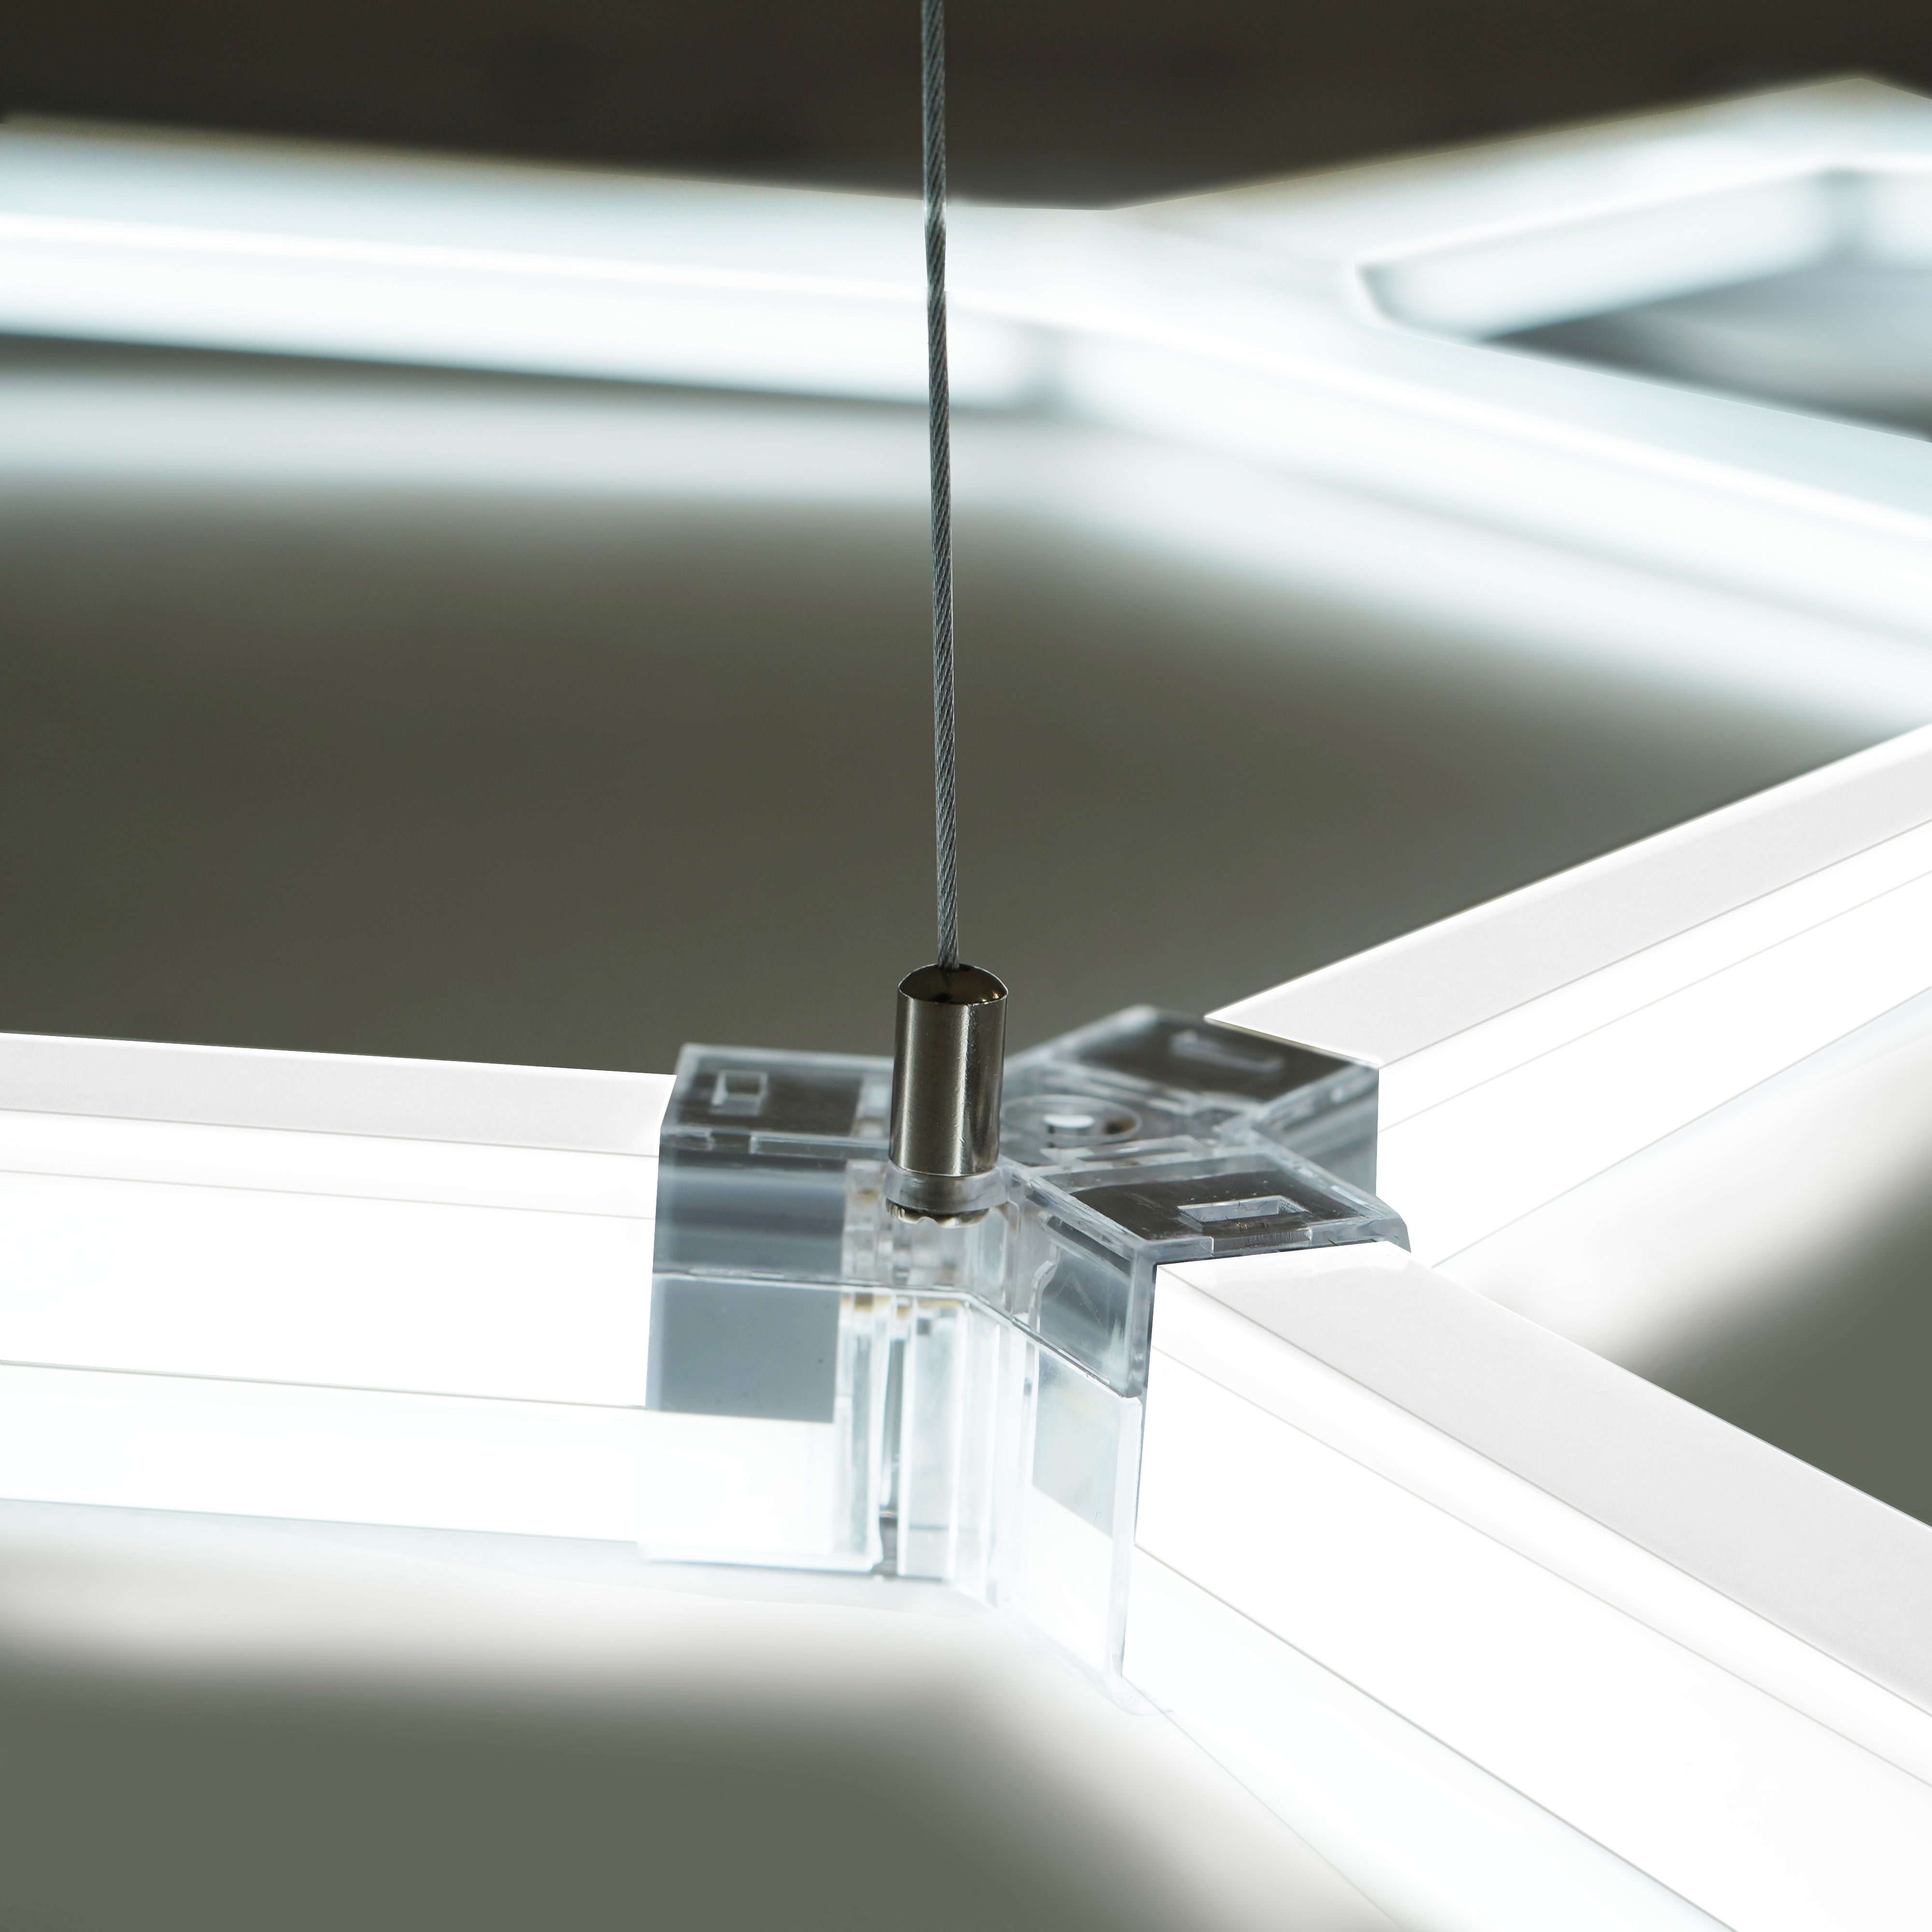
Ceiling Suspension Ropes
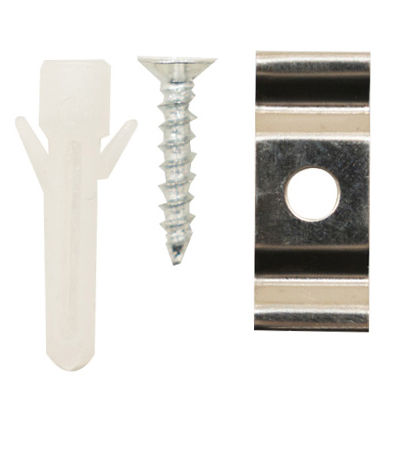
Ceiling Fixing Kit
Wall Fixing Kit
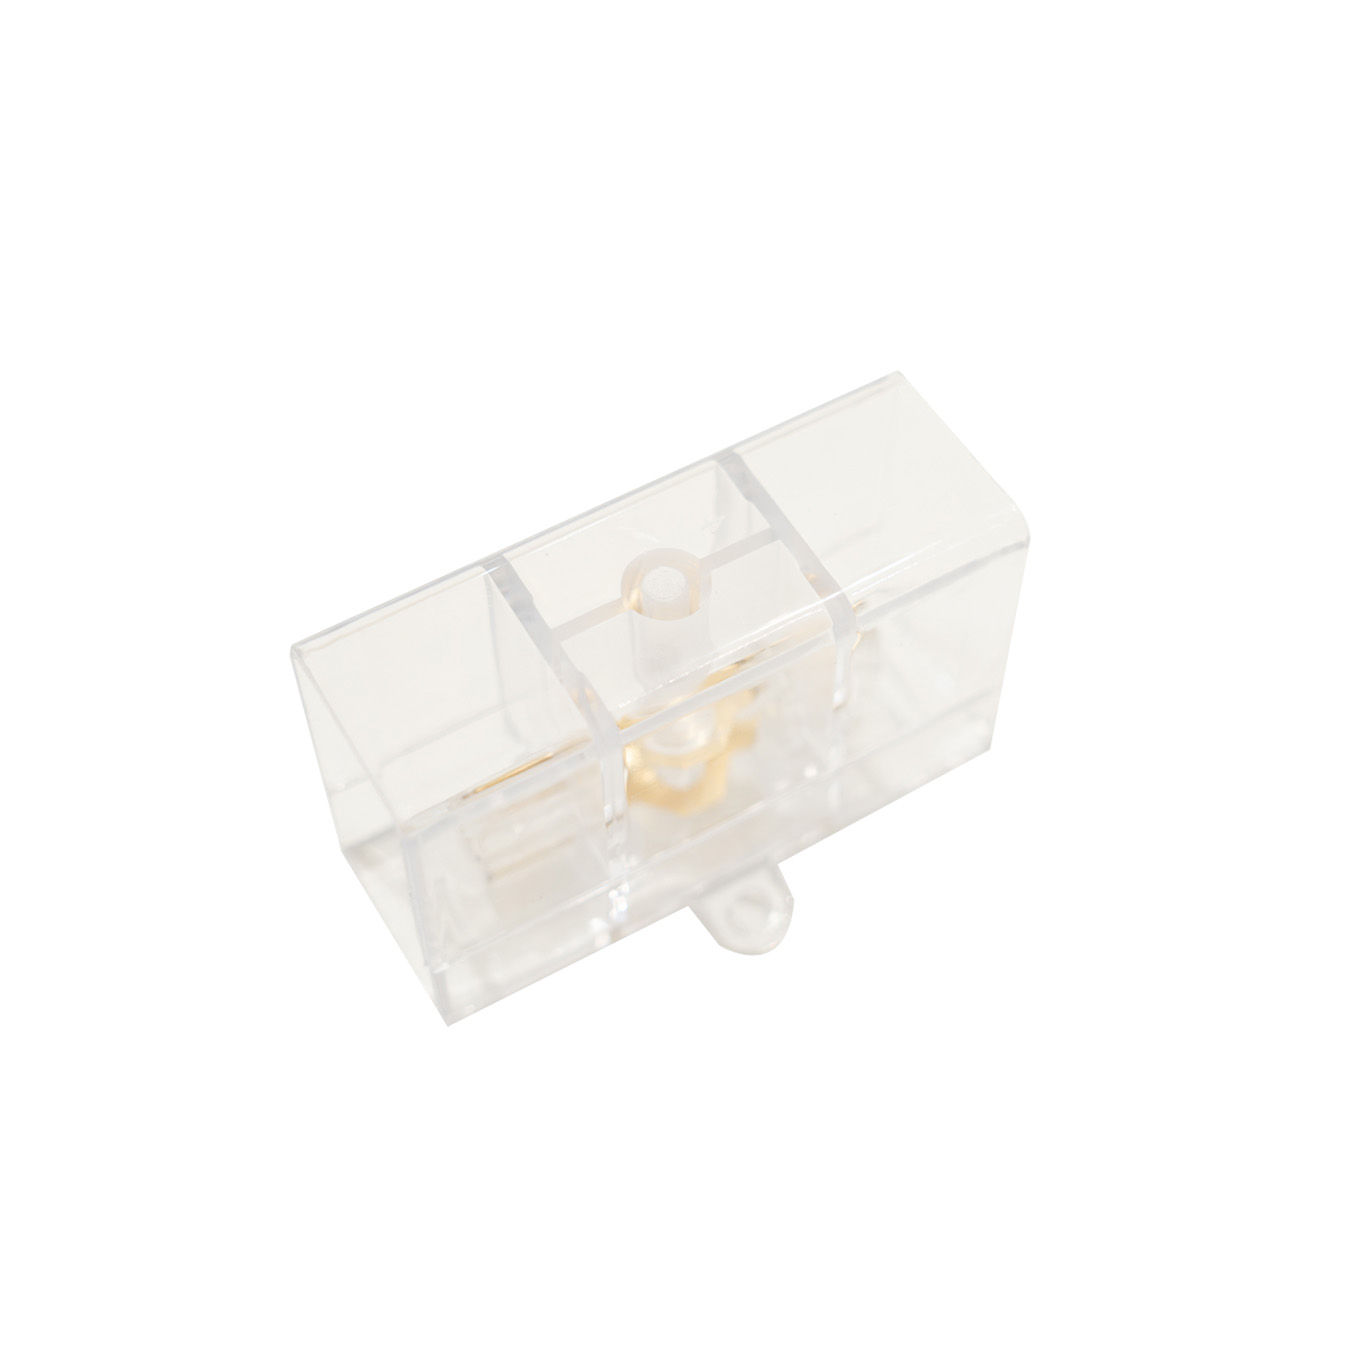
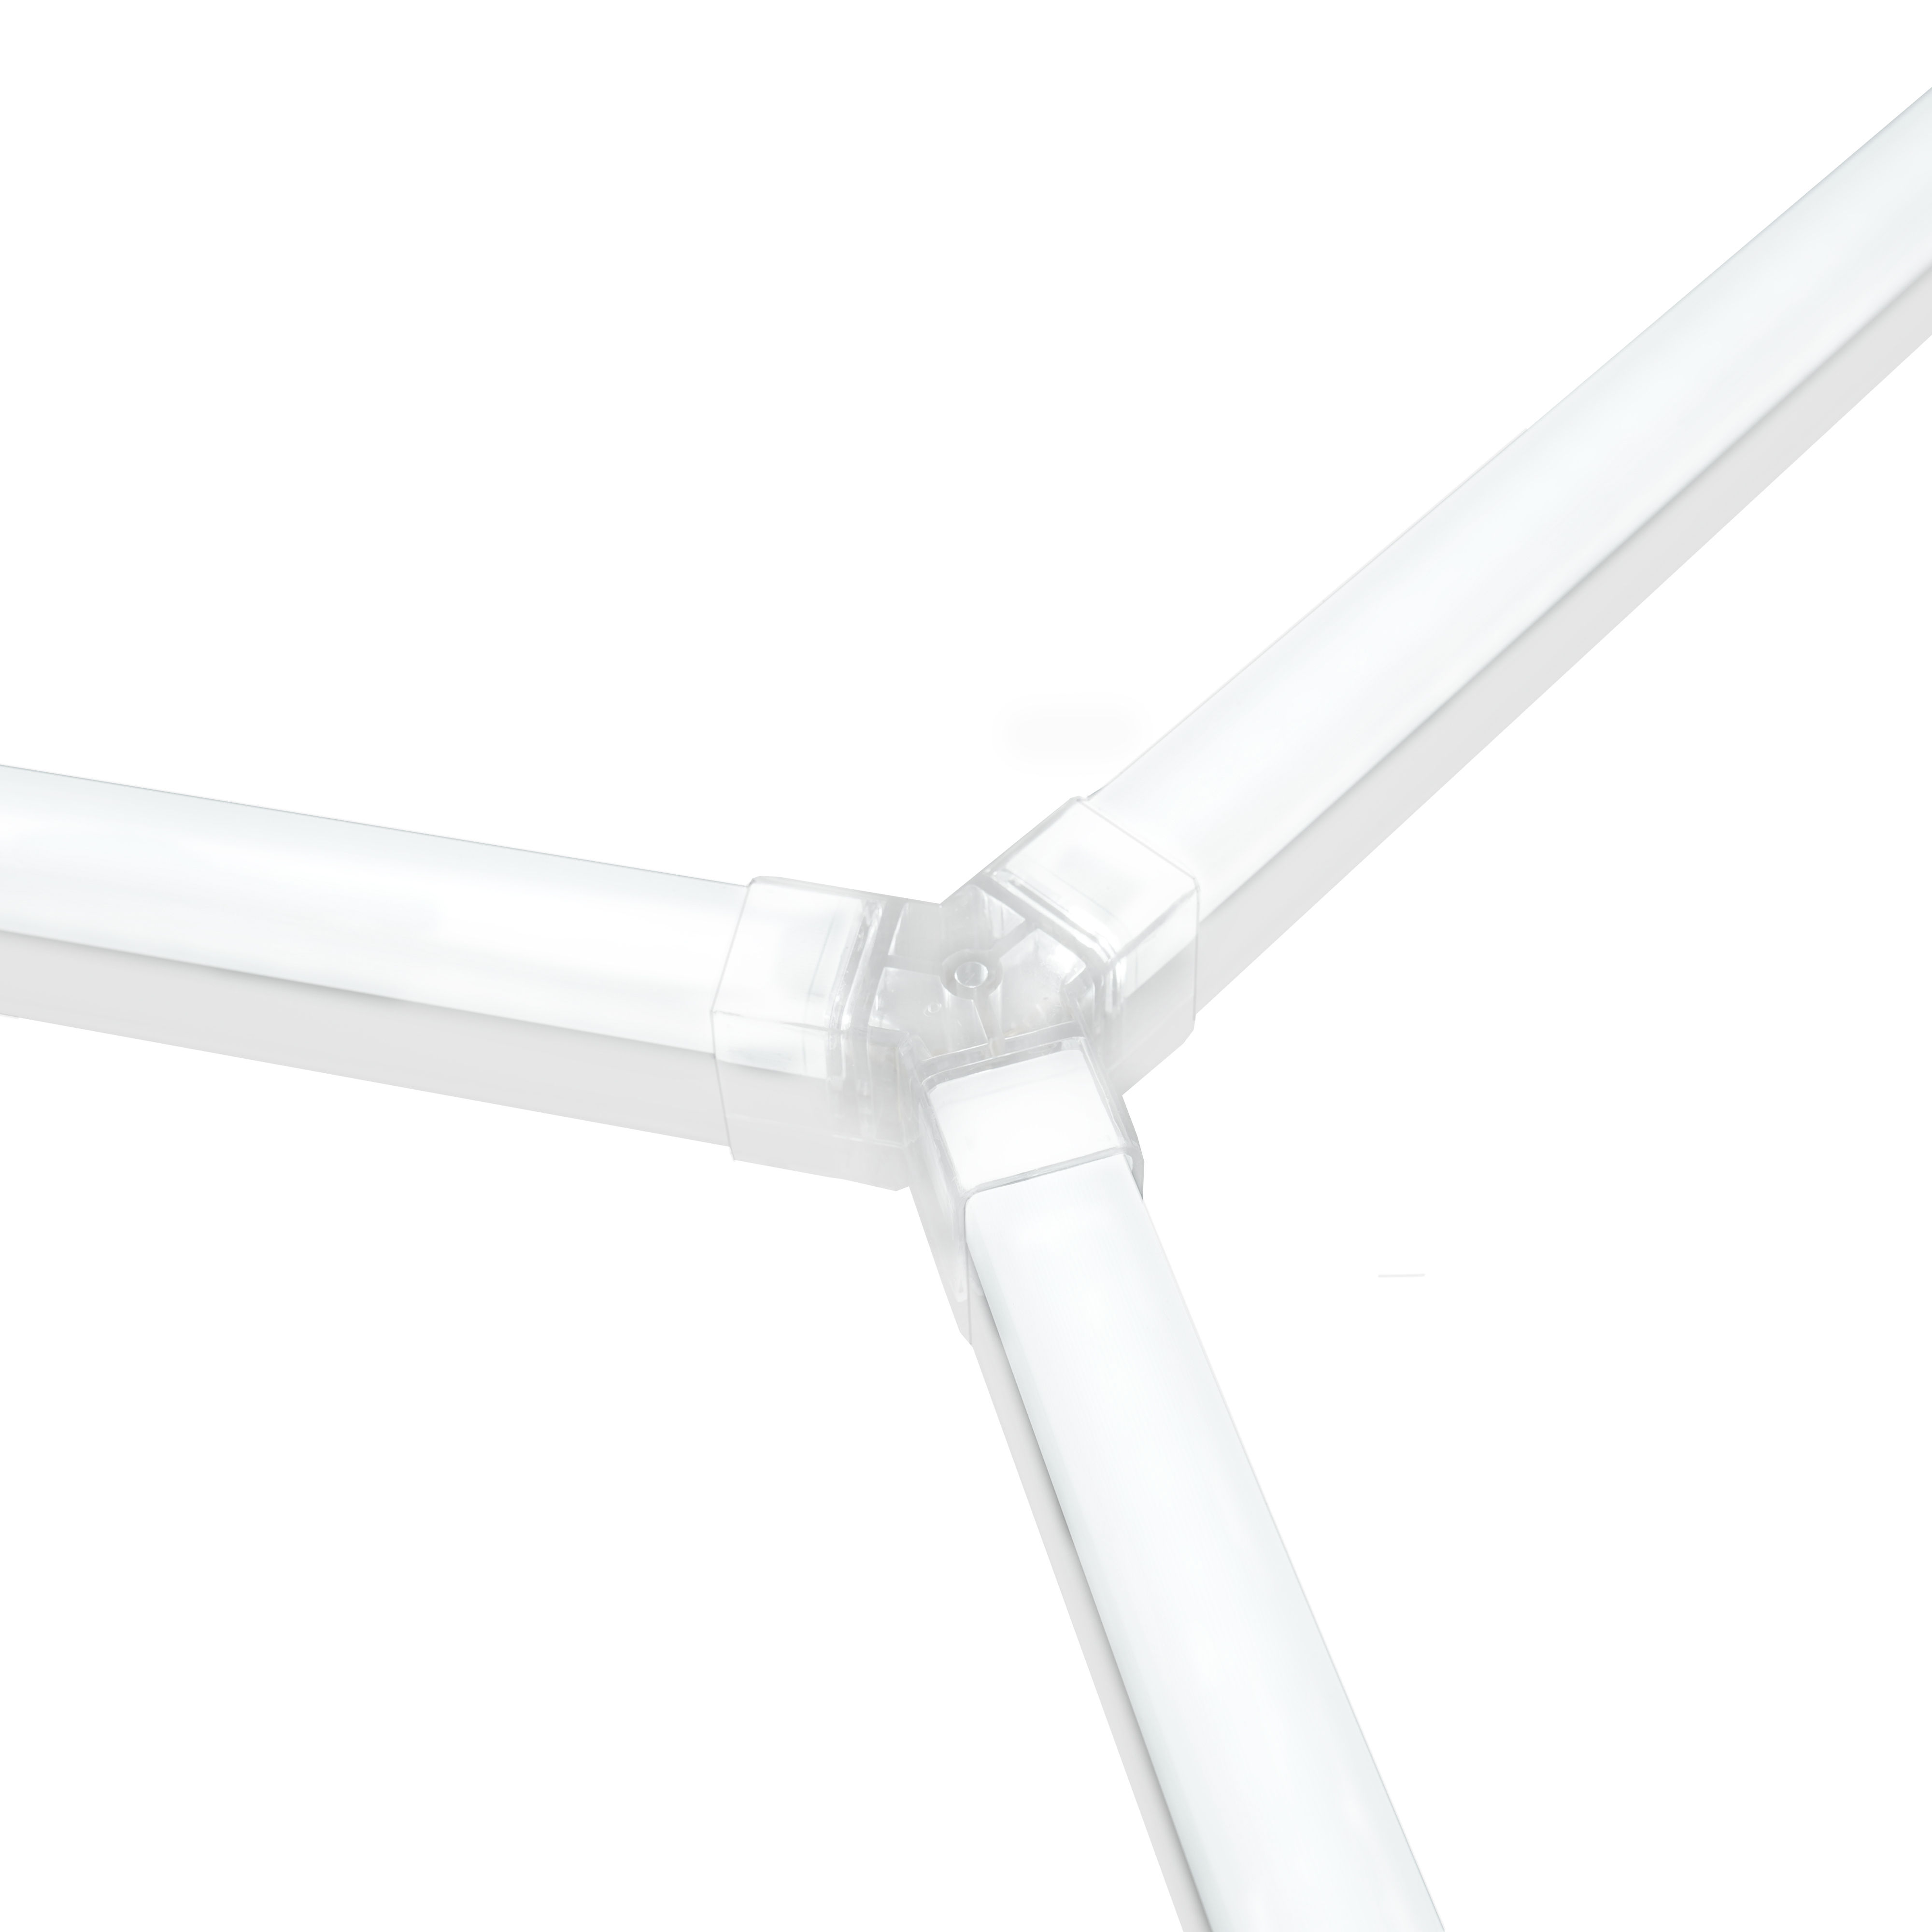
180° two-way connector
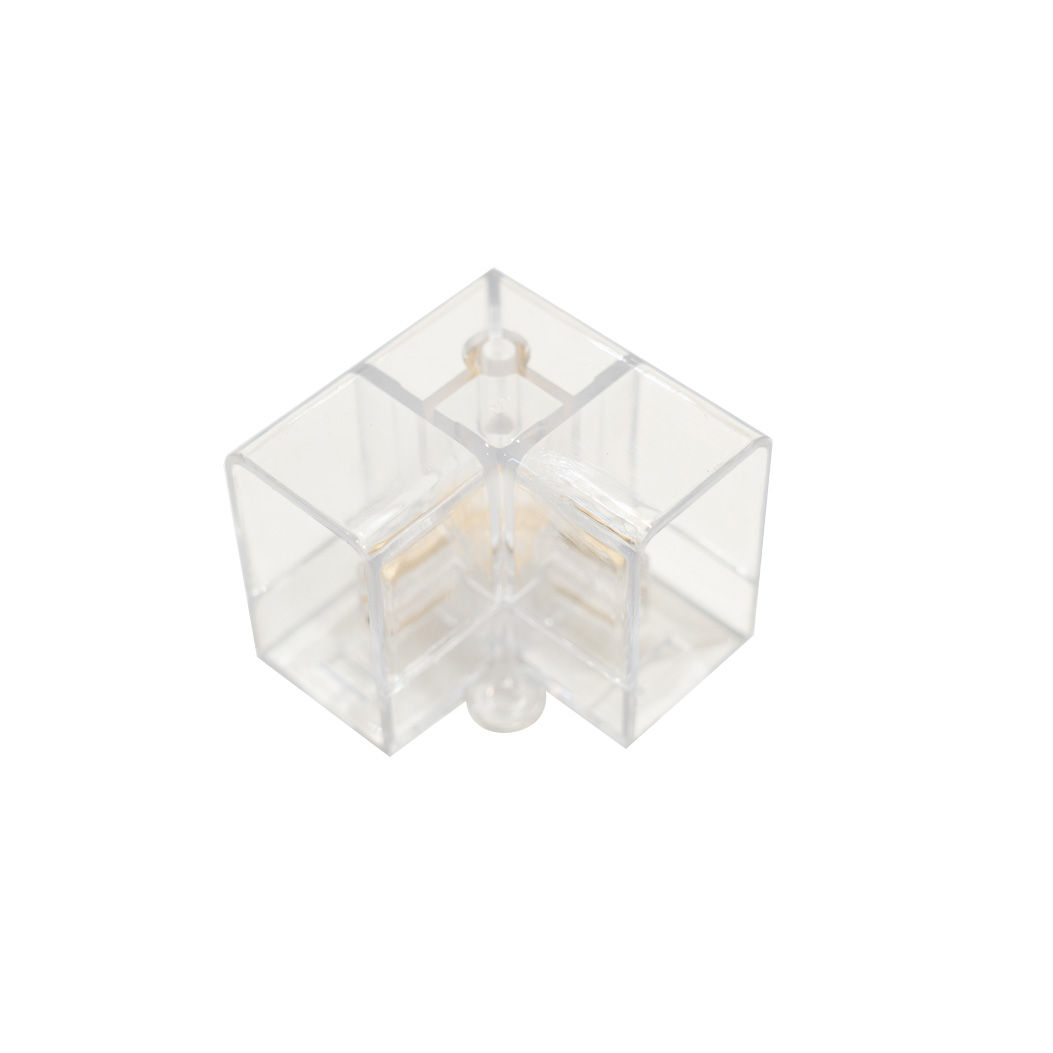
90° two-way connector
120° Y connector
120° two-way connector
90° T connector
Power Cord
1.
Begin by planning the entire lighting structure on the floor prior to mounting. We recommend laying it out before connecting it. The border should be constructed first, by joining the 565mm LED tubes using the 180° straight and 90° corner two-way connectors. Install a T connector at the corner of the border designated for a power cable connection to the power supply. Ensure the tubes are fully inserted into the connectors for a secure fit.
2.
Now, start forming each hexagonal shape by connecting the 440mm LED tubes with 120° and 360° Y two-way connectors according to the pattern you desire. Ensure a 360° Y two-way connector is installed on the corner of one hexagon to allow for the second power cable connection.
3. Ceiling Installation
Raise and install to the ceiling either as a single unit or in separate sections. Use the appropriate wall plugs and screws to fix it to the ceiling, inserting them through the holes in the connectors.
4. Grid Installation
Secure the lighting structure evenly to the grids by threading the provided cable ties through the connector holes and fastening them tightly around the grid mesh.
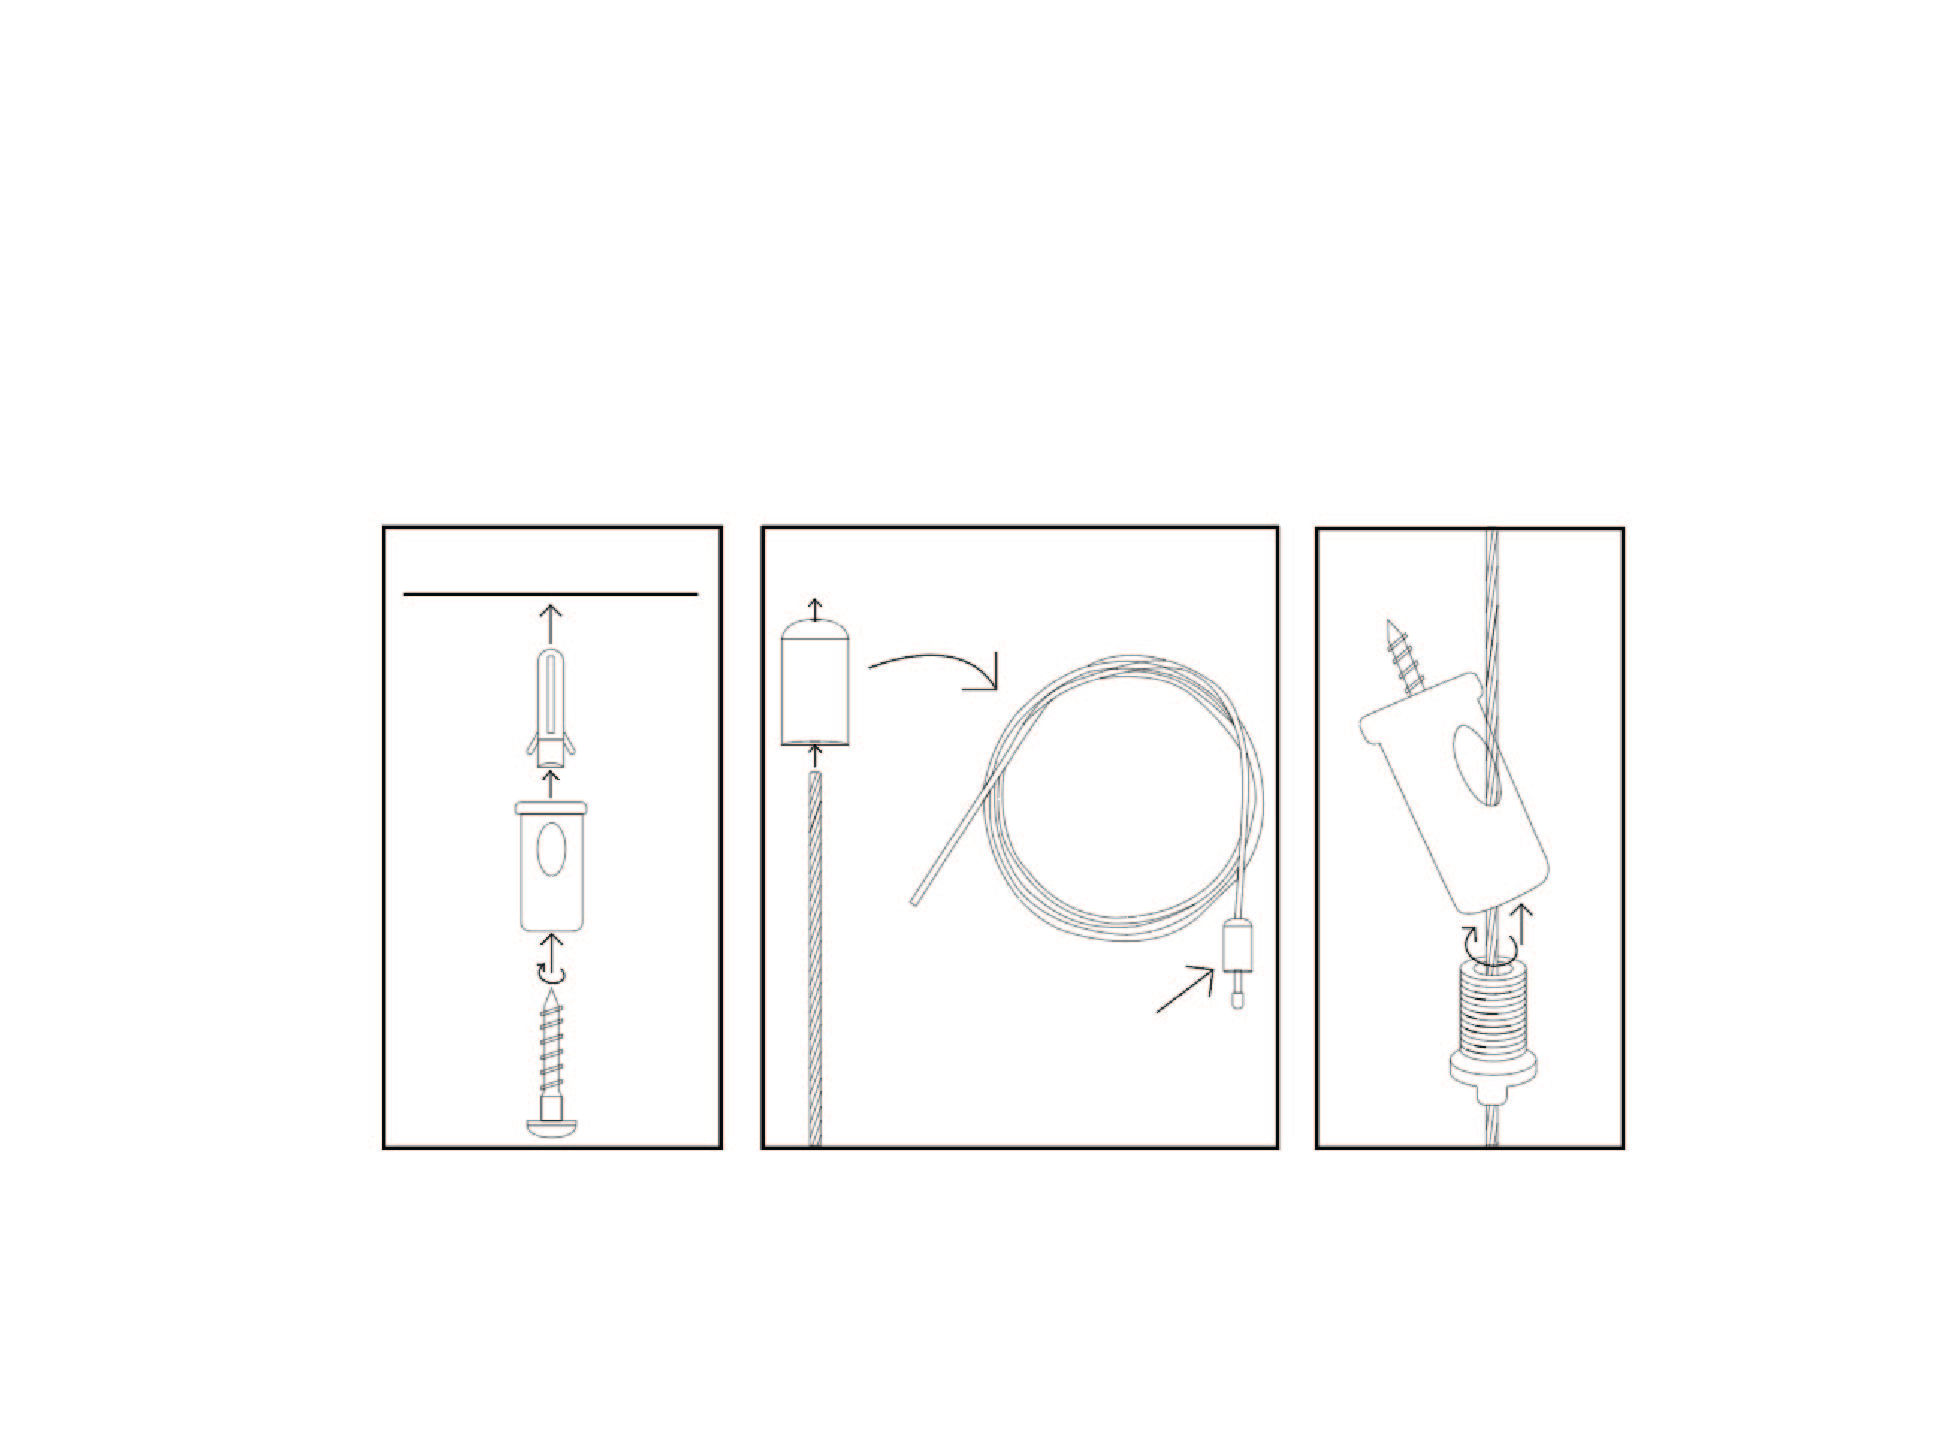
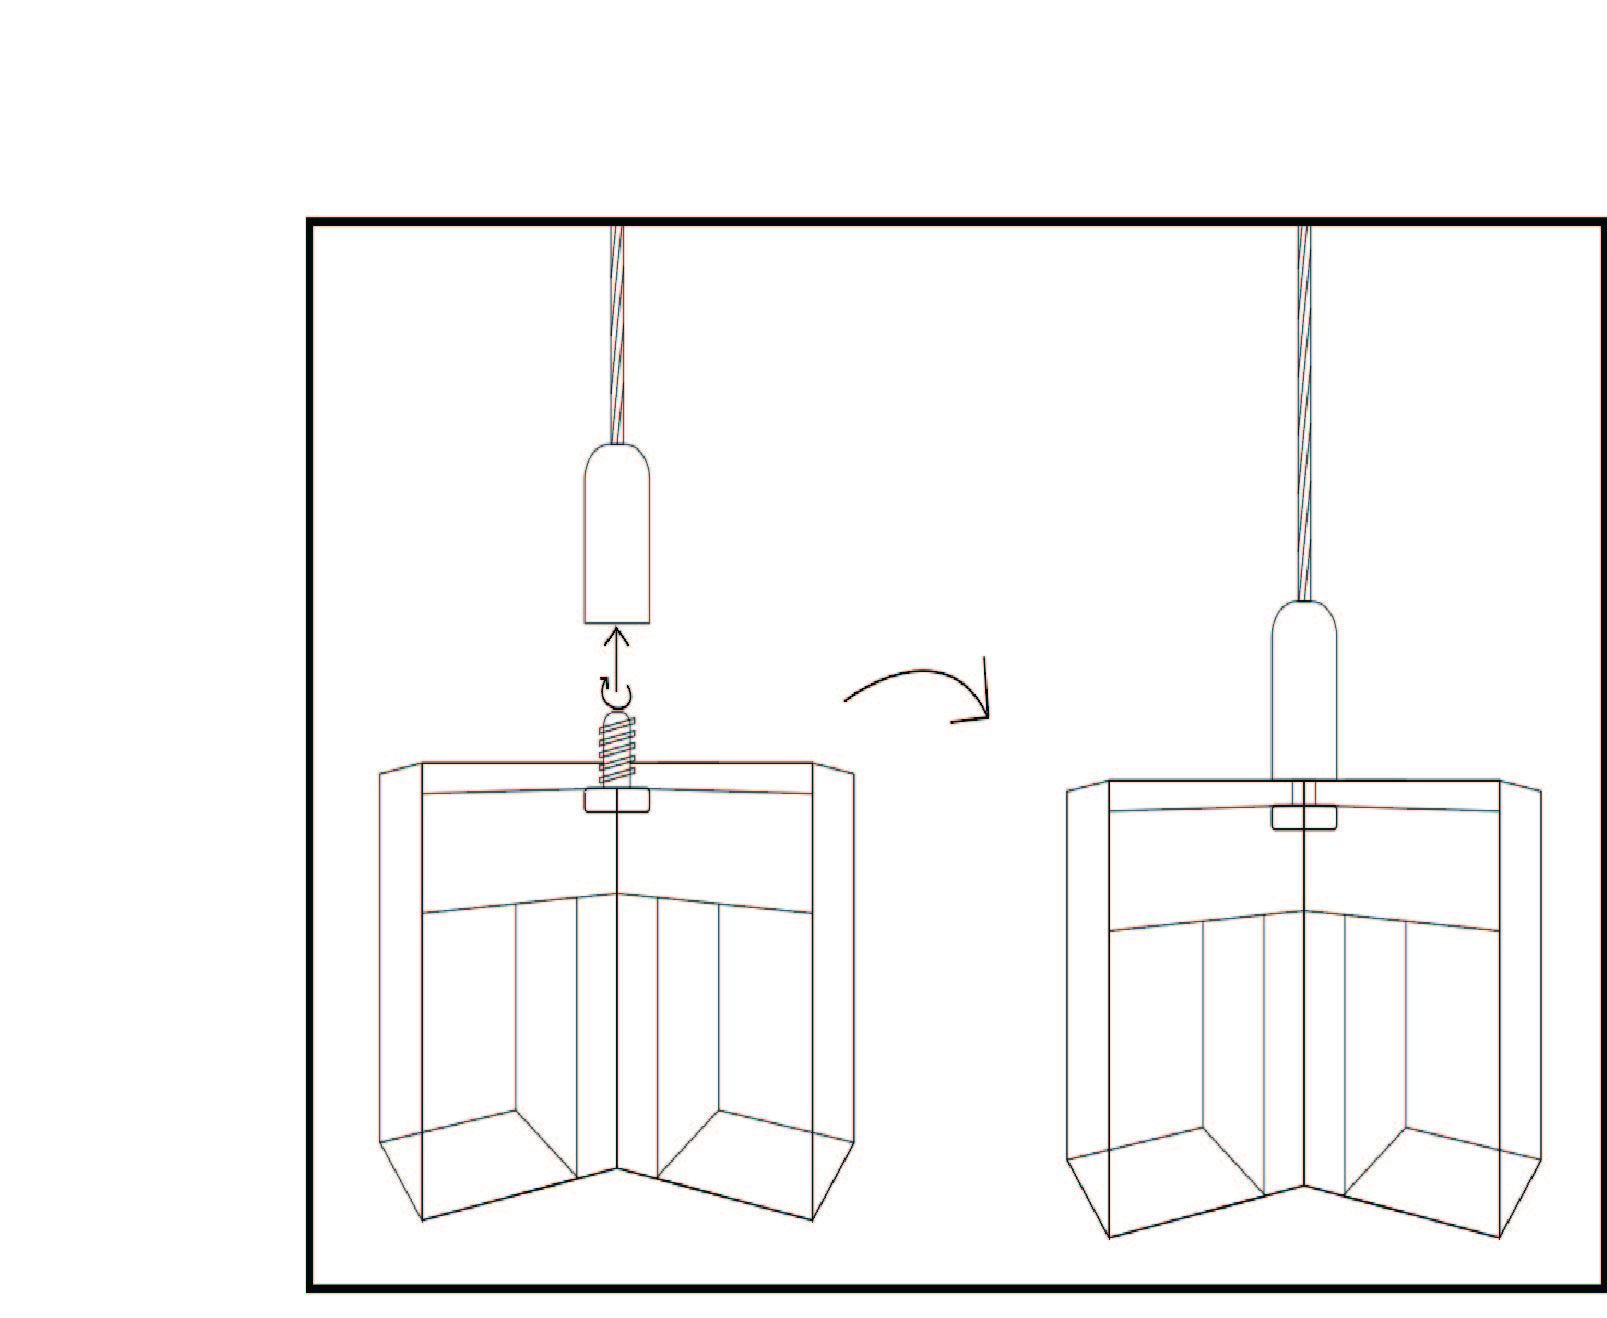
5. Ceiling Suspension Kit Installation
Make sure the ceiling suspension kit is attached uniformly across the LED light assembly to achieve an even distribution of weight.
Begin by laying out one suspension kit in the desired area for installation. Follow the diagrams below for each kit.
6. Maintenance
Clean the light fixture with a dry or slightly damp cloth. Do not use harsh chemicals or abrasive cleaners as they may damage the finish.
7. Troubleshooting
WHAT DO I DO IF THERE ARE MISSING PARTS FROM MY ORDER?
If there appears to be any part missing from your order, contact our friendly and helpful Customer Support Team within 7 days of receipt.
FOR ALL OTHER ISSUES, PLEASE CONTACT OUR CUSTOMER SUPPORT TEAM.