1. Product Features
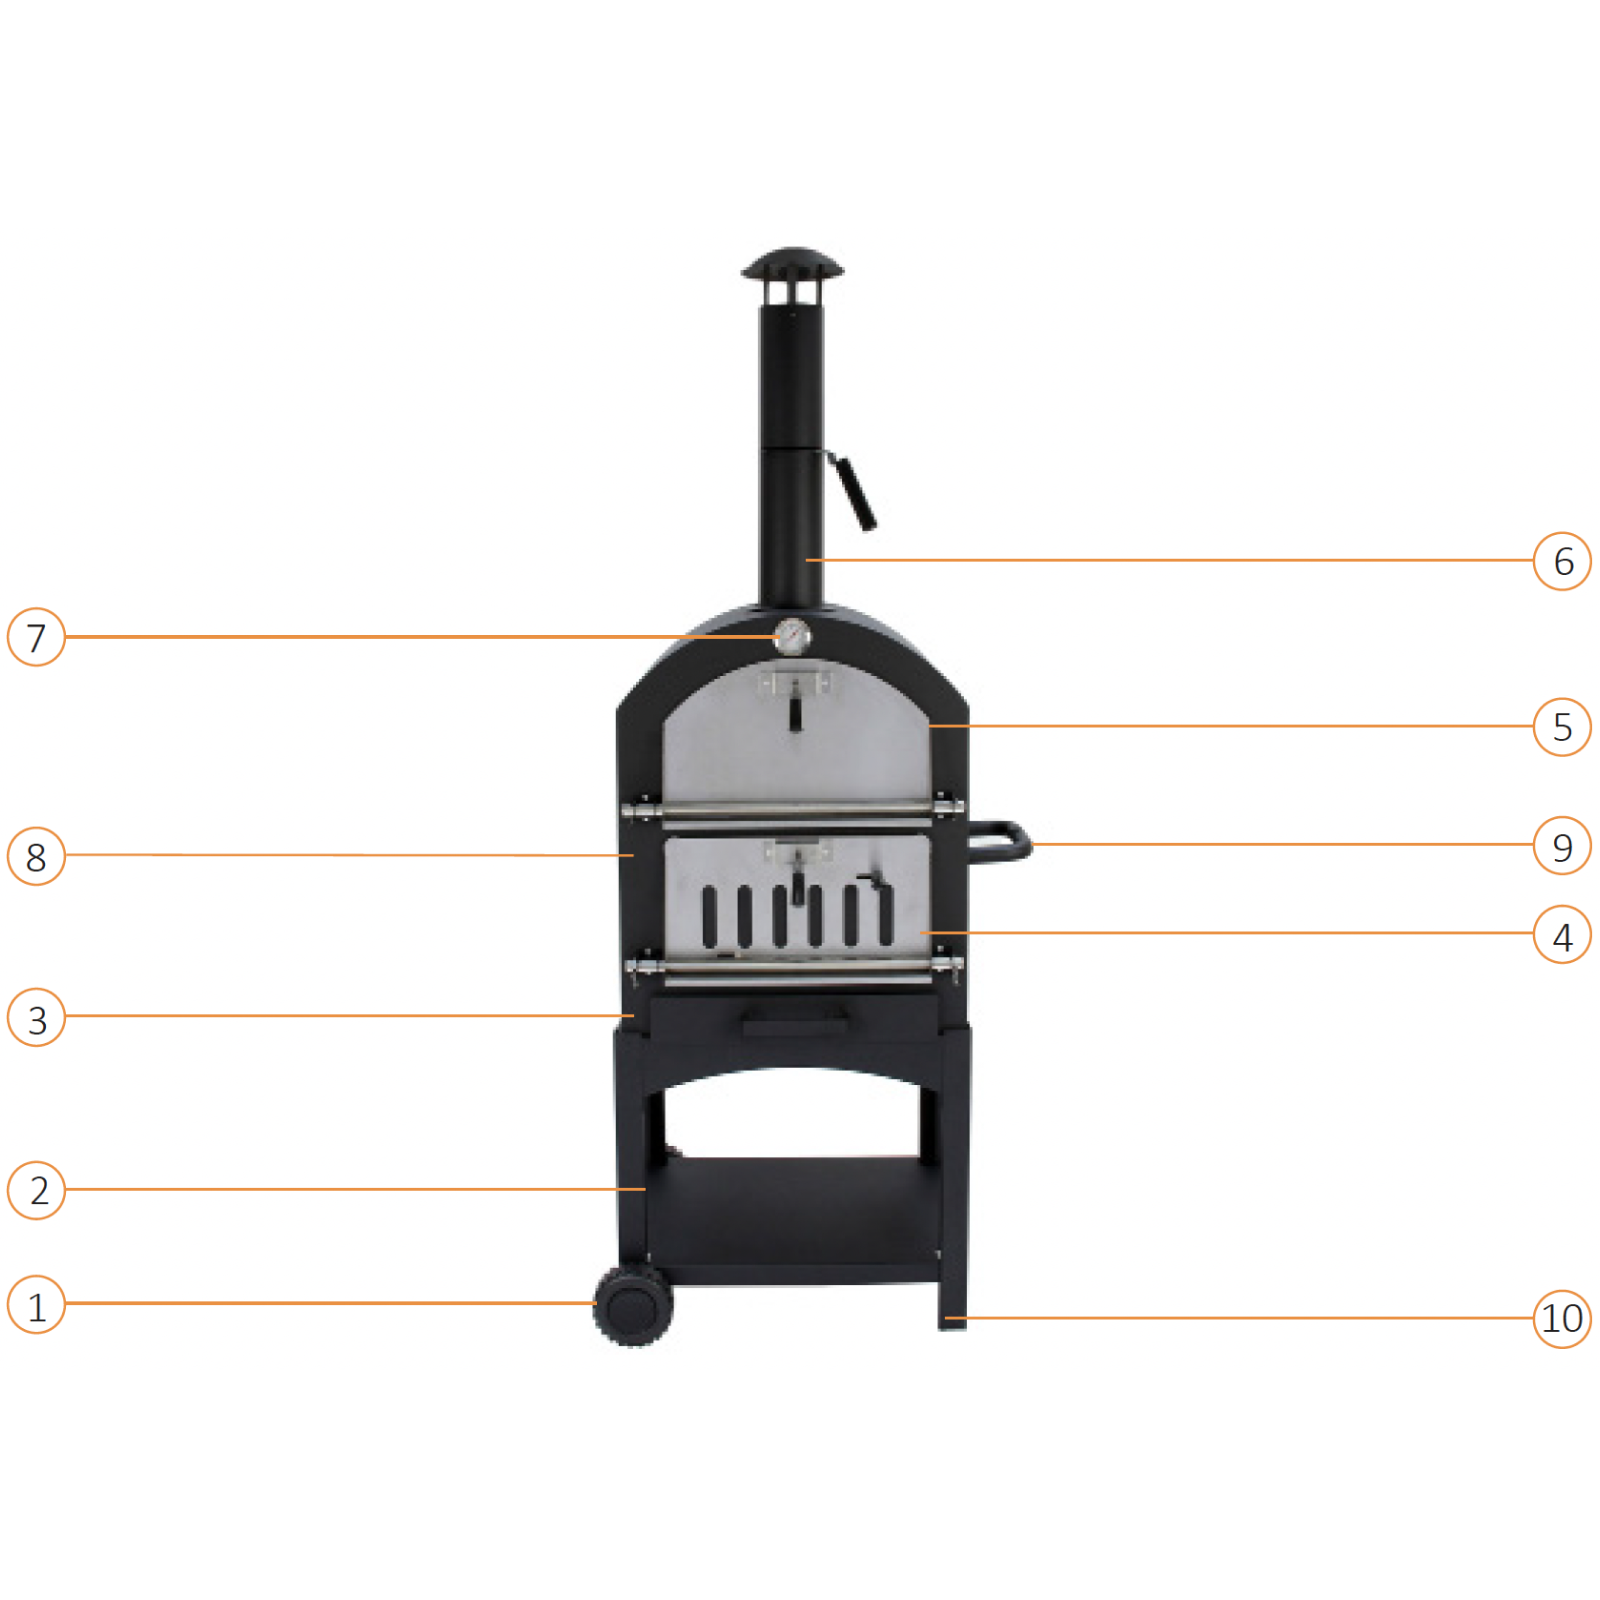
1. Wheels
2. Shelf
3. Ash Tray
4. Lower Cooking Door
5. Upper Cooking Door
6. Chimney
7. Temperature Gauge
8. Over Body
9. Handle
10. Legs
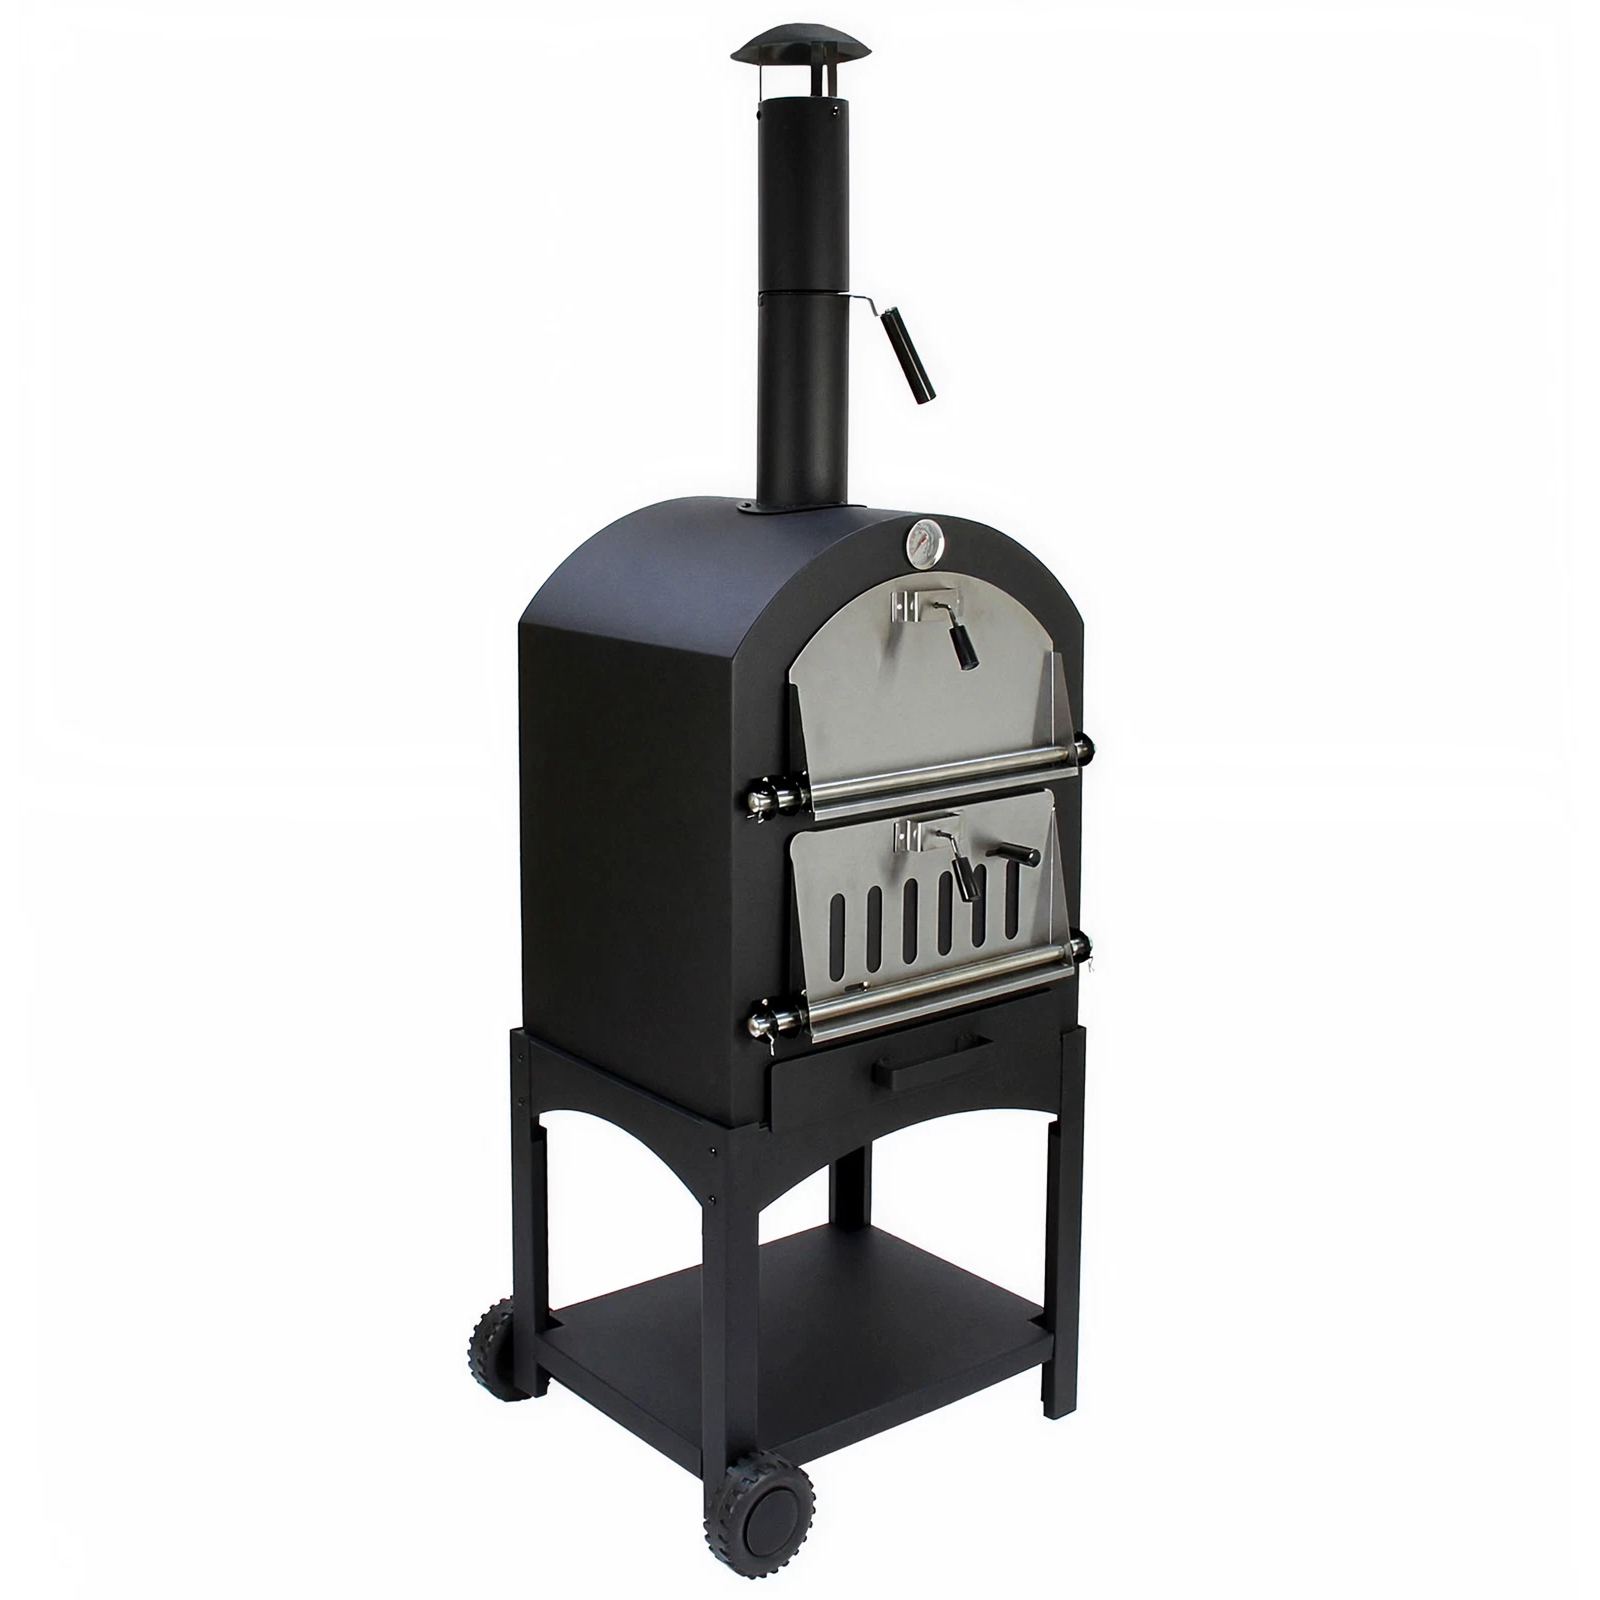 Instructions by monstershop KUKOO Outdoor Pizza OvenEnjoy authentic stone-baked pizzas with this versatile outdoor oven! Perfect for family fun, it also doubles as a BBQ and smoker—ideal for baking bread, grilling meat, fish, or veg, and even smoking pulled pork. A must-have for outdoor cooking lovers! Product InformationKUKOO Outdoor Pizza OvenNothing beats freshly made pizza! The warm runny cheese and crispy crust are the best qualities of a homemade, stone-baked pizza. You will achieve this taste sensation with the KuKoo Outdoor Pizza Oven. Have a look at some of its amazing features...
Able to grill, smoke, barbecue and stone bake, this outdoor oven is incredibly versatile – no need to limit yourself just to pizzas on your al fresco dining! You can really put on a spread for all the family – just like the Italians do it! And you can monitor this with the added temperature gauge.
No need to worry about moving the oven around, it’s even got wheels and a handle for manoeuvrability – this really is the perfect accompaniment to your warm, relaxed afternoons and sundowners in the garden.
We at Monster Group UK understand this is a new and exciting purchase, and although it is tempting to get stuck in please carefully read these instructions before you start using the machine.
Please refer to and read Safety Advice, Safe Working Practice to ensure prevention of injury or damage to the device before starting. View product (opens in new tab)
Monster Guarantee If you wish to return a product in perfect working order, we provide a 30 day returns policy as long as the item is unopened and in a resalable condition. A 12 month warranty applies to all of our electrical products; we will cover the cost of labour and parts. Our policy is to try and repair the item before arranging an exchange or refund. If for any reason a part is missing please get in touch with us within 7 days on receipt of your order. You can contact our friendly and helpful Customer Support Team via email or call. For full terms and conditions contact our Support Department via the details on the Contact Us page. ToolsCrosshead screwdriver Spanner  Screw A  Screw B  Nut  Metal Washers Paper Washers  Hinge Bar Cap  Split Pin  Hinge Bar Parts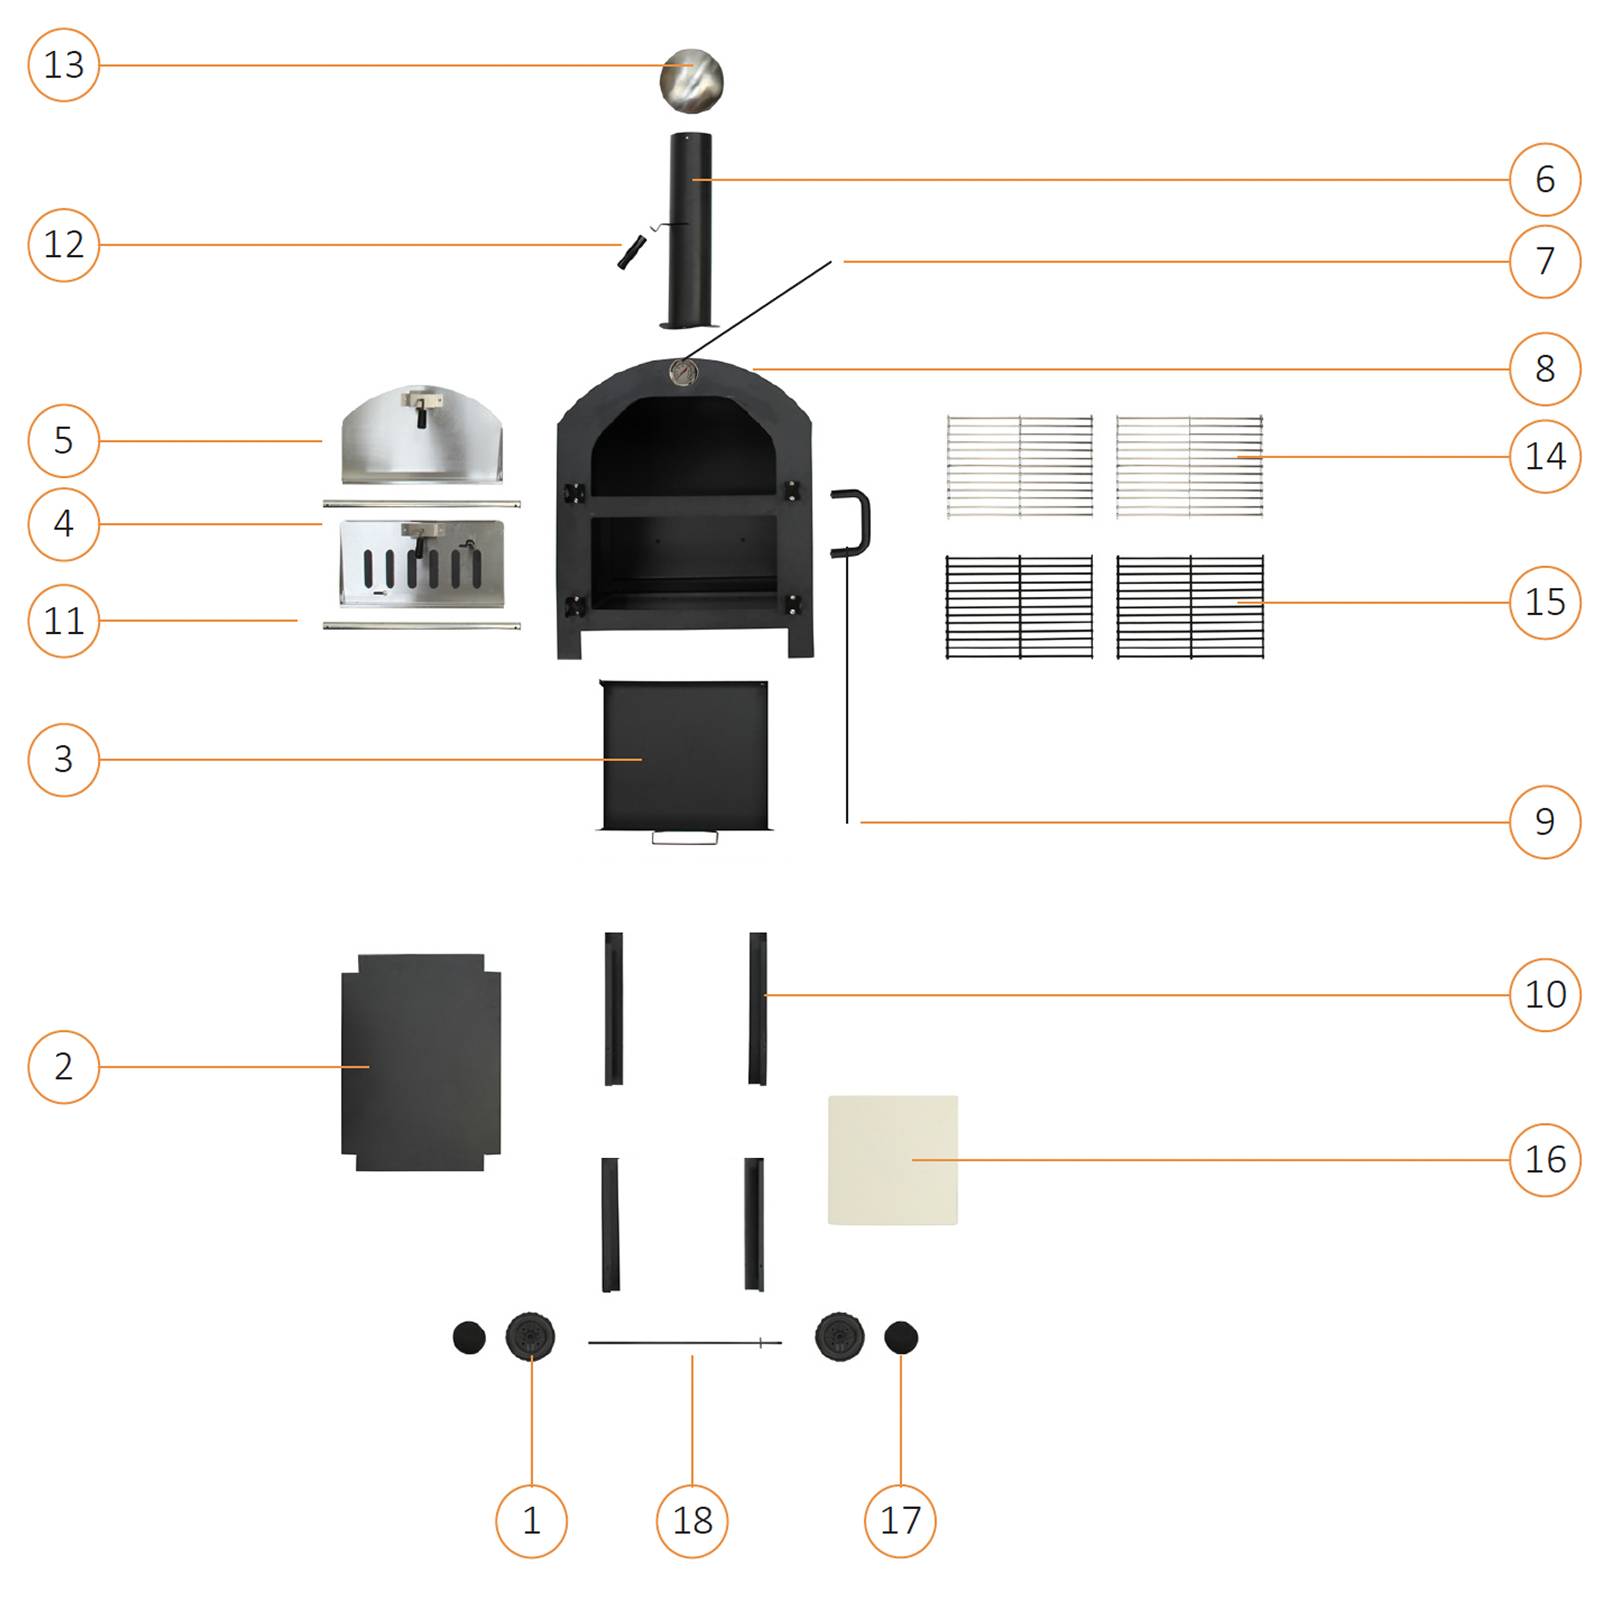 1Wheels 2Shelf 3Ash Tray & Trolly Bracket 4Lower Cooking Door 5Upper Cooking Door 6Chimney 7Temperature Gauge 8Oven Body 9Handle 10Legs 11Hinge Bar 12Fuel Arrestor 13Chimney Cowl 14Silver Cooking Grate 15Black Fire Grate 16Pizza Stone 17Wheel Caps 18Wheel Axle 1. Product Features1. Wheels 2. Attaching Legs to Base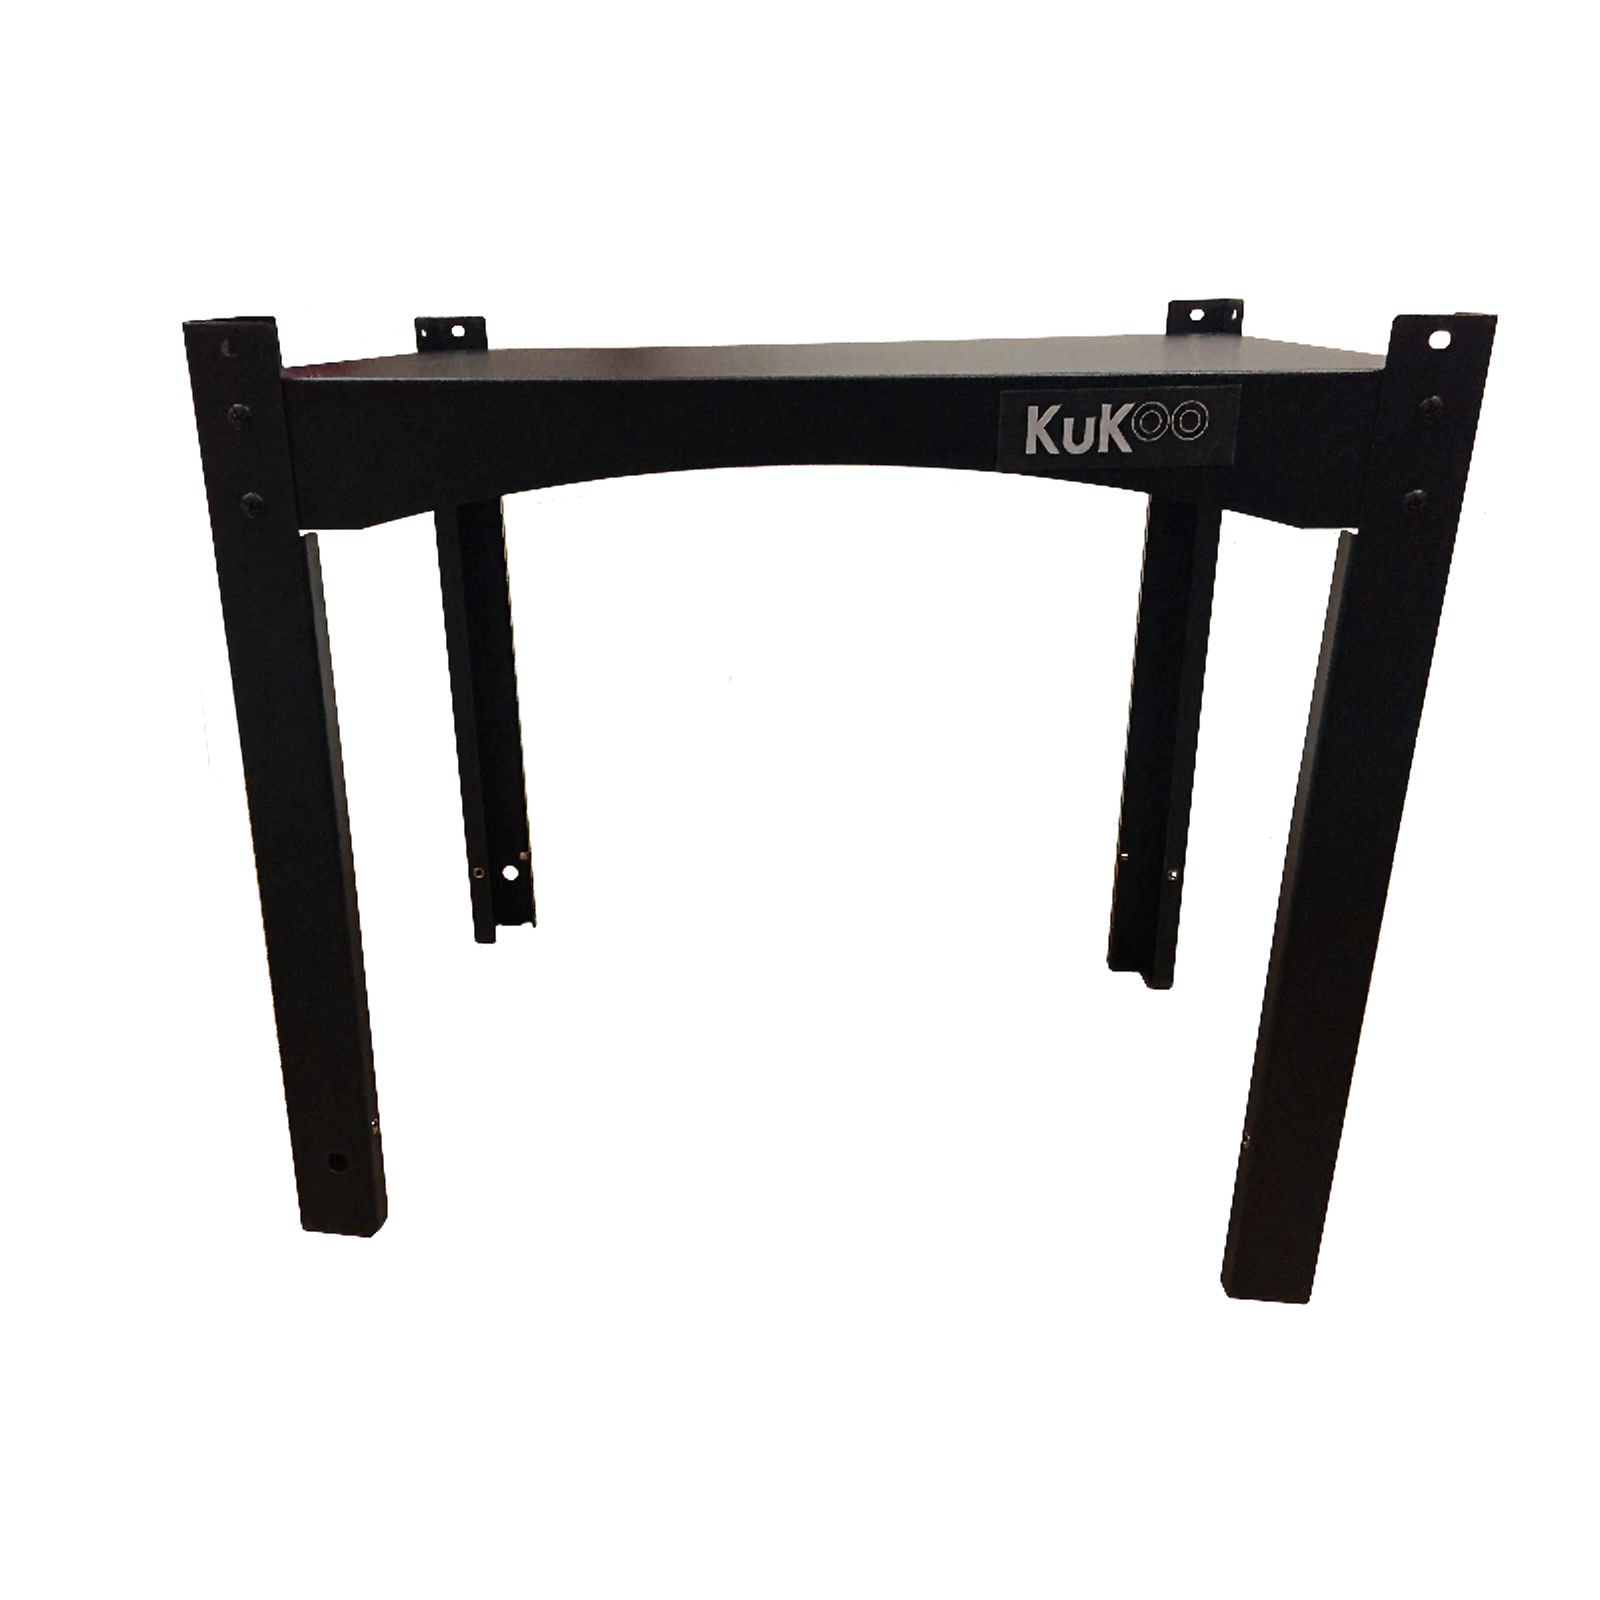 Attach the 4 legs to the base using 16 Screws (A). 3. Attaching Shelf to Legs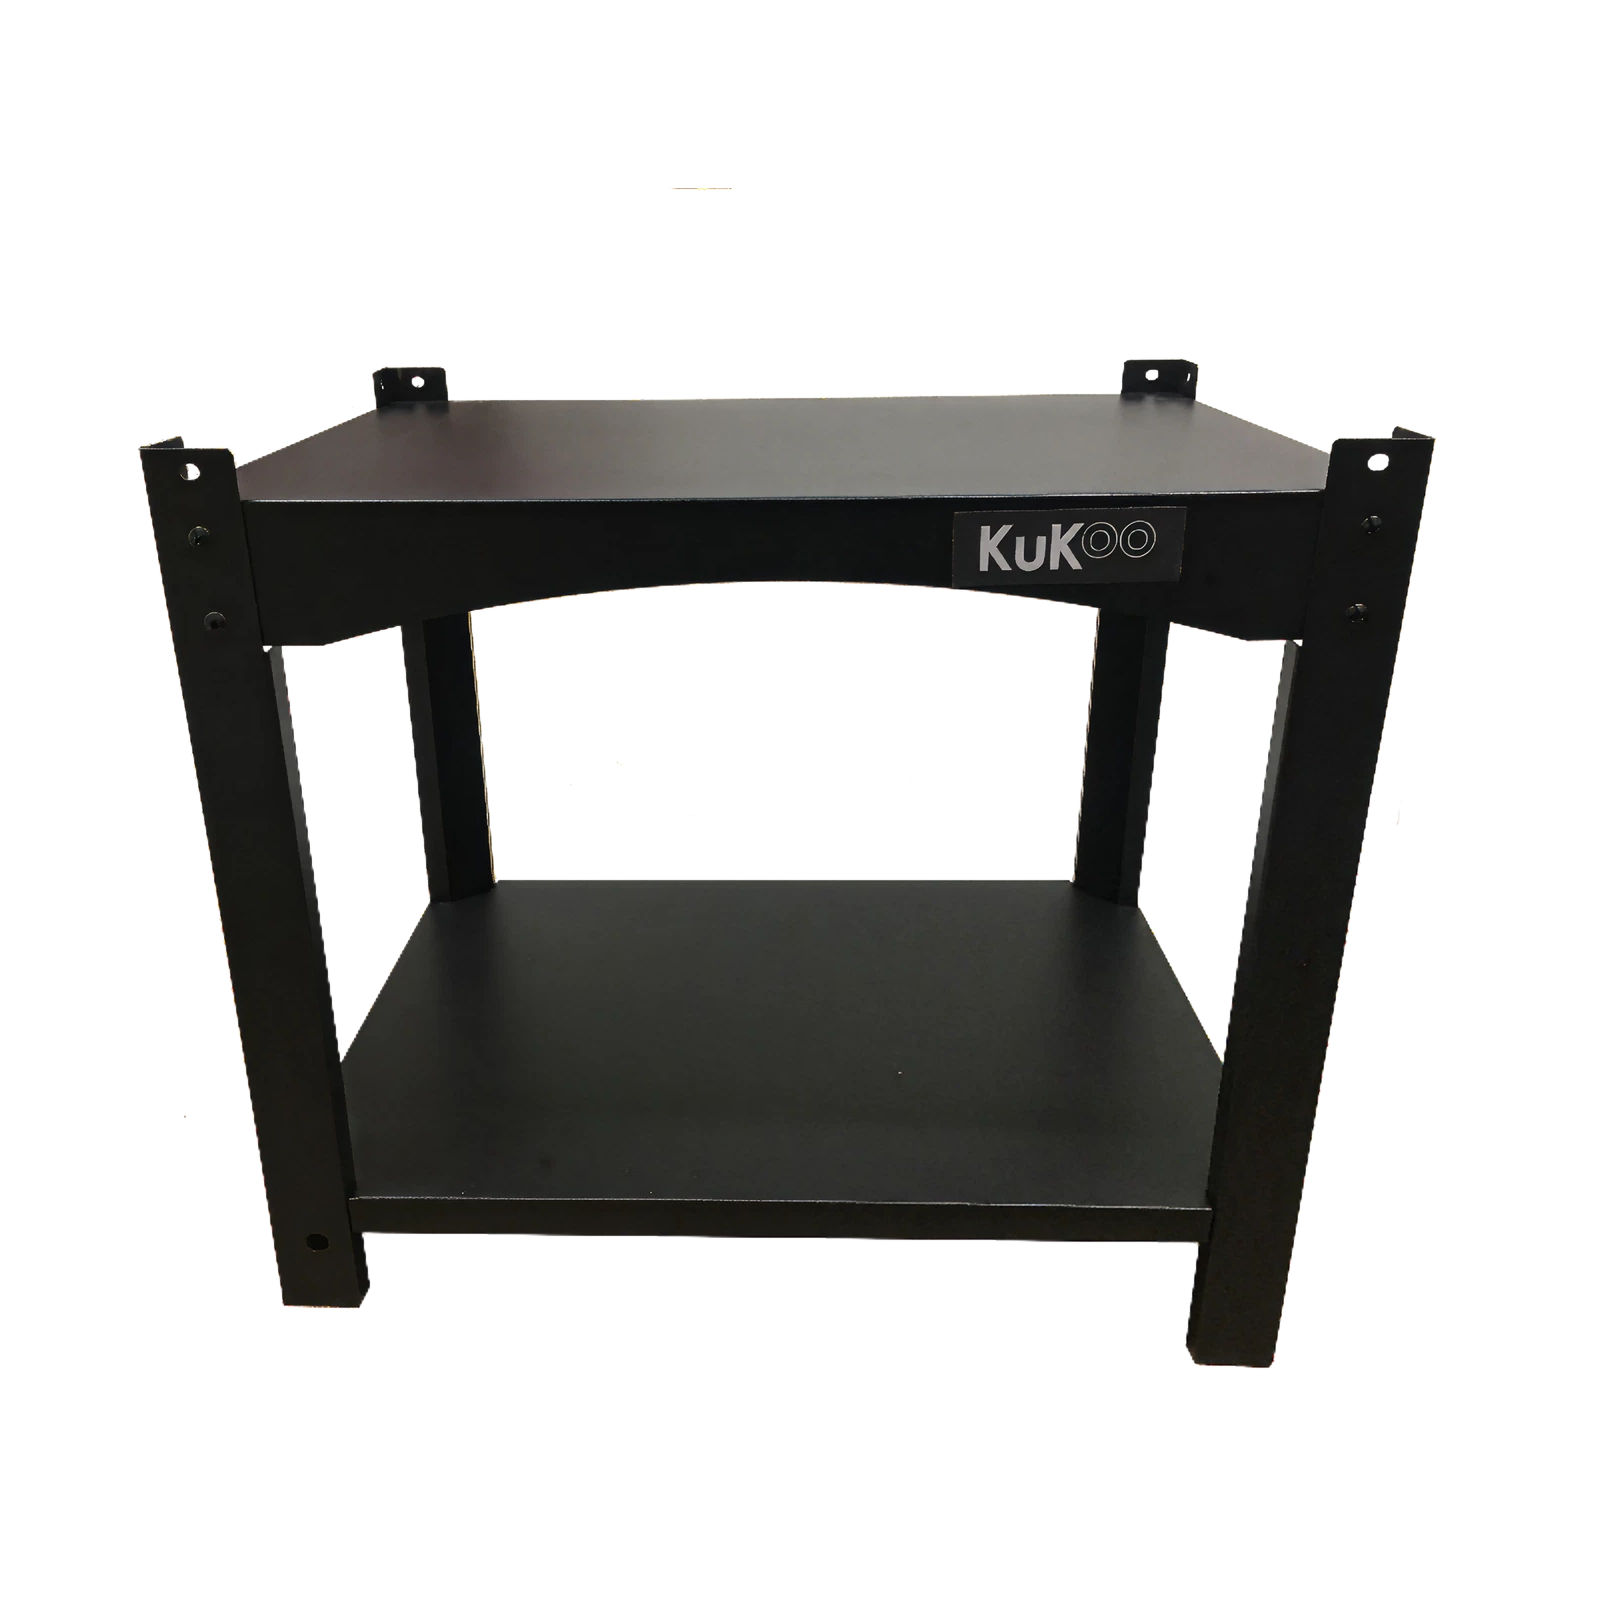 Attach the shelf to the legs using 8 Screws (A). 4. Installing Wheel Axle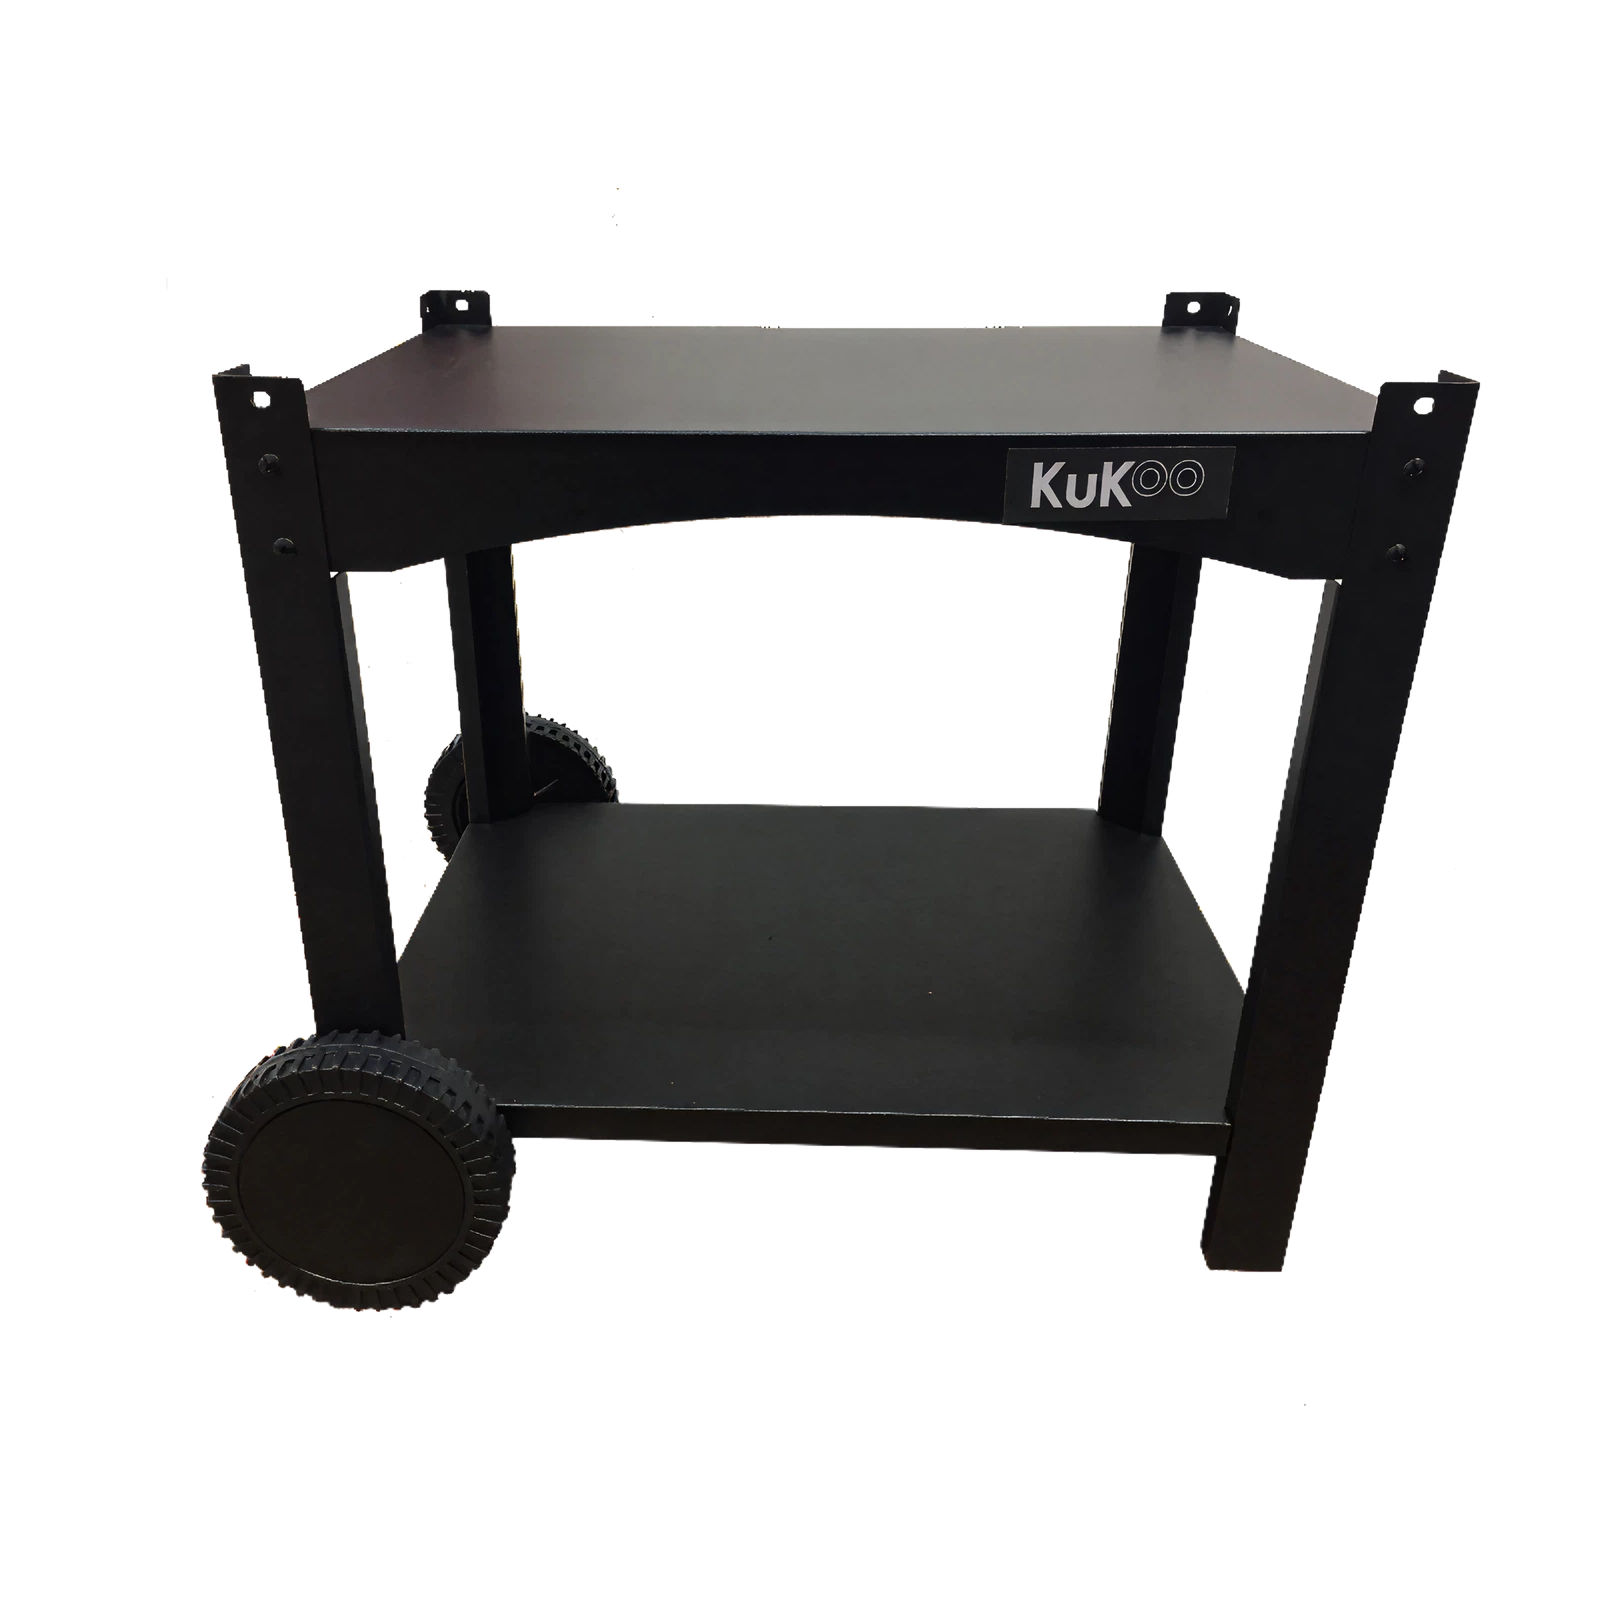 Feed the wheel axle through the holes in the legs, and secure with 1 Nut per wheel. Cover each nut with a wheel cap. 5. Attaching Oven Body Attach the oven body using 4 Screws (B) and 4 metal Washers. 6. Attaching Handle Bar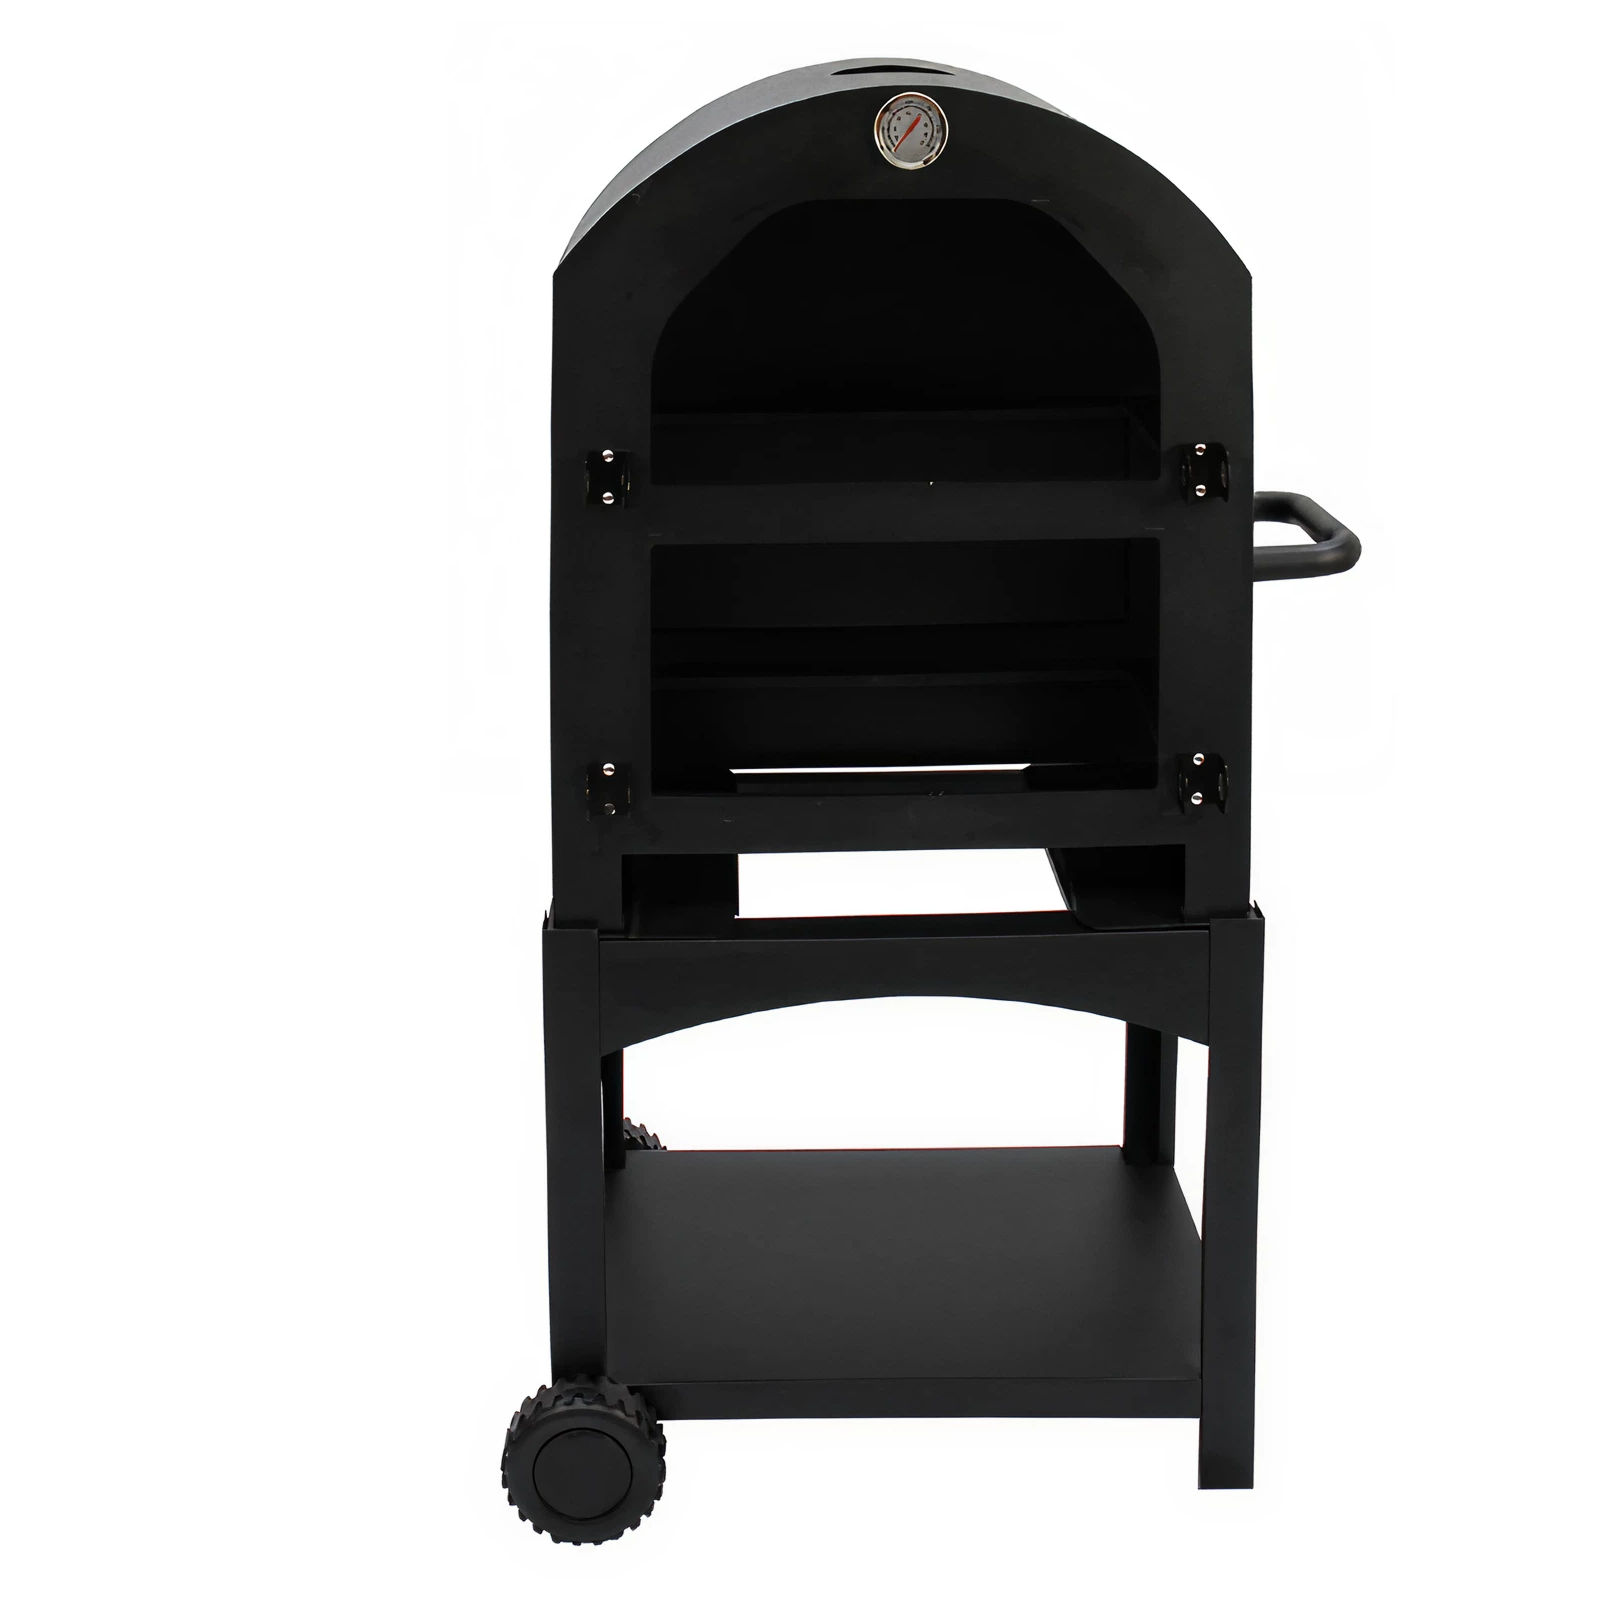 Attach the handle bar to the oven body using the 2 pre-assembled Screws (A) and 2 paper Washers. 7. Placing Cooking Grates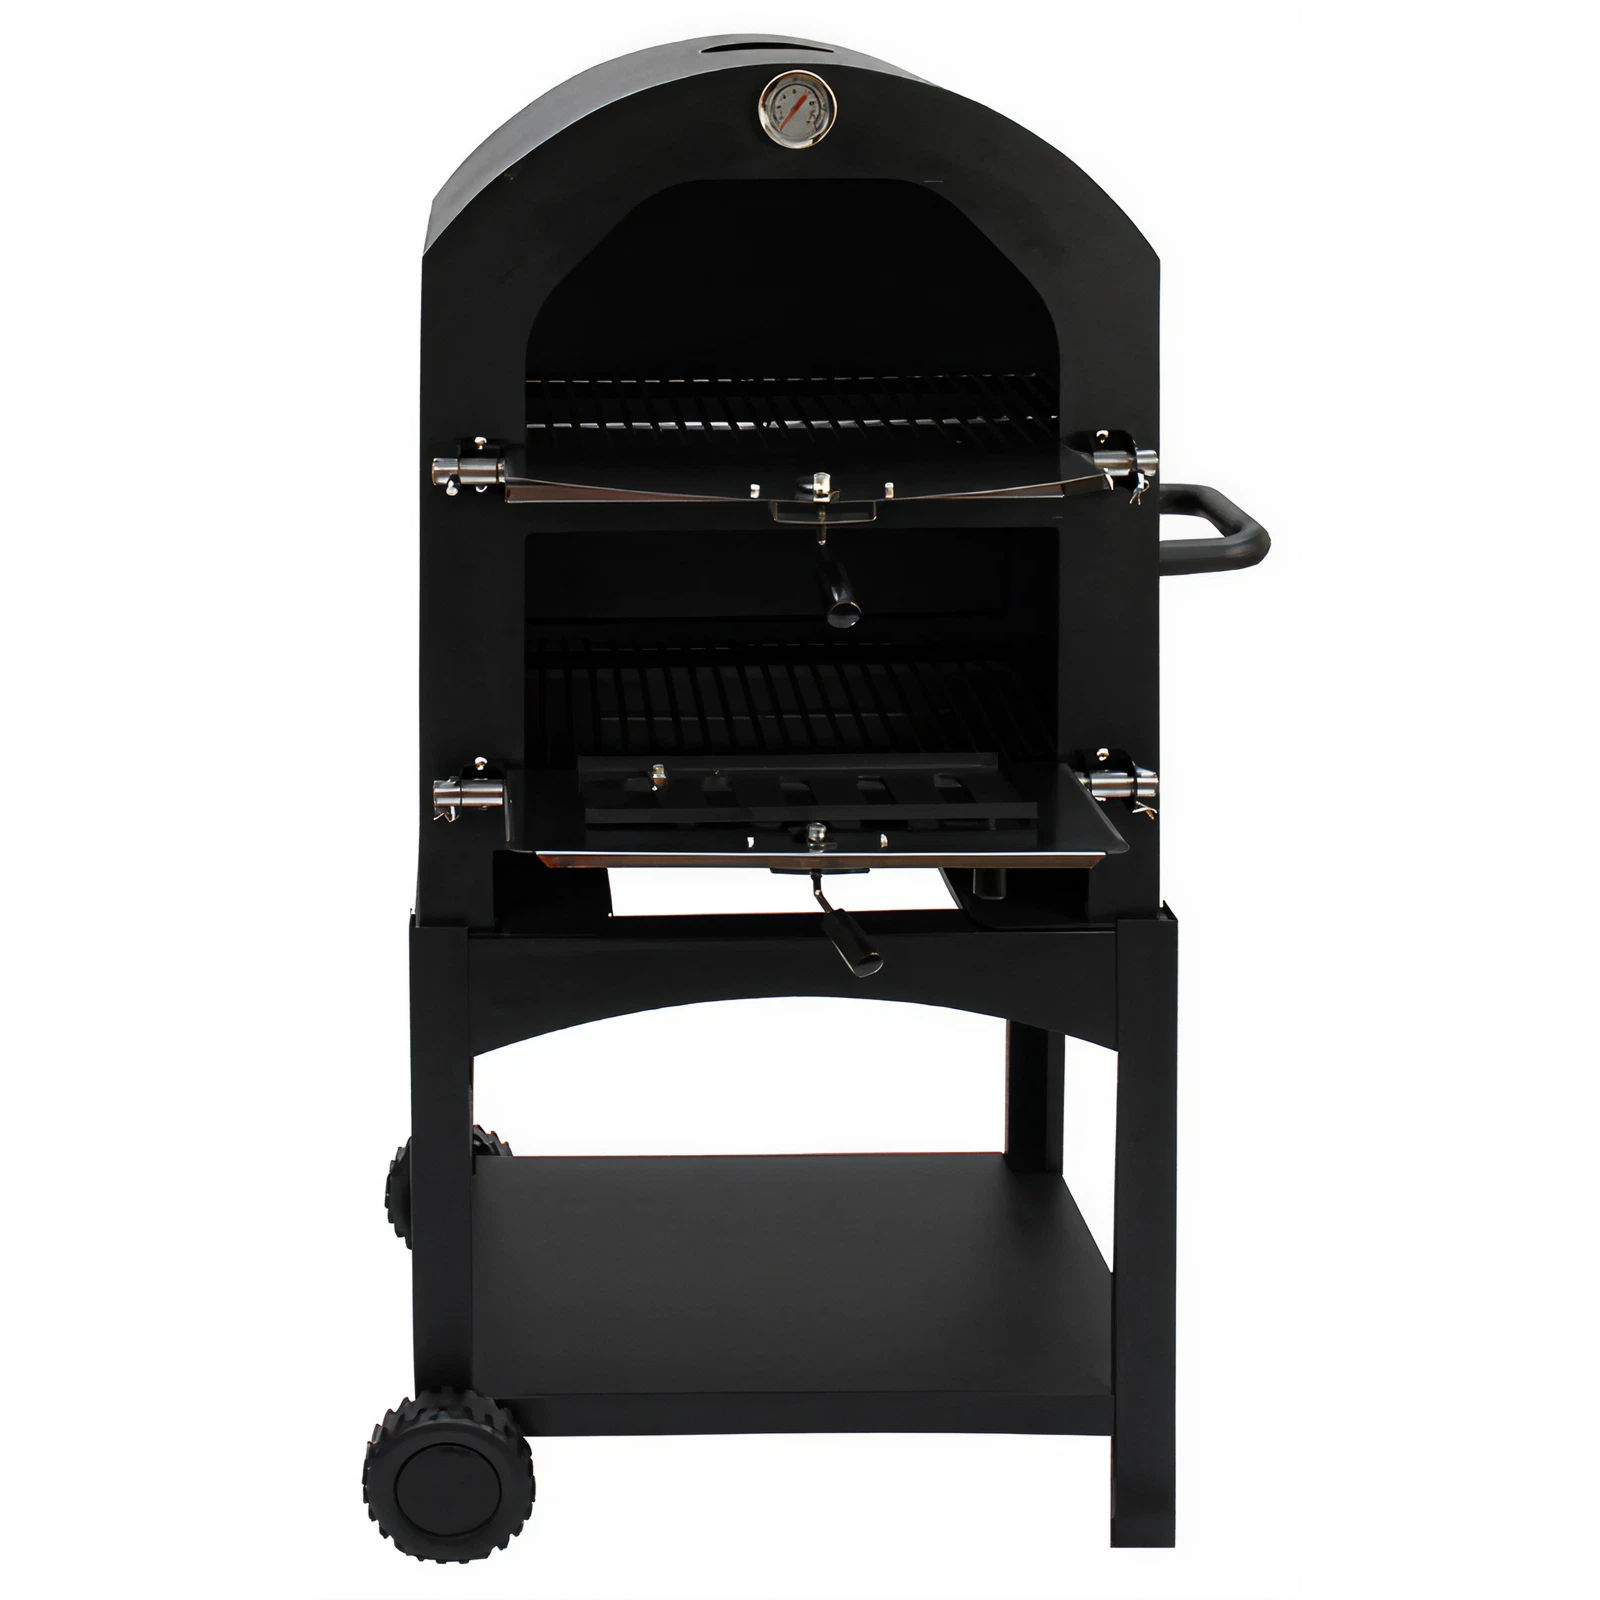 Place 2 silver cooking grates onto the ledge in the upper oven. Place 2 black fire grates onto the ledge in the lower oven. 8. Attaching Lower Door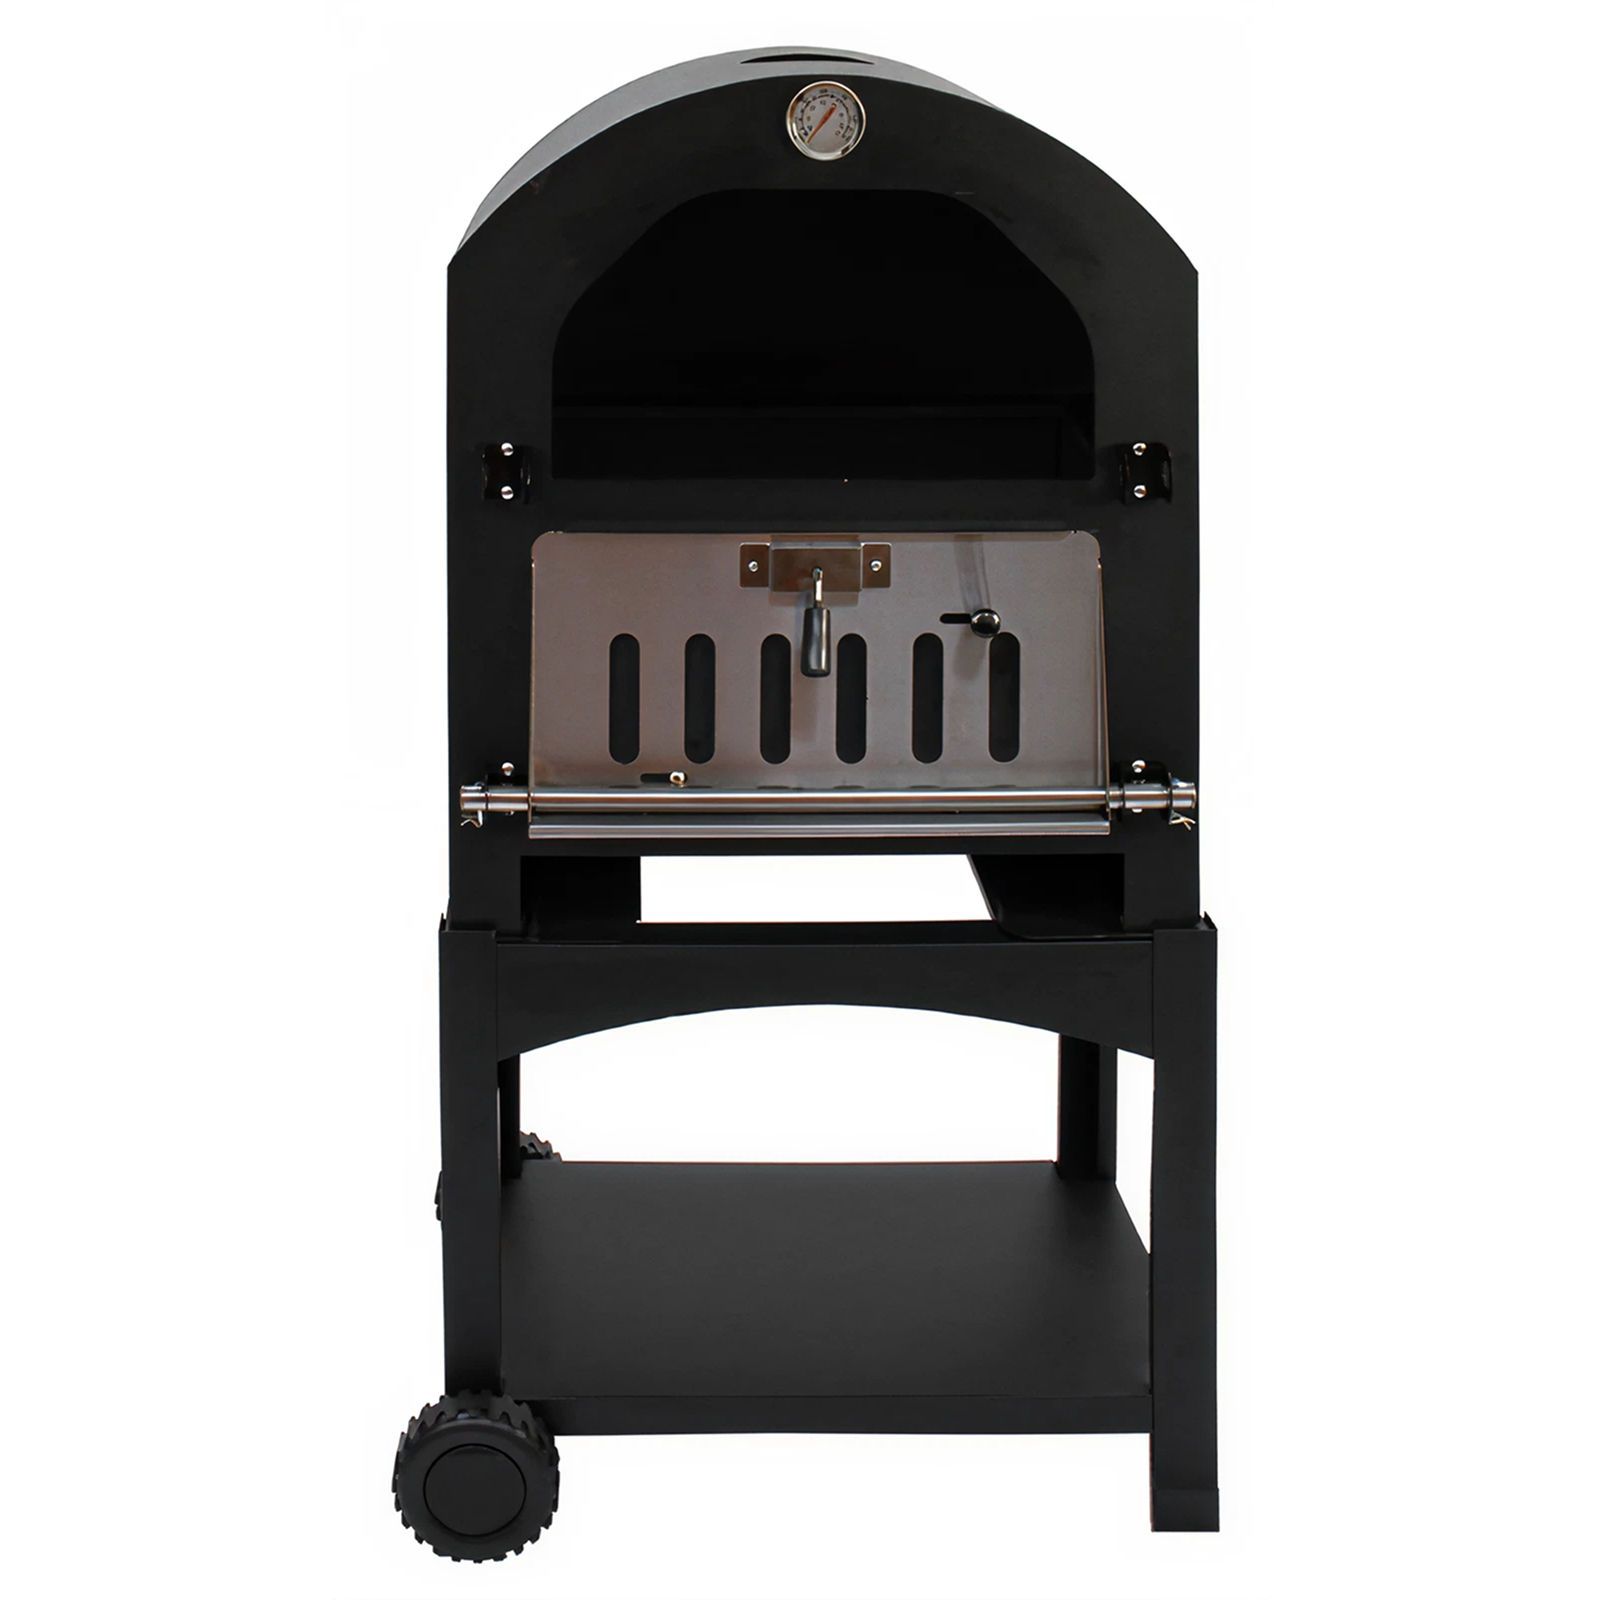 Attach the lower door using 1 Hinge Bar and secure with 2 Split Pins. Add 1 Hinge Bar Cap. 9. Attaching Upper Door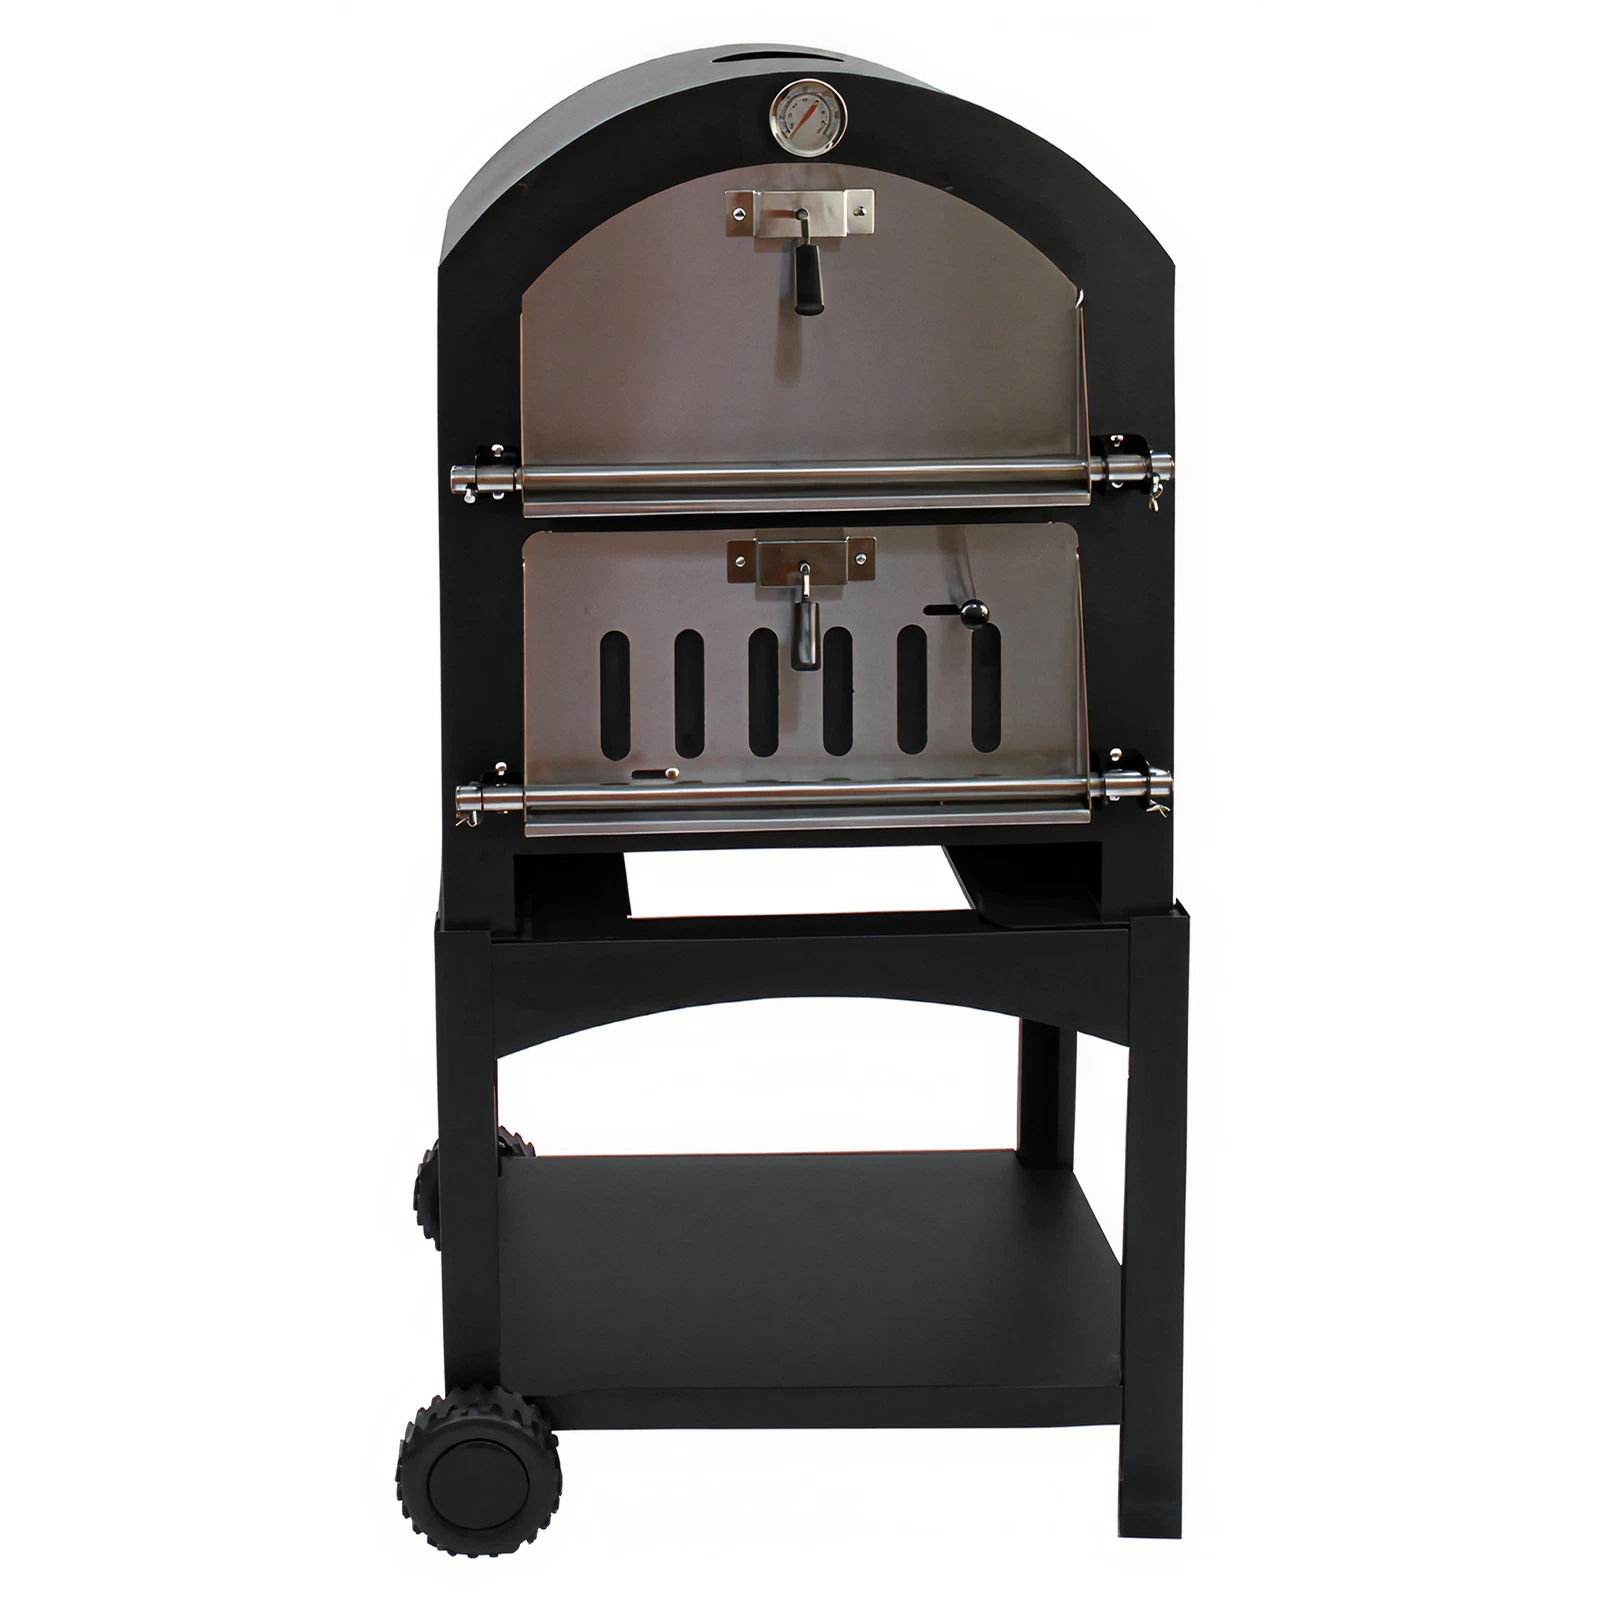 Attach the upper door using 1 Hinge Bar and secure with 2 Split Pins. Add 1 Hinge Bar Cap. 10. Sliding in Ash Tray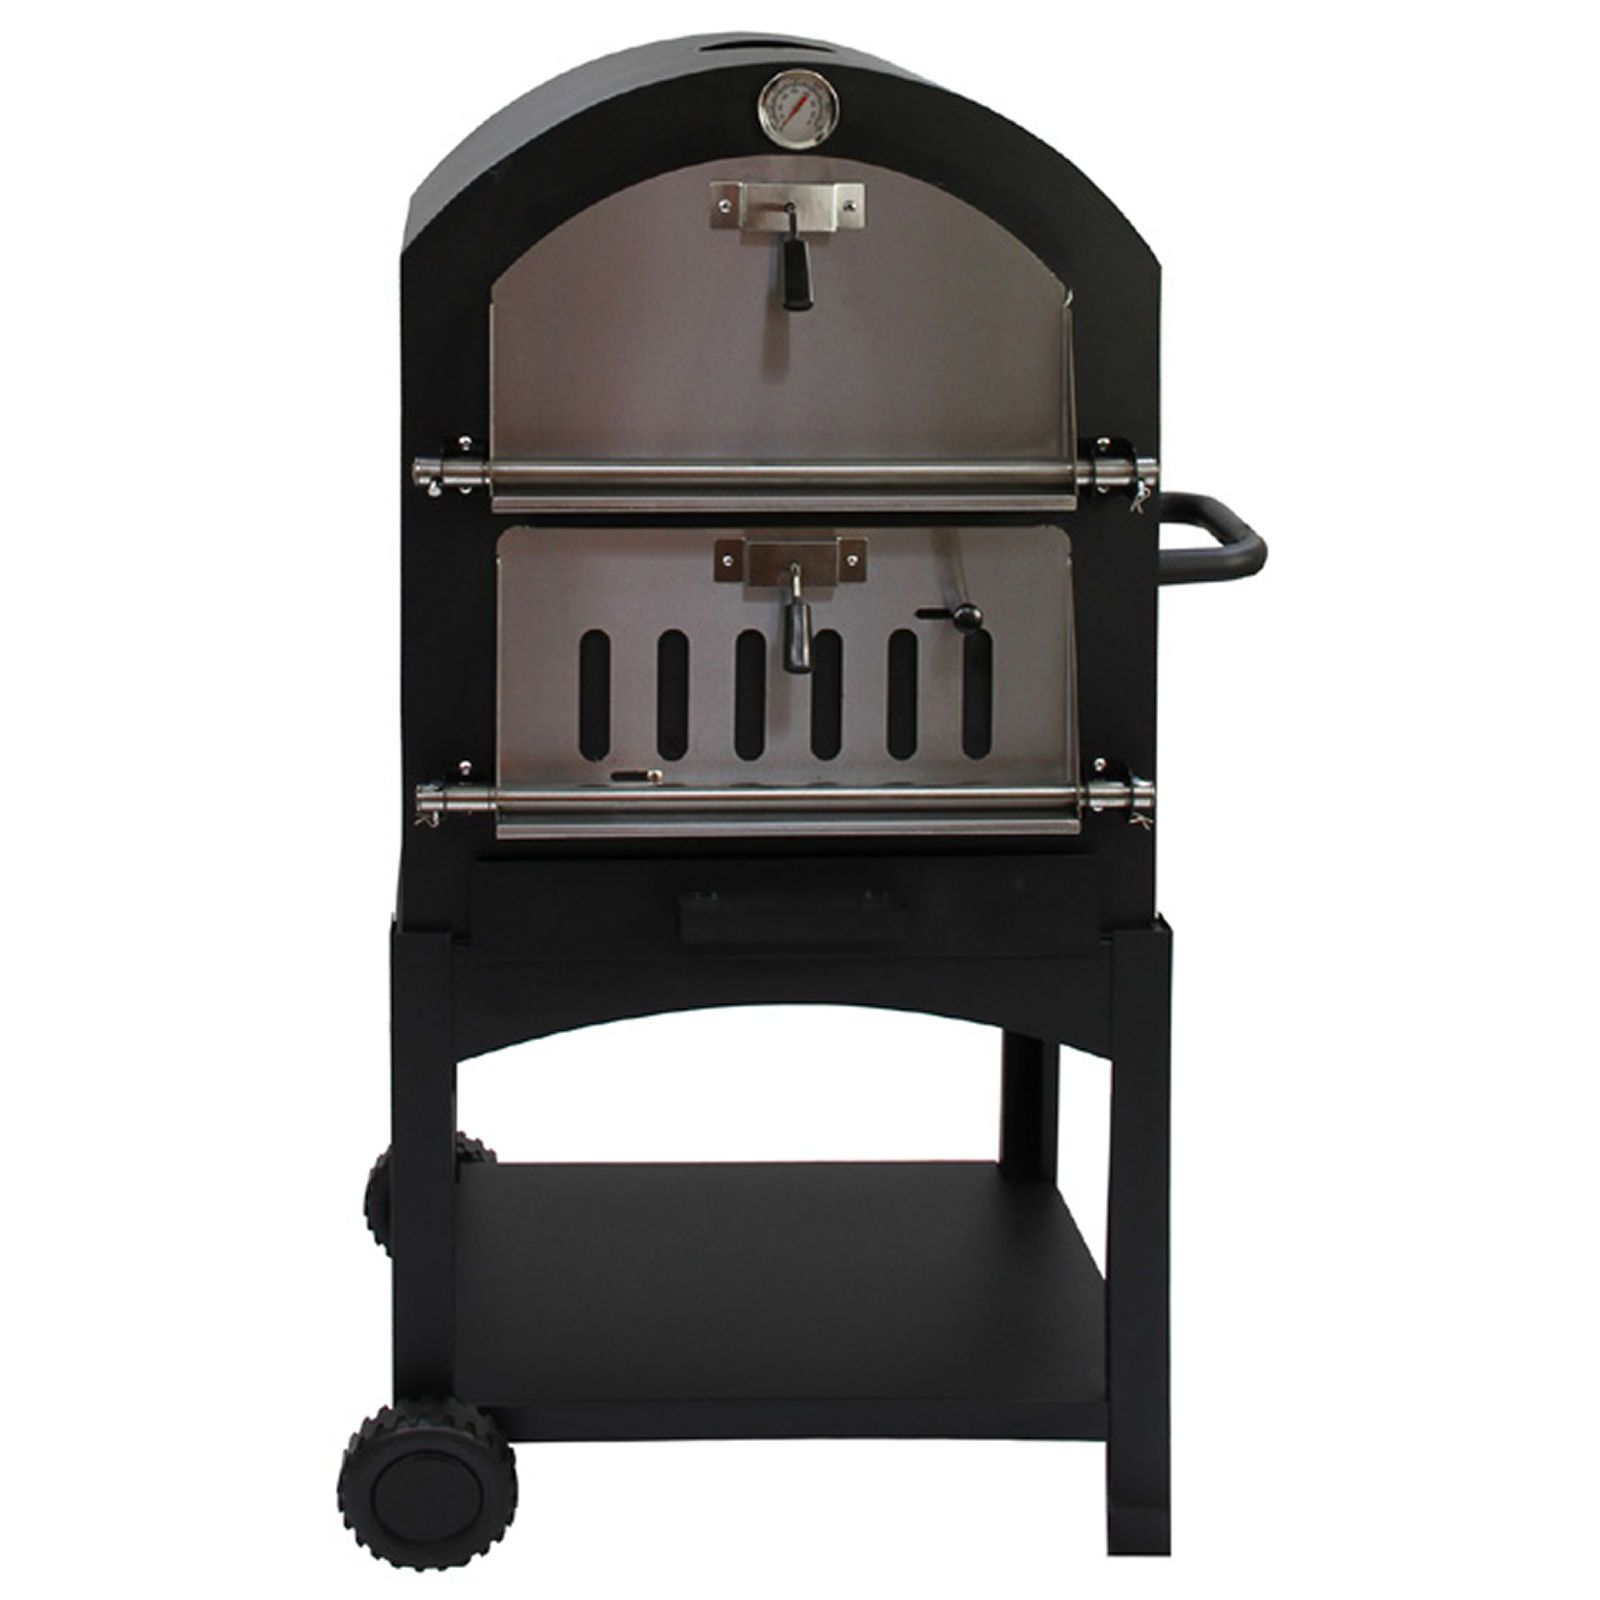 Slide in the Ash Tray. 11. Fixing Chimney Cowl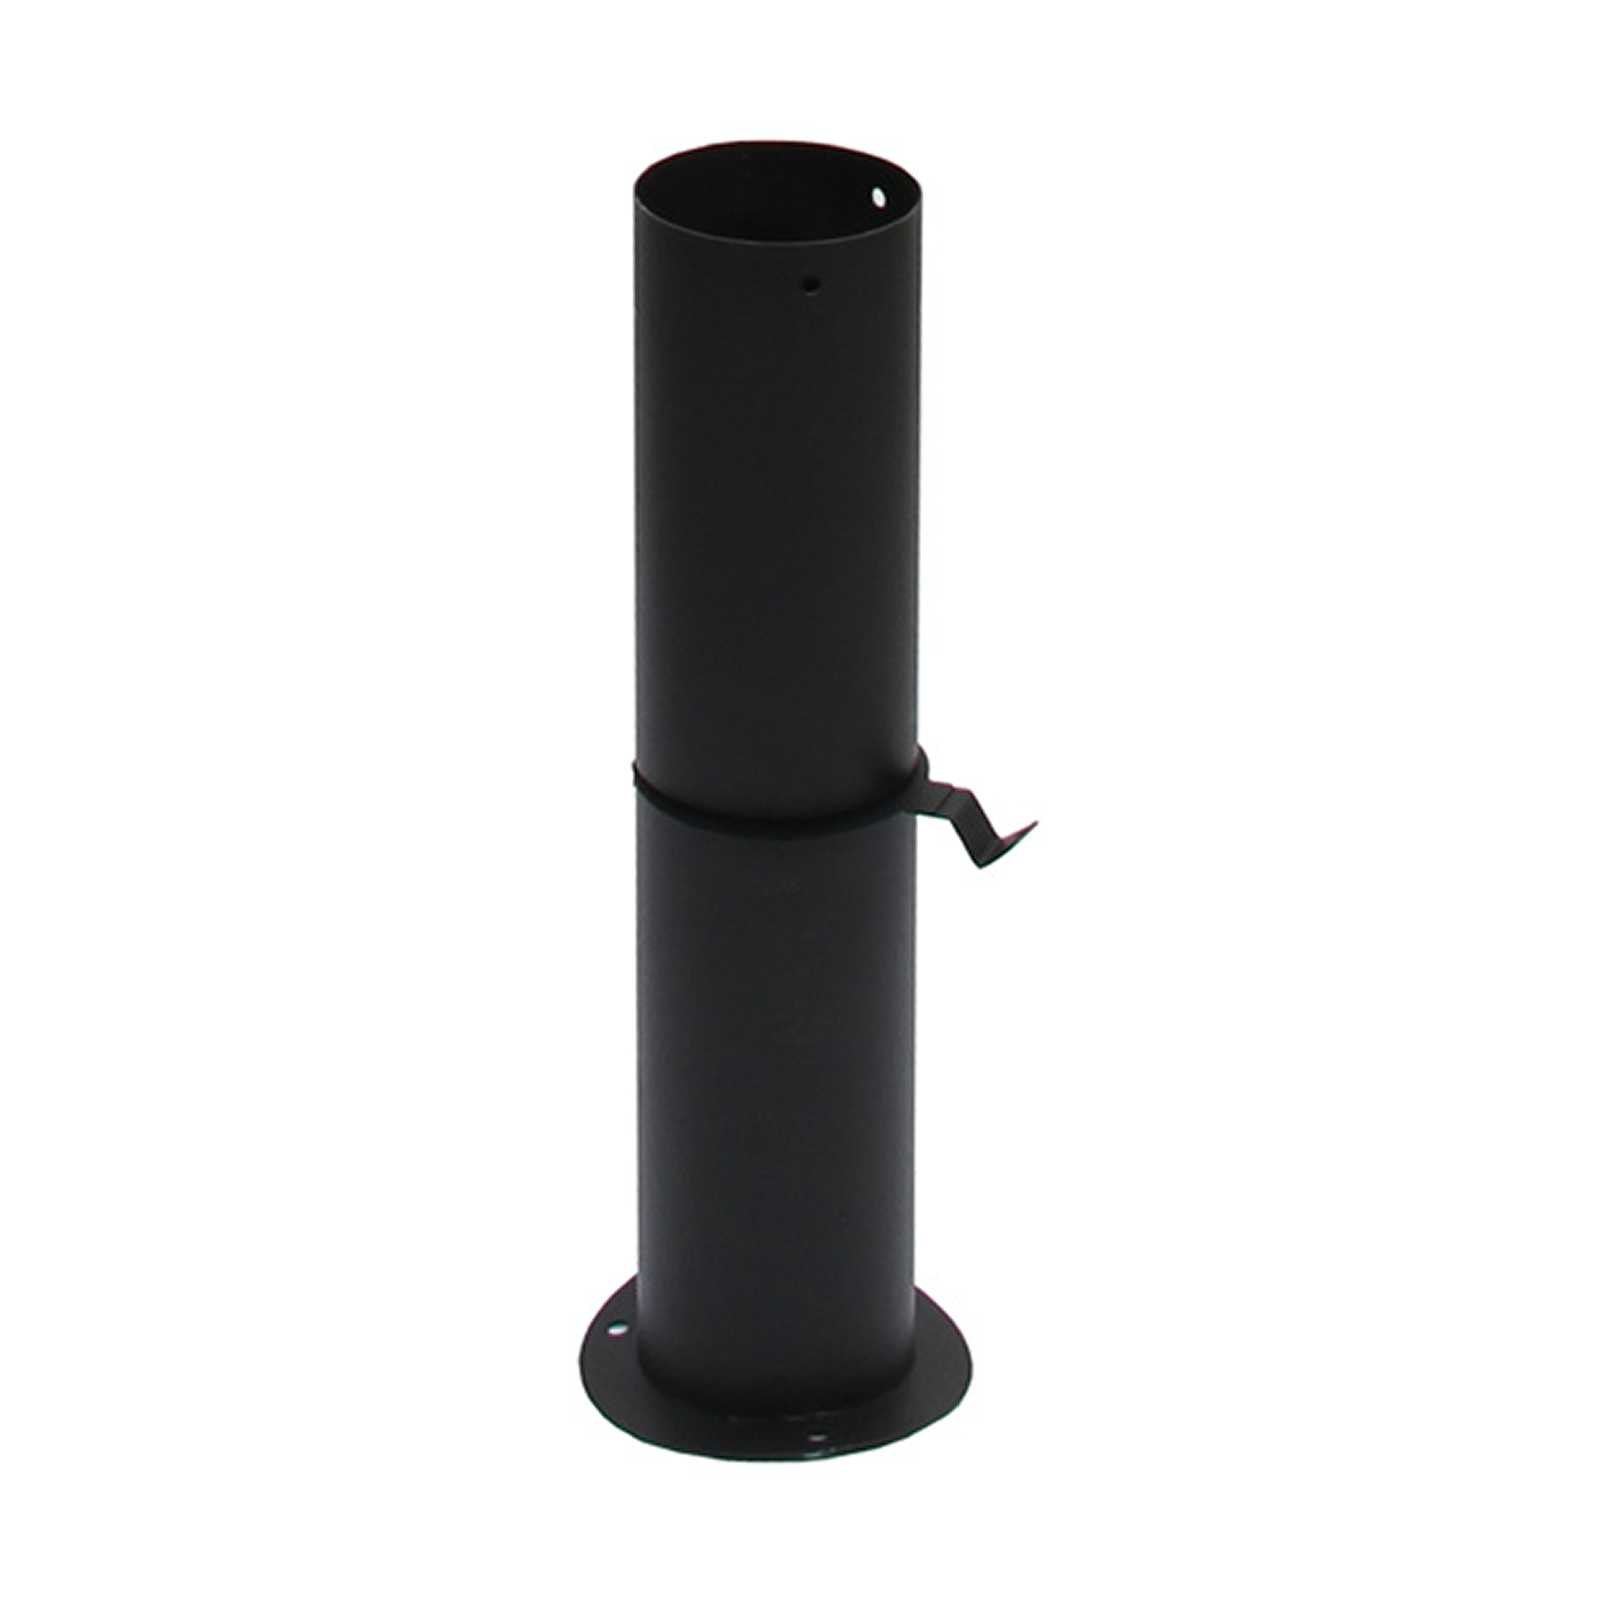 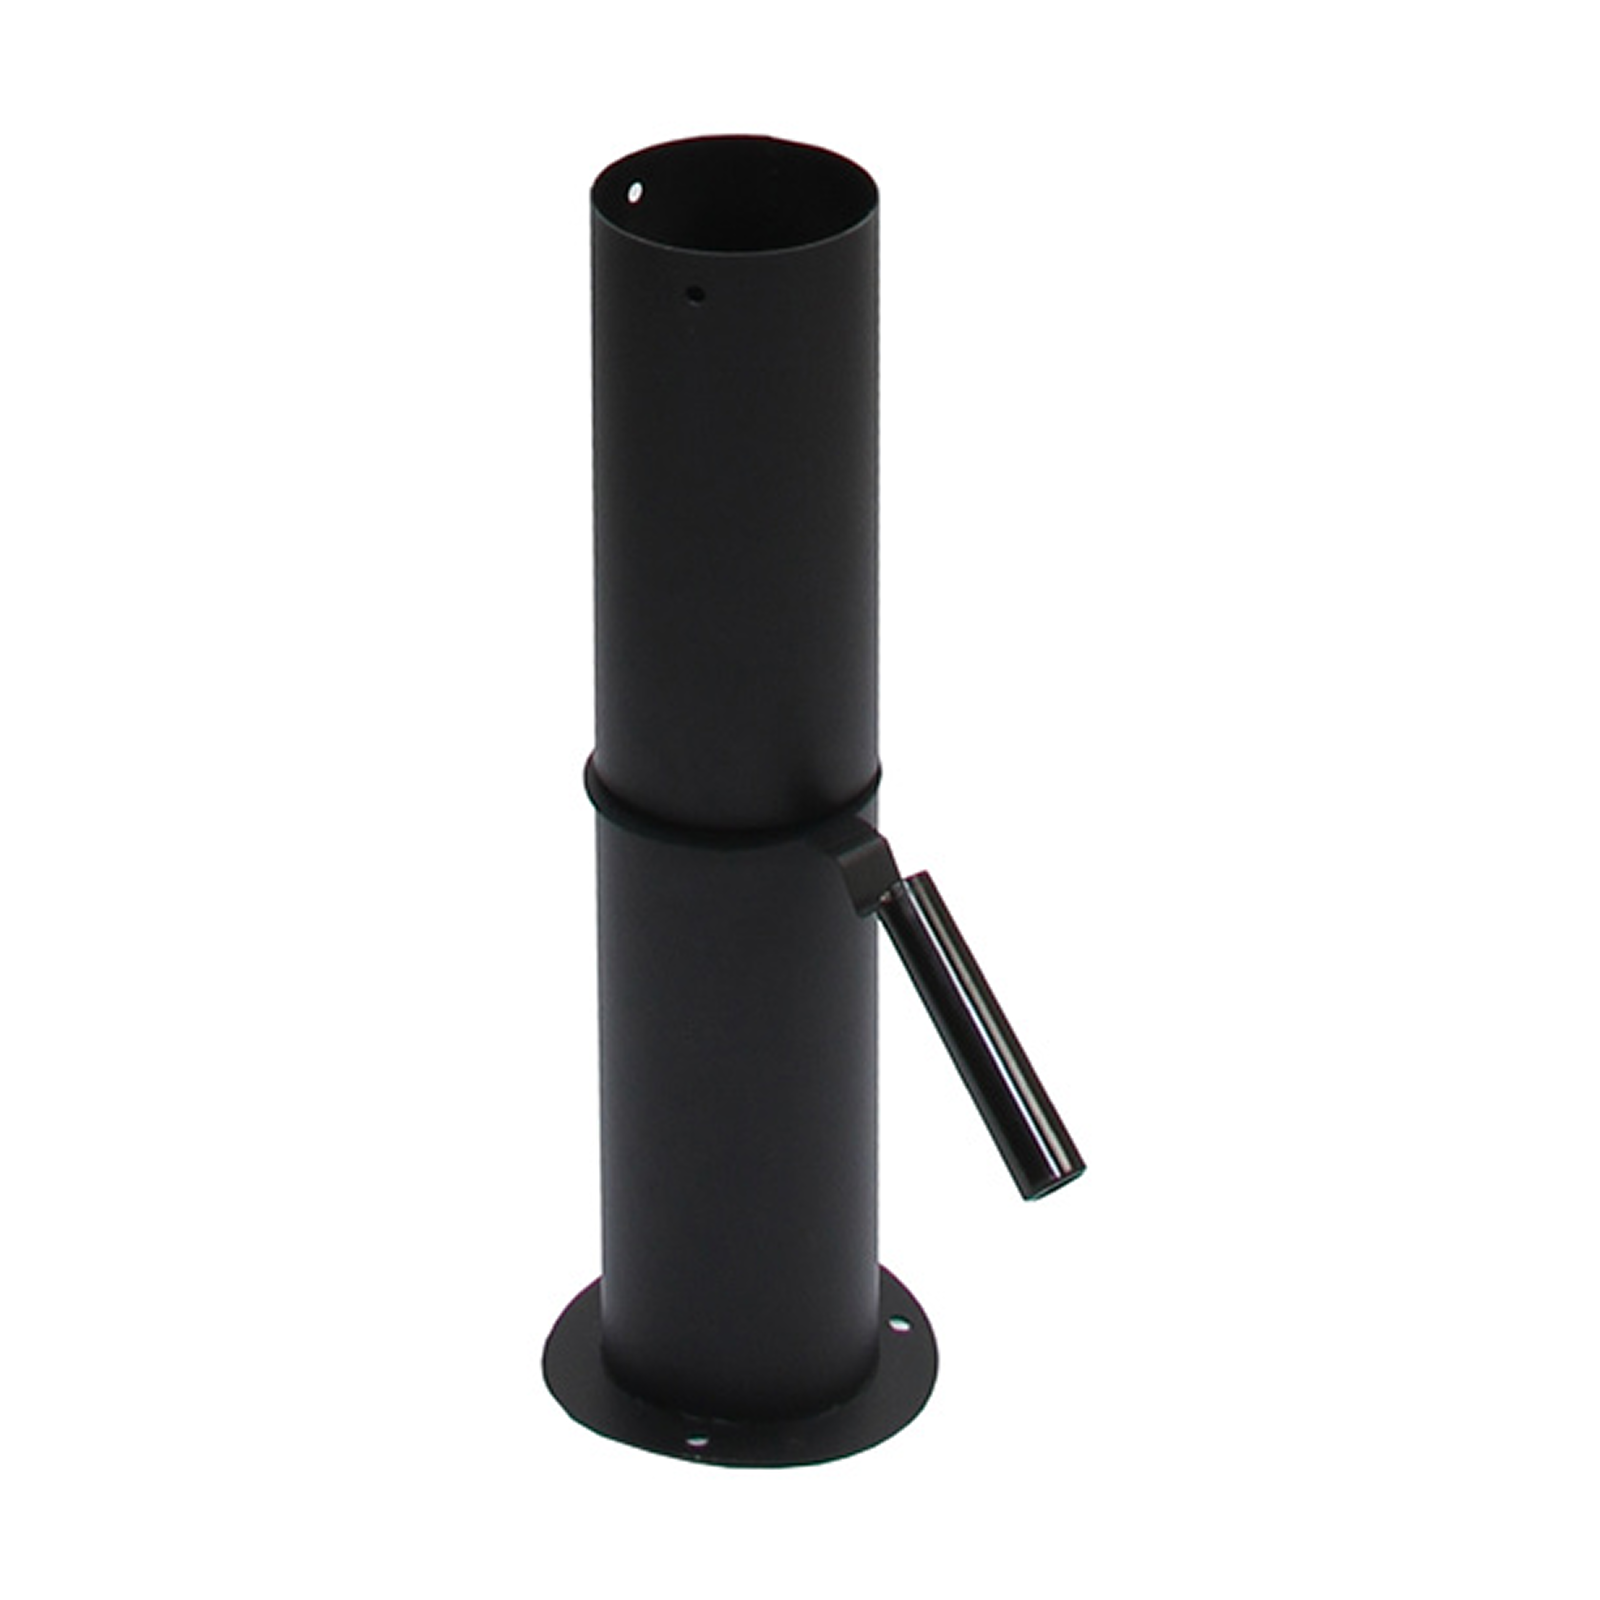 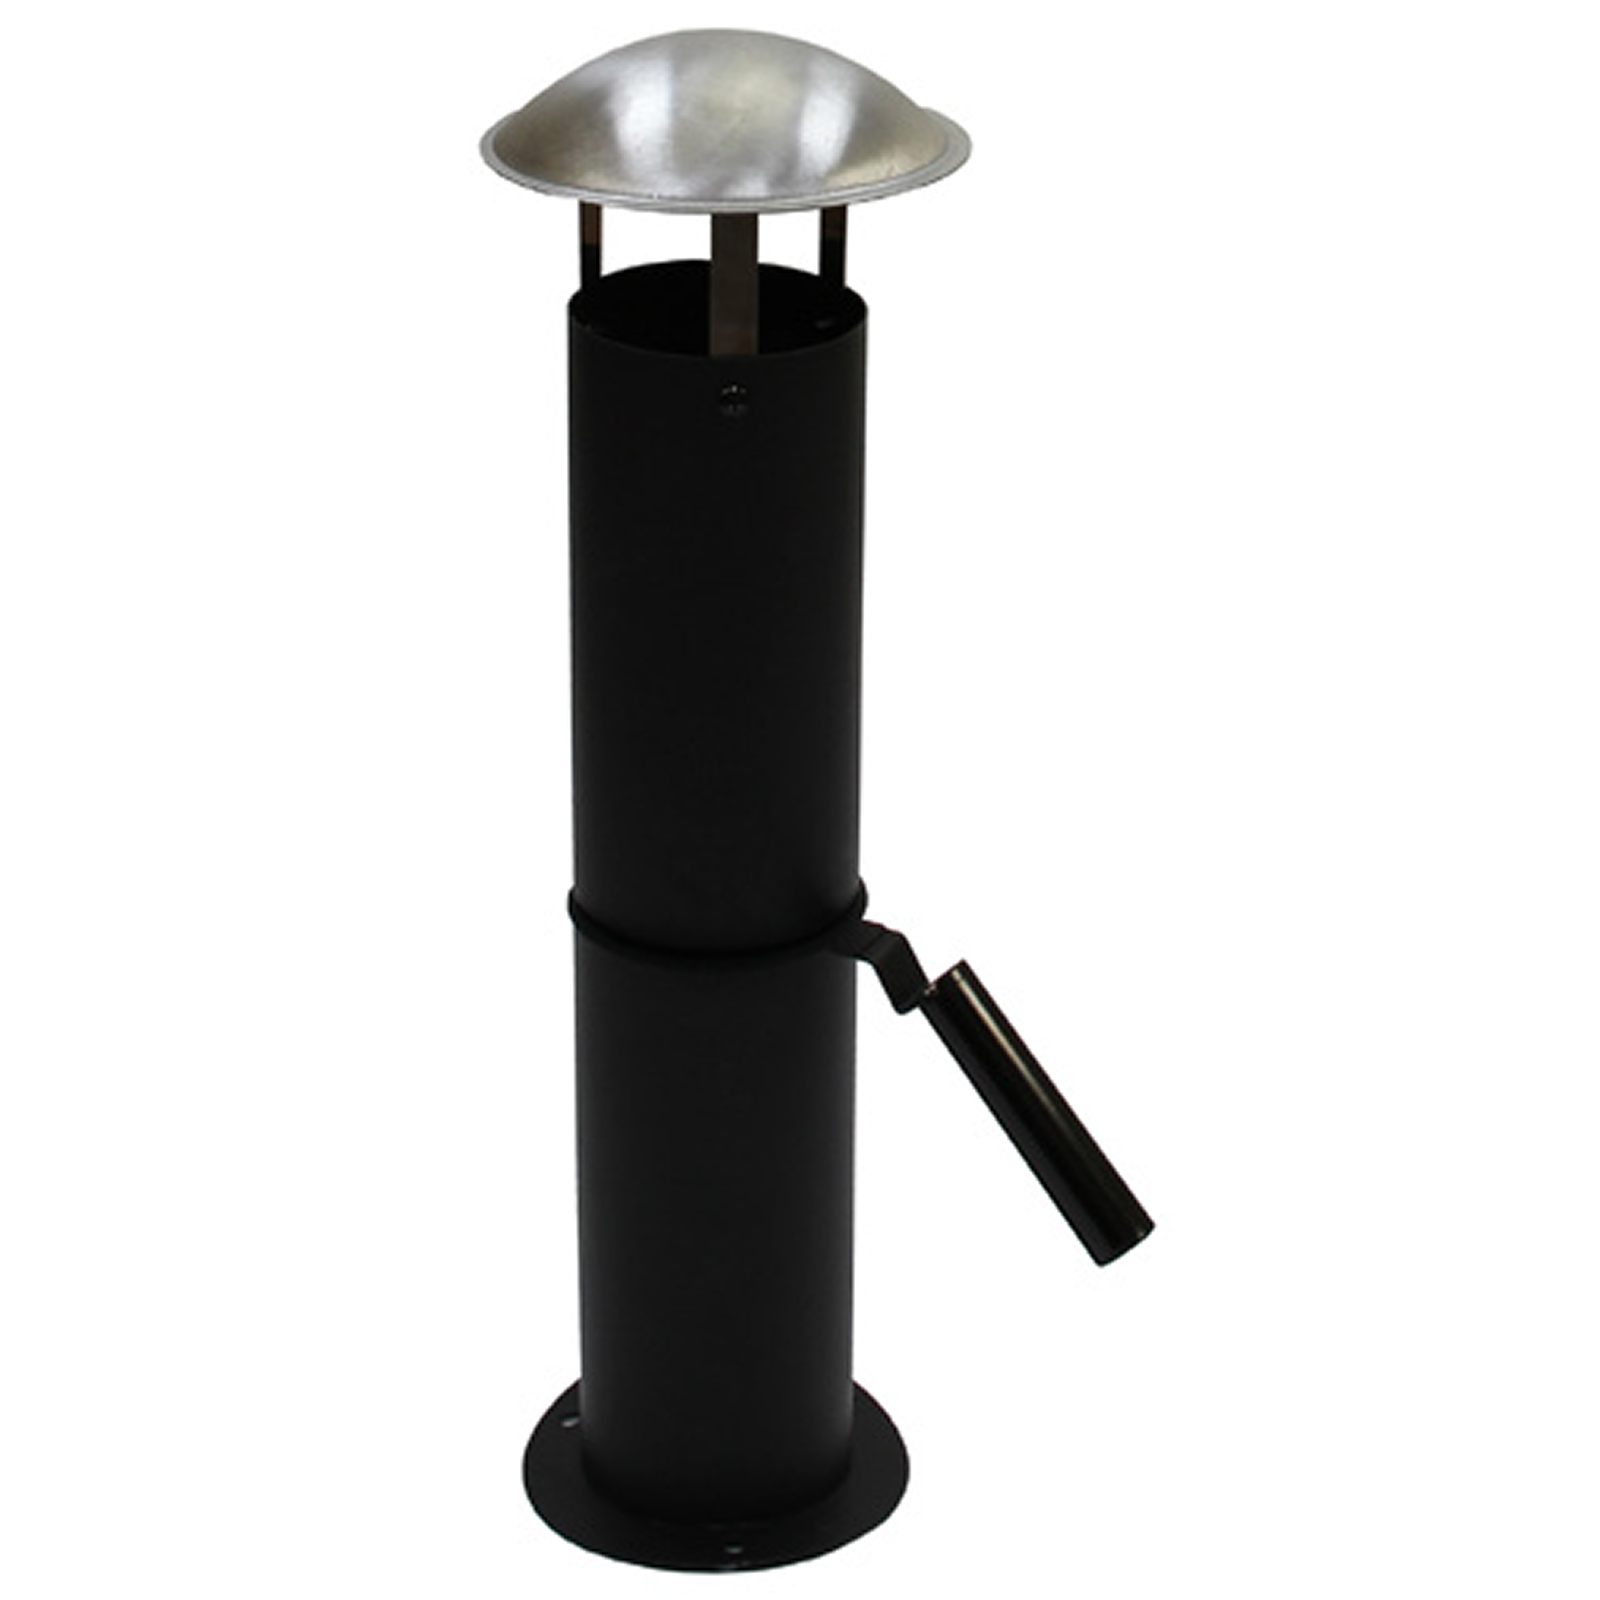 Fix the chimney cowl to the chimney using 3 Screws (A). 12. Fixing Chimney to Oven Body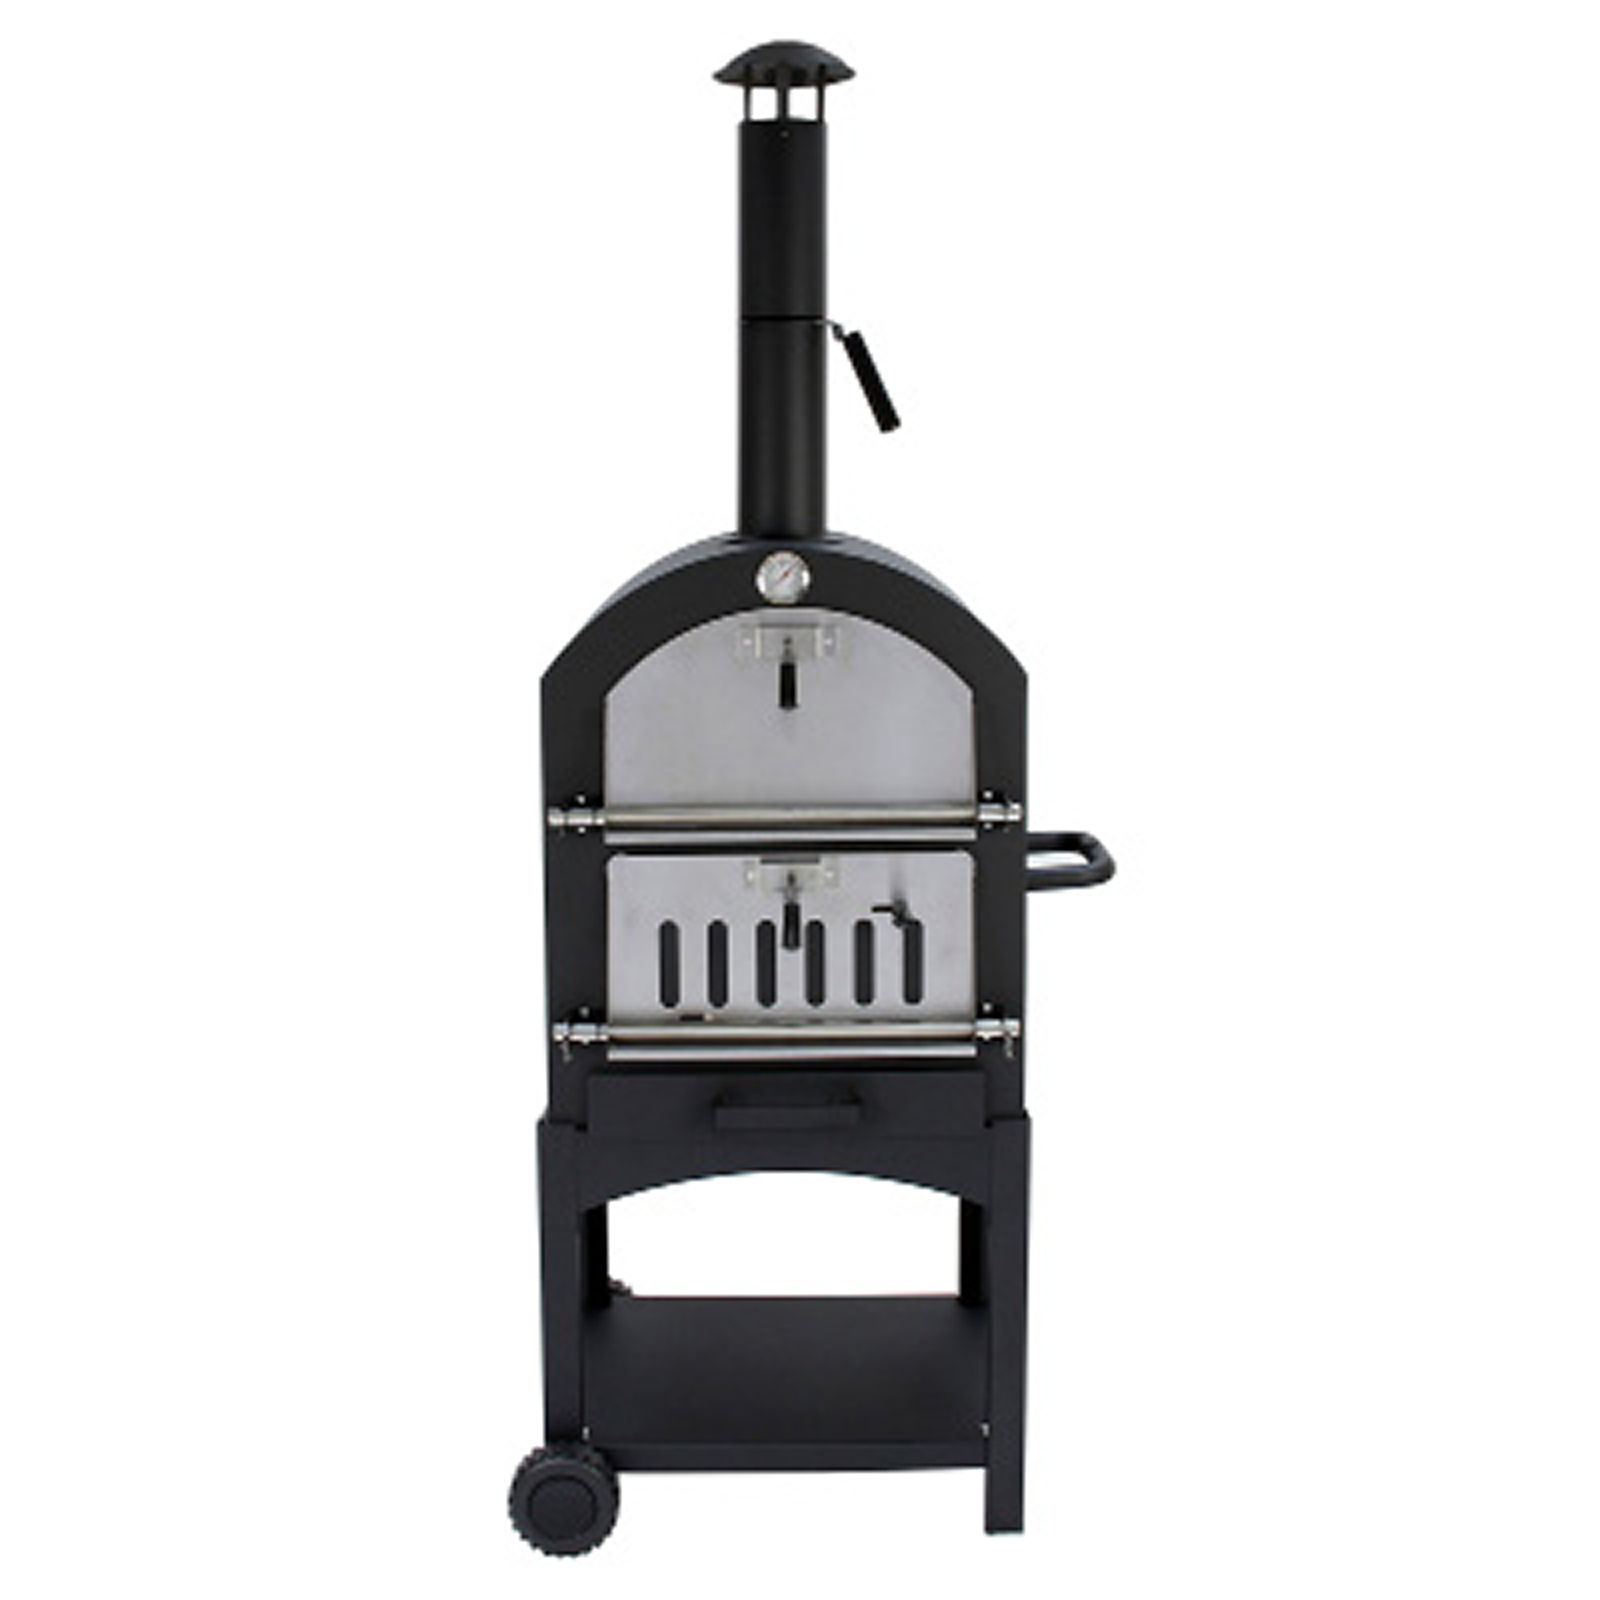 Fix the chimney to the oven body using 4 Screws (A). Your Outdoor Pizza Oven is now assembled! 13. Lighting and Operating the OvenNote: When using the oven, it is vital that the flames are kept under control. Overheating can cause damage to the oven’s paintwork. 1. Place the required amount of charcoal on the black fire grate. Disclaimer: Lighting charcoal is at your own risk. Please read the ‘Safety Advice’ section before starting. 14. Spreading and Maintaining Heat1. With a heat-resistant tool, begin to spread the ignited mound of charcoal outwards from the centre of the grate to create an evenly distributed heat source. 15. Using the Pizza StoneOnly use the pizza stone on the top grate. When grilling or smoking, remove the pizza stone. 16. Smoking with the OvenWhen smoking, add charcoal to the fuel. Restrict air flow by closing the baffle plates on the lower door and damper on the chimney. 17. Keeping Meat MoistTo keep meat moist, add a small amount of water to a small foil tray, separate the fuel in the lower section and place the tray between the fuel prior to lighting. Top up water as necessary. Air flow can be adjusted via the lower door baffle plate and damper on the chimney. 18. Resolution GuidePlease read through the guide below if you have any issues or faults with your KuKoo Outdoor Pizza Oven.
If there appears to be any part missing from your package contact our Customer Support team via the details on the Contact Us page.
To extinguish the unit, first stop adding fuel and allow the fire to die down or douse with sand. DO NOT use water – this could damage the oven.
Please ensure there is enough fuel, and you have left the oven to heat for 30 minutes before attempting to cook.
A crosshead screwdriver and spanner will be required.
Please make sure you store in a dry area or cover in-between use with a rain cover.
To clean the pizza stone remove all debris then soak in warm water for 20 minutes. Allow to dry over night. Depending on the flavours of the pizza cooked on the stone, you may need to repeat this process several times to remove all odours. The stone will develop soot on the underside; this is normal and will be hard to remove but is completely normal.
You are not monitoring the flame and temperature level. It is vital they are kept under control to prolong the life of the oven. For all other issues, please contact our Customer Support Team. |