This guide provides step-by-step instructions for assembling, operating, and maintaining your Metal Wheelie Bin Storage - Single.
Product Information
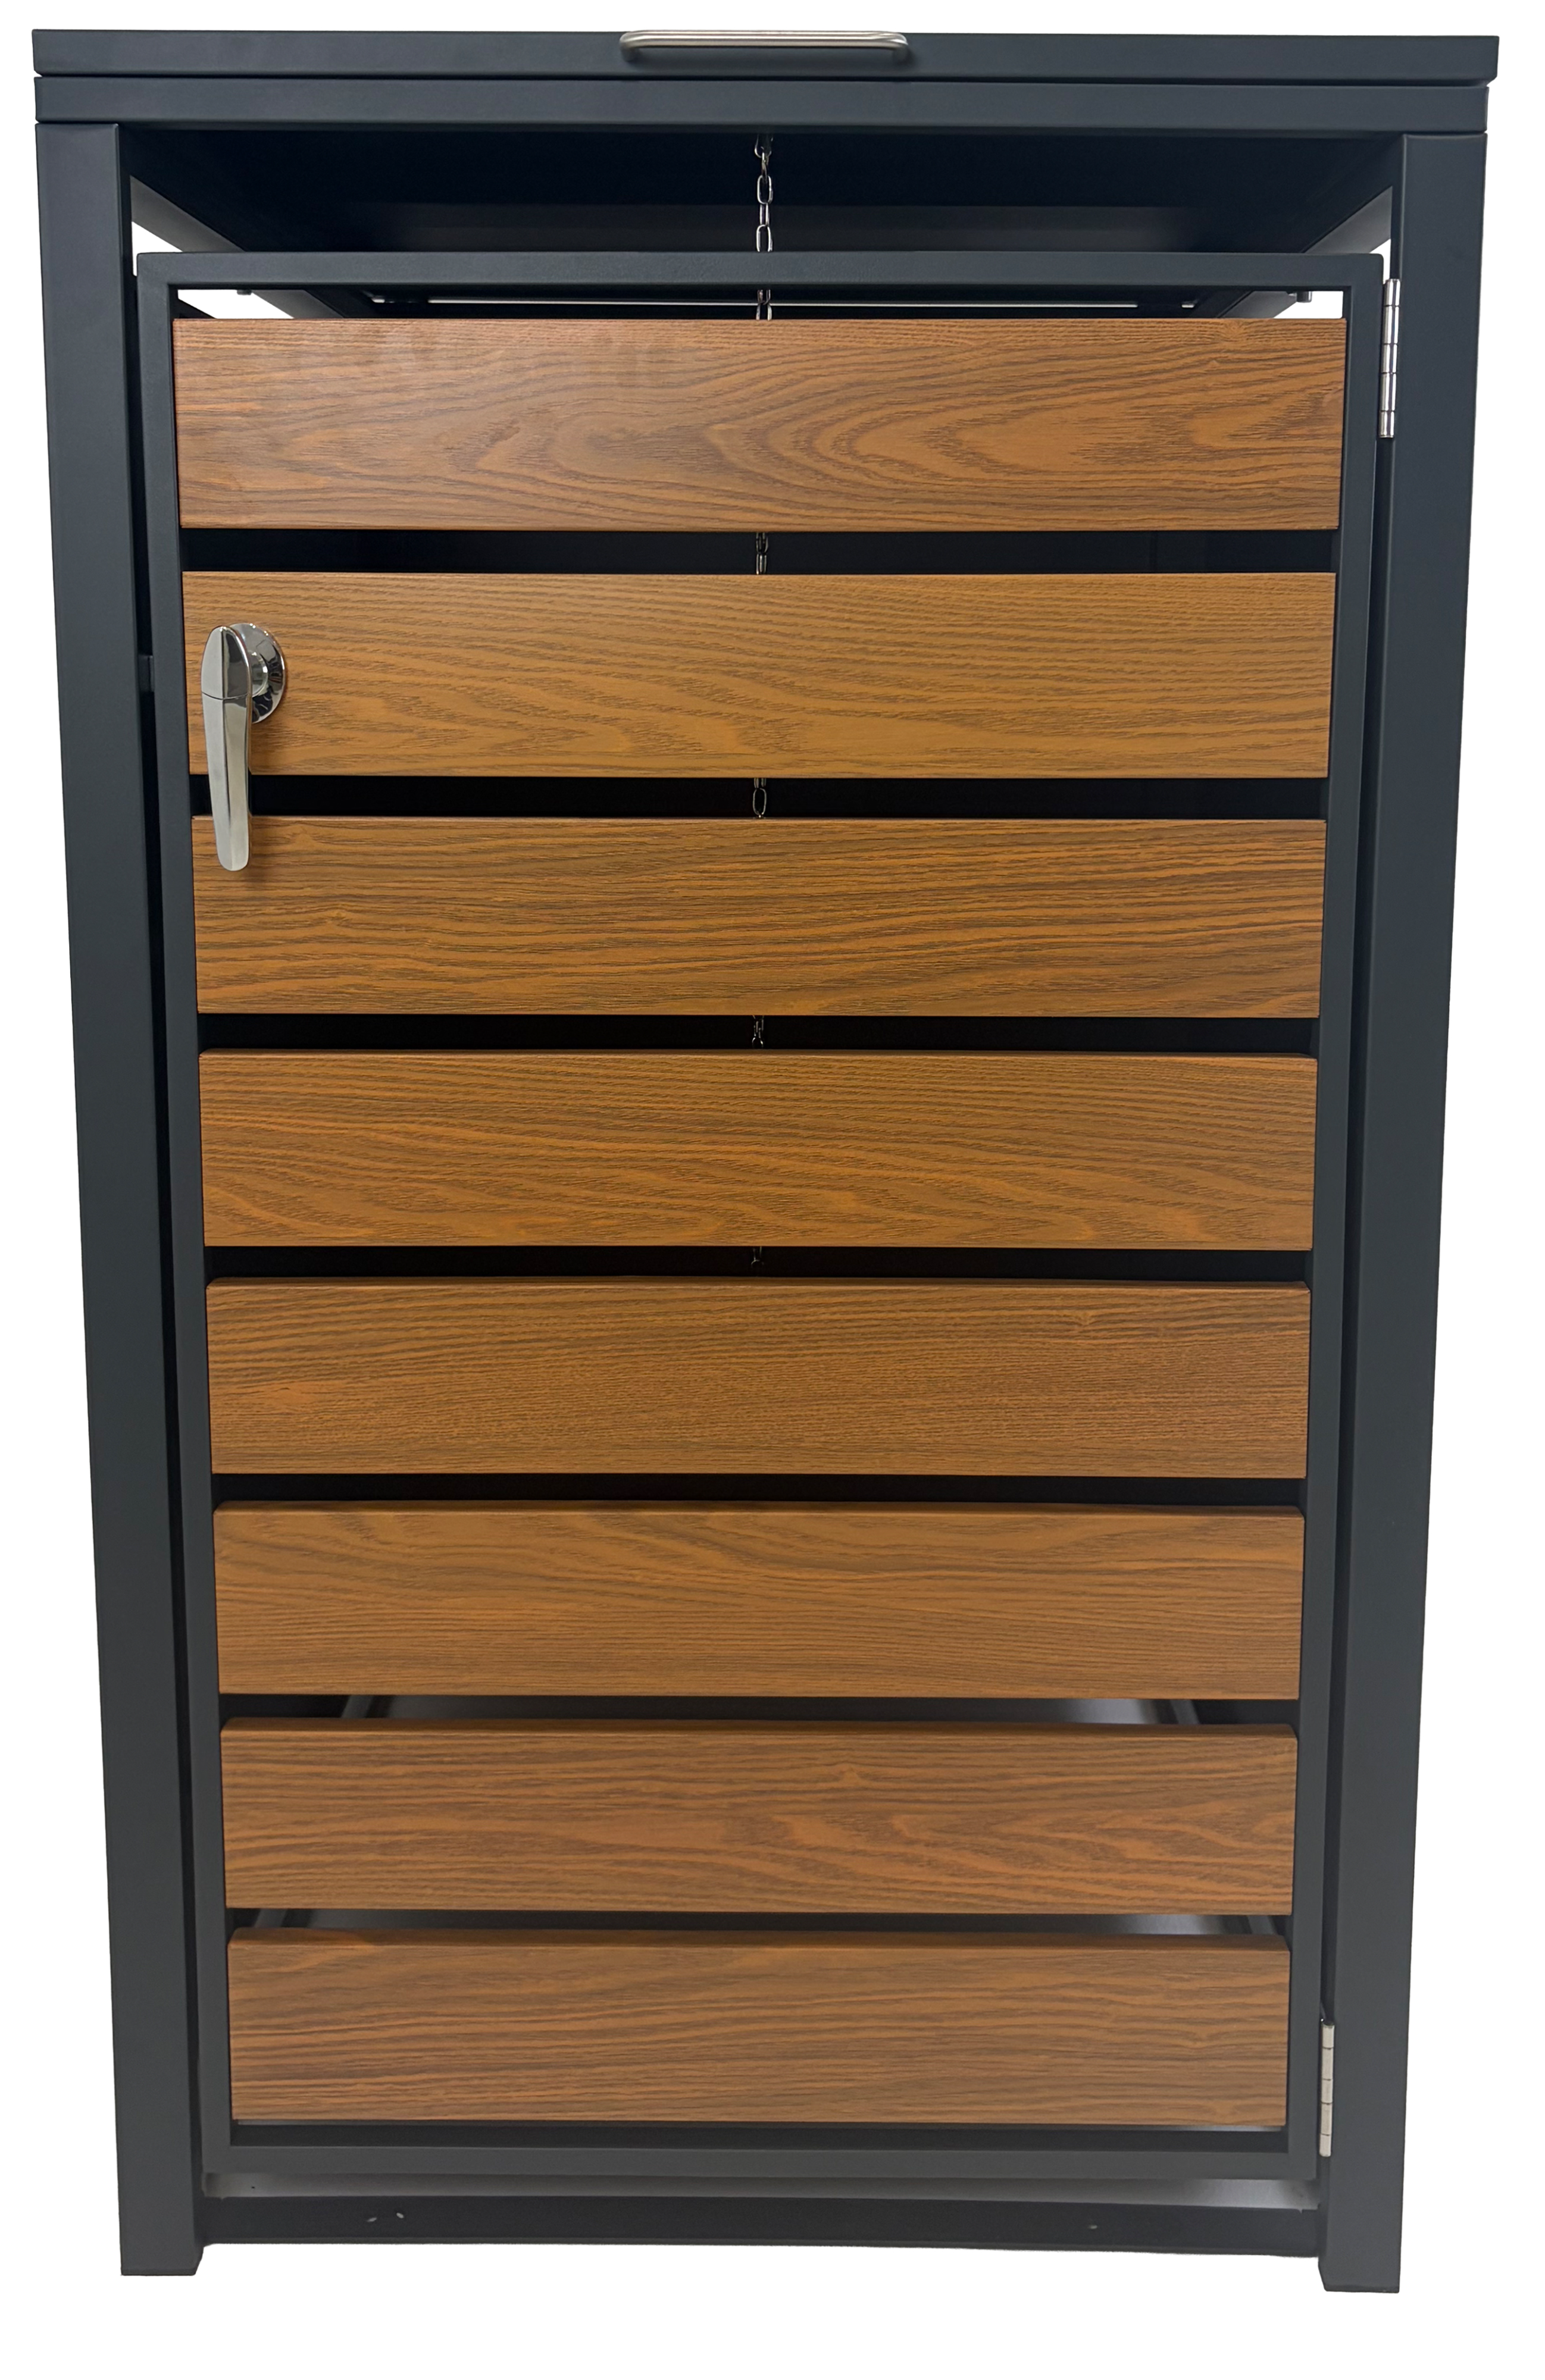
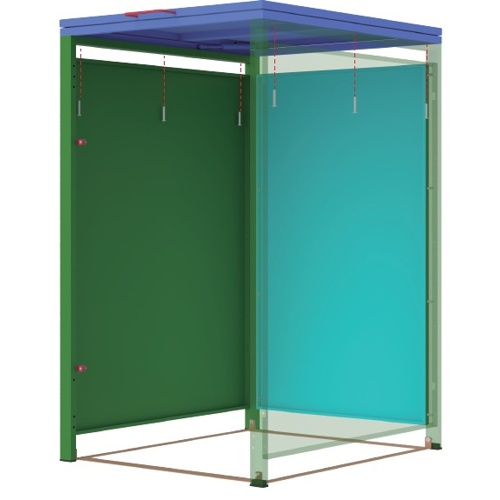
Metal Wheelie Bin Storage - Single
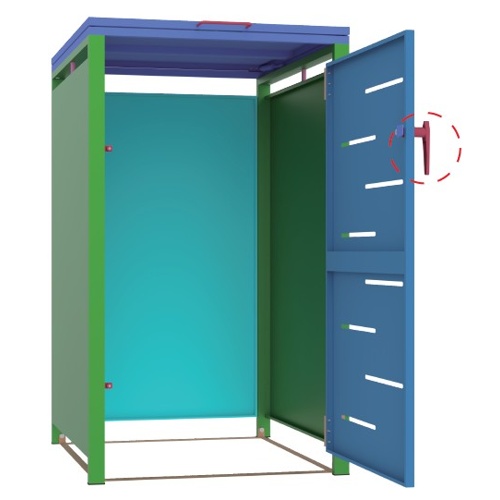
This metal wheelie bin storage unit is designed to securely house one bin, helping maintain a neat and organised outdoor space. It features lockable doors, piston-assisted soft-close lids, and a chain linkage system for convenient bin access. Available in a durable anthracite metal finish or a wood-effect metal finish, it also includes a built-in holder for deodoriser blocks (not included).
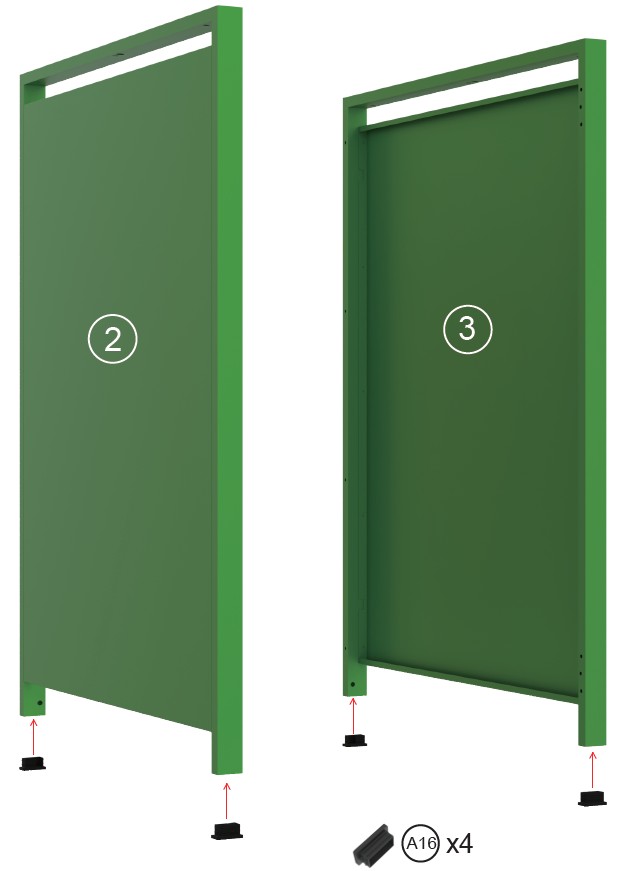
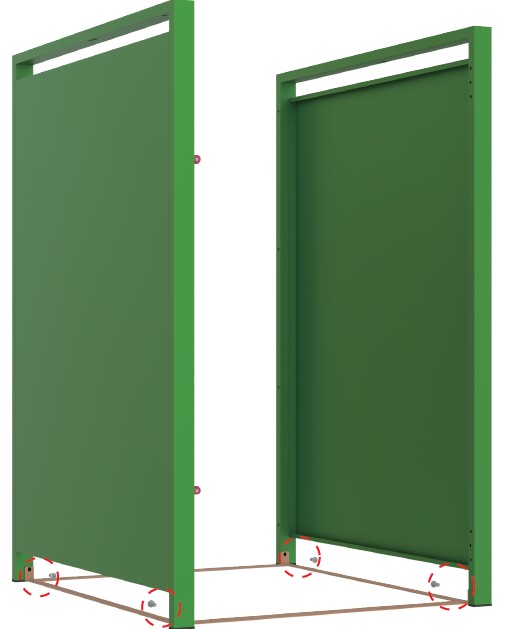
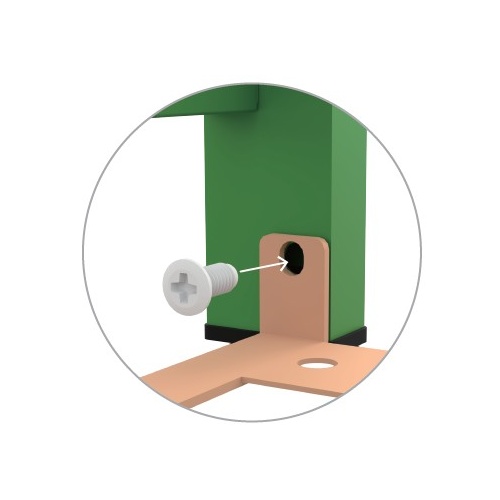
Firmly install Feet (Part A16) to the bottom of Side Panel Left (Part 2) and Side Panel Right (Part 3).
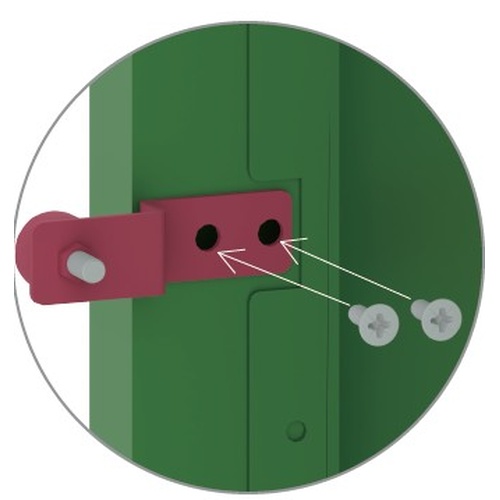
2. Install Door Magnets
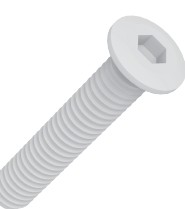
Install the Door Magnets (Part A17) to Side Panel Left (Part 2) using Screws (Part G24).
3. Install Bottom Frame
Install the Bottom Frame (Part 1) to Side Panel Left (Part 2) and Side Panel Right (Part 3) using Screws (Part G25).
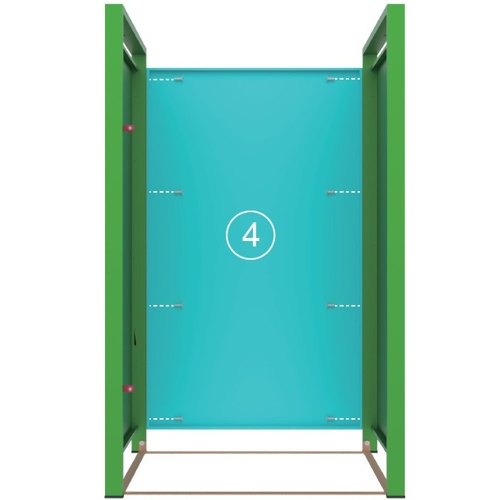
4. Install Back Panel
Install the Back Panel (Part 4) to Side Panel Left (Part 2) and Side Panel Right (Part 3) using Screws (Part G24).
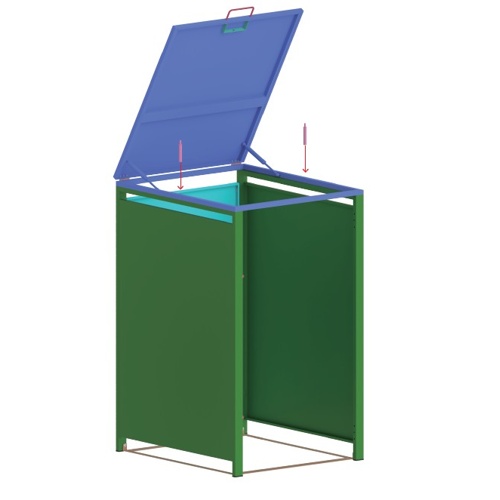
5. Install Handle to the Top Cover
Install the Handle (Part 6) to the Top Cover Panel (Part 5) using Screws (Part G27).
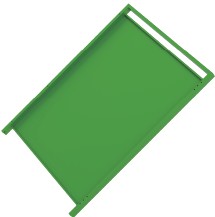
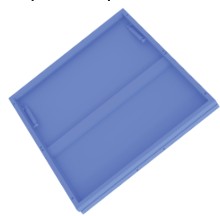
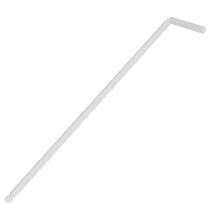
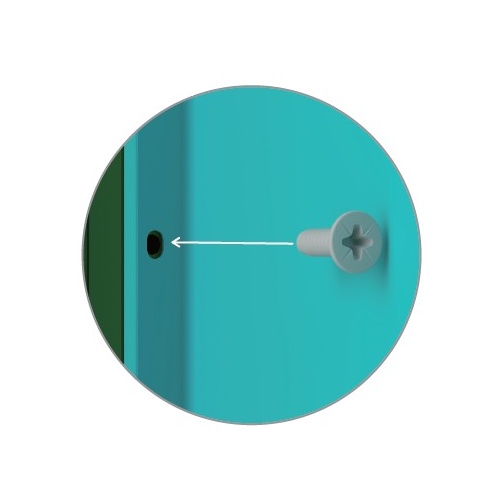
6. Install the Top Cover Panel
Note: Ensure that you install the screws into the smaller of the two holes.
Install the The Top Cover Panel (Part 5) to the frame already built using Screws (Part G26). Please use the tool provided (Part T10).
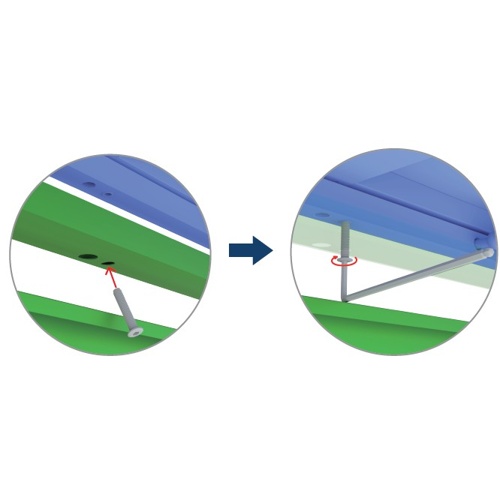
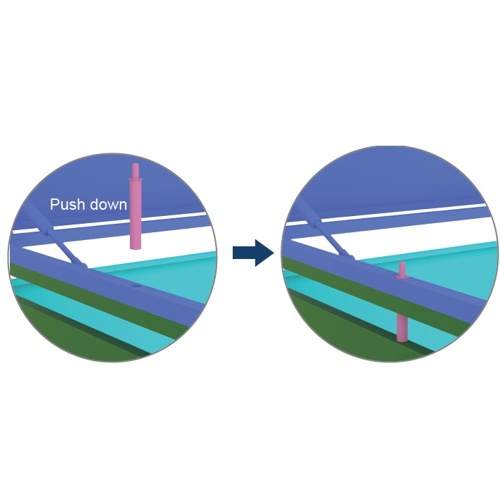
7. Install the Soft Close Damper
Firmly push the Soft Close Damper (Part A15) into the hole on the Top Cover Panel (Part 5).
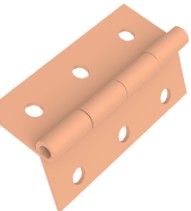
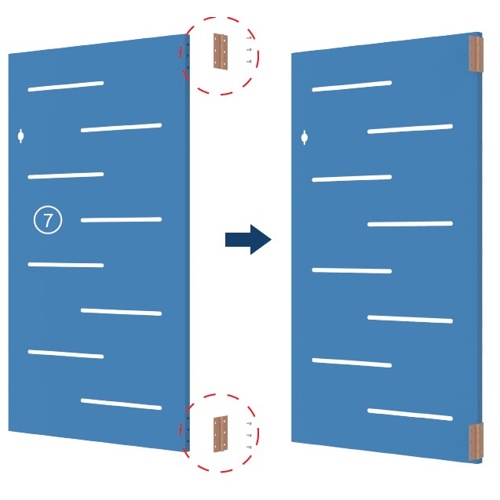
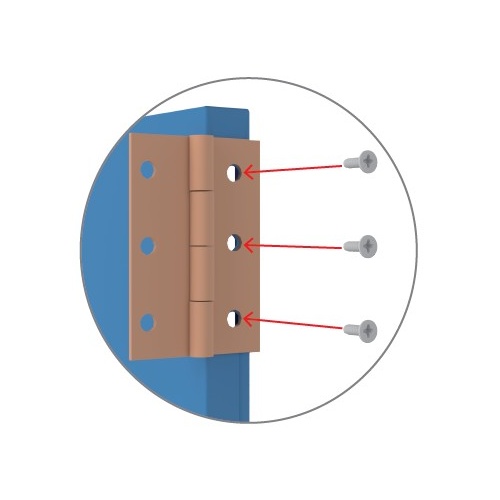
8. Install the Door Hinge
Note: Ensure that the holes of the hinge that are not being used are facing the front of the door panel.
Install the Door Hinge (Part A14) onto the end of the Door (Part 7) using Screws (Part G24).
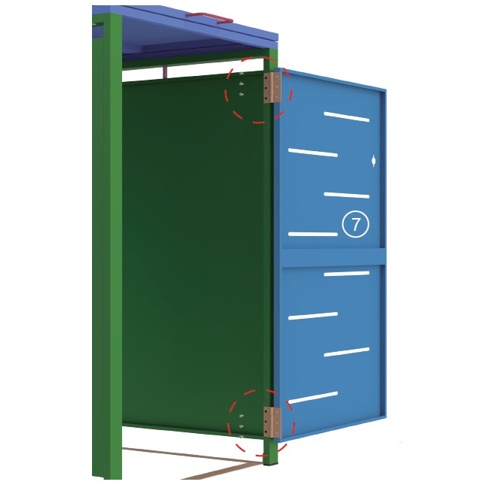
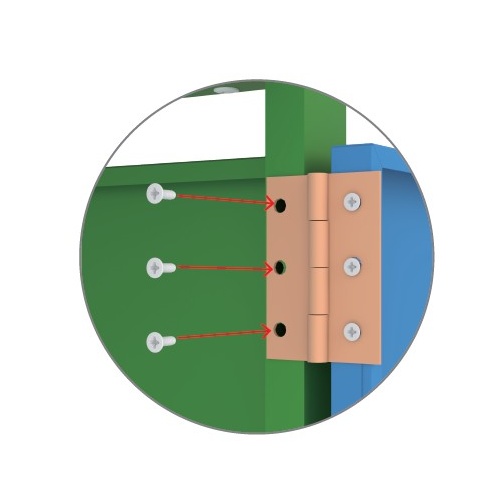
9. Attach the door panels to the frame
Note: Ask someone to hold the door panel in place to ensure no injury or damage occurs.
Loosely screw the hinges (Part A14) to the Right Side Panel (Part 3) using screw (Part G24).
Once all screws are in place, tighten them completely.
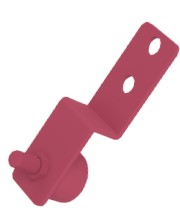
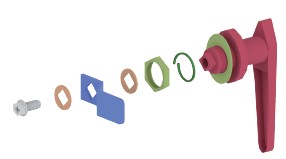
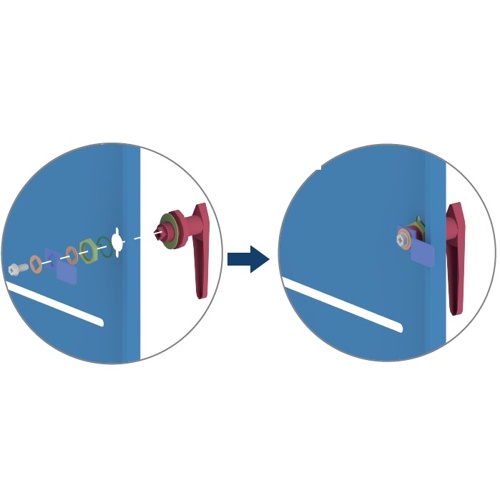
10. Install the Handle
Note: Ensure you follow the diagram to get the internal handle parts in the correct order.
Taking care, fix the Handle (Part A19) to the door.
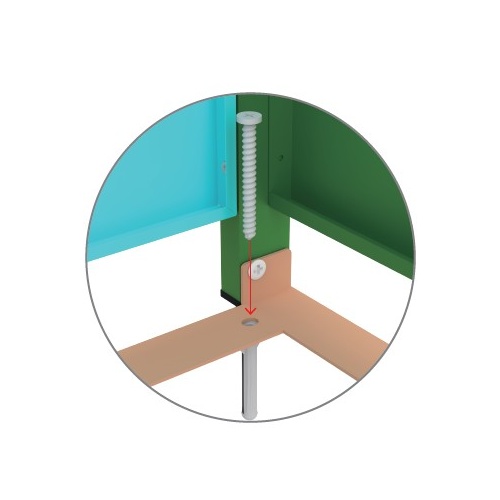
11. Install the Ground Fixings
Note: The unit must be securely fixed to the ground to ensure stability. Failure to do so may result in damage or injury.
Fix the unit to the ground using expansion bolts (Part A13).
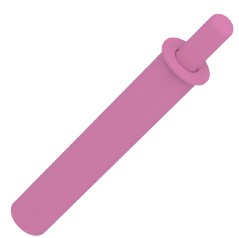
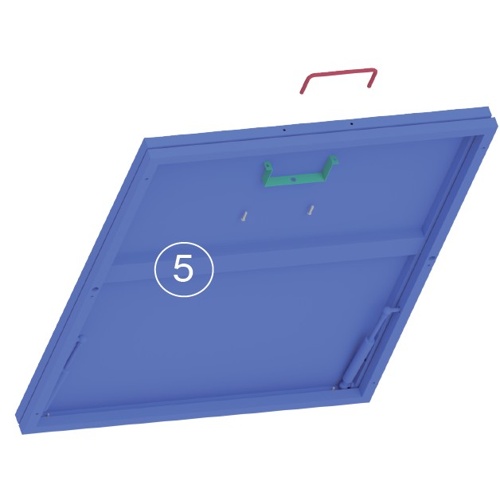
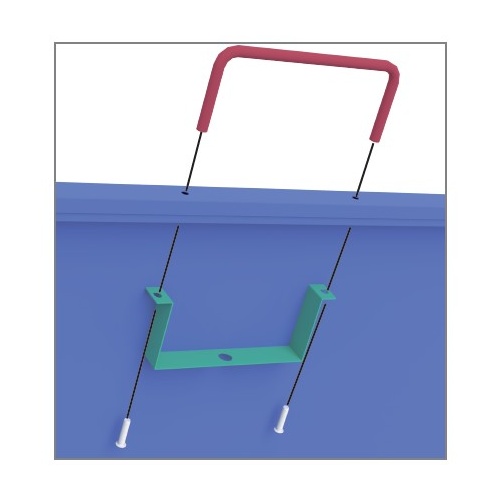
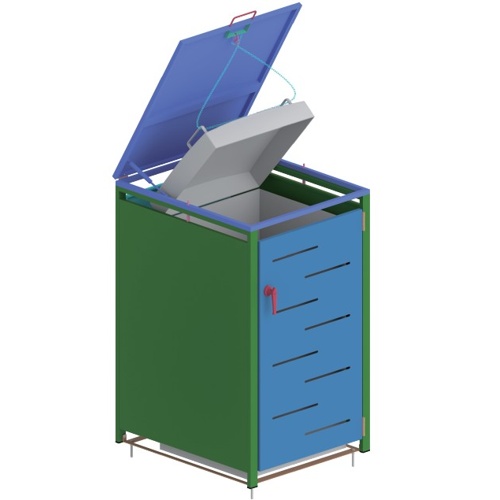
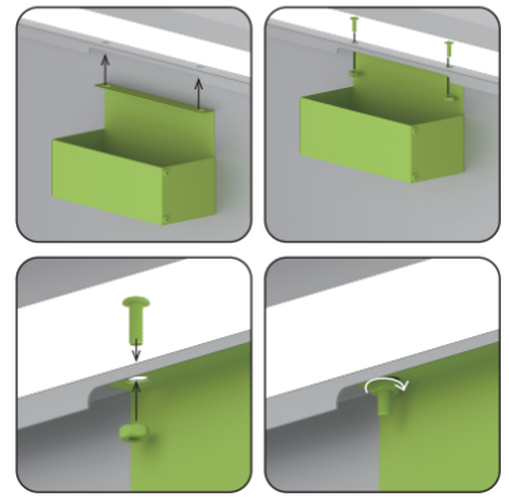
12. Install the Metal Chain and Ring
Loop the Metal Chain (A20) through the handles on the wheelie bin. Connect the chain to the Top Cover Panel (Part 5) using the Metal Ring (Part A18).
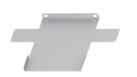
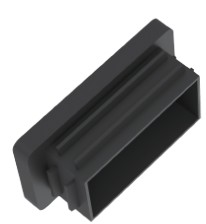
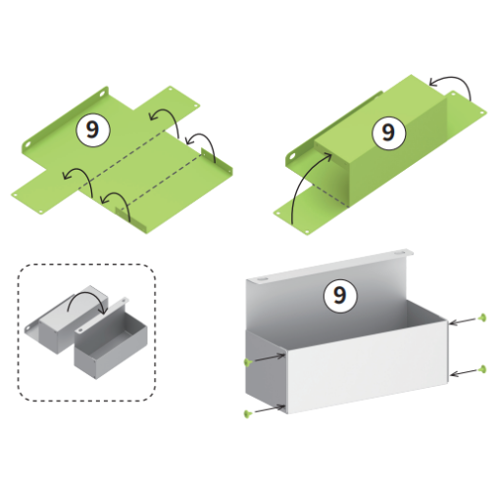
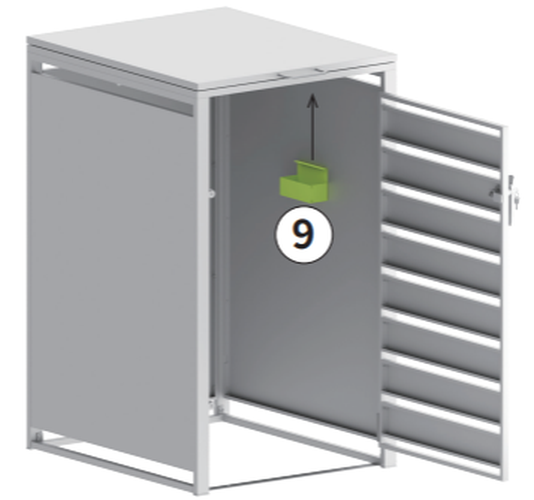
13. Install the Deodoriser Block Holder
Bend each side inward as indicated by the arrows.
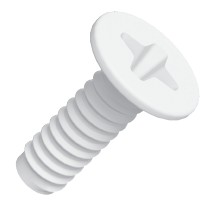
Line up the holes and secure them with the provided screws (Part K10).
Cover the screws with the rubber caps (Part L22) for safety.
Then, attach the deodoriser block holder to the wheelie bin storage using the supplied screws (Part G21).
14. Maintenance
Clean the unit periodically using mild detergent and water to remove dirt and debris.
Inspect and tighten all fixings regularly to maintain structural integrity.
Lubricate hinges and locks periodically to ensure smooth operation.
Check gas pistons periodically for performance and replace if signs of failure occur.
Inspect for signs of corrosion or surface damage and treat promptly to maintain product lifespan.
15. Troubleshooting
Please read through the guide below if you have any issues or faults with your device. The information covers and resolves the majority of frequently asked questions.
Q: There are parts missing from my order. A: If there appears to be any part missing from your package contact our Customer Support team via the details on the Contact Us page within 7 days of receipt.
For all other issues please contact our Customer Support department via the details on the Contact page.