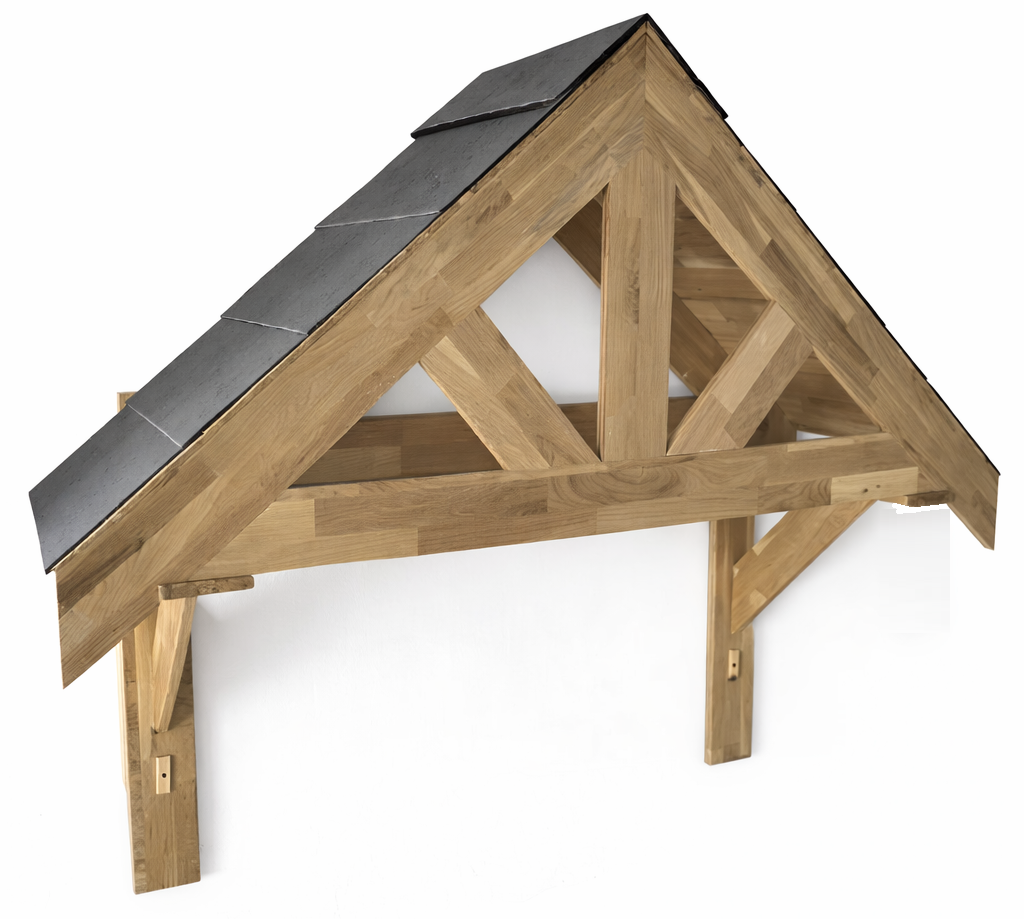
This guide provides step-by-step instructions for assembling
components and using the Oak Porch Kit.
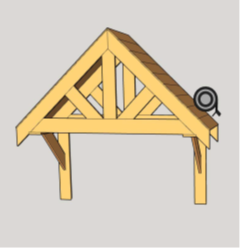
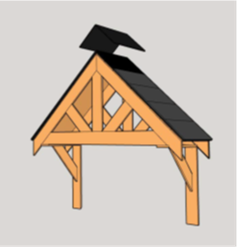
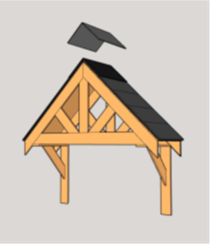
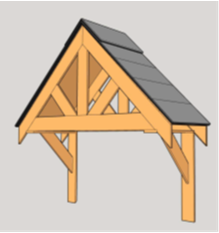
Product Information
Oak Porch Kit
Crafted from premium solid oak, this porch kit combines
timeless style with exceptional durability. Designed for easy assembly, it includes precision-cut
components that showcase the natural beauty and grain of the wood. Perfect for enhancing your
home’s entrance, the sturdy oak construction provides long-lasting protection while adding a warm,
classic character to any property.
SKU
217013,217014
217013 - 1250mm:
Specification:
Product Height:
1590mm
Product Depth:
606mm
Product Width:
1750mm
Product Net Weight:
46.7kg
Frame Wood:
W 102 mm x Thickness 20 mm
UK
Manufacturer: Monster Group UK Limited, Monster House 19-23 Alan Farnaby Way,
Industrial Estate Sheriff Hutton, York YO60 6PG, England.
Person Responsible: Rana Harvey, Monster Group UK Limited, Monster House 19-23
Alan Farnaby Way, Industrial Estate Sheriff Hutton, York YO60 6PG, England. +441347878880
EU
Manufacturer: Monster Group BV, Van Heemskerckweg 28A & B, Venlo 5928LL
Netherlands.
Person Responsible: Rana Harvey, Monster Group BV, Van Heemskerckweg 28A &
B, Venlo 5928LL, Netherlands. +441347878880
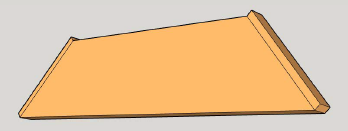
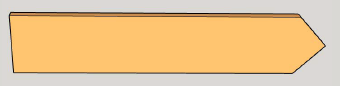
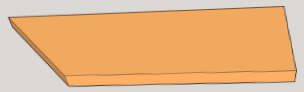
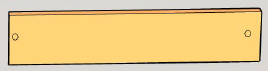
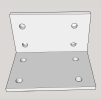
Parts
Part A
Part B
Part C
Part D
Part E
Part F
Part G
Part H
Part I
Part J
Part K
Part L
Part M
Part N
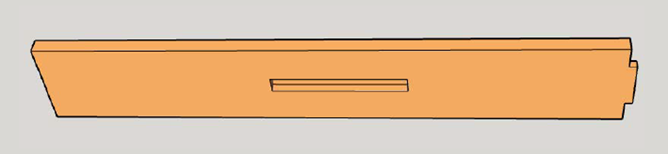
Part O - 1250mm
Part O - 1400mm
Part P
Part Q
Part R
Part S
Part T
Part U
Part V
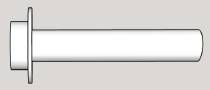
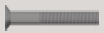
Part 1
Part 2
Part 3
Part 4
Part 5
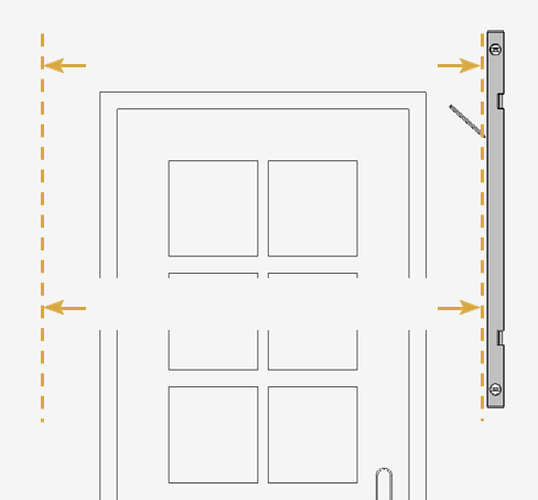
1. Step 1 - Measure the Bracket
Positions
Measure and mark the gallows bracket positions on the wall to a maximum internal span of
1250mm or 1400mm.
2. Step 2 - Measure the Back
Plate
Measure and mark the back plate at the preferred location above the door.
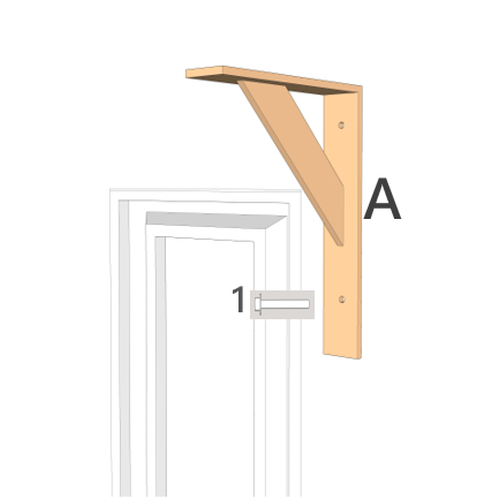
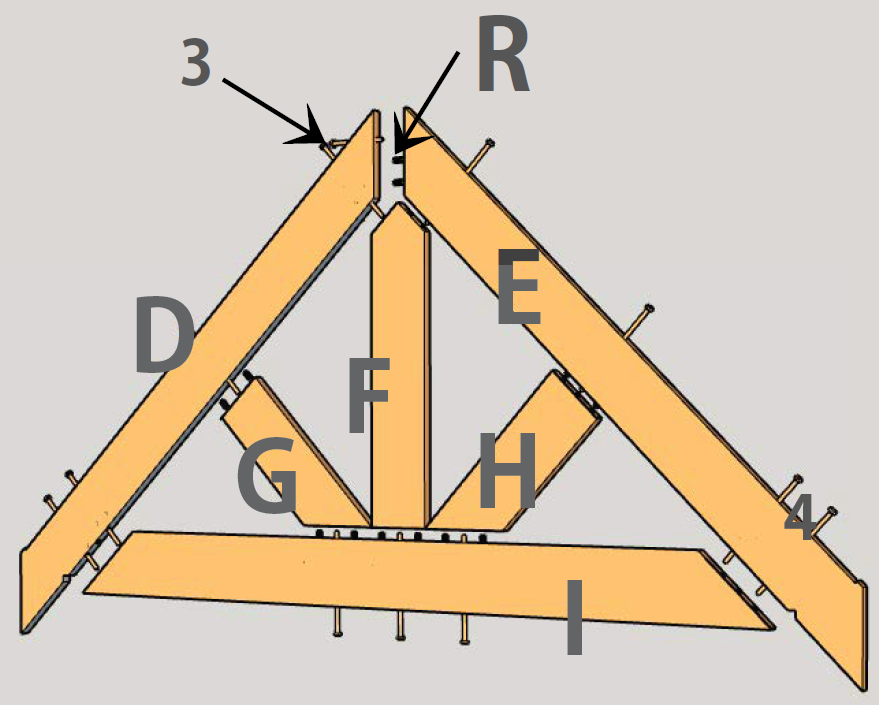
3. Step 3 - Insert the Dowels
Insert the 6mm countersunk screw (Part 2) dowels supplied into the pre-machined draw-bored
tenons.
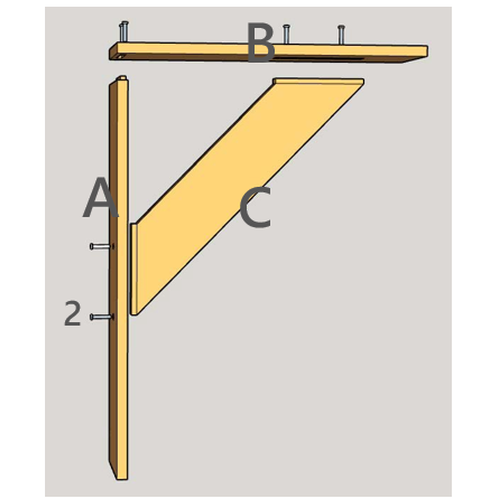
4. Step 4 - Secure the Brackets
Place and secure the assembled Gallows Brackets to either side of the door to the marked
positions on the wall.
Fix using 2 x 16mm steel bolts (Part 1).
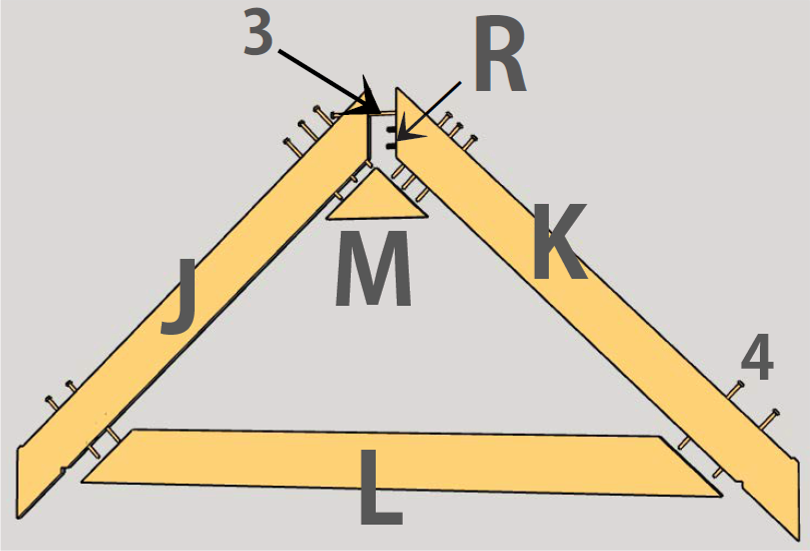
5. Step 5 - Assemble the
Components
First insert the 10mm dowels (Part R), into the pre-drilled holes.
Then assemble the components as shown in the illustration. Secure them firmly using the
provided screws.
Note: Use the screws (Part 3), exclusively to fasten panels J and K, and
use the other screws (Part 4), for all other parts.
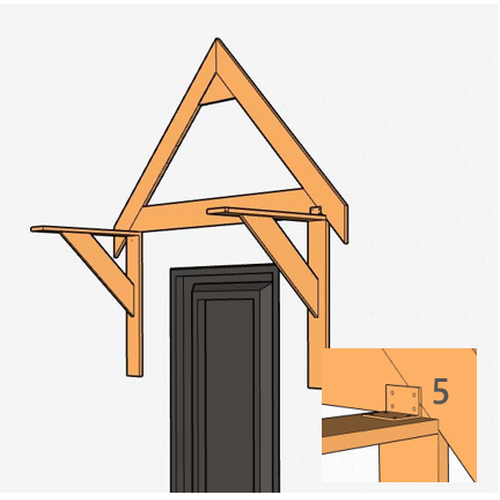
6. Step 6 - Fastening the
Backboard
Press the eaves backboard firmly against the wall, then use the woodworking screws (Part 5),
to secure the L Brackets Part Q, fastening the backboard to the support frame.
7. Step 7 - Assemble the Front
Panel
Assemble the porch eaves front panel as illustrated.
Insert the 10mm dowels (Part R) into the pre-drilled holes.
Join the components together and secure them firmly using the insert screws.
Note: Use the screw (Part 3) exclusively to fasten panels D and E; use the
longest screws (Part 4) for all other parts.
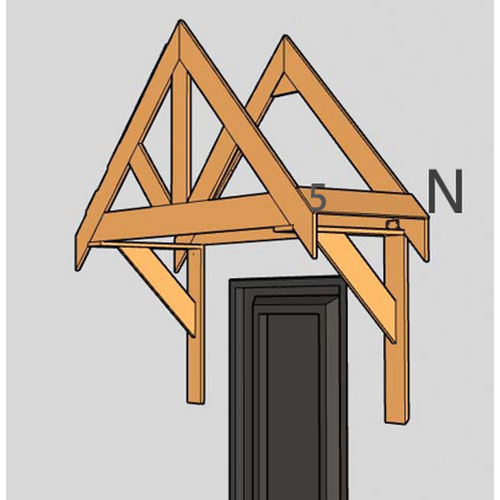
8. Step 8 - Position the Eaves
Front Board
First, use the woodworking screw (Part 5) to install side cover (Part N) onto the eaves back
board (the positioning design ensures correct placement of cover N).
Next, position the eaves front board onto the support.
Secure the cover (Part N) to the eaves front board.
Use the L bracket (Part Q) to fasten the eaves front board to the support.
Assemble the side cover (Part N) on the other side following the same procedure.
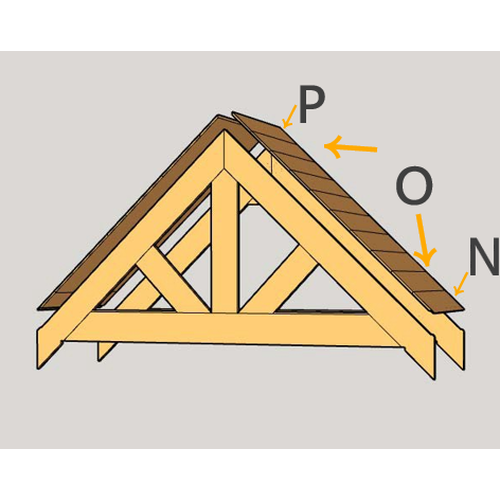
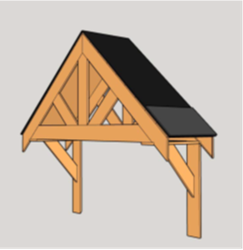
9. Step 9 - Fix the Roof Panels
Finally, as shown in the figure, fix the roof panels (Parts N, O and P) to the eaves front
board and back board using woodworking screw (Part 5) to form a single integrated unit.
Please note: It is the installer’s responsibility to verify suitability for
the intended mounting surface and load. The manufacturer accepts no liability for failure
resulting from inappropriate fixings.
Fixing the Roof Tiles
1. Step 1 - Prepare Material S
Prepare Material S Position Material S with the S side facing inward.
Roll Material S tightly into a roll.
Peel off the protective film marked “S”.
Do not remove more than 20 cm of film at a time.
Continue applying the material gradually while peeling the film.
Material S is highly adhesive; removing too much film at once may make installation
difficult.
2. Step 2 - Install Material S
Allow Material S to extend 2 cm beyond the eave edge.
If the opposite side extends more than 2 cm due to installation tension, trim or fold it
over and attach it to the wooden structure.
Align both sides of Material S evenly with the eave edges.
Ensure the bottom edge is parallel to Component N on.
Smooth and press the attached section firmly by hand.
3. Step 3 - Apply Adhesive to
Material V
Apply structural adhesive evenly to the back of Material V.
Structural adhesive must be purchased separately.
Use a generous and even amount of adhesive for best results.
4. Step 4 - Overlap Material V
When joining two pieces of Material V, maintain an overlap of approximately 4 cm.
5. Step 5 - Repeat Installation
of Material V
Continue the same process until four pieces of Material V are installed on each side.
6. Step 6 - Install Material T
Apply structural adhesive evenly to the back of Material T.
Ensure the grooved side faces upward.
Attach Material T as shown in the diagram so it partially overlaps Material V.
7. Step 7 - Install Material U
Apply structural adhesive evenly to the back of Material U.
Ensure the grooved side faces upward.
Attach Material U as shown in the diagram, making sure it completely overlaps Material T.
8. Step 8 - Curing & Final
Notes
Structural adhesive typically cures within 72 hours, depending on local weather conditions.
Lower humidity speeds up curing, while higher humidity slows it down.
Before fully cured, Material V may slip easily.
Do not touch or pull the material after installation.
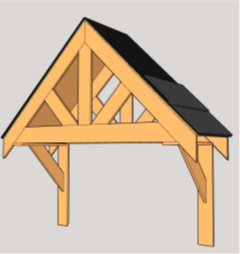
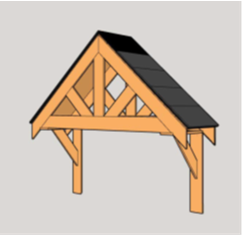
Avoid installation during rainy or windy conditions.
The completed installation result is shown in
1. Troubleshooting
Please read through the guide below if you have any issues or faults with your device.
The information covers and resolves the majority of frequently asked questions.
Q: There are parts missing from my order. A: If there appears to be any part
missing from your package contact our Customer Support team via the details on the Contact Us
page within 7 days of receipt.
For all other issues please contact our Customer Support department via the details on
the Contact page.