
Monster Manuals
Brand

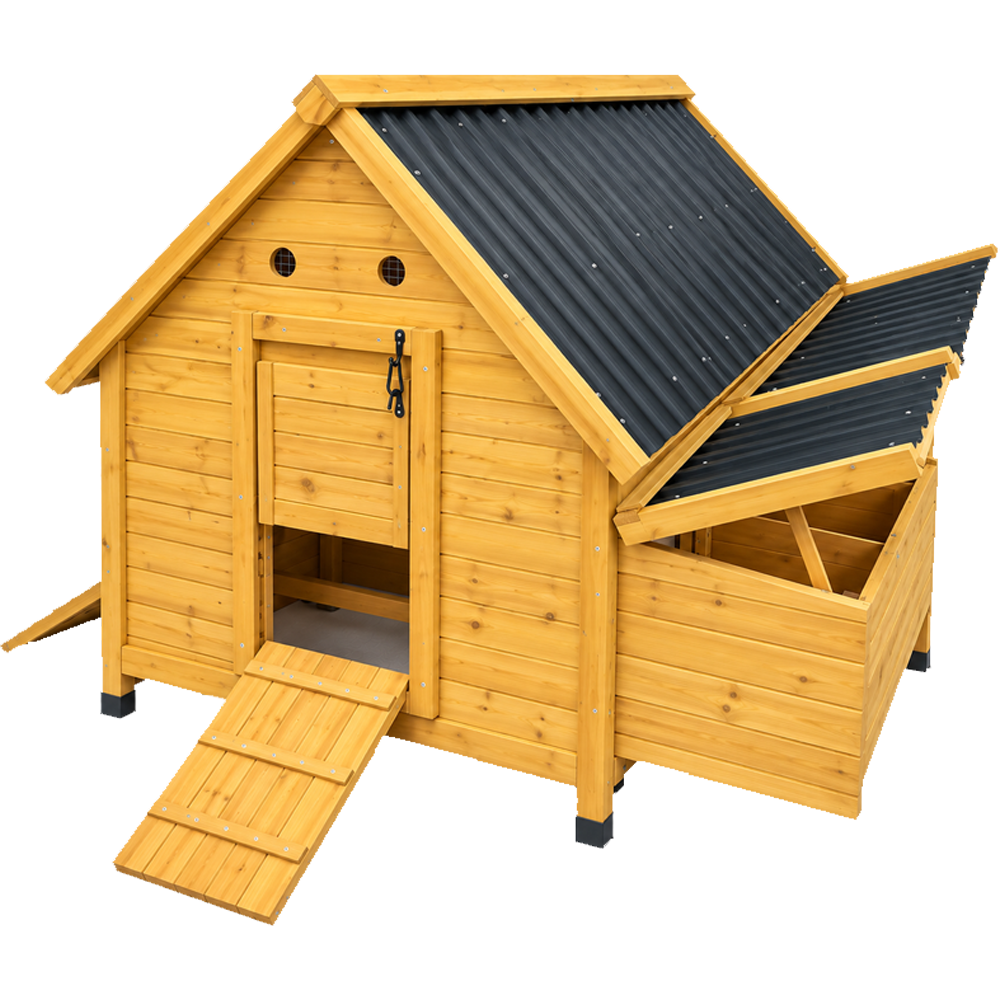
Petnamic Heritage Coop
This guide provides step-by-step instructions for assembling components and using your Petnamic Heritage Coop.
instructions.monstershop.co.uk
Petnamic Heritage Coop
This guide provides step-by-step instructions for assembling components and using your Petnamic Heritage Coop.
Product Information
The Petnamic Heritage Coop provides a secure and practical outdoor home for chickens. It includes a comfortable nesting pad and a DIY automatic waterer to support convenient everyday chicken care.
| SKU | 218858 |
|---|---|
| Length | 161.5cm |
| Width | 122.7cm |
| Height | 112cm |
| Weight | 55kg |
| Includes | 5 Nesting Pads |
| Lockable Latch | |
| Automatic Waterer | |
| 2 Large Side Doors | |
| 2 Nest Boxes | |
| 5 Nesting Areas | |
| Adjustable Feet | |
| Ventilation Slats | |
| Easy-to-clean Pull-out Trays | |
| Spacious design fitting up to 15 birds (depending on size) |
Petnamic Heritage Coop
EN
Safety Information
Safety Advice
- Ensure you have read and fully understood the instruction manual and safety advice before using this product.
- Adult assembly is required. Follow the assembly instructions exactly and use two adults to lift or position large or awkward sections.
- Wear protective gloves and suitable footwear during assembly. Keep children and animals away from the assembly area.
- Inspect all timber, panels, mesh and fixings before assembly and regularly during use. Do not use the coop if parts are damaged, unstable, sharp or protruding.
- Assemble on firm, flat and level ground. Ensure all frame and roof sections are securely connected, and all fixings are tightened before use.
- Do not climb, sit or stand on the coop. Children must not play on or inside the product.
- Keep fingers and animals clear of doors, hinges, ramps, latches and other moving parts to prevent trapping or injury.
- Secure all doors and latches before chickens are left unattended. Regularly inspect mesh and openings for damage that could allow chickens to escape or predators to enter.
- Keep ventilation openings clear and provide adequate shade and airflow during hot weather. Monitor chickens for heat stress.
- Ensure the ramp and removable cleaning tray are correctly and securely positioned before use. Never force an obstructed tray.
- Keep the nesting pad clean, dry and correctly positioned. Remove damaged or excessively contaminated components from use.
- Do not house more than 15 chickens in the coop. Ensure the chickens have sufficient space, ventilation and access to water.
- Assemble the DIY automatic waterer correctly and check it regularly for secure connections, leaks, blockages, contamination and correct water flow. Ensure chickens have an adequate supply of clean drinking water.
- Keep the coop away from open flames, fire and intense heat. Inspect the structure after severe weather and discontinue use if it becomes damaged or unstable.
- Keep the surrounding area clear to reduce trip hazards and maintain hygienic conditions by regularly removing droppings and waste. Wash hands after cleaning or handling animal waste.
- Do not overcrowd the enclosure. Ensure chickens have sufficient space, ventilation and access to water.
- Retain these instructions and pass them on if ownership changes. Dispose of the product safely at the end of its life, separating recyclable materials where possible and following local waste requirements.
- Keep packaging and small fixings away from children and animals due to choking, ingestion and suffocation hazards.
GPSR Information
UK GPSR Information
Manufacturer
Monster Group UK Limited
Monster House 19-23 Alan Farnaby Way
Industrial Estate Sheriff Hutton
York YO60 6PG
England
+441347878880
Monster House 19-23 Alan Farnaby Way
Industrial Estate Sheriff Hutton
York YO60 6PG
England
+441347878880
Representative
Rana Harvey
Monster House 19-23 Alan Farnaby Way
Industrial Estate Sheriff Hutton
York YO60 6PG
England
+441347878880
Monster House 19-23 Alan Farnaby Way
Industrial Estate Sheriff Hutton
York YO60 6PG
England
+441347878880
EU GPSR Information
Manufacturer
Monster Group BV
Van Heemskerckweg 28A & B
-
Venlo 5928LL
Netherlands
+441347878880
Van Heemskerckweg 28A & B
-
Venlo 5928LL
Netherlands
+441347878880
Representative
Rana Harvey
Van Heemskerckweg 28A & B
-
Venlo 5928LL
Netherlands
+441347878880
Van Heemskerckweg 28A & B
-
Venlo 5928LL
Netherlands
+441347878880
Included Parts
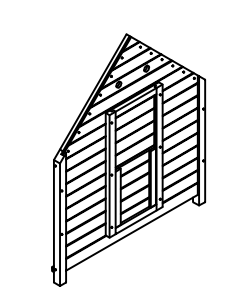
1x
Part A
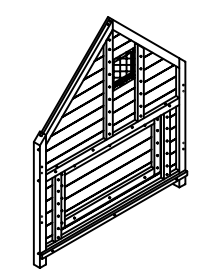
1x
Part B
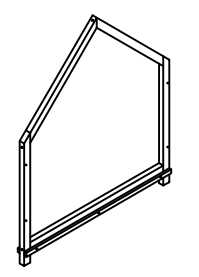
1Dx
Part C
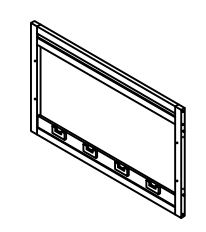
1x
Part D
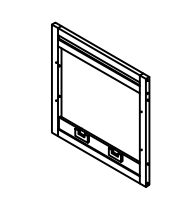
1x
Part E
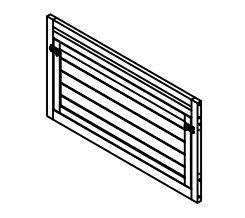
1x
Part F
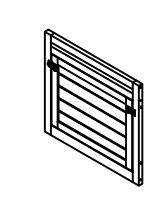
1x
Part G
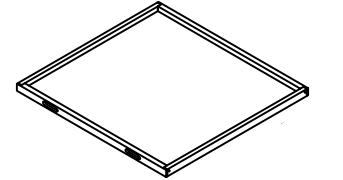
1x
Part H
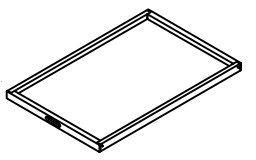
1x
Part I
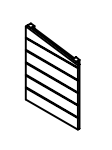
2x
Part J
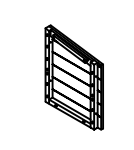
2x
Part K
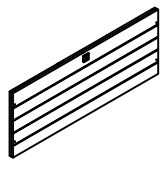
1x
Part L

1x
Part M
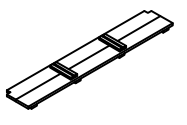
1x
Part N
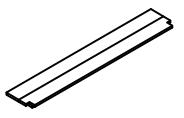
1x
Part O
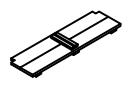
1x
Part P
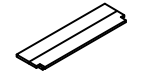
1x
Part Q

3x
Part R
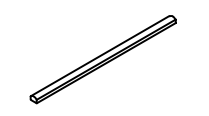
6x
Part S
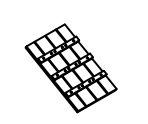
1x
Part T
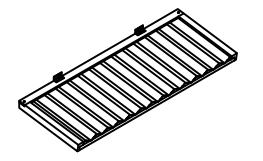
1x
Part U
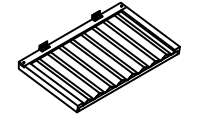
1x
Part V
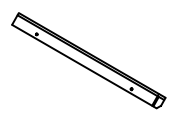
2x
Part W
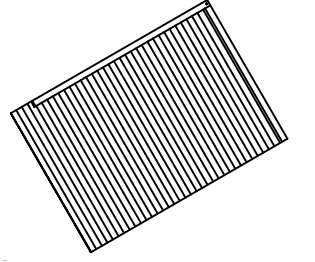
1x
Part X1
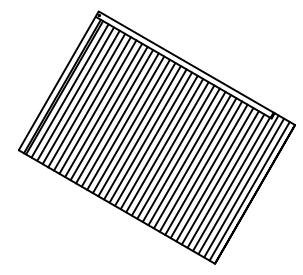
1x
Part X2
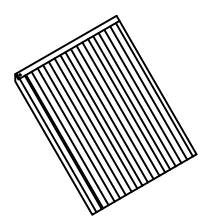
1x
Part Y1
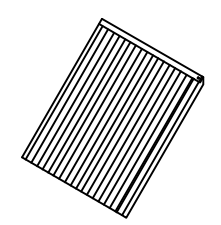
1x
Part Y2
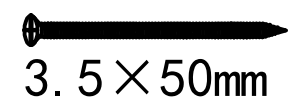
16x
Part P1 - 3.5x50mm
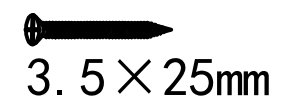
8x
Part P2 - 3.5x25mm
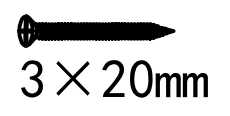
12x
Part P3 - 3x20mm

22x
Part P4 - 3x16mm
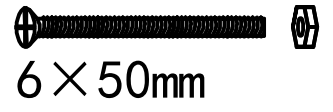
16x
Part P5 - 6x50mm
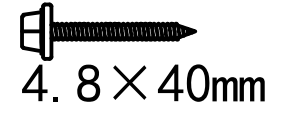
8x
Part P6 - 4.8x40mm
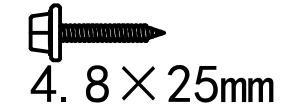
4x
Part P7 - 4.8x25mm

4x
Part P8 - 35x35mm

2x
Part P9 - 35x25mm

2x
Part P10
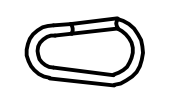
1x
Part P11

1x
Part P12

2x
Part P13

5x
Part P14
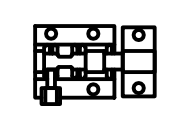
1x
Part P15
Monster Manual
1.
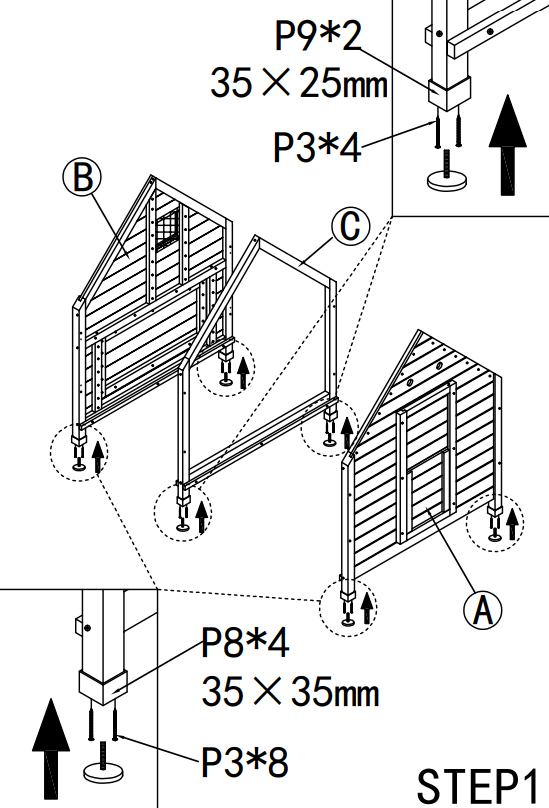
- Attach the adjustable feet (Part P8) to the base of Part A and B.
- Attach the adjustable feet (Part P9) to the base of Part C.
- These feet can be adjusted to stabilise the coop on uneven ground. To adjust the height, twist the circular part of the foot.
2.
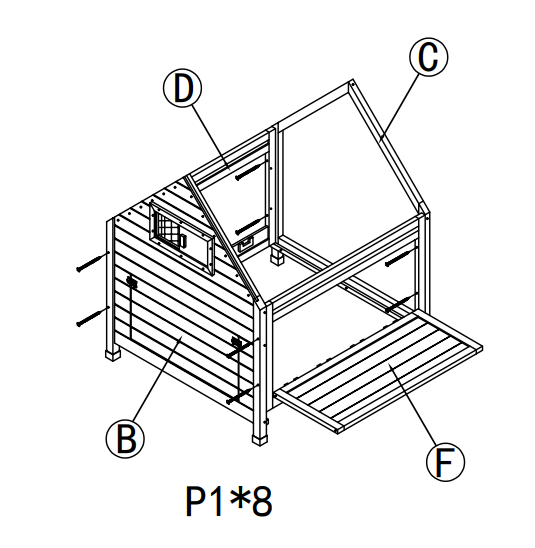
- Attach Part D and F to the panels B and C as pictured using the P1 screws
3.
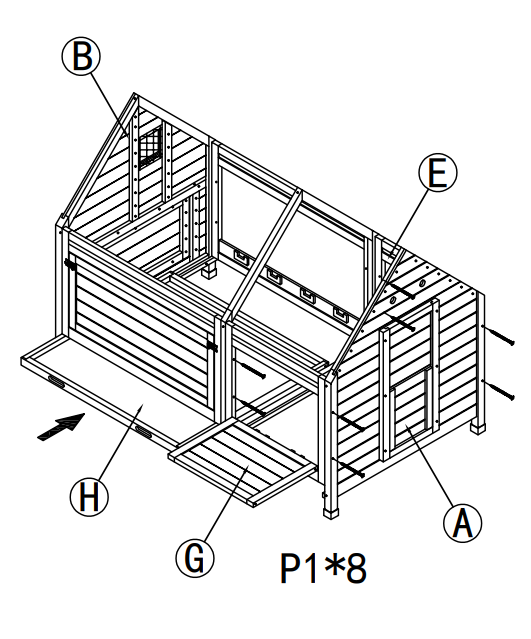
- Connect panels G and E to the assembled structure using P1 screws.
- Attach the Part A panel to the end of the assembled structure.
- Insert the Pull-out Tray (Part H) into the slot below the coop.
4.
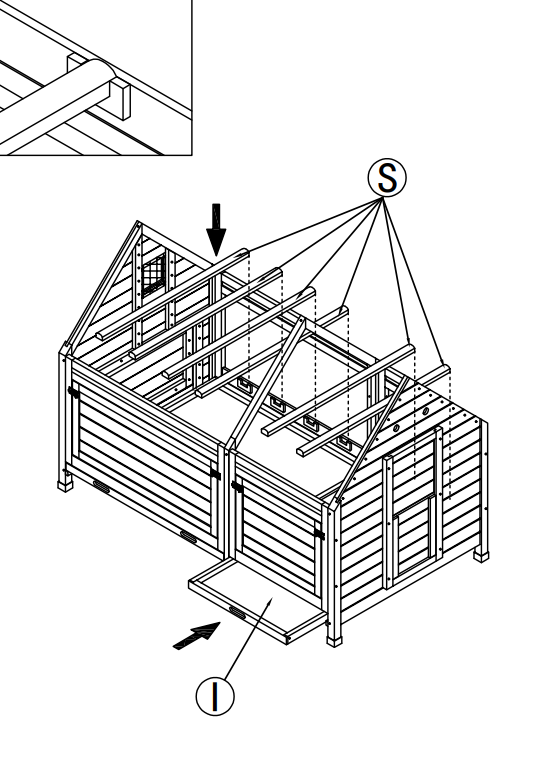
- Insert the Pull-out Tray (Part I) into the slot below the coop.
- Insert Part S along the base of the coop, inserting into the slots on parts D, E, F and G.
5.
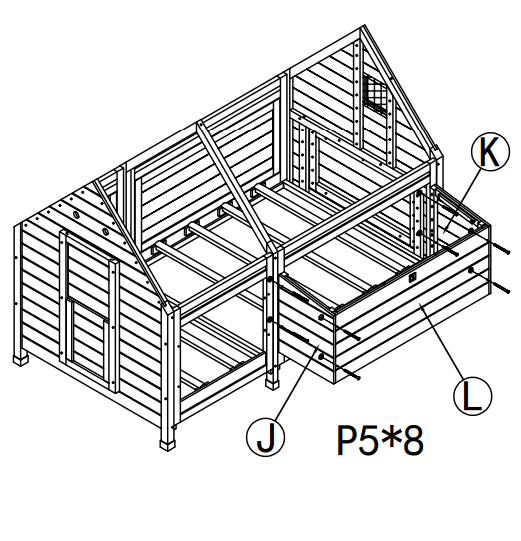
- Attach Parts J and K to the side of the coop (Part D) using P5 screws.
- Connect Part L to Parts J and K using P5 screws.
6.
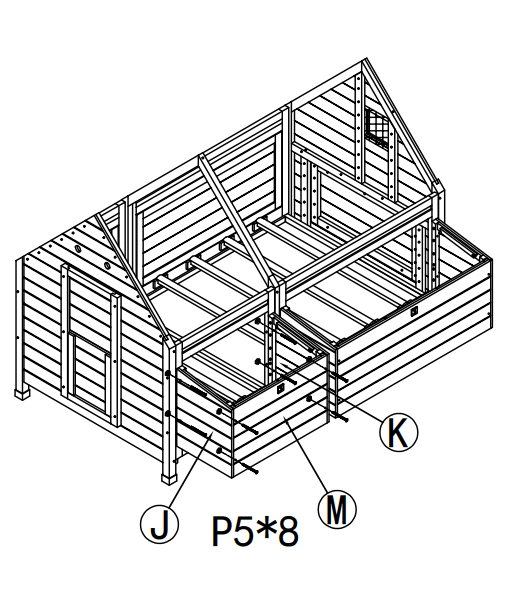
- Attach Parts J and K to the side of the coop (Part E) using P5 screws.
- Connect Part M to Parts J and K using P5 screws.
7.
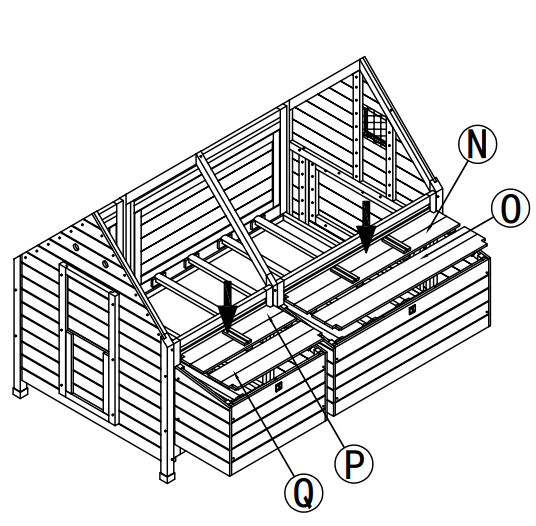
- Slot Part P and Q into the base of the smaller nesting box (assembled in Step 6)
- Slot Part O and N into the base of the larger nesting box (assembled in Step 5)
- Separate the nesting boxes by placing 2 x Part R into the larger nesting box and1 x Part R into the smaller nesting box.
- Place a nesting pad (Part P14) in each nesting area.
8.
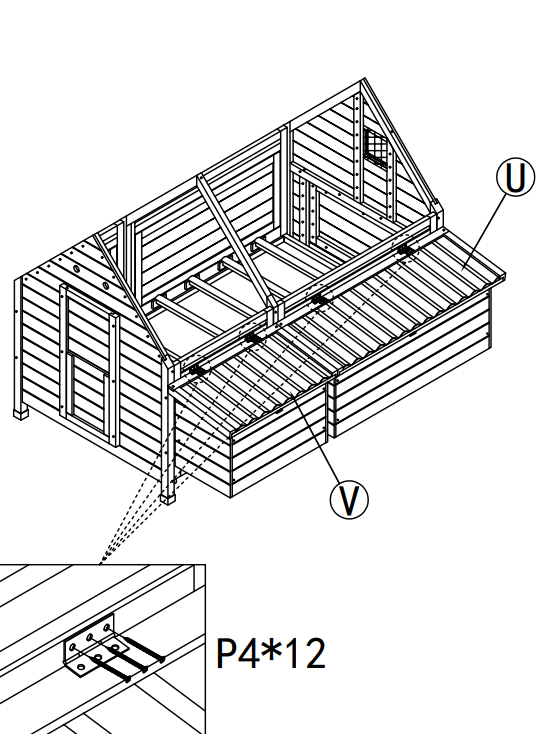
- Place the lids (Parts U and V) onto the nesting boxes.
- Secure in place using the P4 screws into the attached hinge.
9.
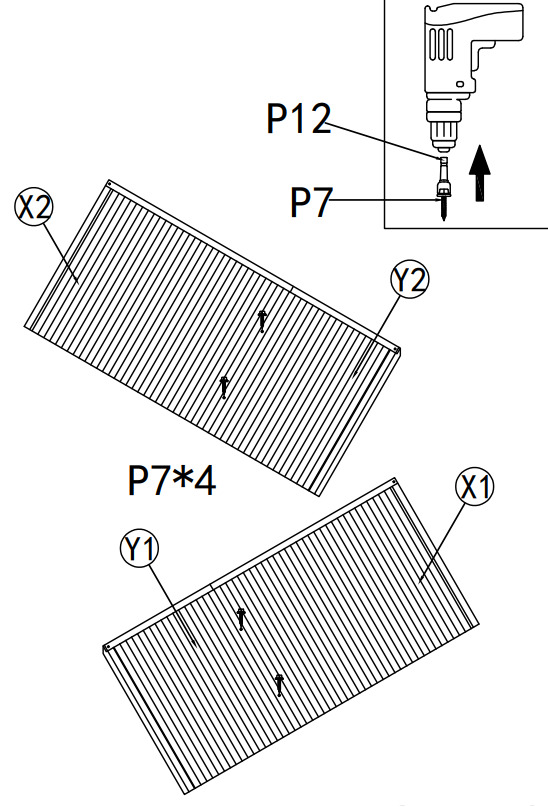
- Insert the provided drill bit (Part P12) into your drill.
- Connect Parts X1 and Y1 using P7 screws
- Connect Parts X2 and Y2 using P7 screws.
10.
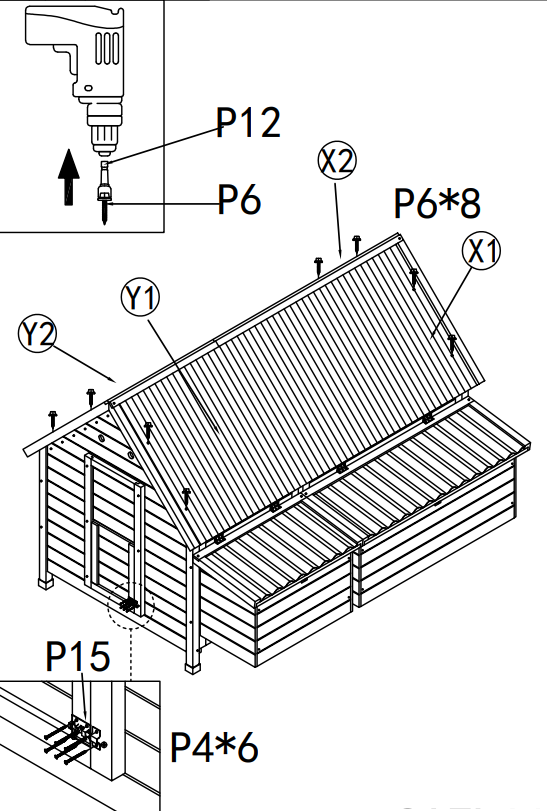
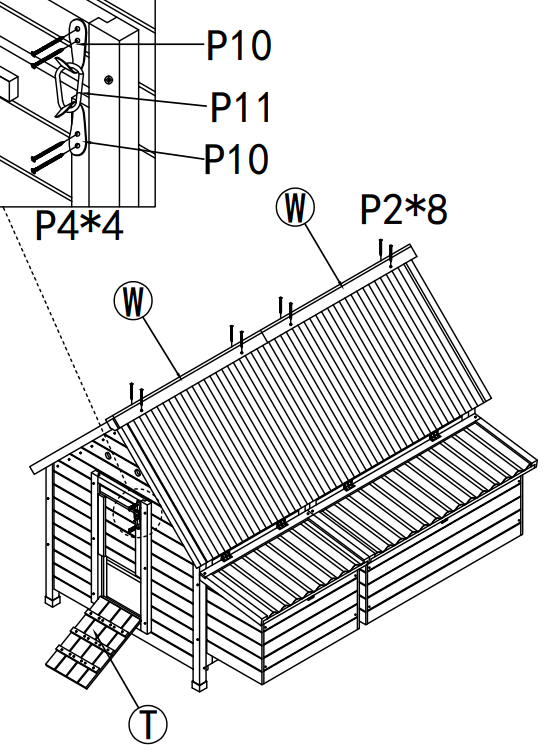
- Place the lid onto the top of the assembled coop.
- Secure into place using the P6 screws and the provided drill bit (Part P12)
- Attach the Latch (Part P15) to the doorway on Part A using P4 screws.
11.
- Attach the hooks (Part P10) to the door and doorway on Part A. Use Part P11 when you wish the door to remain open.
- Place Part T to rest against the doorway on Part A and on the ground.
Troubleshooting
Please read through the guide below if you have any issues or faults with your device. The information covers and resolves the majority of frequently asked questions.
Q: There are parts missing from my order.
A: If there appears to be any part missing from your order, contact our friendly and helpful Customer Support Team within 7 days of receipt.
For all other issues please contact our Customer Support department via the details on the Contact page.