

Petnamic Orchard Coop
This guide provides step-by-step instructions for assembling components and using your Petnamic Orchard Coop.
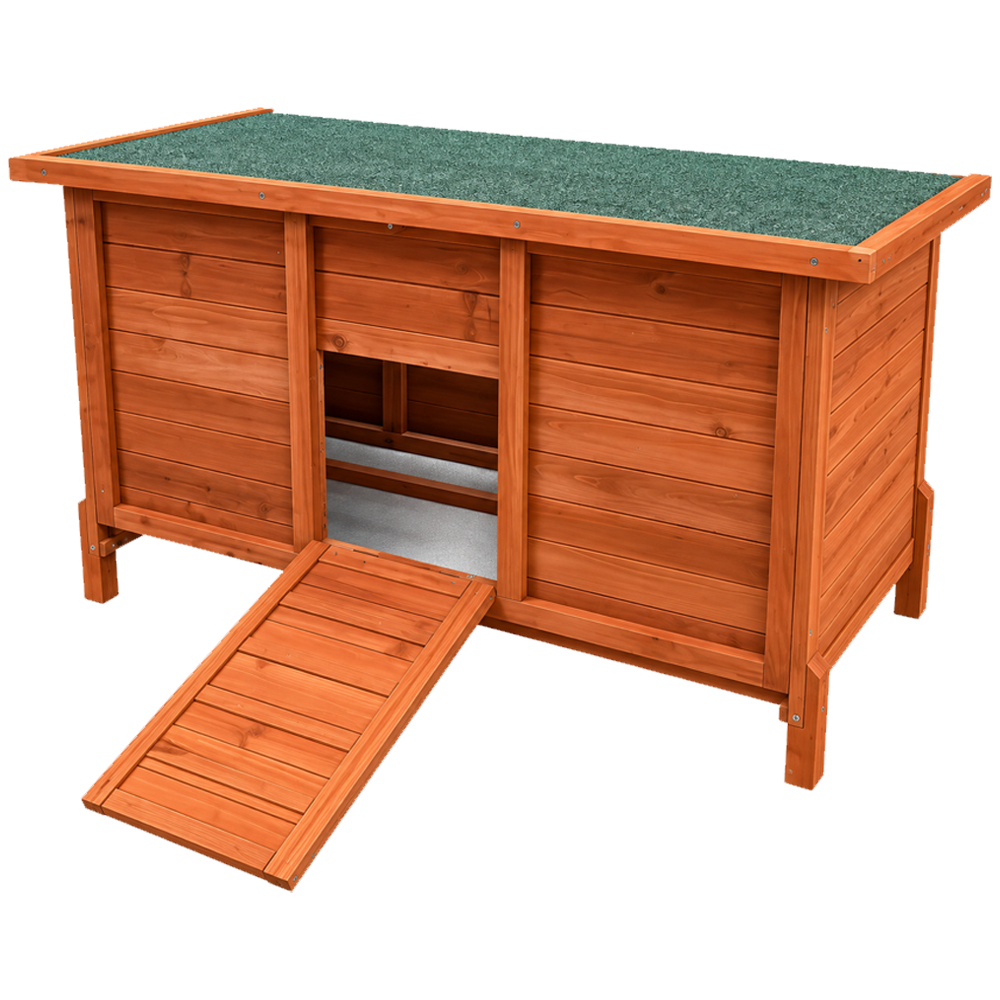
Petnamic Orchard Coop
This guide provides step-by-step instructions for assembling components and using your Petnamic Orchard Coop.
Product Information
The Petnamic Orchard Coop provides a secure and practical outdoor home for chickens. It includes a comfortable nesting pad and an automatic drinker to support convenient everyday chicken care.
| SKU | 218850 |
|---|---|
| Length | 123cm |
| Width | 63.5cm |
| Height | 15cm |
| Weight | 18kg |
| Includes | Nesting Pad |
| Automatic Poultry Drinker | |
| Easy to Clean Pull Out Tray | |
| Inner Plastic Mite Proof Roof | |
| Lockable Doors | |
| Ground Perches | |
| Elevated Design | |
| Ventilation Slats | |
| Suitable for up to 6 hens |
Safety Information
Safety Advice
- Ensure you have read and fully understood the instruction manual and safety advice before using this product.
- Adult assembly is required. Follow the assembly instructions exactly and use two adults to lift or position large or awkward sections.
- Wear protective gloves and suitable footwear during assembly. Keep children and animals away from the assembly area.
- Inspect all timber, panels, mesh and fixings before assembly and regularly during use. Do not use the coop if parts are damaged, unstable, sharp or protruding.
- Assemble on firm, flat and level ground. Ensure all frame and roof sections are securely connected, and all fixings are tightened before use.
- Do not climb, sit or stand on the coop. Children must not play on or inside the product.
- Keep fingers and animals clear of doors, hinges, ramps, latches and other moving parts to prevent trapping or injury.
- Secure all doors and latches before chickens are left unattended. Regularly inspect mesh and openings for damage that could allow chickens to escape or predators to enter.
- Keep ventilation openings clear and provide adequate shade and airflow during hot weather. Monitor chickens for heat stress.
- Ensure the ramp and removable cleaning tray are correctly and securely positioned before use. Never force an obstructed tray.
- Keep the nesting pad clean, dry and correctly positioned. Remove damaged or excessively contaminated components from use.
- Assemble the DIY automatic waterer correctly and check it regularly for secure connections, leaks, blockages, contamination and correct water flow. Ensure chickens have an adequate supply of clean drinking water.
- Keep the coop away from open flames, fire and intense heat. Inspect the structure after severe weather and discontinue use if it becomes damaged or unstable.
- Keep the surrounding area clear to reduce trip hazards and maintain hygienic conditions by regularly removing droppings and waste. Wash hands after cleaning or handling animal waste.
- Do not overcrowd the enclosure. Ensure chickens have sufficient space, ventilation and access to water.
- Retain these instructions and pass them on if ownership changes. Dispose of the product safely at the end of its life, separating recyclable materials where possible and following local waste requirements.
- Keep packaging and small fixings away from children and animals due to choking, ingestion and suffocation hazards.
GPSR Information
UK GPSR Information
Monster House 19-23 Alan Farnaby Way
Industrial Estate Sheriff Hutton
York YO60 6PG
England
+441347878880
Monster House 19-23 Alan Farnaby Way
Industrial Estate Sheriff Hutton
York YO60 6PG
England
+441347878880
EU GPSR Information
Van Heemskerckweg 28A & B
-
Venlo 5928LL
Netherlands
+441347878880
Van Heemskerckweg 28A & B
-
Venlo 5928LL
Netherlands
+441347878880
Included Parts
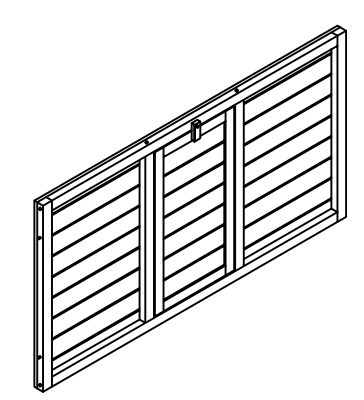
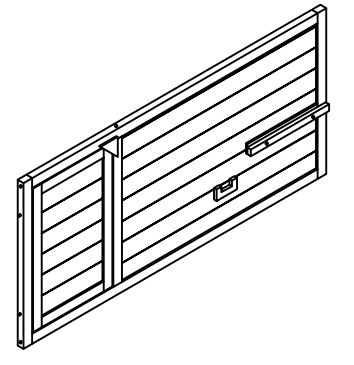
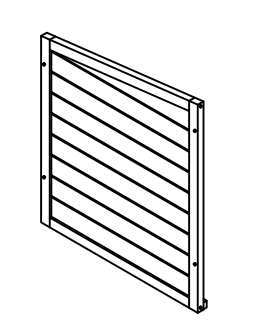
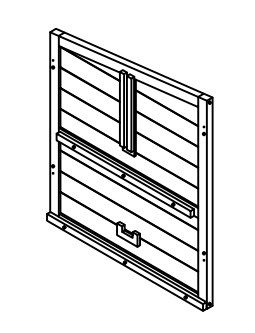
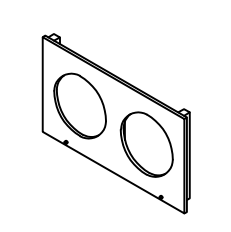
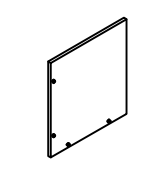
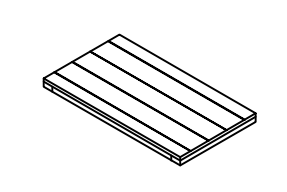
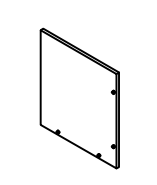
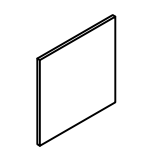
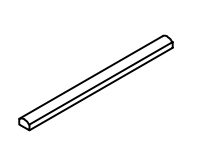
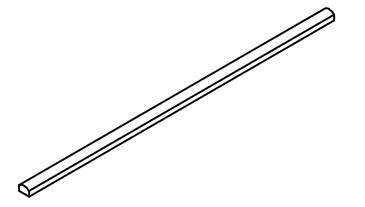
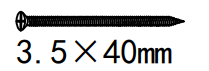
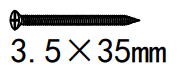
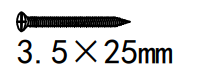
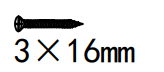
Monster Manual
Assembly
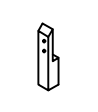
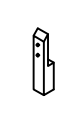
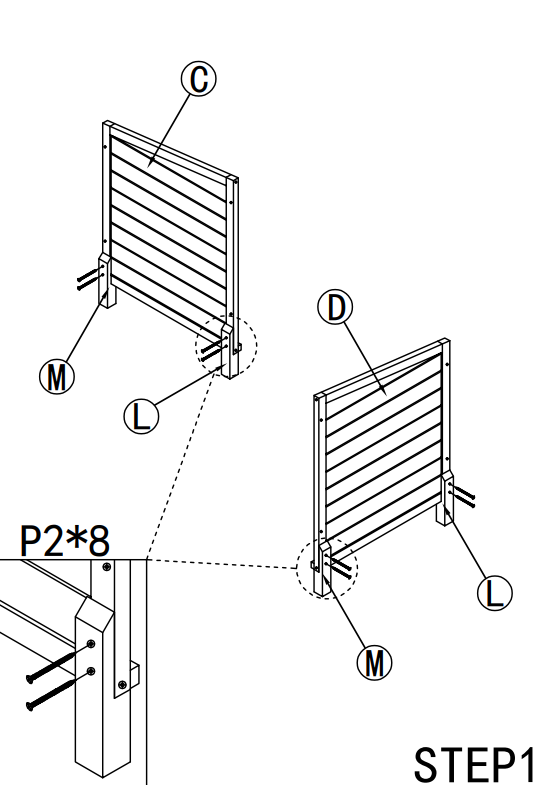
- Attach the feet (Parts L and M) to the base of panels C and D using the P2 screws.
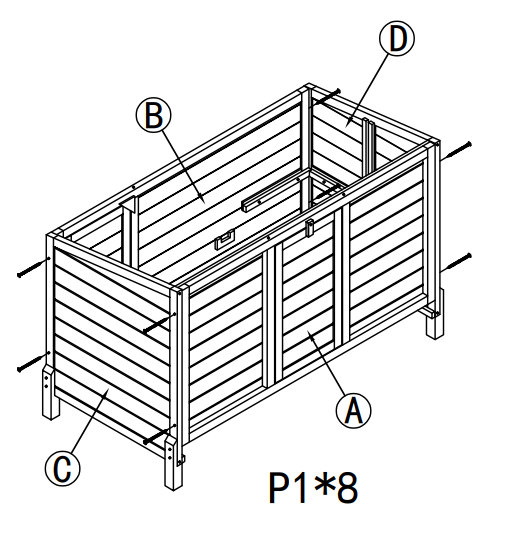
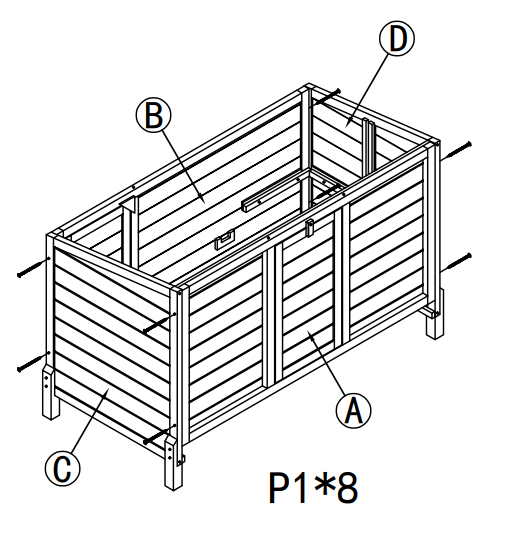
- Attach panels A and B at both ends to Part C and D using P1 screws.
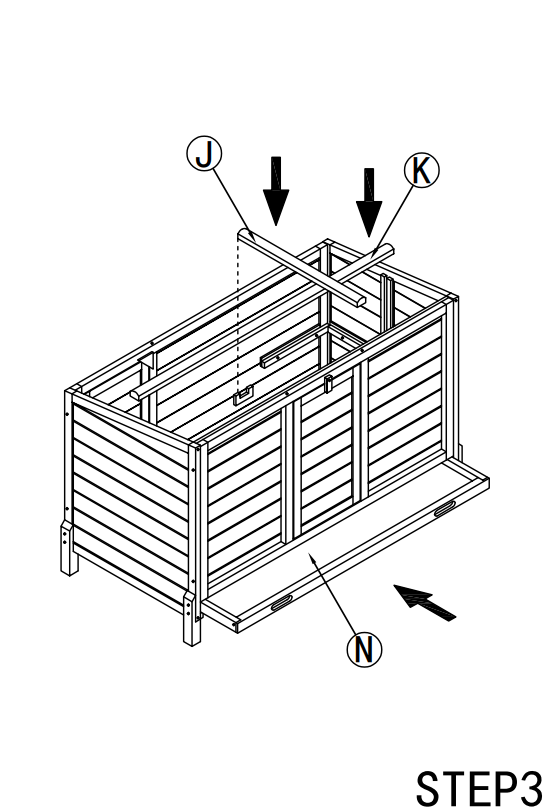
- Insert Part K into the slots on panels C and D.
- Insert Part J into the slot on panels A and B.
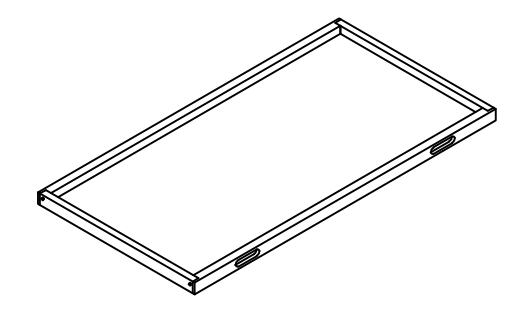
- Slide Part N in the slot under the structure.
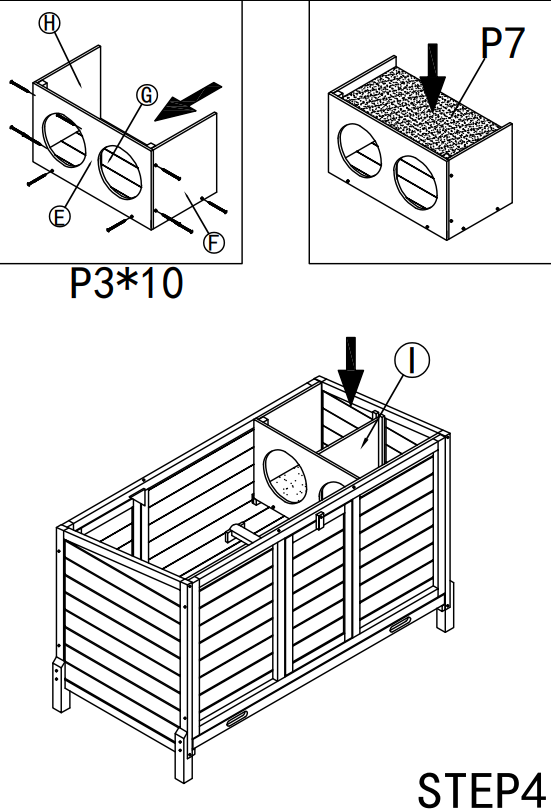
- Assemble the nesting box using P3 screws.
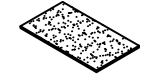
- Lay the nesting pad (Part P7) in the bottom of the nesting box.
- Place the nesting box into the slot on panel D.
- Slide Part I into the grove along panel D to separate the two nesting box sections.
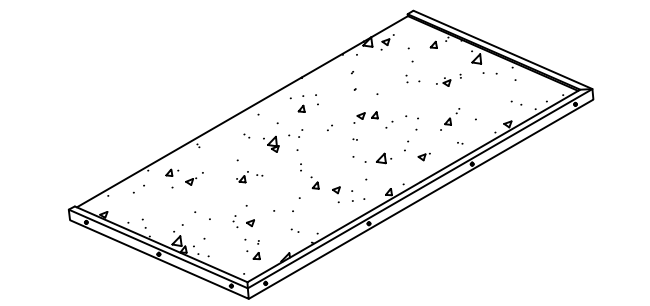
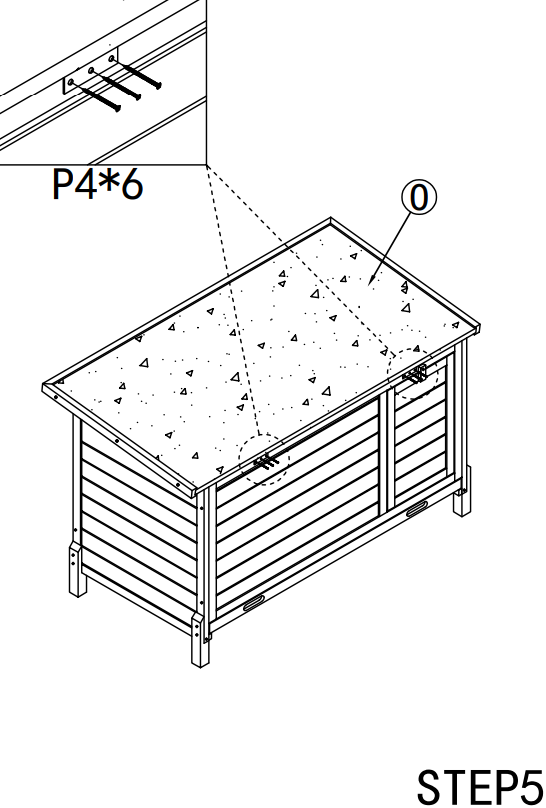
- Place the lid (Part O) on the top if the assembled structure
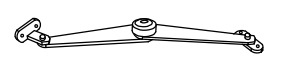
- Secure at the hinges using P4 screws.
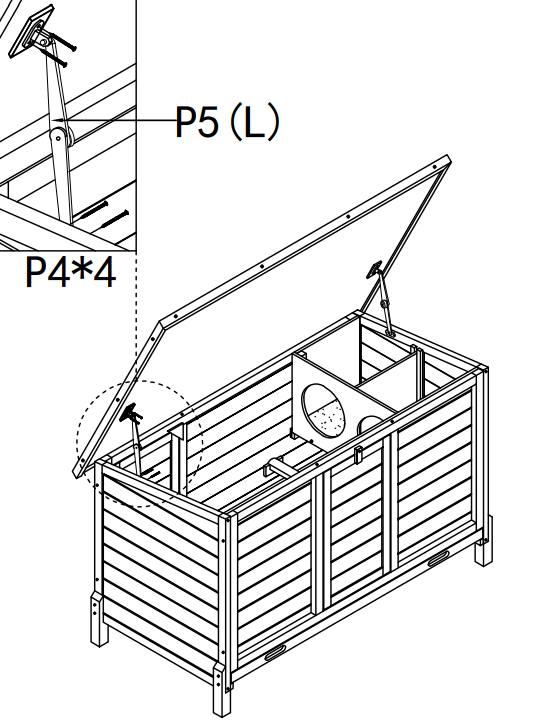
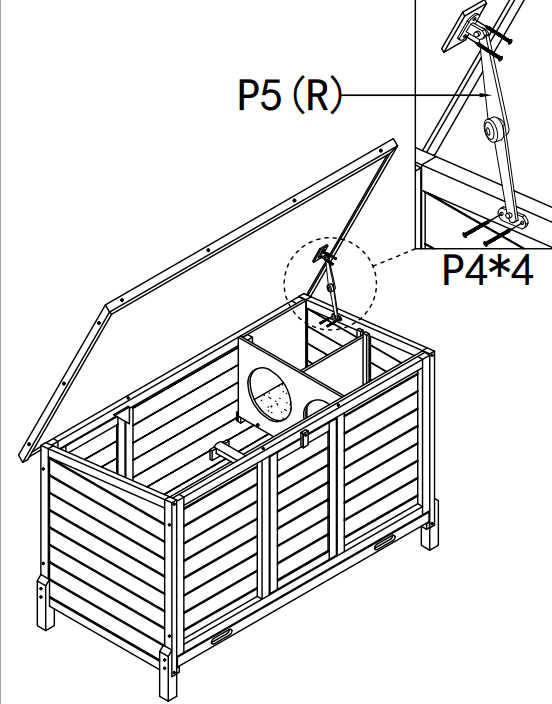
- Attach the hinges to the lid and the side panels using P4 screws. Hinges are marked R and L to indicate the left and right side of the coop.
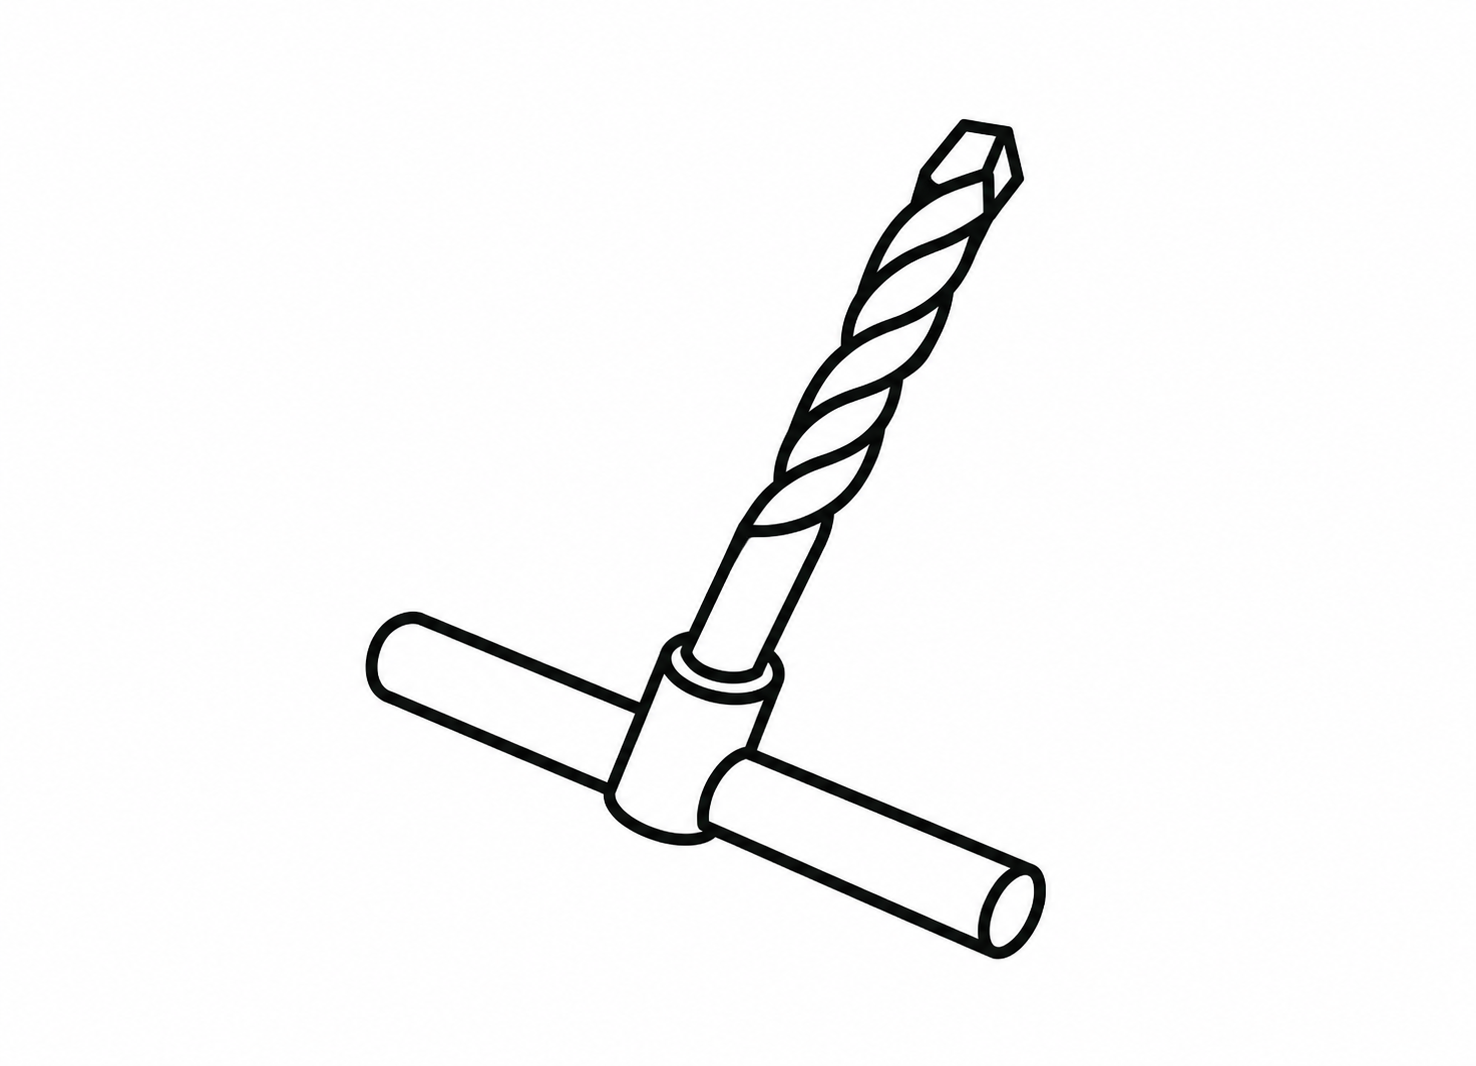
- Using a bottle of your choice, unscrew the plastic cap from the bottle. Place it flat on a piece of scrap wood and drill a hole using the twist drill bit provided right through the centre of the cap.
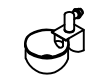
- Twist the threaded end of the Part P6 into the hole you just made. It should twist in tightly. If it feels loose or drips, add the rubber rings around Part P6 before screwing it in to create a watertight seal.
- Turn the bottle right-side up. Use a pin, needle, or small nail to poke a tiny vent hole near the very bottom of the bottle (which will become the top when it's hanging upside down). Without this hole, the bottle will crumple from the vacuum and stop releasing water.
- Fill the bottle with fresh water, then screw your modified cap back on tightly.
- Cover the vent hole with your finger, flip the bottle upside down, and use your string or zip tie around the base to hang it inside the coop.
Maintenance
Regularly inspect the timber, roof, mesh, fixings, doors, hinges, latches, ramp and cleaning tray for damage, wear, sharp edges or instability. Tighten loose fixings and repair or replace damaged components before further use. Keep ventilation openings clear, clean the tray and nesting pad regularly, and inspect and clean the automatic waterer to maintain a reliable supply of clean water. Recheck the complete structure after severe weather or relocation.