1. Prepare the Components
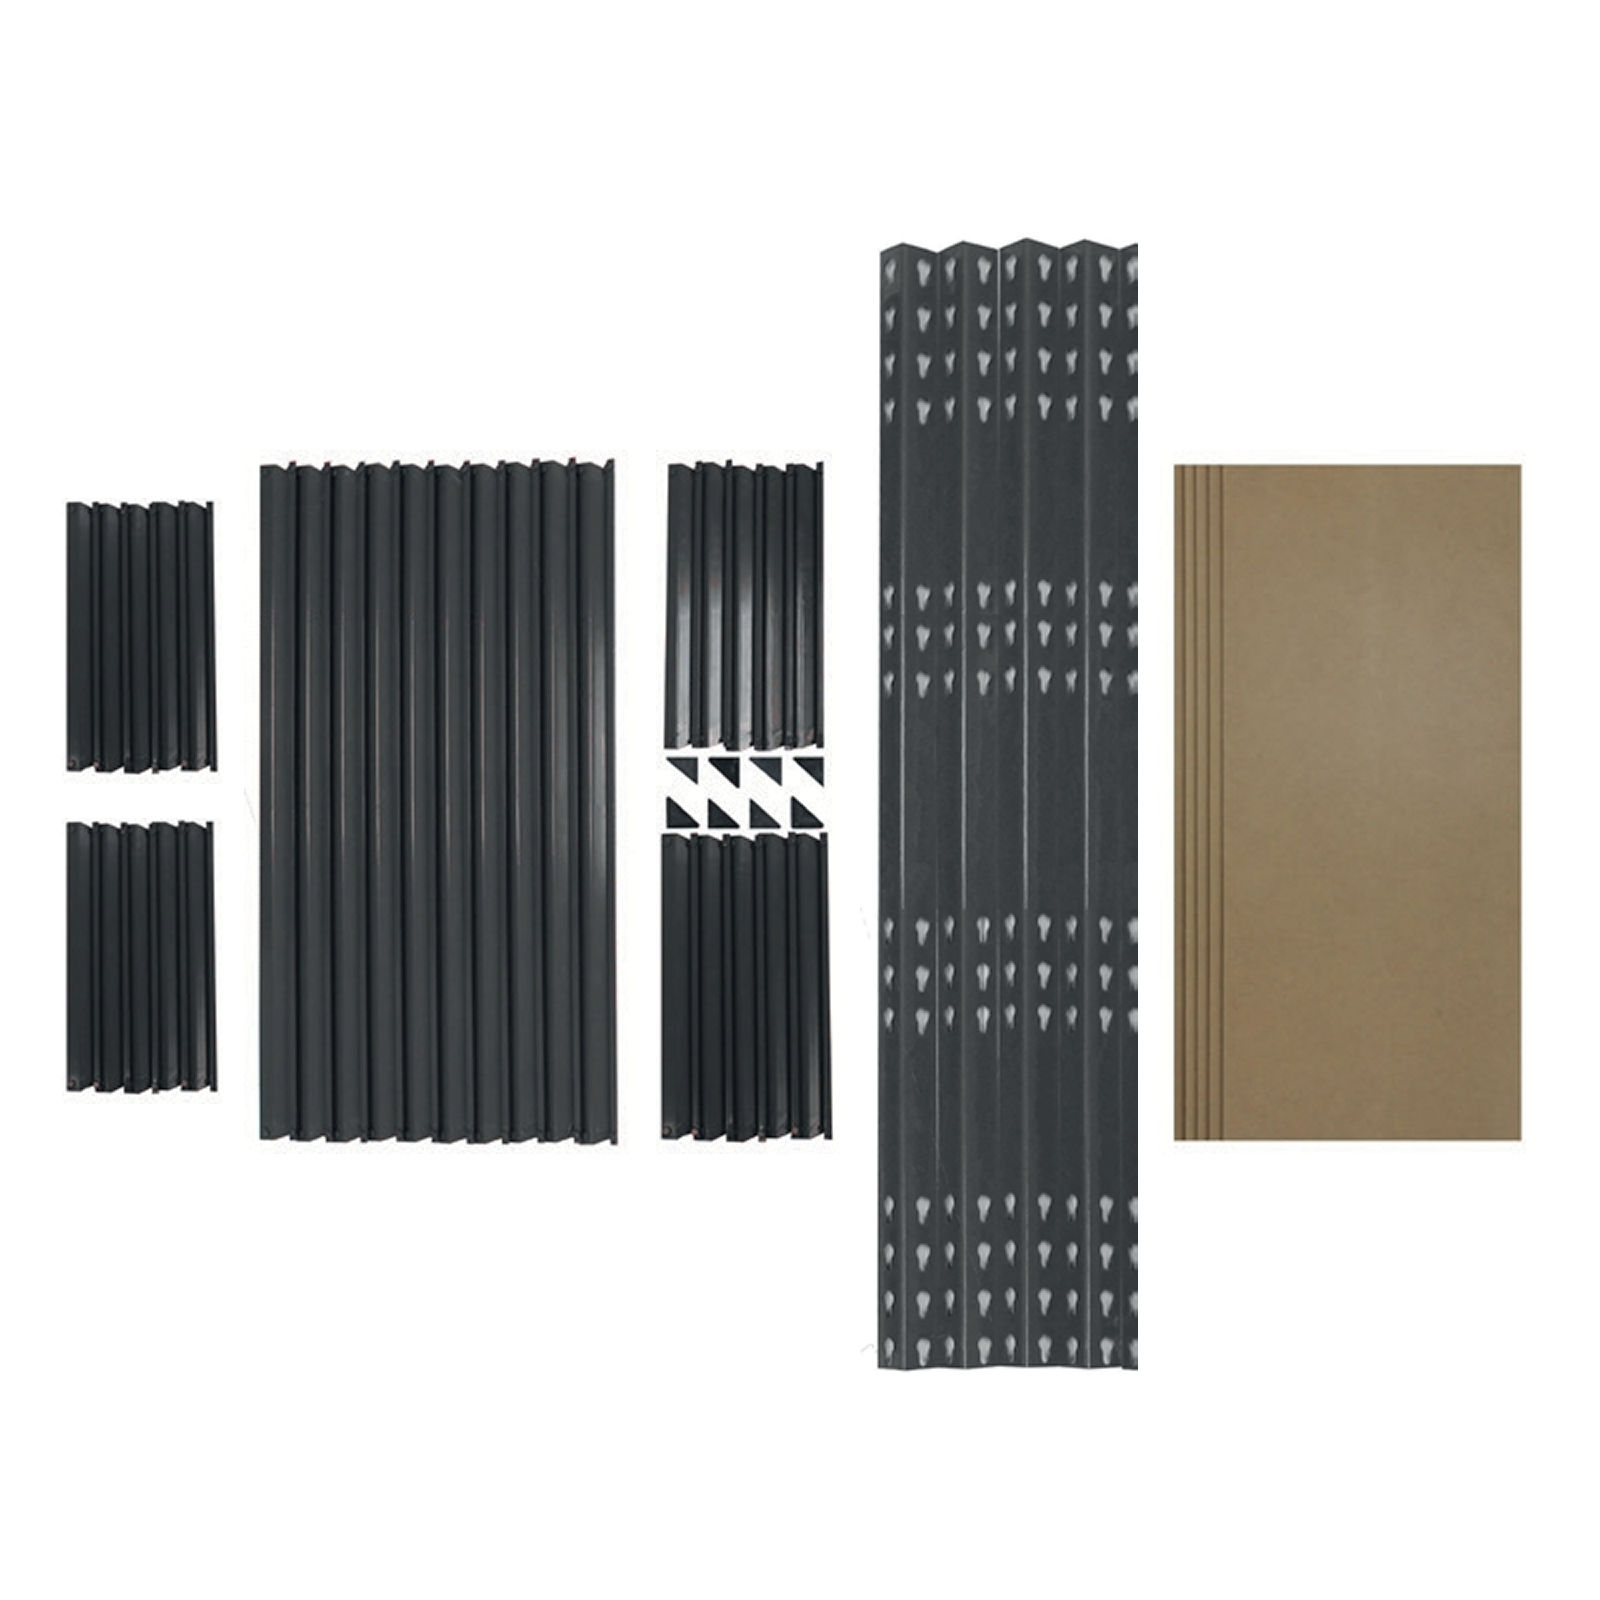
Identify all parts: L-shaped upright beams, long beams, short beams, corner brackets, and MDF boards.
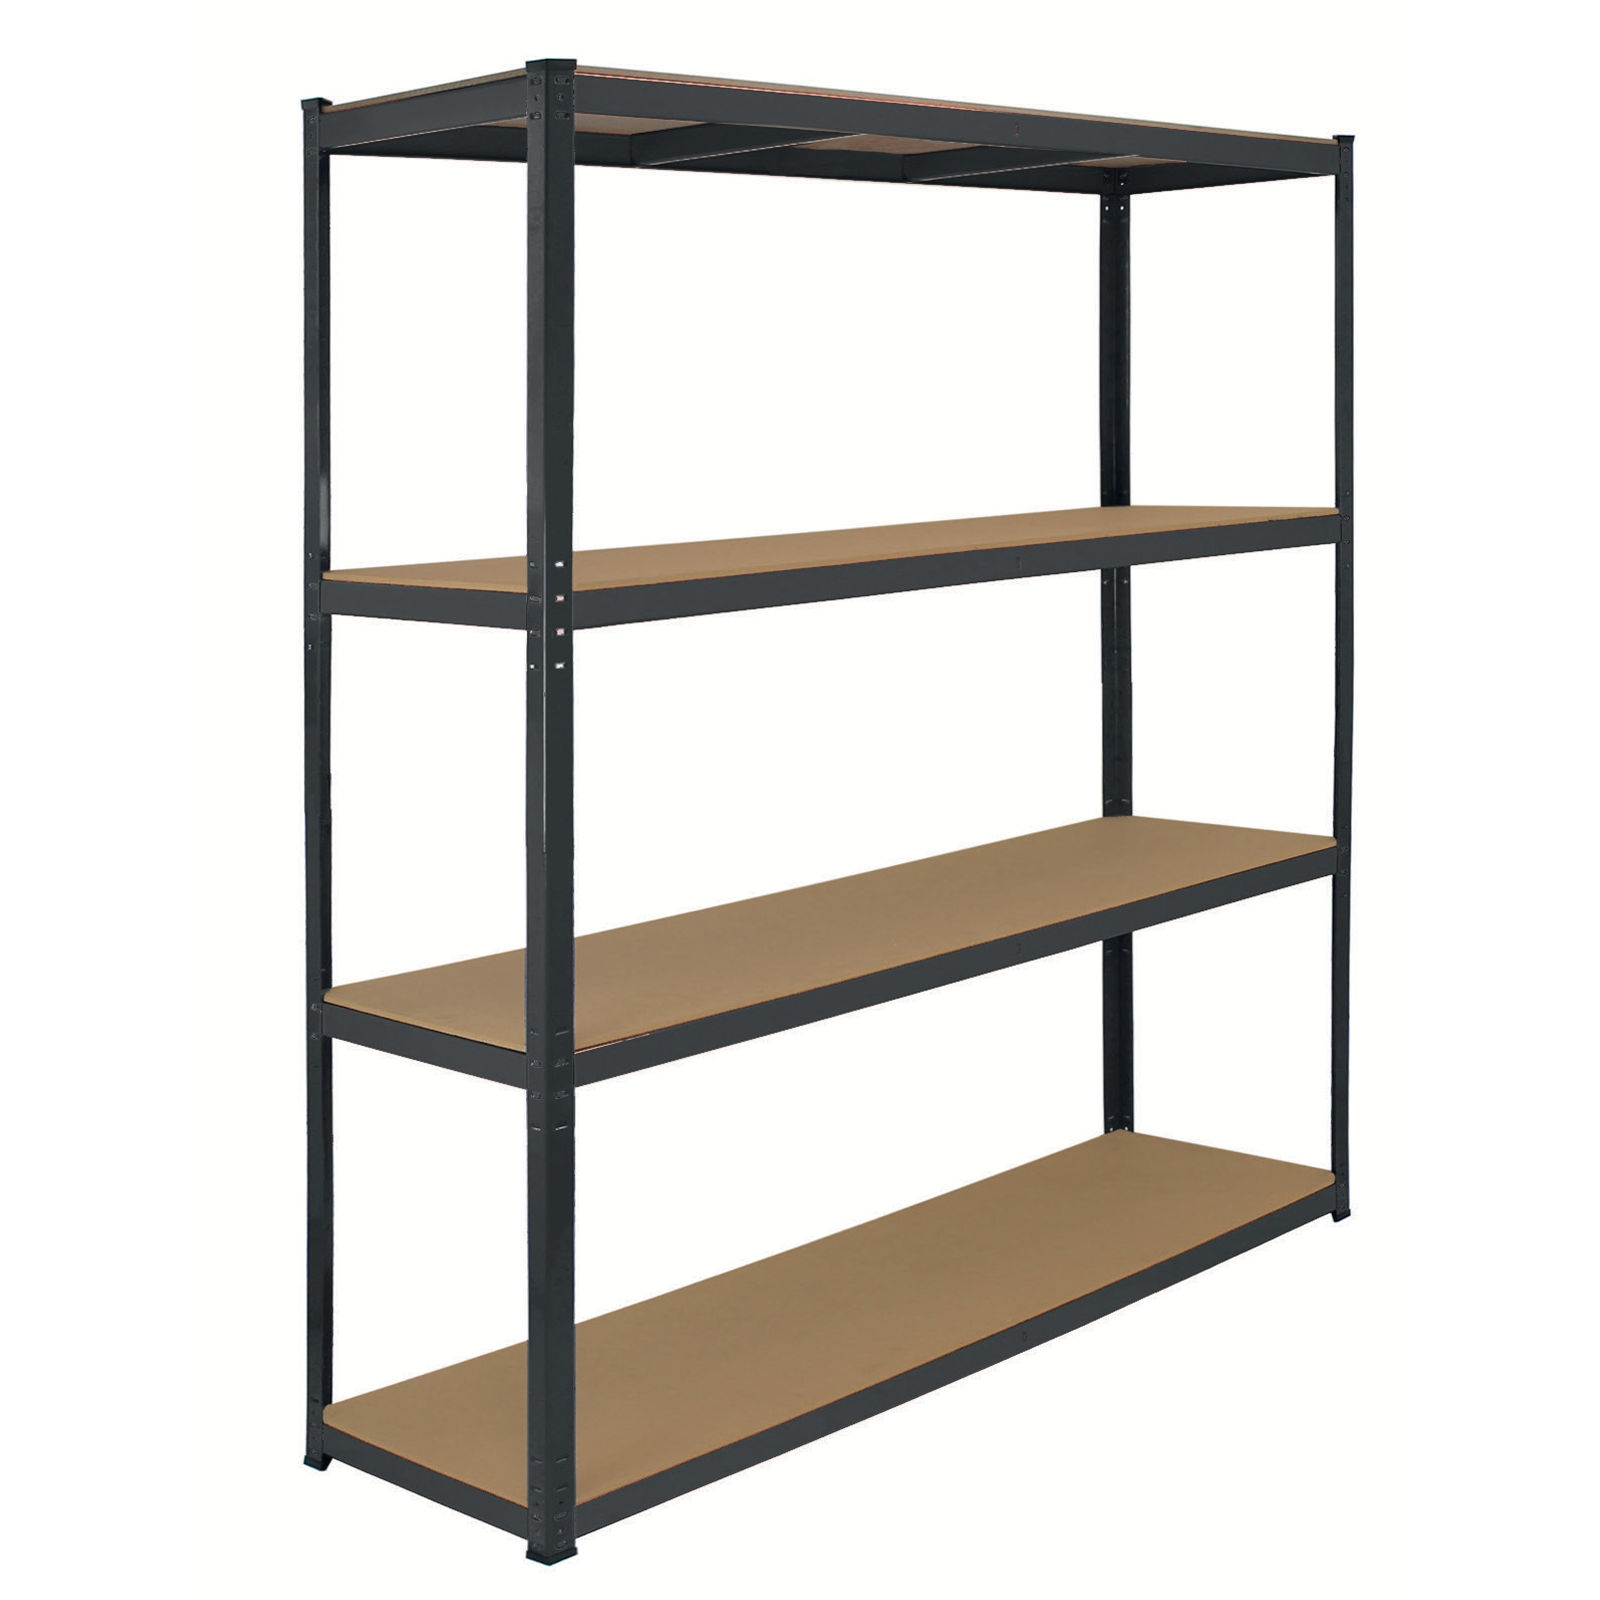 Instructions by monstershop Q-Rax Heavy Duty Racking SystemUpgrade your storage with Q-Rax 160cm wide boltless racking! Each of the 4 shelves holds up to 350kg and assembles in minutes. Size: 160x60x160cm. Product InformationQ-Rax Heavy Duty Racking SystemThe Q-Rax Heavy Duty Racking System is a perfect storage solution suited towards garages, warehouses, stock rooms and workshops.
The racking frame is made from quality 1.2mm heavy duty steel and can hold a massive 350KG per shelf - in total a whopping 1400KG! Finished with four layers of powder coated paint, this durable racking bay will maintain its excellent condition for even longer.
The Q-Rax Heavy Duty Racking System is 100% bolt-less, making it easy to assemble and only requiring the use of a rubber mallet.
Each Q-Rax Heavy Duty Racking System can even be halved to create two work benches or smaller shelves – a quick and easy adaptation to suit your needs. View product (opens in new tab)
Monster Guarantee If you wish to return a product in perfect working order, we provide a 14 day returns policy as long as the item is unopened and in a resalable condition. A 12 month warranty applies to all of our electrical products; we will cover labour, parts and delivery charges. Our policy is to try and fix the item before arranging an exchange or refund. If for any reason a part is missing please get in touch with us within 7 days on receipt of your order. You can call or email our friendly and helpful Customer Support Team. For full terms and conditions contact our Support Department via the details on the Contact Us page. ToolsRubber Mallet Materials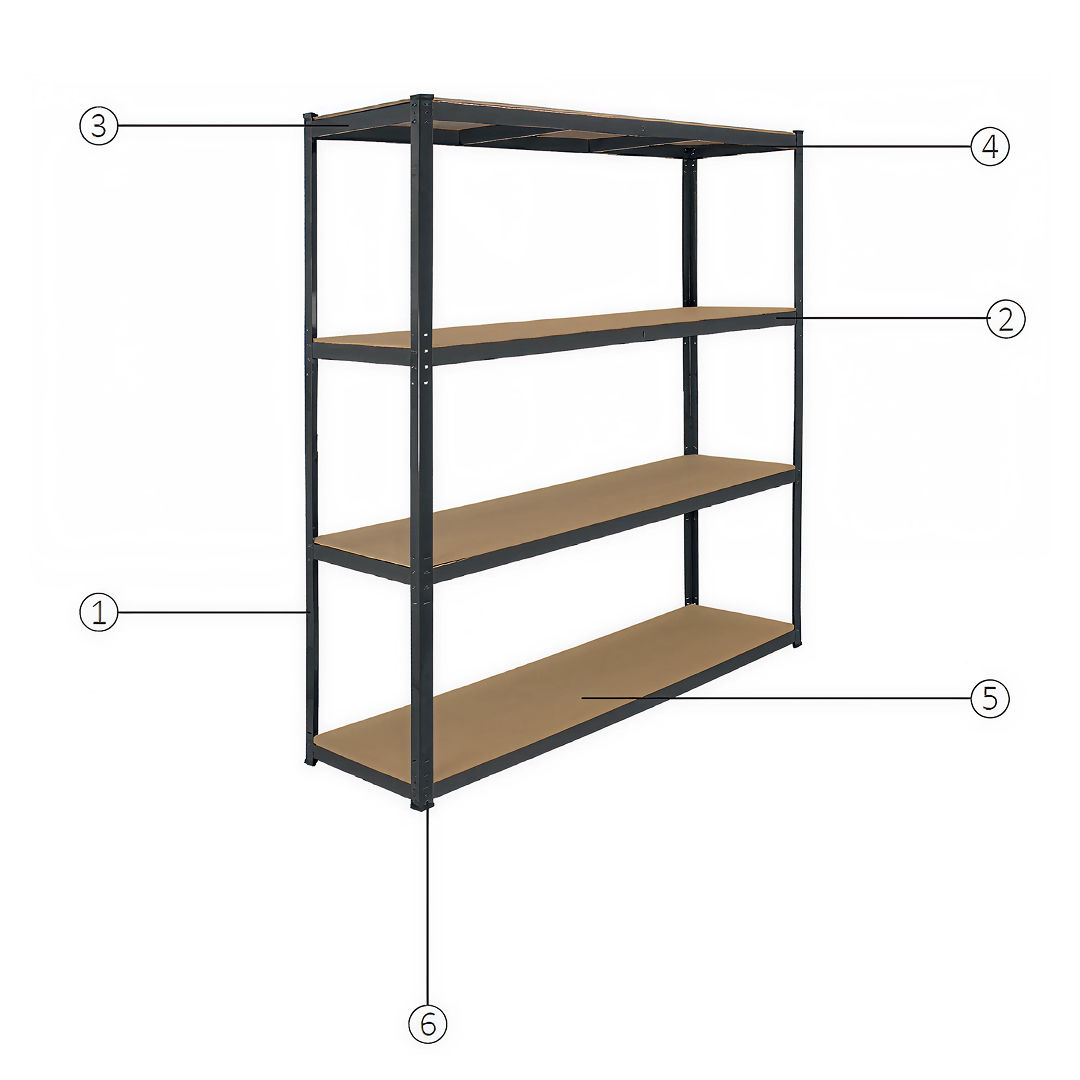 1L-Shaped Upright Beam 2Long Beam 3Short Beam 4Middle Shelf Supports 5MDF Board 6Moulded Feet 1. Prepare the ComponentsIdentify all parts: L-shaped upright beams, long beams, short beams, corner brackets, and MDF boards. 2. Frame Assembly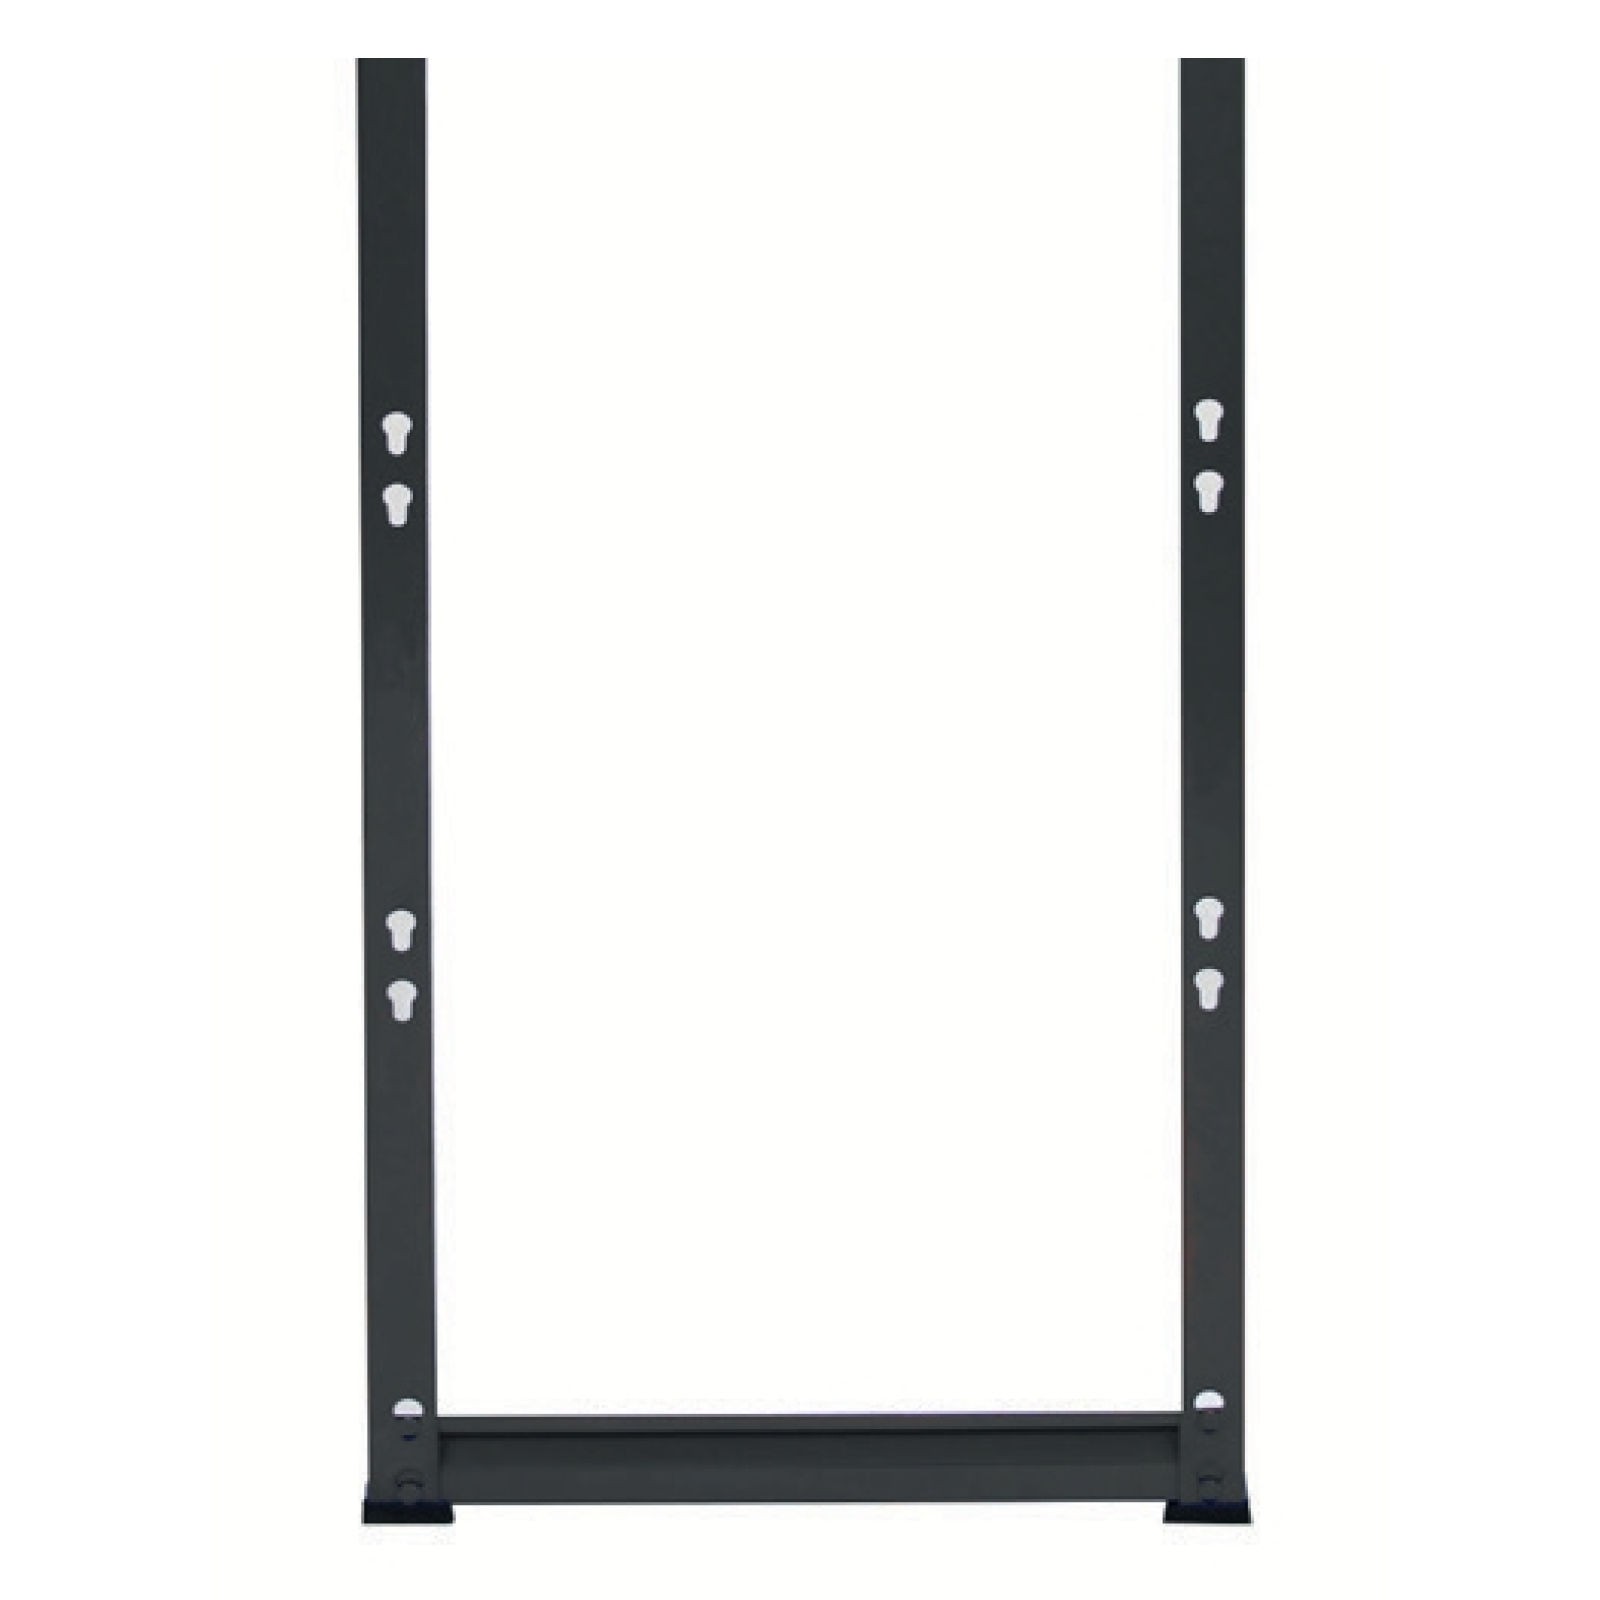 1. Position two L-Shaped Upright Beams vertically to form one side of the frame. 3. Attach the Moulded Feet 1. Locate the Moulded Feet components. 4. Place MDF Board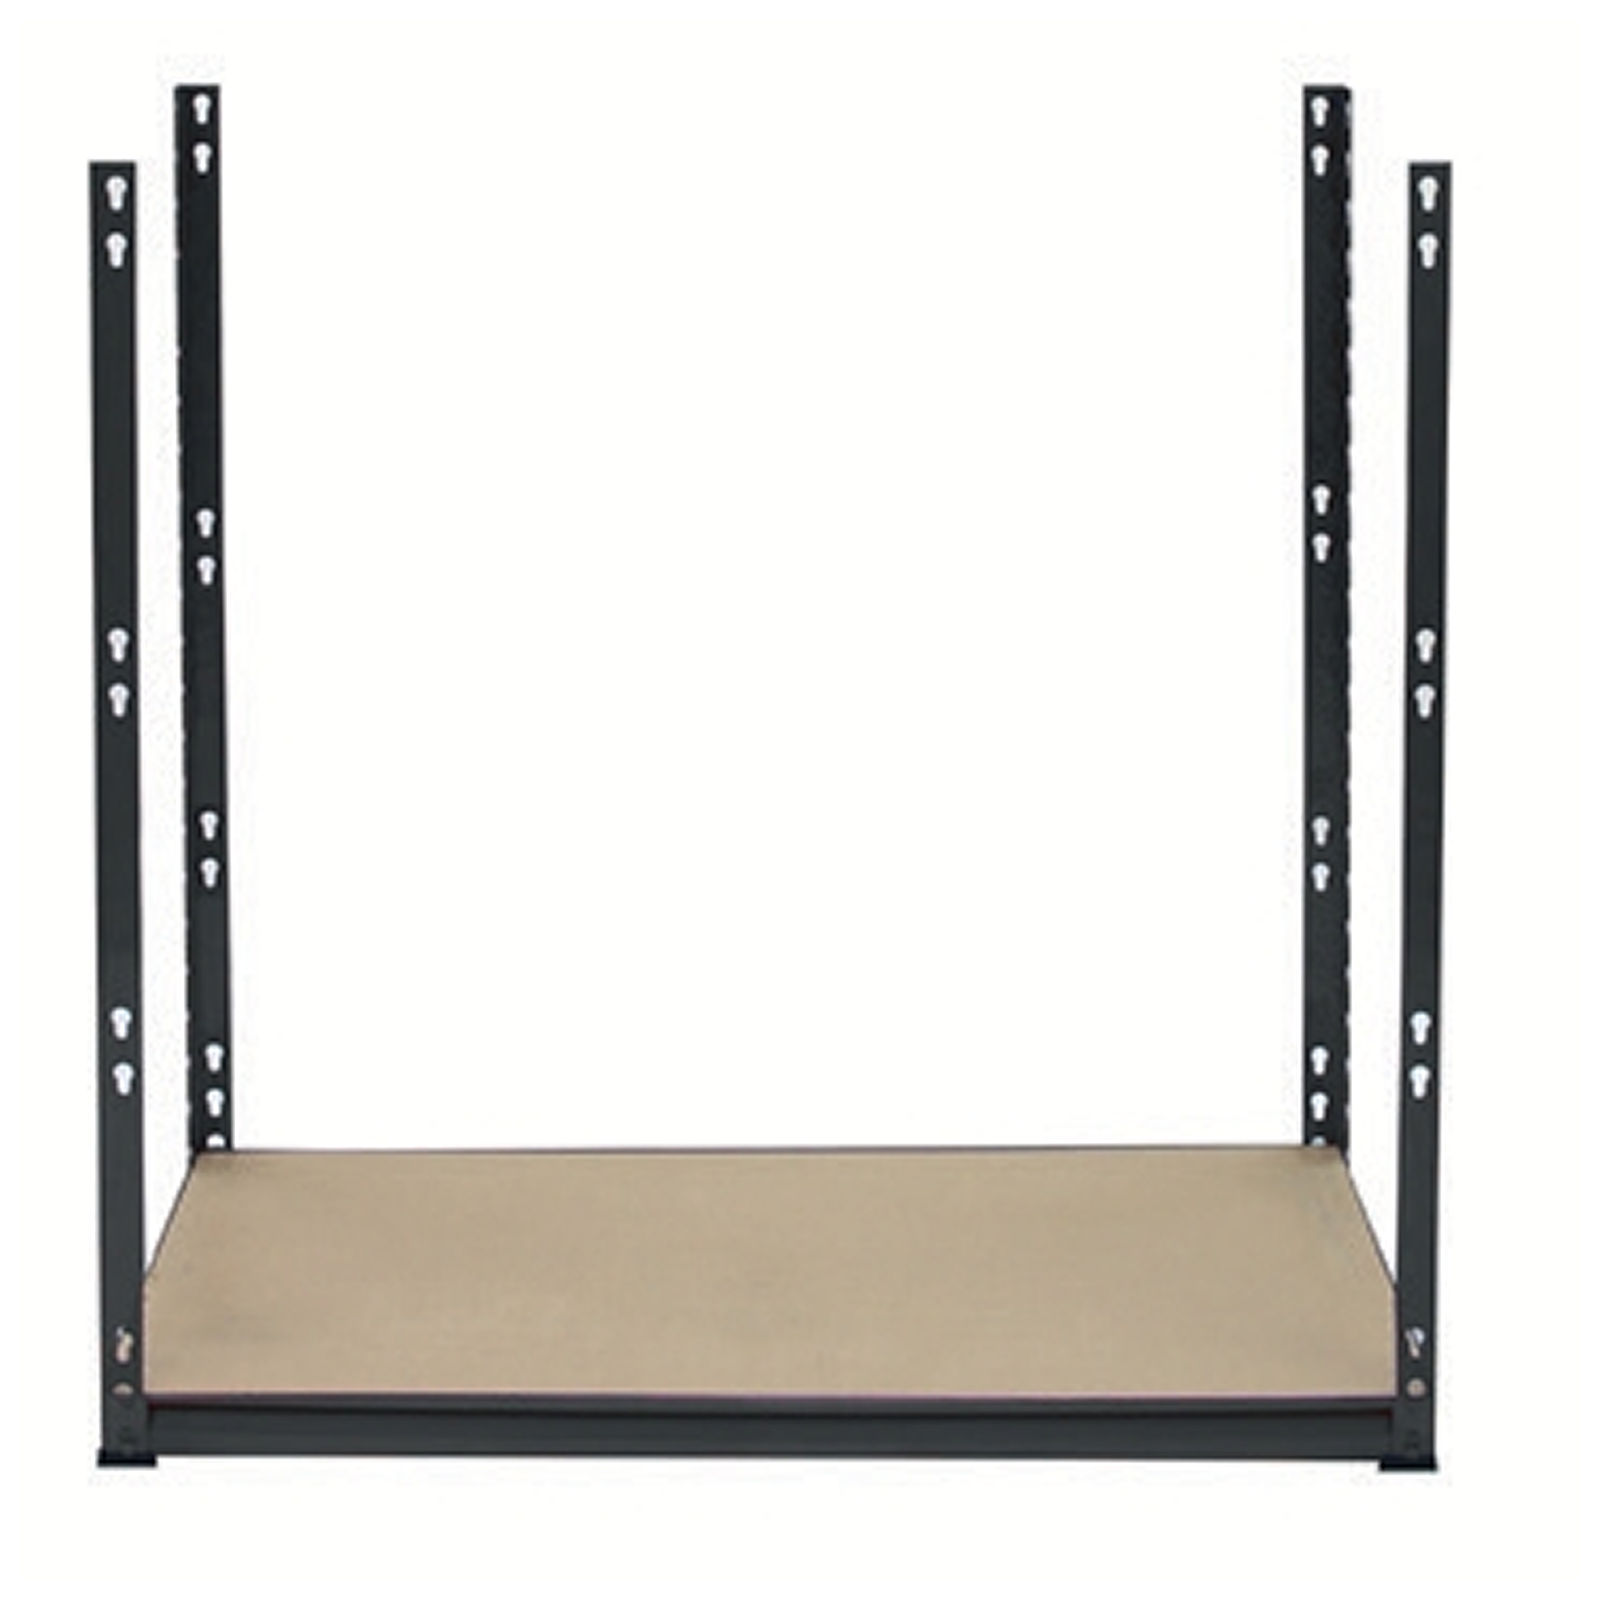 1. Lay the MDF board onto the frame. 5. Install the Second Shelf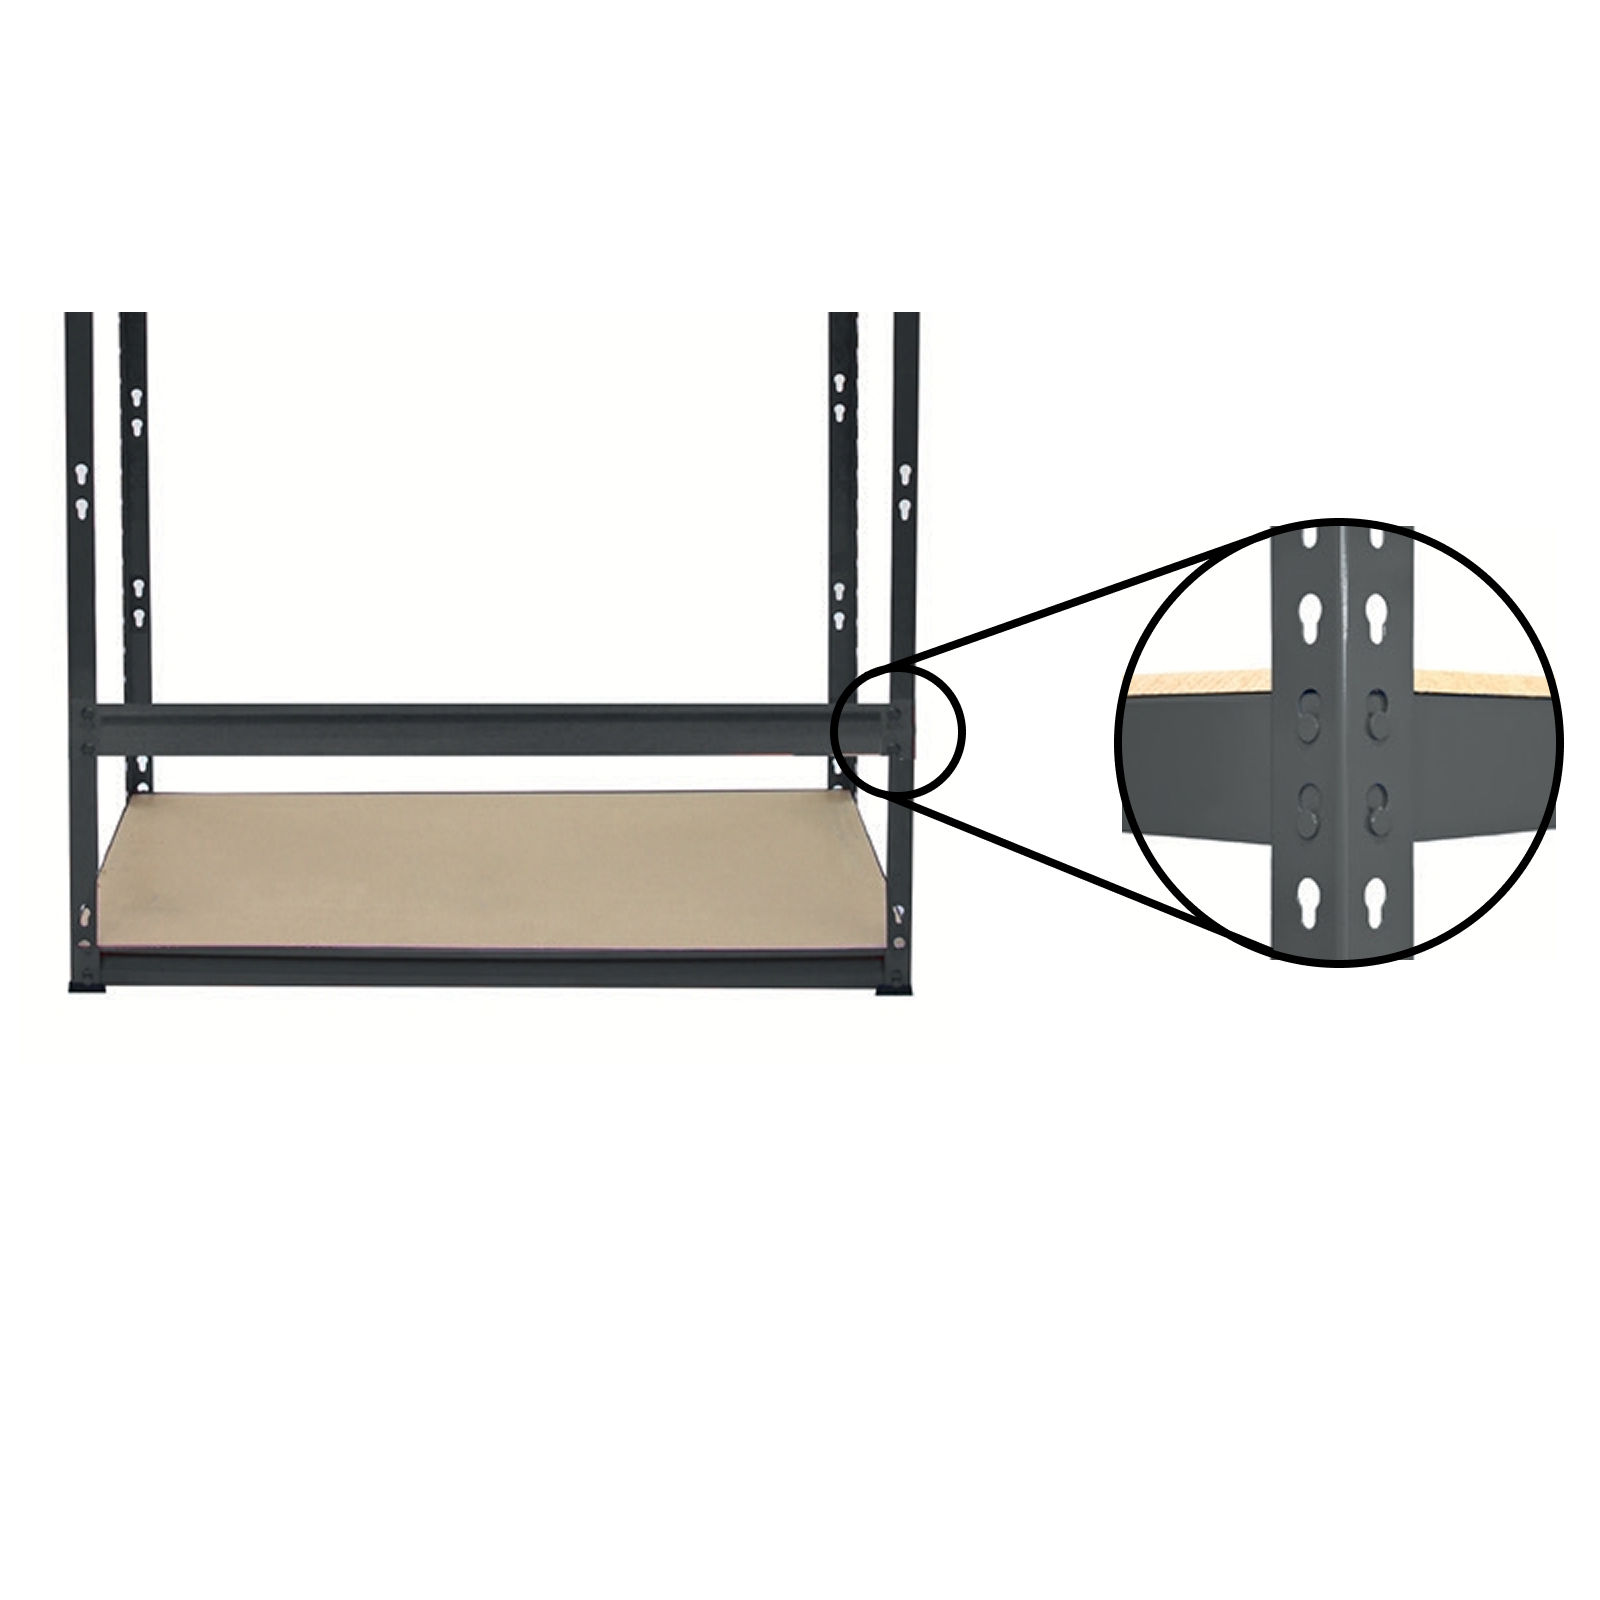 1. Choose your desired height for the next level and align a Long Beam on each side between the upright beams. 6. Add Short Beams and Central Shelf Supports 1. Attach additional Short Beams on both sides of the upright frame. 7. Place MDF Board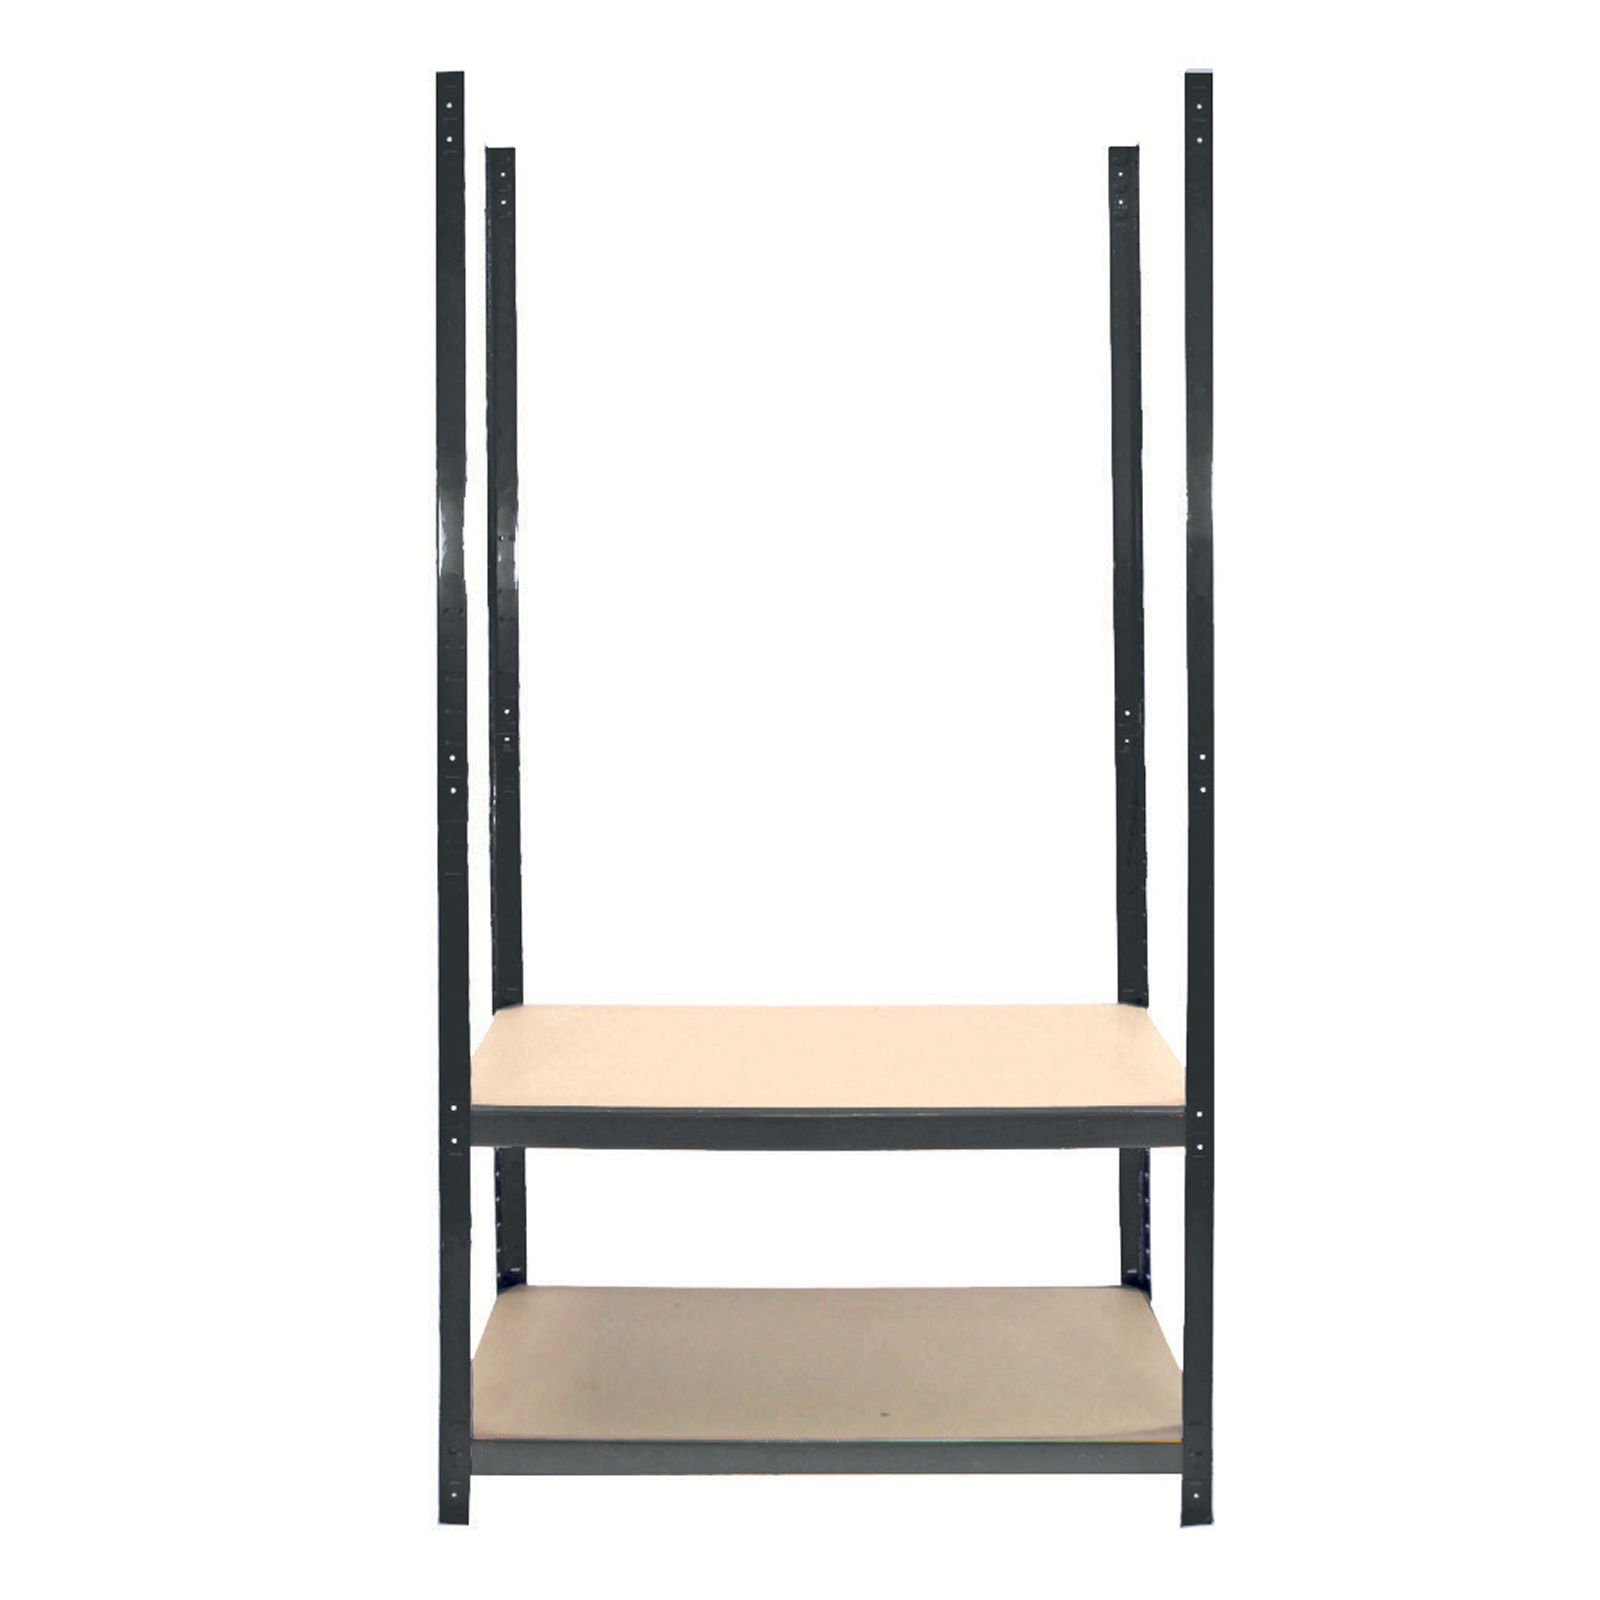 1. Lay the MDF board onto the frame. 8. Add the Next Shelf Level 1. Decide where you want the next shelf to be positioned. 9. Add the Central Shelf Supports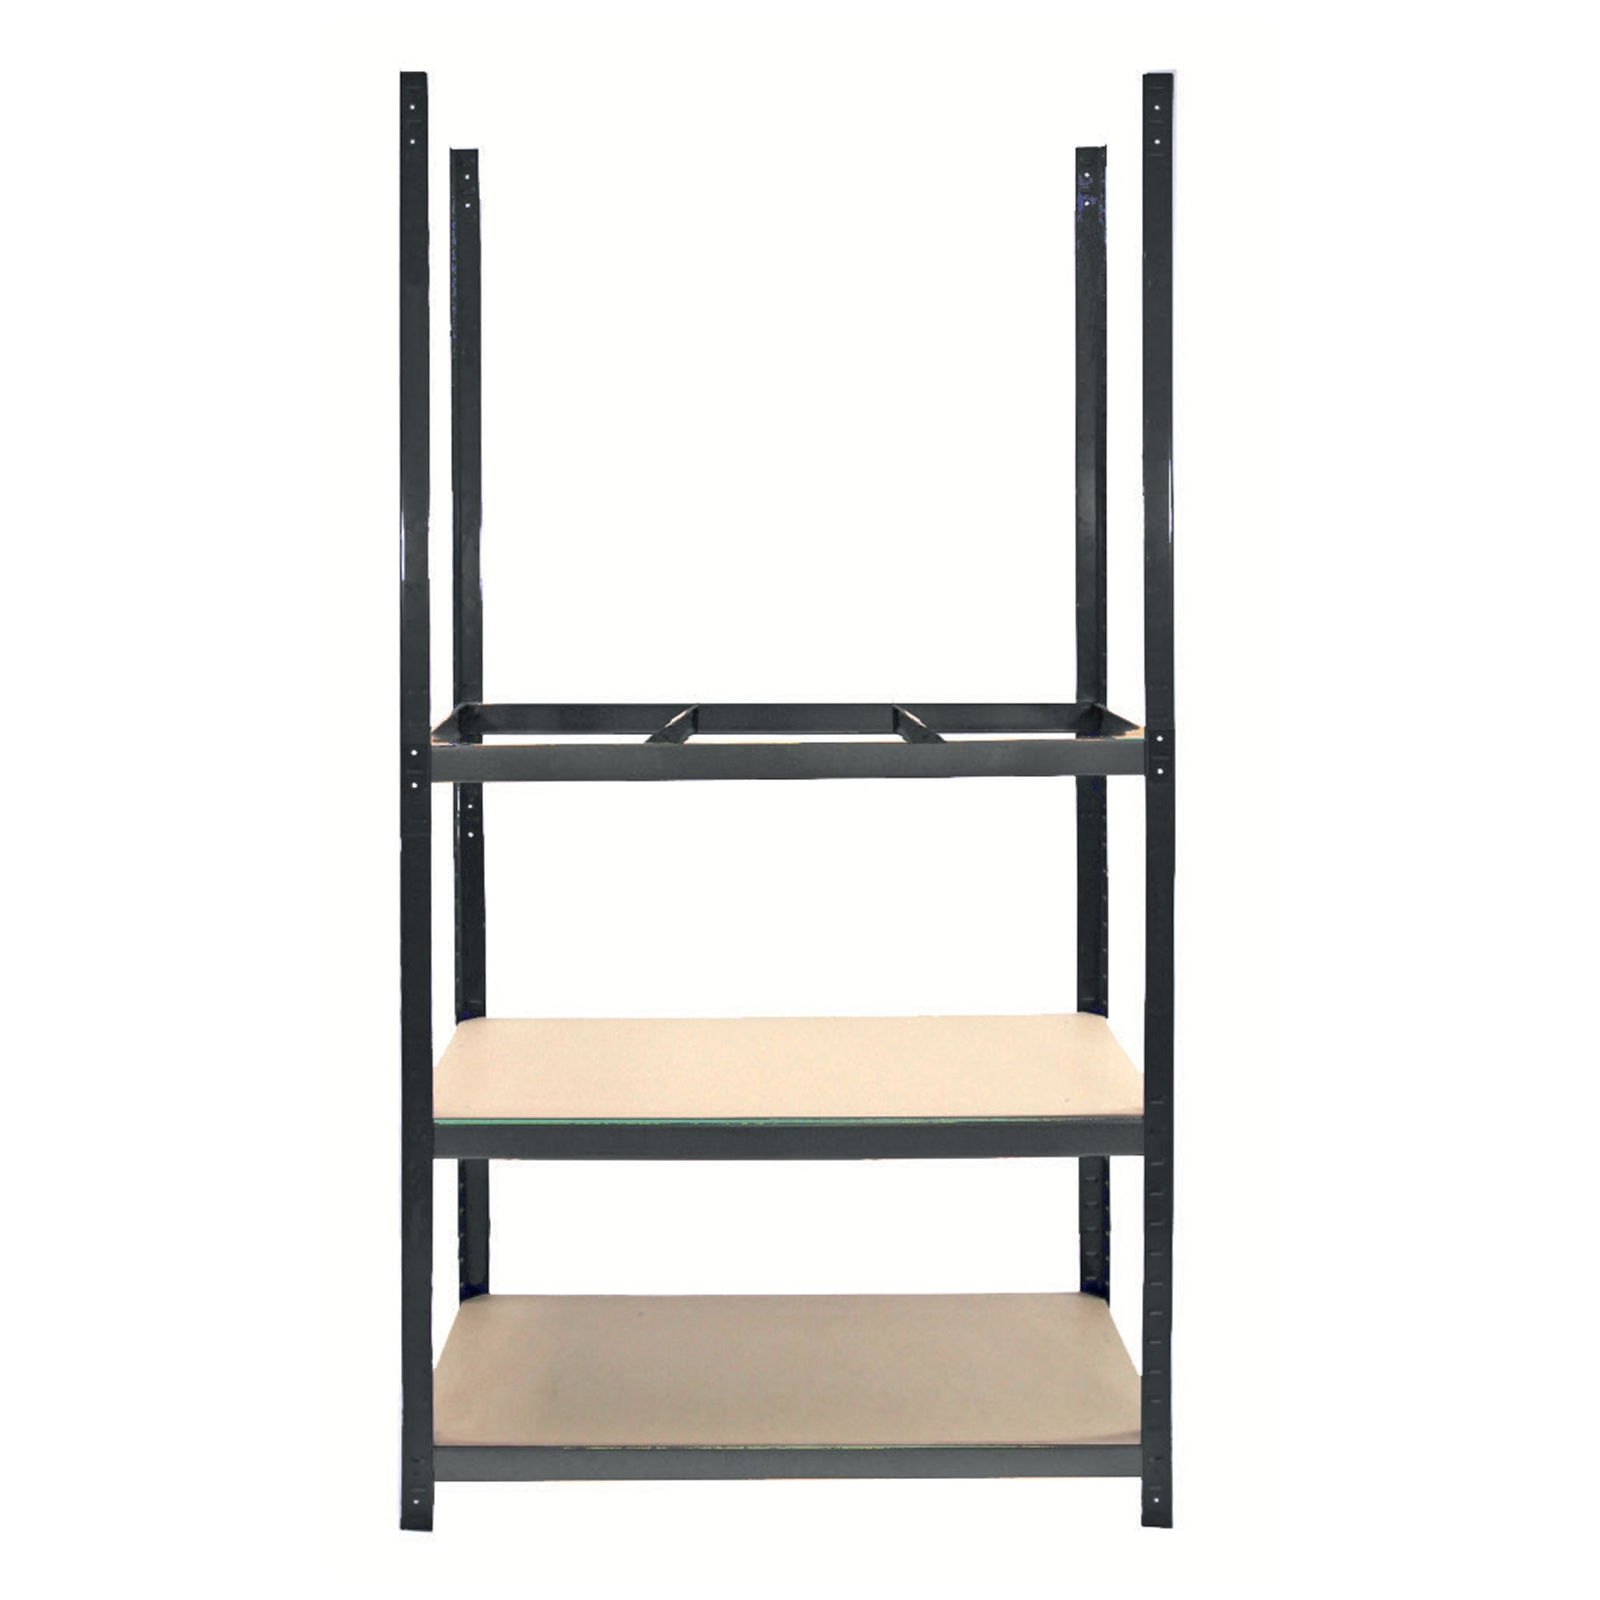 Insert the Central Support Bars across the middle of the frame at the newly added shelf level. 10. Place MDF Board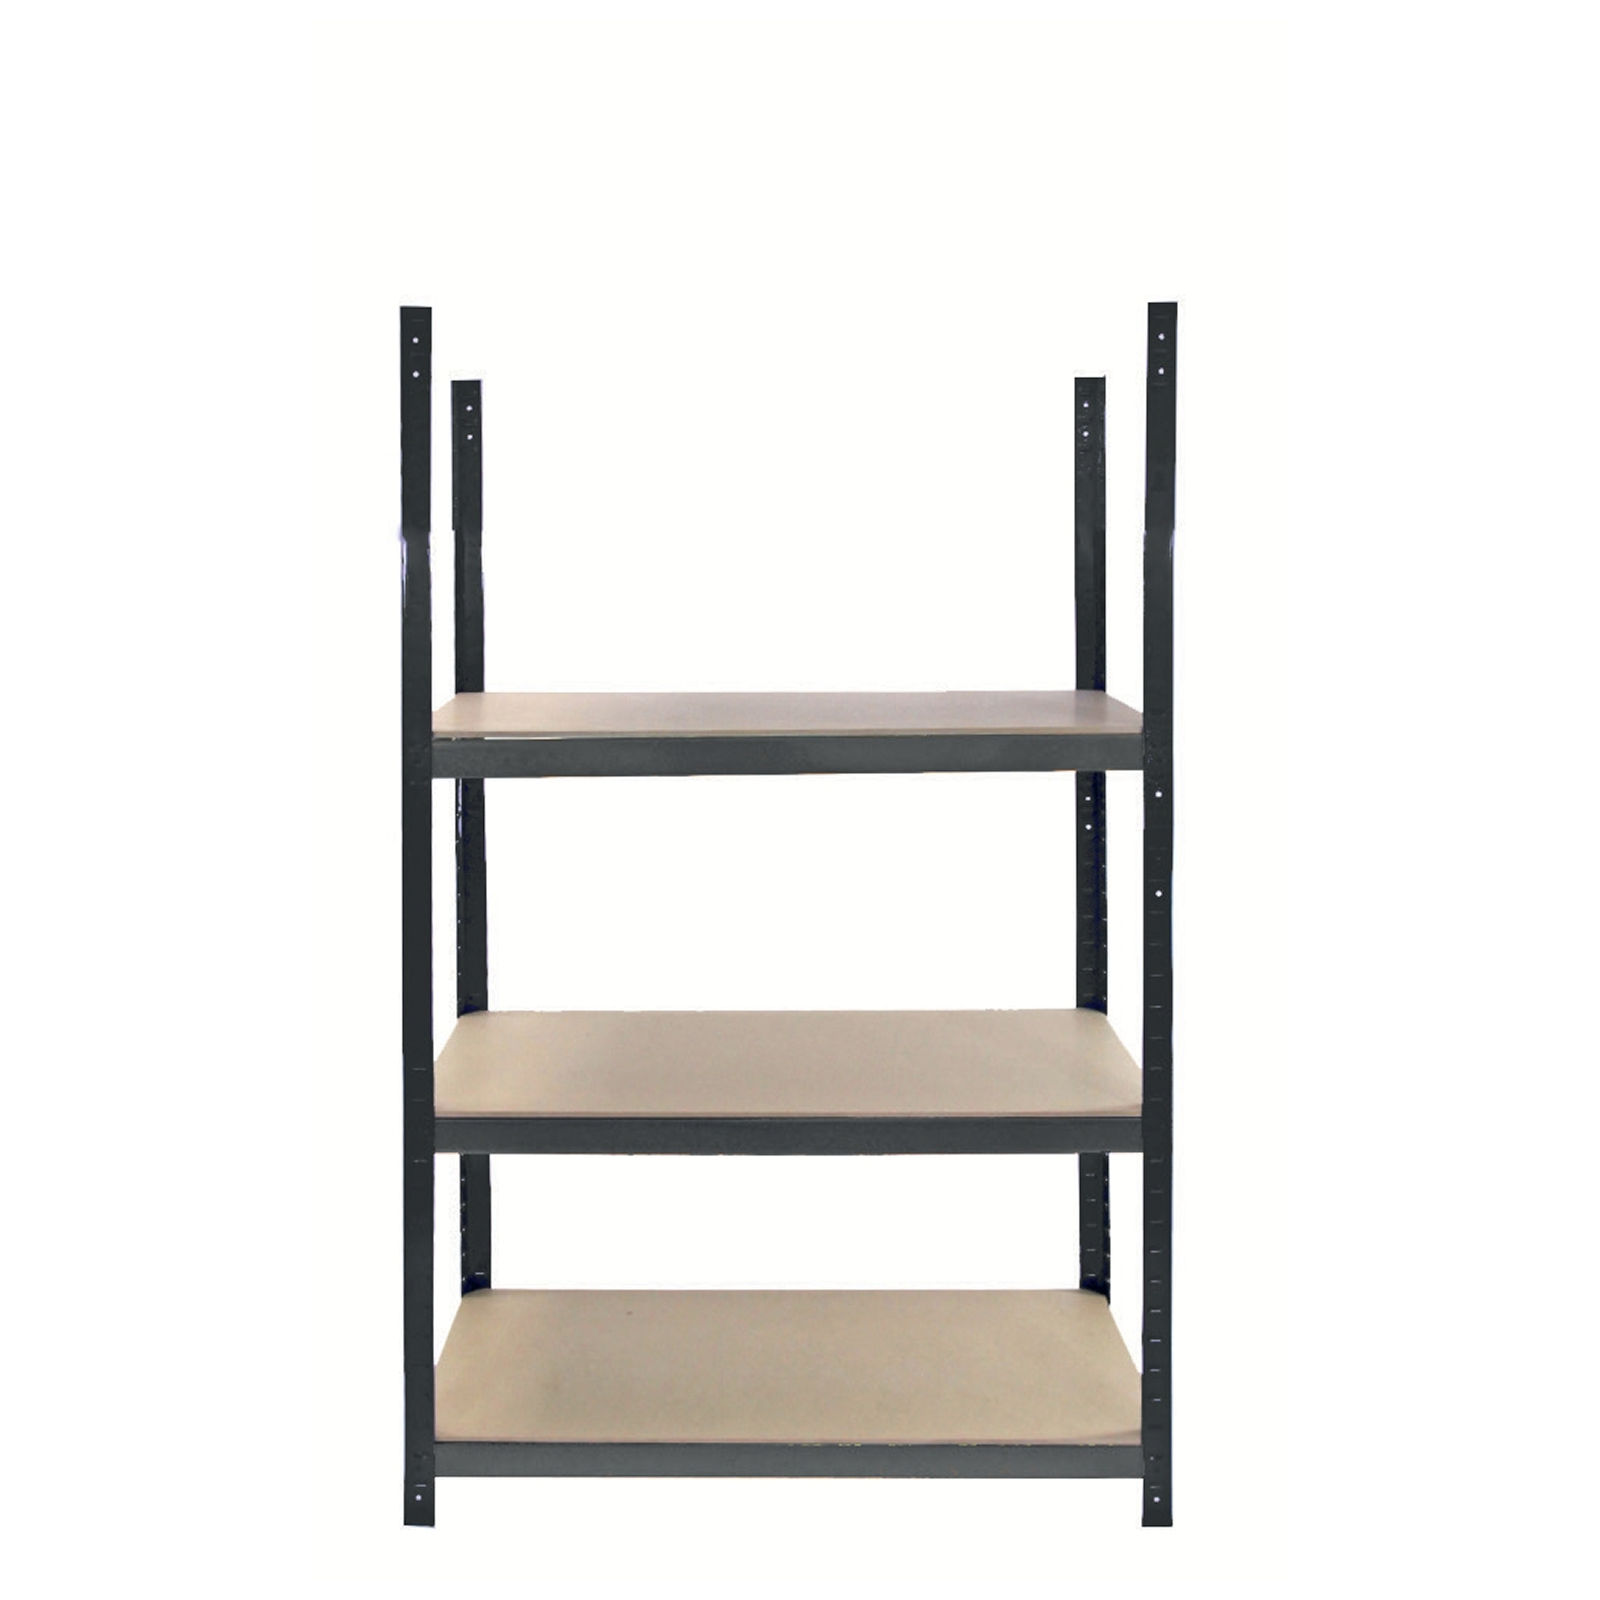 1. Lay the MDF board onto the frame. 11. Add the Last Shelf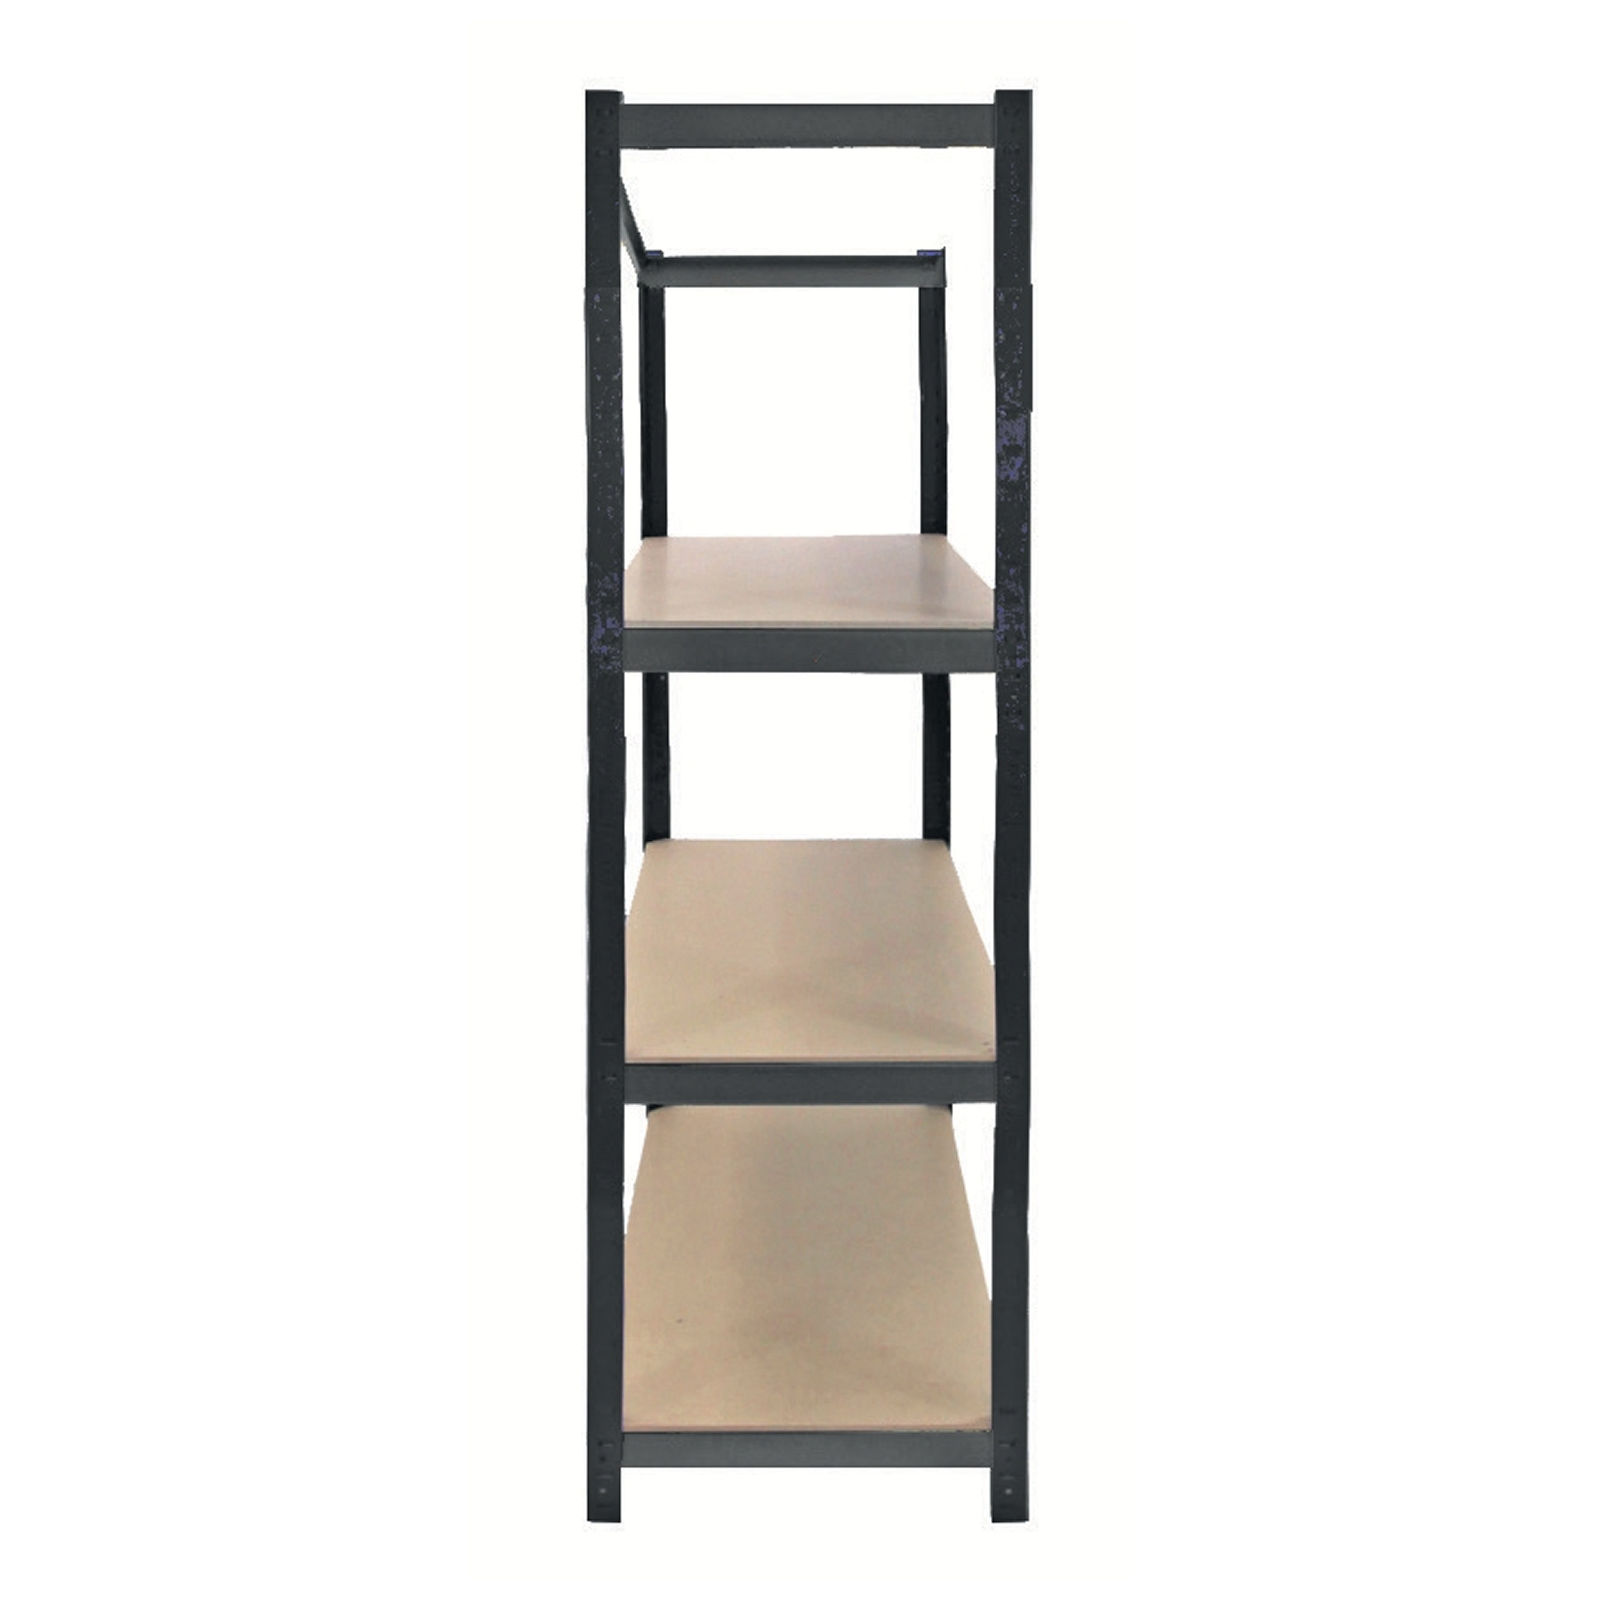 1. Decide where you want the next shelf to be positioned. 12. Add the Central Shelf Support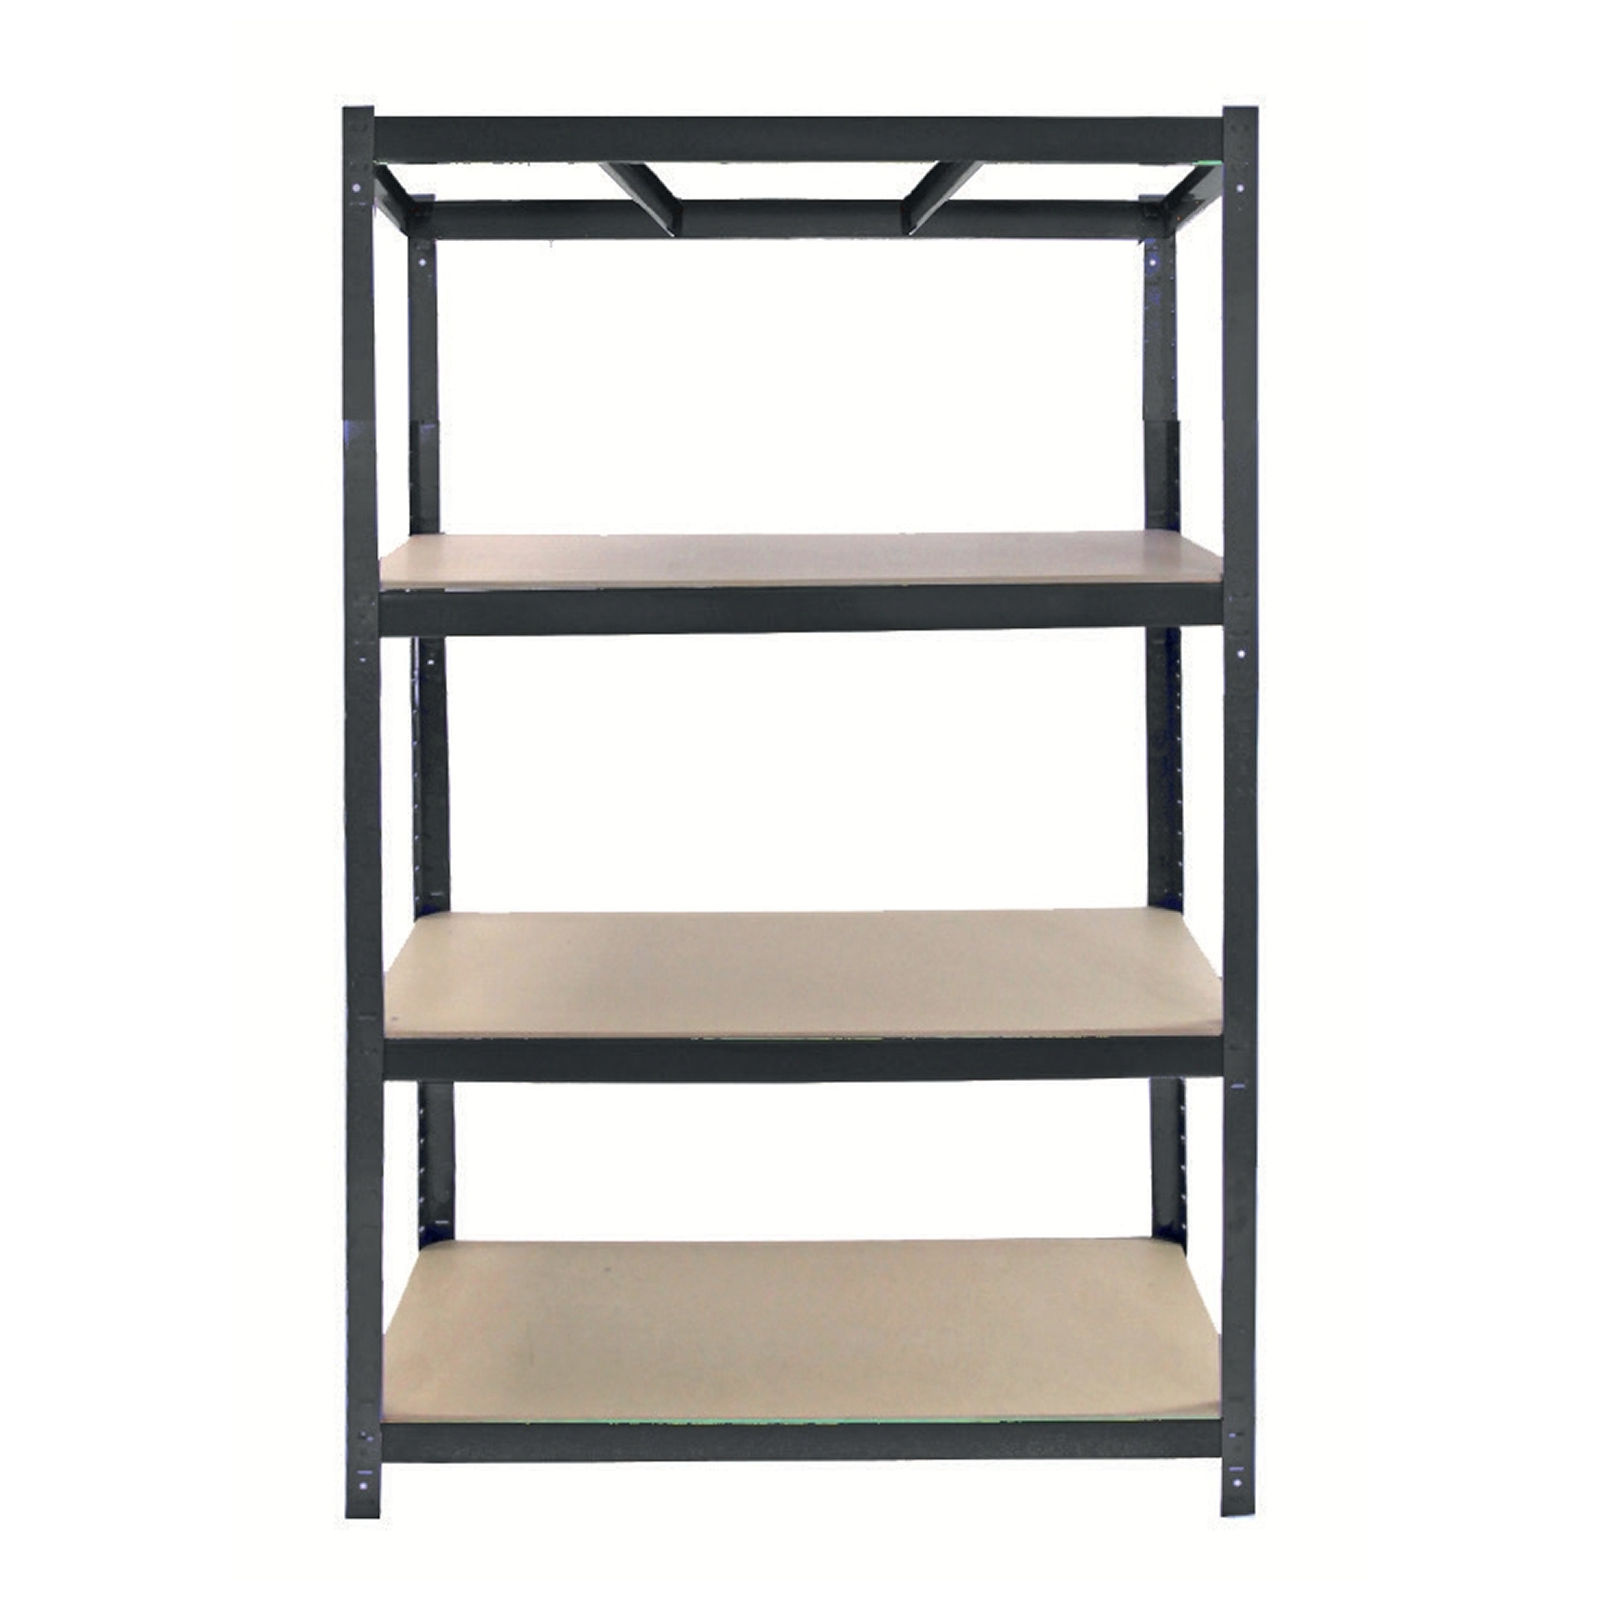 Insert the Central Support Bars across the middle of the frame at the newly added shelf level. 13. Complete the Final Shelf 1. Place the MDF Shelf Panel onto the top shelf frame, resting it securely over the long and short beams with central supports beneath. |