1. Organize Parts

Group all parts together and lay them on the floor for easy access during assembly.
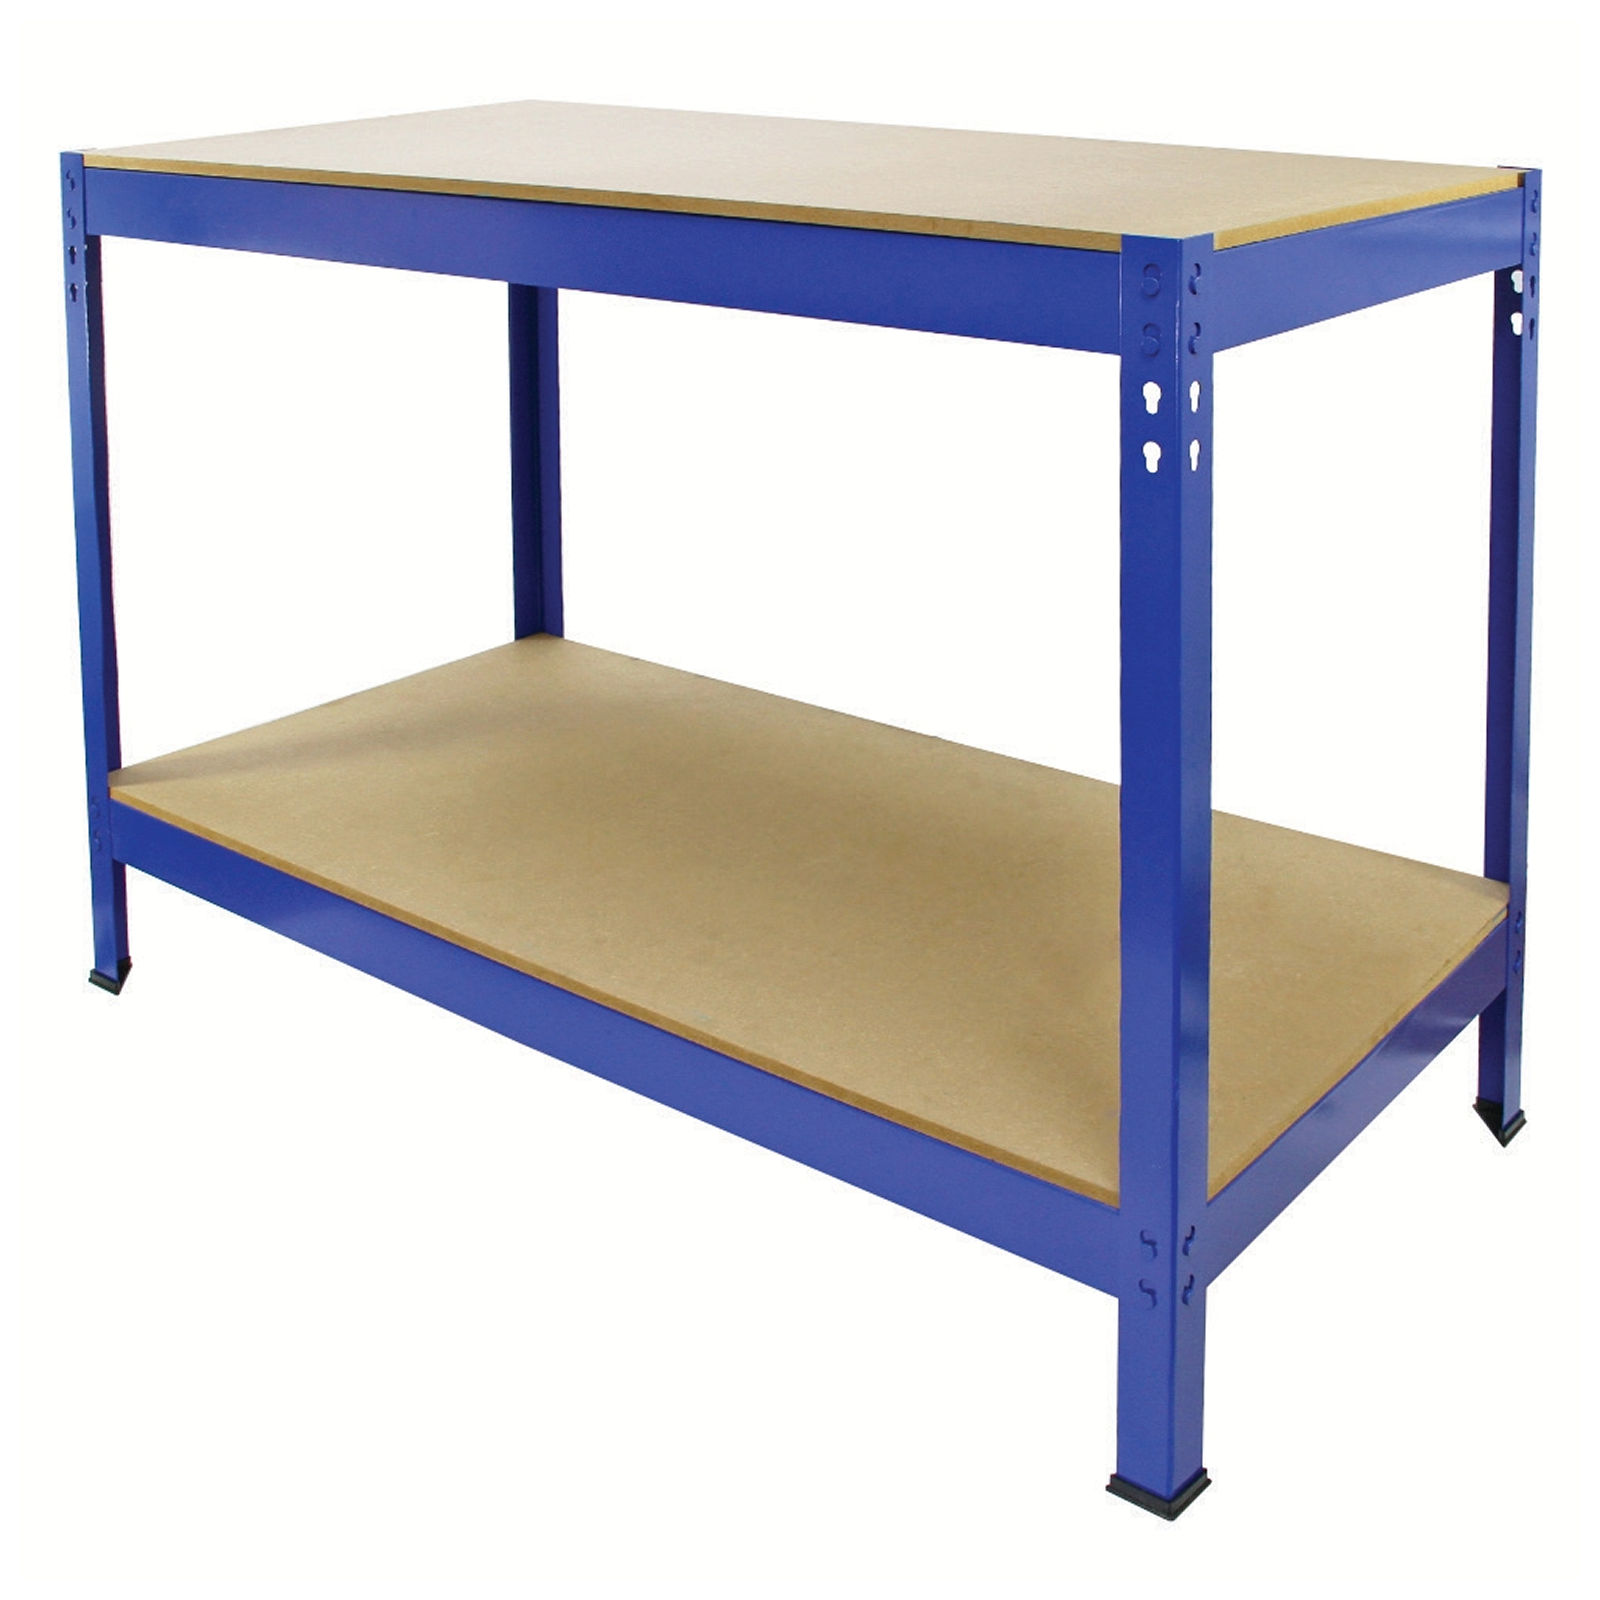 Instructions by monstershop Q-Rax WorkbenchTackle any project with this Q-Rax garage workbench—strong, sturdy, and built for serious work. With a 200kg load capacity per shelf, adjustable lower shelf, and easy boltless assembly, it’s perfect for your shed, workshop, or garage. Product InformationQ-Rax WorkbenchThe Q-Rax Workbench is a perfect storage and working area solution suited towards any man-cave including; garages, warehouses, stock rooms and workshops.
The workbench frame is made from 1.2mm heavy duty steel and combined with the Q-shaped lock and key mechanism means it is very quick to assemble and can hold a massive 200KG. Finished with two layers of powder coated paint, this durable workbench will maintain its excellent condition for even longer.
The Q-Rax Workbench is 100% bolt-less, making it easy to assemble and only requiring the use of a rubber mallet. View product (opens in new tab)
Monster Guarantee If you wish to return a product in perfect working order, we provide a 14 day returns policy as long as the item is unopened and in a resalable condition. A 12 month warranty applies to all of our electrical products; we will cover labour, parts and delivery charges. Our policy is to try and fix the item before arranging an exchange or refund. If for any reason a part is missing please get in touch with us within 7 days on receipt of your order. You can call or email our friendly and helpful Customer Support Team. For full terms and conditions contact our Support Department via the details on the Contact Us page. ToolsRubber Mallet Materials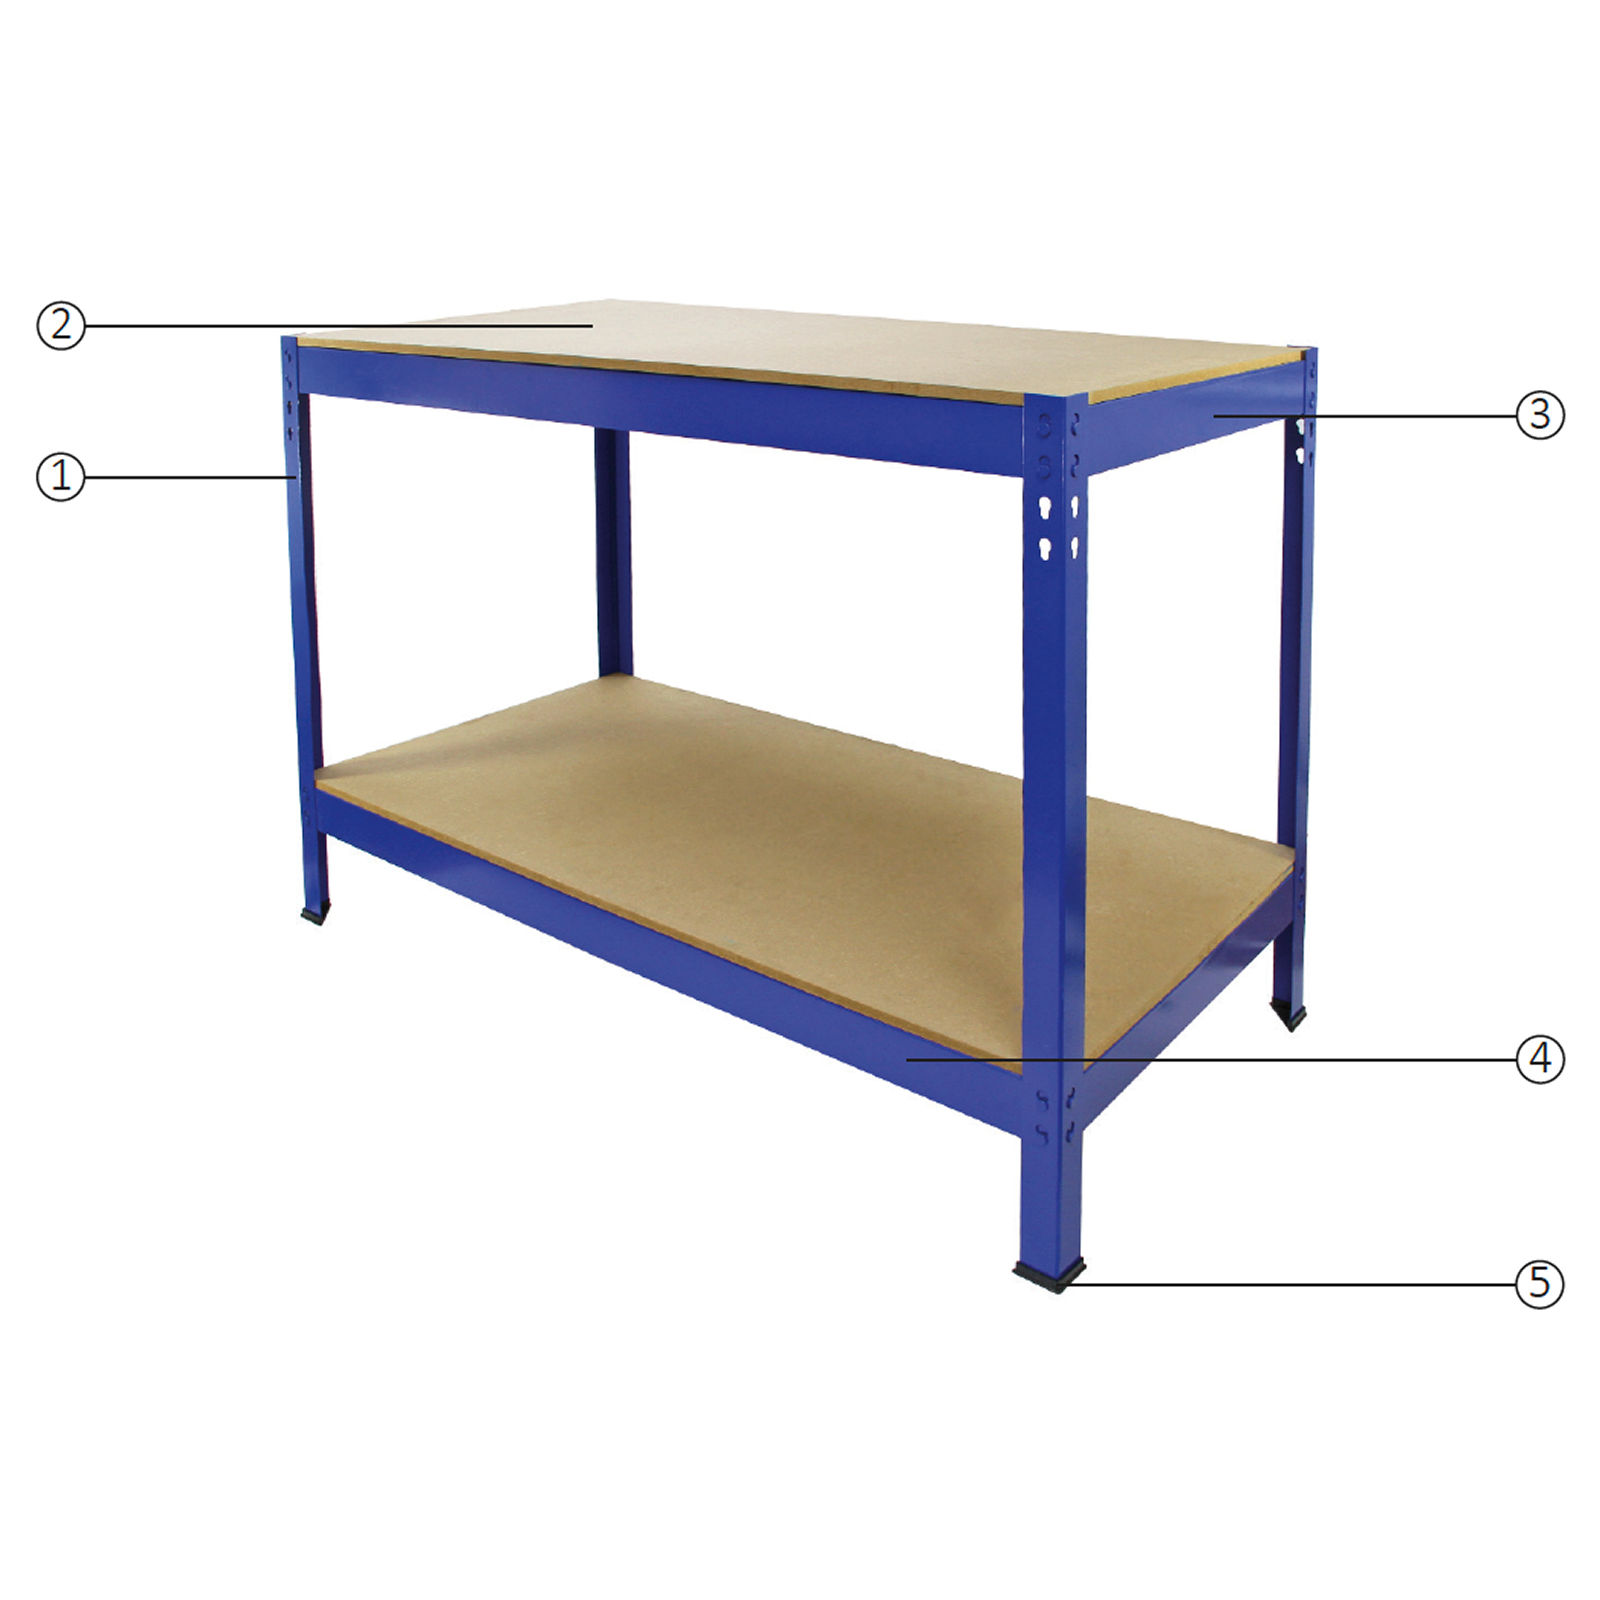 1L-Shaped Upright Beams 2MDF Boards 3Short Beams 4Long Beams 5Moulded Feet/End Caps 1. Organize PartsGroup all parts together and lay them on the floor for easy access during assembly. 2. Attach Moulded FeetAttach the 4 moulded feet to the ends of the 4 L-shaped upright beams. 3. Ensure Correct Beam Orientation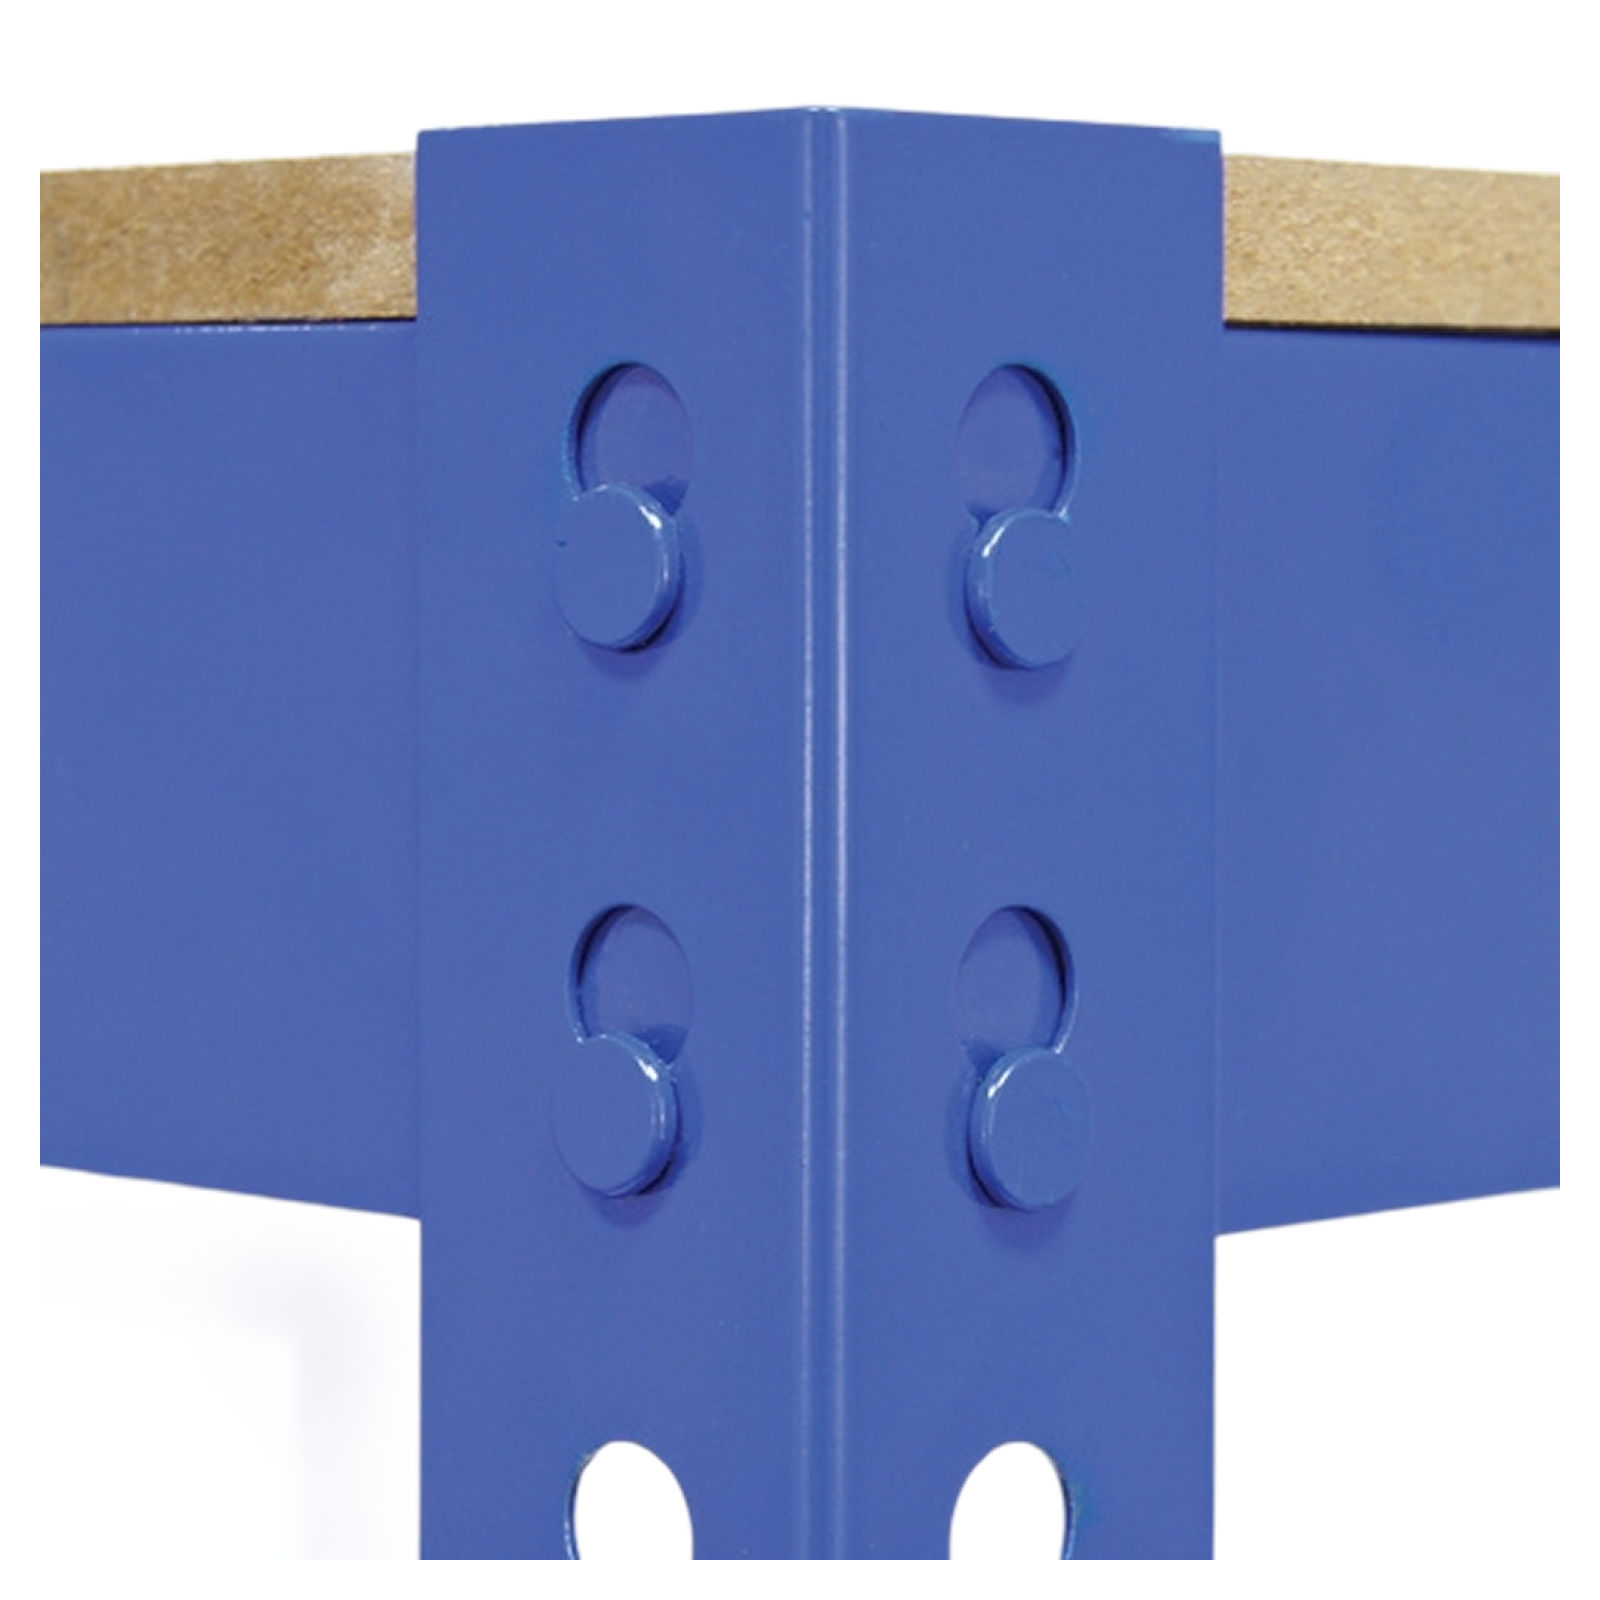 Before assembling, ensure the beams are oriented correctly. Refer to the image for guidance. The short and long beams will slot into place. 4. Create U-Shapes
5. Connect U-ShapesConnect the two U-shapes together using 2 long beams. 6. Install Lower Shelf
Note: Treat the MDF boards with varnish or mould prevention products to prolong their life. 7. Assemble Workbench Table Top
8. Completion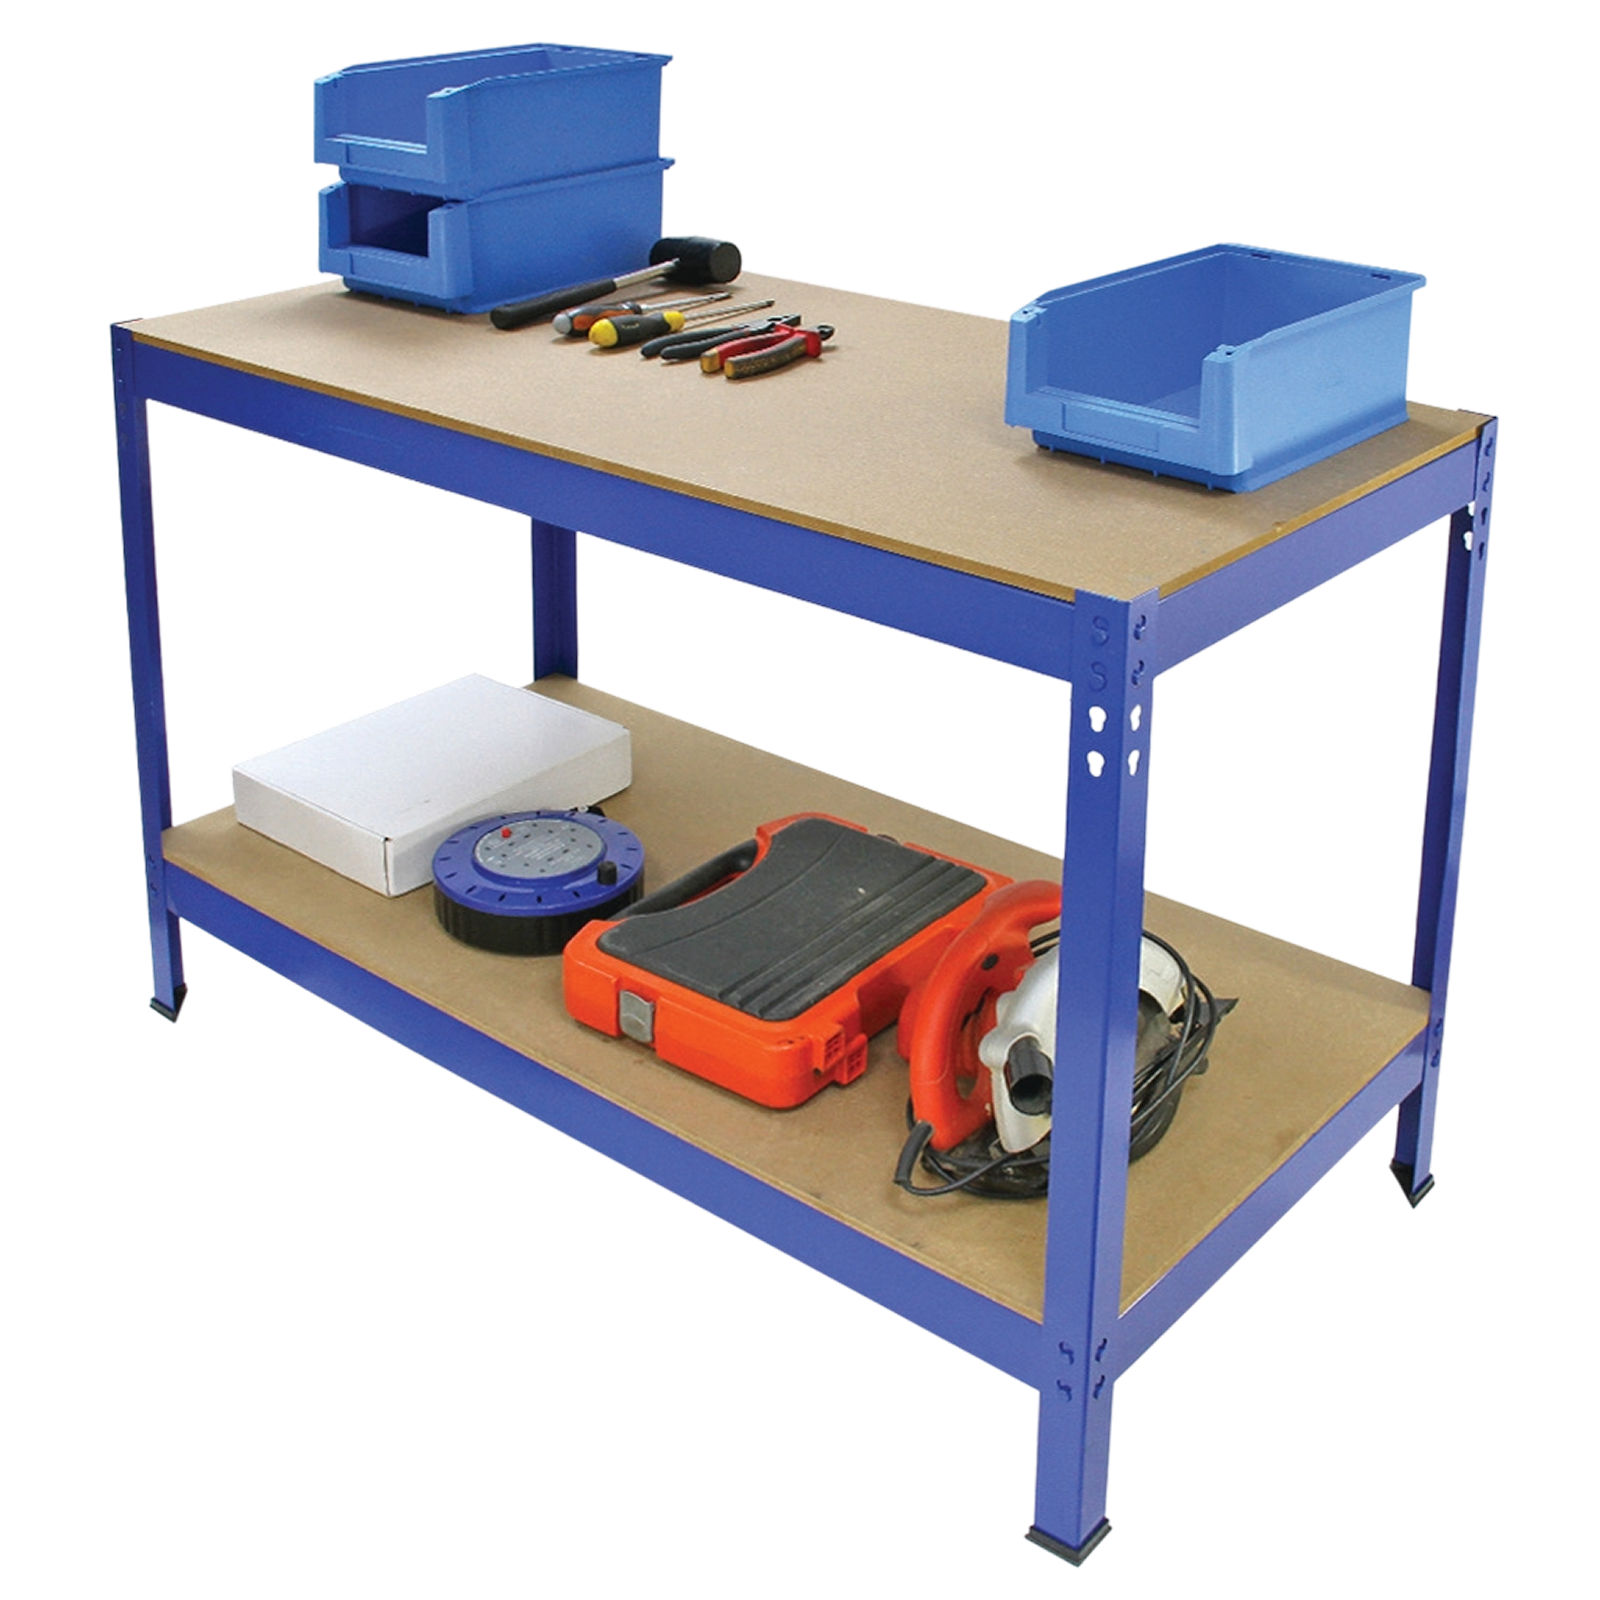
Note: Evenly distribute the weight of your tools on the workbench. 9. Resolution GuidePlease read through the guide below if you have any issues or faults with your Q-Rax Workbench. Q: There are parts missing from my order. A: If a part is missing please get in touch with us within 7 days on receipt of your order. You can call or email our friendly and helpful Customer Support Team. Please see details on the Contact Us page. Q: The MDF has begun to warp or change shape. A: Do not use this Q-Rax Workbench for storage in a humid environment as the included MDF is untreated and is therefore susceptible to bend in an extremely damp or warm room. Other MDF can be cut and used by the customer. If you would like to reduce the potential of warping, please feel free to personally treat the MDF with a varnish or paint. Q: What kind of tools should I use to assemble the Q-Rax Workbench? A: The only tools required to assemble a Q-Rax Workbench is a rubber mallet - available to buy at Monster Shop. Q: I’m worried the MDF shelves might grow mould in my garage. A: We recommend you treat the MDF with mould prevention products. They are very accessible and cheap from good DIY stores. |