This guide provides step-by-step instructions for assembling, operating, and maintaining your Rattan Corner Set with Composite Table.
Product Information
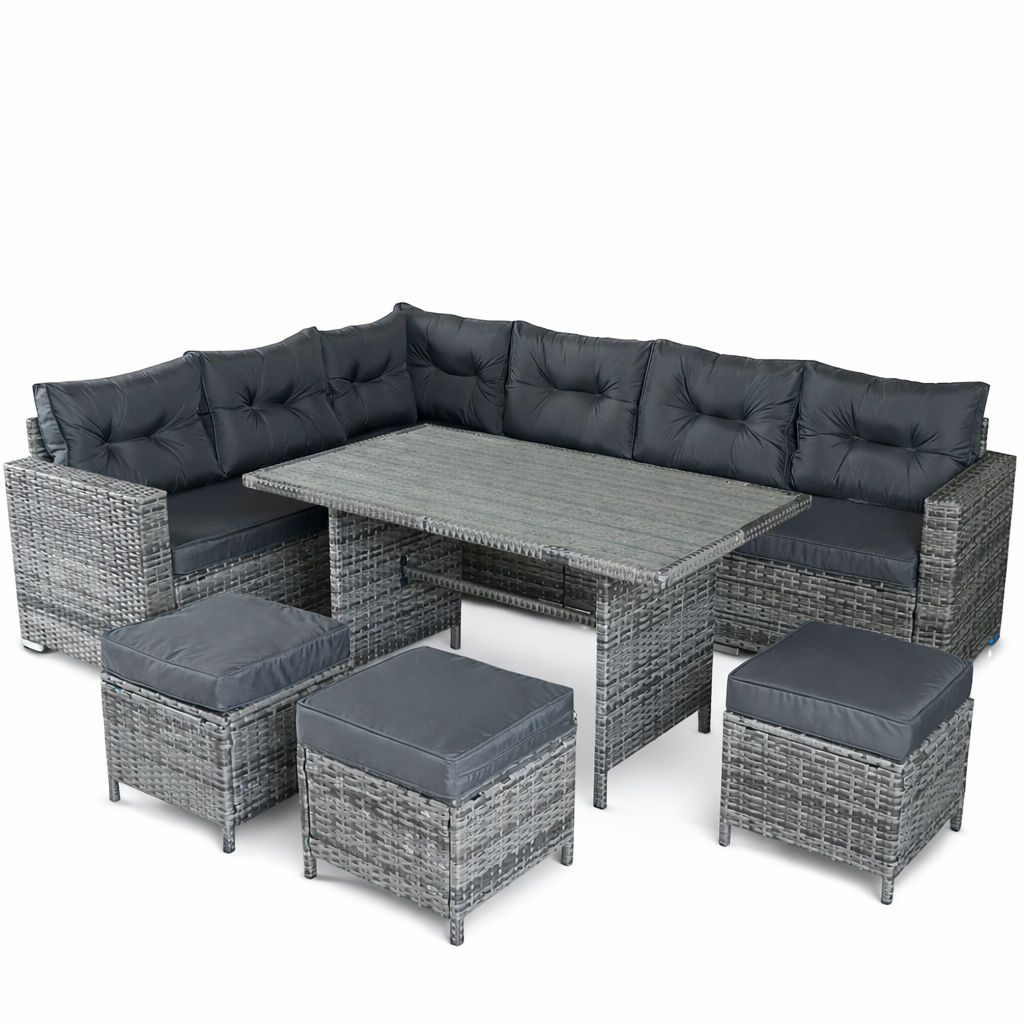
Rattan Corner Set with Composite Table
Experience luxury in its finest form with our stunning 7-seater rattan furniture corner set from the sensational Jardi range.
Designed for maximum style and comfort, this exquisite dining set is made up of a corner sofa, 3 x stools and a composite table. Able to comfortably seat seven people, this set is sure to be the perfect centrepiece for any garden party or dining al fresco.
Finished in either a striking black or grey and offset with extra thick beautiful grey cushions, the set brings a modern and luxurious touch to your garden. With the addition of a protective UV-layer, you can be assured your furniture will be shielded from the elements all year round, helping to maintain its beautiful colour.
With practicality in mind, the waterproof cushions have removable and washable covers for your ease and convenience to keep them looking like new. And with the high-quality rain cover provided you can protect your furniture in wet and rainy conditions – no need to move your dining table and chairs indoors! This Jardi rattan corner dining set is a low-maintenance, stylish option which will always add a touch of sophistication to any patio or outdoor space.
Transform your garden into a personal paradise and be the envy of all your friends and neighbours as you enjoy your premium seating area.
SKU
216735,216737
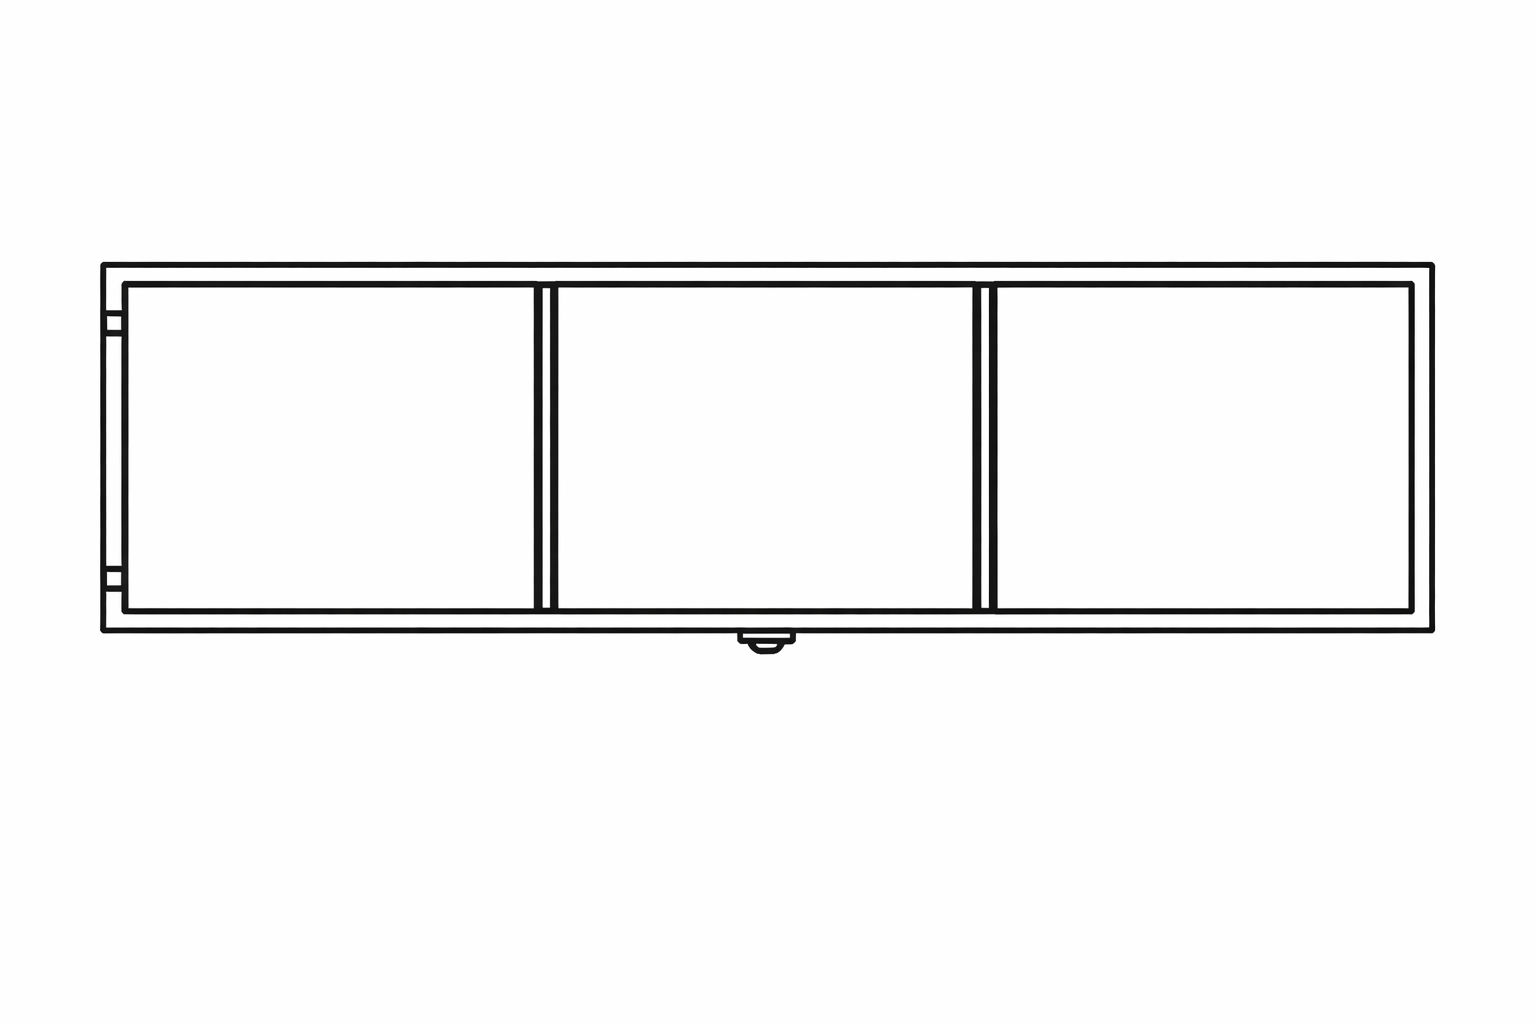
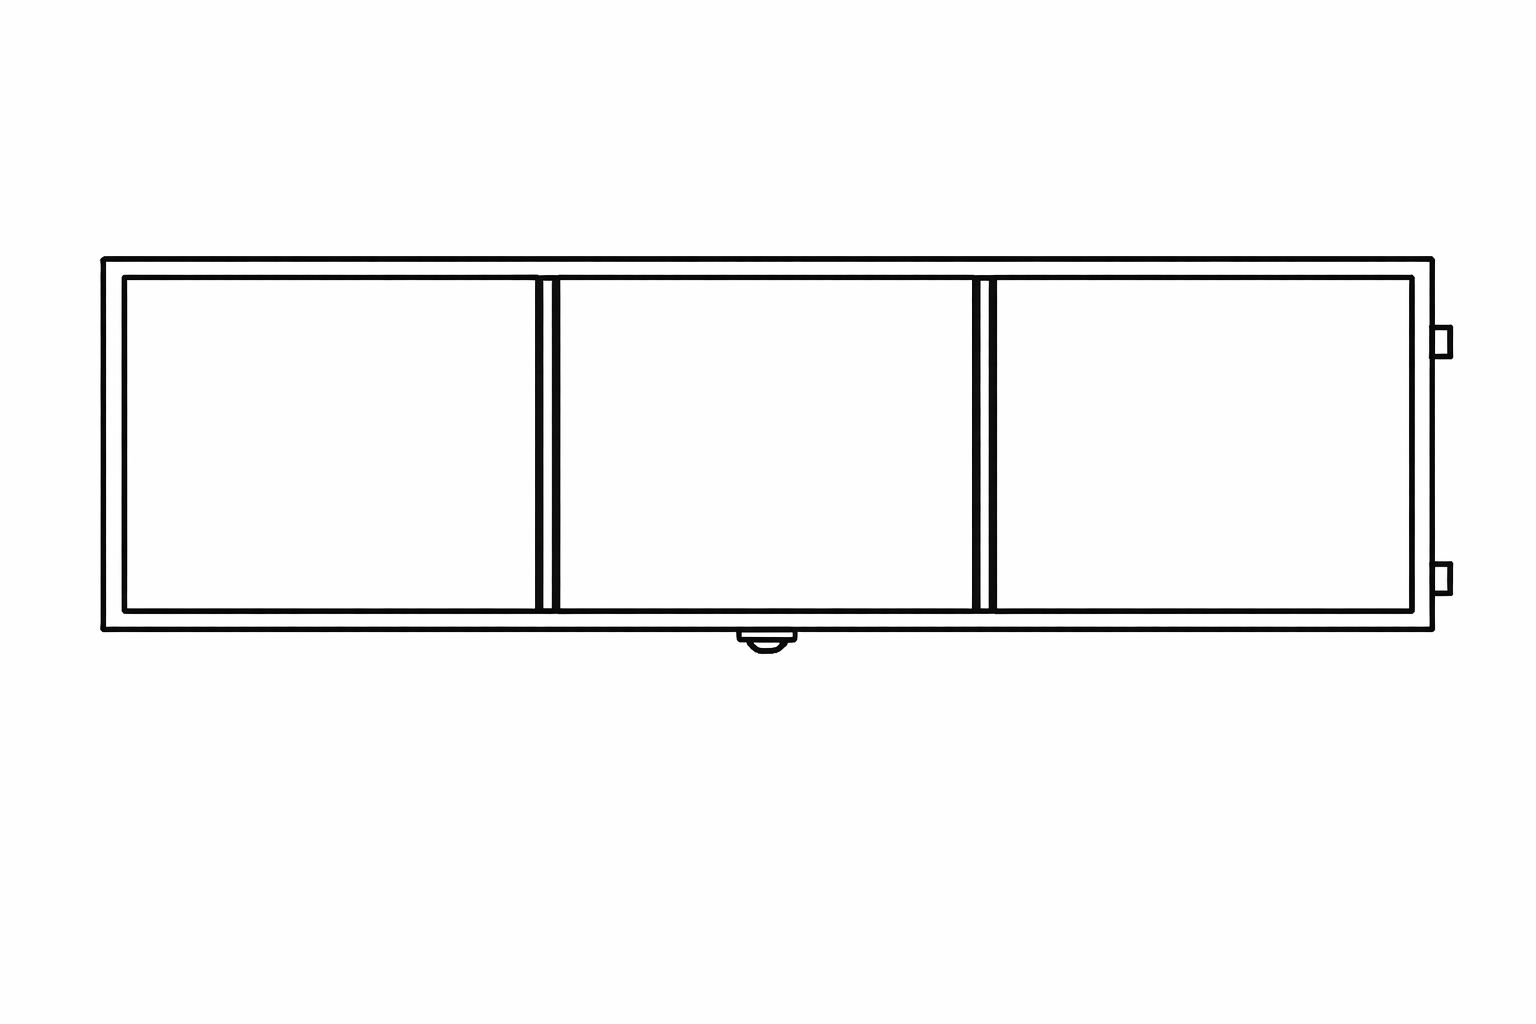
Table Dimensions
700 x 1200 x 660 mm
L Shaped Sofa Dimensions
1800 x 2400 x 700 mm
Stool Dimensions
400 x 400 x 330 mm
Seat Cushion Thickness
80 mm
Back Cushion Thickness
130 mm
GPSR Information
UK
Manufacturer:
Monster Group UK Limited, Monster House
19-23 Alan Farnaby Way,
Industrial Estate Sheriff Hutton,
York
YO60 6PG
Person Responsible:
Rana Harvey, Monster Group UK Limited,
Monster House
19-23 Alan Farnaby Way,
Industrial Estate Sheriff Hutton,
York
YO60 6PG,
England,
+441347878880
EU
Manufacturer:
Monster Group BV,
Van Heemskerckweg 28A & B,
Venlo 5928LL
Netherlands
+441347878880
Person Responsible:
Rana Harvey,
Monster Group BV,
Van Heemskerckweg 28A & B,
Venlo 5928LL,
Netherlands,
+44134787888
Parts
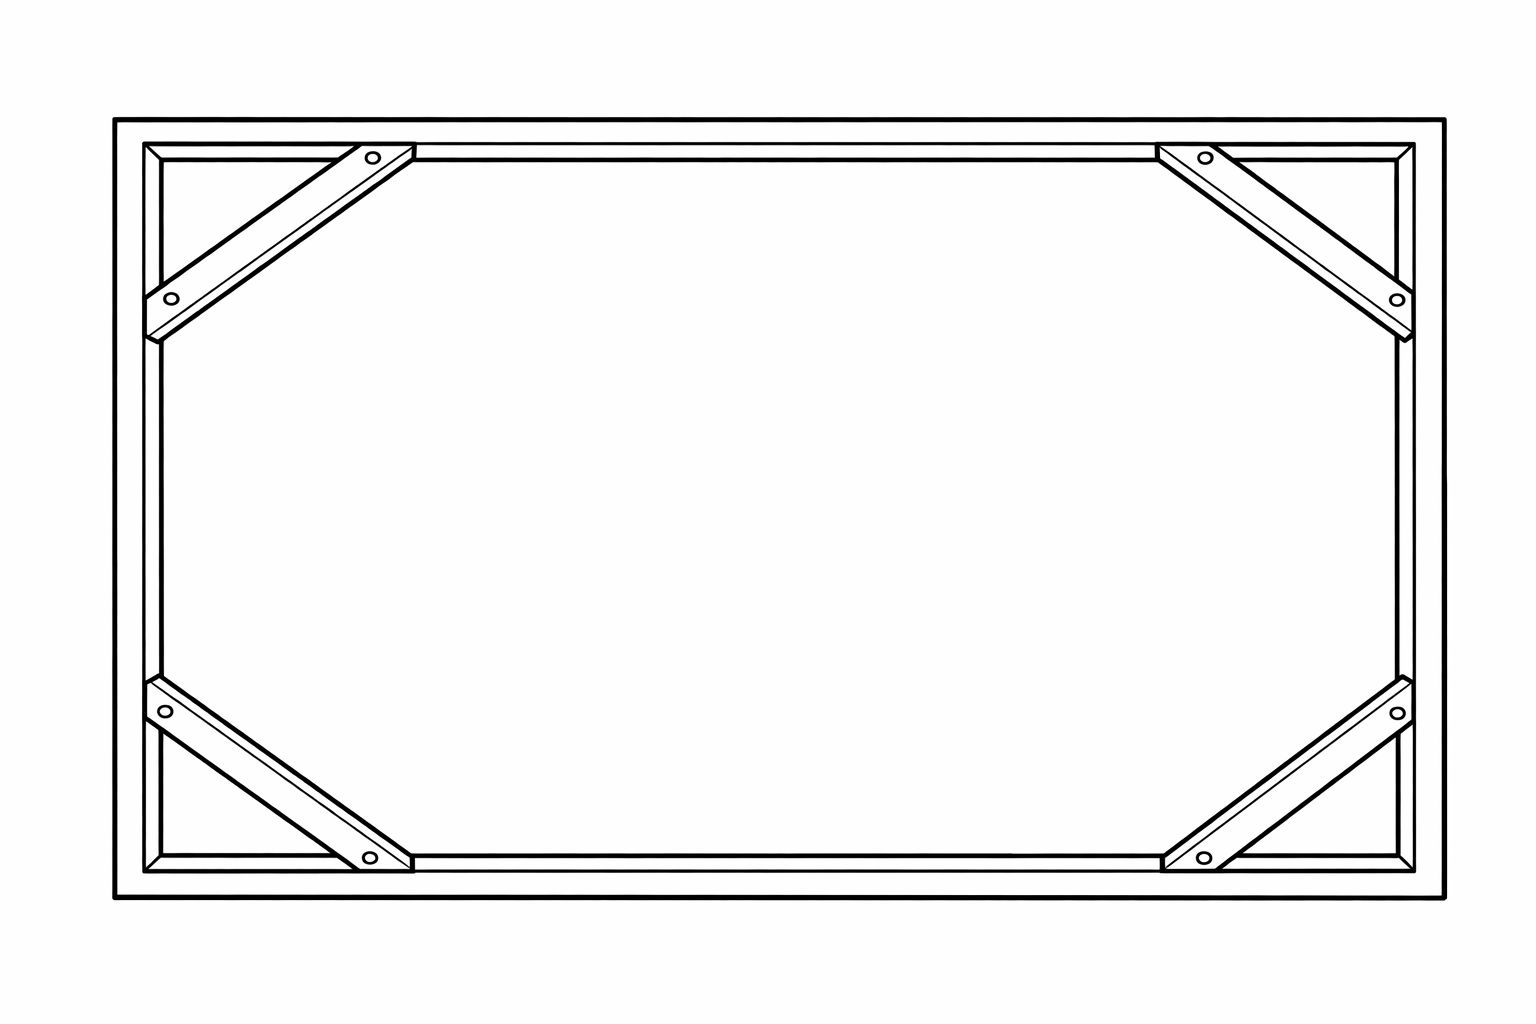
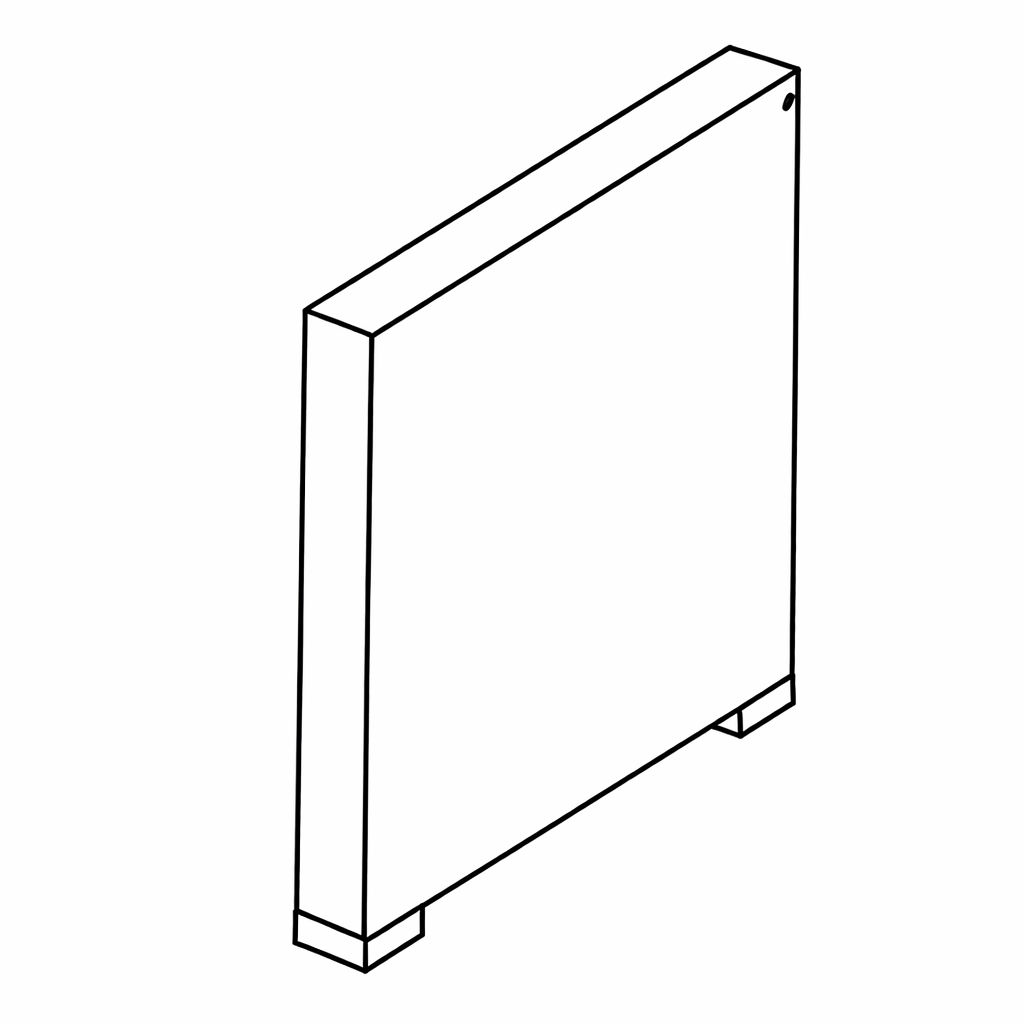
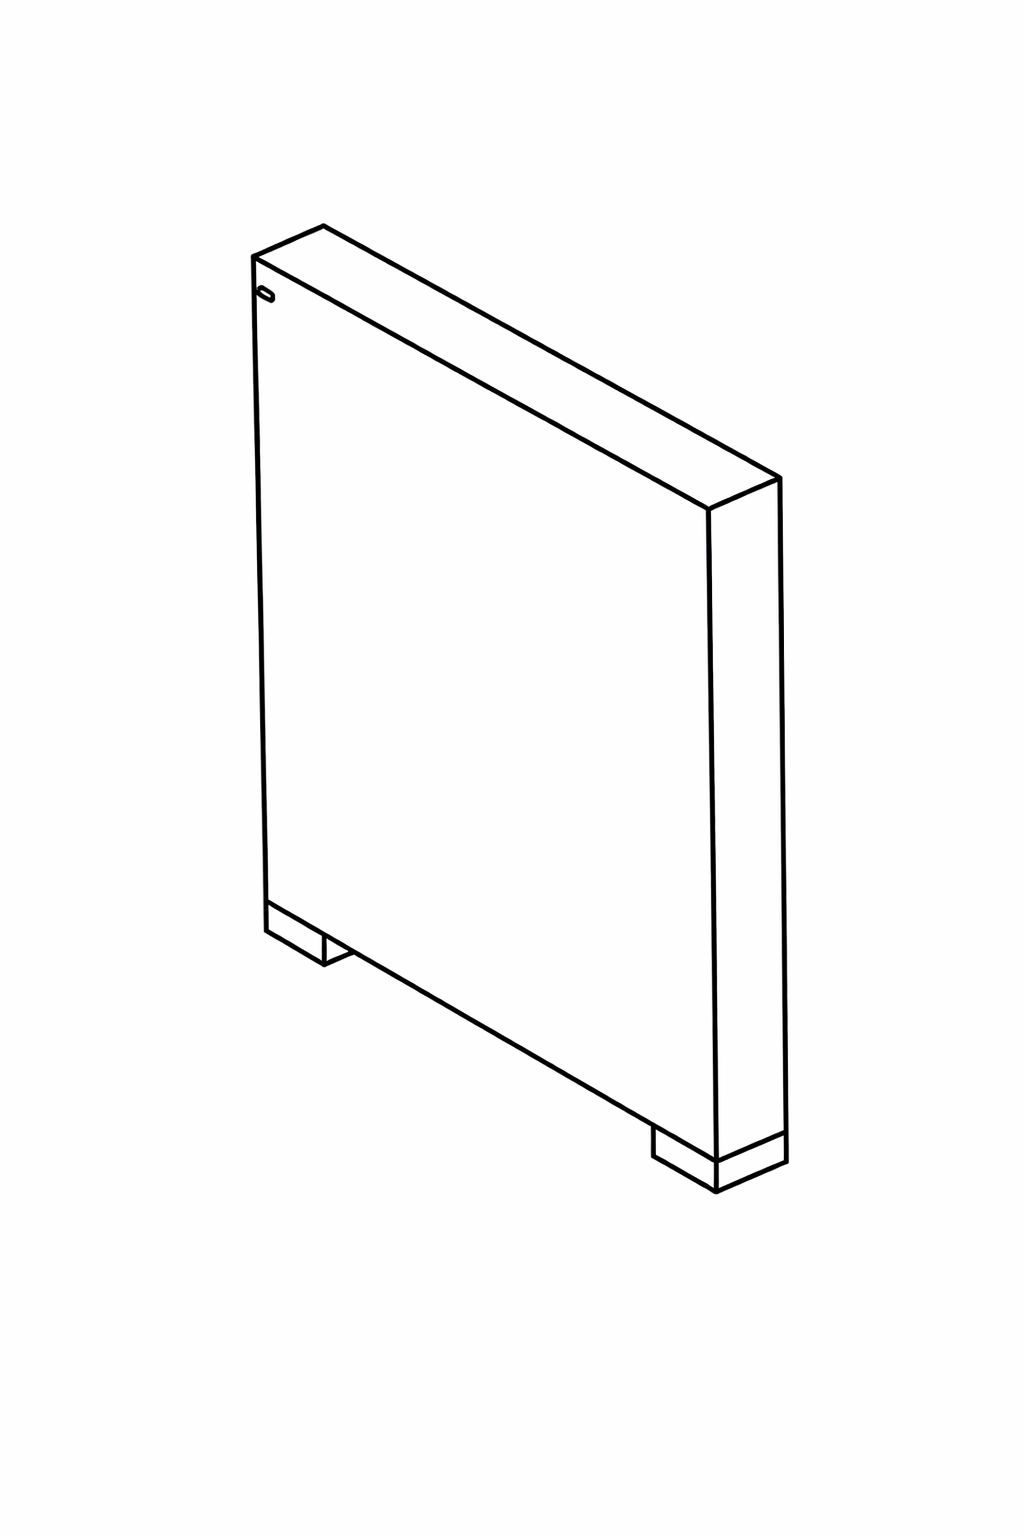
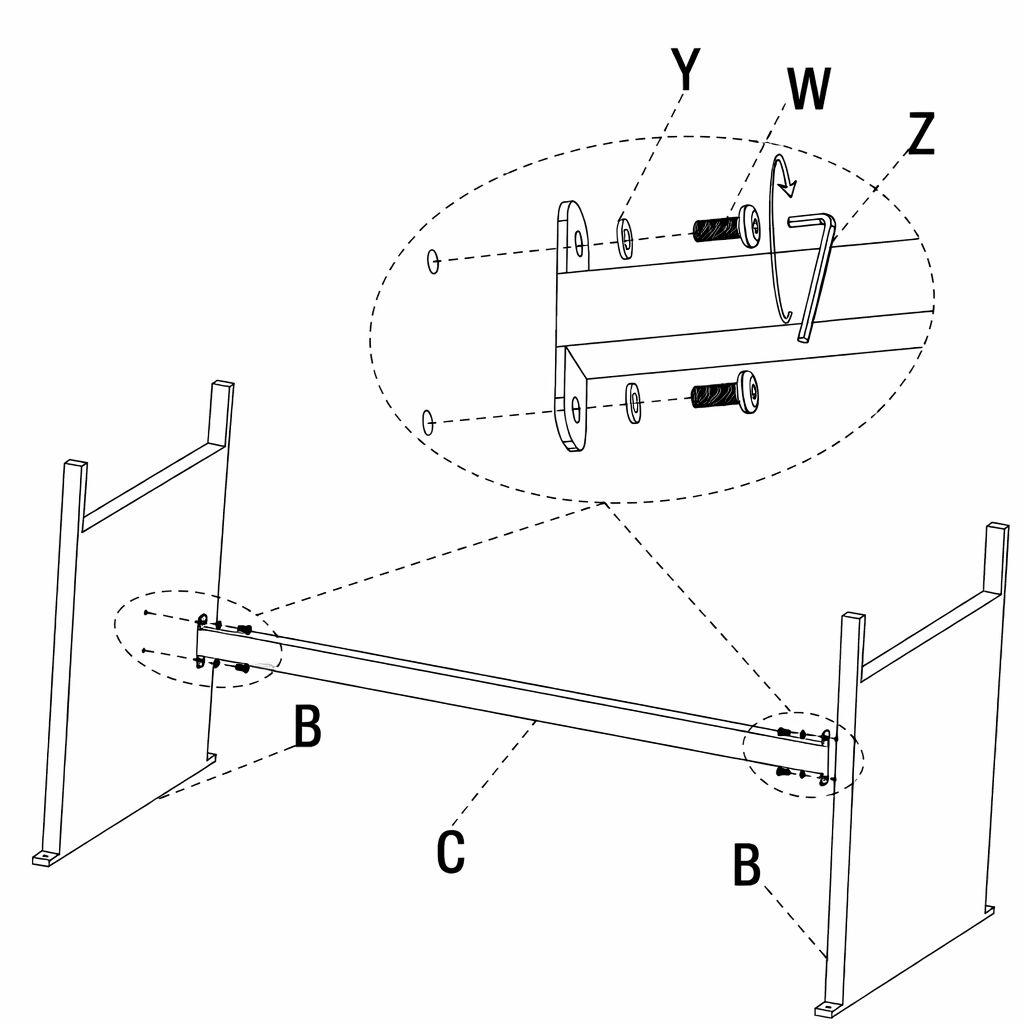
Part A - Table Top Frame
Part B - Table Legs
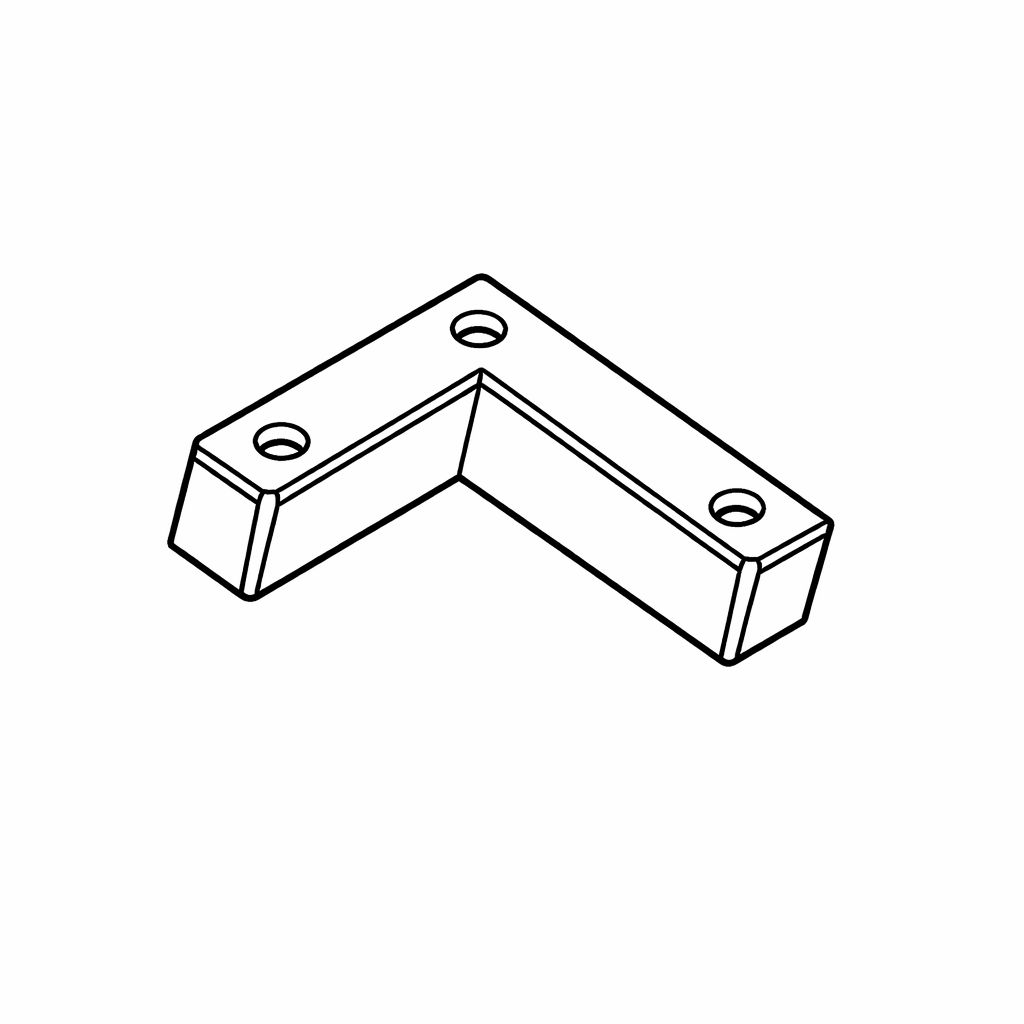
Part C - Table Leg Connector
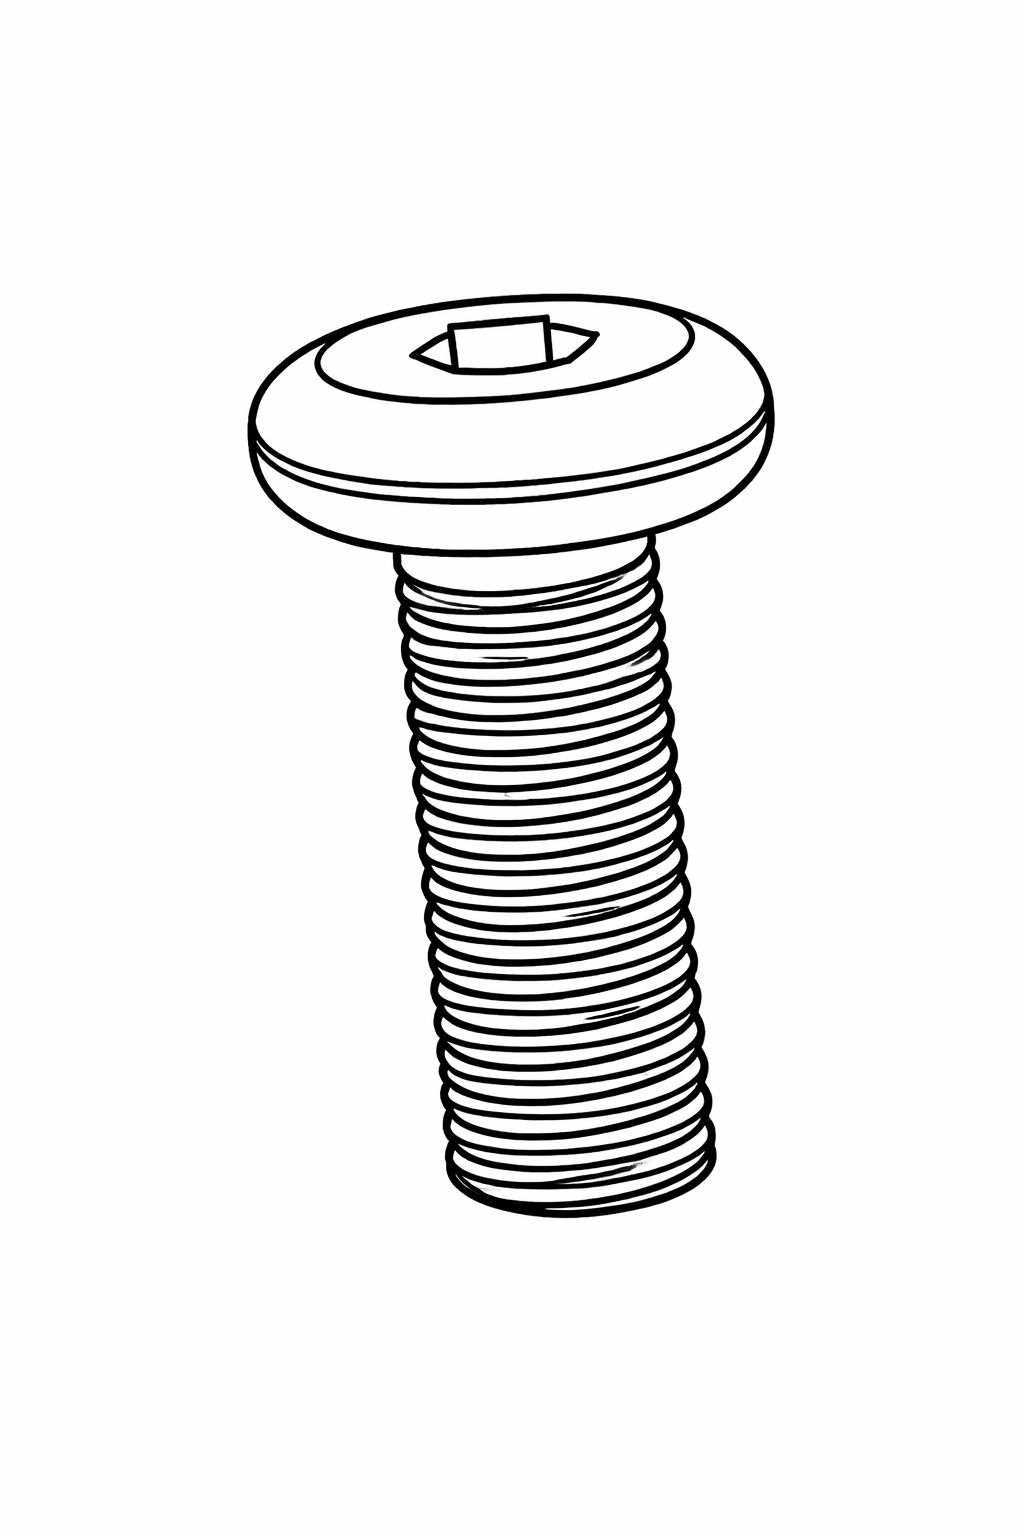
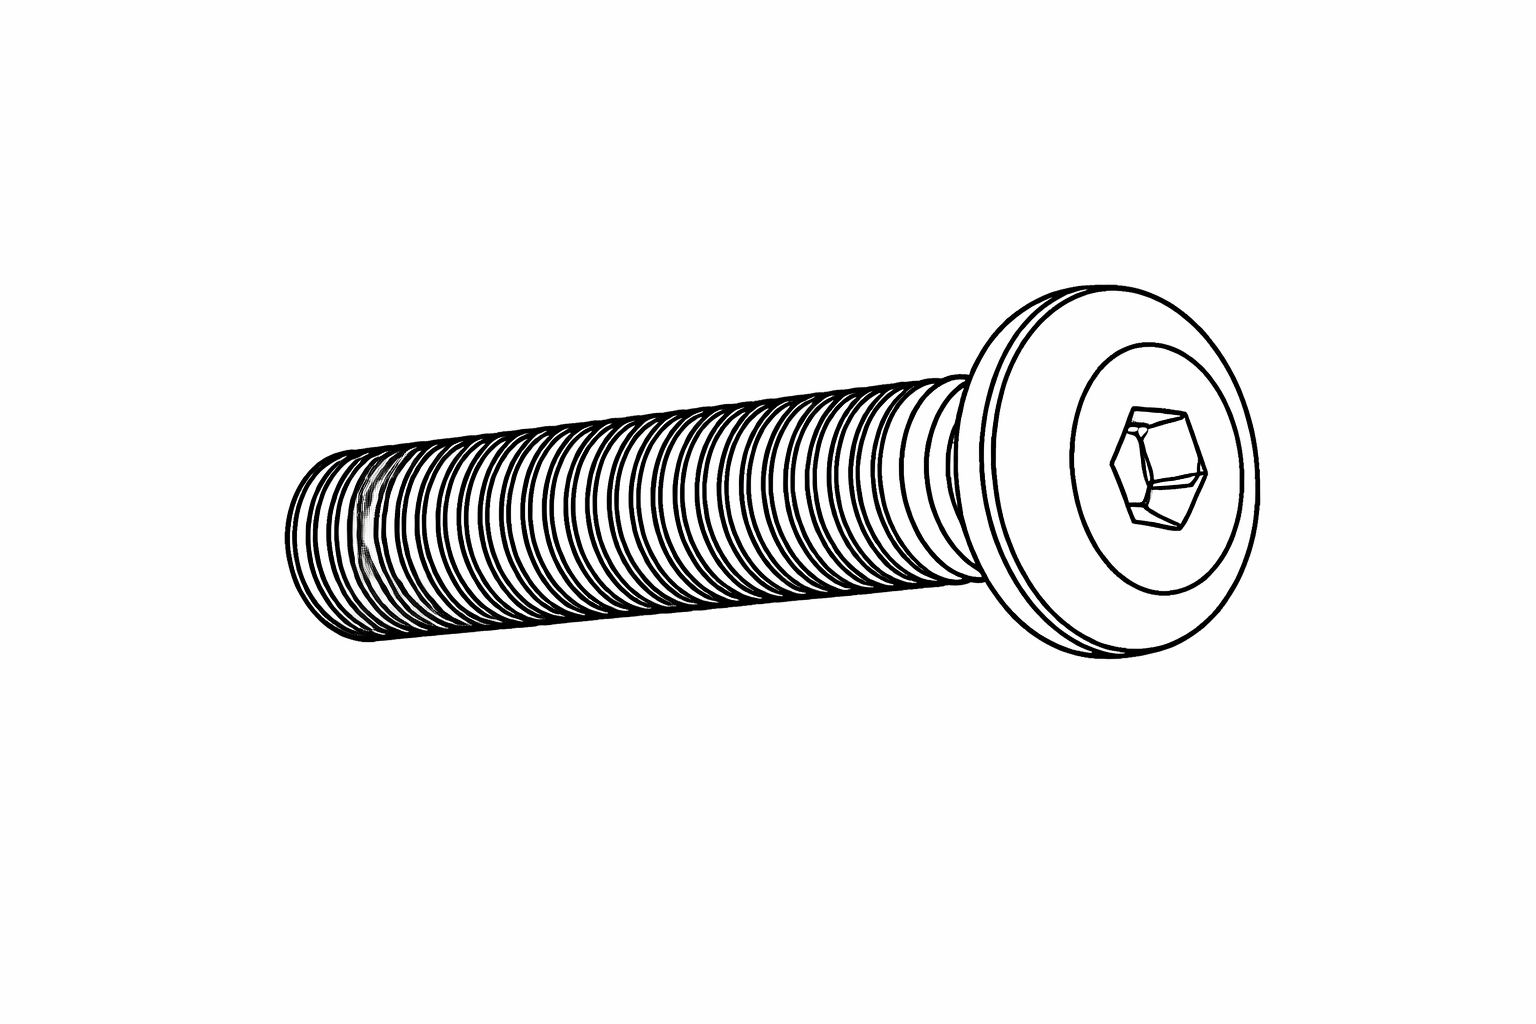
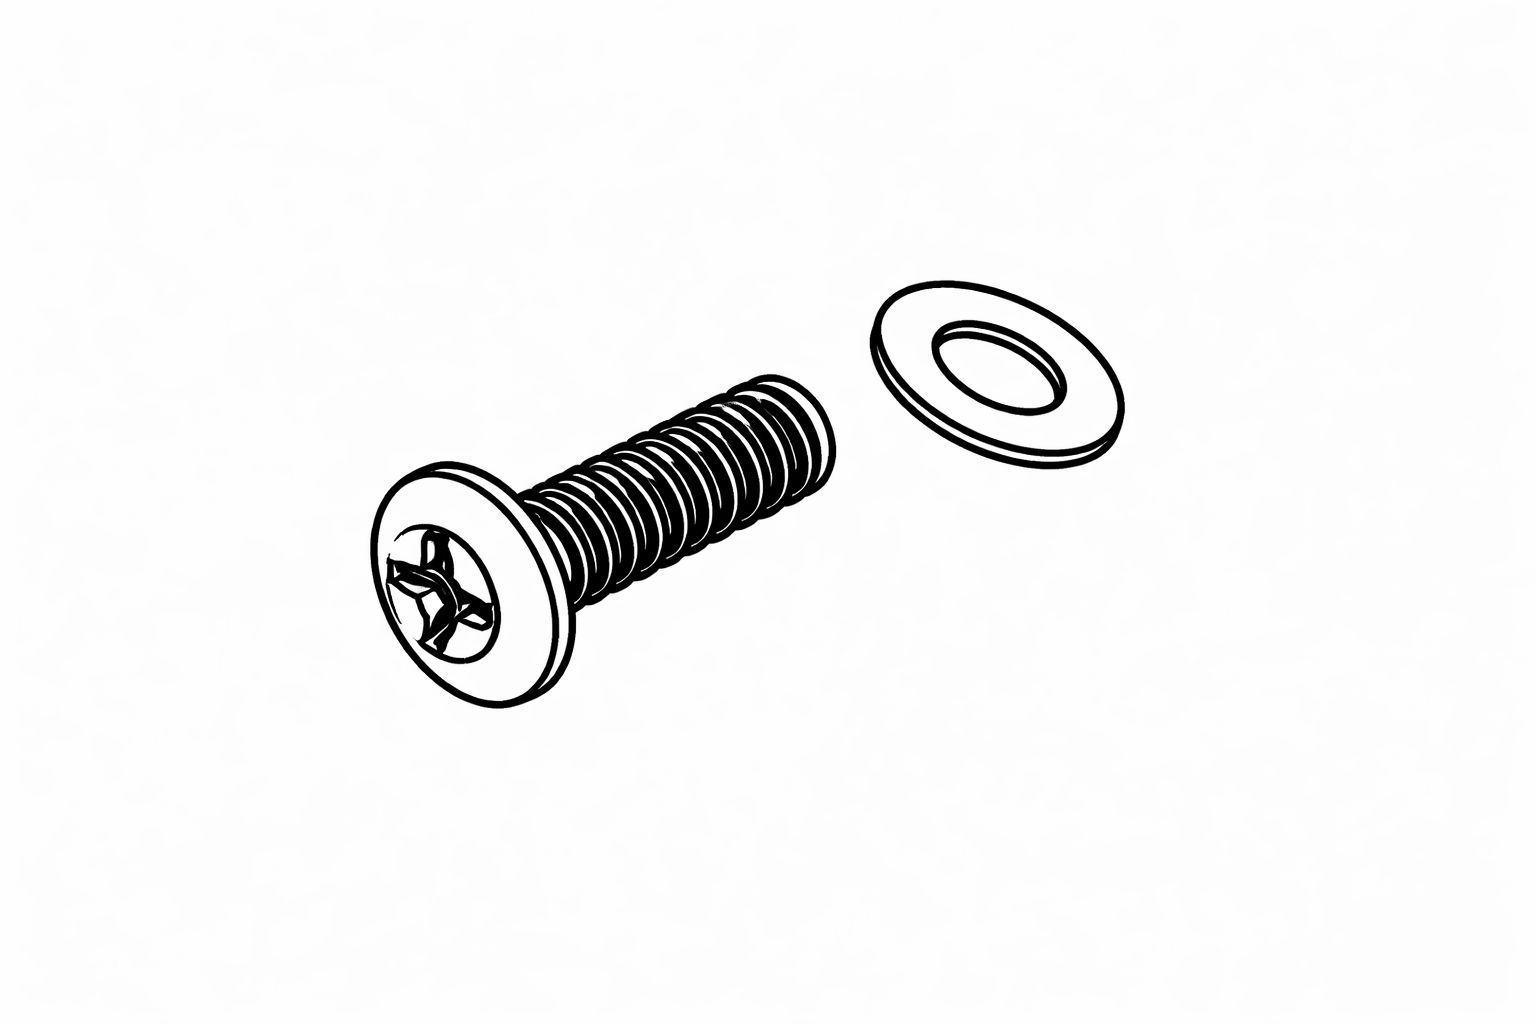
Part W - M6*15 Screws
Part X - M6*30 Screws
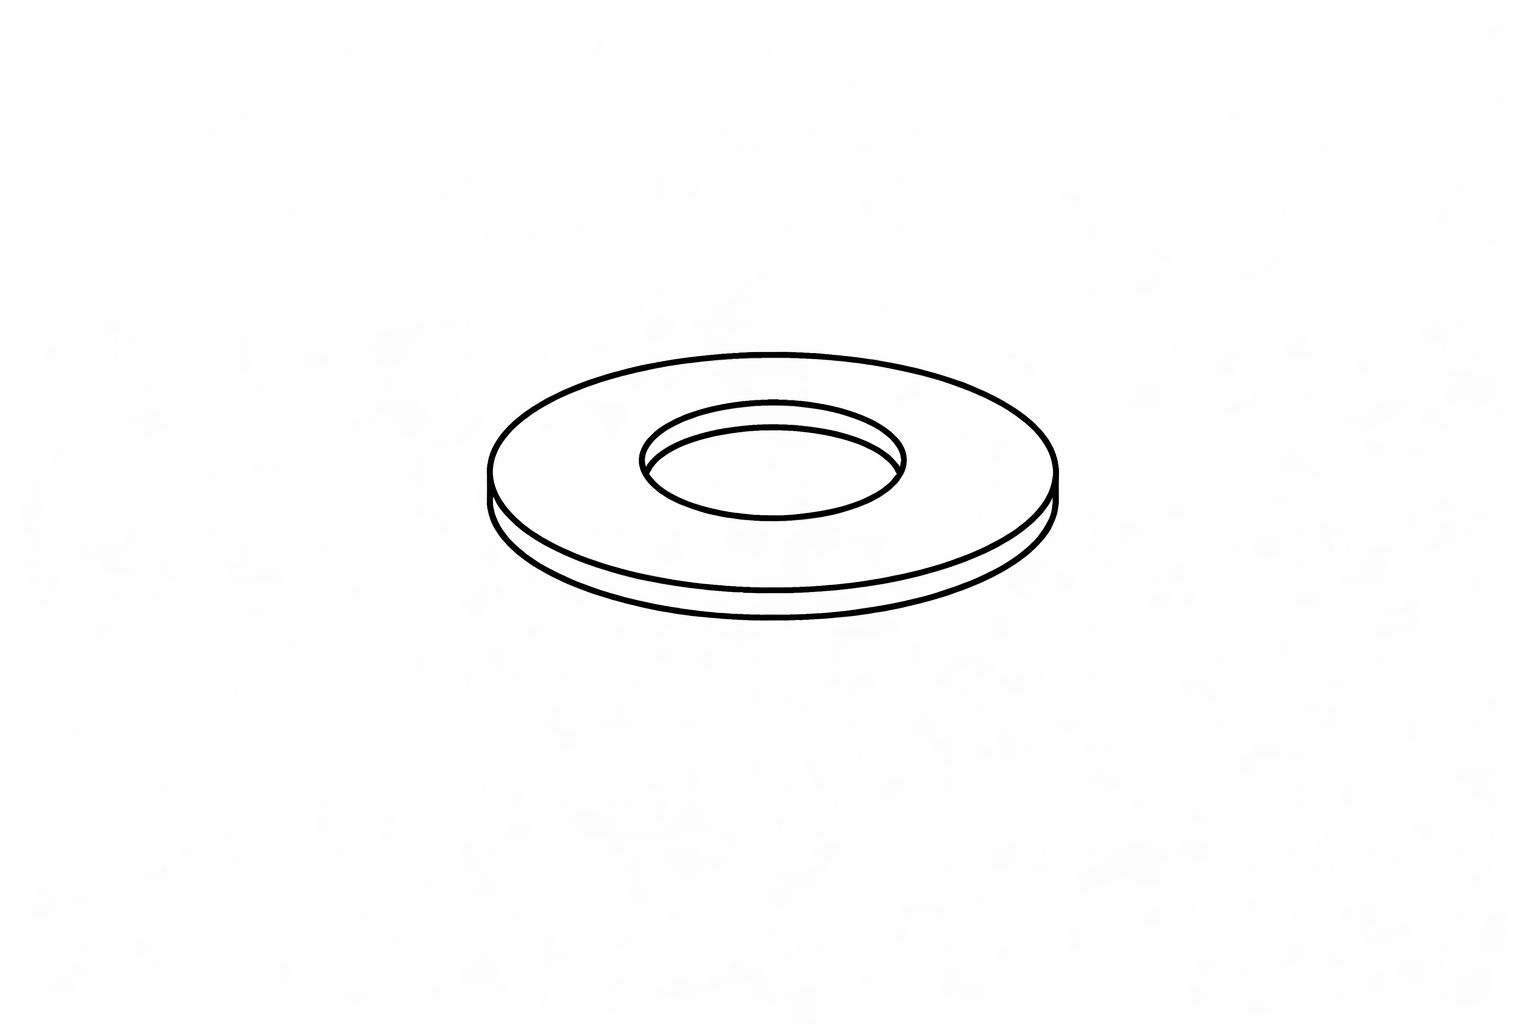
Part Y - Washers
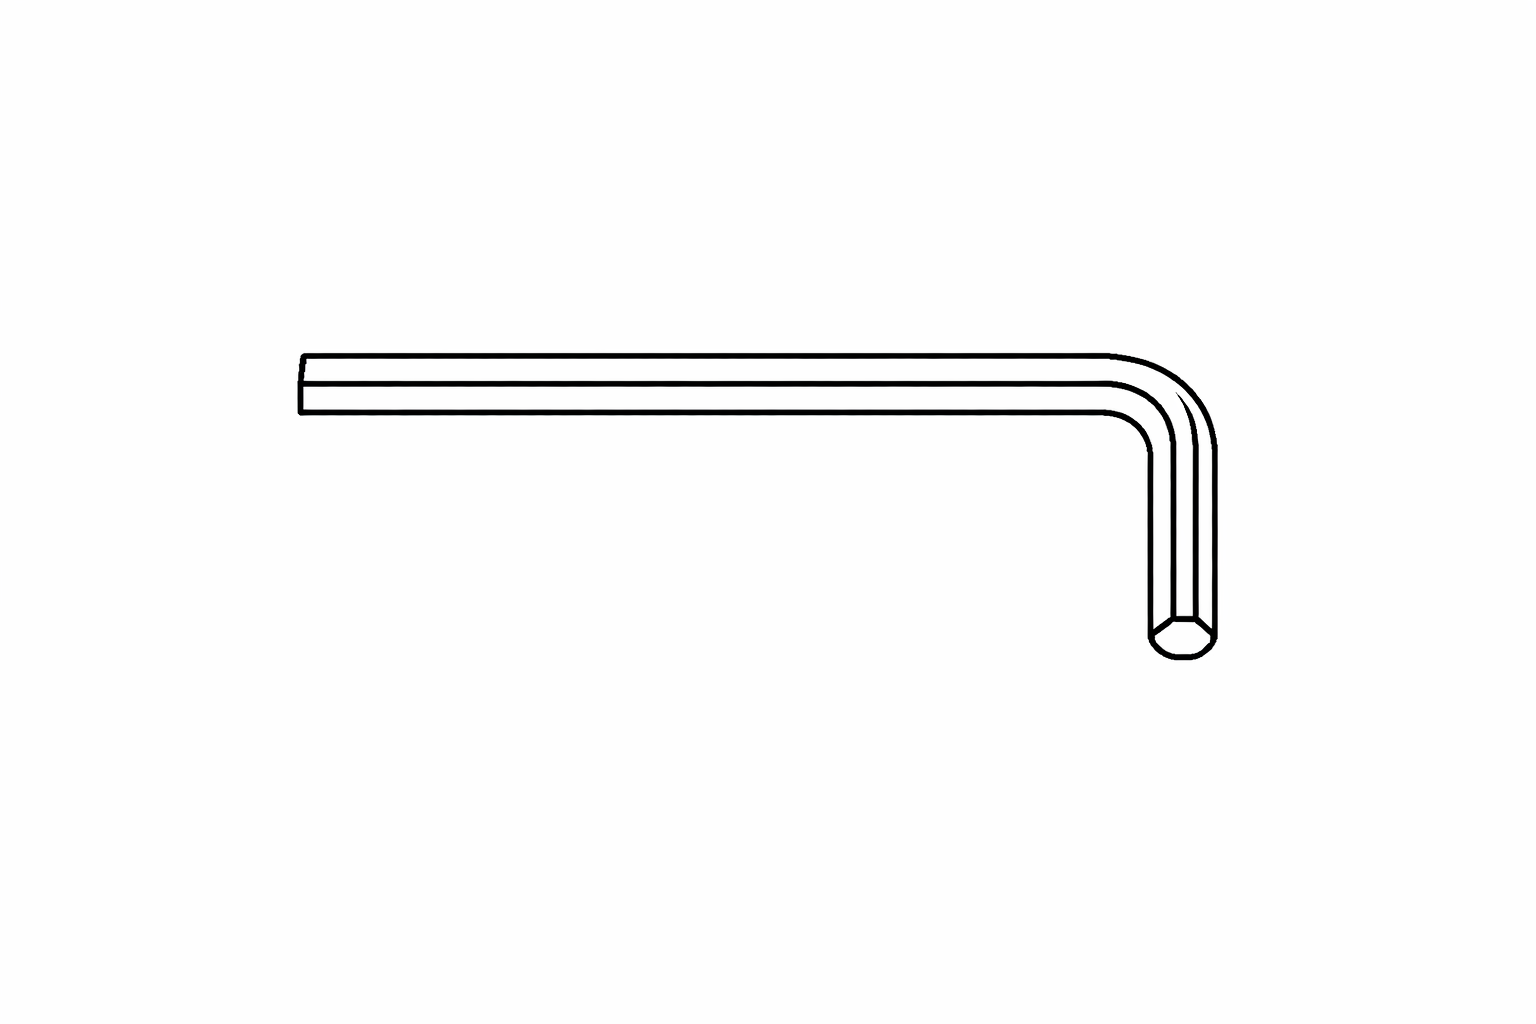
Part Z - Allen Key
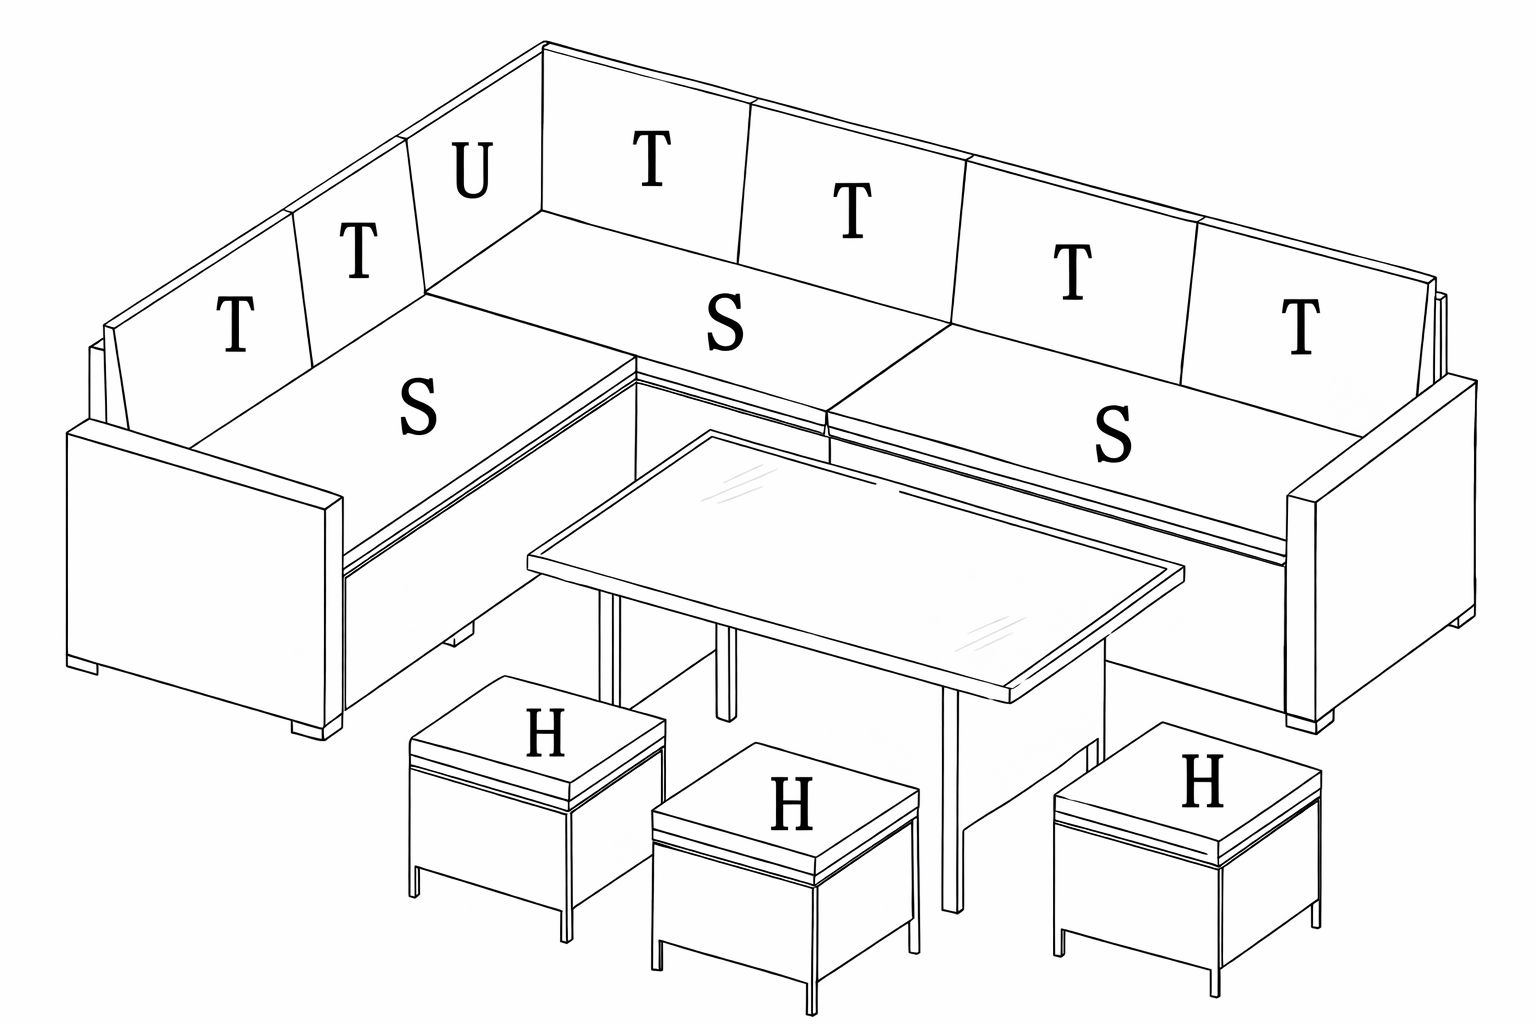
Part E - Stool Top
Part F - Stool Leg
Part G - Stool Side Panel
Part H - Stool Cushion
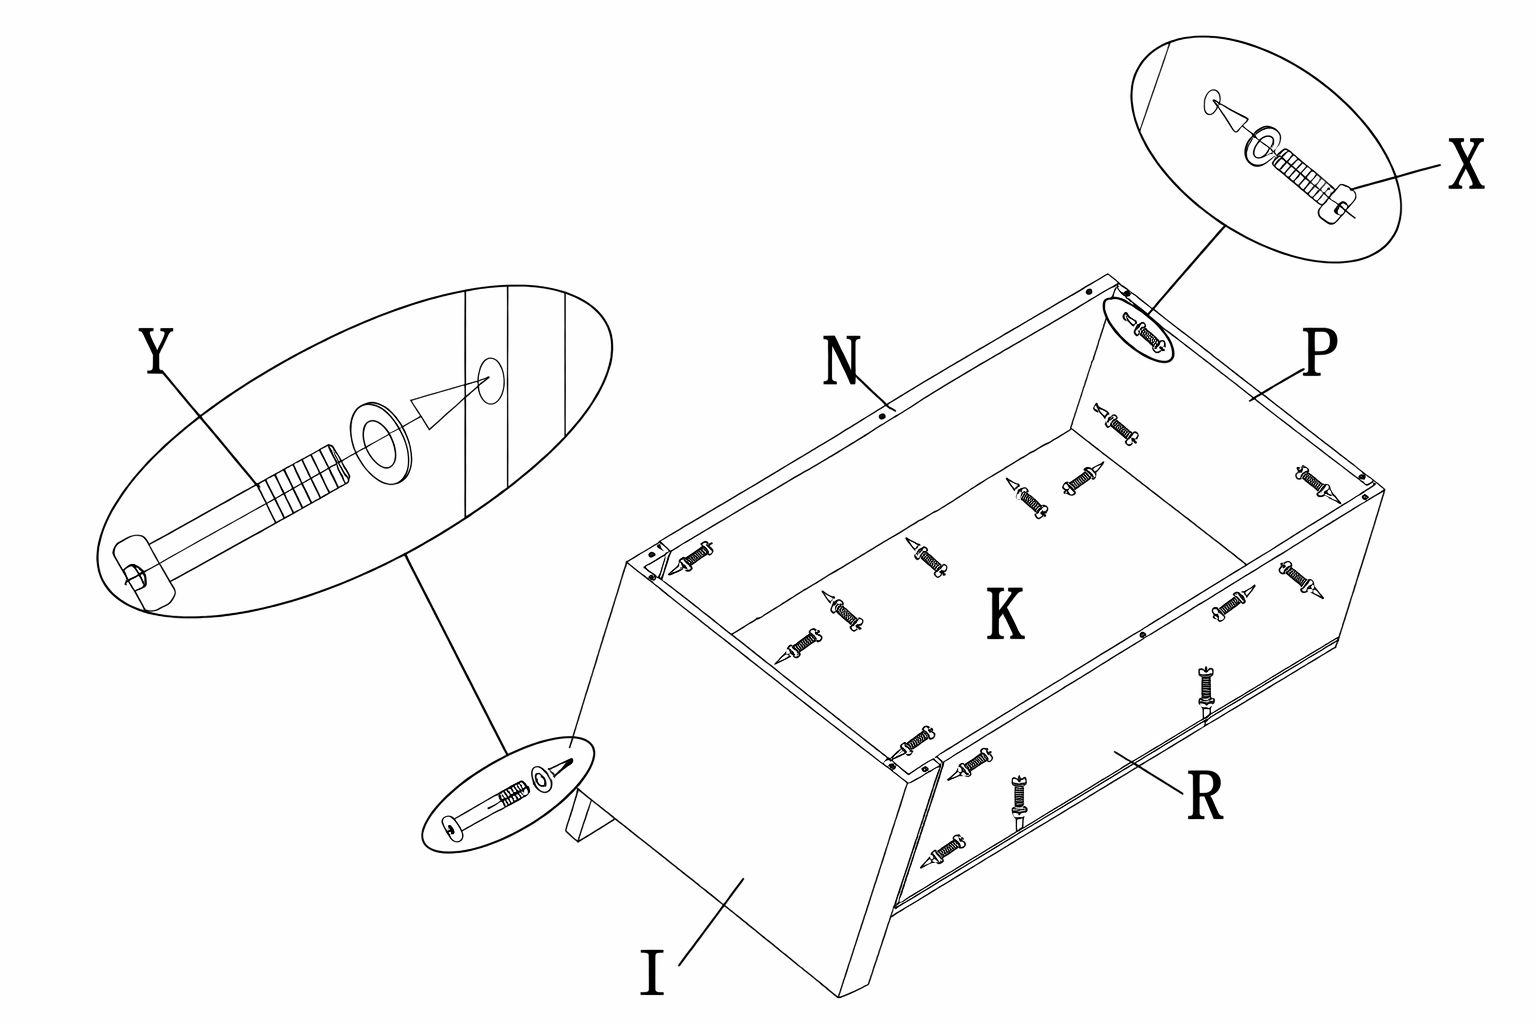
Part I - Right Side Arm Rest
Part J - Left Side Arm Rest
Part K - Left Side Base Seat
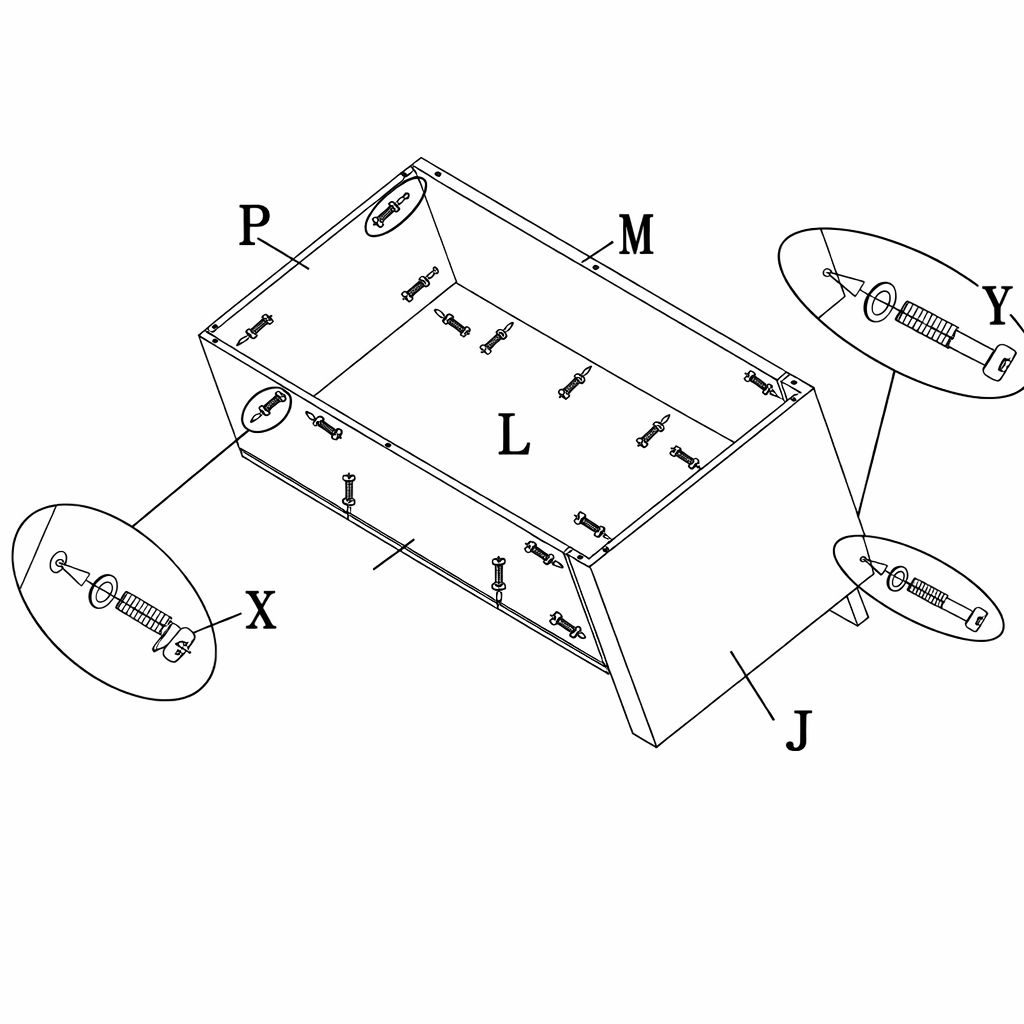
Part L - Right Side Base Seat Panel
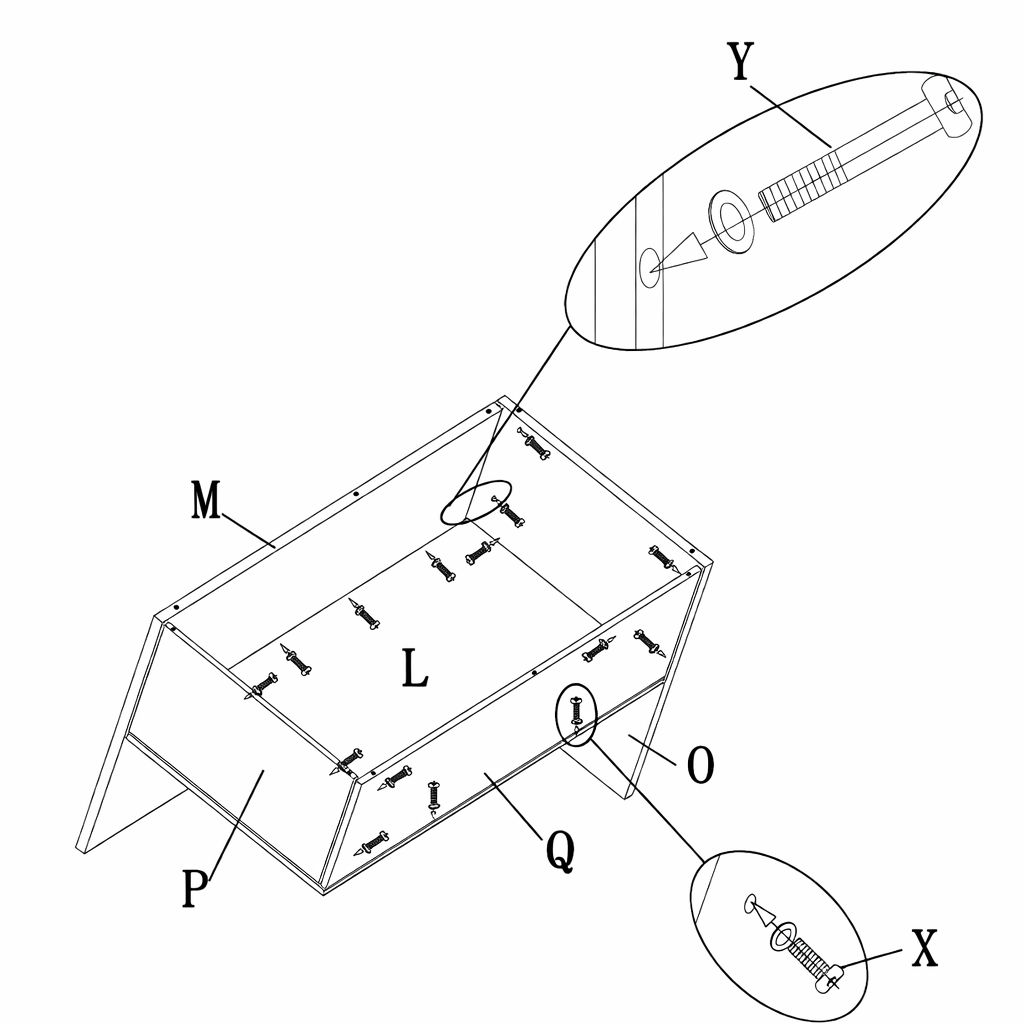
Part M1 - Long Corner Back Seat Panel
Part M2 - Right Side Back Seat Panel
Part N - Left Side Back Seat Panel
Part O - Short Corner Back Seat Panel
Part P - Base Seat Side Panels
Part Q - Right Side Front Panel
Part R - Left Side Front Panel
Part S - Base Seat Cushion
Part T - Back Seat Cushion
Part U - Back Corner Cushion
Part V - Feet
Part W - M6 x 15mm Screws and Washers
Part X - M6 x 33mm Screws and Washers
Part Y - M6 x 115mm Screws and Washers
Part Z - Allen Key
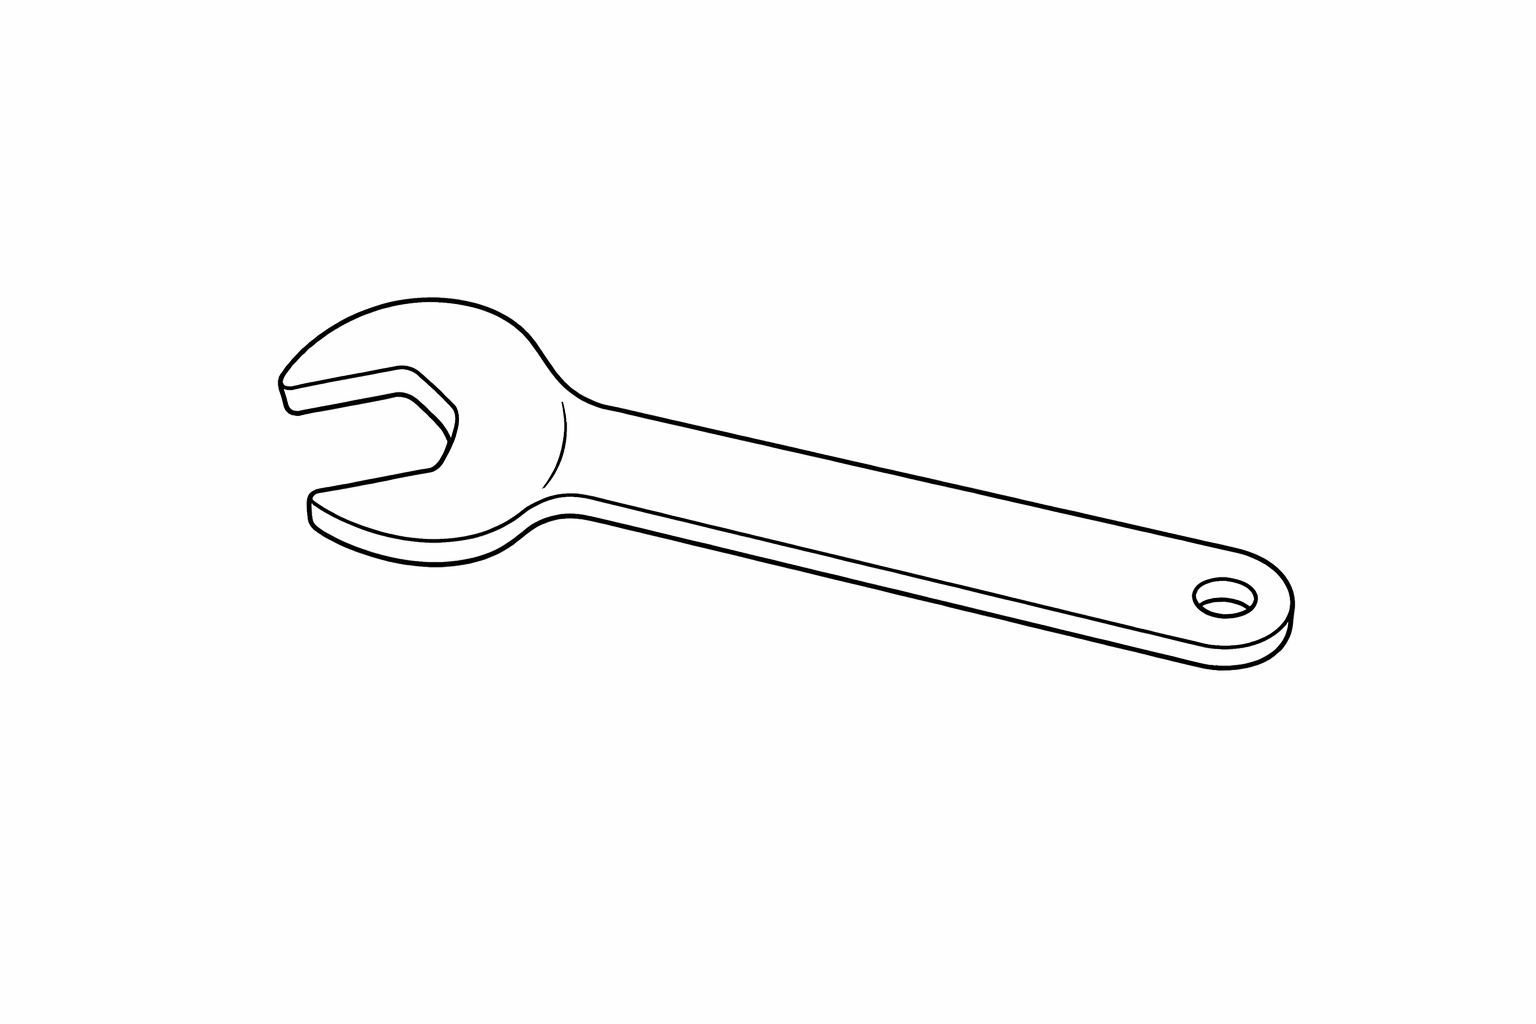
Part Z1 - Spanner
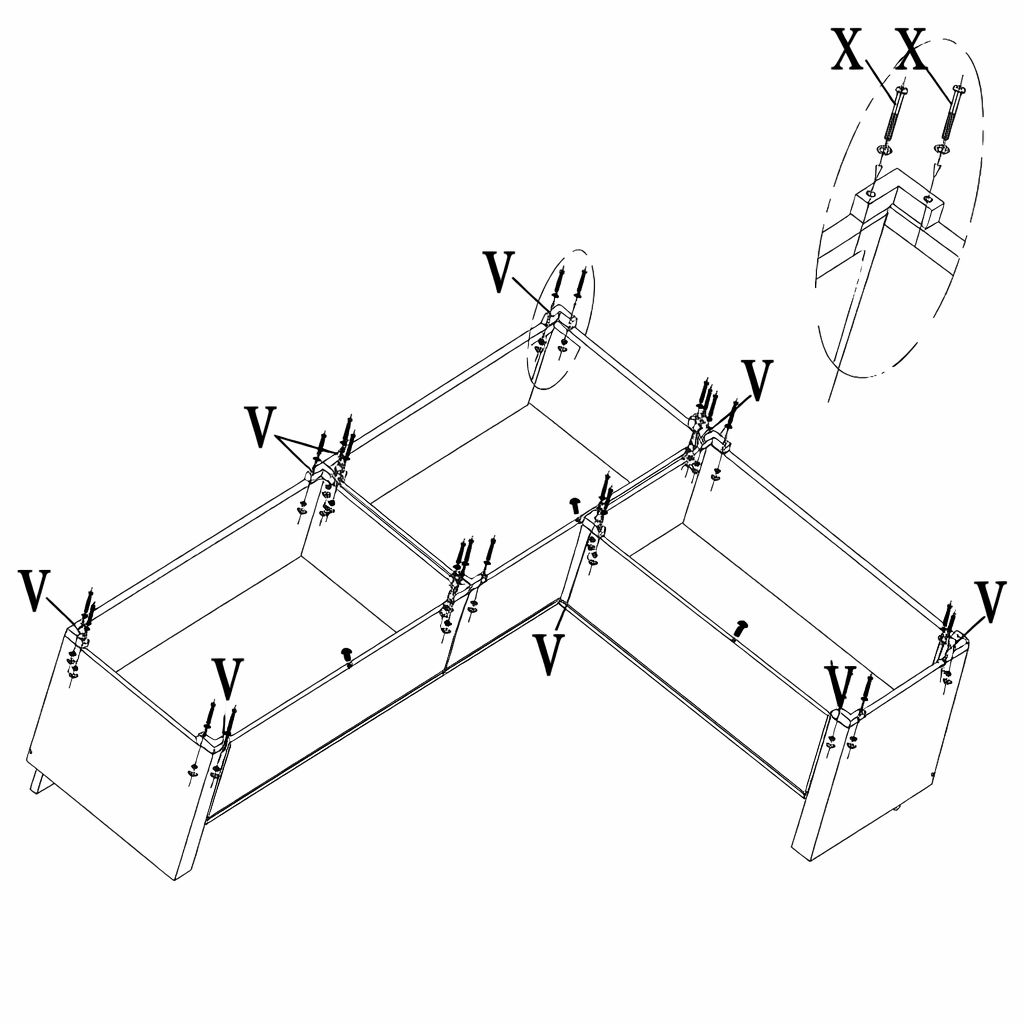
1. Step 1 - Sofa Assembly
Using the screws and washers (Part X), attach the left side back seat panel (Part N), the left side front panel (Part R), the base seat side panel (Part P) and the right side arm rest (Part I) together.
Note: Make sure the holes are lined up evenly before tightening the screws.
2. Step 2 - Sofa Assembly
Using the screws and washers (Parts X and Y), assemble together the base seat side panel (Part P), the right side back seat panel (Part M), the right side front panel (Part Q), the left side arm rest (Part J), and the right side base seat panel (Part L).
Notice: Make the holes are lined up correctly before tightening the screws.
3. Step 3 - Sofa Assembly
Using the screws and washers (Parts X and Y) assemble together the base seat side panel (Part P), the short corner back seat panel (Part O), the long corner back seat panel (Part M1), the right side front panel (Part Q) and the right side base seat panel (Part L).
Note: Make sure the holes are lined up correctly before tightening the screws.
4. Step 4 - Sofa Assembly
Using the screws and washers (Part X), install all of feet (Part V) to the bottom of the sofa frame.
Note: Make sure everything is lined up correctly before tightening the screws.
5. Step 6 - Sofa Assembly
Install the back seat cushions (Part T), the back corner cushion (Part U), the base seat cushions (Part S) and the stool cushions (Part H).
Note: Make sure the sofa and stool is secure before placing the cushions.
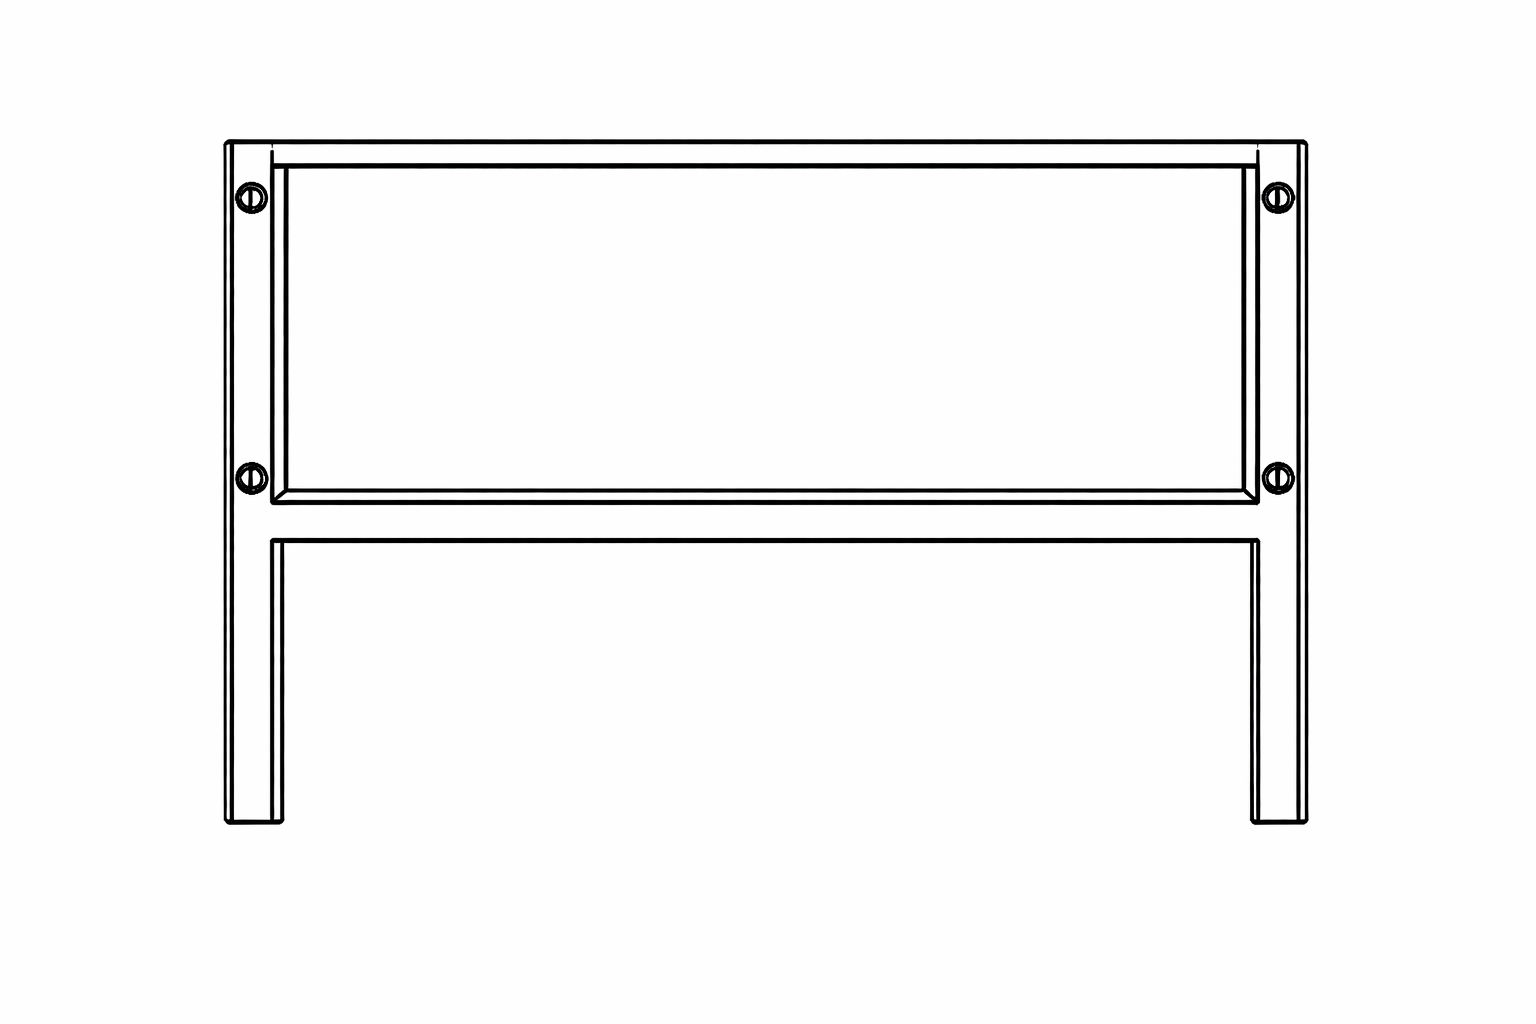
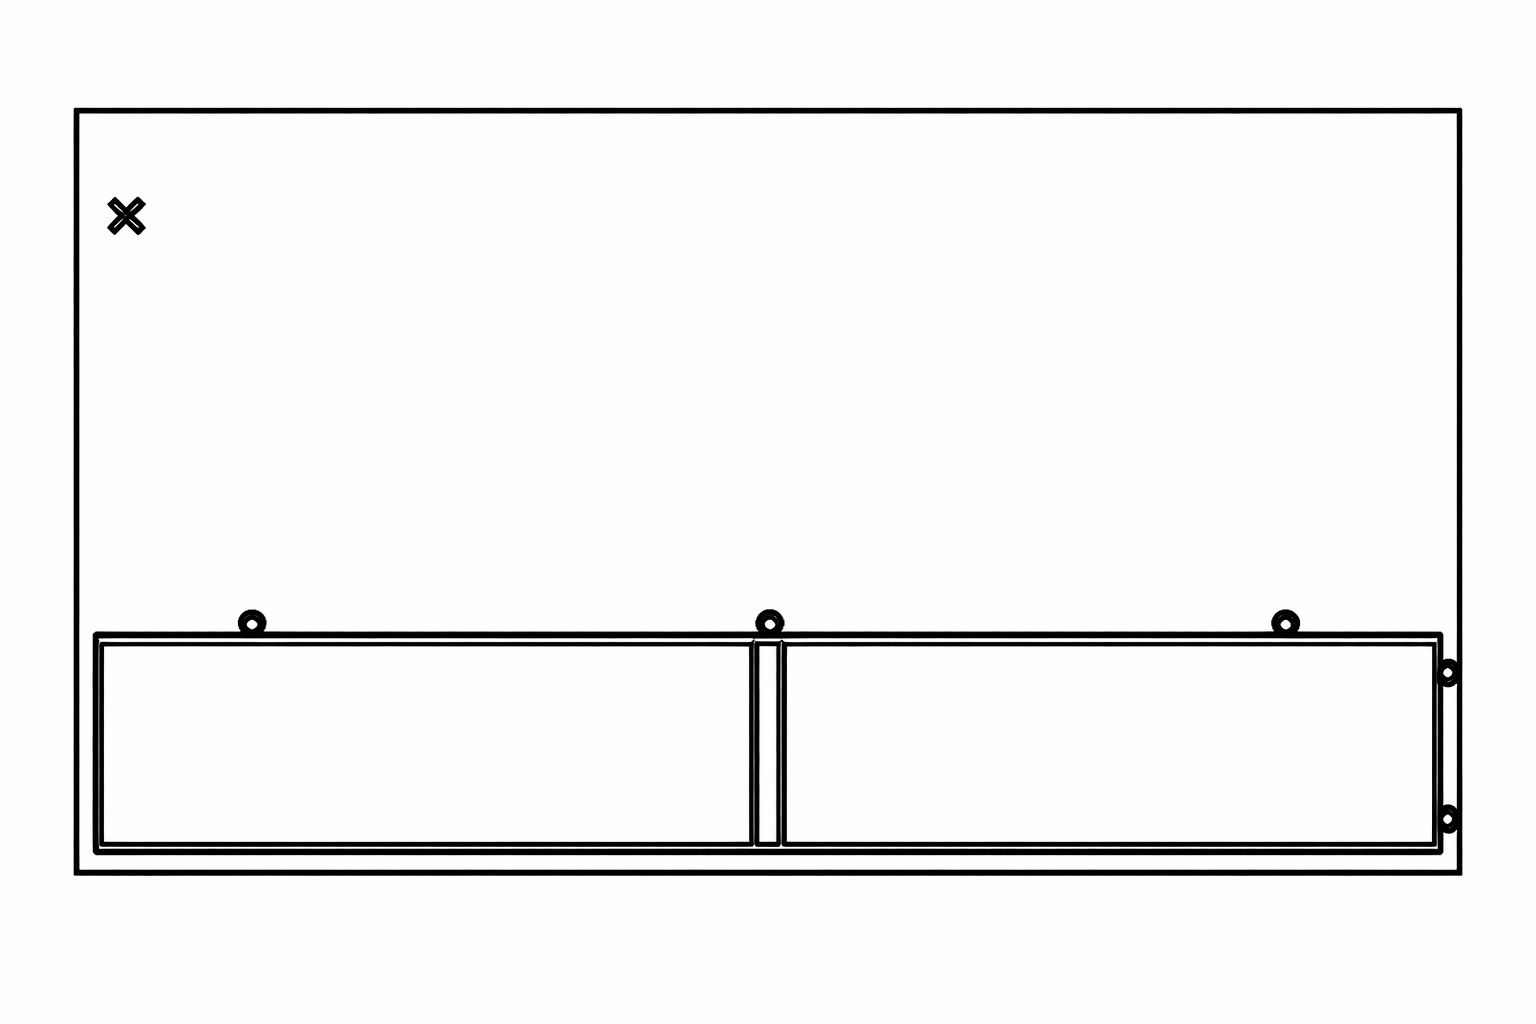
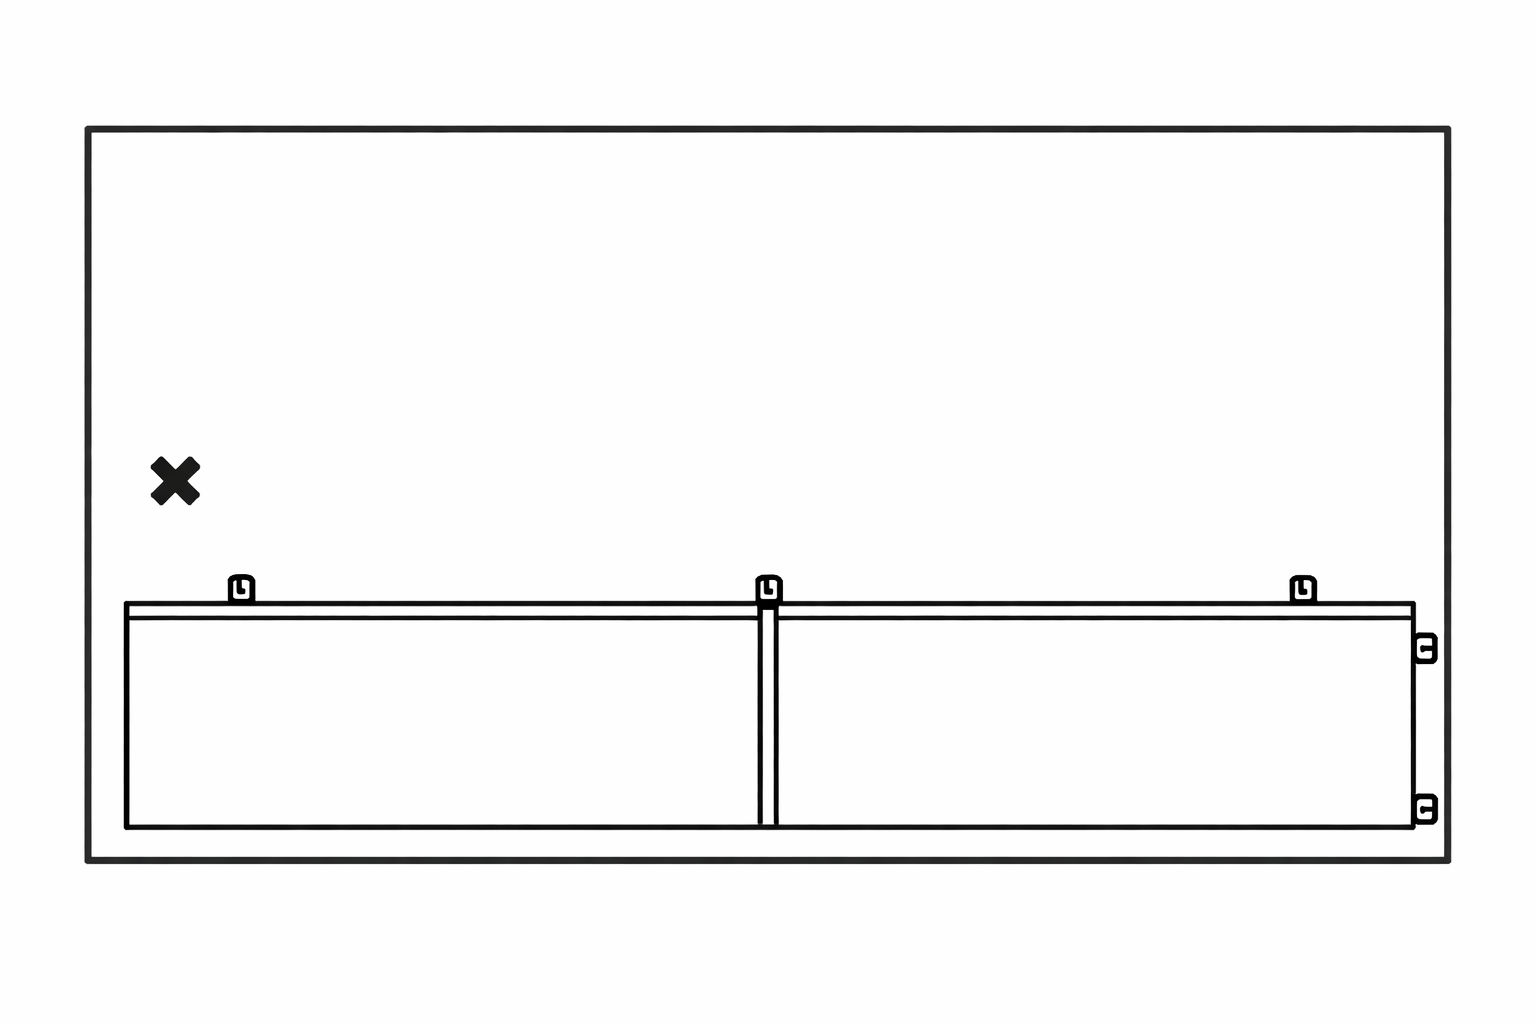
6. Step 1 - Attach the Table Legs to the Connector
1. Place the two table legs (Part B) upright and facing each other. 2. Position the table leg connector (Part C) between the frames, aligning the holes. 3. Insert a bolt (Part W) with a washer (Part Y) through each hole. 4. Tighten the bolts using the allen key (Part Z). 5. Do not fully tighten until all bolts are in place.
Note: Make sure the support bar is level before moving to the next step.
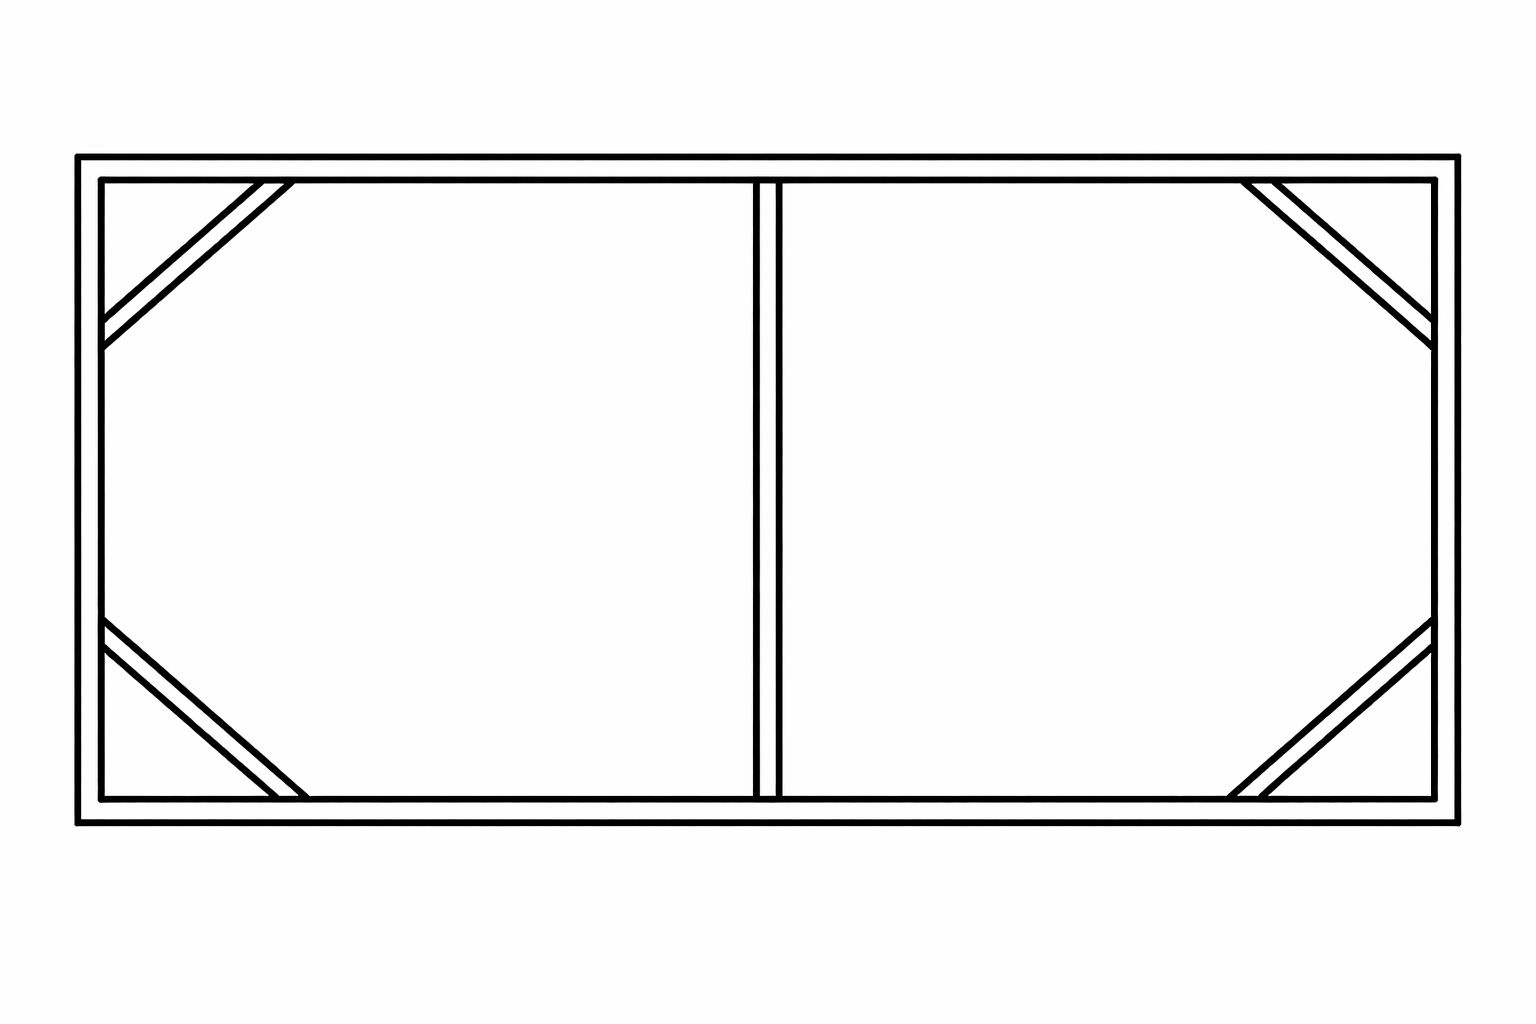
7. Step 2 - Attach Tabletop to the Legs
1. Place the tabletop (Part A) upside down on a soft, flat surface. 2. Position the assembled legs and connector on top of the tabletop. Align all holes. 3. Place a washer (Part Y) onto each bolt (Part X). 4. Insert bolts through the frame brackets into the tabletop holes. 5. Tighten using the allen key (Part Z). 6. Tighten all bolts securely once they are all inserted.
Note: Make sure the frame is centred and straight before fully tightening.
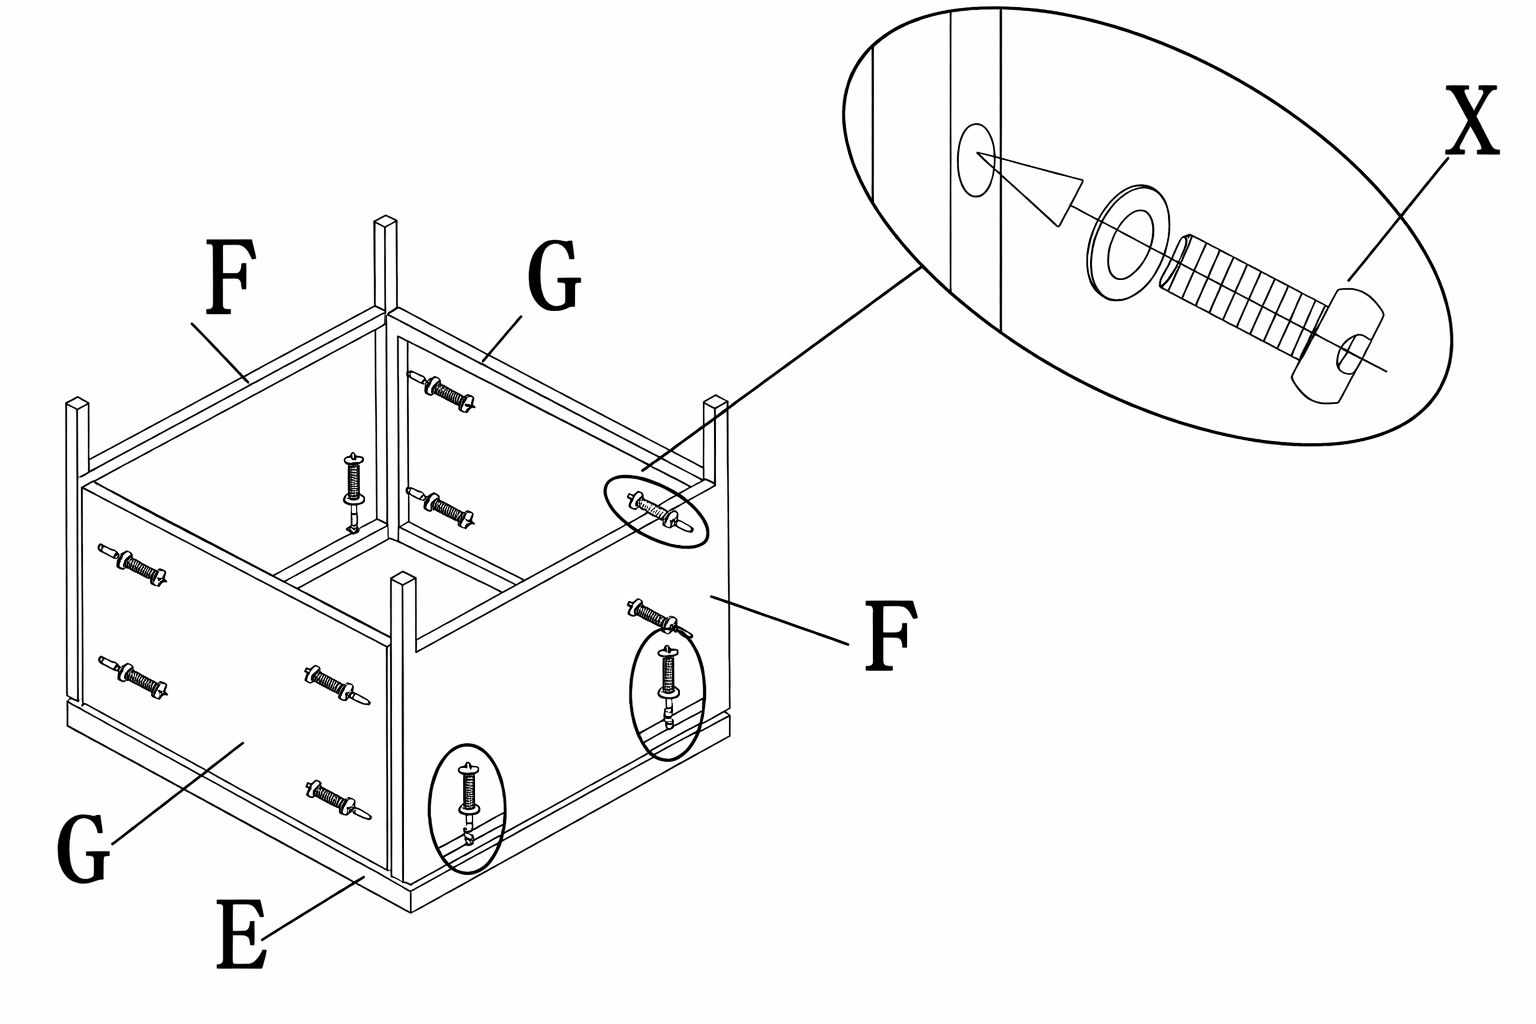
8. Part 1 - Stool Assembly
Using the screws and washes (Part X), assemble the stool together by lining up the legs (Part F) and the side panels (Part G).
Once Parts F and G are assembled, use Part X to install the stool top (Part E).
9. Maintenance
This maintenance guidance supports safe, long-term use of your rattan corner sofa set and helps ensure continued compliance with safety expectations under the General Product Safety Regulation (GPSR).
Routine Cleaning
Clean the synthetic rattan frame regularly using a soft brush or cloth and warm water with mild detergent.
Do not use abrasive cleaners, scouring pads, solvent-based products, bleach, or pressure washers, as these may weaken the rattan weave and protective coatings.
Wipe the composite table top with a damp cloth after use and dry thoroughly to prevent surface marks or moisture retention.
Avoid dragging sharp or heavy objects across the table surface to reduce risk of scratching or structural weakening, in line with identified impact risks .
Cushion Care
Remove and shake out cushions regularly to prevent dust build-up.
Clean cushion covers in accordance with their care label instructions. Do not exceed recommended washing temperatures.
Ensure cushions are completely dry before placing back on the furniture to prevent mould growth and material degradation.
Inspect cushions for wear, thinning fabric, or loose stitching, and replace if deterioration is identified to reduce slipping or instability risks .
Store cushions indoors in a dry, ventilated space when not in use or during prolonged wet weather.
Structural Inspection
Periodically inspect the rattan weave for fraying, cracking, or separation, particularly at corners and load-bearing points.
Check all joints between modular sections to ensure connectors remain secure and aligned to minimise pinch point risks .
Inspect the table top for chips, cracks, rough edges, or splintering before use. If damage is identified, discontinue use until repaired or replaced .
Ensure all feet remain stable and level; adjust positioning if movement or wobbling occurs to prevent tipping or tripping hazards .
Environmental Protection
Although designed for outdoor use, prolonged exposure to extreme weather (heavy rain, frost, intense UV, or snow) may reduce product lifespan. Use a breathable, correctly fitted furniture cover when not in use.
Do not cover furniture while damp; allow it to dry fully before fitting protective covers.
In winter months or severe weather conditions, store the set in a sheltered, dry location where possible.
Safe Handling During Maintenance
When moving modular sections for cleaning, lift rather than drag to prevent frame stress and reduce risk of joint separation .
Take care to avoid placing fingers between sections while repositioning to prevent pinch injuries .
Ensure stools are returned neatly under the table after cleaning to minimise trip hazards .
Long-Term Care
Avoid standing or placing excessive point loads on the table surface.
Rotate seating positions periodically to ensure even wear distribution.
Replace any damaged components only with manufacturer-approved parts to maintain structural integrity and safety compliance.
If significant structural damage, instability, or material degradation is observed, discontinue use immediately and contact the manufacturer or authorised supplier for guidance.
10.
Please read through the guide below if you have any issues or faults with your device. The information covers and resolves the majority of frequently asked questions.
Q: There are parts missing from my order. A: If there appears to be any part missing from your package contact our Customer Support team via the details on the Contact Us page within 7 days of receipt.
For all other issues please contact our Customer Support department via the details on the Contact page.