This guide provides step-by-step instructions for assembling components and using the Swing Hammock Bed.
Product Information
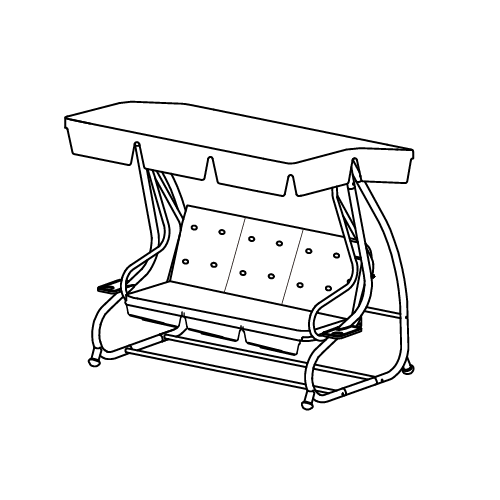
Swing Hammock Bed
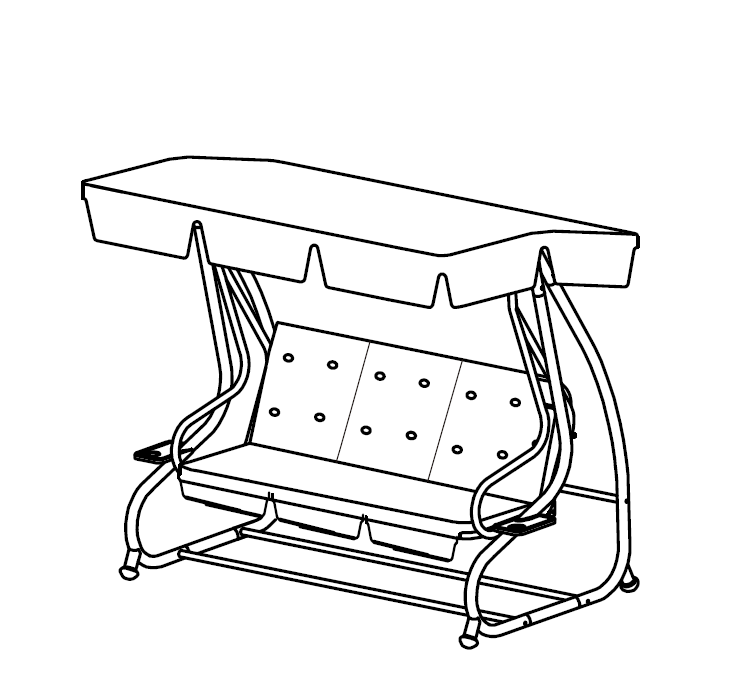
Introducing the Swing Hammock Bed. This stylish and comfortable outdoor lounger features a strong powder-coated steel frame, a fixed overhead canopy, and durable weather-resistant fabric—perfect for relaxing in either seated or fully reclined bed mode. With a smooth swinging motion, generously cushioned support, and built-in shade, the Swing Hammock Bed brings both elegance and ease to your garden retreat.
SKU
216635
Weight
Net Weight 35kg / Gross Weight 40kg
Dimensions
200 (W) x 125 (D) x 170 (H) cm
Materials
Rain Cover
600D Oxford
Frame
Steel
Cup Holder
Polypropylene
Canopy
180g Polyester
Cushion Fabric
220g Polyester
Underlying Cushion Fabric
Polyethylene coated 600D Oxford fabric
Parts
1Leg (Part A)
2Leg (Part B)
3Top Bar Left(Part C)
4Top Bar Right (Part D)
5Leg Connector (Part E)
6Back Bar (Part F)
7Bottom Bar (Part G)
8Hanging Hook (Part H)
9Armrest Left (Part I)
10Armrest Right (Part I1)
11Hammock Bed (Part J)
12Canopy Curved Bar (Part K)
13Canopy Straight Bar (Part L)
14Canopy Fabric (Part M)
15Seat Cushion (Part N)
16Cup Holder Left (Part O)
17Cup Holder Right (Part P)
18Bolt - Short (Part Q)
19Bolt - Medium (Part S)
20Bolt - Long (Part T)
21Nut (Part-U)
22Cap Nut (Part V)
23Washer - large (Part W)
24Washer - Small (Part X)
25Screw (Part Y)
26Bolt Cover (Part Z)
27Allen Key (Part AA)
28Spanner (Part BB)
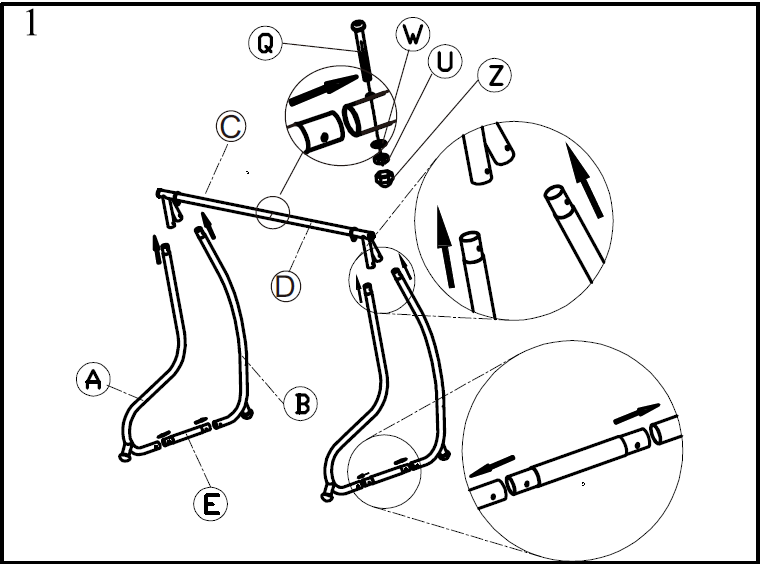
1. Assemble Side Frames
Connect Leg A and Leg B using Leg Connector (E)
Insert the connector tube into both legs
Secure using:
* Bolts (Q)
* Washers (W)
* Nuts (U)
Tighten using the provided tools
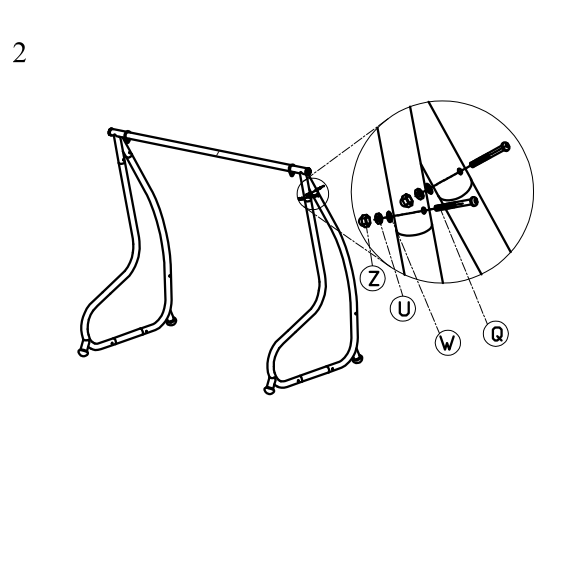
2. Attach Upper Frame Bars
Attach Top Bar Left (C) and Top Bar Right (D) to the side frames
Align the holes at the top of each leg
Insert bolts with washers and nuts
Tighten all connections securely
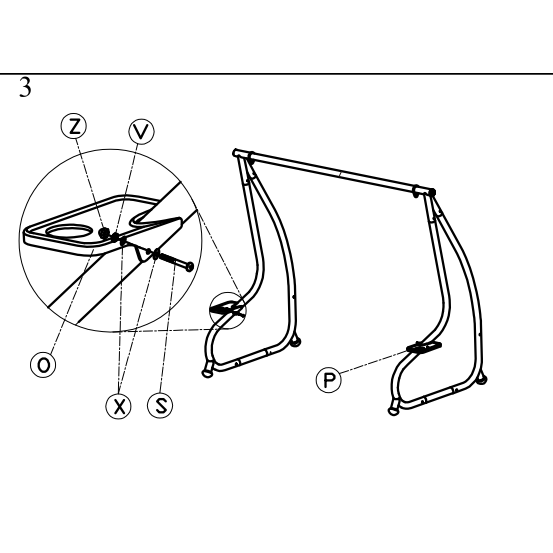
3. Attach the Cup Holder Tray (O)
Position the cup holder tray (O) at the mounting point (P) on the side of the frame.
Align the holes on the tray with the holes on the frame.
Insert the bolt (S) through the aligned holes.
Place the washer (X) (and spacer (Z), if included) onto the bolt.
Secure with the nut (V) and tighten.
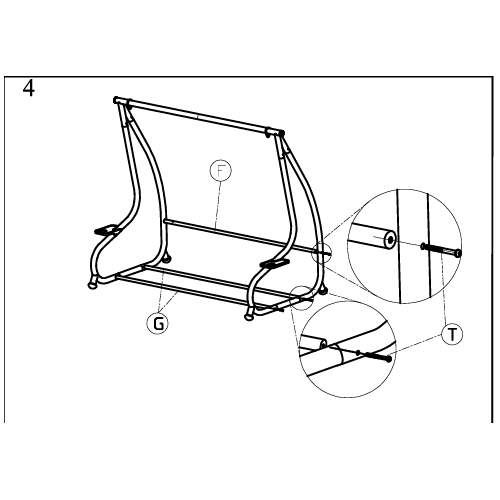
4. Connect Frame with Cross Bars
Position the two side frames upright and parallel to each other.
Attach the Back Bar (F) between the upper rear ends of the side frames.
* Align the holes on the back bar with the holes on each side frame.
Attach the Bottom Bar (G) between the lower ends of the side frames.
* Align the holes on the bottom bar with the corresponding holes on each side frame.
Insert bolts (S) through each set of aligned holes.
Place washers (X) onto the bolts where required.
Secure with nuts (V) and hand-tighten.
Once all parts are aligned evenly, fully tighten all bolts securely.
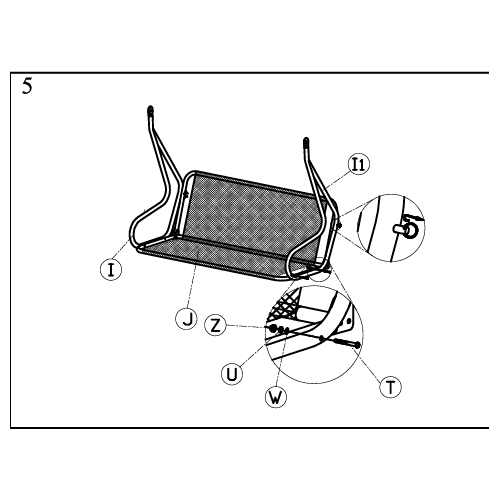
5. Attach Armrests & Seat Frame
Install Armrest Left (I)
Install Armrest Right (I1)
Attach them to the frame sides
Secure using:
* Bolts (T)
* Washers (W/X)
* Nuts (U/Z caps if needed)
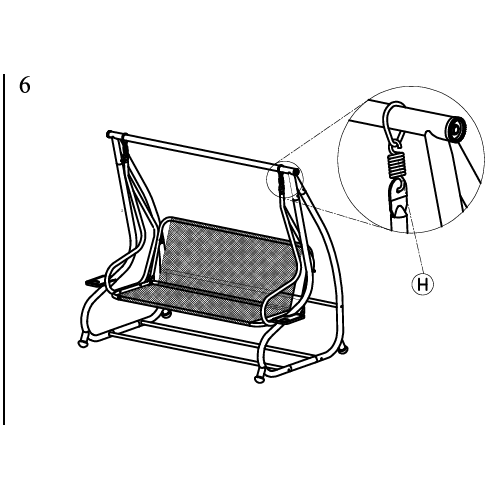
6. Install Hanging Hooks
Attach Hanging Hooks (H) to the top bar ends
Ensure springs/hooks are secure
These will support the hammock seat
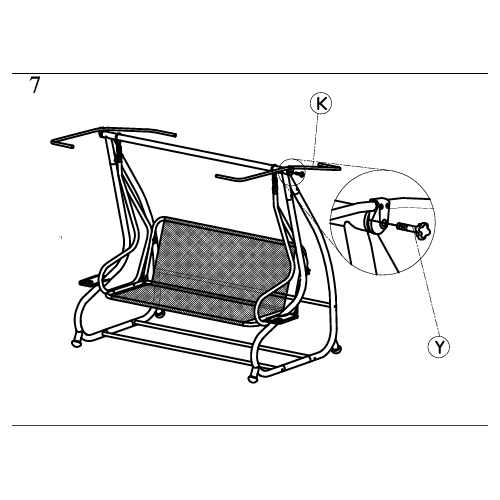
7. Install Canopy Frame
Attach Canopy Curved Bars (K) to the frame
Secure using bolts (Y)
Ensure both sides are aligned and symmetrical
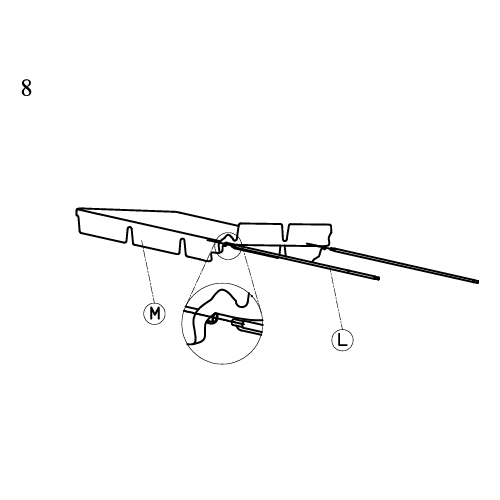
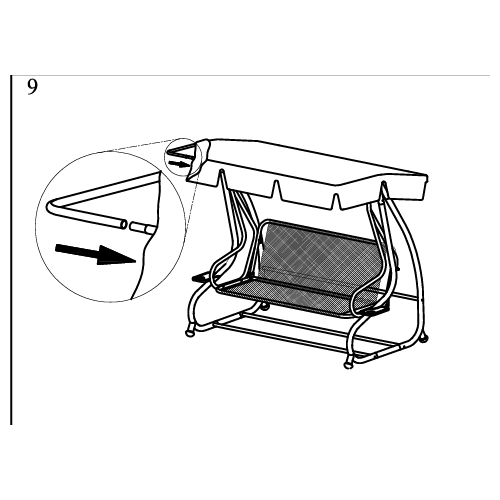
8. Attach Canopy Support & Fabric
Insert Canopy Straight Bars (L) into the canopy fabric (M)
Attach the canopy assembly onto the curved bars
Ensure the fabric is evenly stretched and properly aligned
9. Install Hammock Bed (Seat)
Hang Hammock Bed (J) onto the hooks
Ensure both sides are evenly attached
Check that the seat swings freely
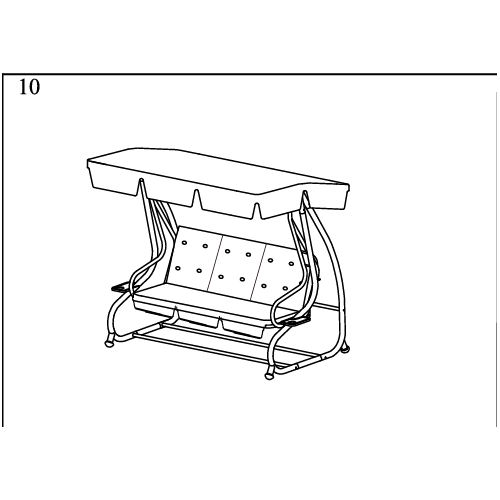
10. Install Seat Cushion
Place Seat Cushion (N) onto the hammock bed
Ensure the the seat cushion is central and secure
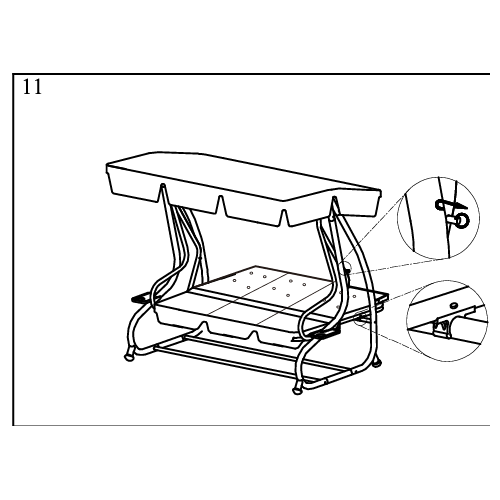
11. Secure Side Connections and Tray
Ensure all bolts are securely tightened
Check that all components are properly assembled and secure
12. Maintenance
Regularly inspect the frame, chains, swing arms, and hammock fabric for any signs of damage, rust, fraying, or wear, and cease use immediately if any issues are found.
Store cushions and any fabric accessories indoors when not in use or during prolonged periods of bad weather to preserve their condition and prevent injury from loose items.
Clean metal parts using a mild soapy solution and a soft cloth. Rinse thoroughly and dry fully to prevent rust and corrosion. Do not use abrasive cleaners or metal brushes.
Machine wash or spot-clean cushions as per the manufacturer’s instructions. Allow to dry completely before returning to outdoor use.
Do not use high-pressure washers on any part of the swing hammock bed as this may damage protective coatings or fabrics.
13.
Please read through the guide below if you have any issues or faults with your device. The information covers and resolves the majority of frequently asked questions.
Q: There are parts missing from my order. A: If there appears to be any part missing from your package contact our Customer Support team via the details on the Contact Us page within 7 days of receipt.
For all other issues please contact our Customer Support department via the details on the Contact page.
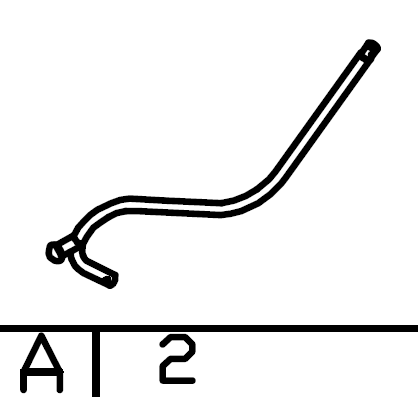 Leg (Part A)
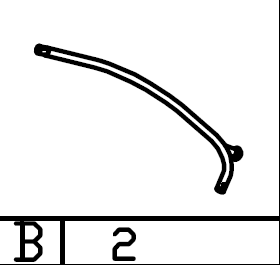 Leg (Part B)
 Top Bar Left(Part C)
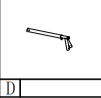 Top Bar Right (Part D)
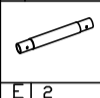 Leg Connector (Part E)
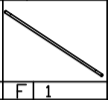 Back Bar (Part F)
 Bottom Bar (Part G)
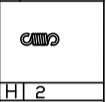 Hanging Hook (Part H)
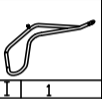 Armrest Left (Part I)
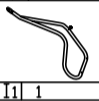 Armrest Right (Part I1)
 Hammock Bed (Part J)
 Canopy Curved Bar (Part K)
 Canopy Straight Bar (Part L)
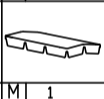 Canopy Fabric (Part M)
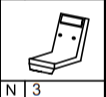 Seat Cushion (Part N)
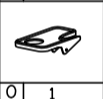 Cup Holder Left (Part O)
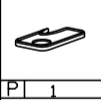 Cup Holder Right (Part P)
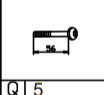 Bolt - Short (Part Q)
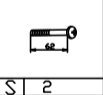 Bolt - Medium (Part S)
 Bolt - Long (Part T)
 Nut (Part-U)
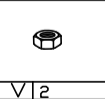 Cap Nut (Part V)
 Washer - large (Part W)
 Washer - Small (Part X)
 Screw (Part Y)
 Bolt Cover (Part Z)
 Allen Key (Part AA)
 Spanner (Part BB)