Power through heavy-duty jobs with the T-Mech 4 Wheeled Tipper Trailer with Fence Extension, a versatile workhorse designed to handle tough loads with ease.
Product Information
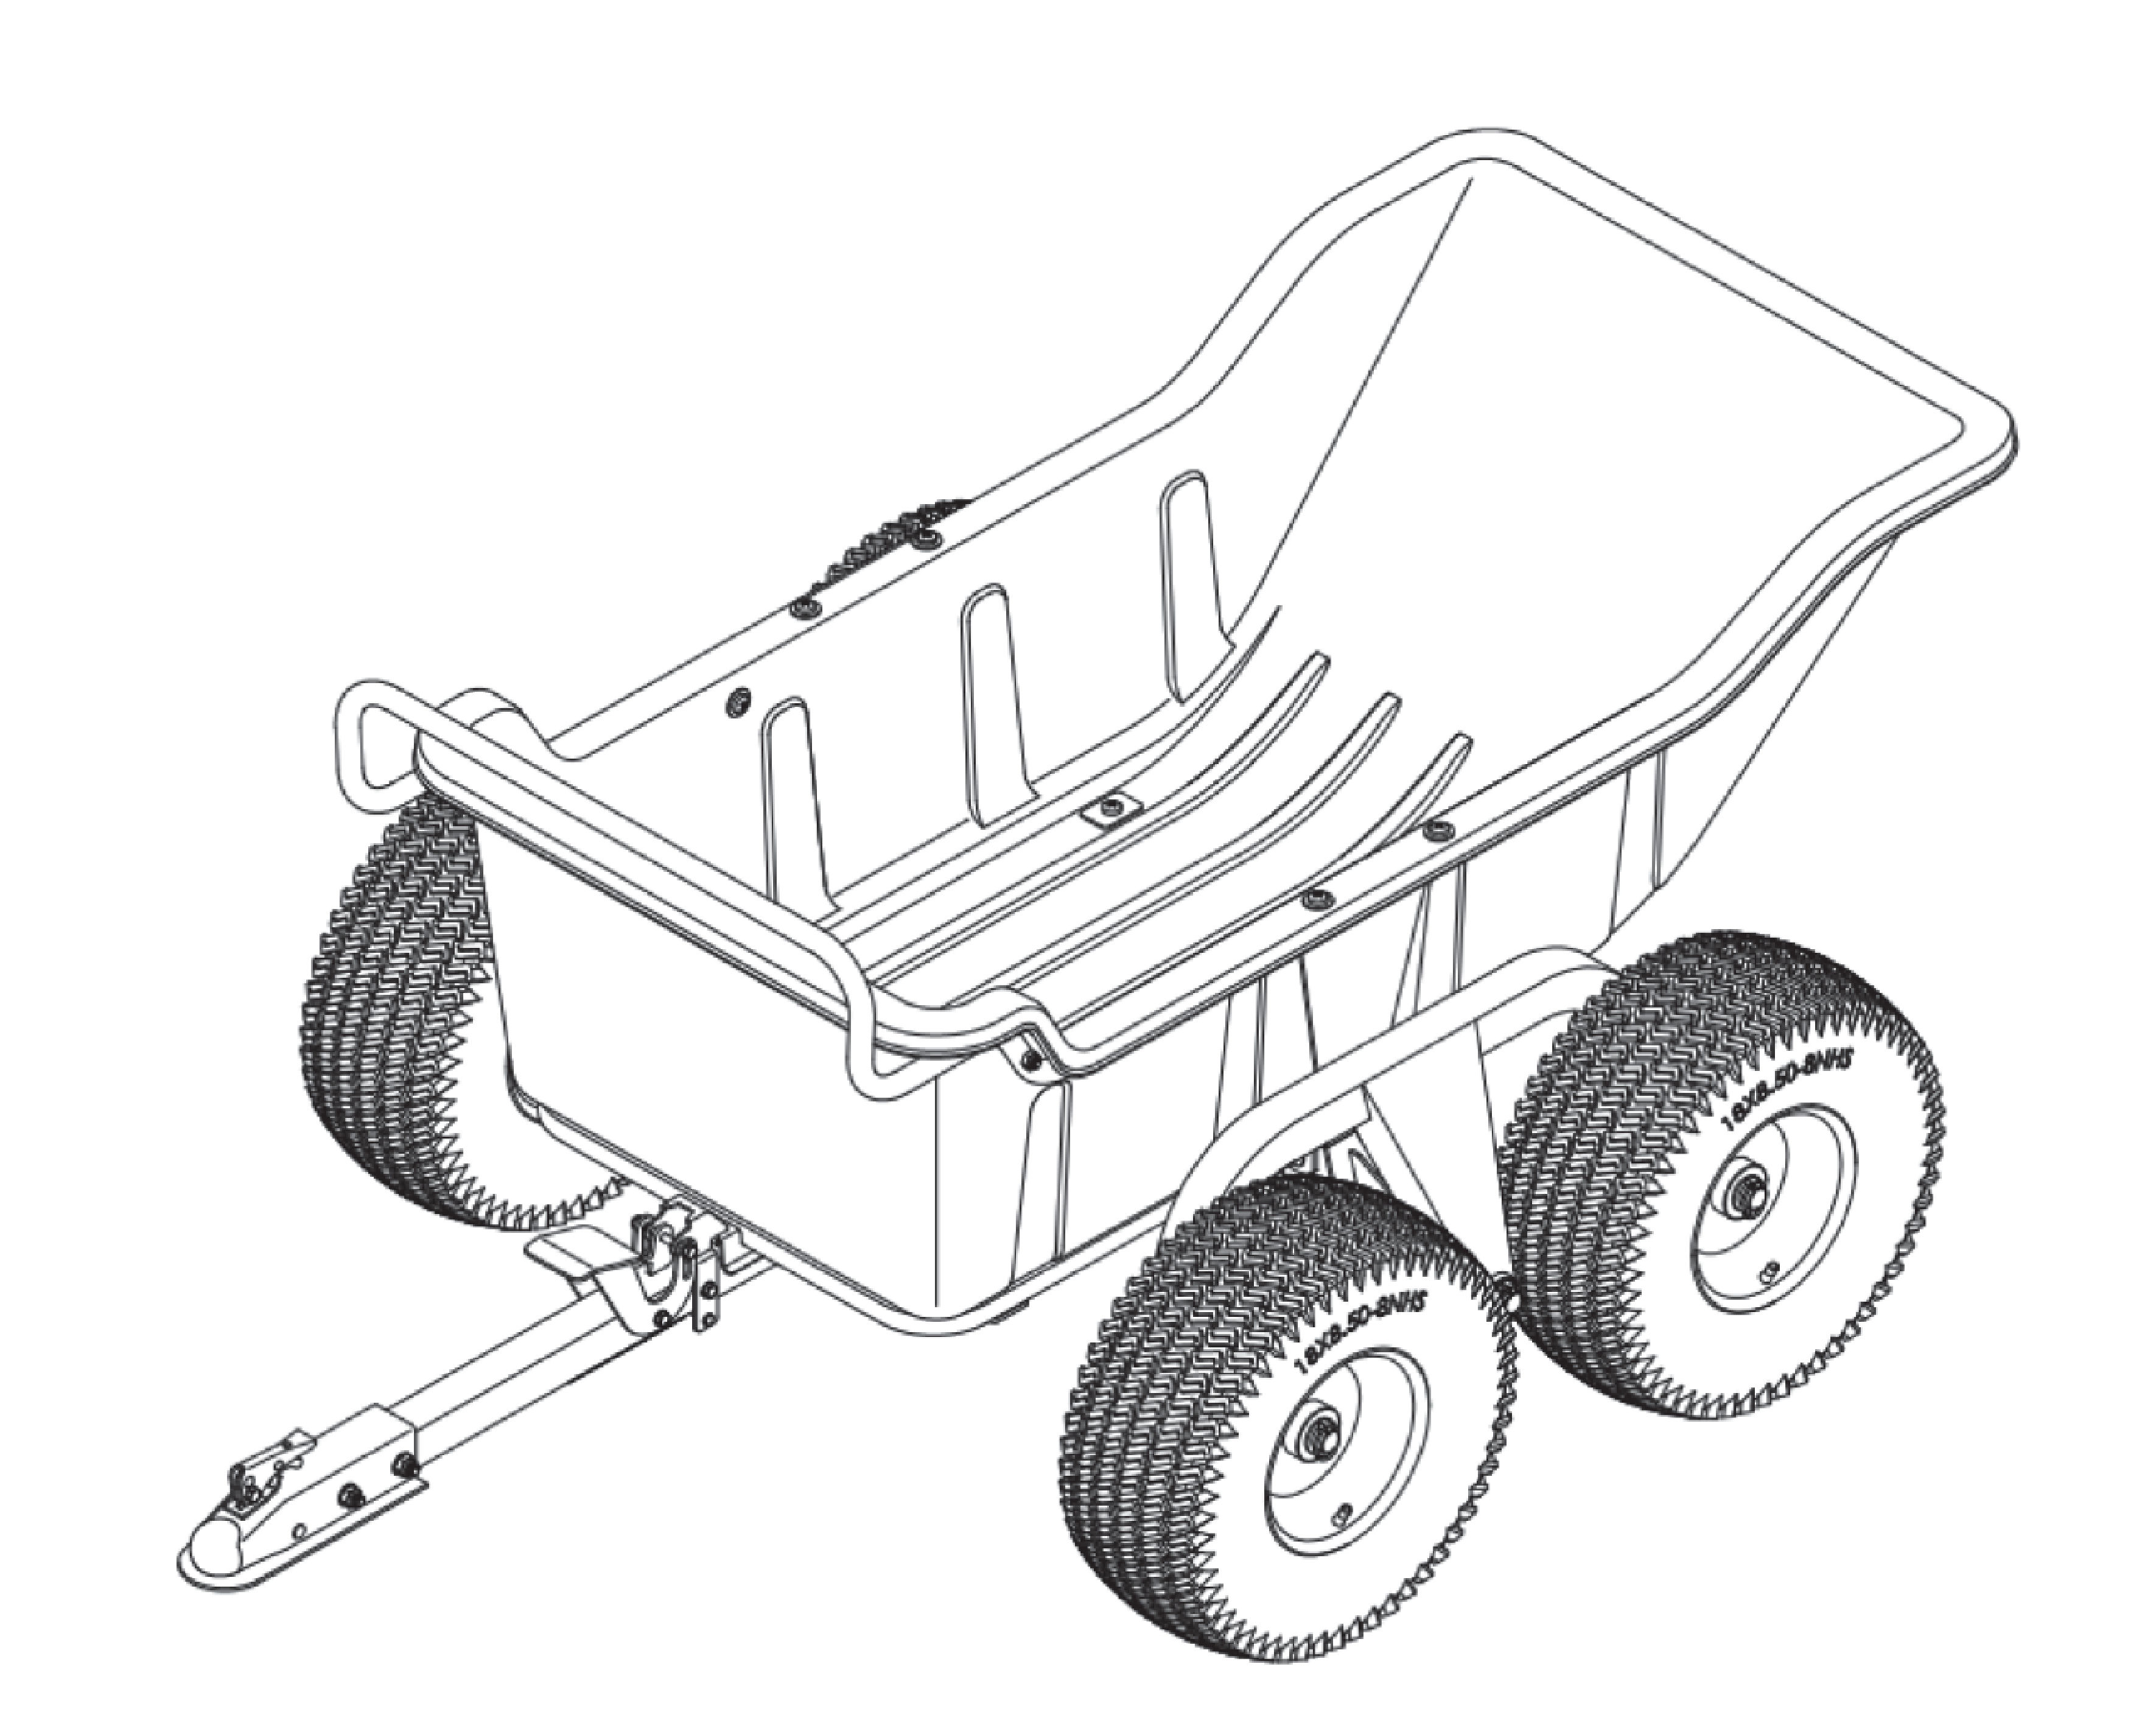
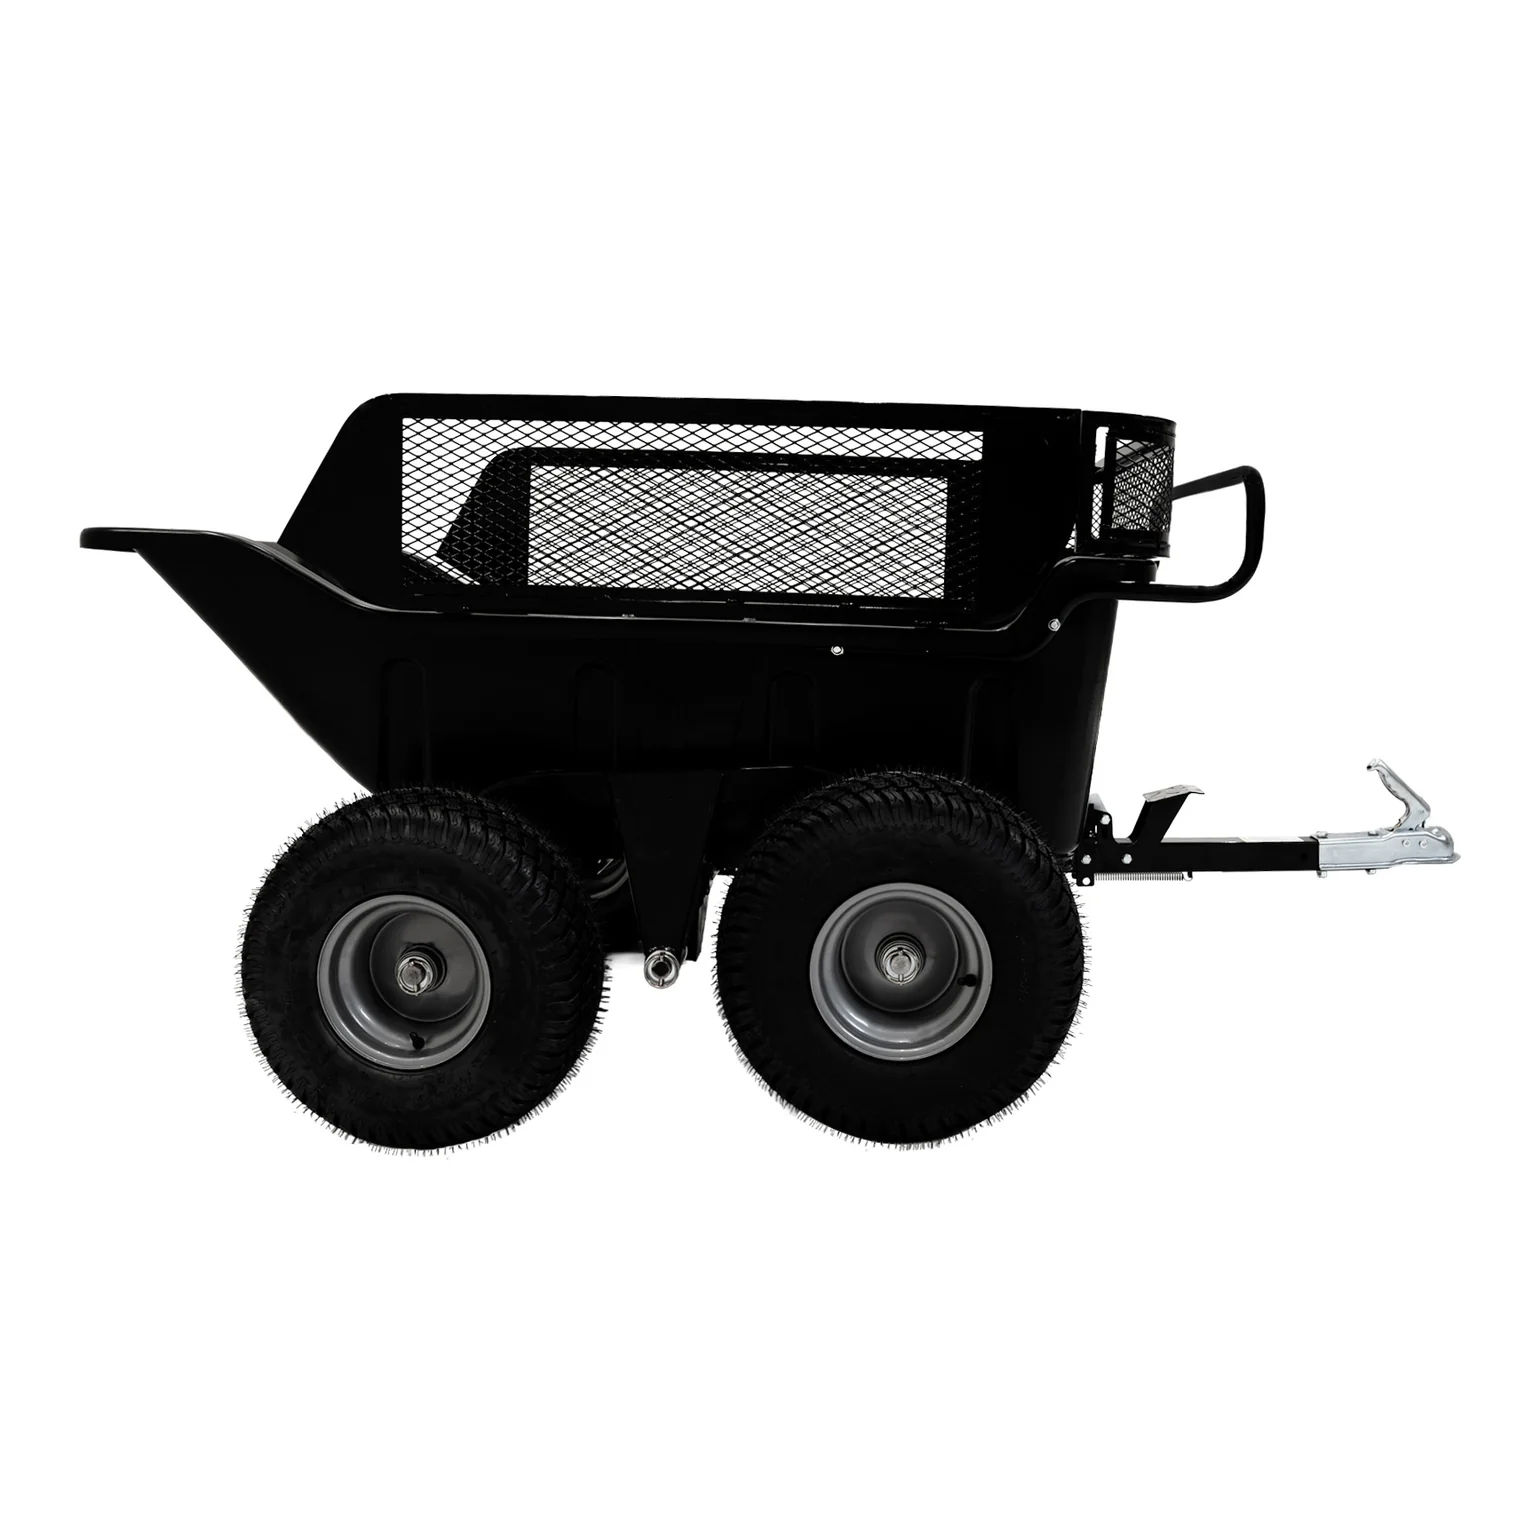
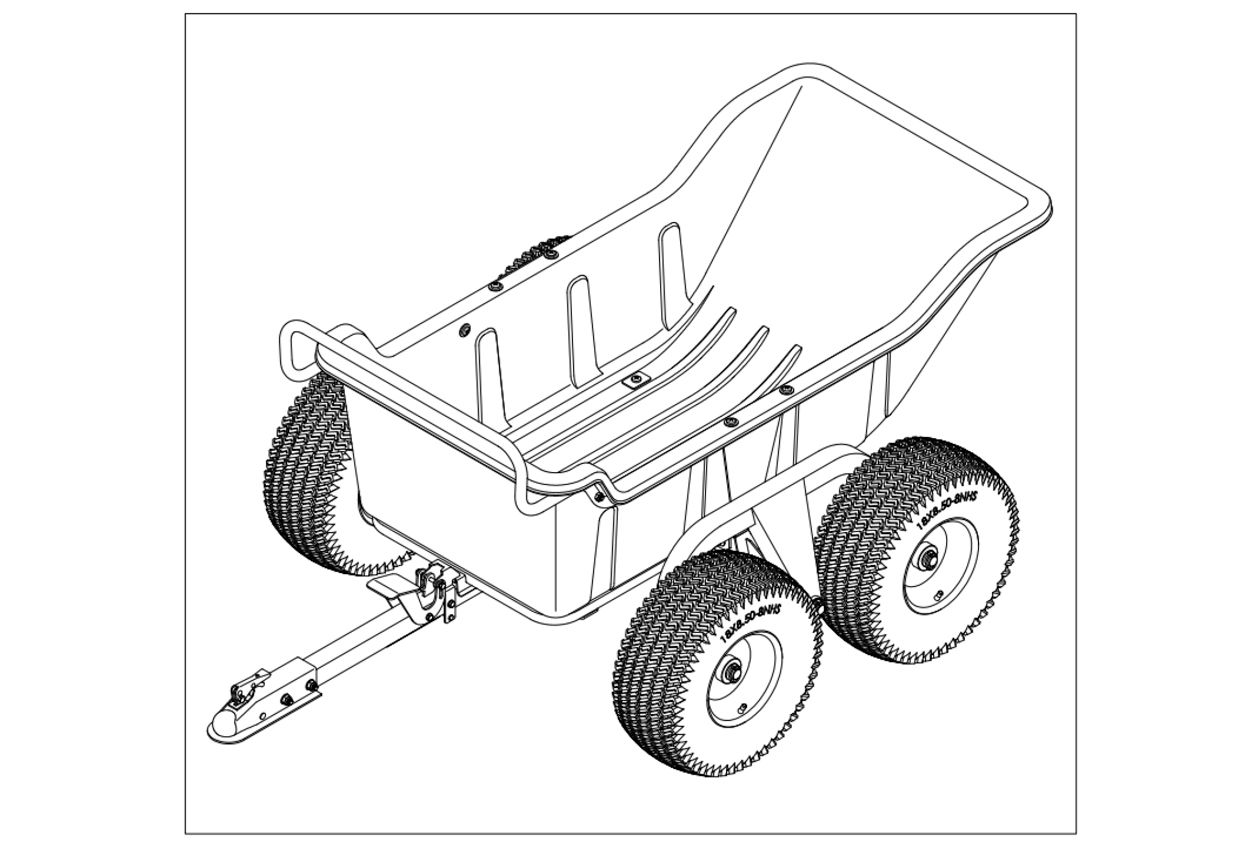
Tipping Trailer – 4 Wheel
Whether you’re transporting soil across a garden, moving feed on a farm, or shifting rubble on a construction site, this trailer delivers reliability, convenience, and strength in one practical solution. With a clever design that combines generous load capacity, effortless tipping, and a unique fence extension, it’s built to make demanding tasks far more manageable.
SKU
214875
Colour
Black
Weight
100KG
Body Material
Polyethylene
Fence Extension Material
Steel
Wheel Material
Rubber
Overall Height
95cm / 0.95m / 37.4”
Overall Width
130cm / 1.3m / 51.2”
Overall Depth
215cm / 2.15m / 84.6
Tub Dimensions
L 158 x W 76 x D 55.5
Fence Dimensions
L100 x W 80 x D25
Capacity
680kg / 1500lbs
Hitch
50mm Ball/2" tongue 3500lbs
Wheel Size
18"
GPSR Information
UK
Manufacturer:
Monster Group UK Limited, Monster House
19-23 Alan Farnaby Way,
Industrial Estate Sheriff Hutton,
York
YO60 6PG
Person Responsible:
Rana Harvey, Monster Group UK Limited,
Monster House
19-23 Alan Farnaby Way,
Industrial Estate Sheriff Hutton,
York
YO60 6PG,
England,
+441347878880
EU
Manufacturer:
Monster Group BV,
Van Heemskerckweg 28A & B,
Venlo 5928LL
Netherlands
+441347878880
Person Responsible:
Rana Harvey,
Monster Group BV,
Van Heemskerckweg 28A & B,
Venlo 5928LL,
Netherlands,
+44134787888
Parts
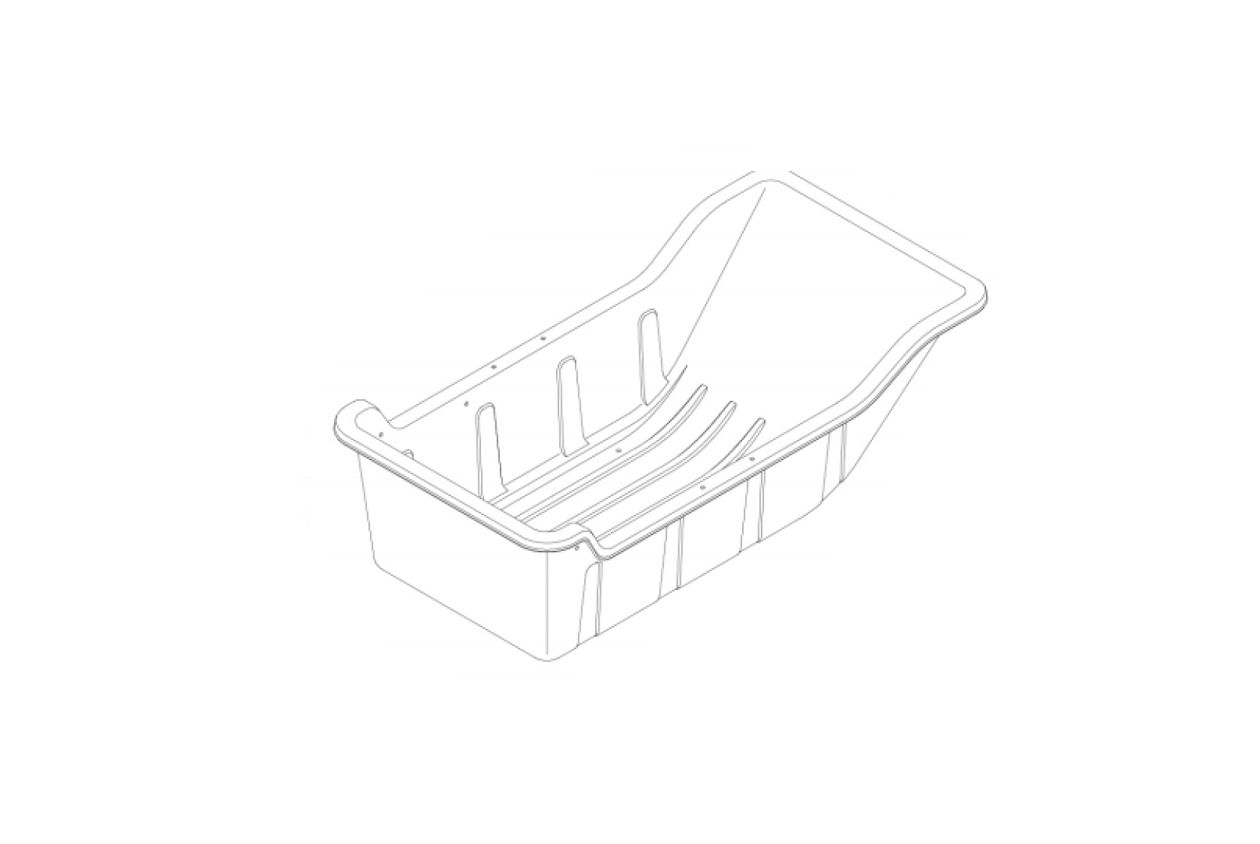
Plastic Hopper
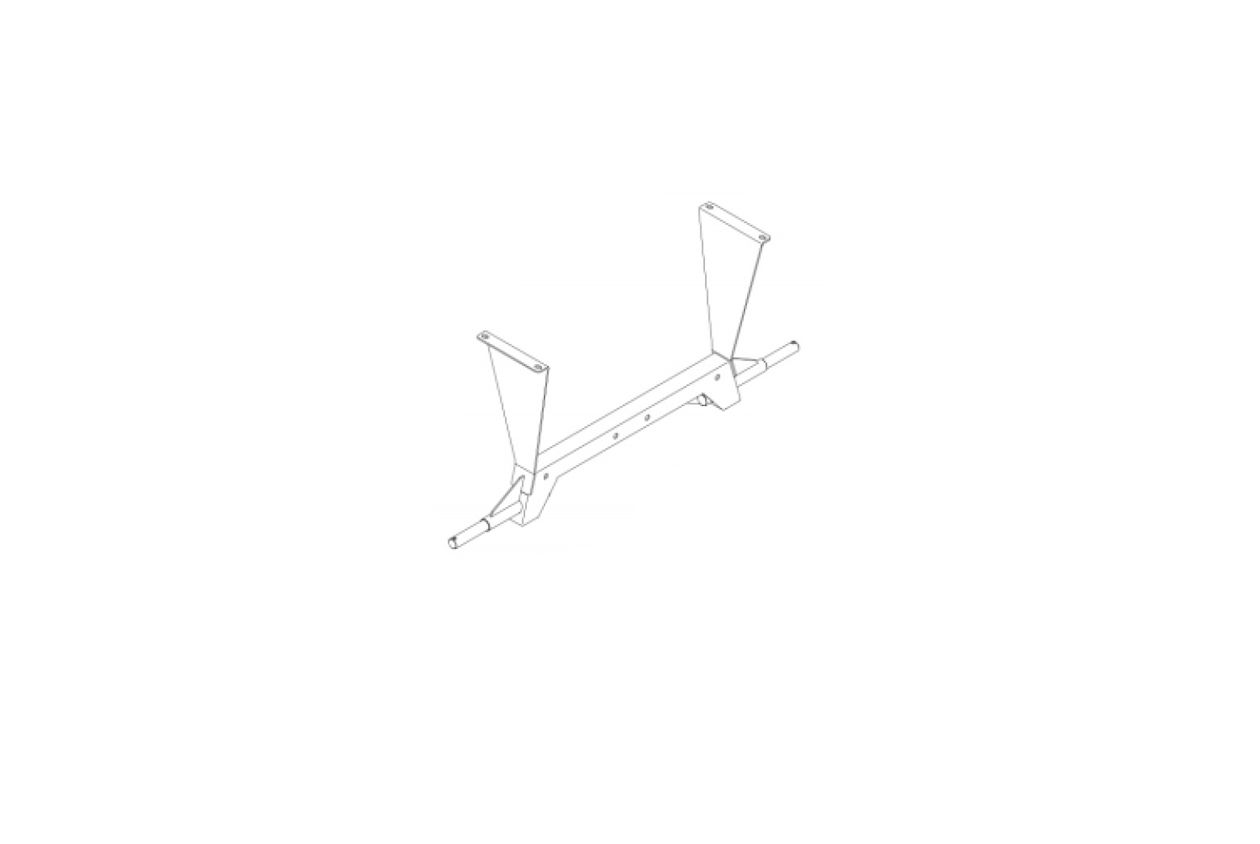
Beam
Hopper Assembly Frame
Wheel Frame
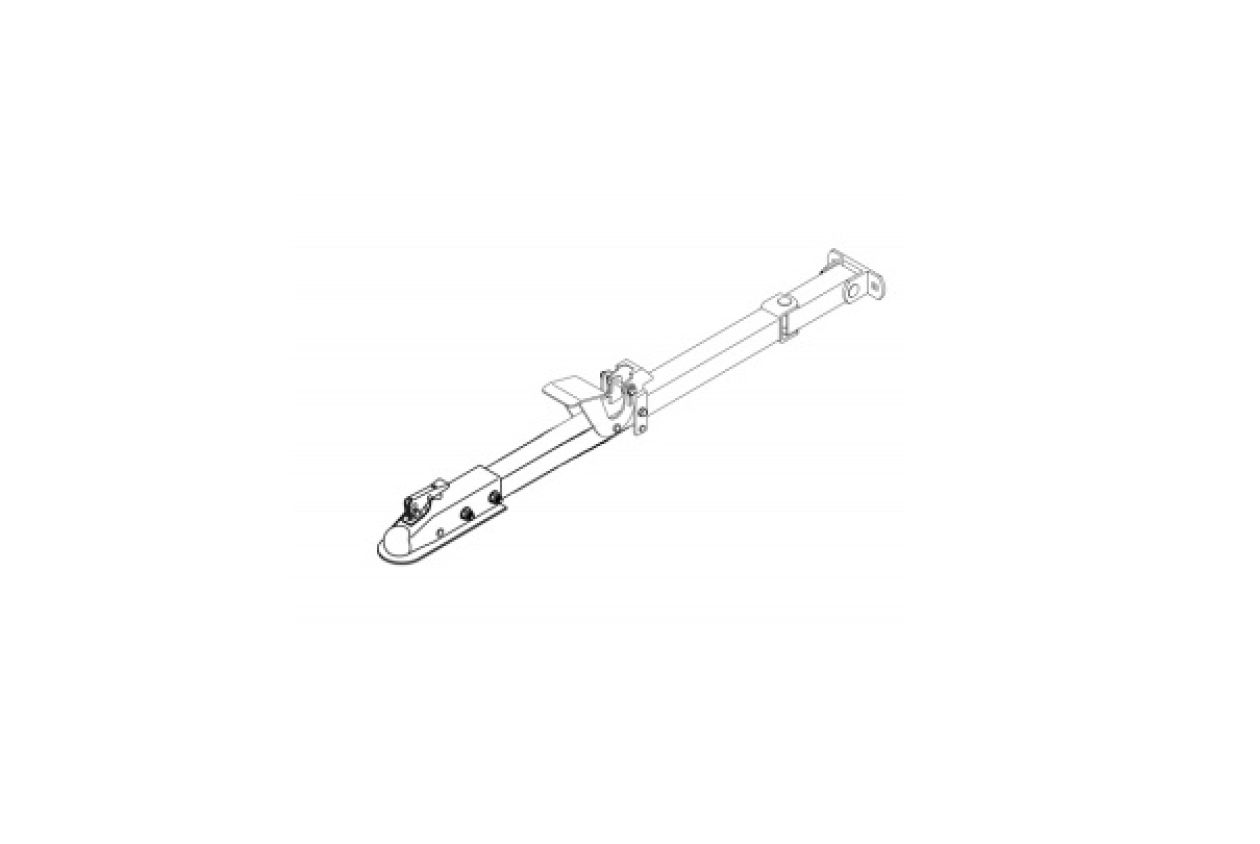
Hitch Tongue
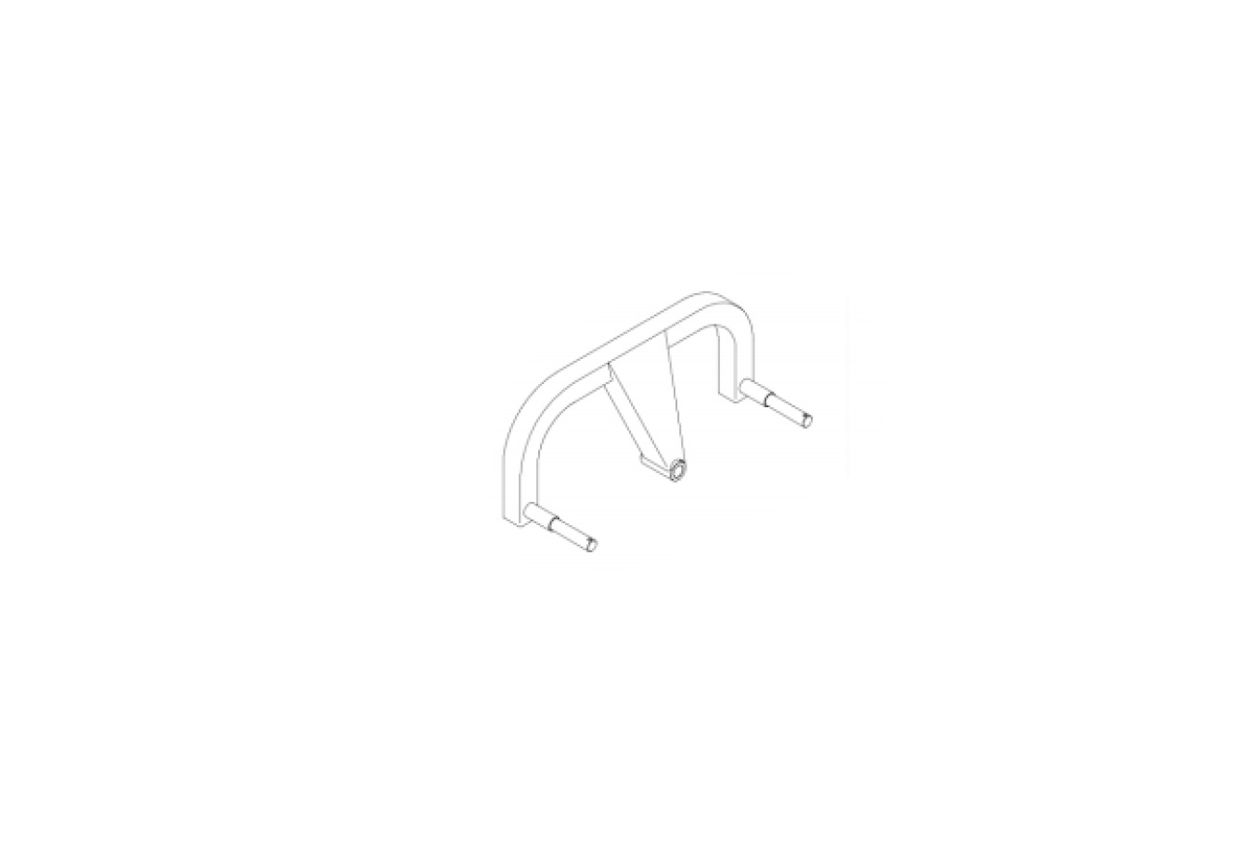
Handle
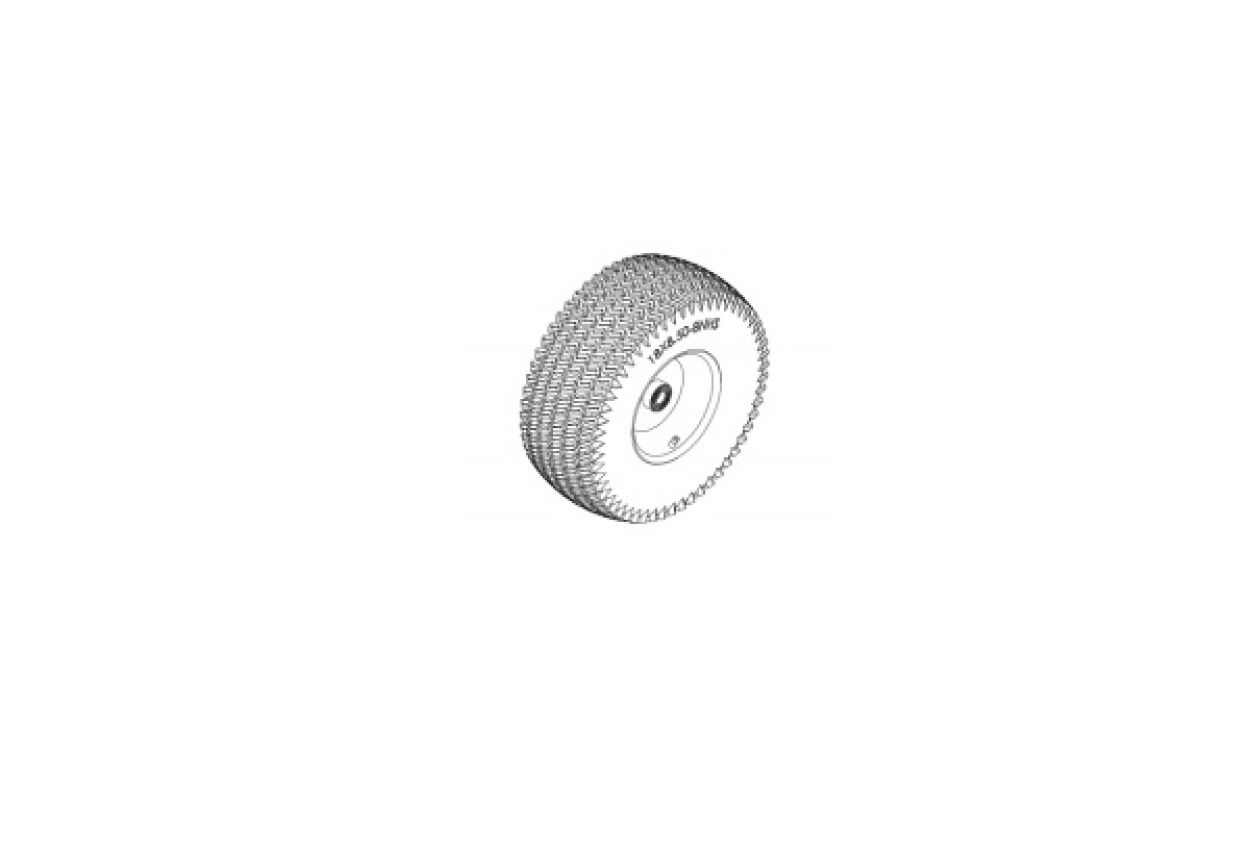
Tire
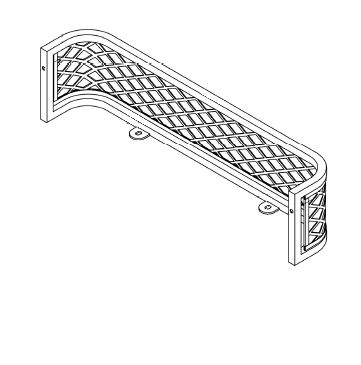
Front Fence Extension
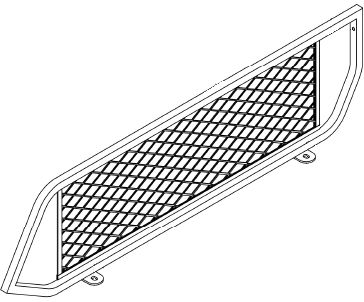
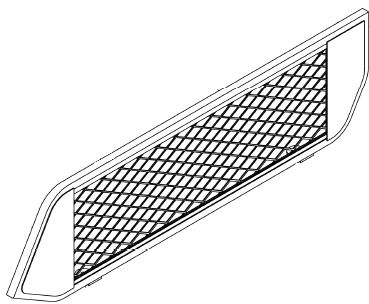
Right Fence Extension
Left Fence Extension
Connection Plate
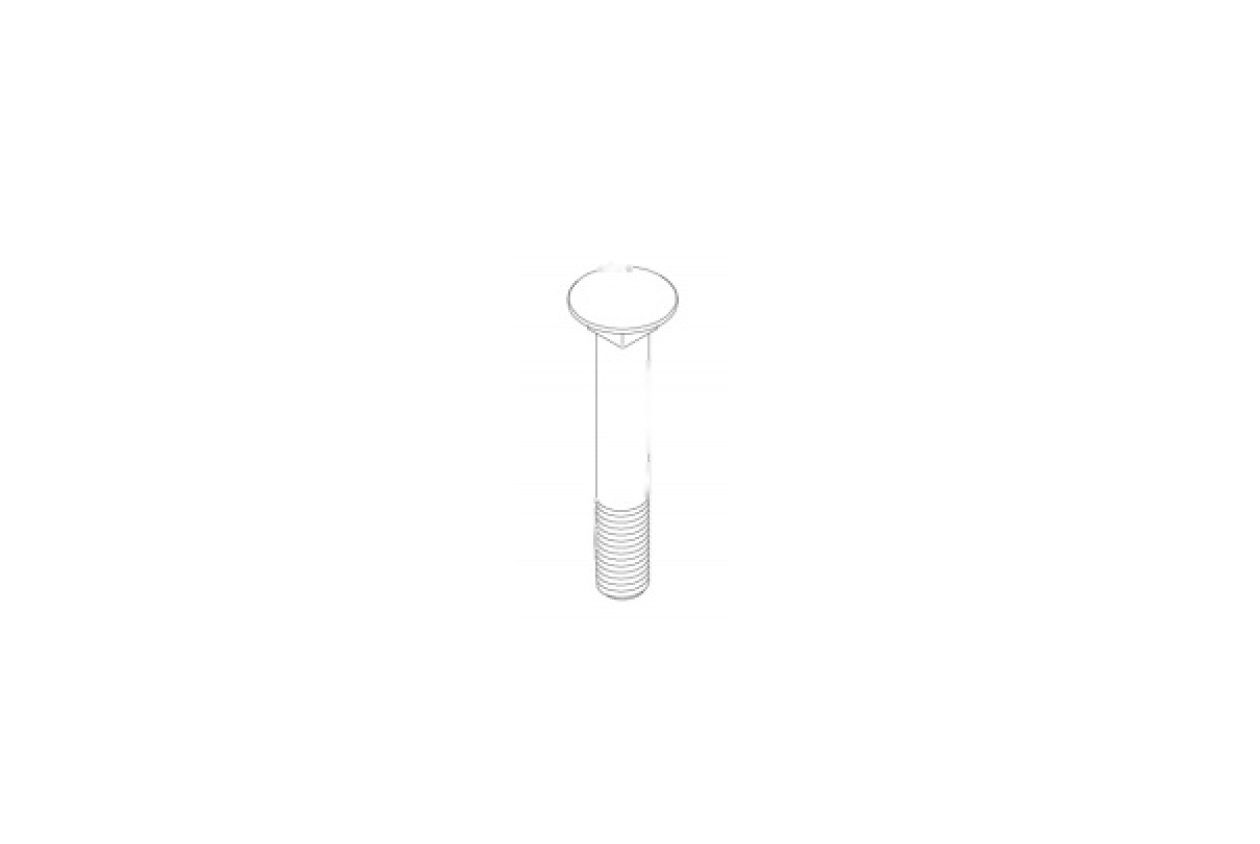
Semi Circle Square Neck Bolt M12x80
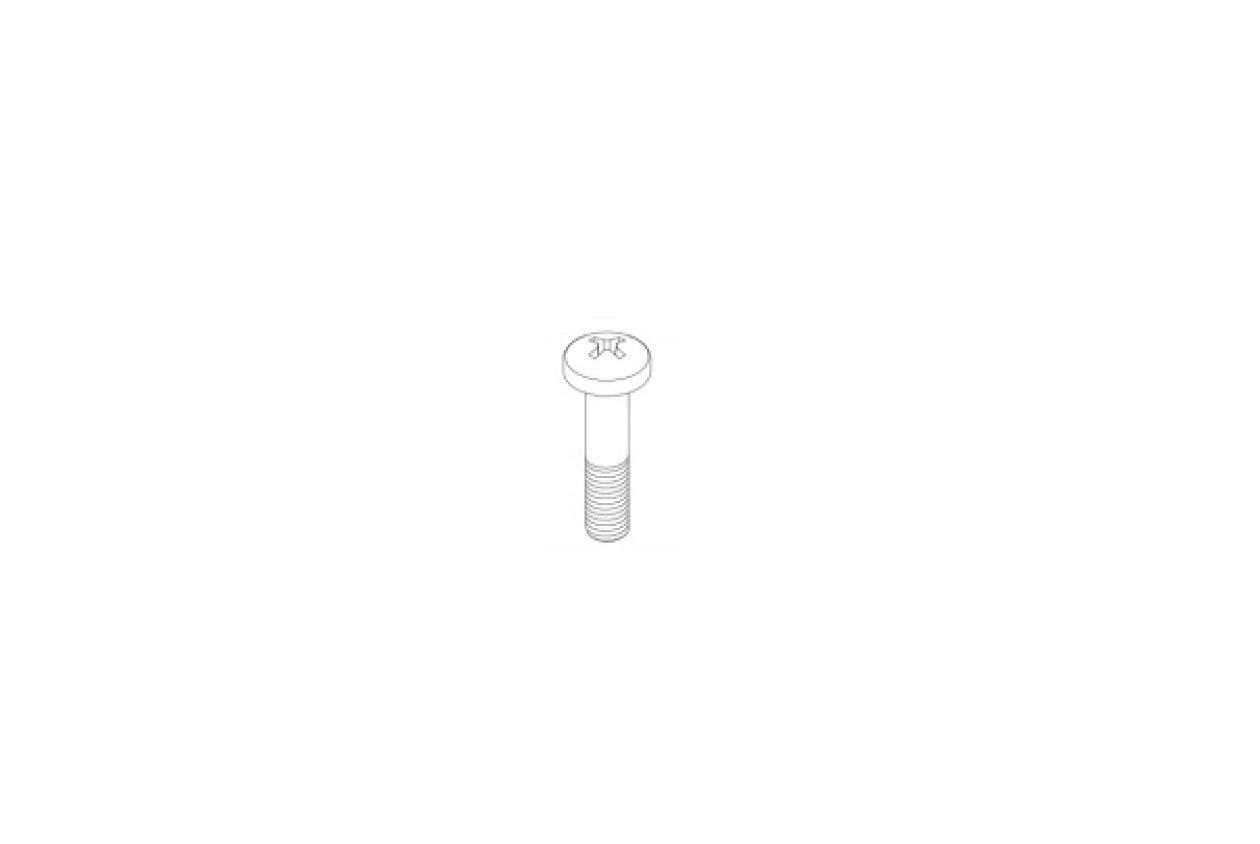
Counter Sunk Phillips Screw M10x45
Counter Sunk Phillips Screw M10x25
D Type Pin
Rectangular Spacer
Nylon Lock Nut M10
Nylon Lock Nut M12
Large Washer φ10
Flat Washer φ10
Flat Washer φ12
Flat Washer φ24
Lock Nut M8
Lock Nut M10
Bolt M10*50
Bolt M10*25
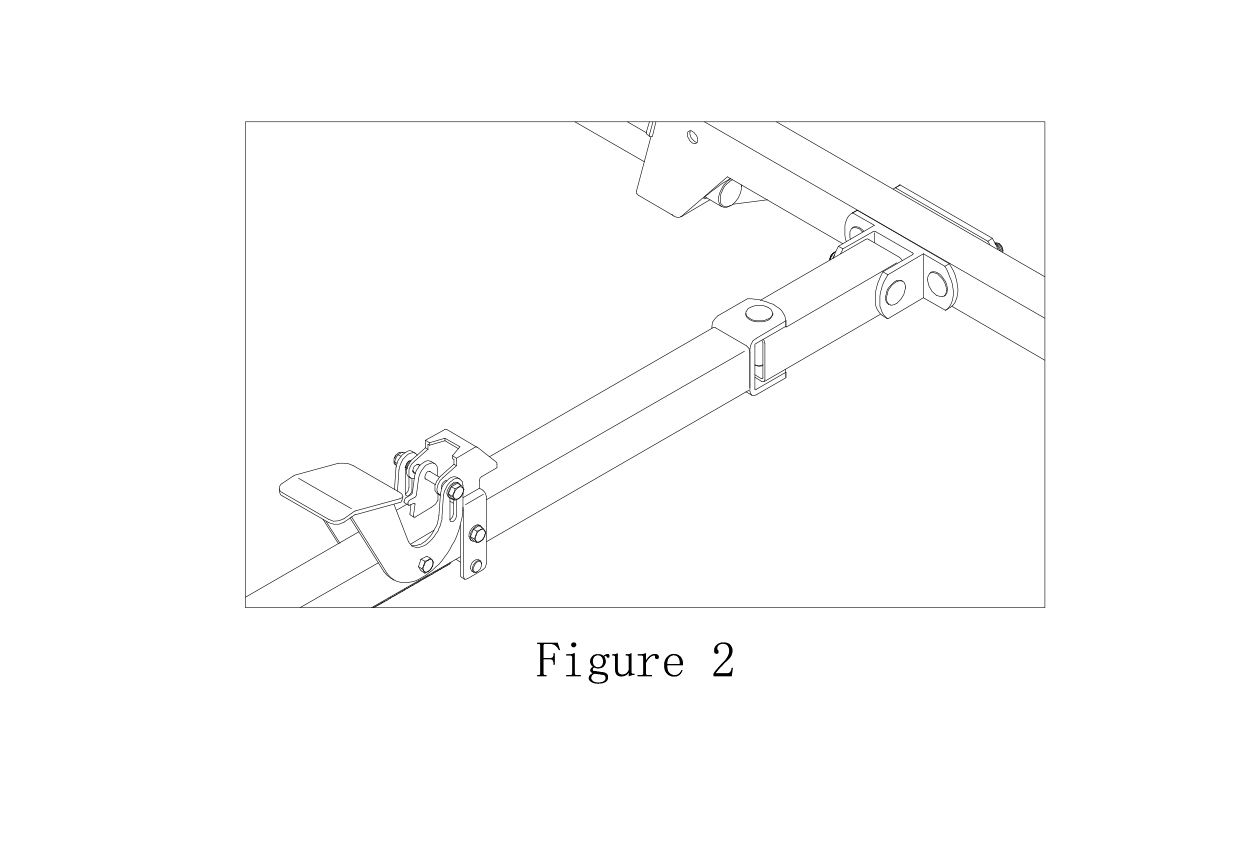
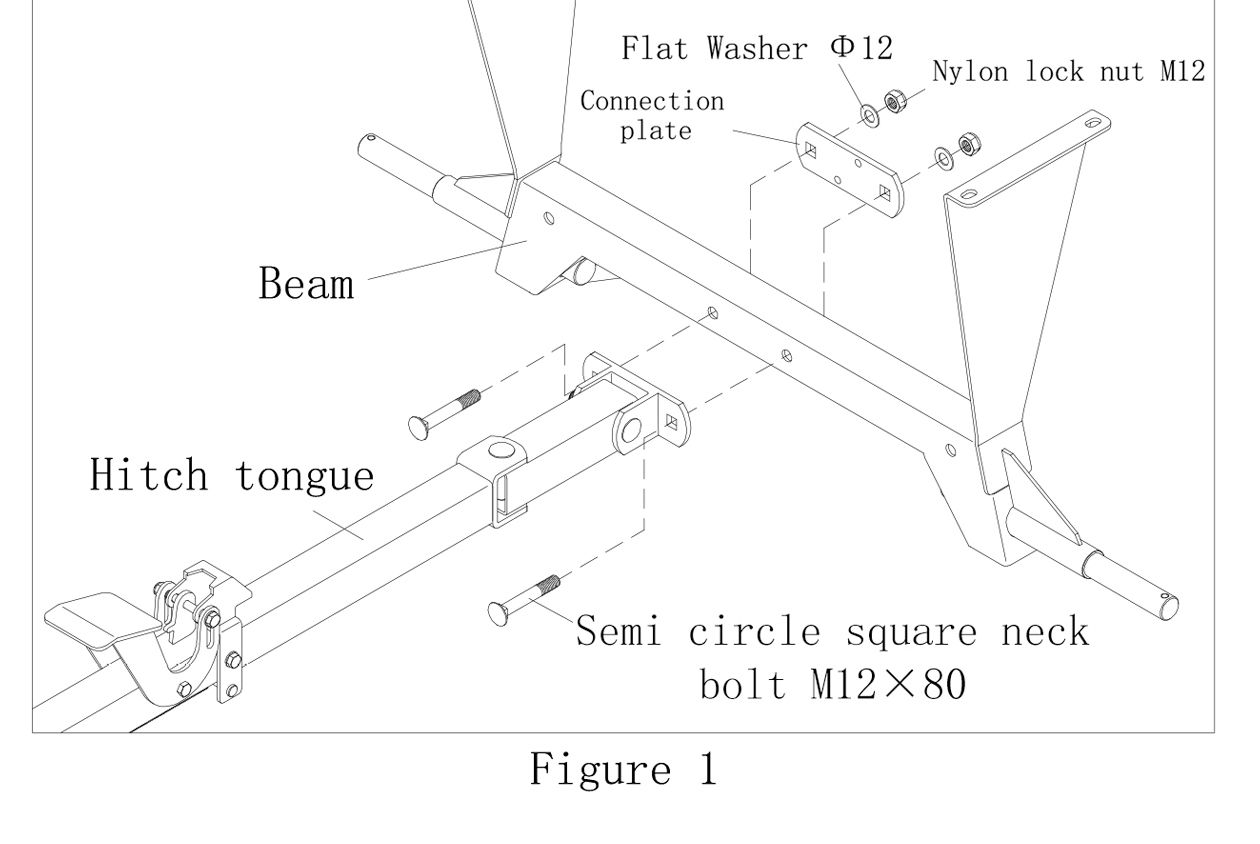
1. Attach the Hitch Tube
As shown in Figure 1, use 2 x Semi Circle Square Neck Bolt M12x80, 2 x Flat Washers φ12, 2 x Nylon Lock Nuts M12, and 1 Connecting Plate to install the Tow Bar Component and the Beam together (see Figure 2).
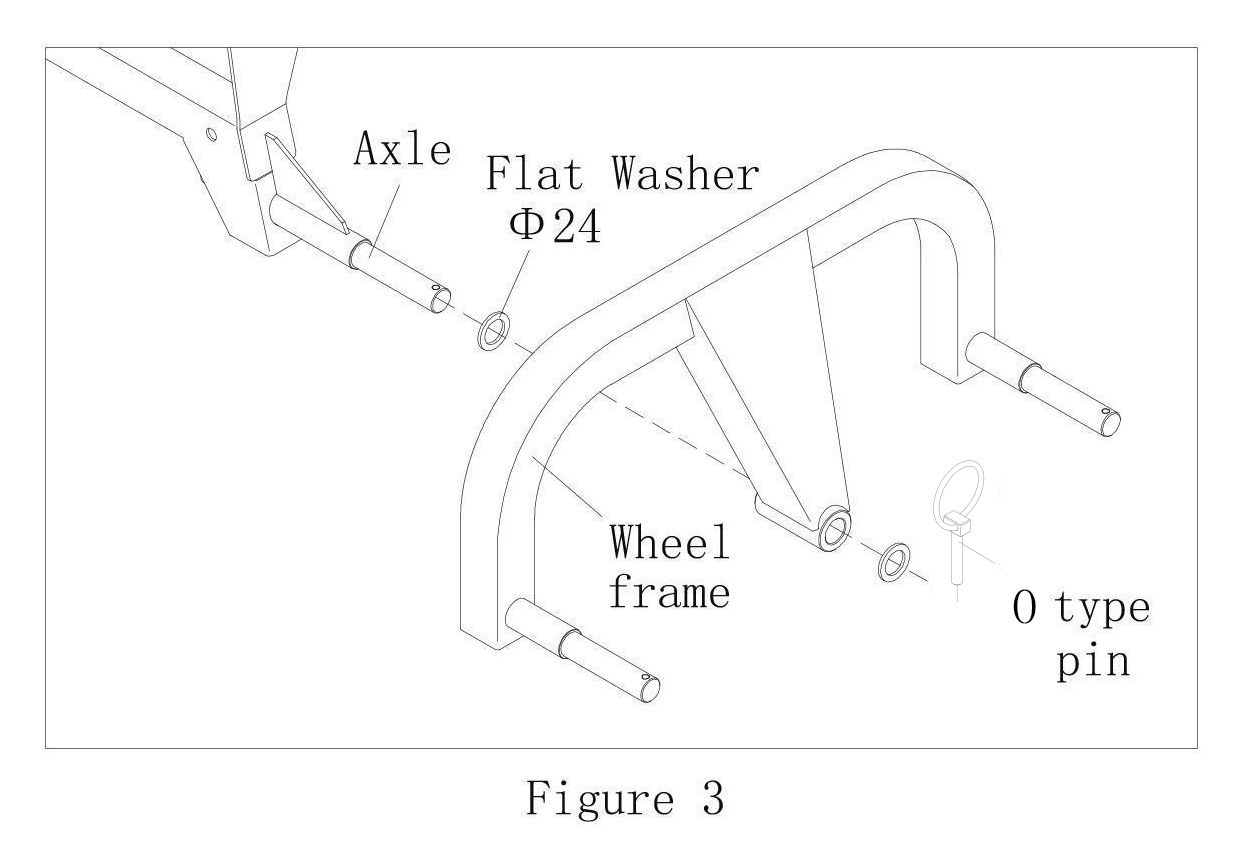
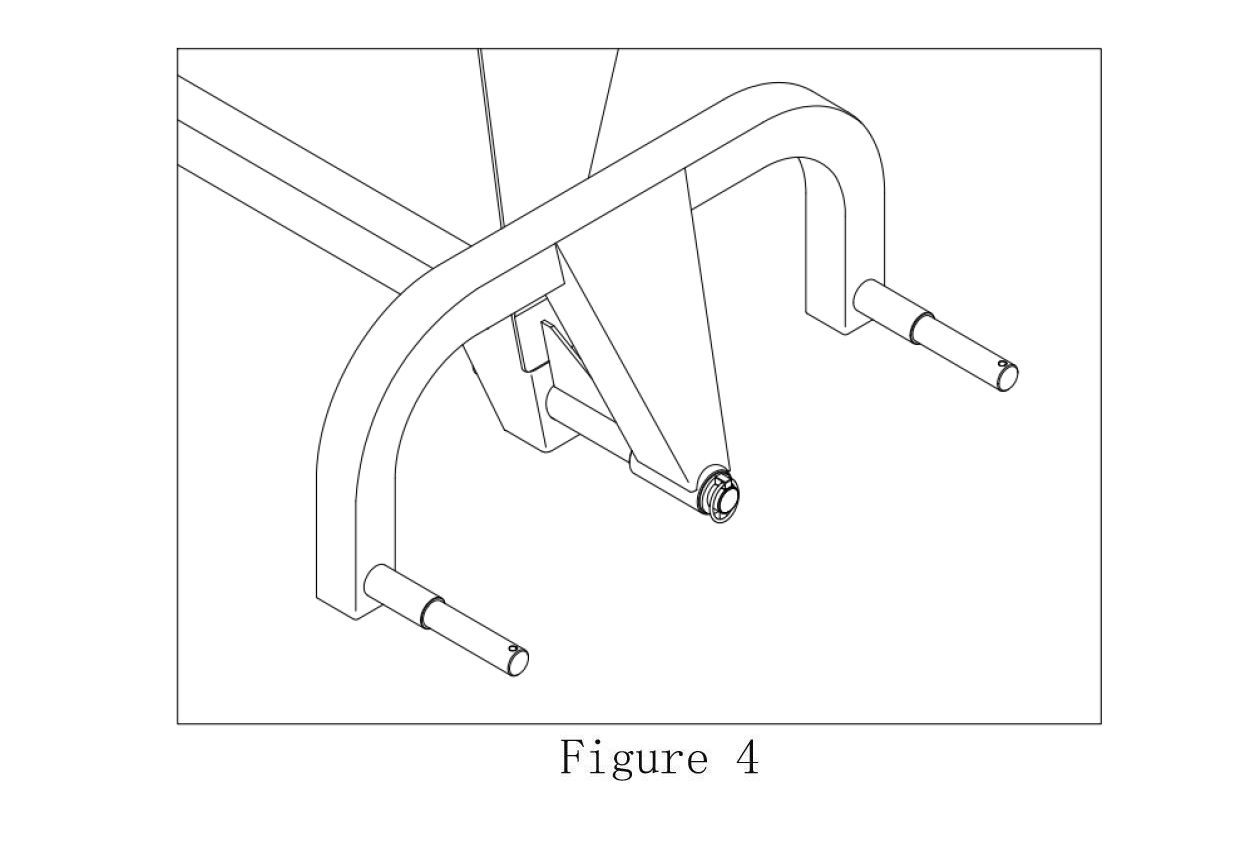
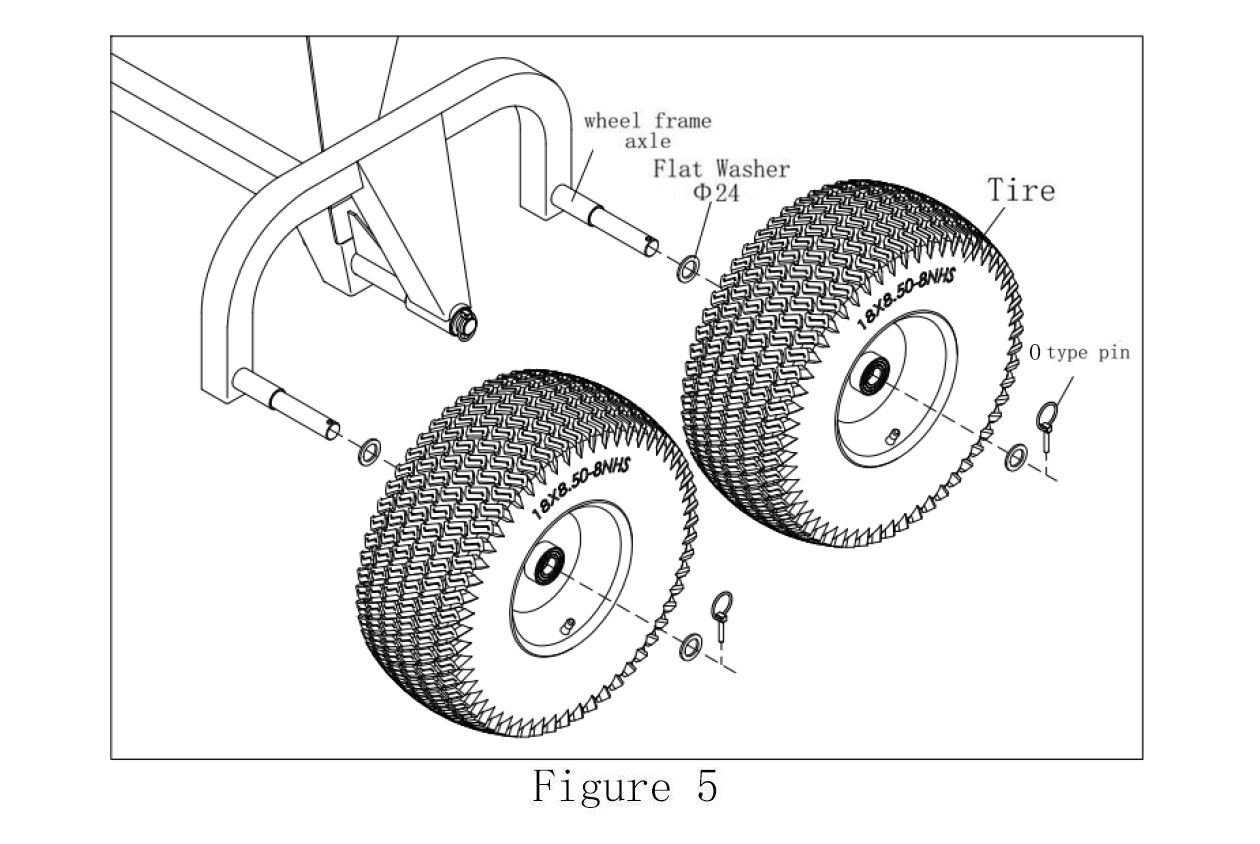
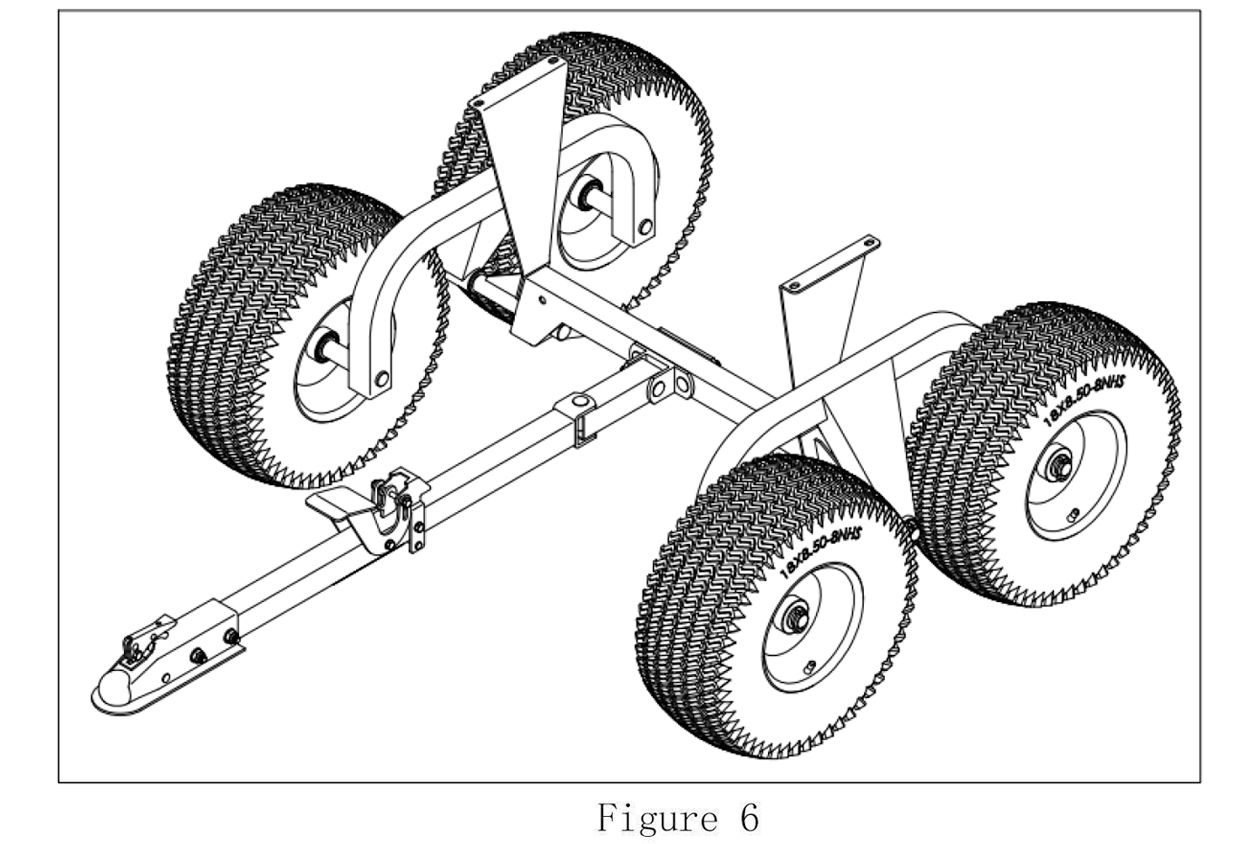
2. Attach the Tyres
1. As shown in Figure 3, use 2 x Flat Washers φ24 and 1 x 0 type pin to install a Wheel Frame on the Axle on one side of the Beam, and install the Wheel Frame on the other side in the same way (see Figure 4). 2. As shown in Figure 5, use 2 x Flat Washers φ24 and 1x 0 type pin to install one Tyre on the Axle of the Wheel Frame. The tyre's inflation nozzle is on the outside. Then install the second Tyre and use the same method on the other side. Install 2 Tyres (see Figure 6).
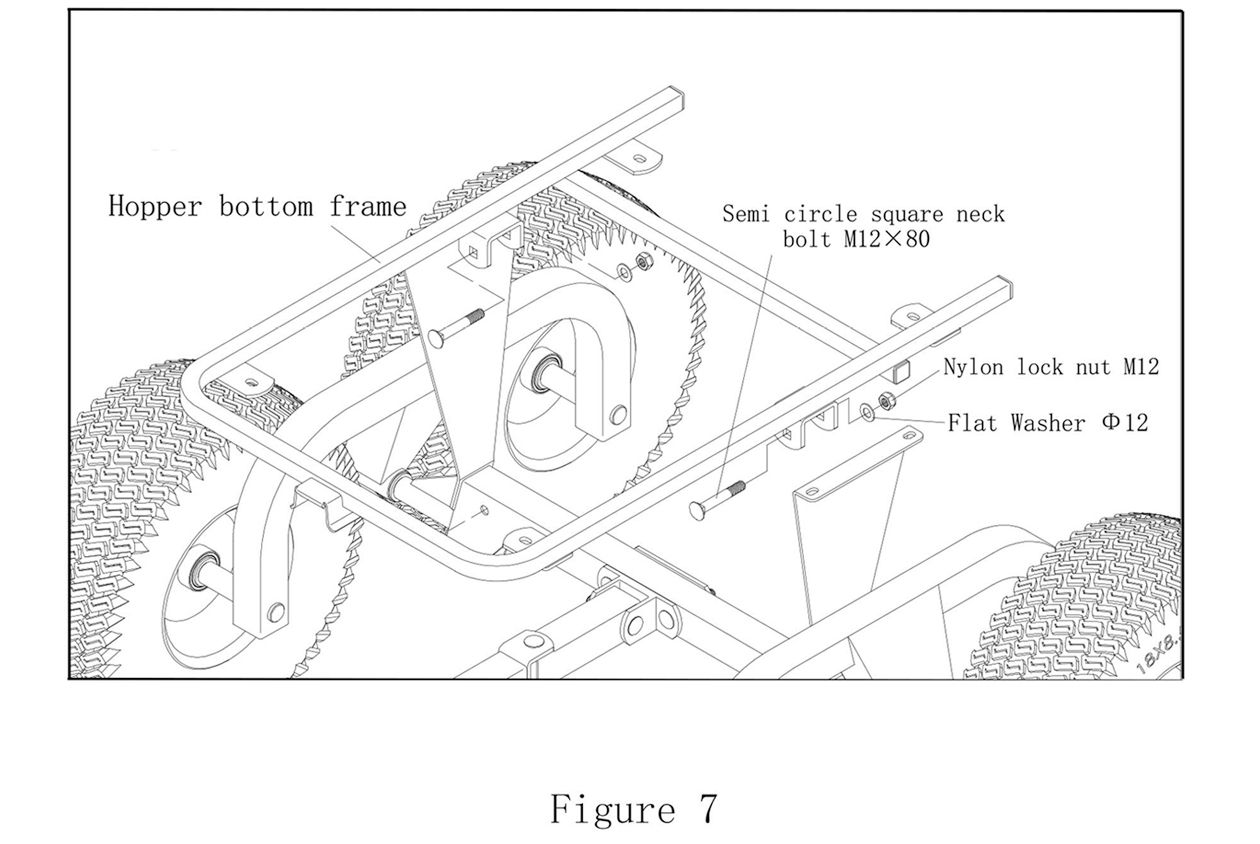
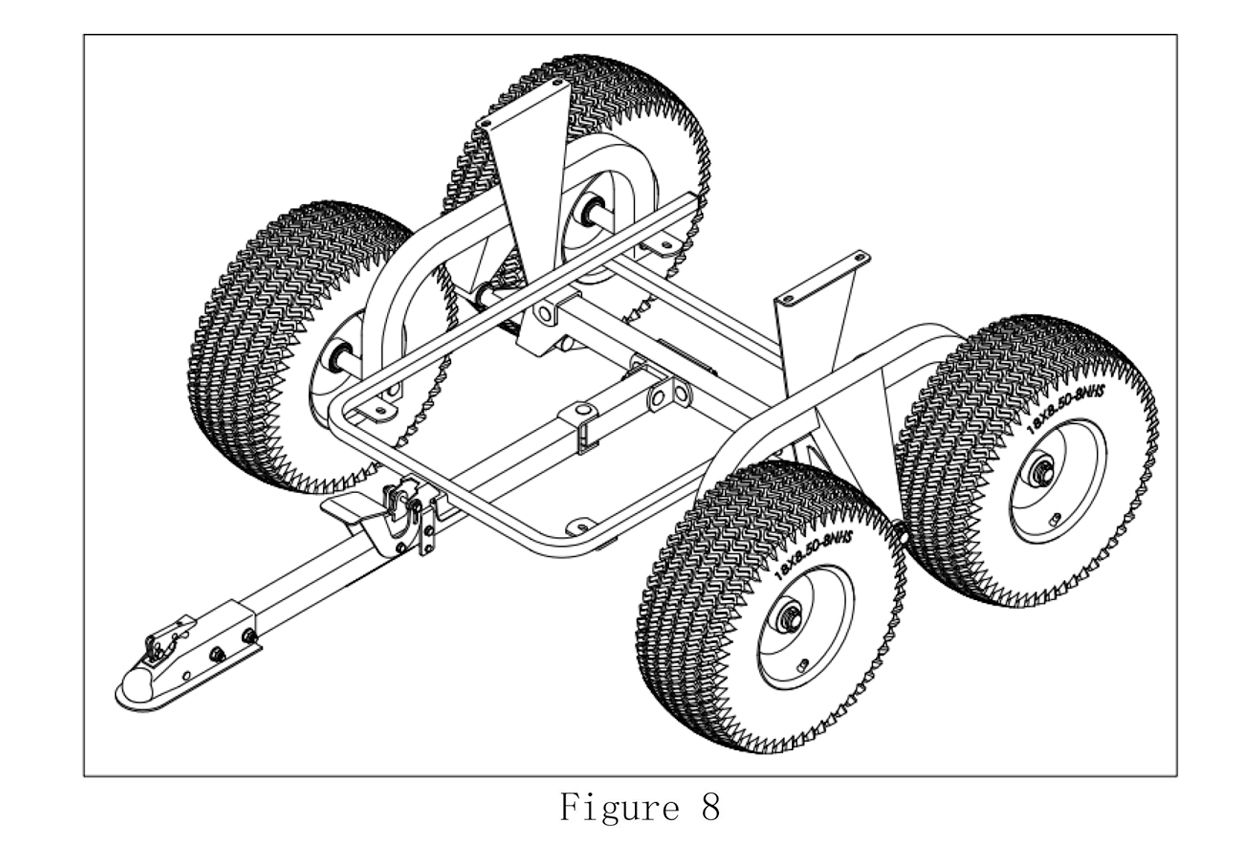
3. Attach the Hopper Frame
As shown in Figure 7, use 2 x Semi Circle Square Neck Bolts M12x80, 2 x Flat Washers φ12, and 2 x Nylon Lock Nuts M12 to install the Hopper bottom frame and the frame of the body together (see Figure 8).
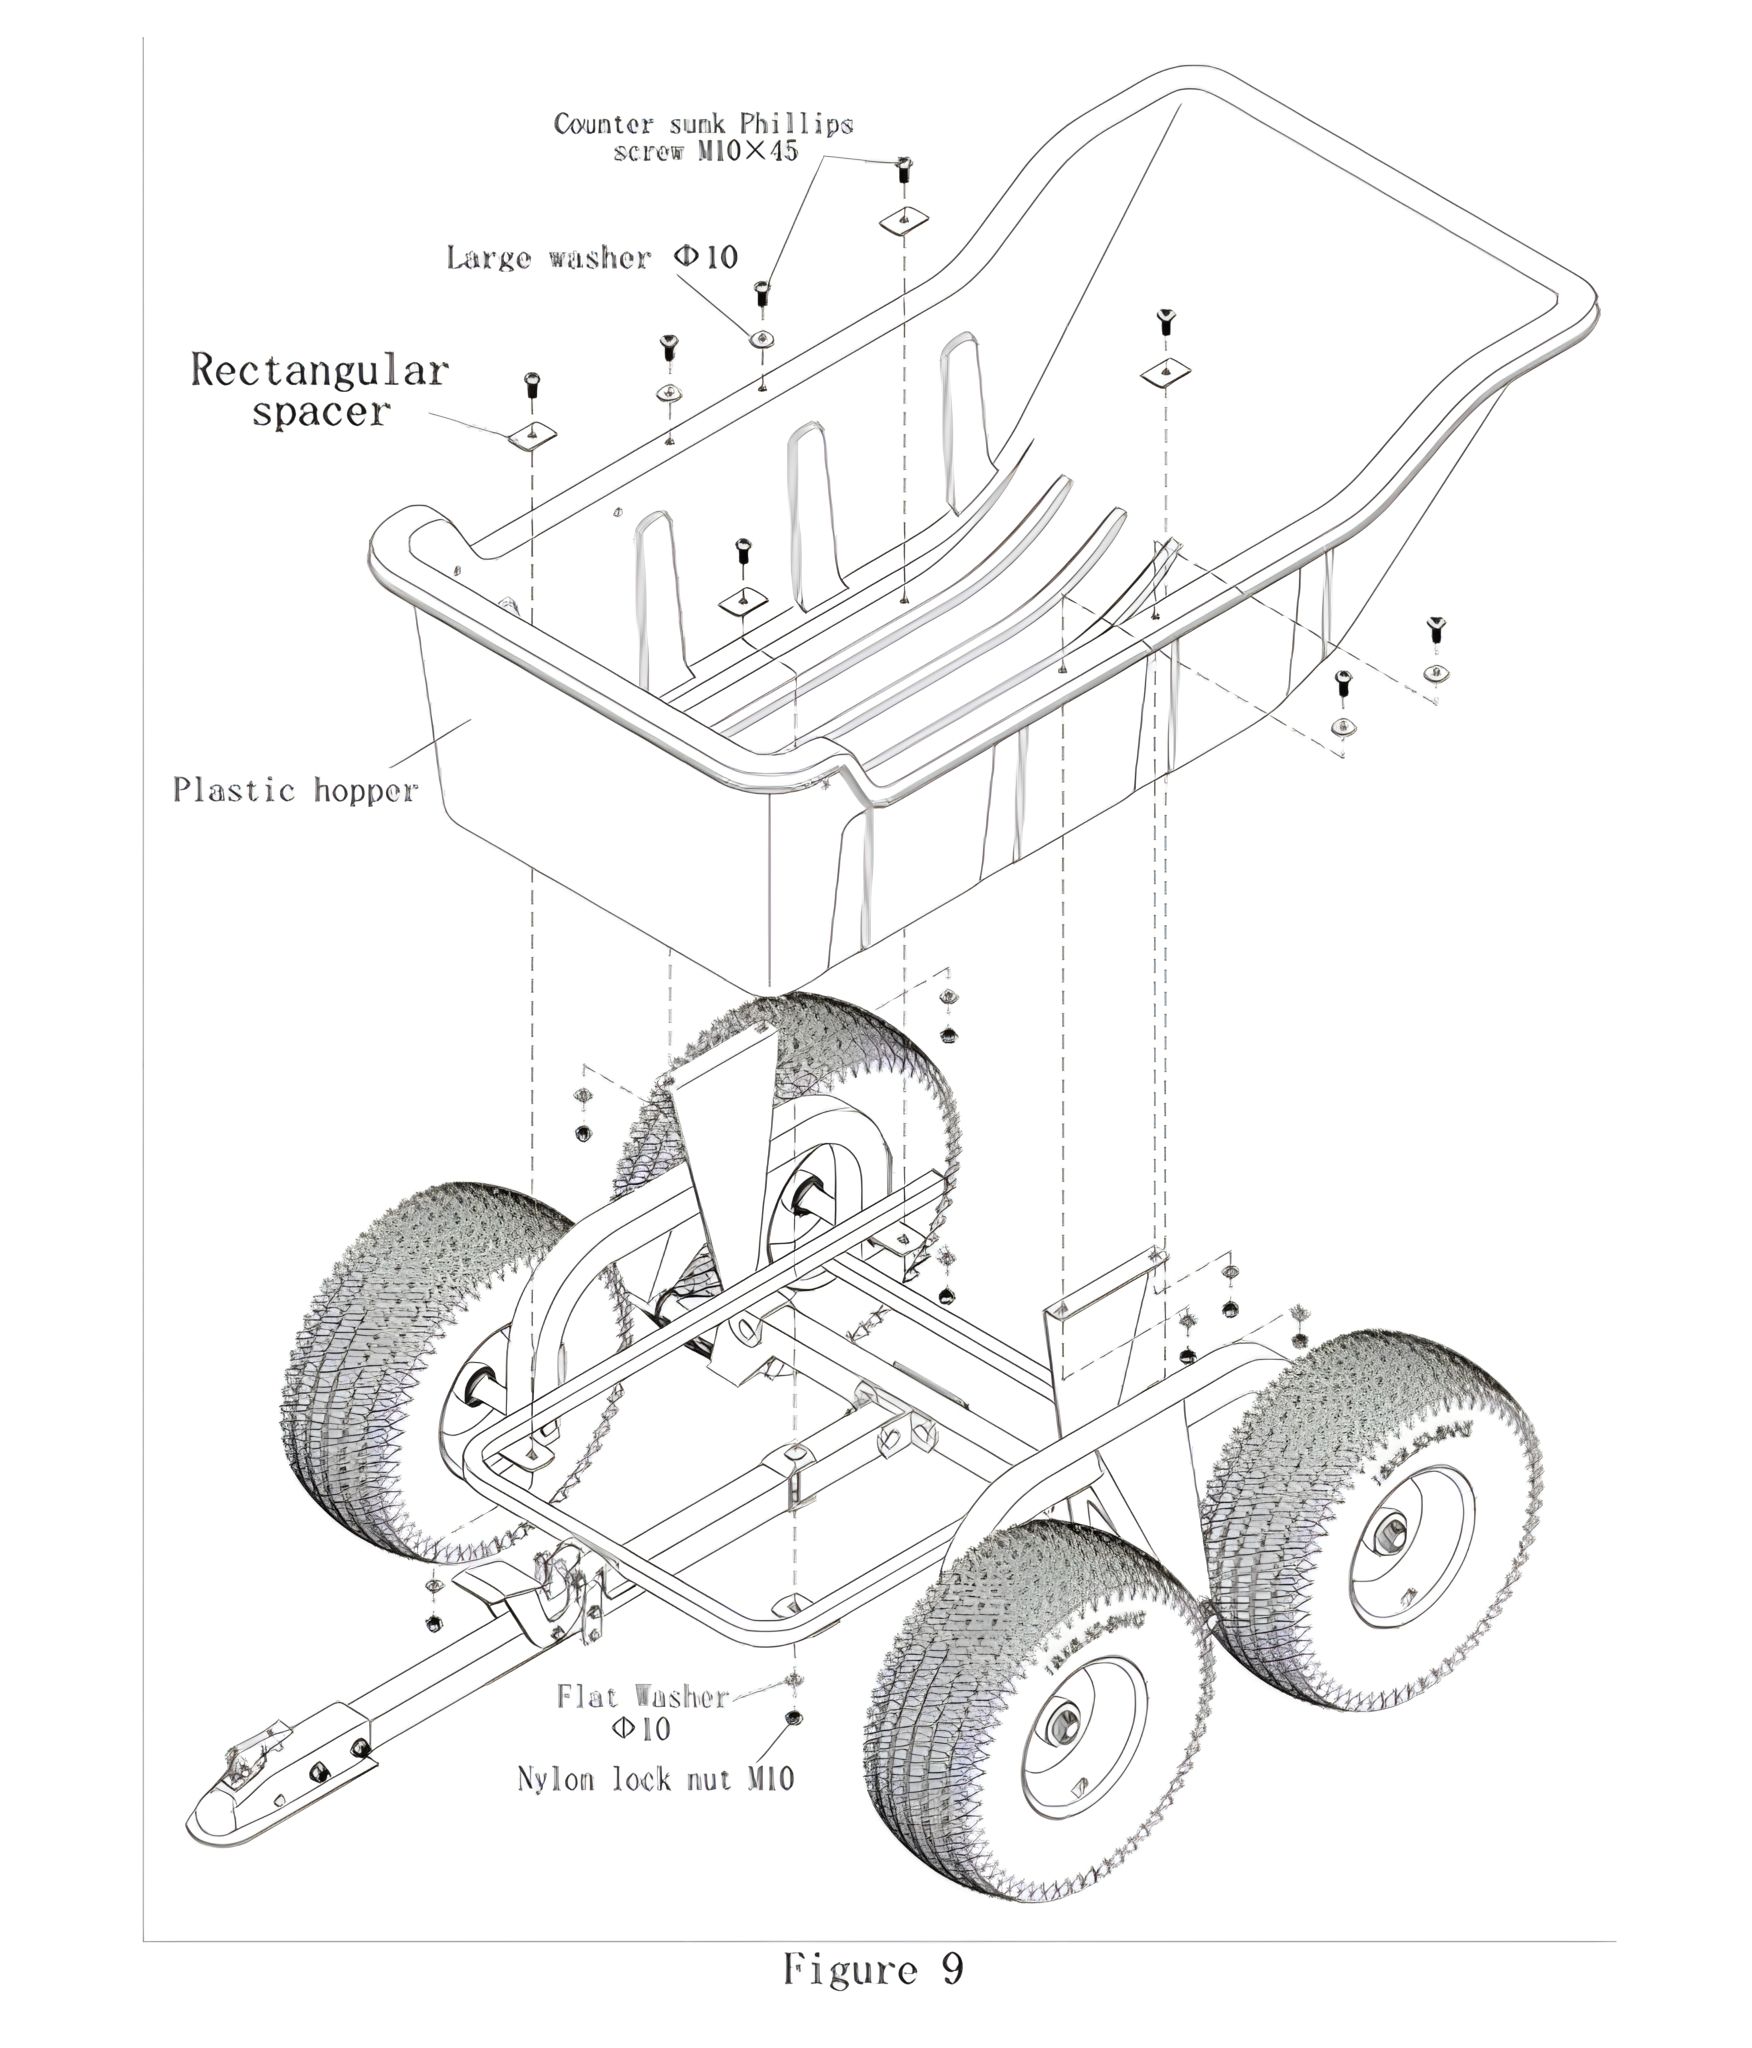
4. Attach the Poly Tray
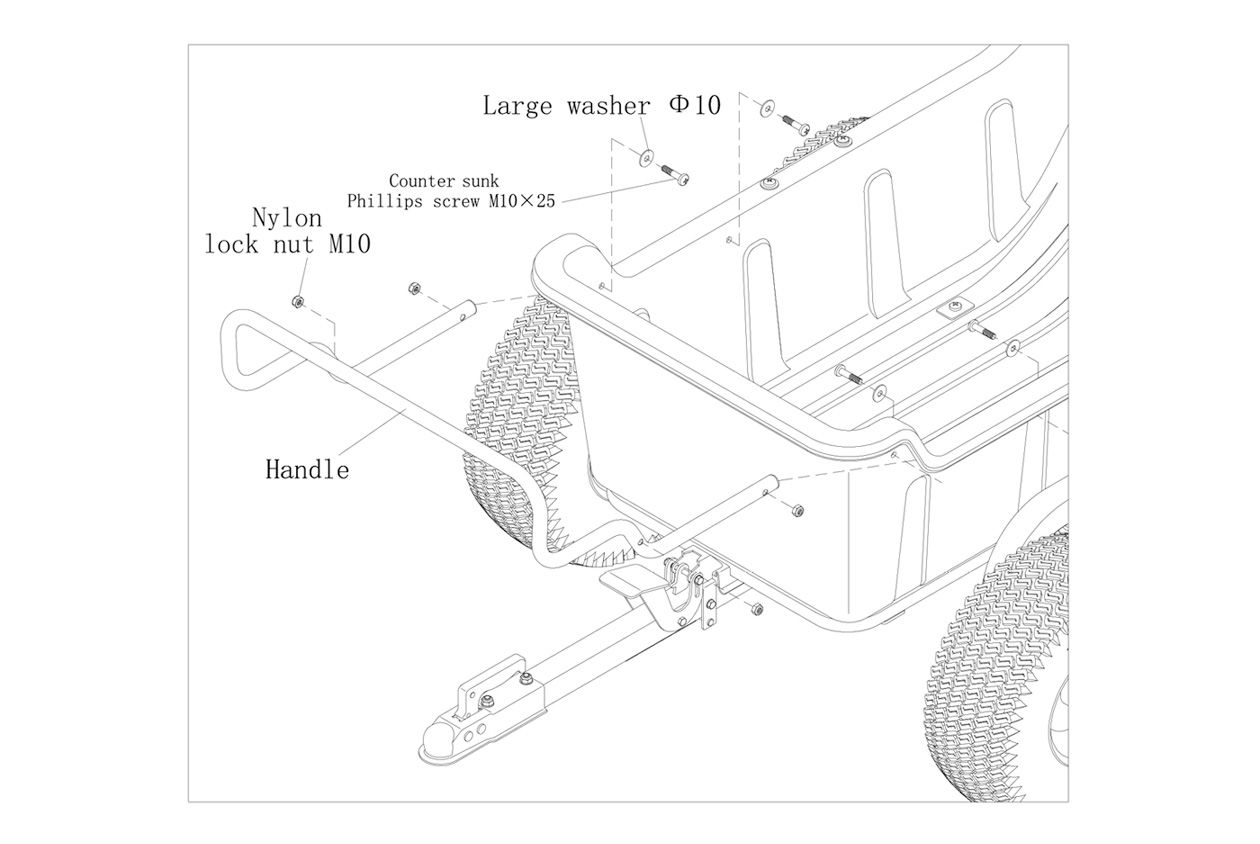
1. As shown in Figure 9, use 8 x Counter Sunk Phillips Screws M10x45, 8 x Flat Washers φ10, 4 x Large Washers φ10, 8 x Nylon Lock Nuts M10 and 4 x Rectangular Spacers to install the hopper to the Hopper Bottom Frame. 2. As shown in Figure 10, install the Handle to the body with 4 x Counter Sunk Phillips Screws M10x25, 4 x Large Washers φ10, and 4 x Nylon Lock Nuts M10. Assembly is complete.
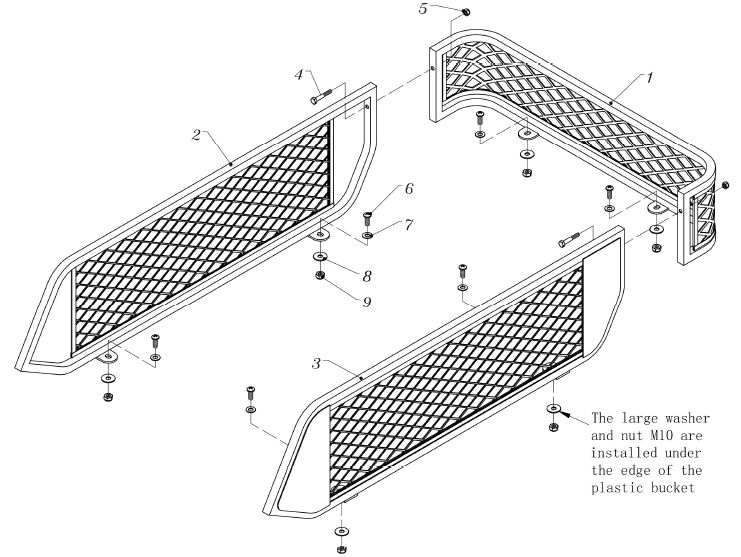
5. Attaching the Fence Extension
6. Operating Instructions
USING YOUR TIPPER TRAILER
DO NOT exceed the rated capacity of 1200lb (544.3kg).
ALWAYS secure and lock the Tipper Trailer to the vehicle hitch before operating.
ONLY use approved vehicles when towing the Tipper Trailer (Lawn/Garden Tractors and ATVs).
NEVER tow the Tipper Trailer with the box raised.
DO NOT overfill the Tipper Trailer. Overflow loads can cause the trailer and towing vehicle to lose traction and skid out of control.
ONLY fill the Tipper Trailer to a comfortable dumping load. Extremely heavy loads will be difficult to operate and dump.
ALWAYS use the Tipper Trailer for its intended purpose.
ALWAYS ensure that the tow vehicle and the combined weight of the operator MUST BE greater than the load of the Trailer weight for proper control.
DO NOT use the Trailer on public highways or roads.
NEVER exceed 16 mph when towing the Tipper Trailer.
DO NOT make sharp turns that may cause the Lawn/Garden Tractor or ATV tires to rub against the Tipper Trailer.
ALWAYS slow down before turning.
ALWAYS use caution when backing the Tipper Trailer. To avoid "jack-knifing," always back up in a straight line.
7. Operating Instructions
8. Operating Instructions
9. Operating Instructions
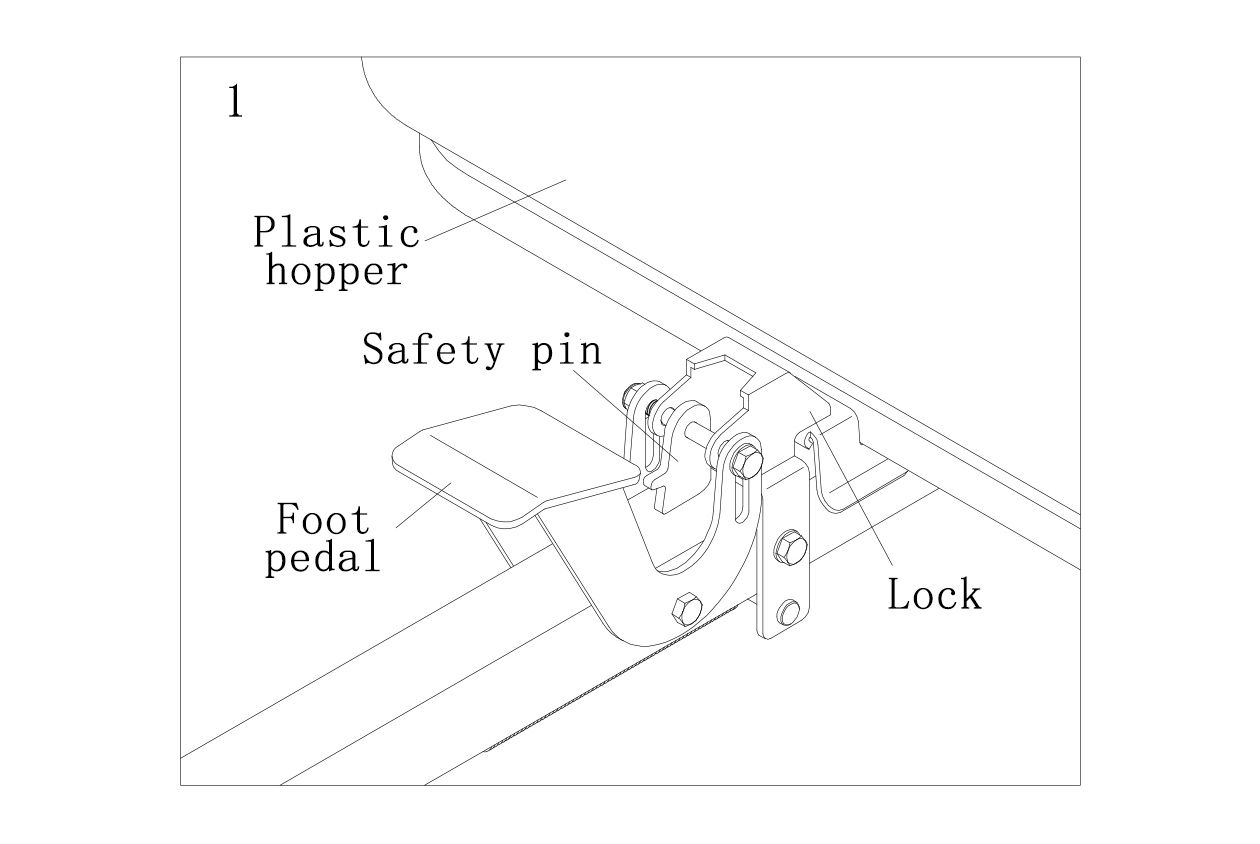
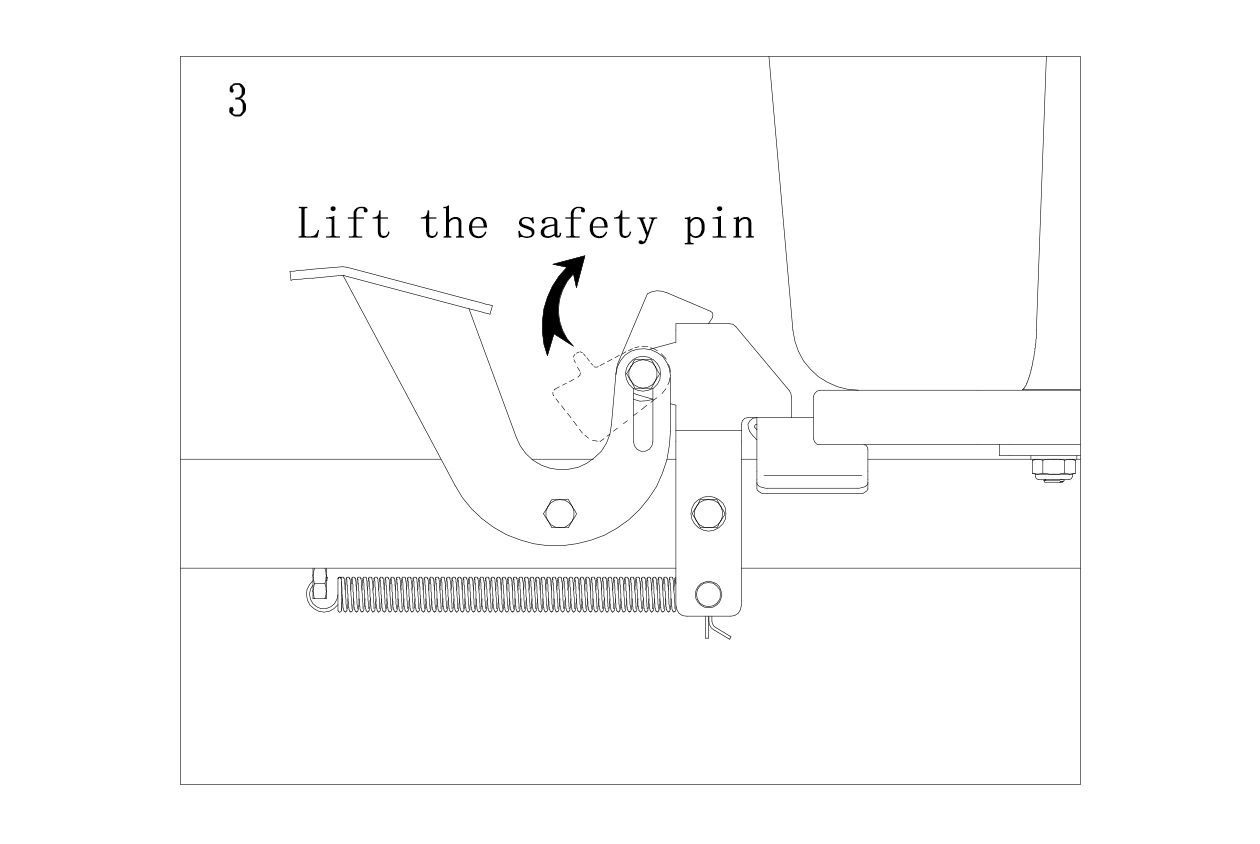
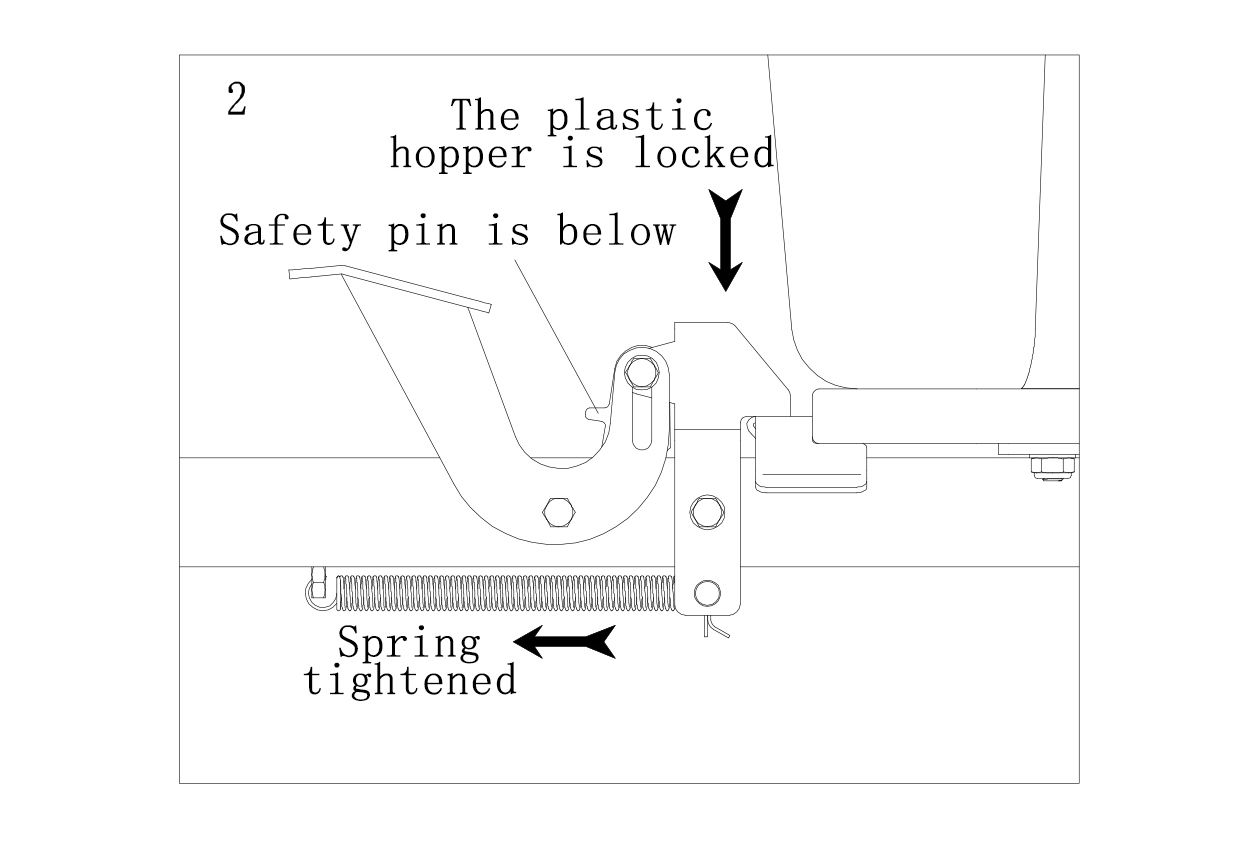
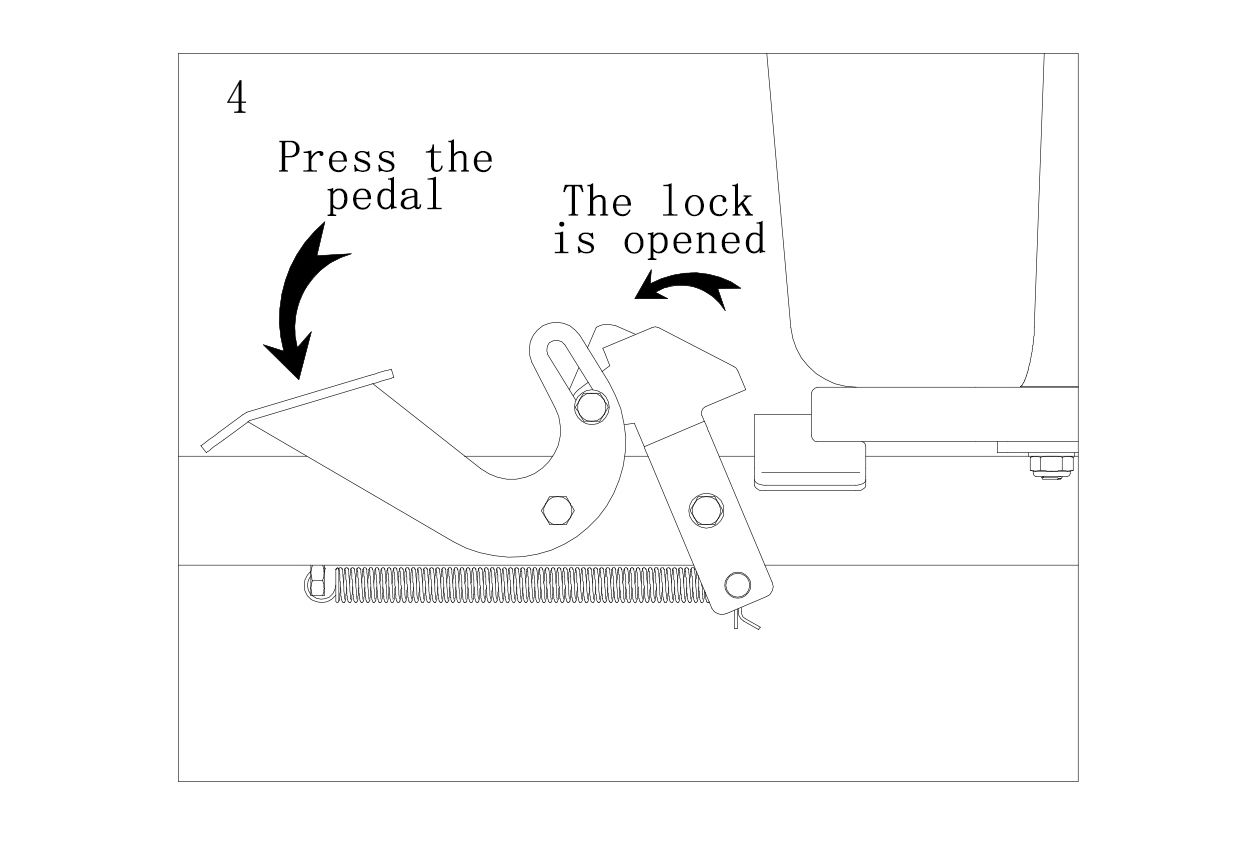
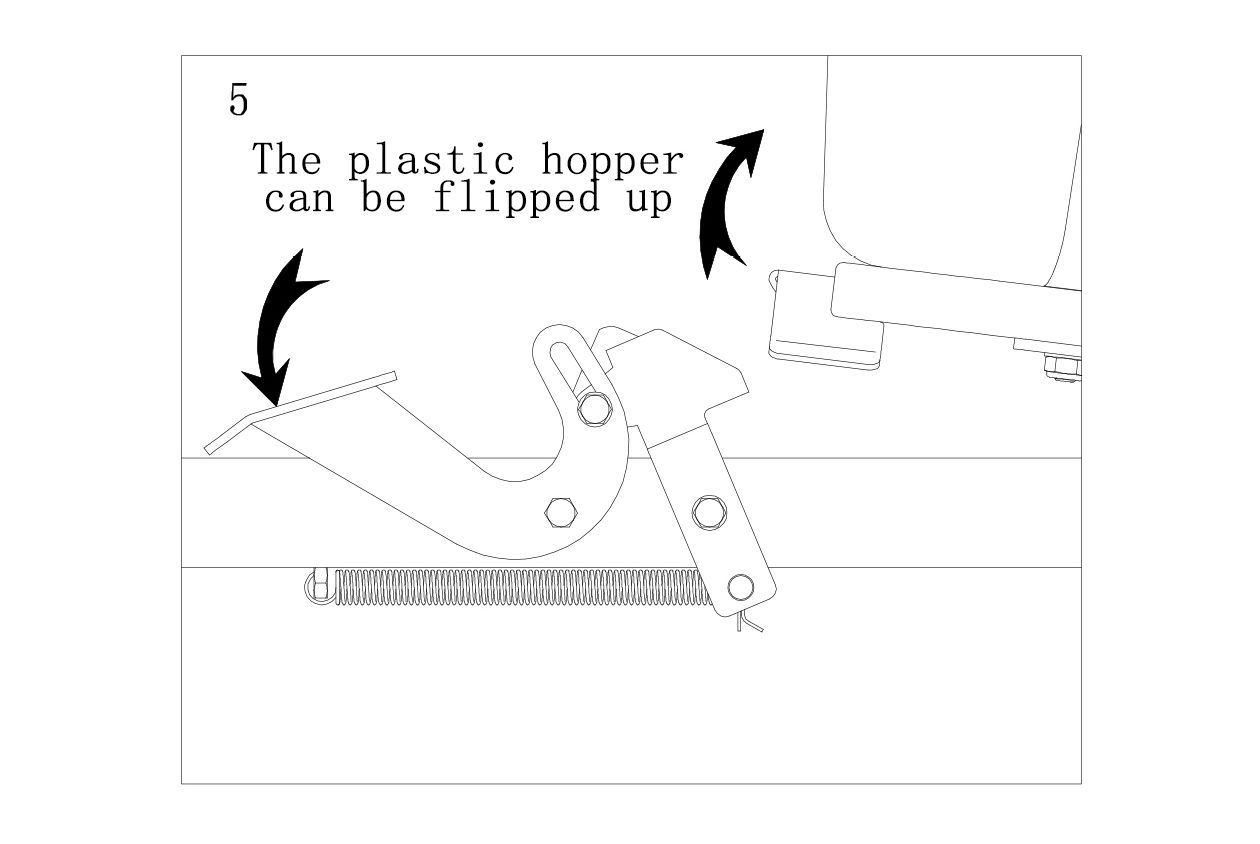
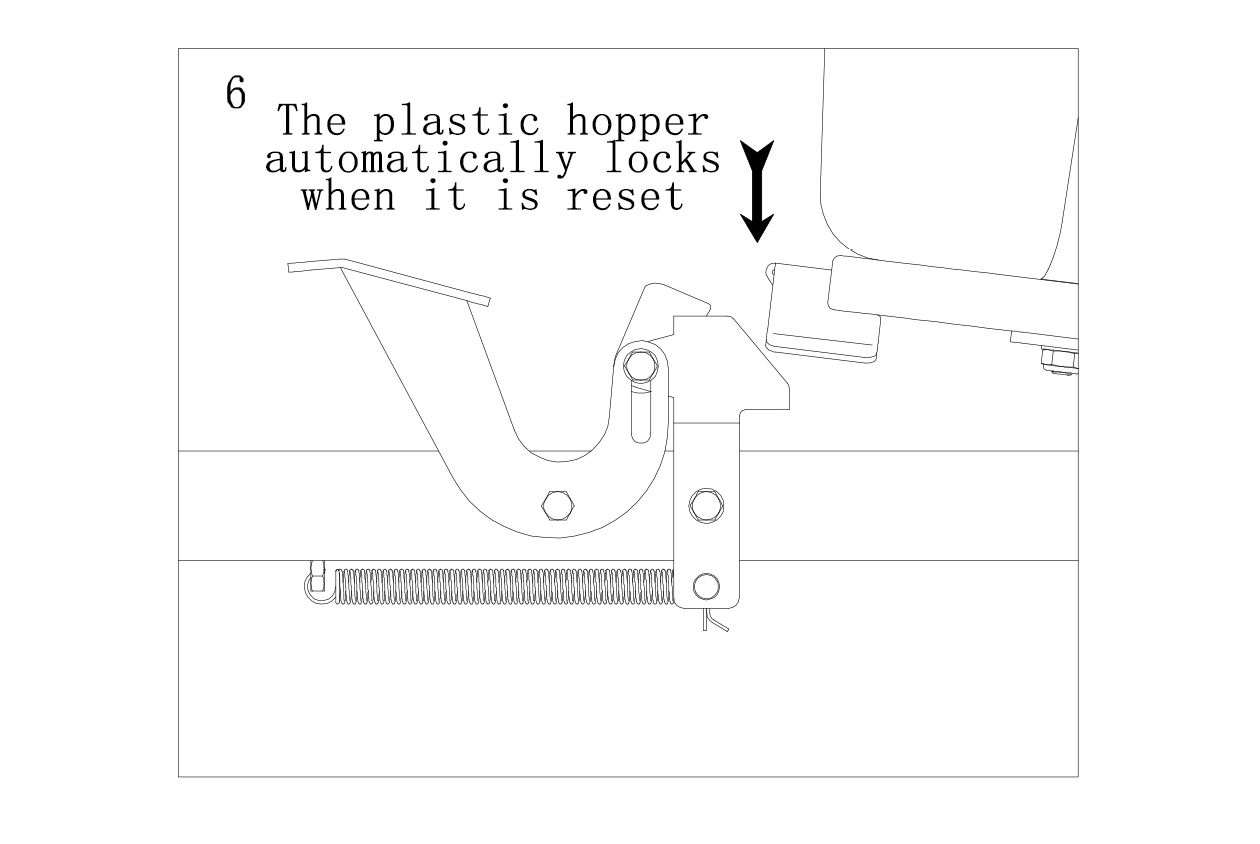
1. Flip up the safety device and press the pedal down to release the bed for dumping. 2. When towing the cart, flip down the safety device to lock the bed to avoid accidental dumping.
Warning: Do not press the pedal after the safety device is locked.
10. Maintenance
Maintenance
After each use clean material out of the Hopper.
Rinse/dry inside and outside of the Tipper Trailer after each use.
Before operating make sure the tires have the RECOMMENDED TYRE PRESSURE 28 PSI.
Regularly grease the axle and the wheel bearing area or when needed.
Periodically check all fasteners for tightness. Annually clean and lightly lubricate parts.
Use a glossy enamel spray paint to touch up scratched or worn painted metal surfaces.
Never exceed load capacity rating of 1200lb (544.3kg) it will damage the Tipper Trailer.
Important: If a part needs replacement, only use parts that meet the manufacturer's specifications. Replacement parts that do not meet specifications may result in a safety hazard or poor operation.
Storage
Never allow material to remain in the Tipper Trailer for extended periods of time.
Before storing make sure the Trailer is clean and dry for years of trouble free service.
Store indoors or protected area during severe weather and winter months.
When storing outside always keep the Hitch a little higher than the back of the Trailer to allow the moister to easily run out the back and will not accumulate in the box.
11. Troubleshooting
WHAT DO I DO IF THERE ARE MISSING PARTS FROM MY ORDER?
If there appears to be any part missing from your order, contact our friendly and helpful Customer Support Team within 7 days of receipt.
FOR ALL OTHER ISSUES, PLEASE CONTACT OUR CUSTOMER SUPPORT TEAM.