This guide provides step-by-step instructions for assembling, operating, and maintaining your Traditional TRV Radiator Valves.
Product Information
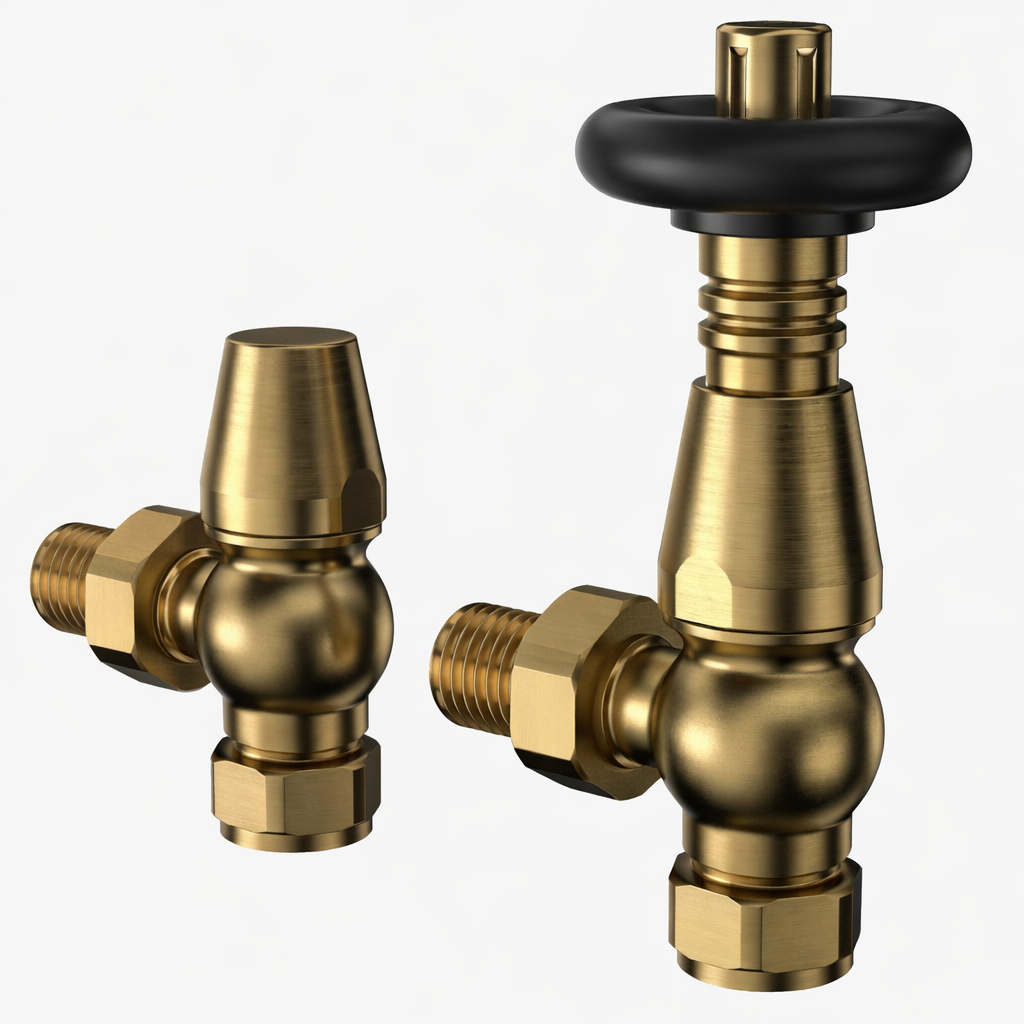
Traditional TRV Radiator Valves
Our Traditional Thermostatic Radiator Valves (TRVs) combine classic design with modern functionality, offering precise control over your heating system. Crafted from high-quality materials with a durable finish, these valves ensure reliable performance and timeless style to complement both period and contemporary interiors. Please ensure installation is carried out by a qualified professional to guarantee safe operation and optimal efficiency.
SKU
40927,40928,40929,40930,40931
Materials
Brass with Powder Coating
Weight
0.80kg (40927 - 40931), 0.45kg (213149)
Style
Angled
Control Style
Rotary Knob
Type
Thermostatic
Temperature Range
6-28 Degrees
Maximum Bar Pressure
10 Bar
Maximum Flow Temperature
100 Degrees
Nominal Flow Rate
2.8L/m
Connection
½” x 15mm
GPSR Information
UK
Manufacturer:
Monster Group UK Limited, Monster House
19-23 Alan Farnaby Way,
Industrial Estate Sheriff Hutton,
York
YO60 6PG
Person Responsible:
Rana Harvey, Monster Group UK Limited,
Monster House
19-23 Alan Farnaby Way,
Industrial Estate Sheriff Hutton,
York
YO60 6PG,
England,
+441347878880
EU
Manufacturer:
Monster Group BV,
Van Heemskerckweg 28A & B,
Venlo 5928LL
Netherlands
+441347878880
Person Responsible:
Rana Harvey,
Monster Group BV,
Van Heemskerckweg 28A & B,
Venlo 5928LL,
Netherlands,
+44134787888
Parts
Thermostatic Head
BSP Valve Tail
15mm Compression
Nuts
Lock Shield Valve
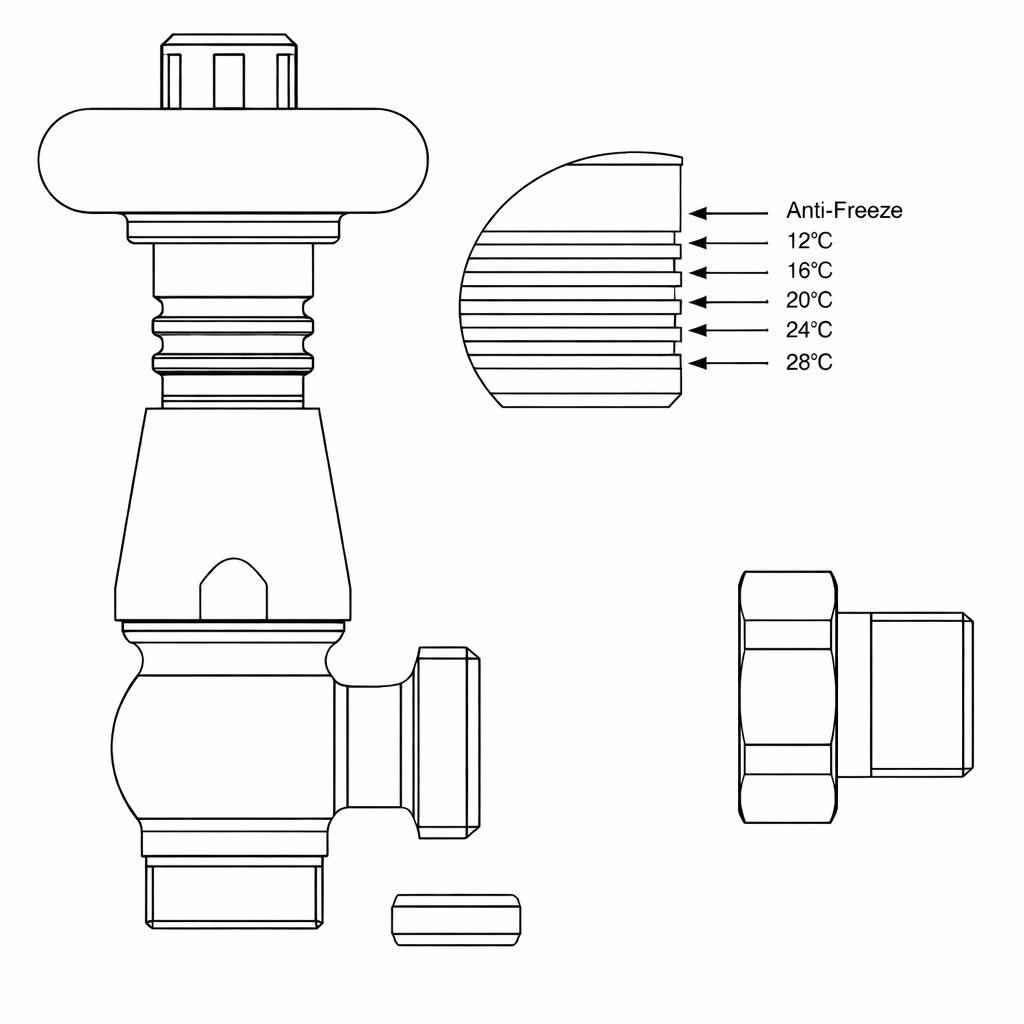
1. Step 1 - Fitting the Thermostatic Head
Connect the thermostatic head to the flow (inlet) side of the radiator.
Turn the handle to reveal the calibration marks denoting the temperature at which the radiator will be turned off.
When the handle is turned fully clockwise, the valve operates will be fully shut off.
Screw the BSP valve tail into the radiator using a suitable sealant or tape.
When fitting the 15mm compression to the copper pipe, tighten the nut onto the olive to form the seal.
Please note:
Do not overtighten the handle or valve tail.
Do not cover the valve and keep it free from dust.
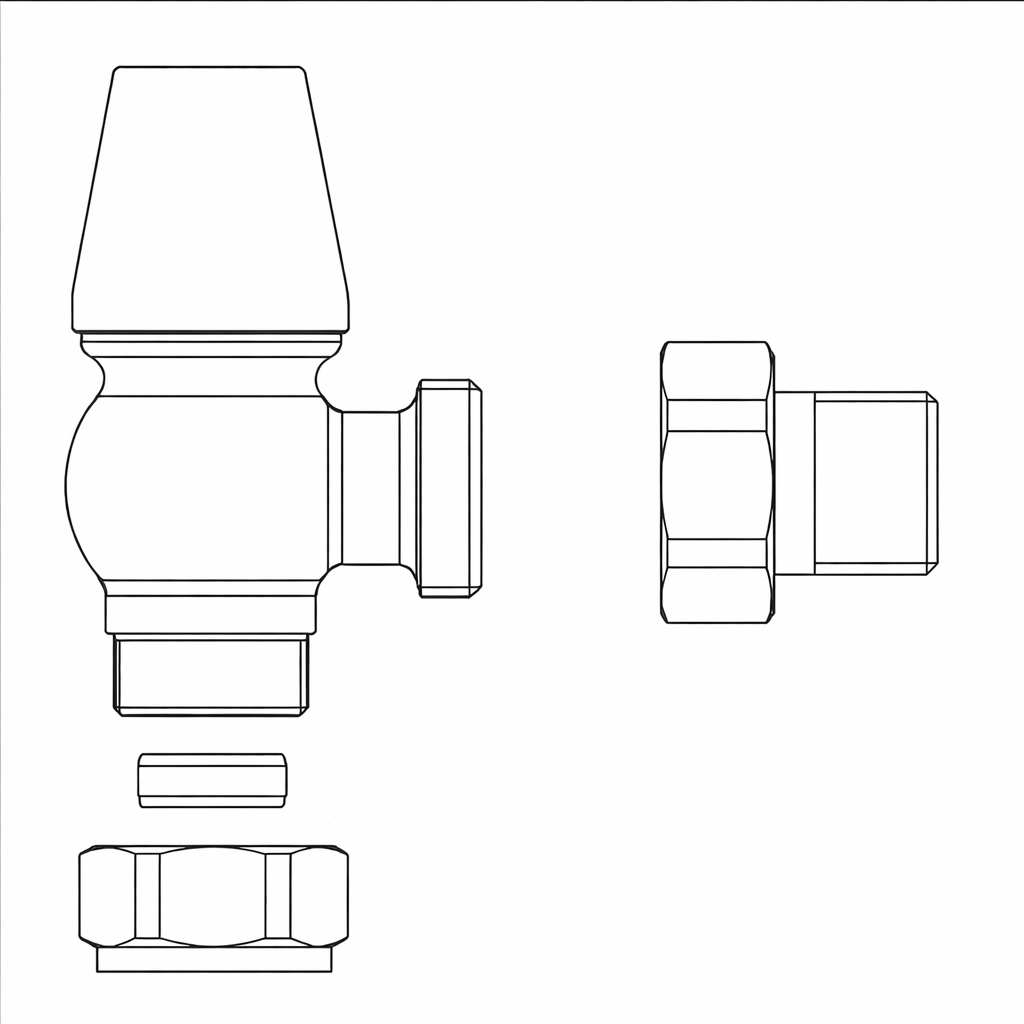
2. Step 2 - Fitting the Lock Shield Valve
Connect the lock shield valve to the outlet (return) side of the radiator, this will regulate the flow of the radiator.
Use a key to adjust the flow.
Balance the radiator to ensure a uniform temperature throughout.
Screw the BSP valve tail into the radiator using a suitable sealant or tape.
To fit the 15mm compression to the copper pipe, tighten the nut onto the olive to form the seal.
Please note:
Do not overtighten the valves and screws.
1. Maintenance
Regularly inspect for signs of corrosion, visible cracks, deformation, or damage both internally and externally. Keep the valve clean and dry to minimise deterioration.
Regularly check for water leaks at all joints and connections. If a leak is detected, isolate the system and consult a qualified technician immediately.
Do not use cleaning solvents, abrasives, or corrosive chemicals on the valve surface. Use a soft, damp cloth to clean.
Store the product in a dry, clean, temperature-controlled environment prior to installation, and protect it from physical damage and contamination.
Inspect the valve body. Replace immediately if any defects are identified.
2. Troubleshooting
Please read through the guide below if you have any issues or faults with your device. The information covers and resolves the majority of frequently asked questions.
Q: There are parts missing from my order. A: If there appears to be any part missing from your package contact our Customer Support team via the details on the Contact Us page within 7 days of receipt.
For all other issues please contact our Customer Support department via the details on the Contact page.