This guide provides step-by-step instructions for assembling components and using a Velo Pro Fluid Turbo. It includes preparation, assembly, and usage instructions.
Product Information
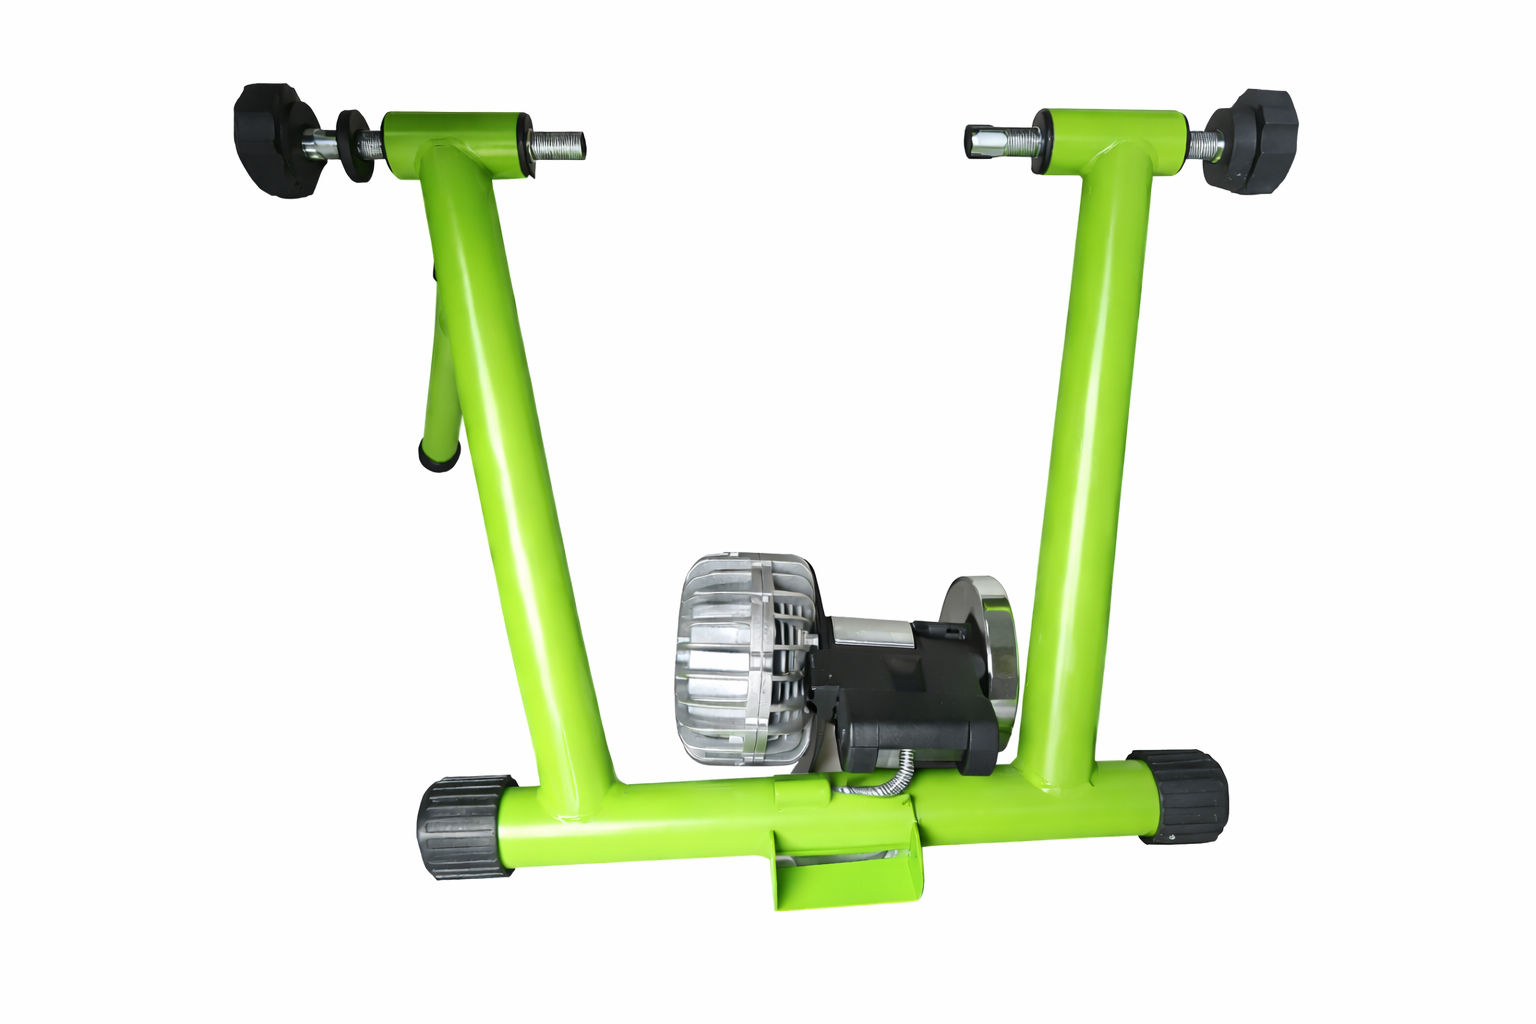
Velo Pro Fluid Turbo
Take your indoor cycling to a new level with the Velo Pro Fluid Turbo Trainer, engineered to deliver a smooth, quiet, and realistic road-like riding experience from the comfort of your home. Featuring a magnetic fluid resistance system with a heavy flywheel, it provides progressive, natural-feeling resistance that responds to every pedal stroke for immersive and effective training. Built with a heavy-duty steel frame and wide 26”–29” and 700c wheel compatibility, the Velo Pro offers exceptional stability and versatility for riders of all levels.
SKU
30193
Material
Alloy Steel
Colour
Black
Height
270mm / 27cm / 10.62"
Width
510mm /51cm / 20.07"
Depth
570mm /57cm / 22.44"
Weight
12KG
Wheel Size
26" , 29" & 700C tyres
Loading Capacity
200KG
GPSR Information
UK
Manufacturer:
Monster Group UK Limited, Monster House
19-23 Alan Farnaby Way,
Industrial Estate Sheriff Hutton,
York
YO60 6PG
Person Responsible:
Rana Harvey, Monster Group UK Limited,
Monster House
19-23 Alan Farnaby Way,
Industrial Estate Sheriff Hutton,
York
YO60 6PG,
England,
+441347878880
EU
Manufacturer:
Monster Group BV,
Van Heemskerckweg 28A & B,
Venlo 5928LL
Netherlands
+441347878880
Person Responsible:
Rana Harvey,
Monster Group BV,
Van Heemskerckweg 28A & B,
Venlo 5928LL,
Netherlands,
+44134787888
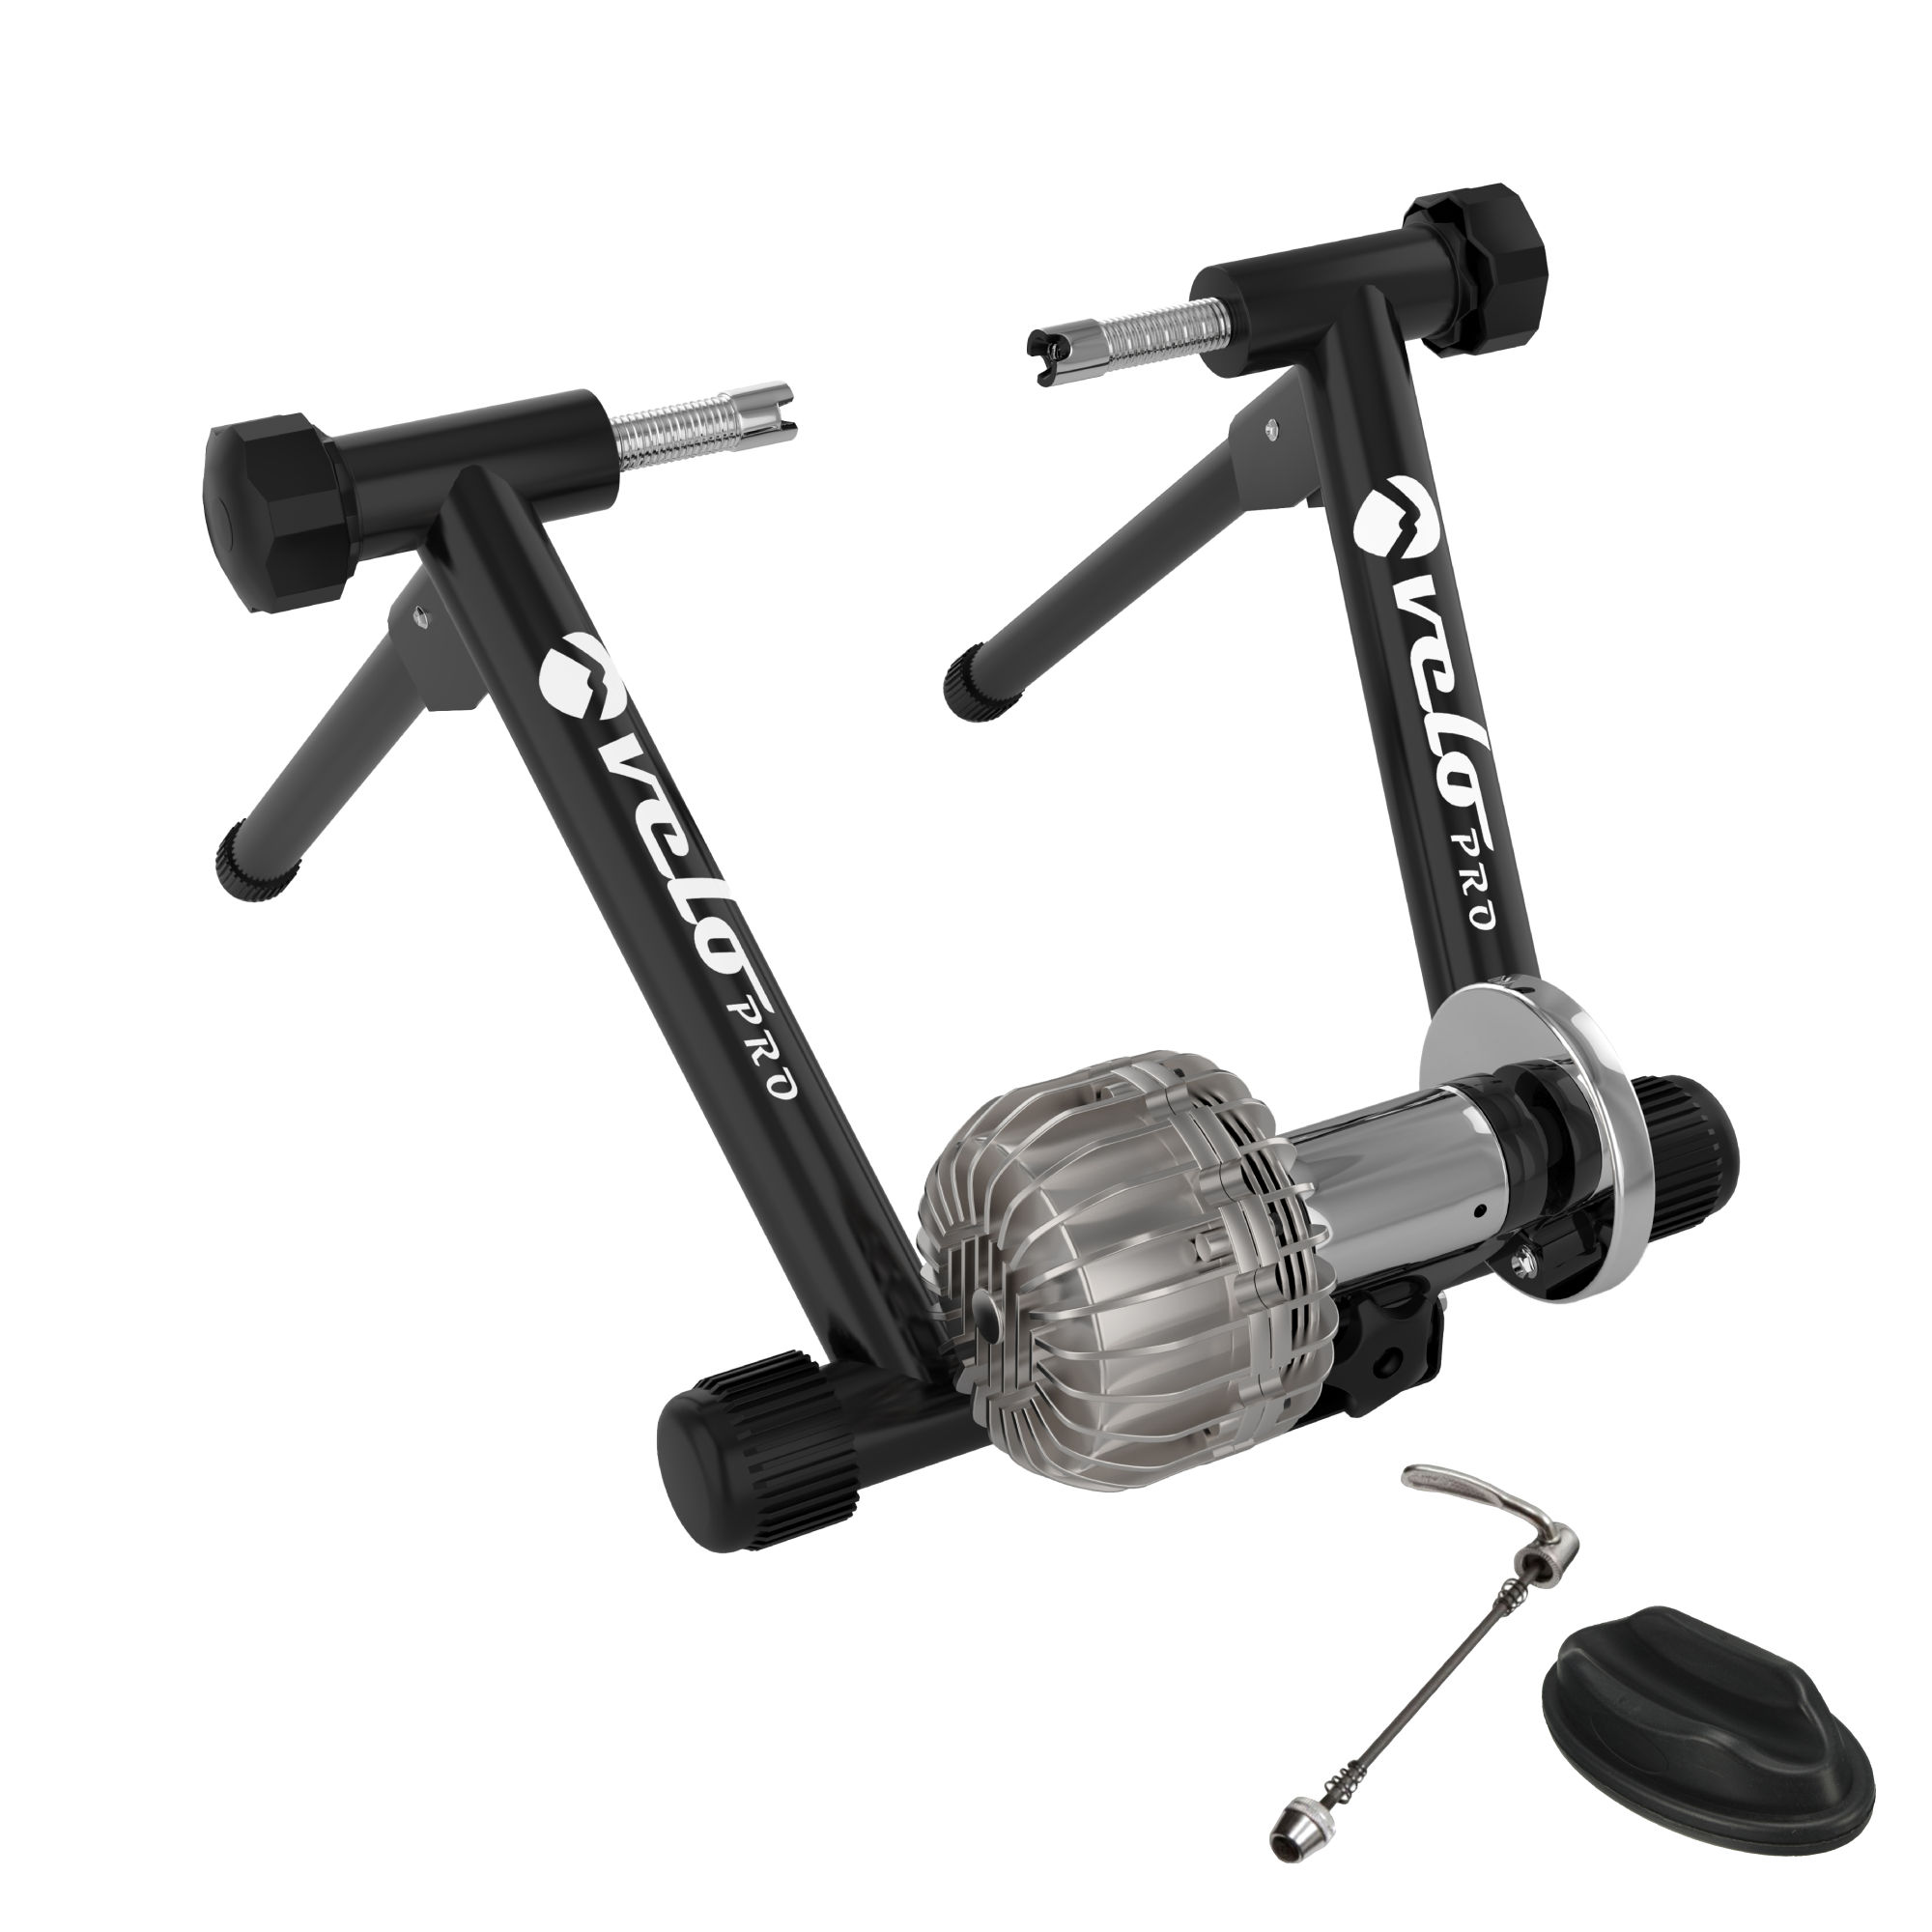
Parts
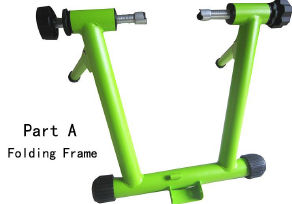
Part A - Holding Frame
Part B - Resistance Unit
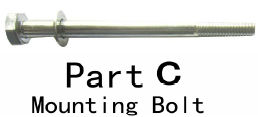
Part C - Mounting Bolt
Part D - Nuts
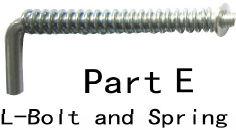
Part E - L-Bolt and Spring
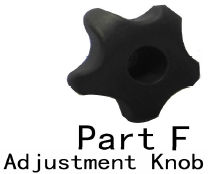
Part F - Adjustment Knob
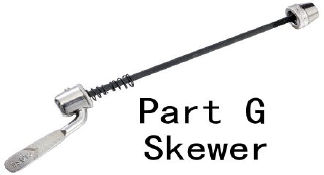
Part G - Skewer
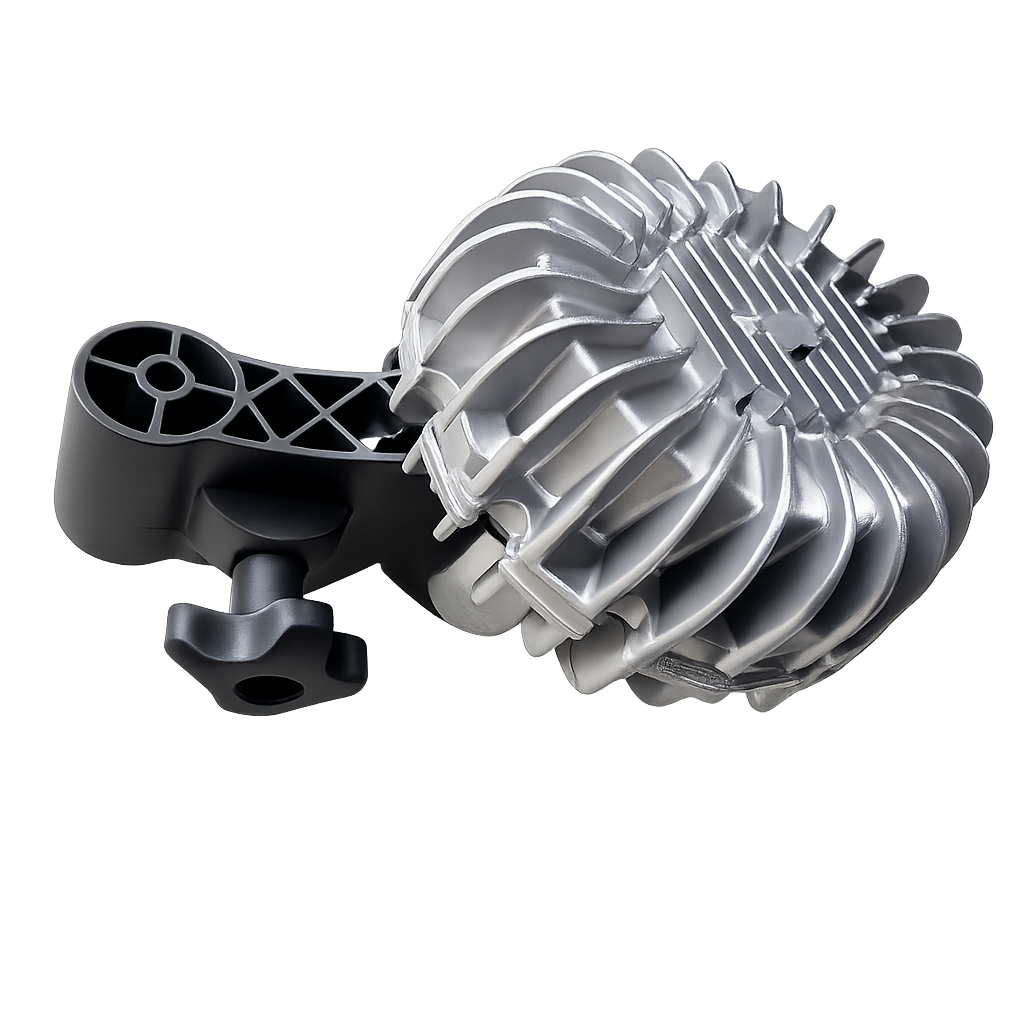
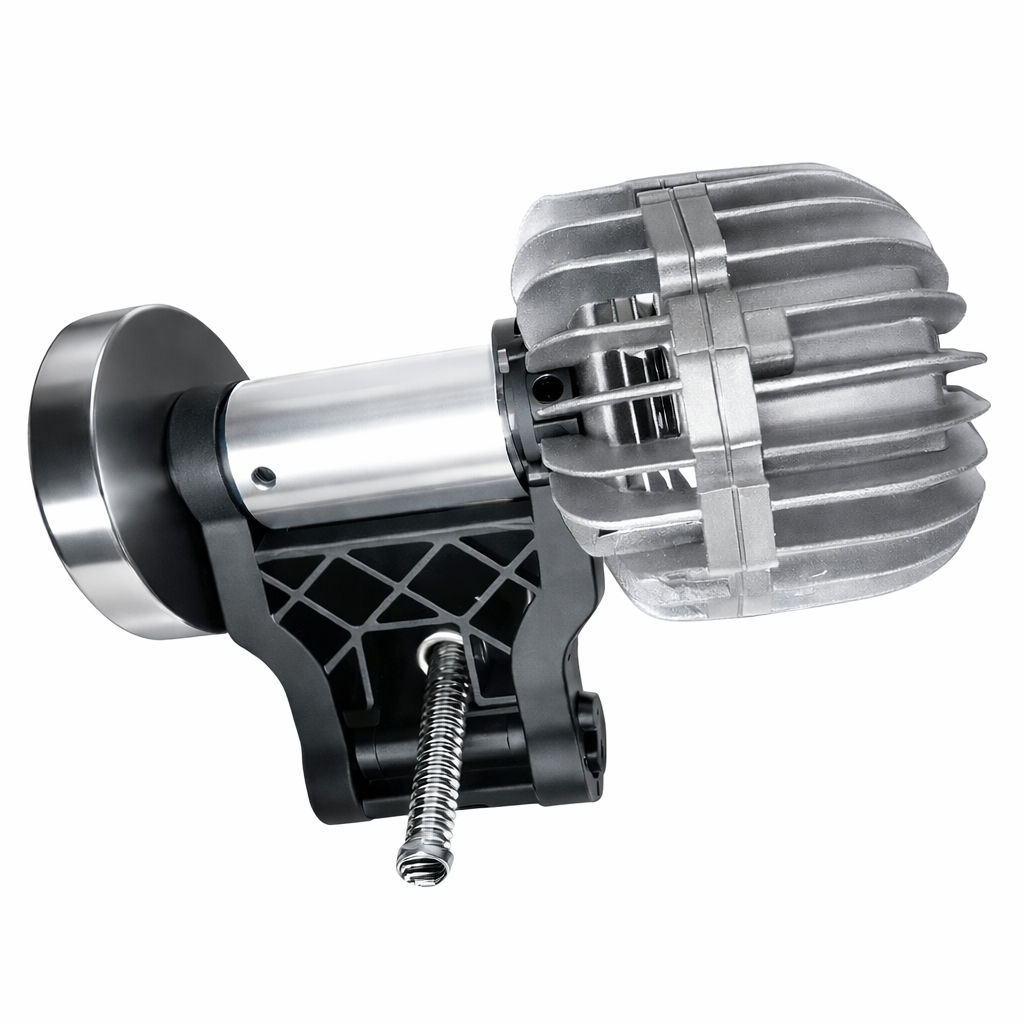
1. Attach the Resistance Unit to the Trainer
1. Fix the L-bolt and gasket into the hole. 2. Attach adjustment Knob.
Do not over-tighten
1. Place L-Bolt in frame sleeve as shown 2. Fasten resistance unit with mounting bolt and nut.
2. Attach Your Bike to the Trainer
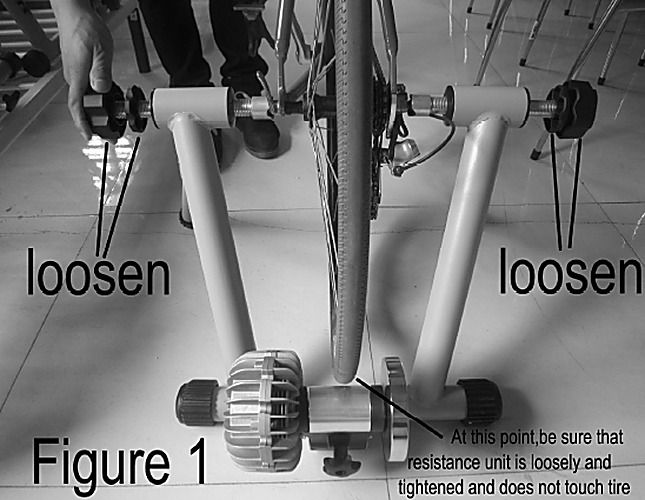
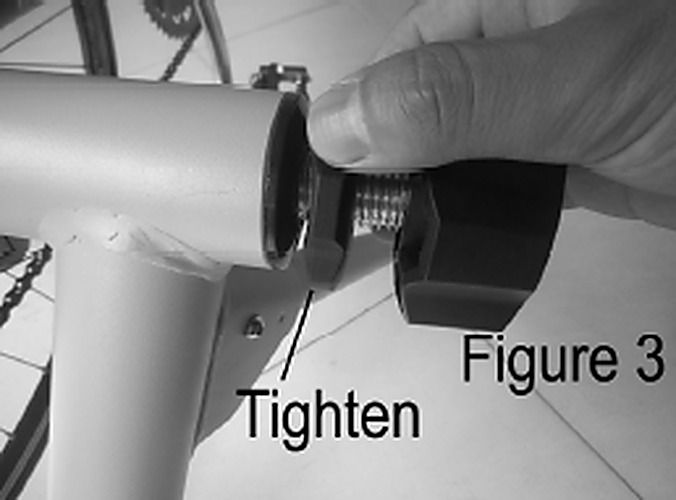
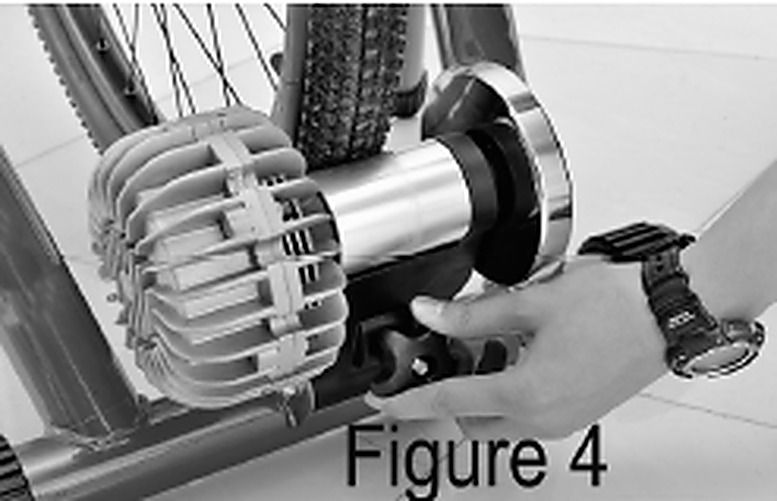
1. Remove your bike’s existing rear wheel quick-release skewer and replace it with the supplied Trainer Skewer (Part G). Ensure the skewer is correctly inserted through the rear hub and securely tightened so the rear wheel is firmly fixed within the bike frame before mounting onto the trainer. 2. Position the turbo trainer on a flat, stable surface. Loosen the tensioning knob and lock ring on both sides of the trainer to fully open the mounting clamps. 3. Lift the rear of the bike and align the ends of the Trainer Skewer (Part G) with the trainer’s mounting clamps. Lower the bike so the skewer sits securely into both clamp slots. Ensure the rear tyre rests centrally against the resistance unit roller. 4. Tighten the tensioning knob gradually until the bike is firmly secured and upright. Confirm that the rear wheel is centred on the resistance roller and that the frame is stable. 5. Once correctly positioned, tighten the lock ring firmly against the tensioning knob to prevent loosening during use. Double-check that the bike is stable and cannot move side to side. 6. Turn the resistance unit adjustment knob to bring the roller into contact with the rear tyre. Tighten only until the roller makes firm contact. Do not over-tighten, as excessive pressure may cause premature tyre wear or damage to the resistance unit. 7. Place the supplied front wheel riser block under the front tyre to level the bike and improve stability during training. Ensure the bike is balanced and stable before beginning your workout.
3. Removing Your Bike from the Trainer:
1. Turn the resistance unit adjustment knob anti-clockwise to release pressure from the rear tyre before removing the bike. 2. Loosen the lock ring, then gradually loosen the tensioning knob while firmly holding the bike to prevent it tipping or falling. 3. Carefully lift the rear of the bike and remove the Trainer Skewer (Part G) from the mounting clamps. Ensure you maintain control of the bike at all times. 4. Remove the front wheel from the riser block and return the riser block to storage. Your bike is now free from the trainer. 5. If required, replace the Trainer Skewer (Part G) with your bike’s original quick-release skewer before outdoor riding. 6. To store the trainer, fold the frame carefully according to the folding mechanism. Keep hands and fingers clear of pivot points to avoid pinching injuries. 7. Store the trainer in a dry, stable location away from moisture and direct heat sources. Do not place heavy objects on top of the trainer, particularly on the resistance unit or adjustment knob, as this may cause damage. 8. Take care to protect the resistance unit and adjustment knob from impact or contamination during storage to ensure continued safe and smooth operation.
1. Maintenance
Regularly clean the trainer frame with a dry or slightly damp cloth; do not use solvents or abrasive cleaners.
Check all bolts, tensioning mechanisms, and locking components weekly for tightness.
Inspect the resistance roller for wear and ensure smooth rotation before each use.
Monitor your rear tyre for excessive wear caused by trainer use and replace when necessary.
Lubricate moving metal pivot points lightly if required, avoiding contact with the resistance unit.
Immediately discontinue use if you notice unusual noise, vibration, instability, or oil leakage and contact the manufacturer for guidance.