This guide provides step-by-step instructions for assembling, using, and maintaining your Monster Shop Wooden Victorian Greenhouse.
Product Information
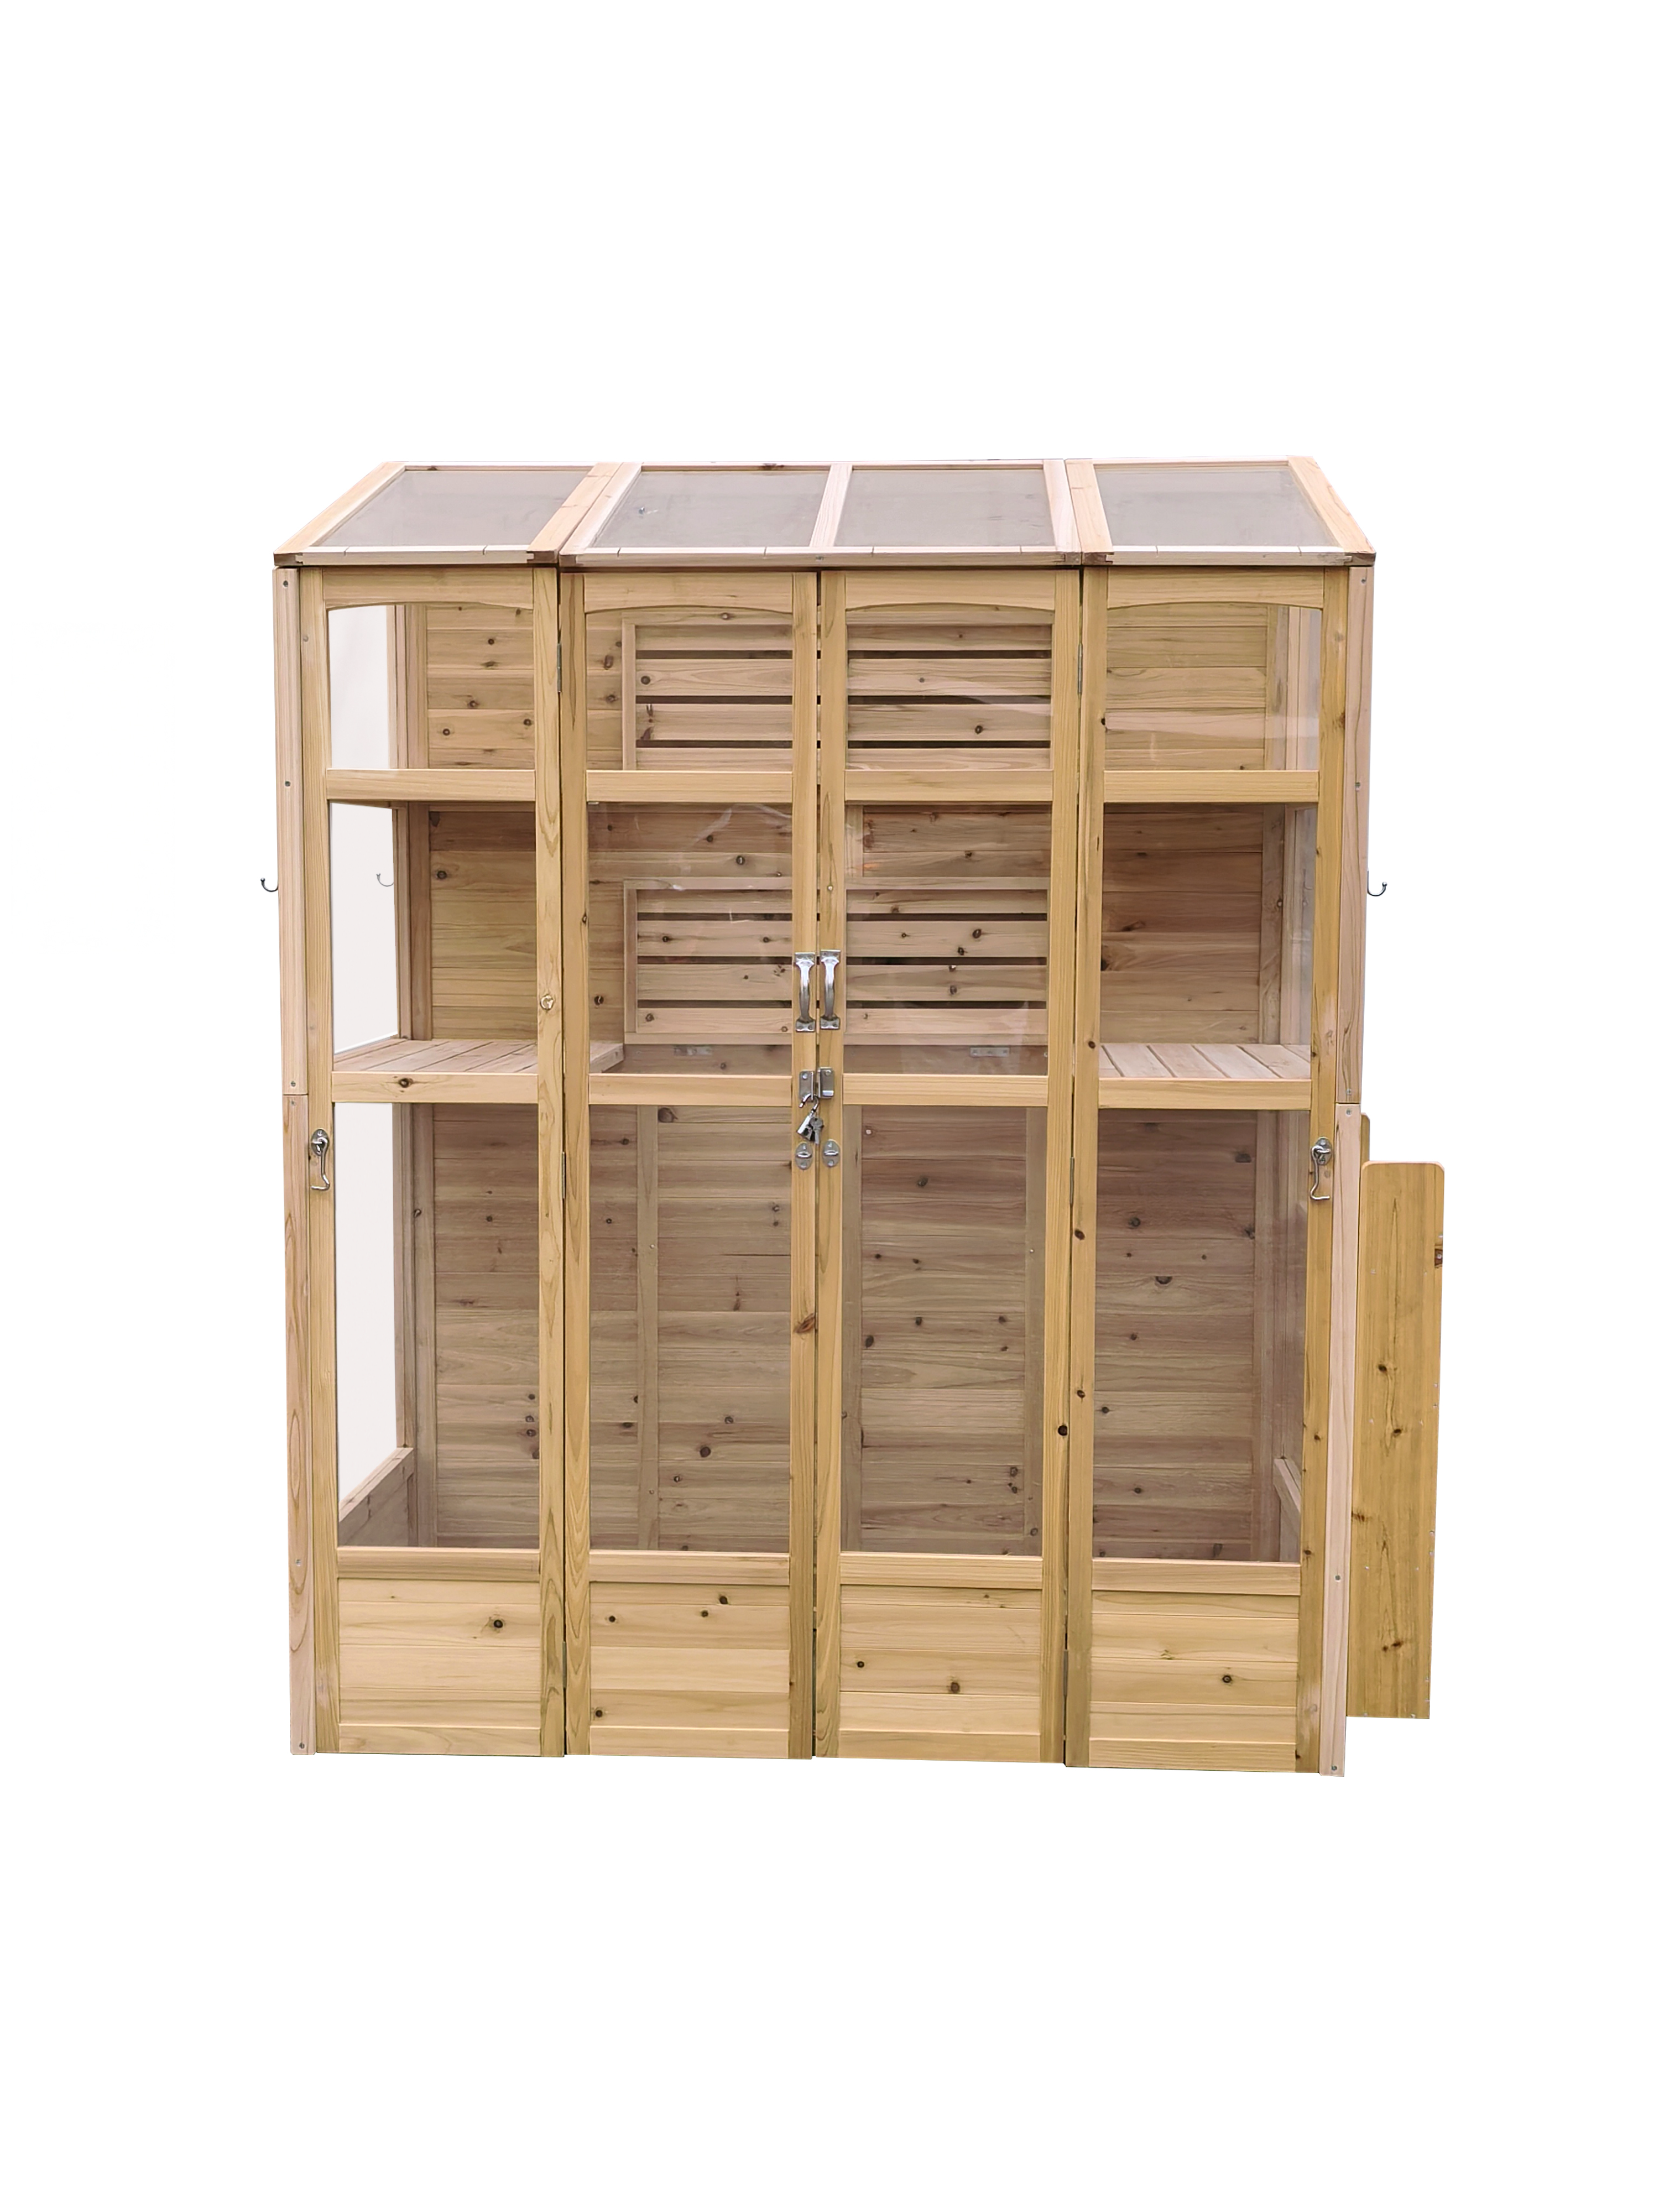
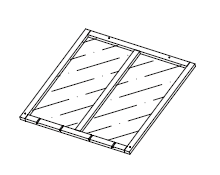
Victorian Greenhouse
This compact Victorian Greenhouse blends traditional styling with modern practicality, making it ideal for patios, courtyards, and smaller gardens. Its clear acrylic roof and windows provide excellent sunlight exposure for plants, while the durable timber frame ensures year-round protection and display. The dual-swing doors and built-in shelving offer easy access and ample room for pots, tools, and seasonal arrangements. The automatic vent opener uses a heat-sensitive cylinder that expands in warm temperatures to open the window and contracts when cool to close it.
SKU
216698,216700,216702
Dimensions
155 (L) x 70 (W) x 198 (H) cm
Weight
55KG
Materials
Fir-Wood (Frame), Iron (Accessories), Acrylic Panels (Windows)
GPSR Information
UK
Manufacturer:
Monster Group UK Limited, Monster House
19-23 Alan Farnaby Way,
Industrial Estate Sheriff Hutton,
York
YO60 6PG
Person Responsible:
Rana Harvey, Monster Group UK Limited,
Monster House
19-23 Alan Farnaby Way,
Industrial Estate Sheriff Hutton,
York
YO60 6PG,
England,
+441347878880
EU
Manufacturer:
Monster Group BV,
Van Heemskerckweg 28A & B,
Venlo 5928LL
Netherlands
+441347878880
Person Responsible:
Rana Harvey,
Monster Group BV,
Van Heemskerckweg 28A & B,
Venlo 5928LL,
Netherlands,
+44134787888
Parts
Part 1 - Left Door Panel
Part 2 - Right Door Panel
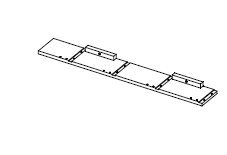
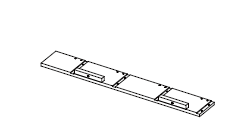
Part 3 - Lower Side Panel
Part 4 - Upper Side Panel
Part 5 - Lower Side Panel
Part 6 - Upper Side Panel
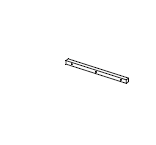
Part 7 - Support Piece
Part 8 - Support Piece
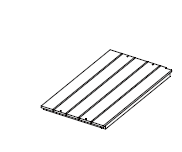
Part 9 - Back Panel
Part 10 - Back Panel
Part 11 - Back Panel
Part 12 - Back Panel
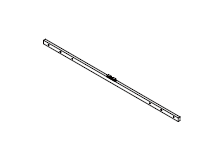
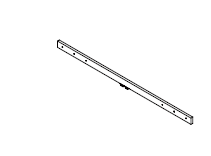
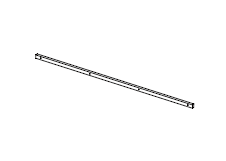
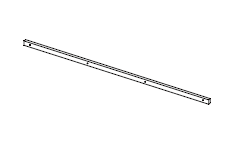
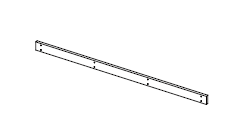
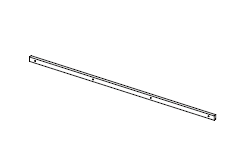
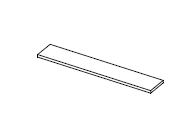
Part 13 - Support Beam
Part 14 - Support Beam
Part 15 - Support Beam
Part 16 - Support Beam
Part 17 - Shelf Support
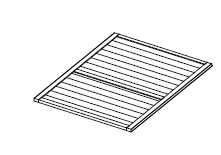
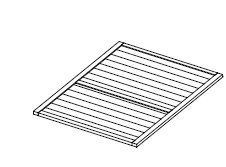
Part 18 - Shelves
Part 19 - Shelves
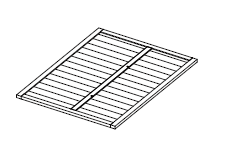
Part 20 - Back Shelf
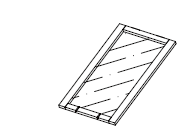
Part 21 - Single Roof Window
Part 22 - Double Roof Window
Part 23 - Shelving Unit Side
Part 24 - Shelving Unit Side
Part 25 - Shelving Unit Shelves
Part 26 - Shelving Unit Front
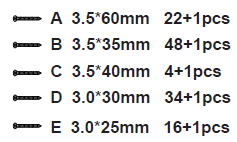
Part A - Screws
Part B - Screws
Part C - Screws
Part D - Screws
Part E - Screws
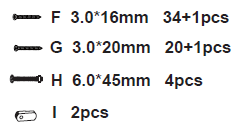
Part F - Screws
Part G - Screws
Part H - Screws
Part I - Shelf Latch
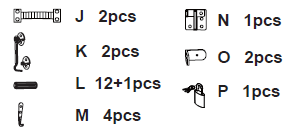
Part J - Handles
Part K - Hook and Eye
Part L - Dowels
Part M - Hooks
Part N - Latch
Part O - L Bracket
Part P - Padlock
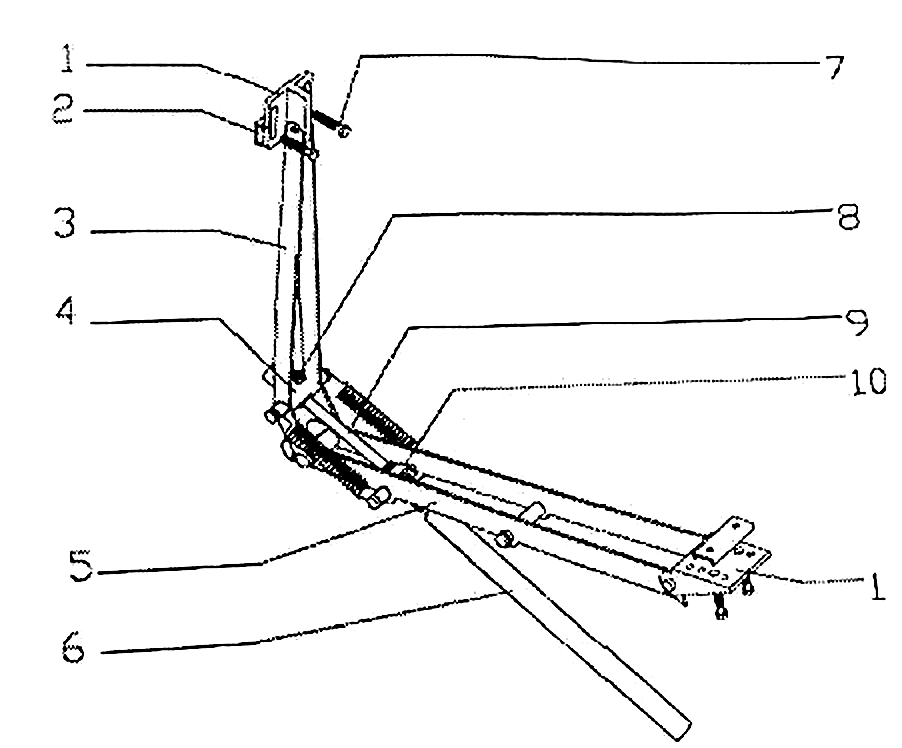
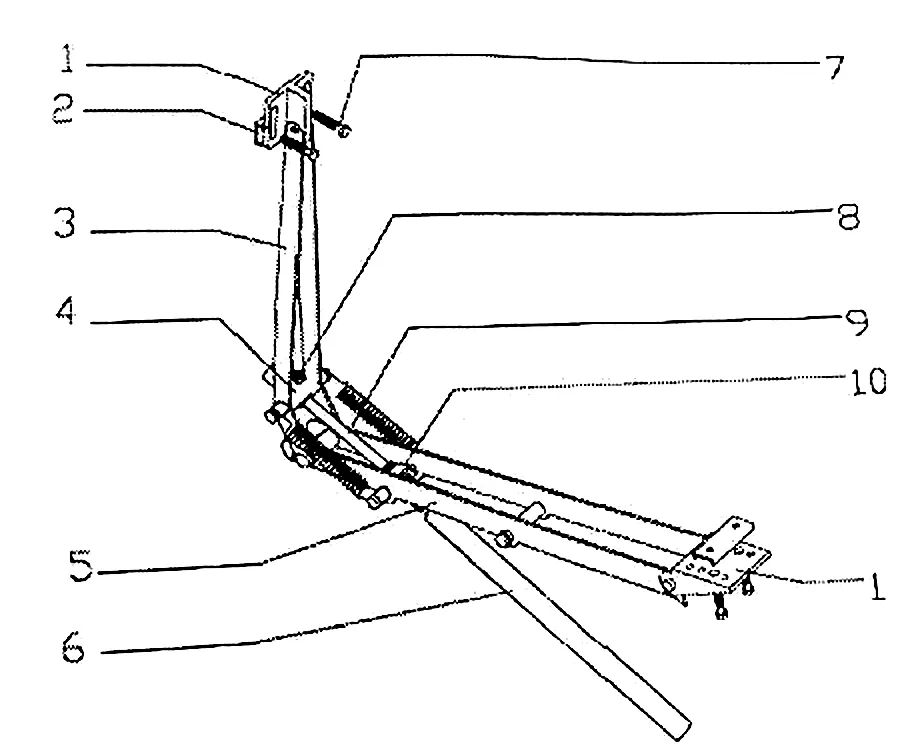
Auto Vent Part 1 - Bracket
Auto Vent Part 2 - Clamp
Auto Vent Part 3 - Window Arm
Auto Vent Part 4 - T-Tube
Auto Vent Part 5 - Frame Arm
Auto Vent Part 6 - Cylinder
Auto Vent Part 7 - Bolts
Auto Vent Part 8 - Pin
Auto Vent Part 9 - Auto Vent
Auto Vent Part 10 - Cylinder Nut
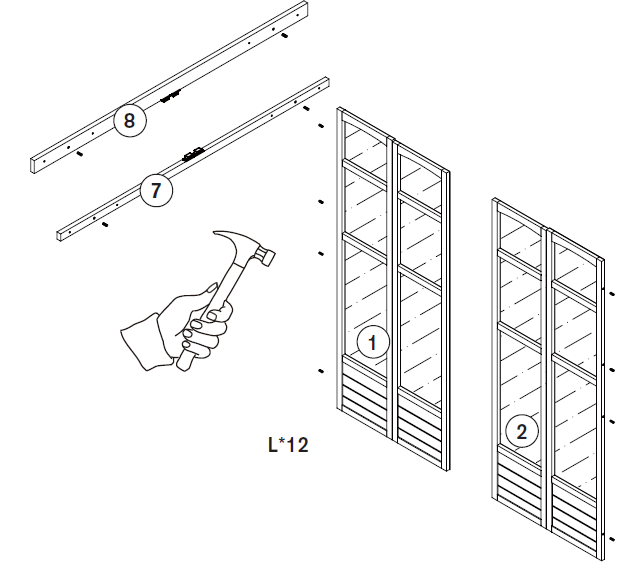
1. Step 1 - Door Assembly Part 1
Stand the left door panel (Part 1) and the right door panel (Part 2) upright and next to each other.
Insert the wooden dowels (Part L) into the door panels.
Insert the dowels into support beams (Parts 7 and 8).
2. Step 2 - Door Assembly Part 2
Attach the wooden support beams (Part 7 and 8) to the door panels (Parts 1 and 2) using the screws (Part B).
Attach the shelf support (Part 17) to the door panels using Part B.
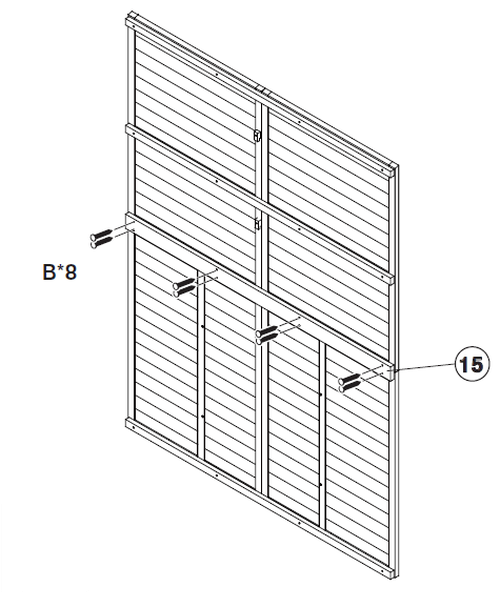
3. Step 3 - Attach the Support Beams to the Back Panel
Screw the support beams (Parts 13, 14 and 16) into the back panels (Parts 9, 10, 11 and 12), using the screws (Part B).
NOTE:
The tapered edge on Parts 9 and 10 need to be facing towards the baton (Part 13).
Make sure the holes on Parts 11 and 12 are facing close to the centre.
4. Step 4 - Connecting the Back Panels
Use the screws (Part B) to connect the support beam (Part 15) to the back panels. This will help to make the back panels sturdy.
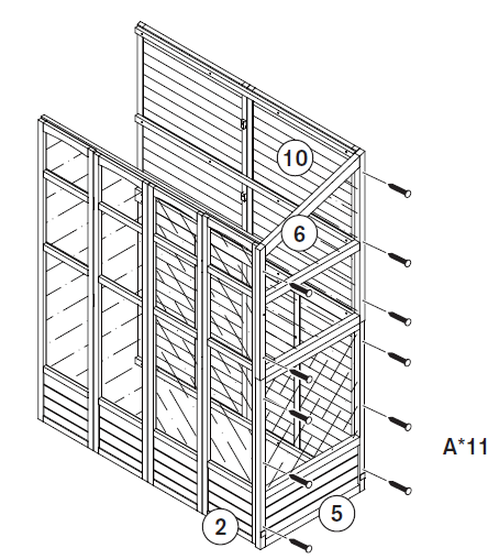
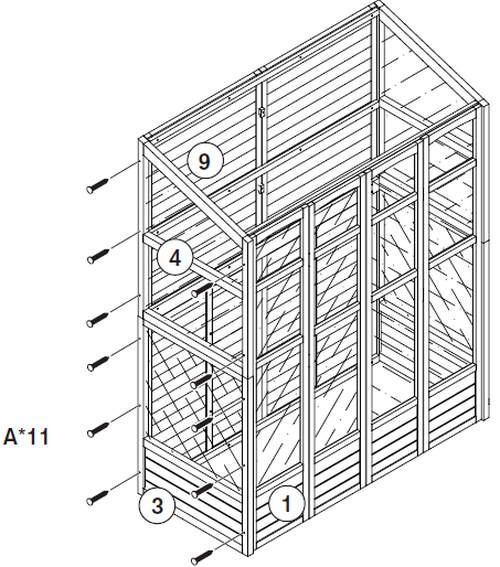
5. Step 5 - Attaching the Side Panels
Line up the lower side panel (Part 5) and screw it into the back (Part 10) and front (Part 2) panels using the screws (Part A).
Line up the upper side panel (Part 6) and screw it into the back (Part 10) and front (Part 2) panels using the screws (Part A).
6. Step 6 - Attaching the Side Panels to the Other Side
Line up the lower side panel (Part 3) and screw it into the back (Part 9) and front (Part 1) panels using the screws (Part A).
Line up the upper side panel (Part 4) and screw it into the back (Part 9) and front (Part 1) panels using the screws (Part A).
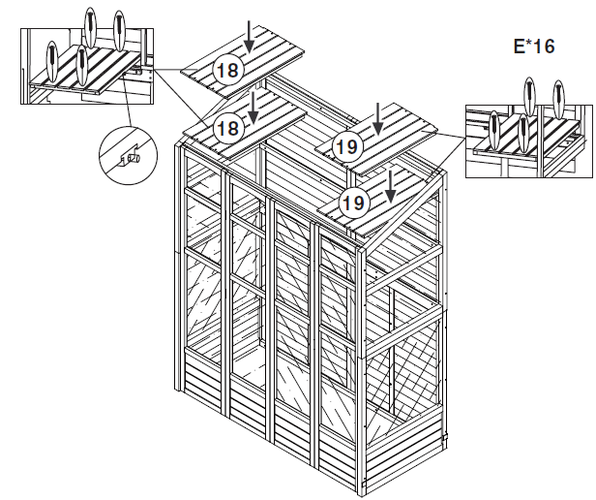
7. Step 7 - Installing the Side Shelves
Use the screws (Part E) to install the shelves (Parts 18 and 19). The shelves need to be screwed into the support beams.
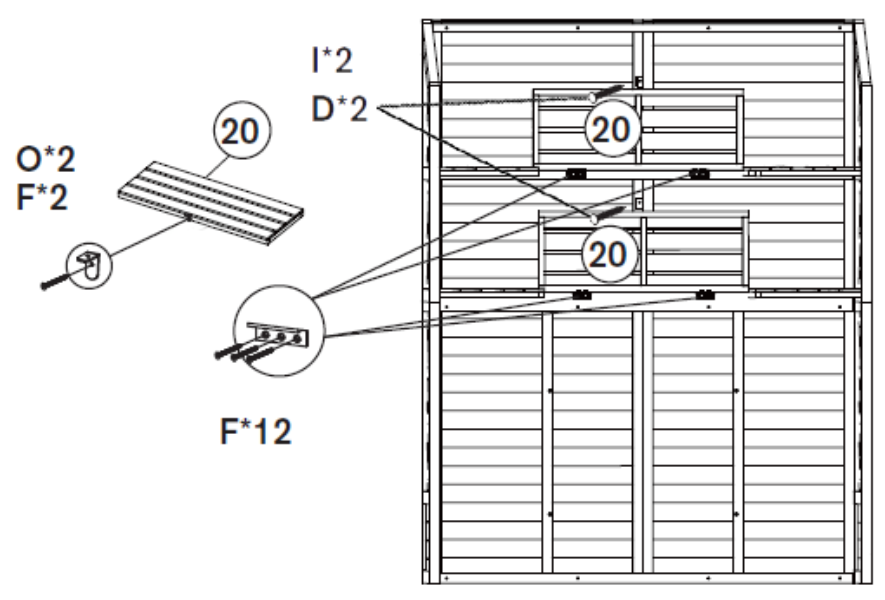
8. Step 8 - Installing the Back Shelf
Use the screws (Part F) to attach the back shelf (Part 20) to the back panel.
Attach the L bracket (Part O) to the front edge of the back shelf (Part 20).
Line up the shelf latch (Part I) to the L bracket (Part O).
Attach the shelf latch (Part I) to the back panel using (Part D).
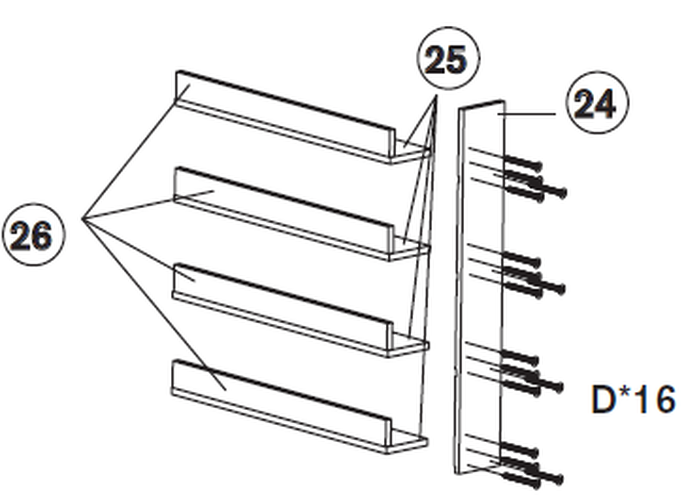
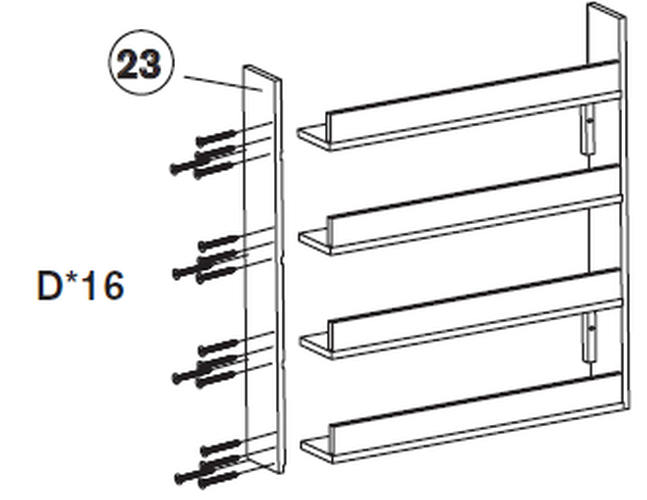
9. Step 9 - Build the Shelving Unit
Build the shelving unit using the shelves (Part 25 and 26) and the side (Part 24). Screw these into place using Part 16.
10. Step 10 - Building the Shelving Unit Part 2
Using Part 16, screw together the side panel (Part 23) to the rest of the shelving unit.
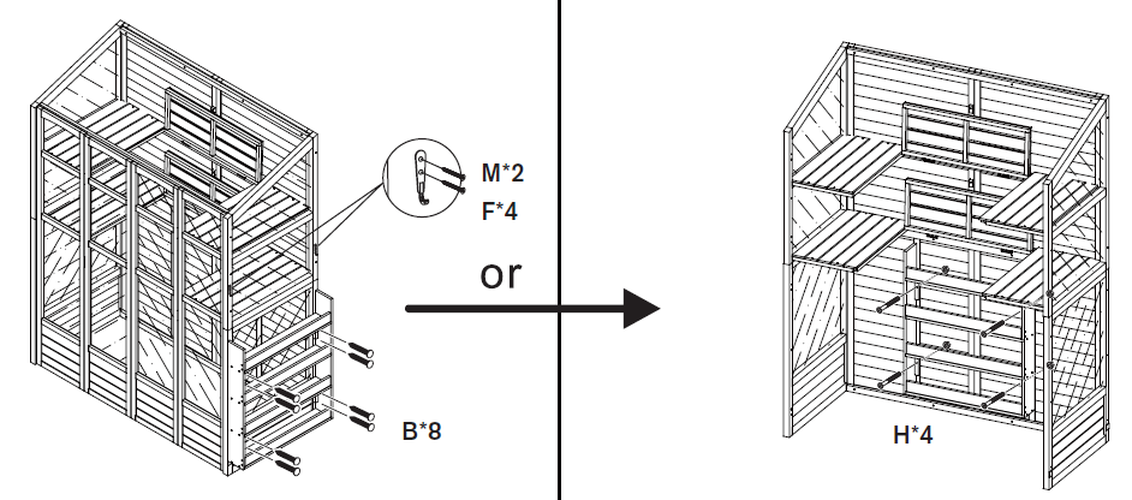
11. Step 11 - Attaching the Shelving Unit
To attach the shelving unit to the greenhouse, you can either attach the unit internally or externally.
Secure the shelving unit to the greenhouse back panel using Screws (Part H), aligning them with the pre-drilled pilot holes provided.
Alternatively, for the external option, attach the shelving unit above the preinstalled block using Screws (Part B). As there are no pilot holes for this option, first mark the hole positions with a centre punch. Then pre-drill the holes with a fine drill bit to help prevent the wood from splitting when screwing in the screws (Part B).
Attach the hooks (Part M) to the outside of the greenhouse, on the side panel.
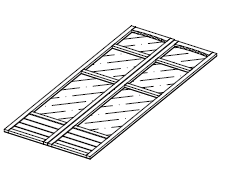
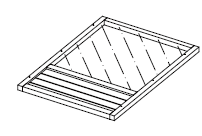
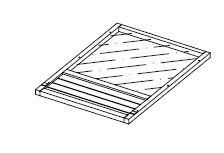
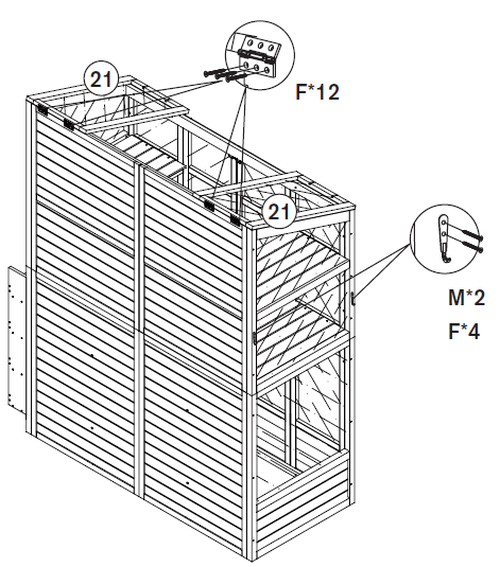
12. Step 12 - Installing the Single Roof Windows
Line up the back of the single roof windows (Parts 21) with the back of the greenhouse.
Use the screws (Part F) to attach the built in hinge to the greenhouse.
As in the previous step, attach the hooks (Part M) to the outside of the greenhouse, on the opposite side to the hooks installed in Step 11.
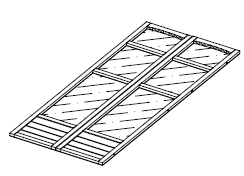
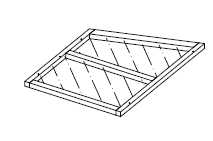
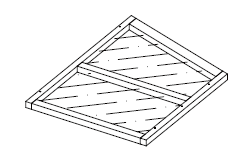
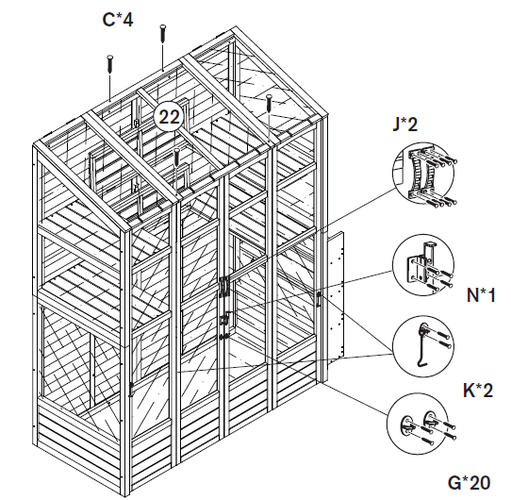
13. Step 13 - Installing the Double Roof Windows and Accessories
Line up the back of the double roof window (Part 22) with the back of the greenhouse.
Install into the position using the screws (Part C).
Install the handles (Part J) using the screws (Part G).
Underneath the handles, install the latch (Part N) using the screws (Part G).
Underneath the latch, install the hook and eye (Part K).
Note: Secure the greenhouse by anchoring the structure firmly to the ground. Use suitable fixings such as rope and stakes for soft ground, or bolts for hard surfaces (e.g. concrete or paving). Always position the greenhouse on a flat, level surface to ensure stability.
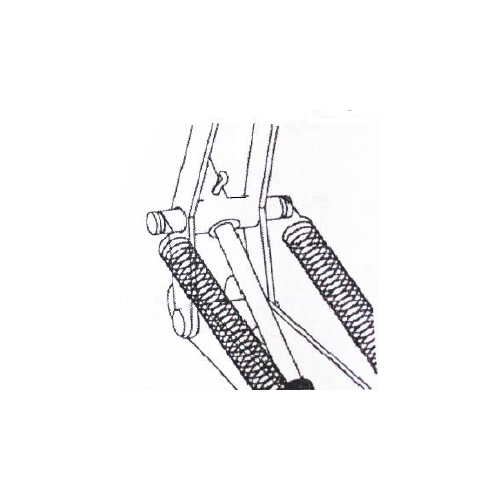
14. Step 1 - Connecting the T-tube and Auto Vent
Cross the cylinder nut (Part 10) by the auto vent (Part 9) of the cylinder (Part 6), then put the auto vent into the T-tube (Part 4).
Make sure that the hole of the T-tube and the auto vent are in line.
Please pay attention to the direction of the T-tube, then put the pin (Part 8) into the hole. Now the auto vent and T-tube are connected by the pin.
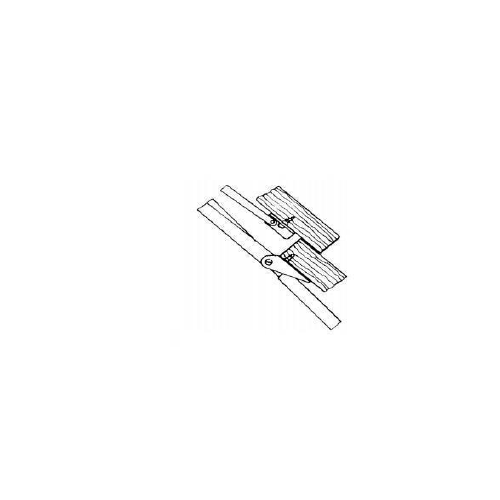
15. Step 2 - Installing the Brackets
Ensure that both of the brackets (Part 1) are as close as possible to the edge of the window frame.
Install the brackets using the bolts (Part 7) to the window and greenhouse frame.
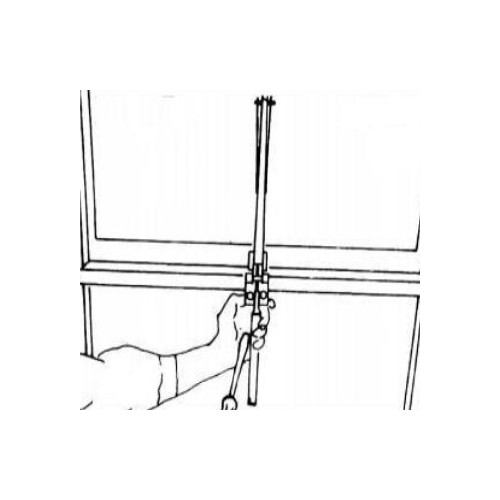
16. Step 3 - Rotating the Cylinder
Gradually open the window, and rotate the cylinder into the cylinder nut until the screw is protuded.
17. Adjusting the Auto Vent
Turning the cylinder can make your automatic vent start opening at different temperatures.
Turning clockwise can make it higher and open earlier.
Turning anticlockwise can make it lower and open later.
One complete turn corresponds to approximately 0.5°C.
NOTE:
Automatic ventilation of the greenhouse can not be used at temperatures above 60°C.
When you receive this item in summer, you need to put the black bar into the fridge for at least 5 minutes, to make the cylinder rod retract fully before you assemble this product.
18. Auto Ventilation Information
How the Auto Ventilation works:
The automatic vent opener uses a temperature-sensitive cylinder to open and close your greenhouse window without electricity.
Inside the cylinder is a special material (usually wax or oil) that expands when it gets warm and contracts when it cools.
What happens as the temperature changes:
When the temperature rises:
* The material inside the cylinder expands
* This pushes the piston rod outward
* The rod moves the arms connected to the window
* The window gradually opens, allowing heat to escape
When the temperature drops:
* The material inside the cylinder contracts
* The piston rod retracts
* The arms pull the window closed
* The window closes automatically, keeping heat inside
How the mechanism moves the window:
The cylinder and piston rod provide the pushing force
The arms (window arm and frame arm) transfer this movement to the window
The brackets and clamps hold the unit between the window and the greenhouse frame
As the rod extends and retracts, the arms act like a lever to open and close the vent.
Temperature control:
You can adjust when the window starts to open by turning the cylinder:
* Clockwise → opens at a higher temperature (later)
* Anticlockwise → opens at a lower temperature (earlier)
Each full turn changes the opening point by about 0.5°C (1°F)
Key points for users:
The system is fully automatic and requires no power
It opens gradually as the greenhouse warms up
It closes automatically as it cools
Designed for vents up to 15 kg and opens up to 45 cm
19. Maintenance
Inspect all timber parts annually for signs of wear, splintering or weather damage and retreat as necessary with a suitable timber preservative.
Routinely check the roof for signs of stress, warping, or movement, particularly after snowfall or high winds.
Conduct full seasonal inspections of the structure, seals, panels, roof, and base fixings to ensure stability and safety.
Promptly clear snow, fallen branches, and other debris from the roof to prevent structural overload or failure.
Before each use, inspect all hinges, latches and hardware for any signs of sharp edges or damage.
20. Troubleshooting
Please read through the guide below if you have any issues or faults with your device. The information covers and resolves the majority of frequently asked questions.
Q: There are parts missing from my order. A: If there appears to be any part missing from your package contact our Customer Support team via the details on the Contact Us page within 7 days of receipt.
For all other issues please contact our Customer Support department via the details on the Contact page.