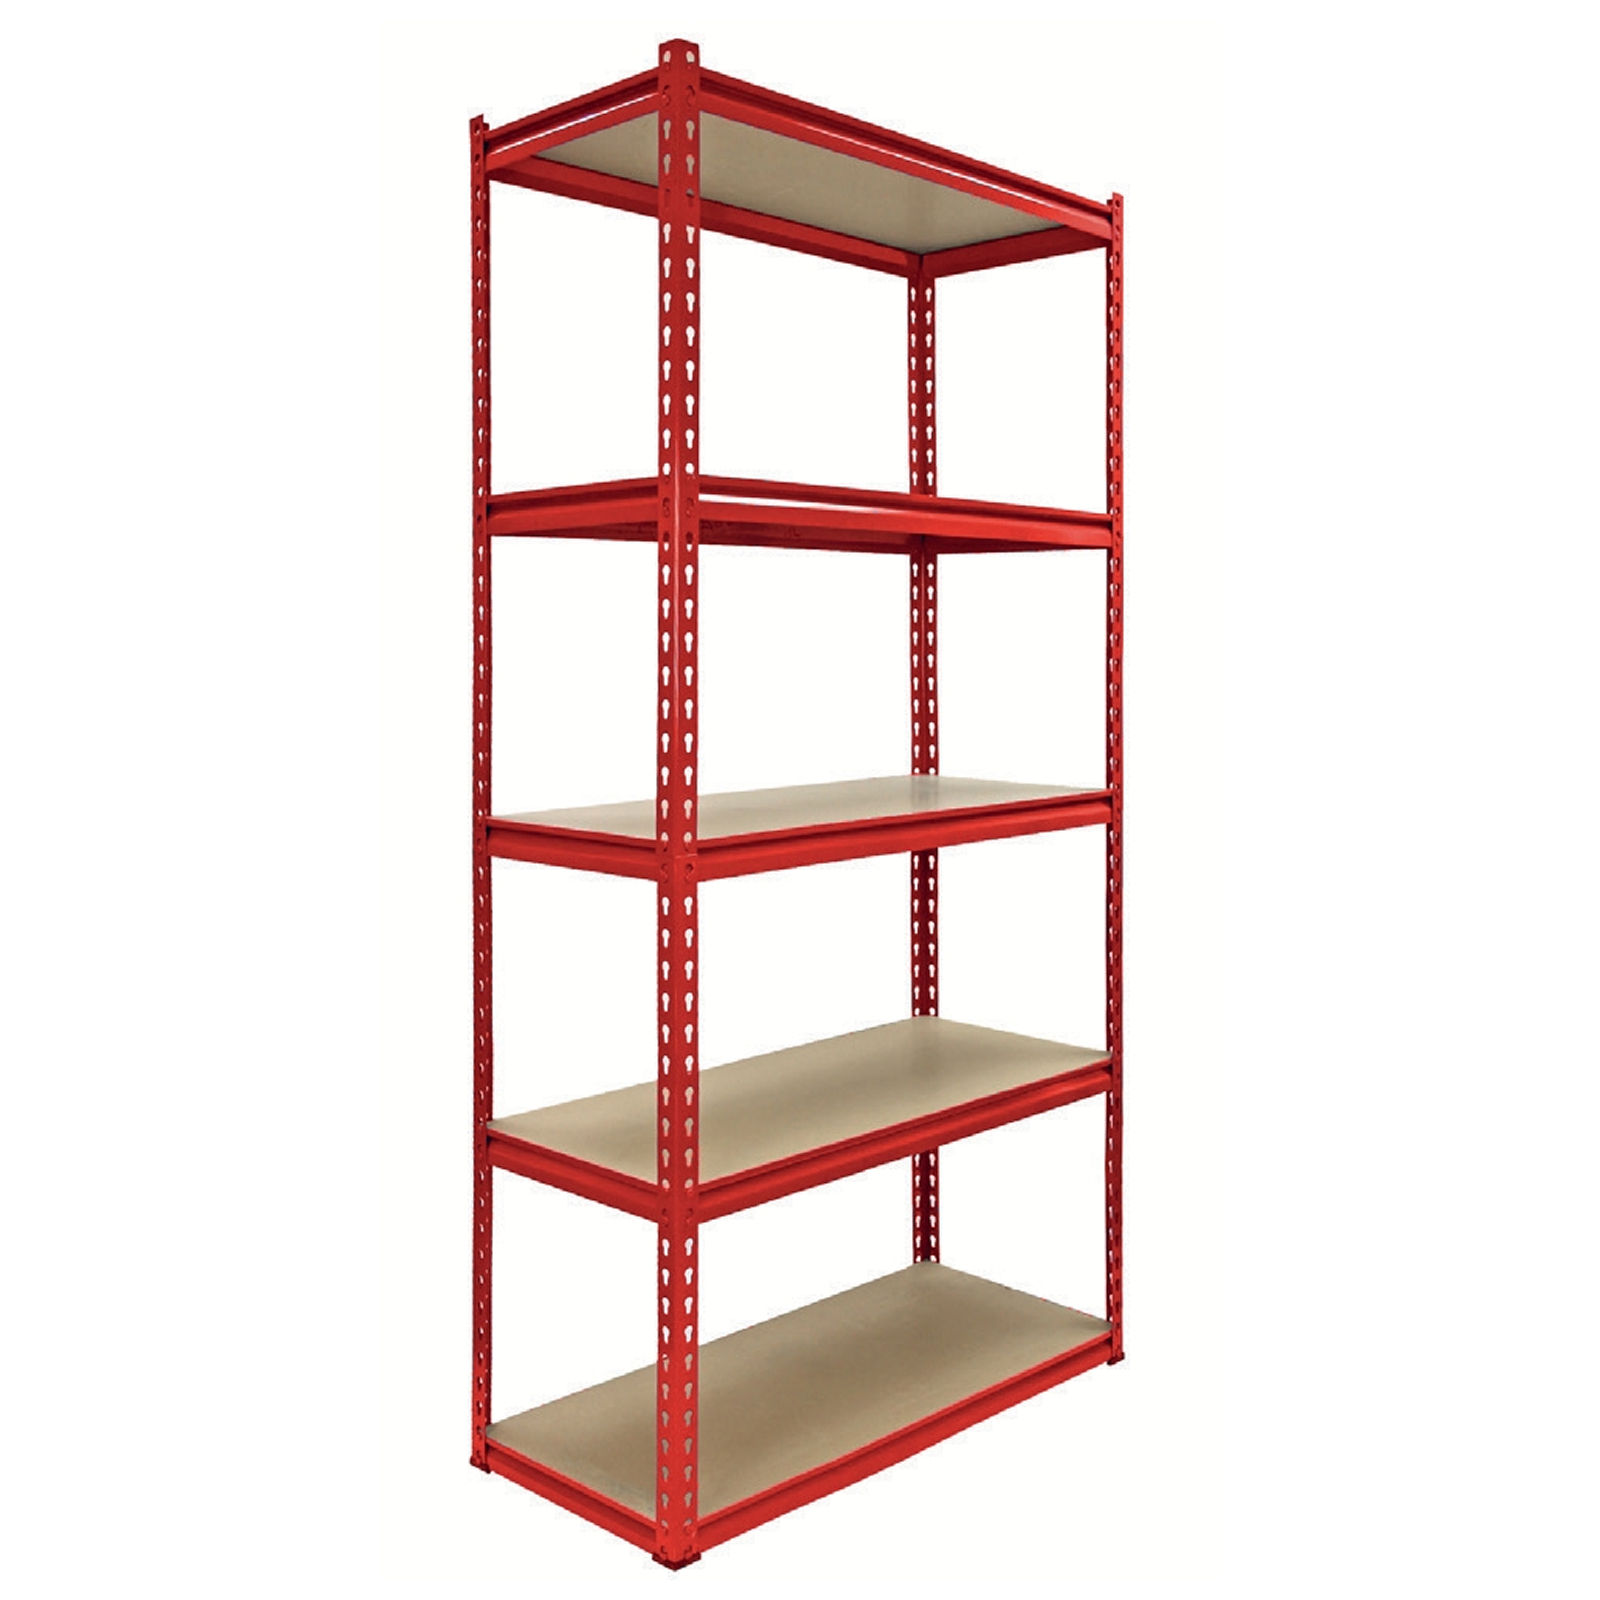
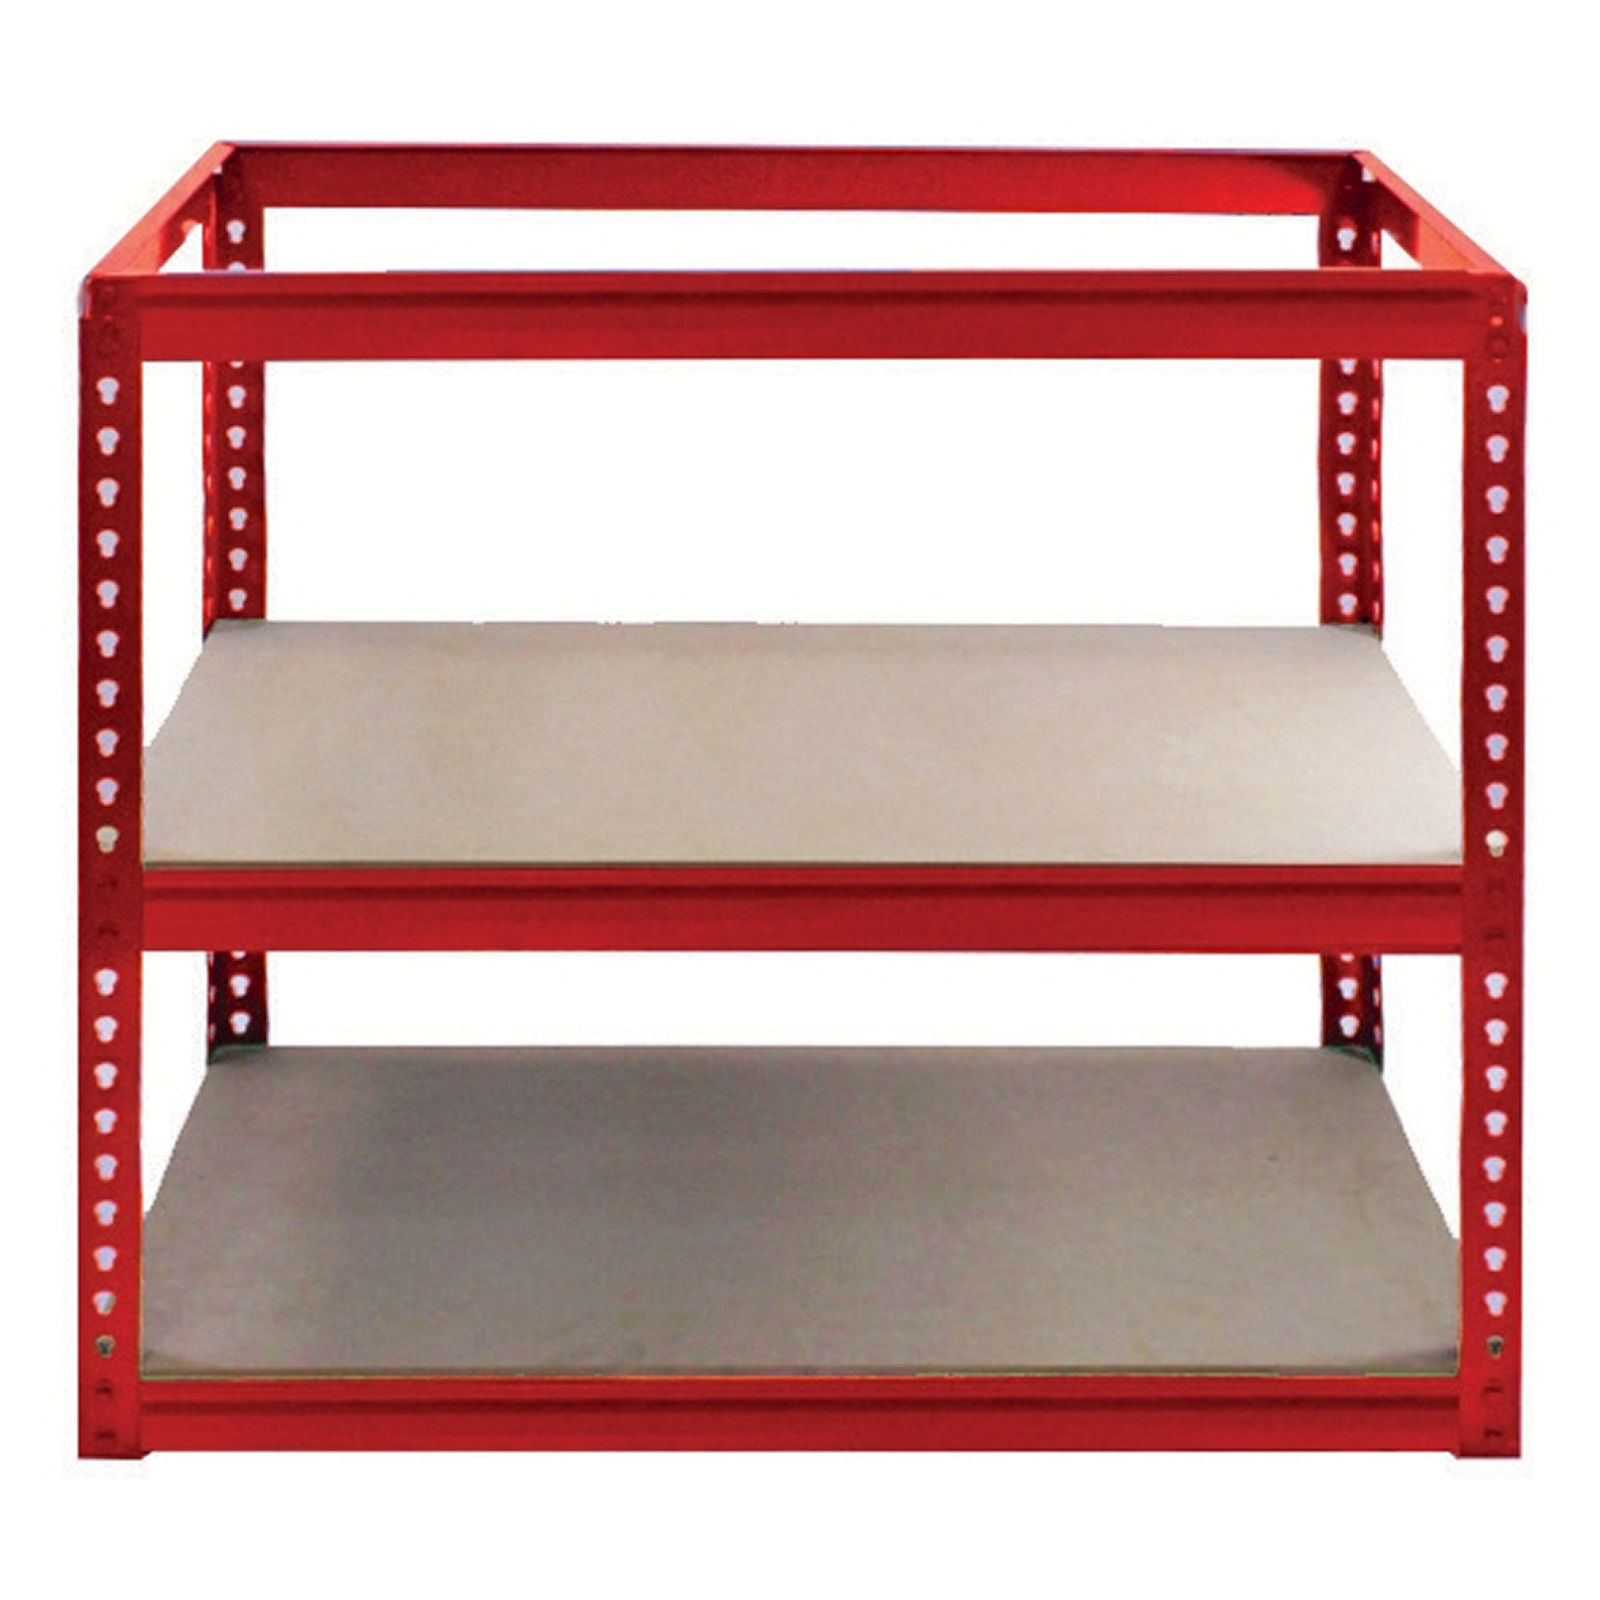
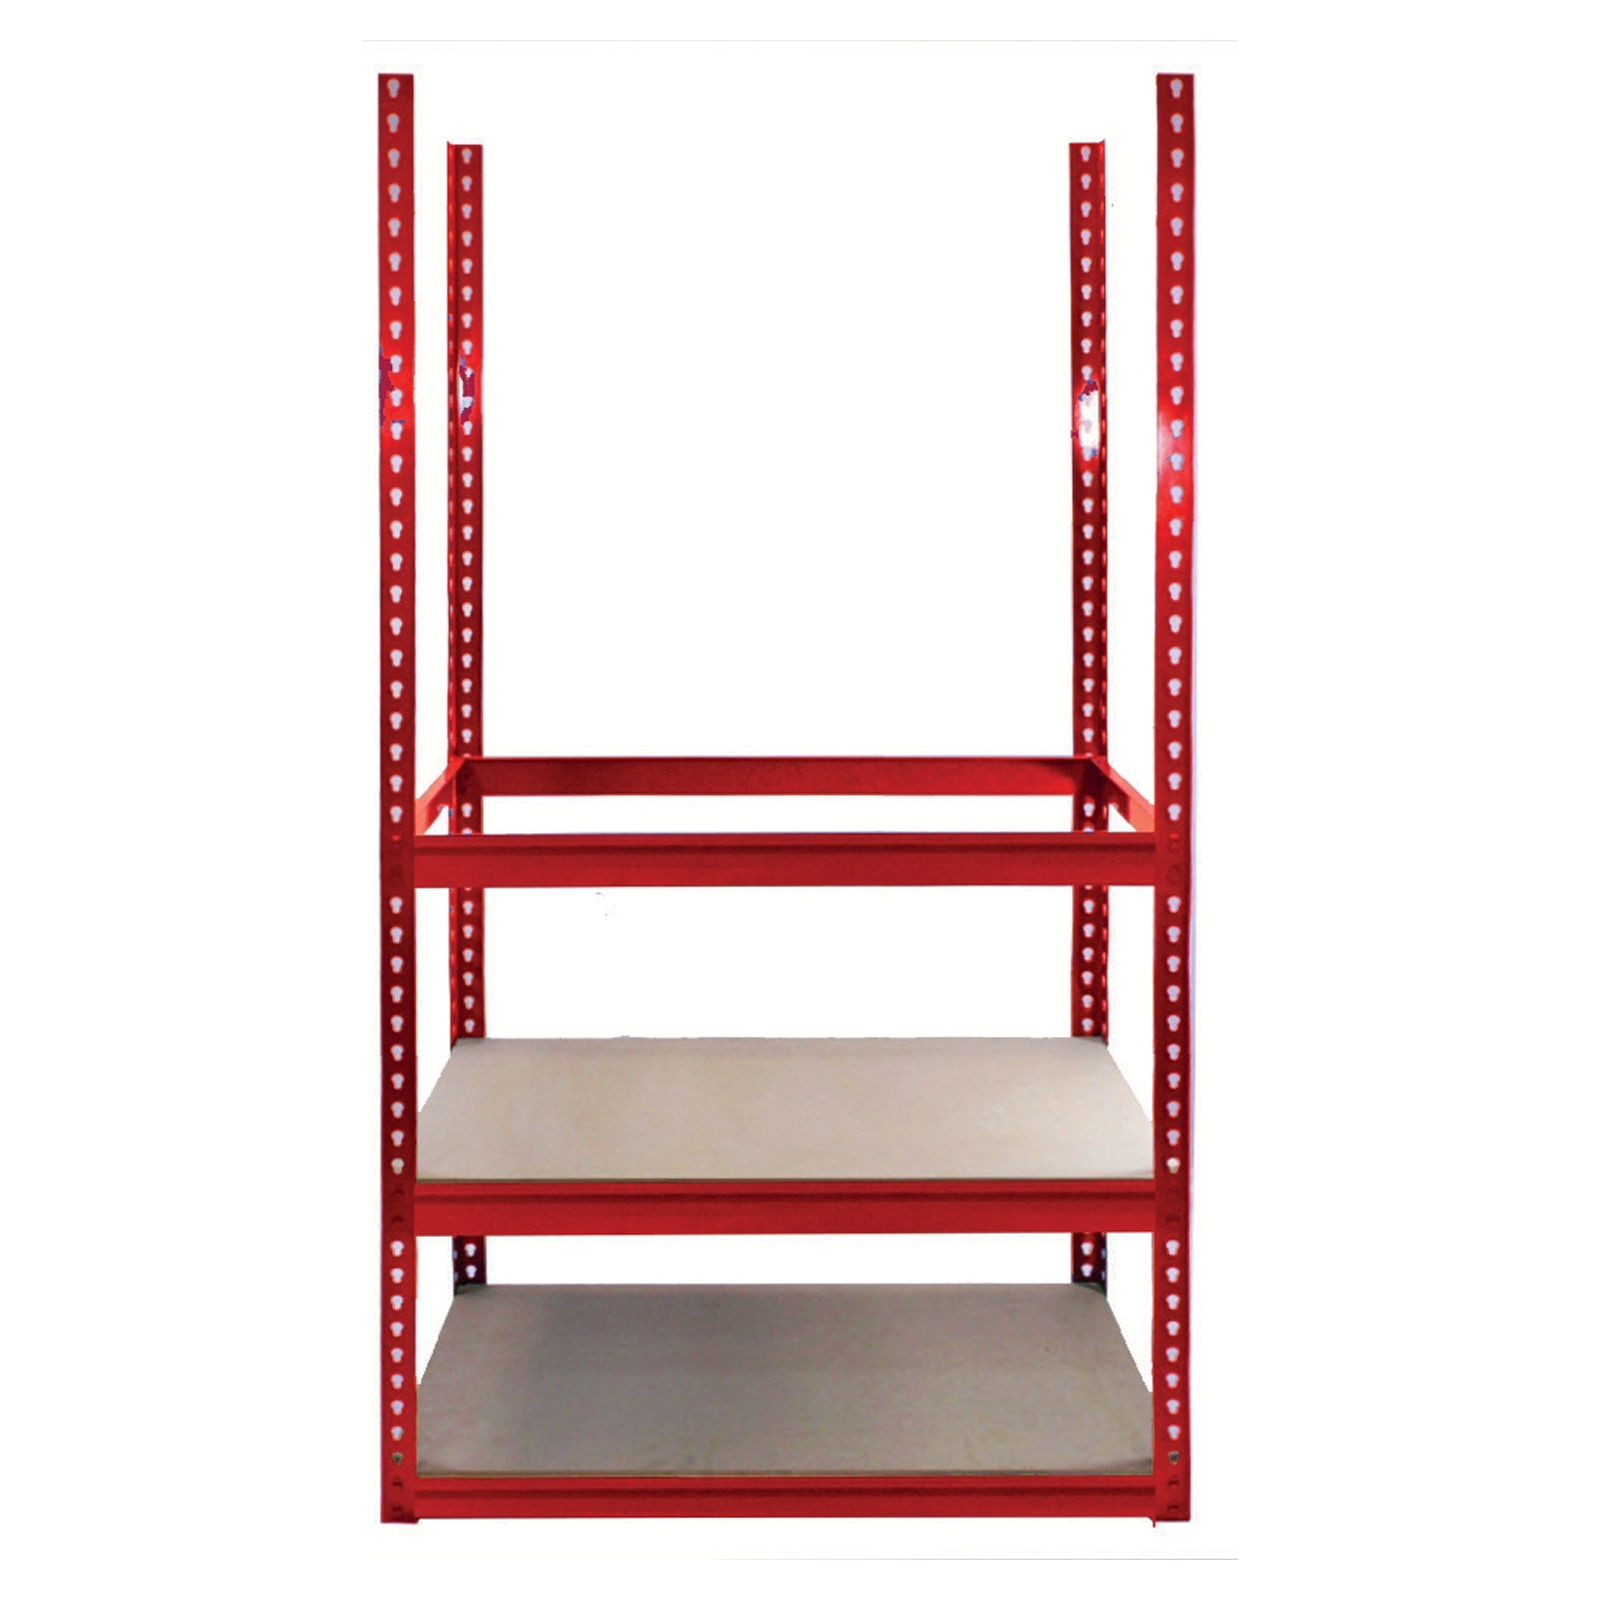
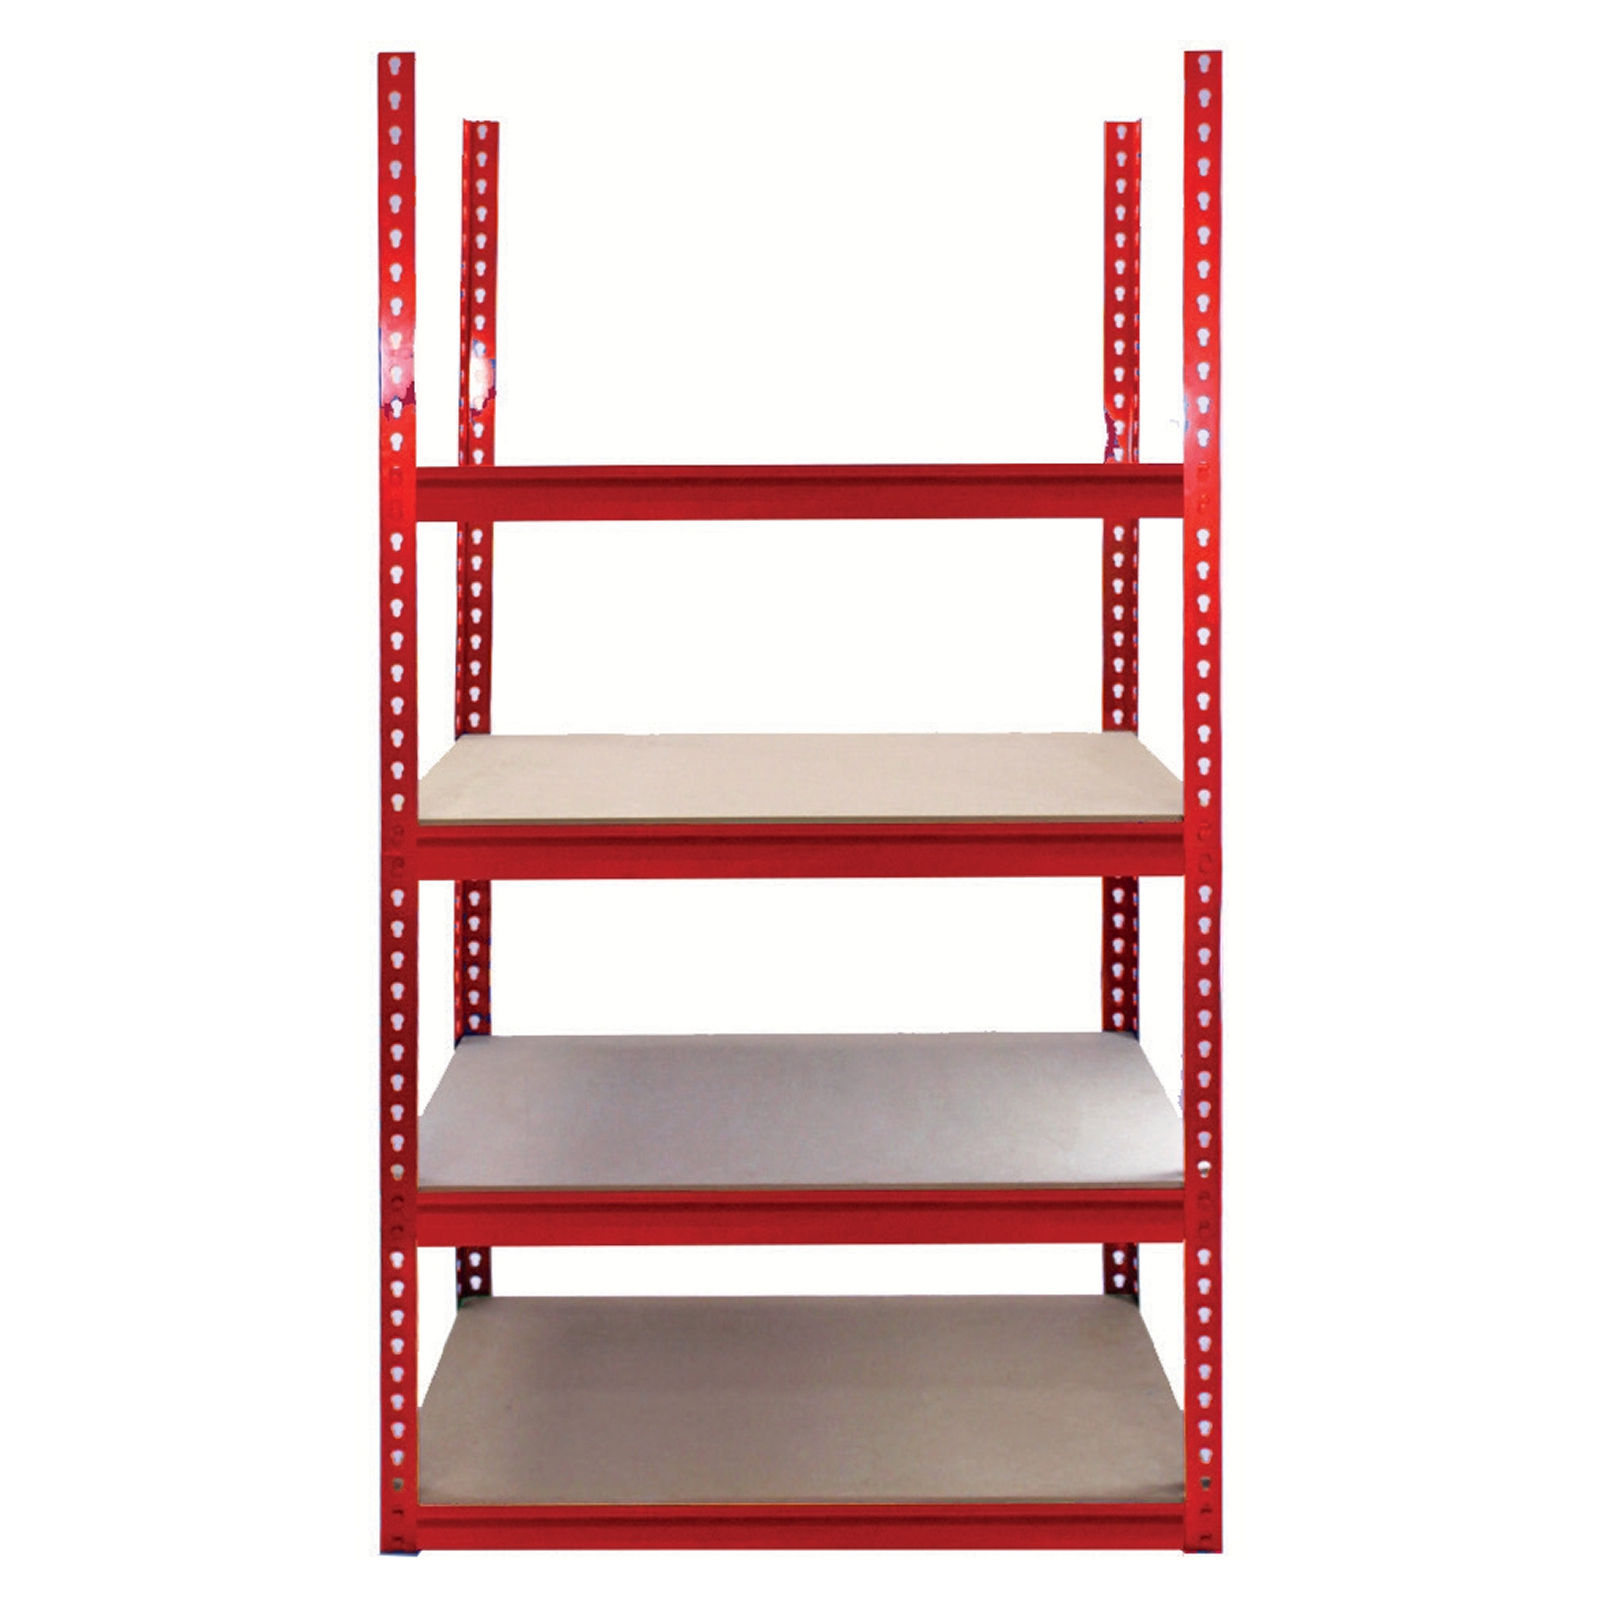
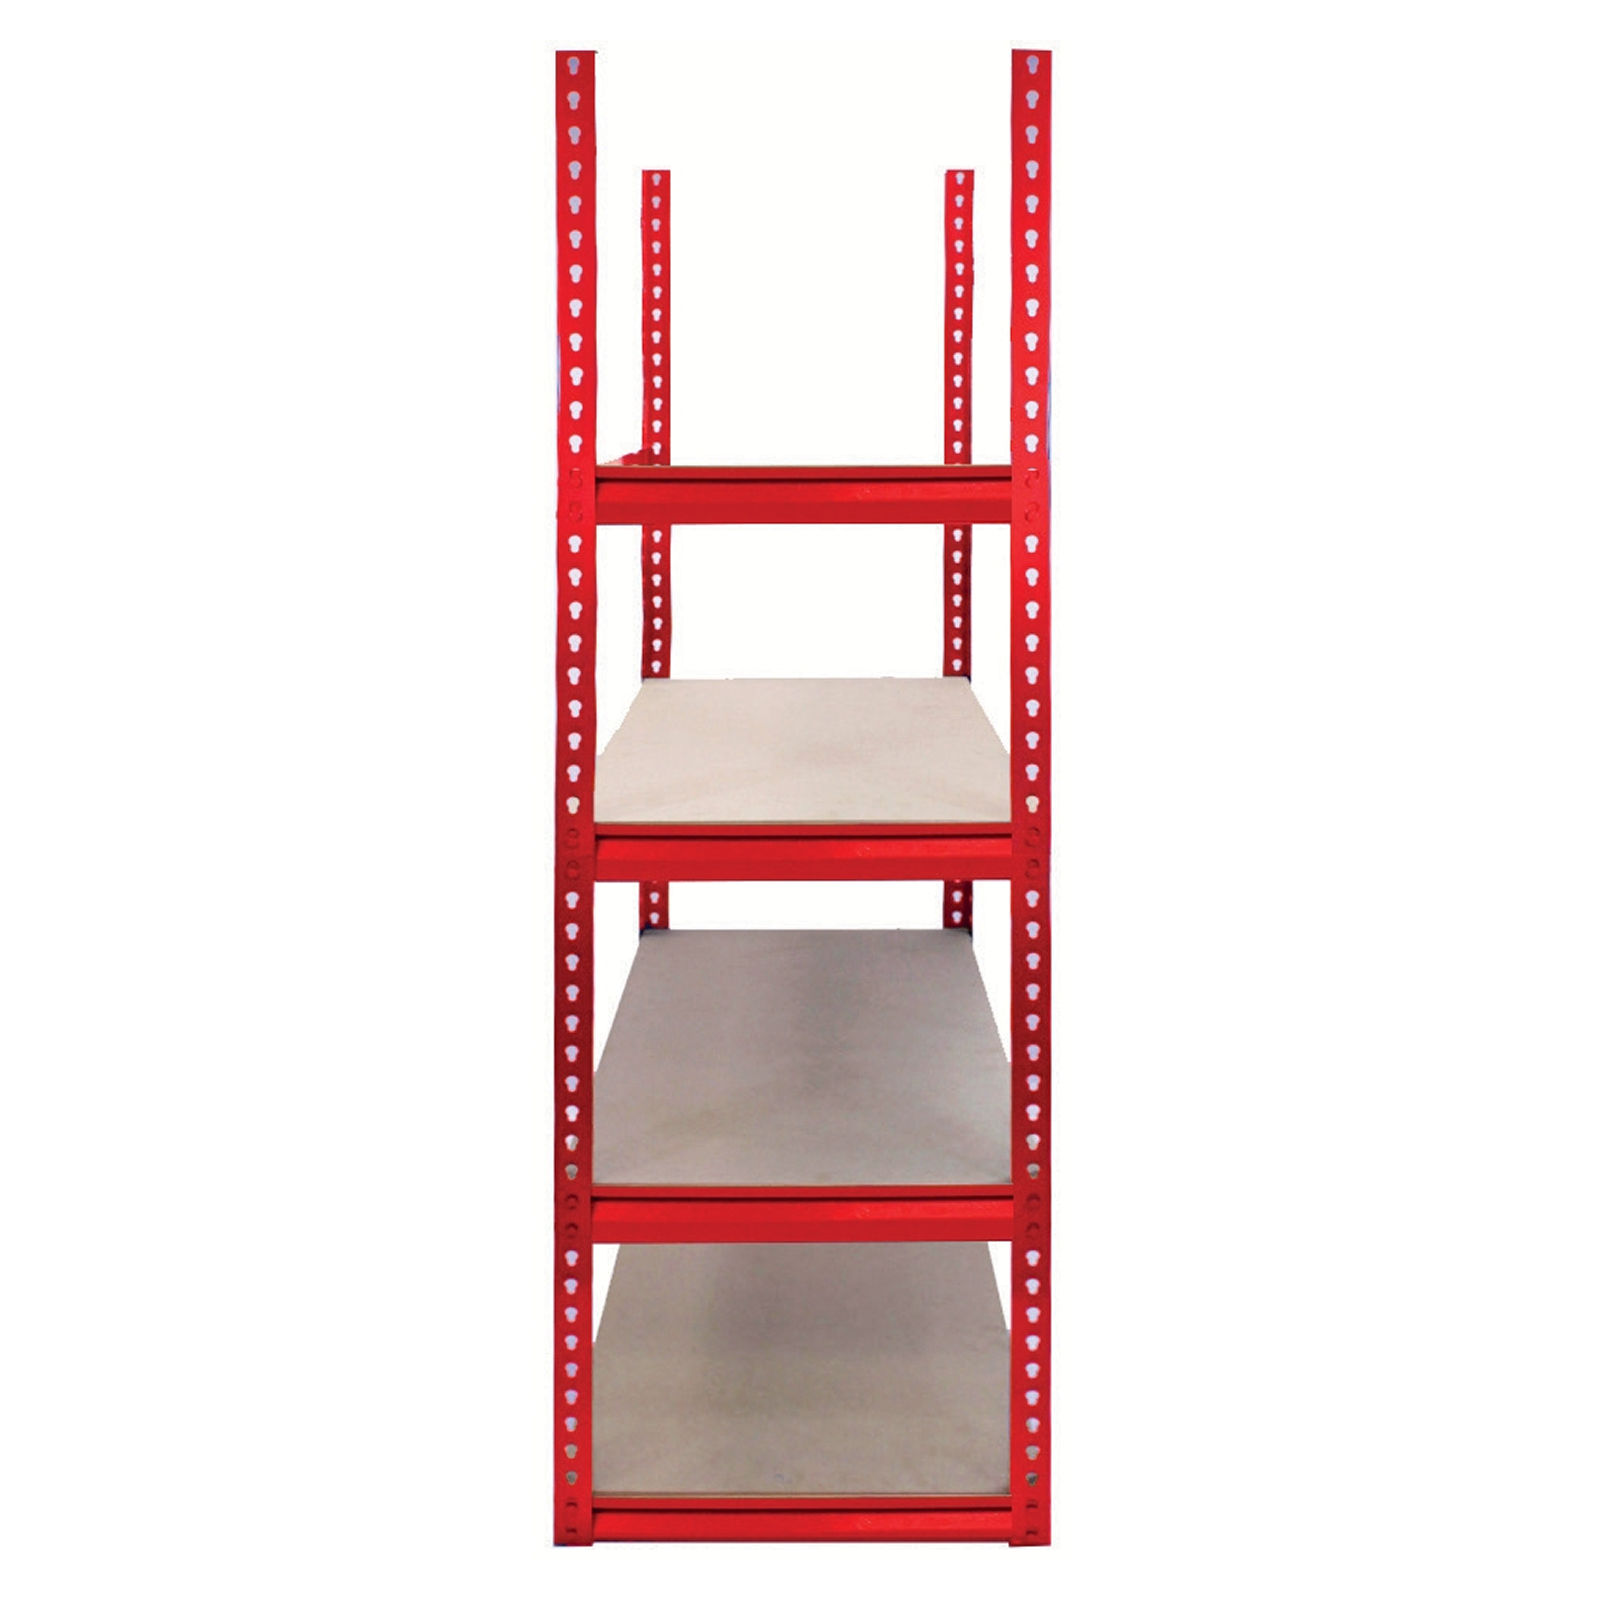
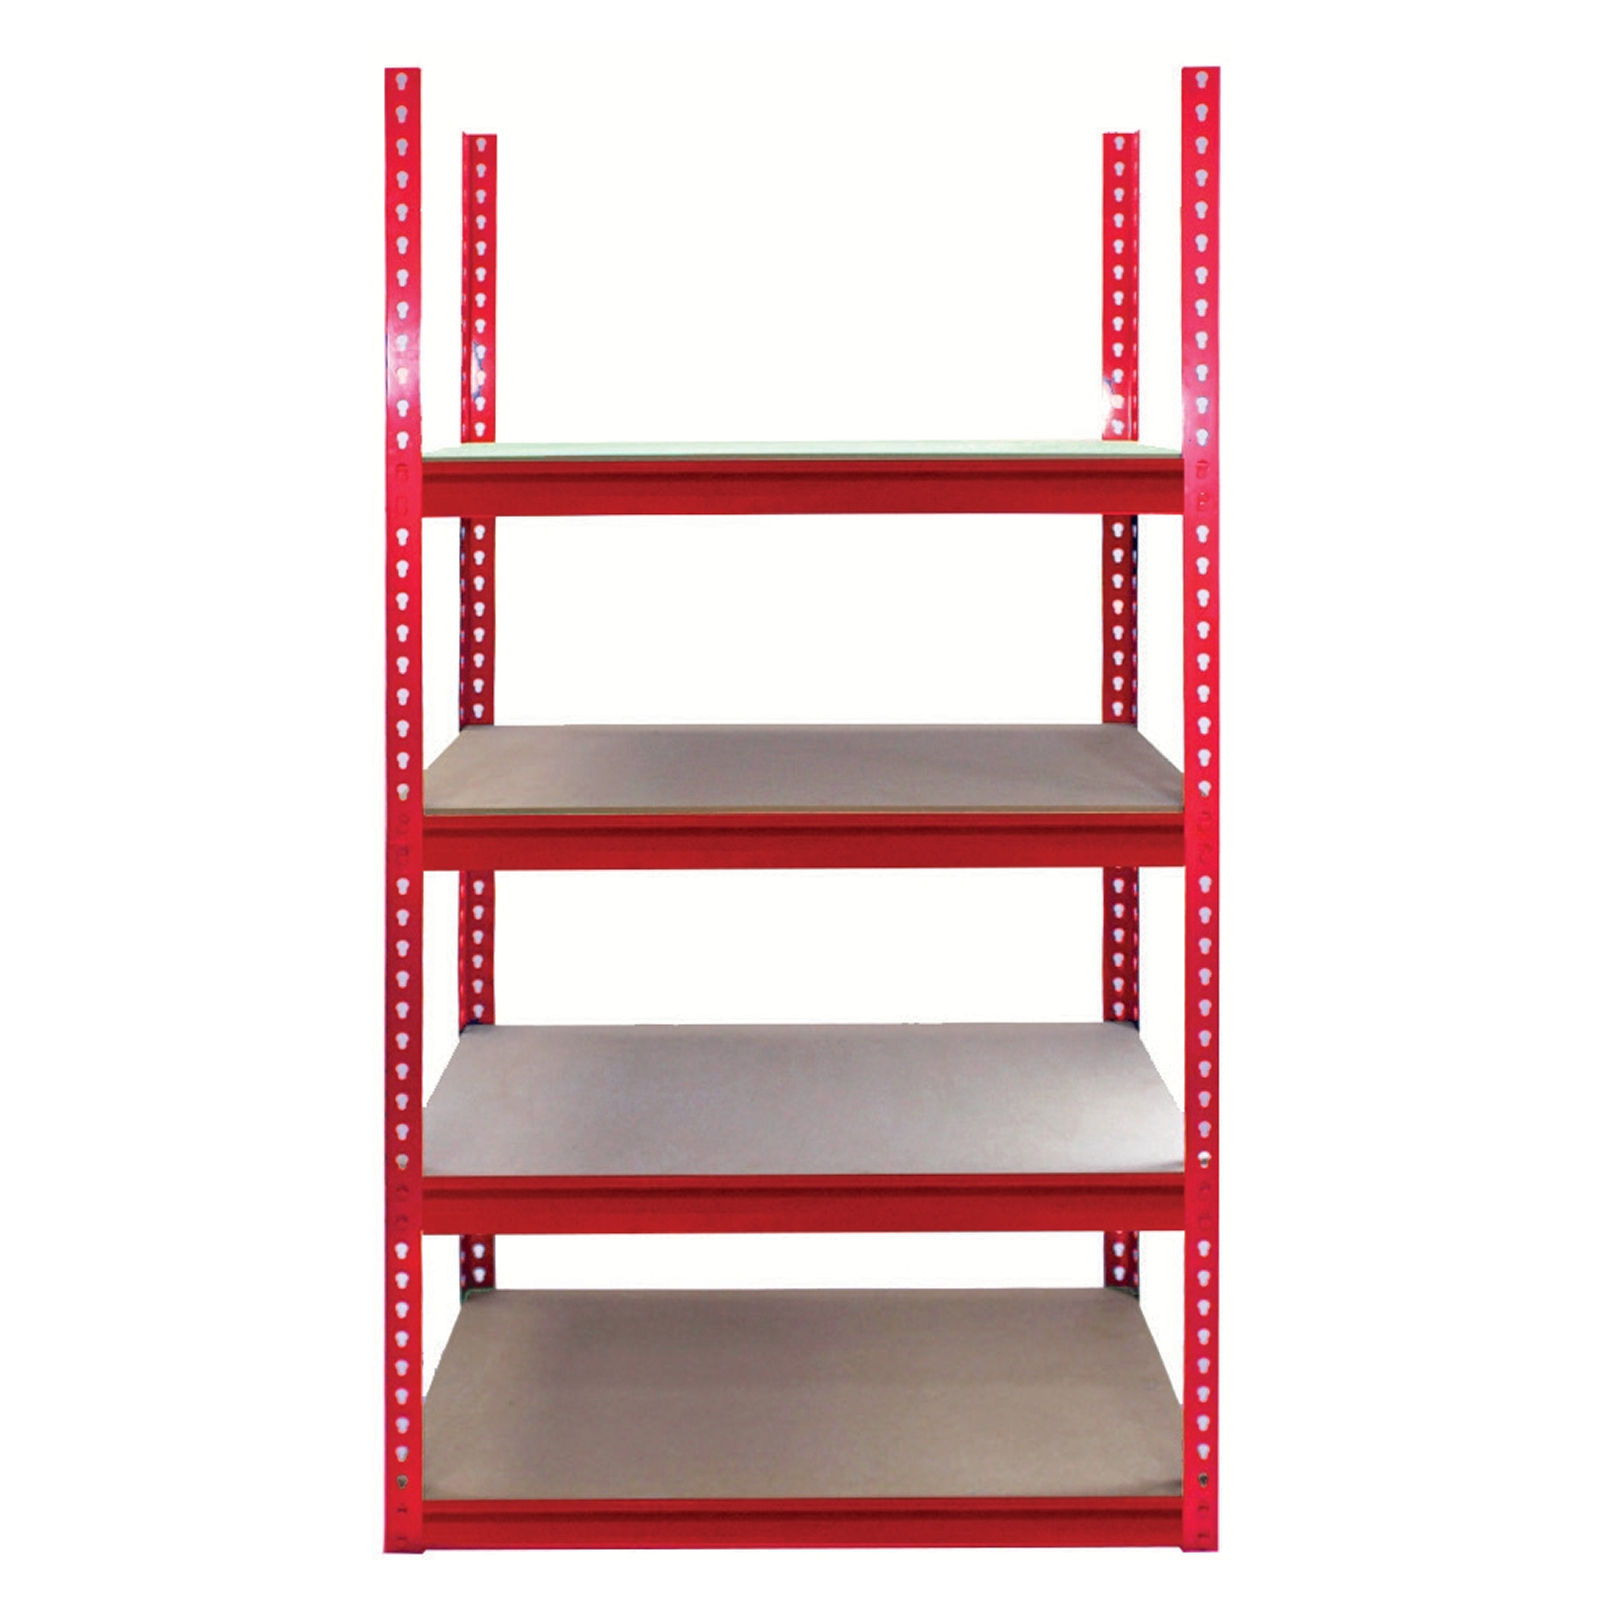
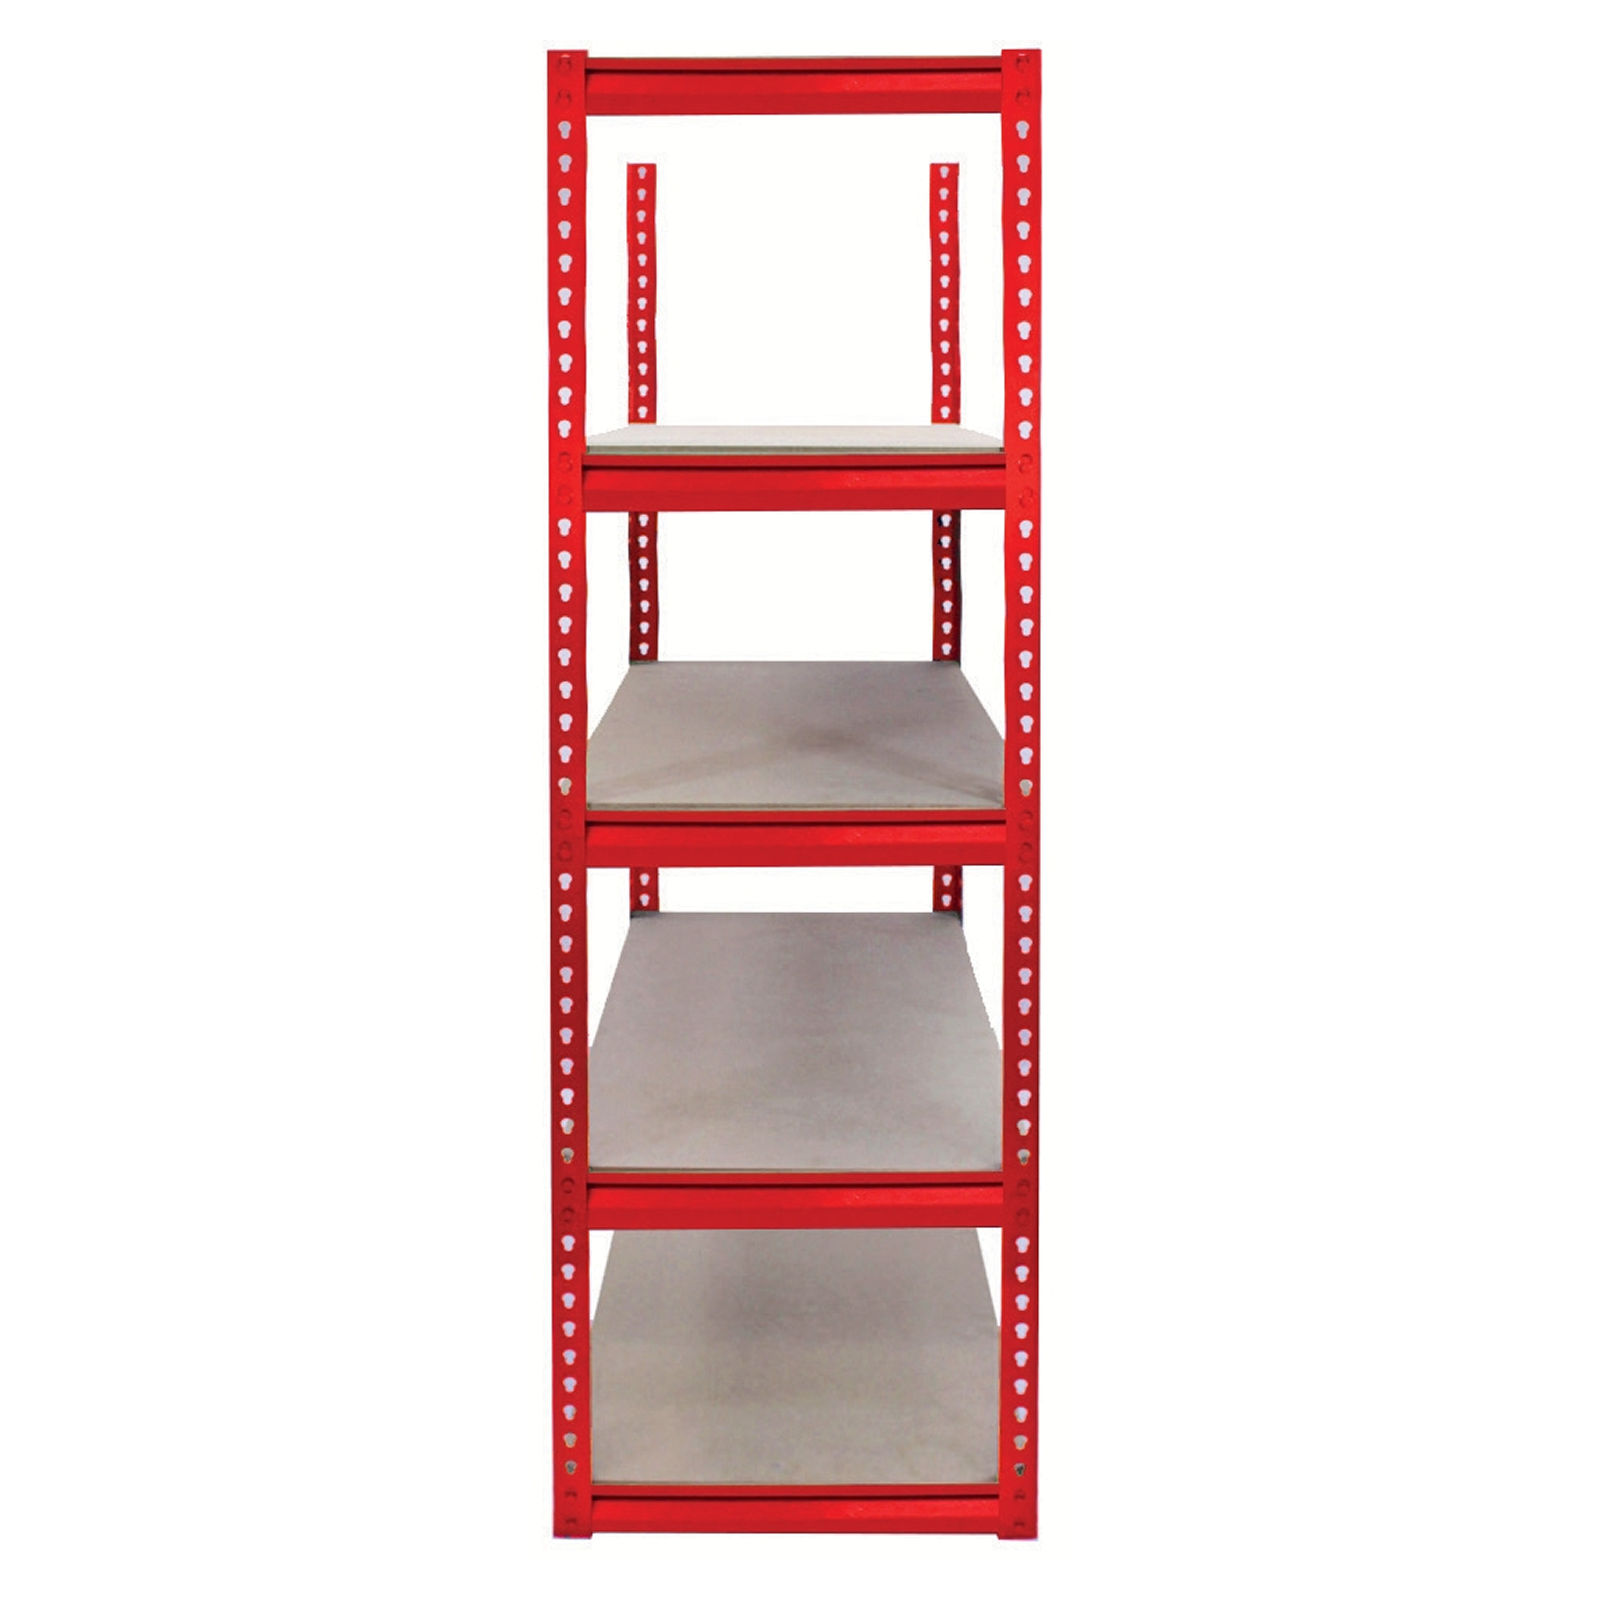
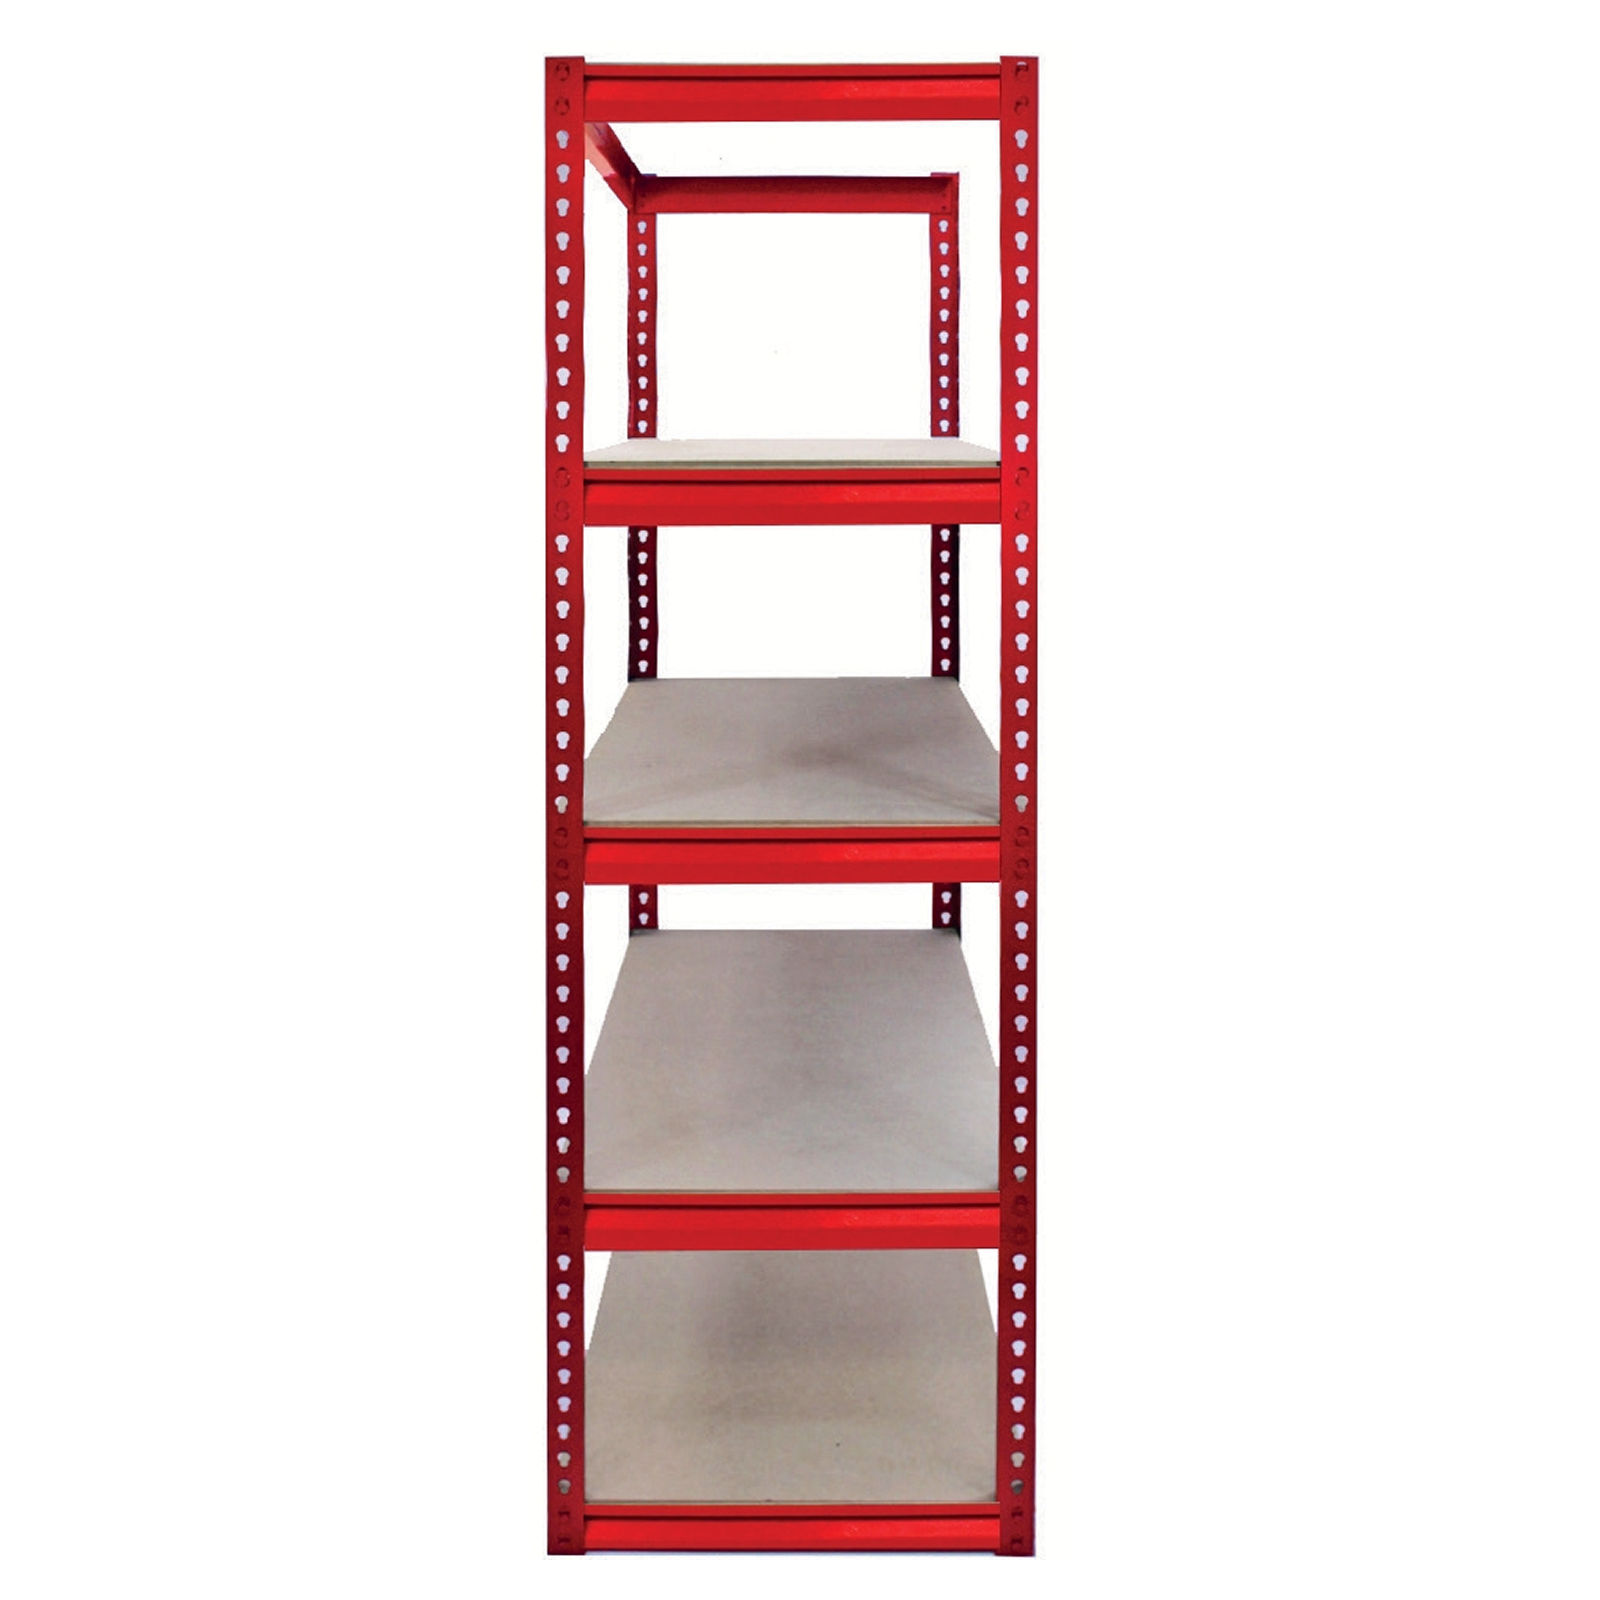
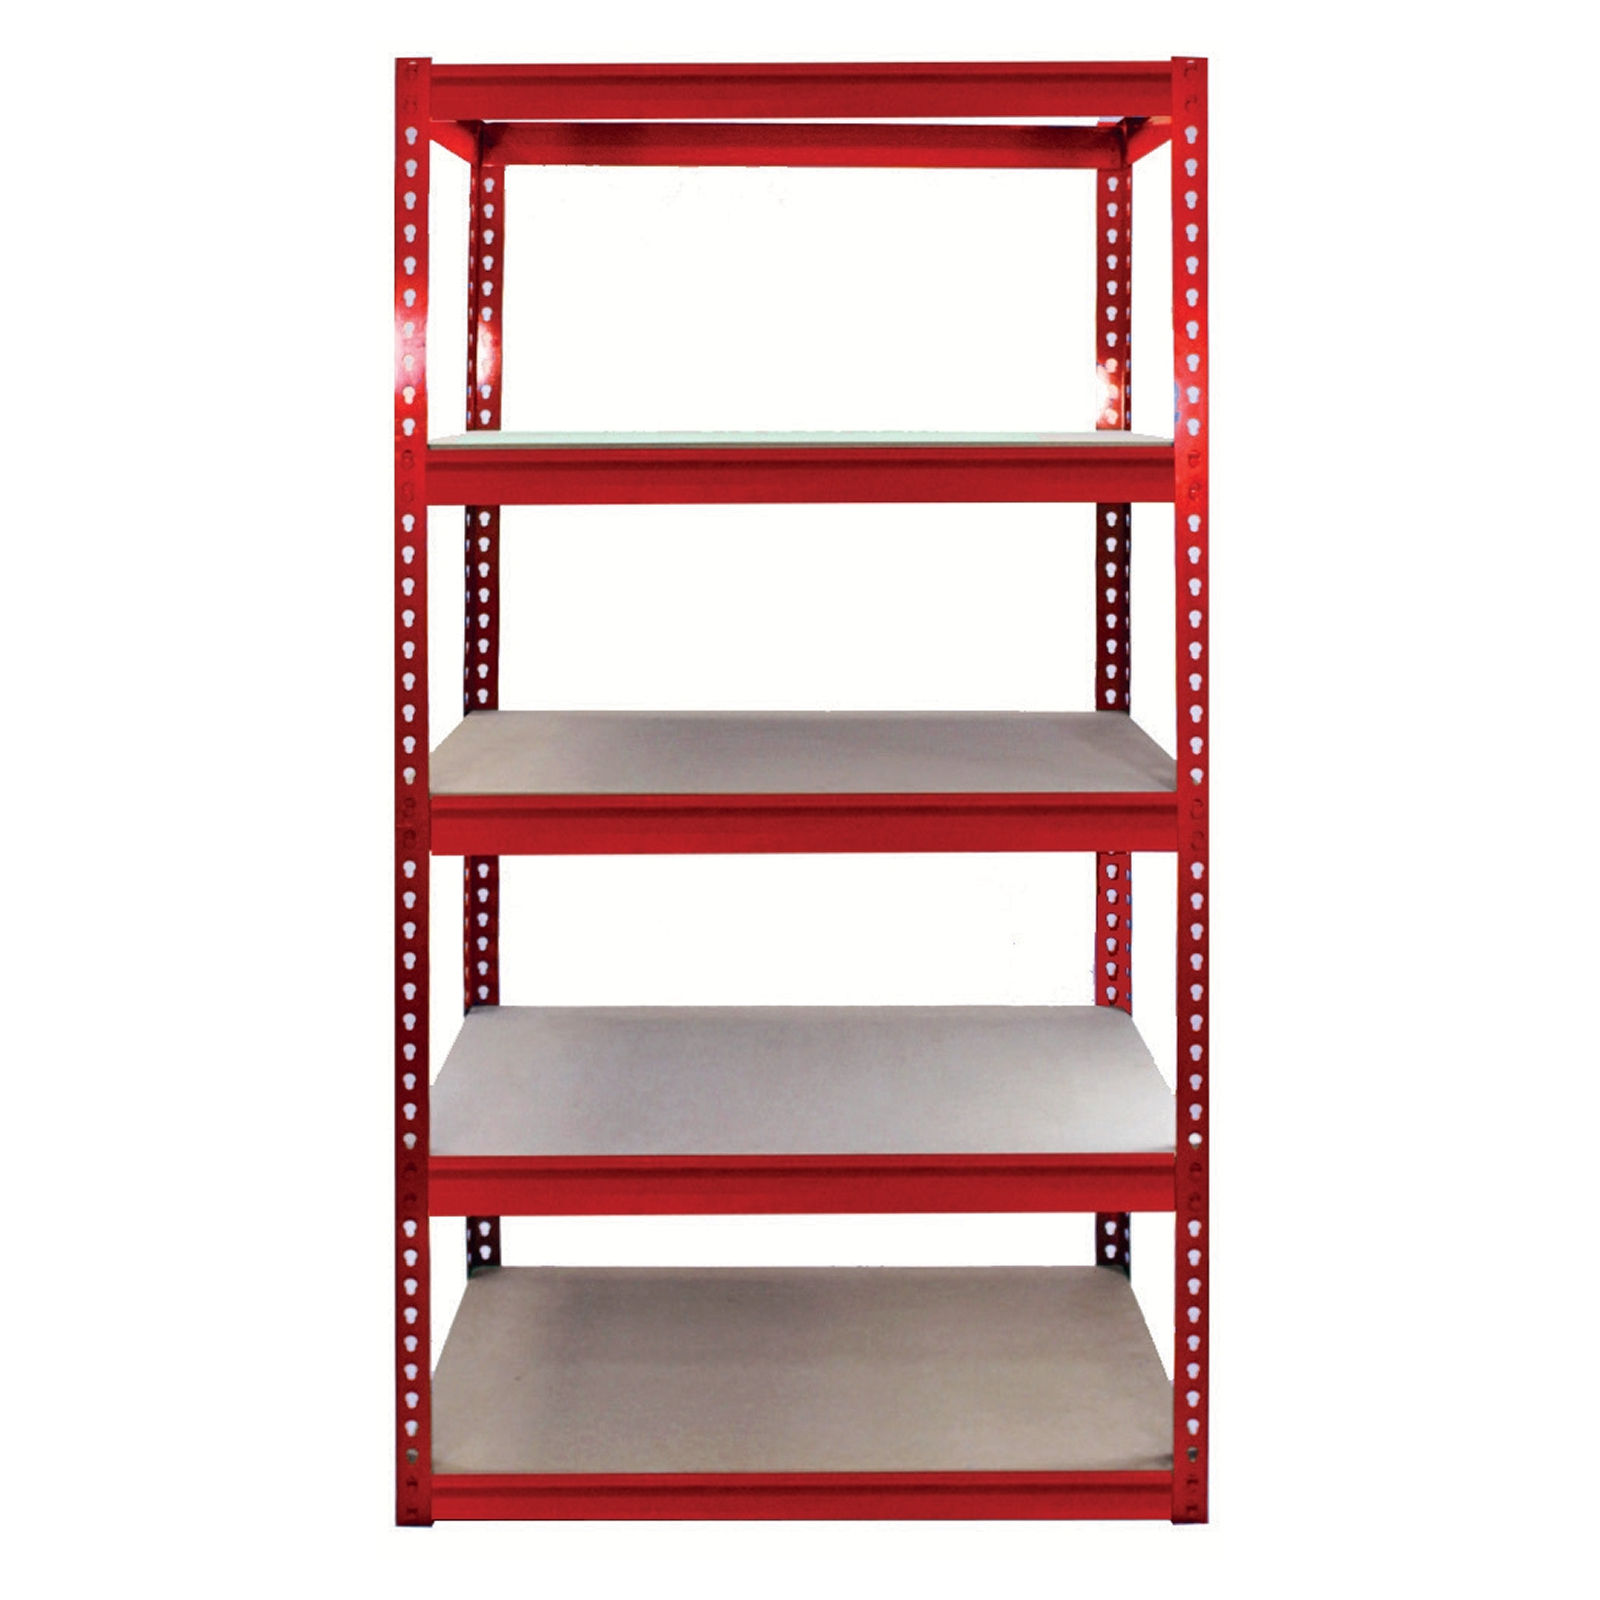
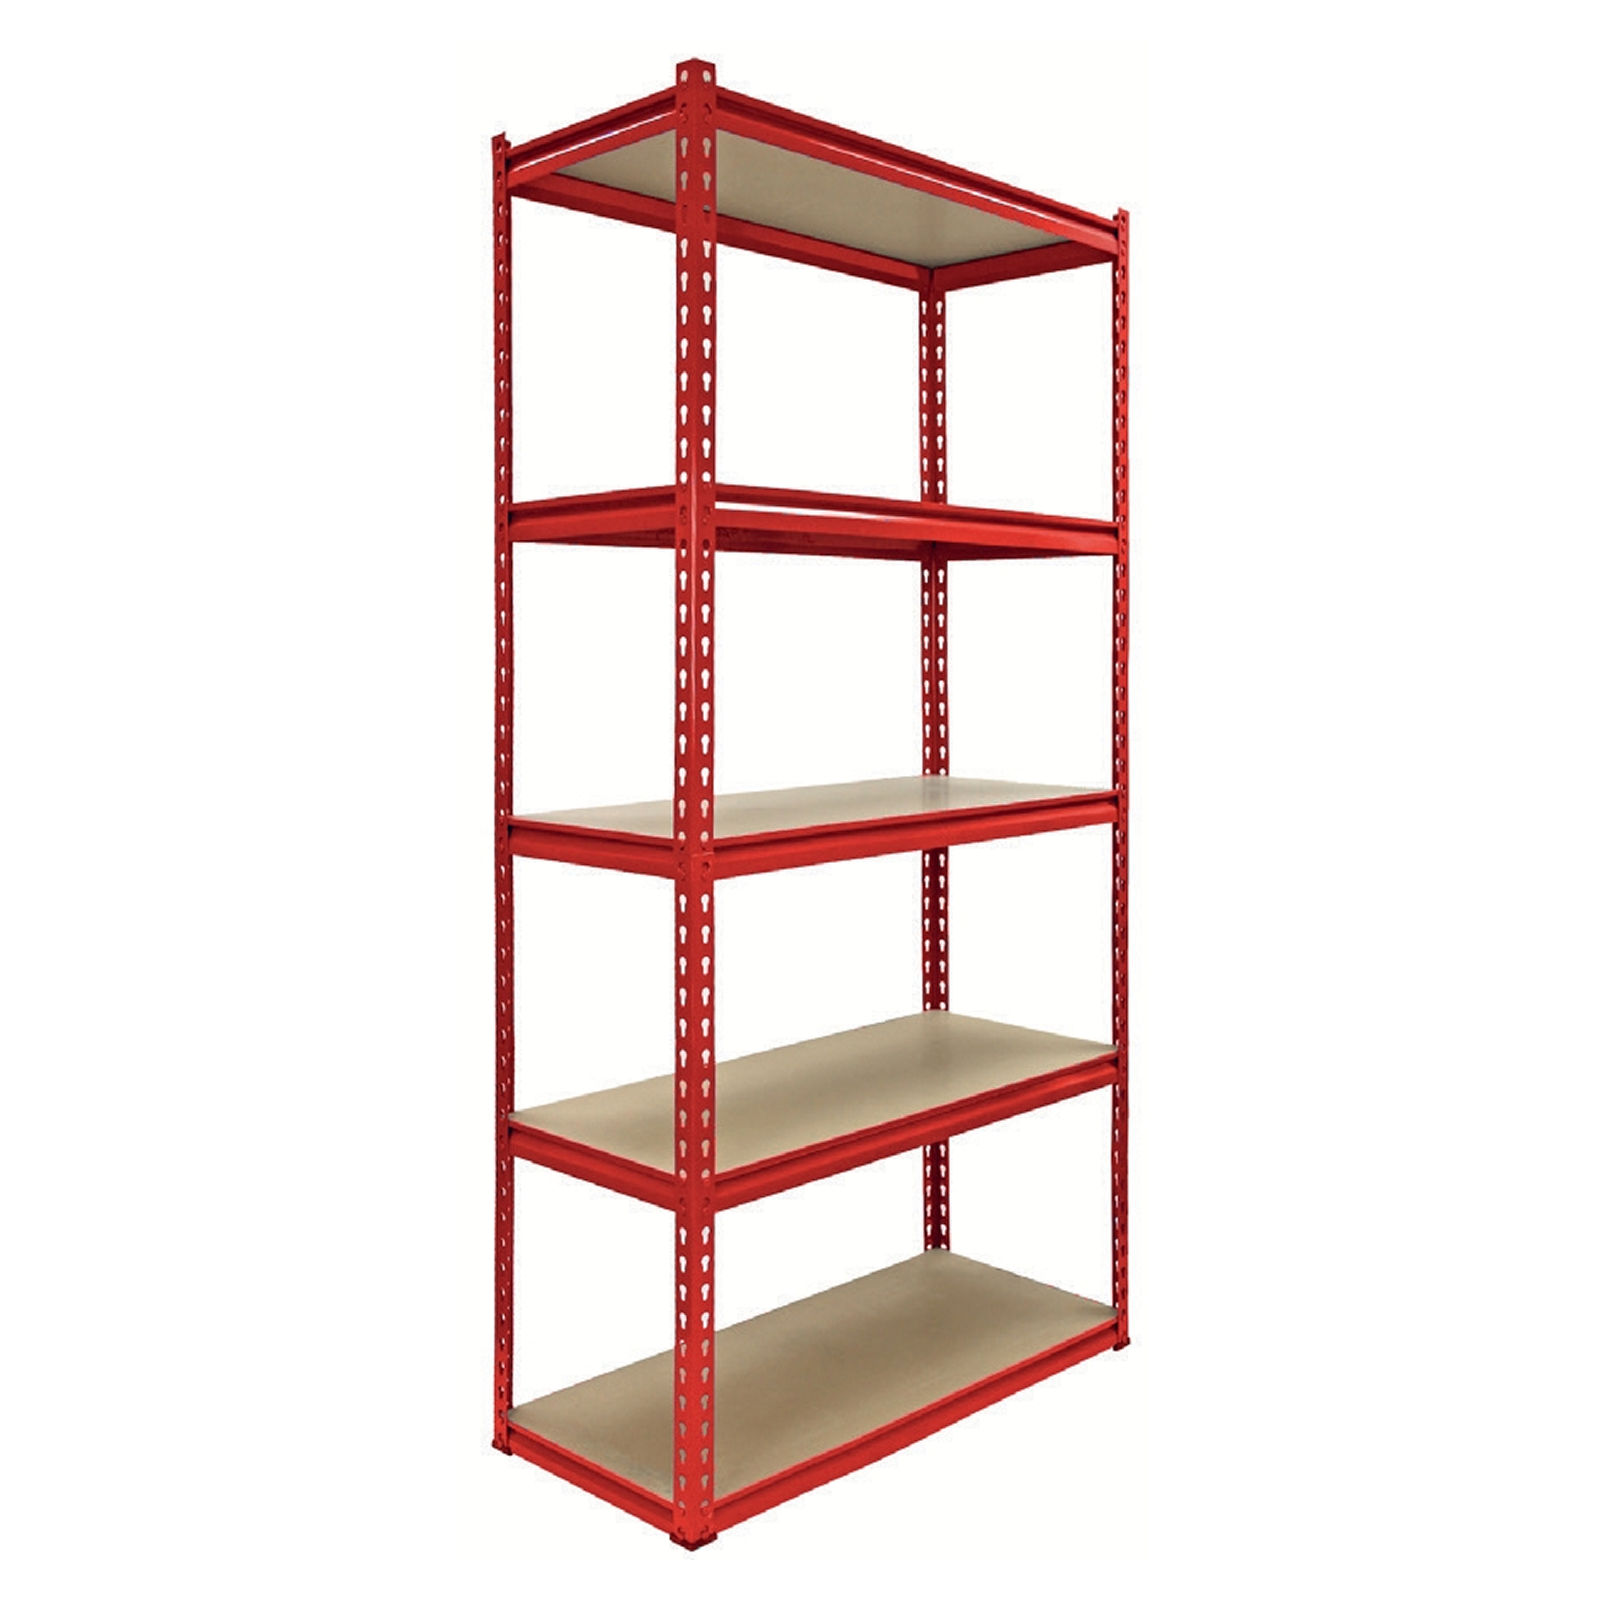
Tidy your garage with the heavy-duty Z-Rax shelving unit! Each 90x45x183cm bay has 5 MDF shelves, holds up to 1800kg total, and assembles bolt-free in minutes. Made from 1.2mm steel with a powder-coated finish—strong, stylish, and built to last.
Product Information
Z-Rax Heavy Duty Racking System
The Z-Rax Heavy Duty Racking System is a perfect storage solution suited towards any man-cave including; garages, warehouses, stock rooms and workshops.
The racking frame is made from 1.2mm heavy duty steel and combined Z-shaped beams means your Z-Rax Heavy Duty Racking System can hold a massive 360KG per shelf- in total a whopping 1800KG! Finished with four layers of powder coated paint, this durable racking bay will maintain its excellent condition for even longer.
The Z-Rax Heavy Duty Racking System is 100% bolt-less, making it easy to assemble and only requiring the use of a rubber mallet.
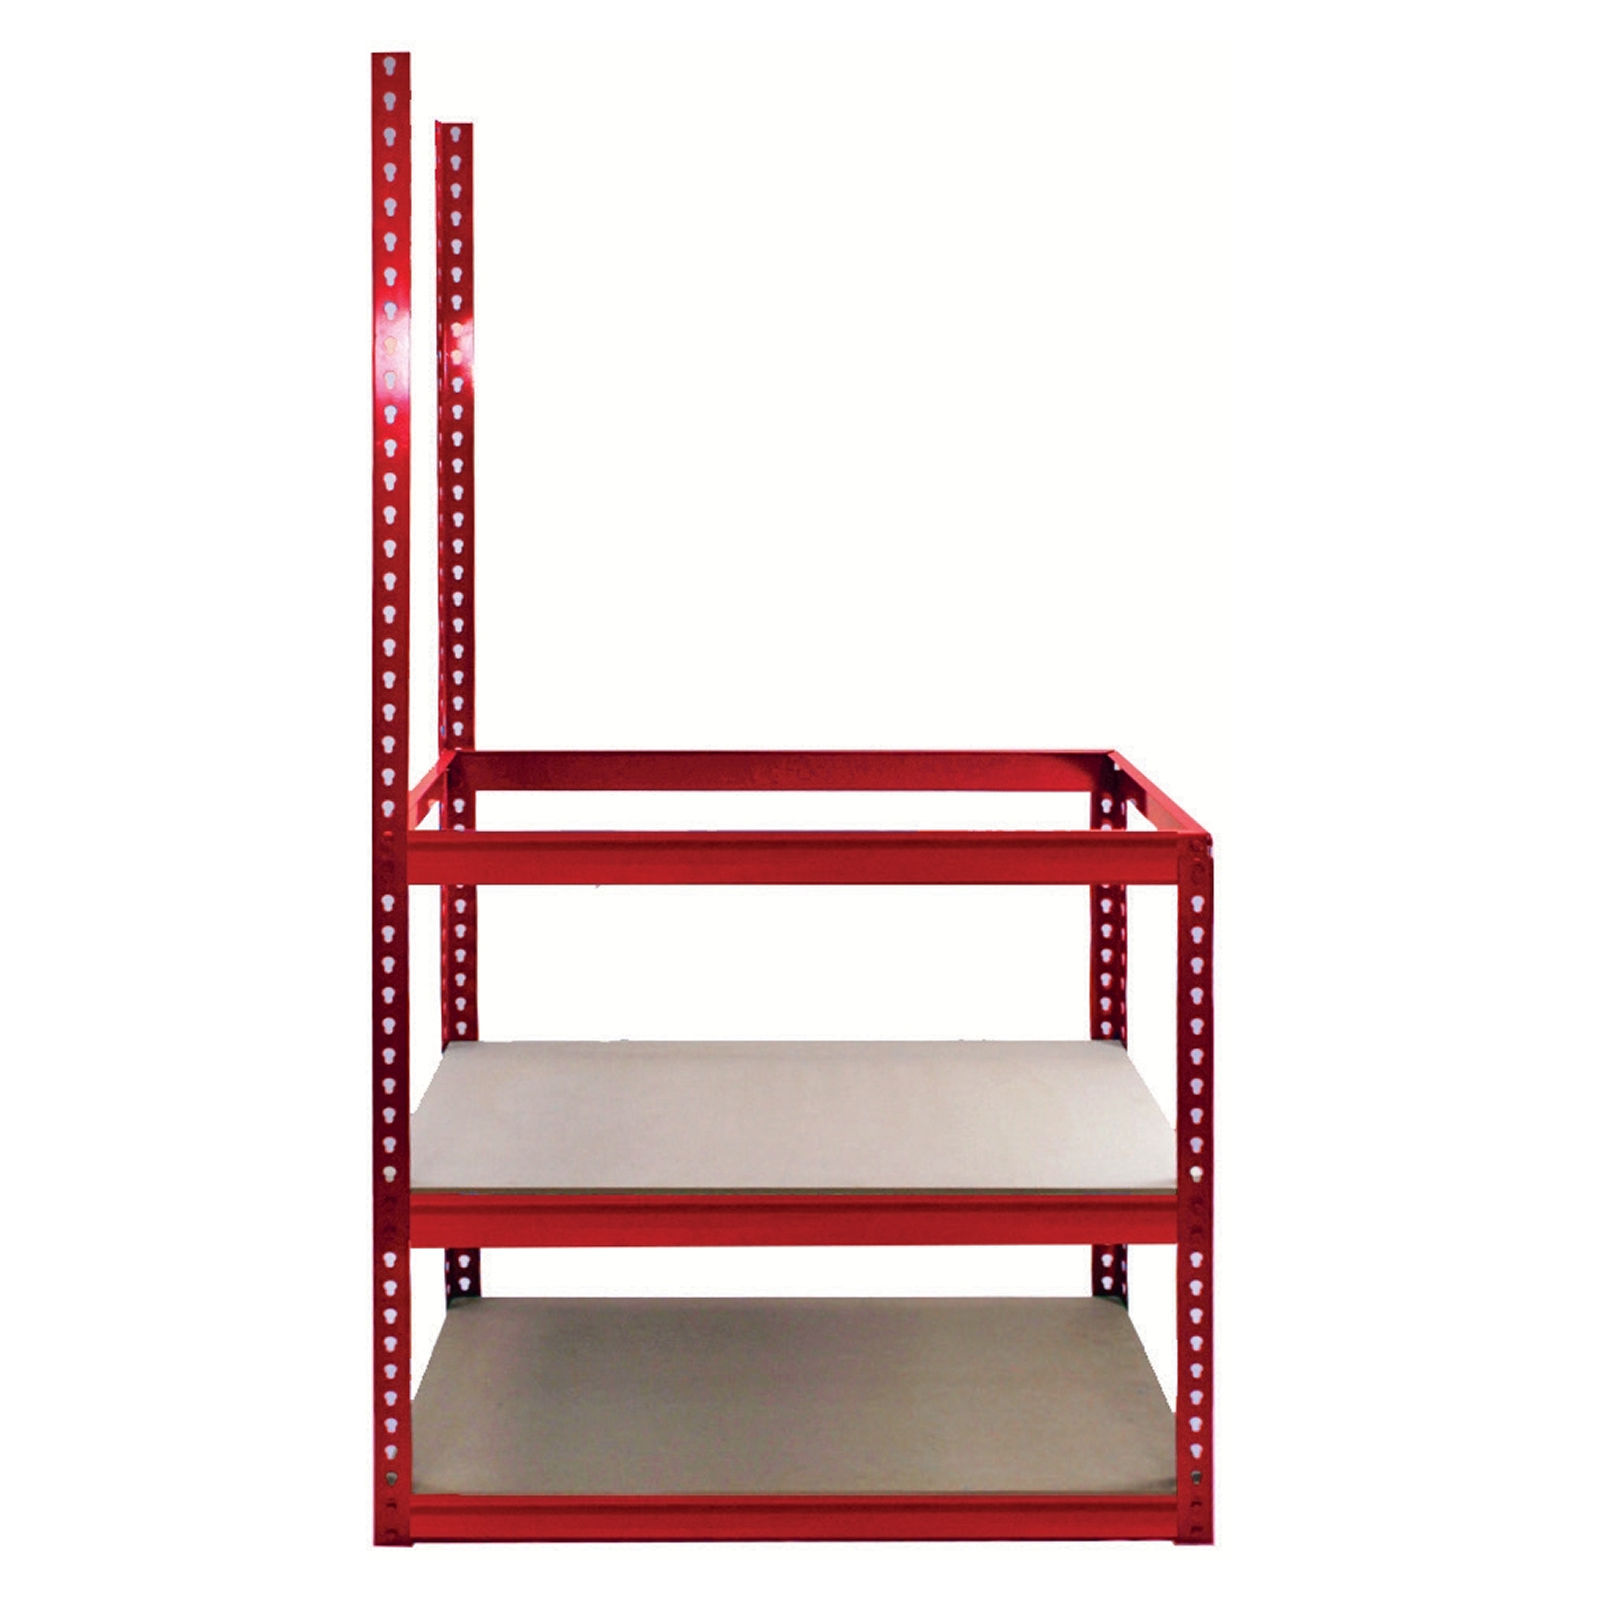
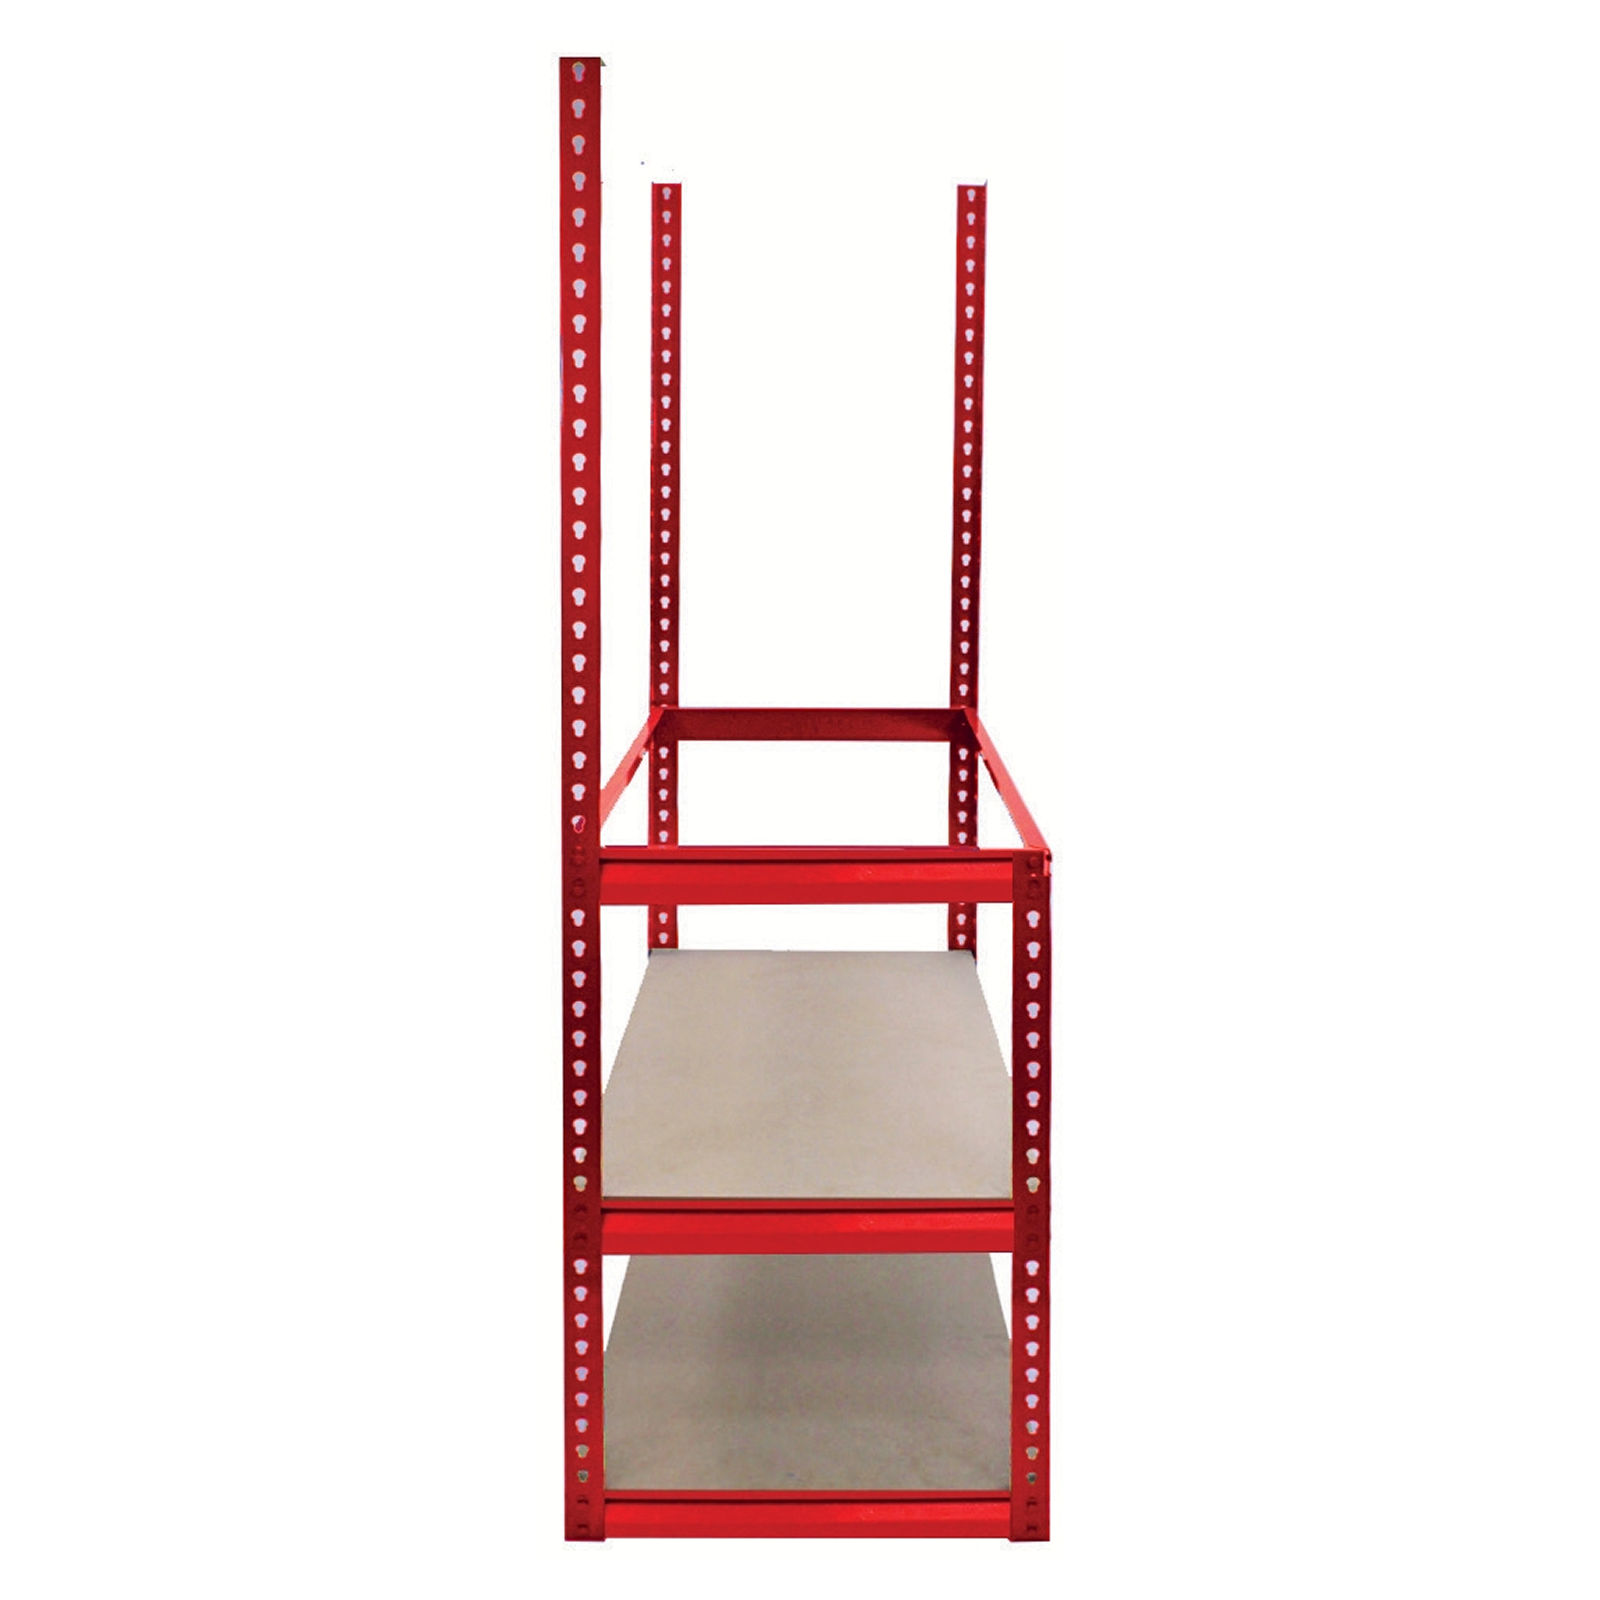
Each Z-Rax Heavy Duty Racking System can even be halved to create two work benches or smaller shelves - a quick and easy adaptation to suit your needs.
Manufacturer:
Monster Group UK Limited, Monster House
19-23 Alan Farnaby Way,
Industrial Estate Sheriff Hutton,
York
YO60 6PG
Person Responsible:
Rana Harvey, Monster Group UK Limited,
Monster House
19-23 Alan Farnaby Way,
Industrial Estate Sheriff Hutton,
York
YO60 6PG,
England,
+441347878880
EU
Manufacturer:
Monster Group BV,
Van Heemskerckweg 28A & B,
Venlo 5928LL
Netherlands
+441347878880
Person Responsible:
Rana Harvey,
Monster Group BV,
Van Heemskerckweg 28A & B,
Venlo 5928LL,
Netherlands,
+44134787888
Tools
Rubber Mallet
Materials
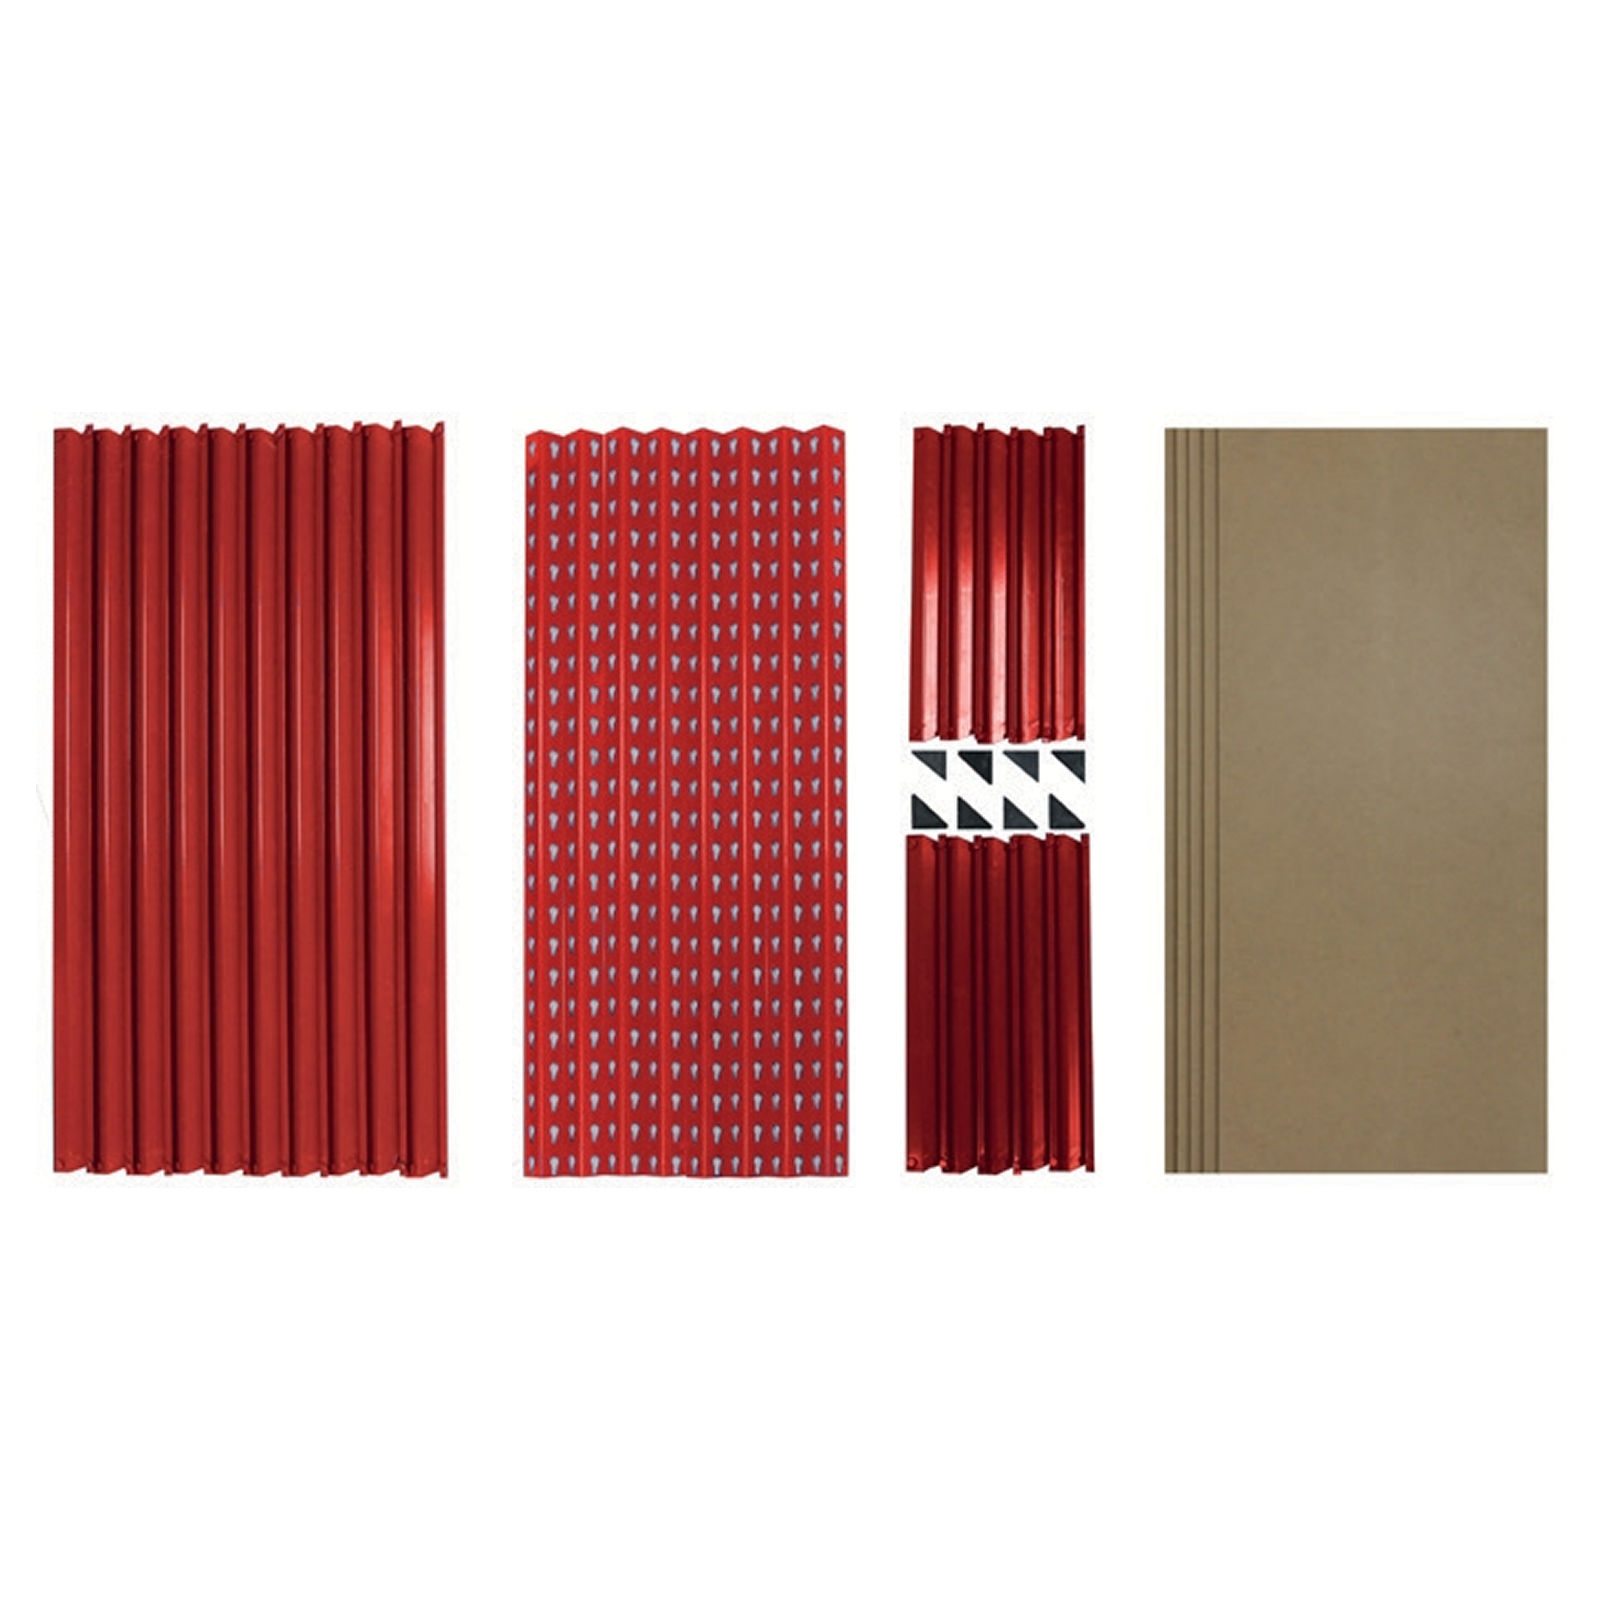
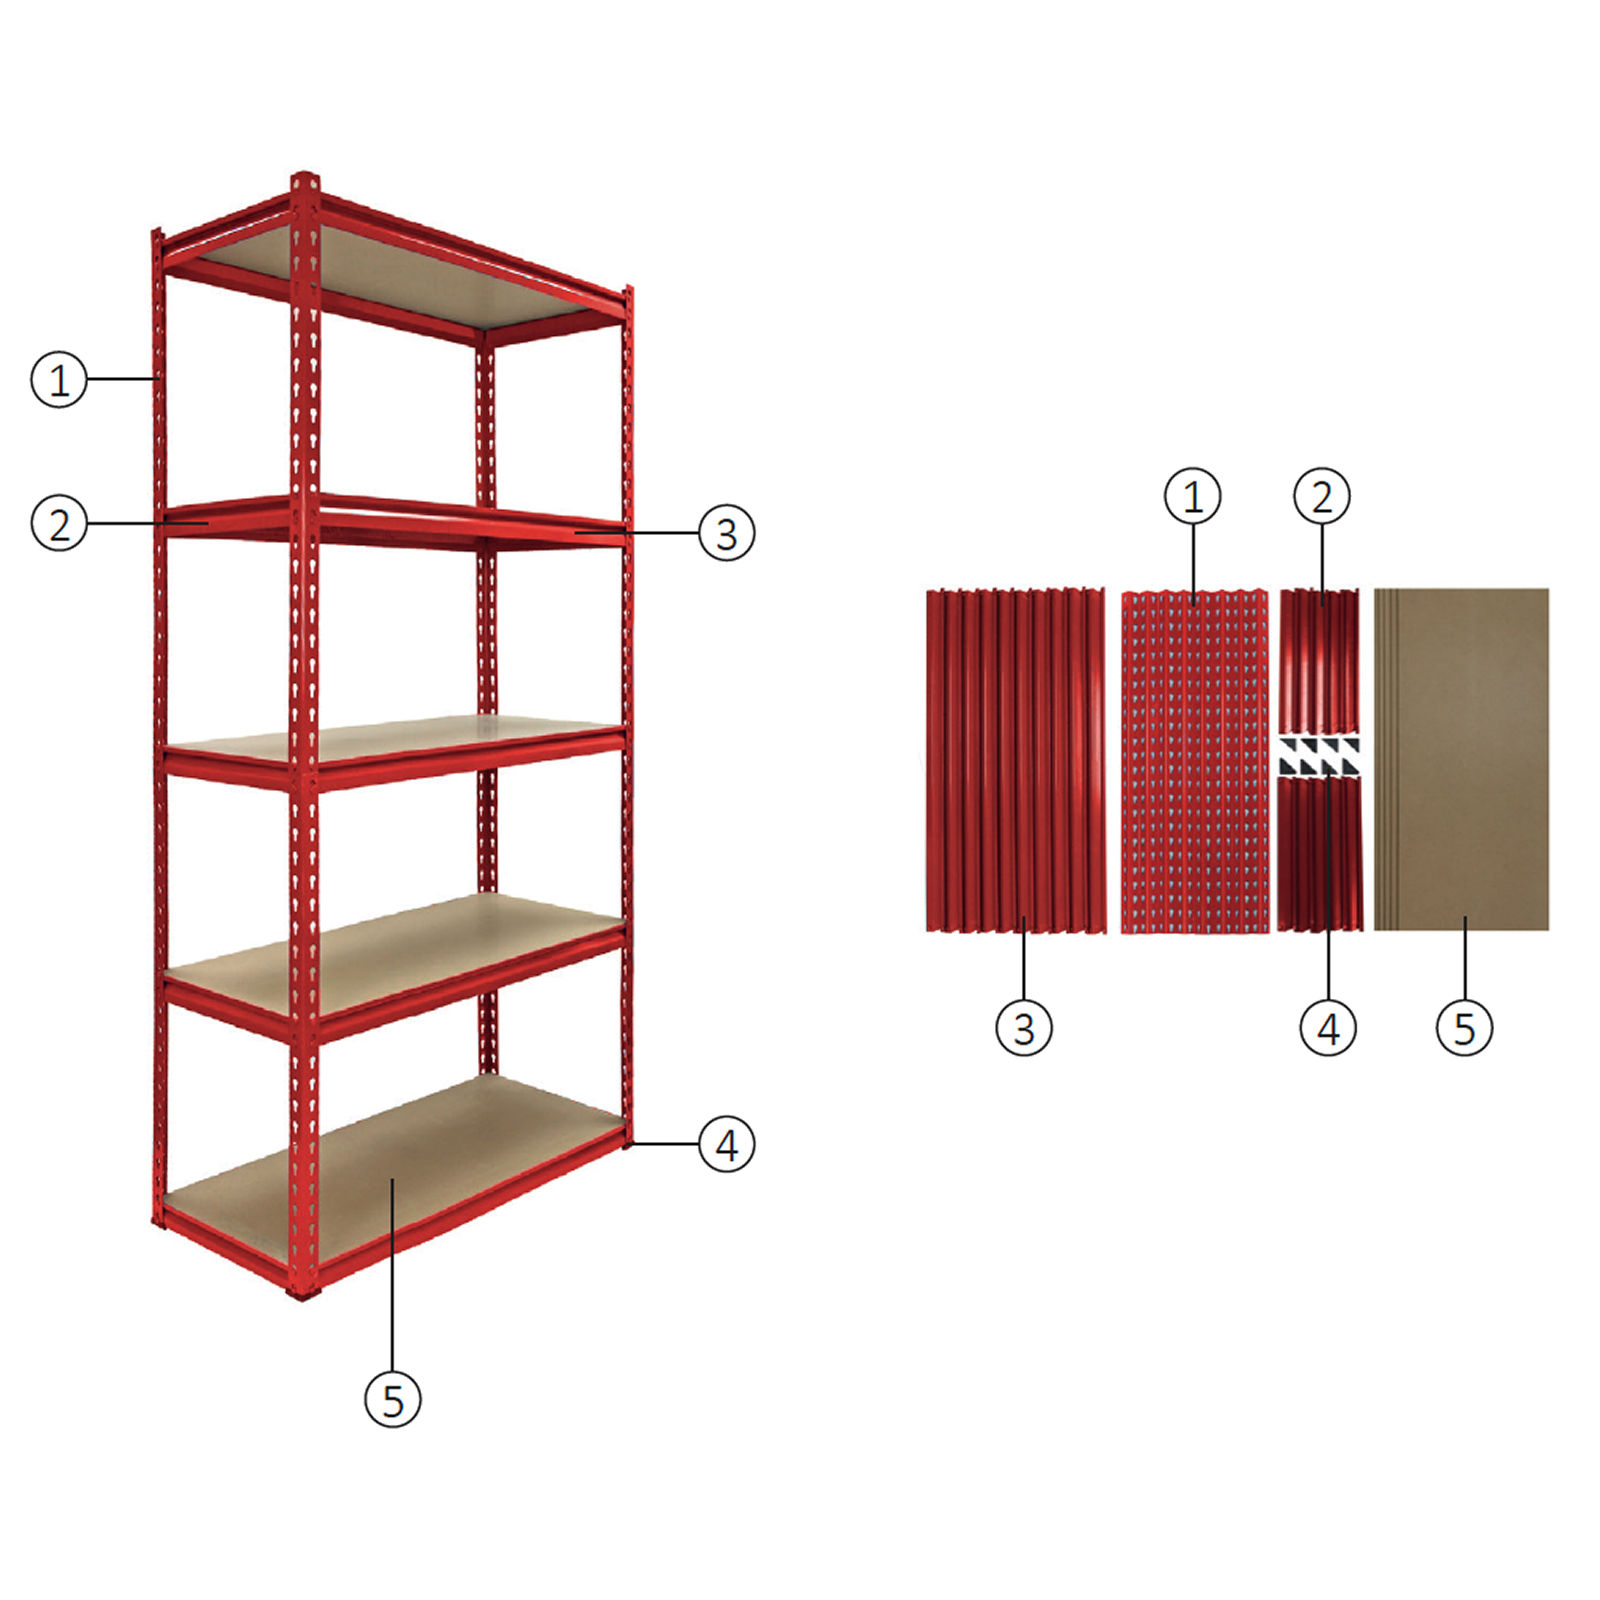
1L-shaped Upright Beam
2Short Beam
3Long Beam
4Moulded Feet
5MDF Board
1. Prepare the Components
Identify all parts: L-shaped upright beams, long beams, short beams, moulded feet, and MDF boards.
2. Frame Assembly
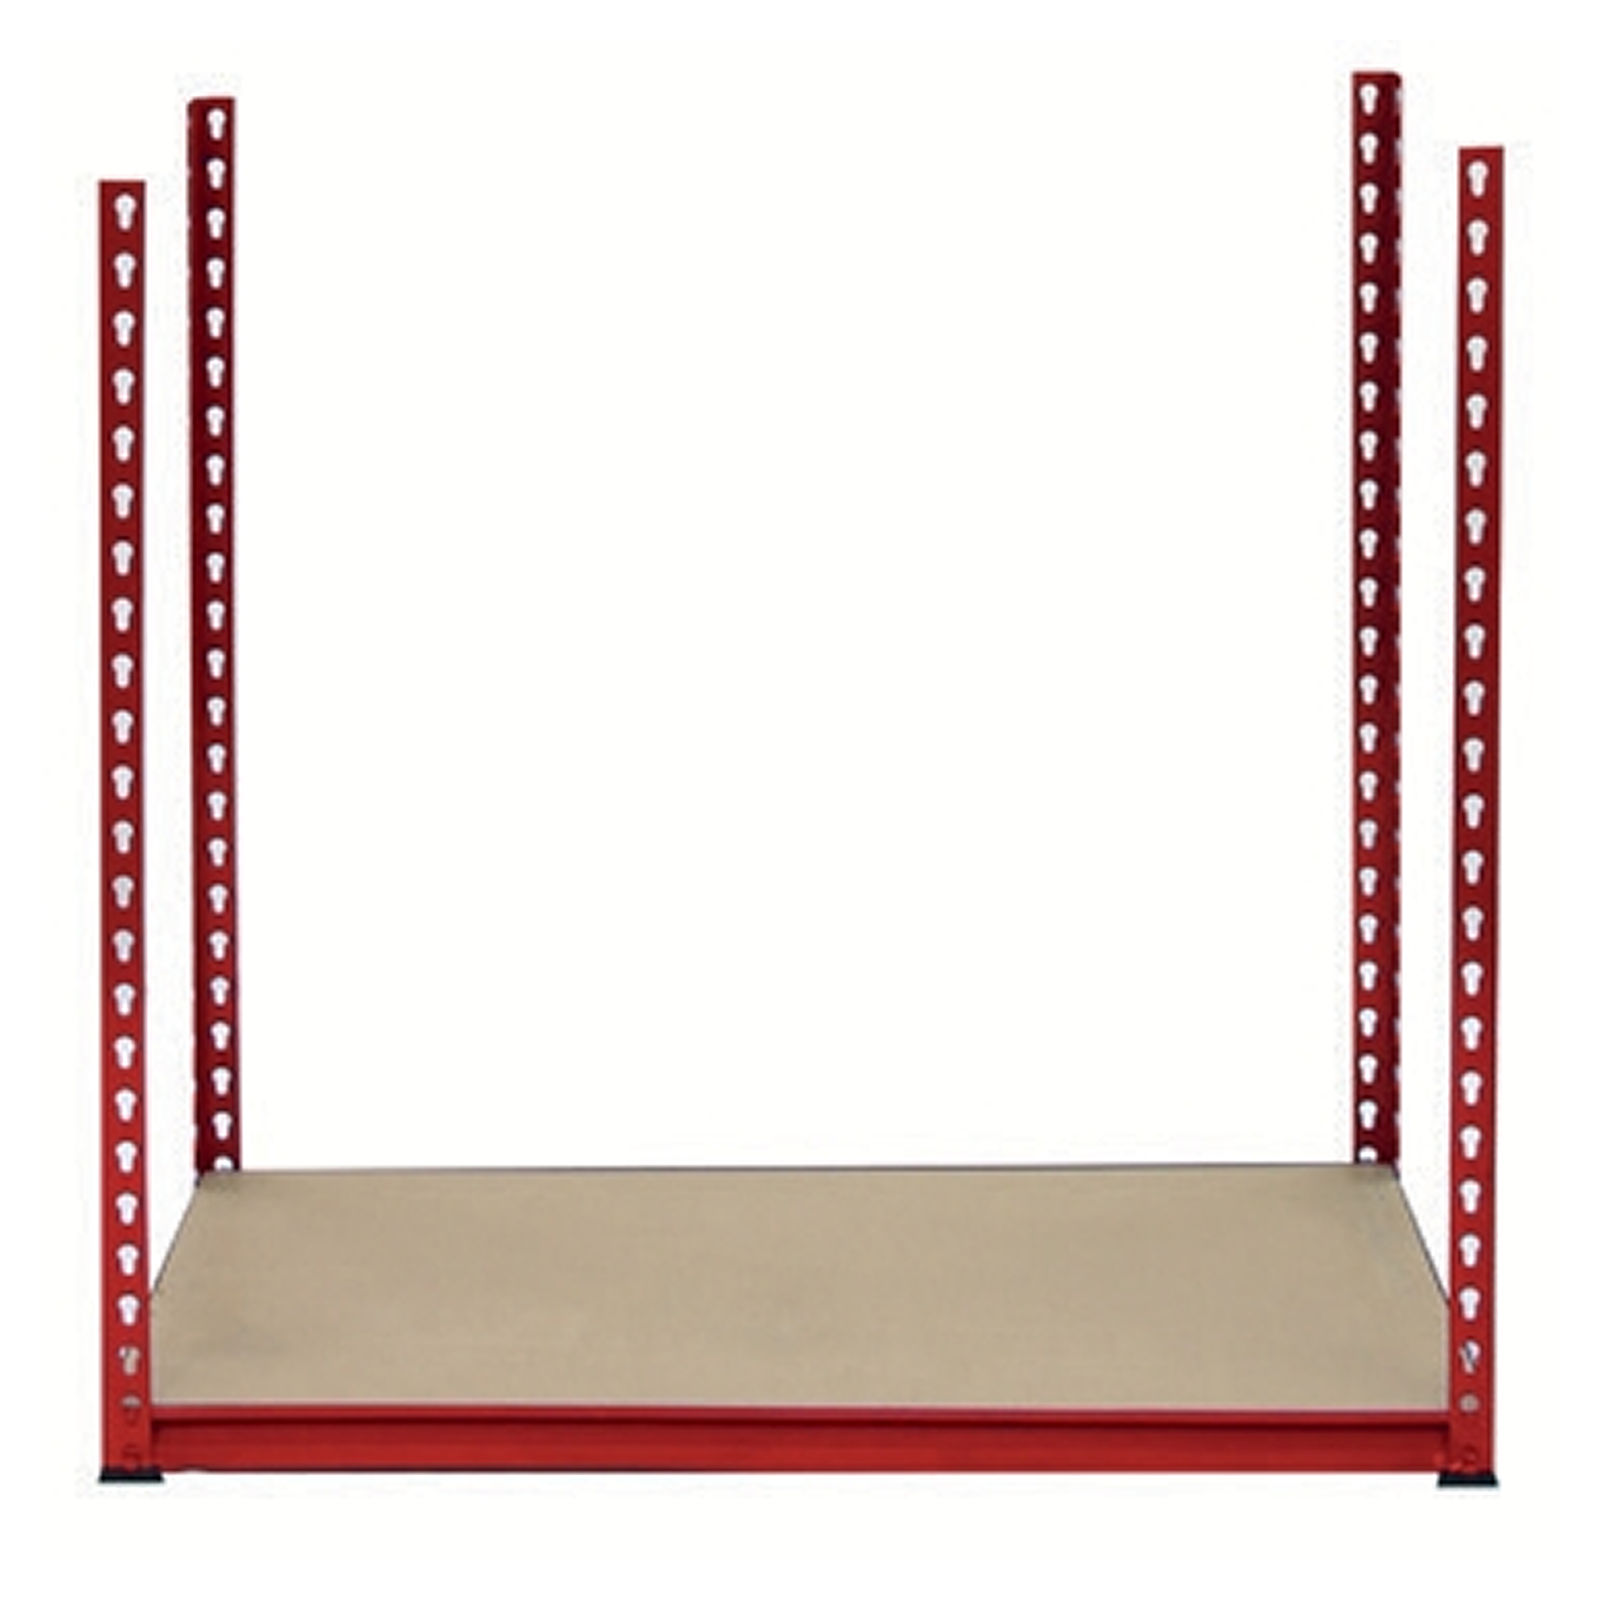
1. Position two L-Shaped Upright Beams vertically to form one side of the frame. 2. Connect them by attaching a Short Beam at the bottom using the rivet slots—this will stabilize the base. 3. Repeat the process to assemble the second side frame. 4. Then, connect both side frames by attaching a Long Beam to the top and bottom on each side, forming the basic rectangular structure.
3. Attach the Moulded Feet
1. Locate the Moulded Feet components. 2. Attach the Moulded Feet to the bottom of each Upright Beam. Ensure they are securely fitted to provide stability.
4. Place MDF Board
1. Lay the MDF board onto the frame. 2. Ensure the board is securely placed on the beams
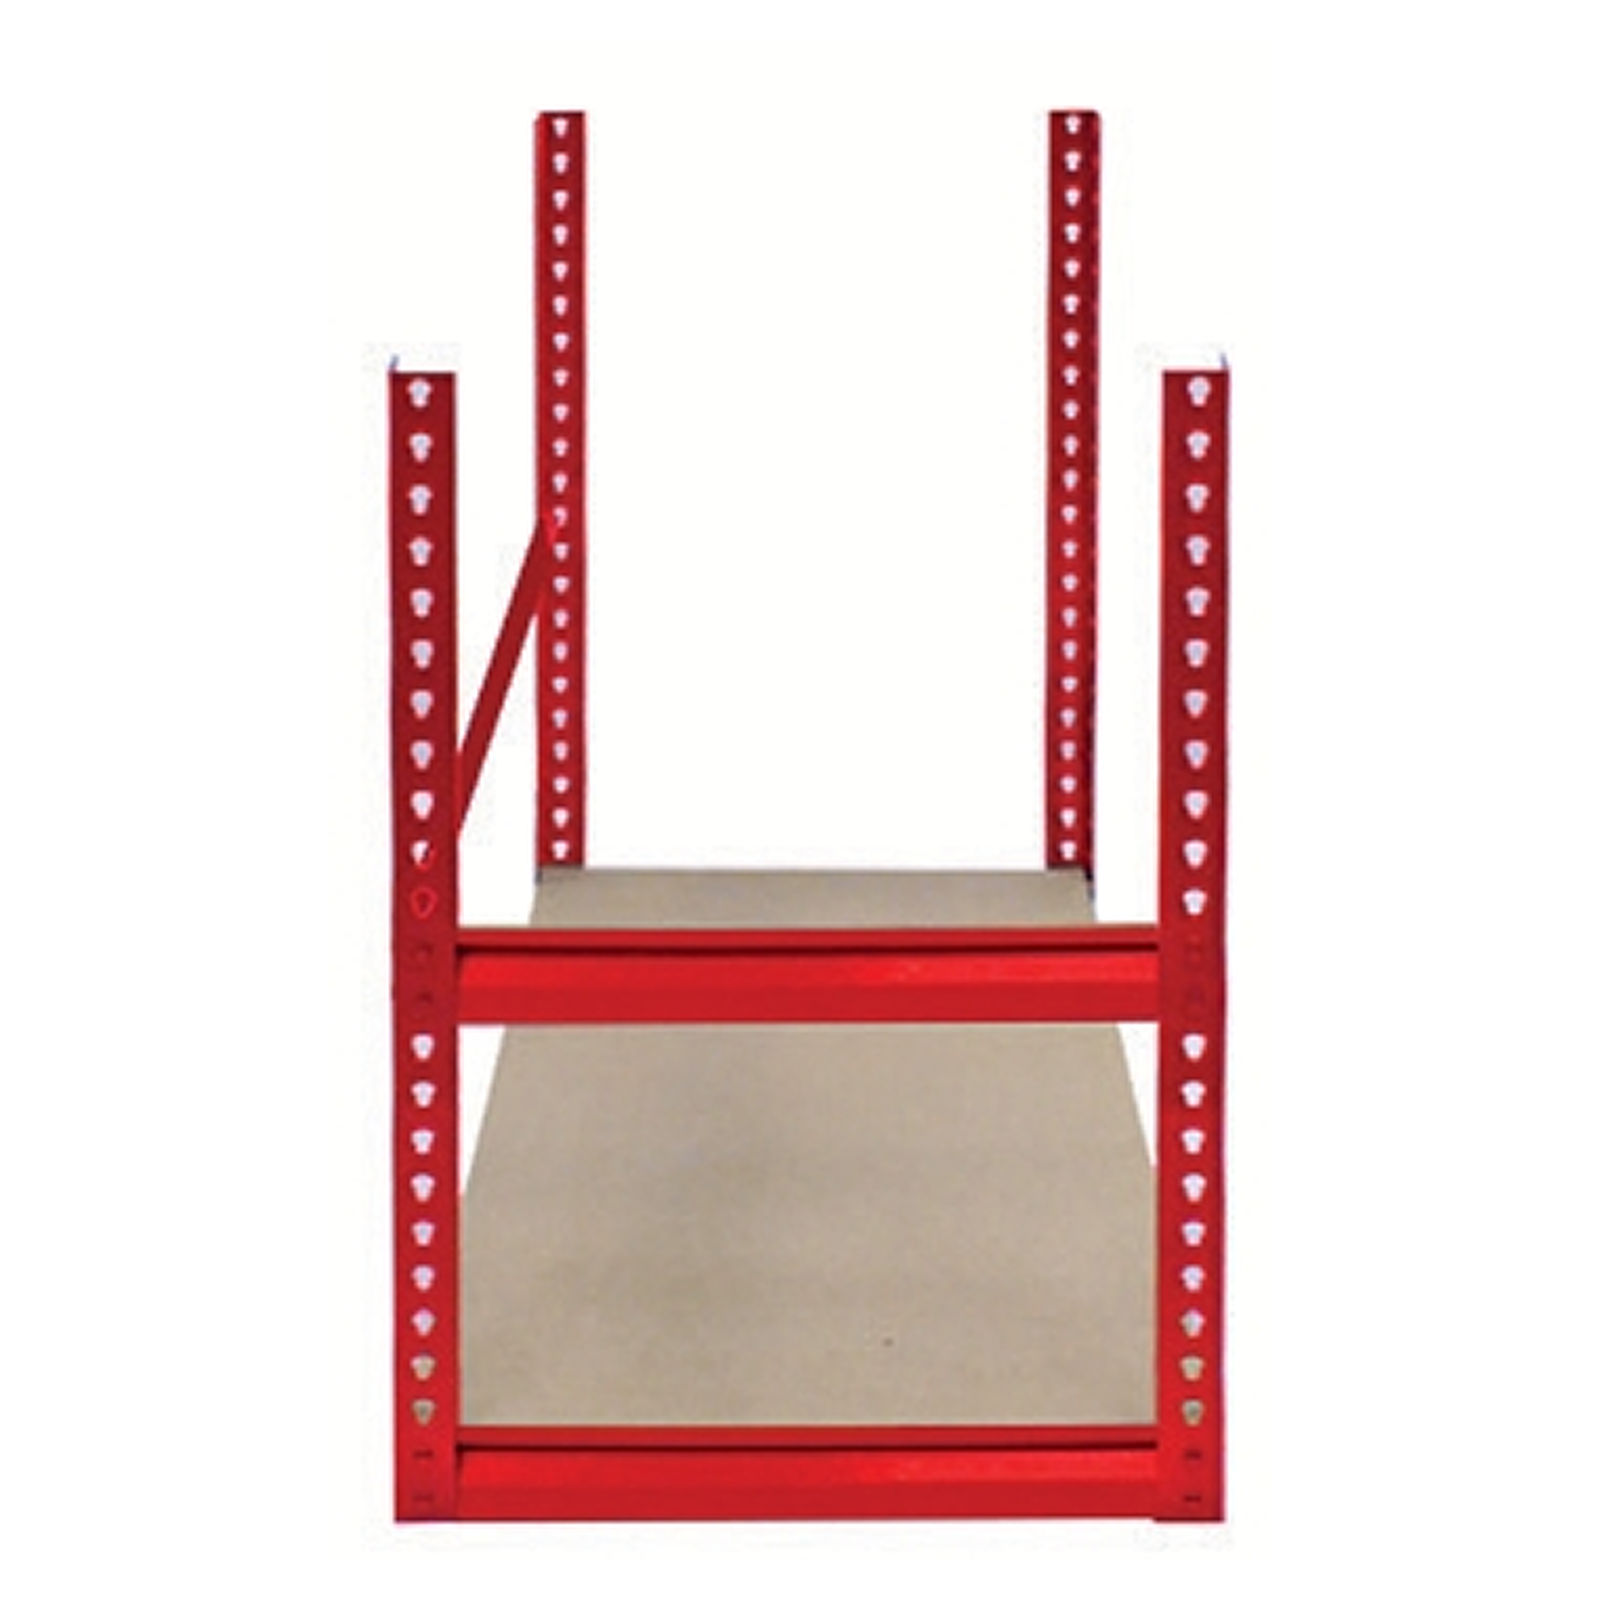
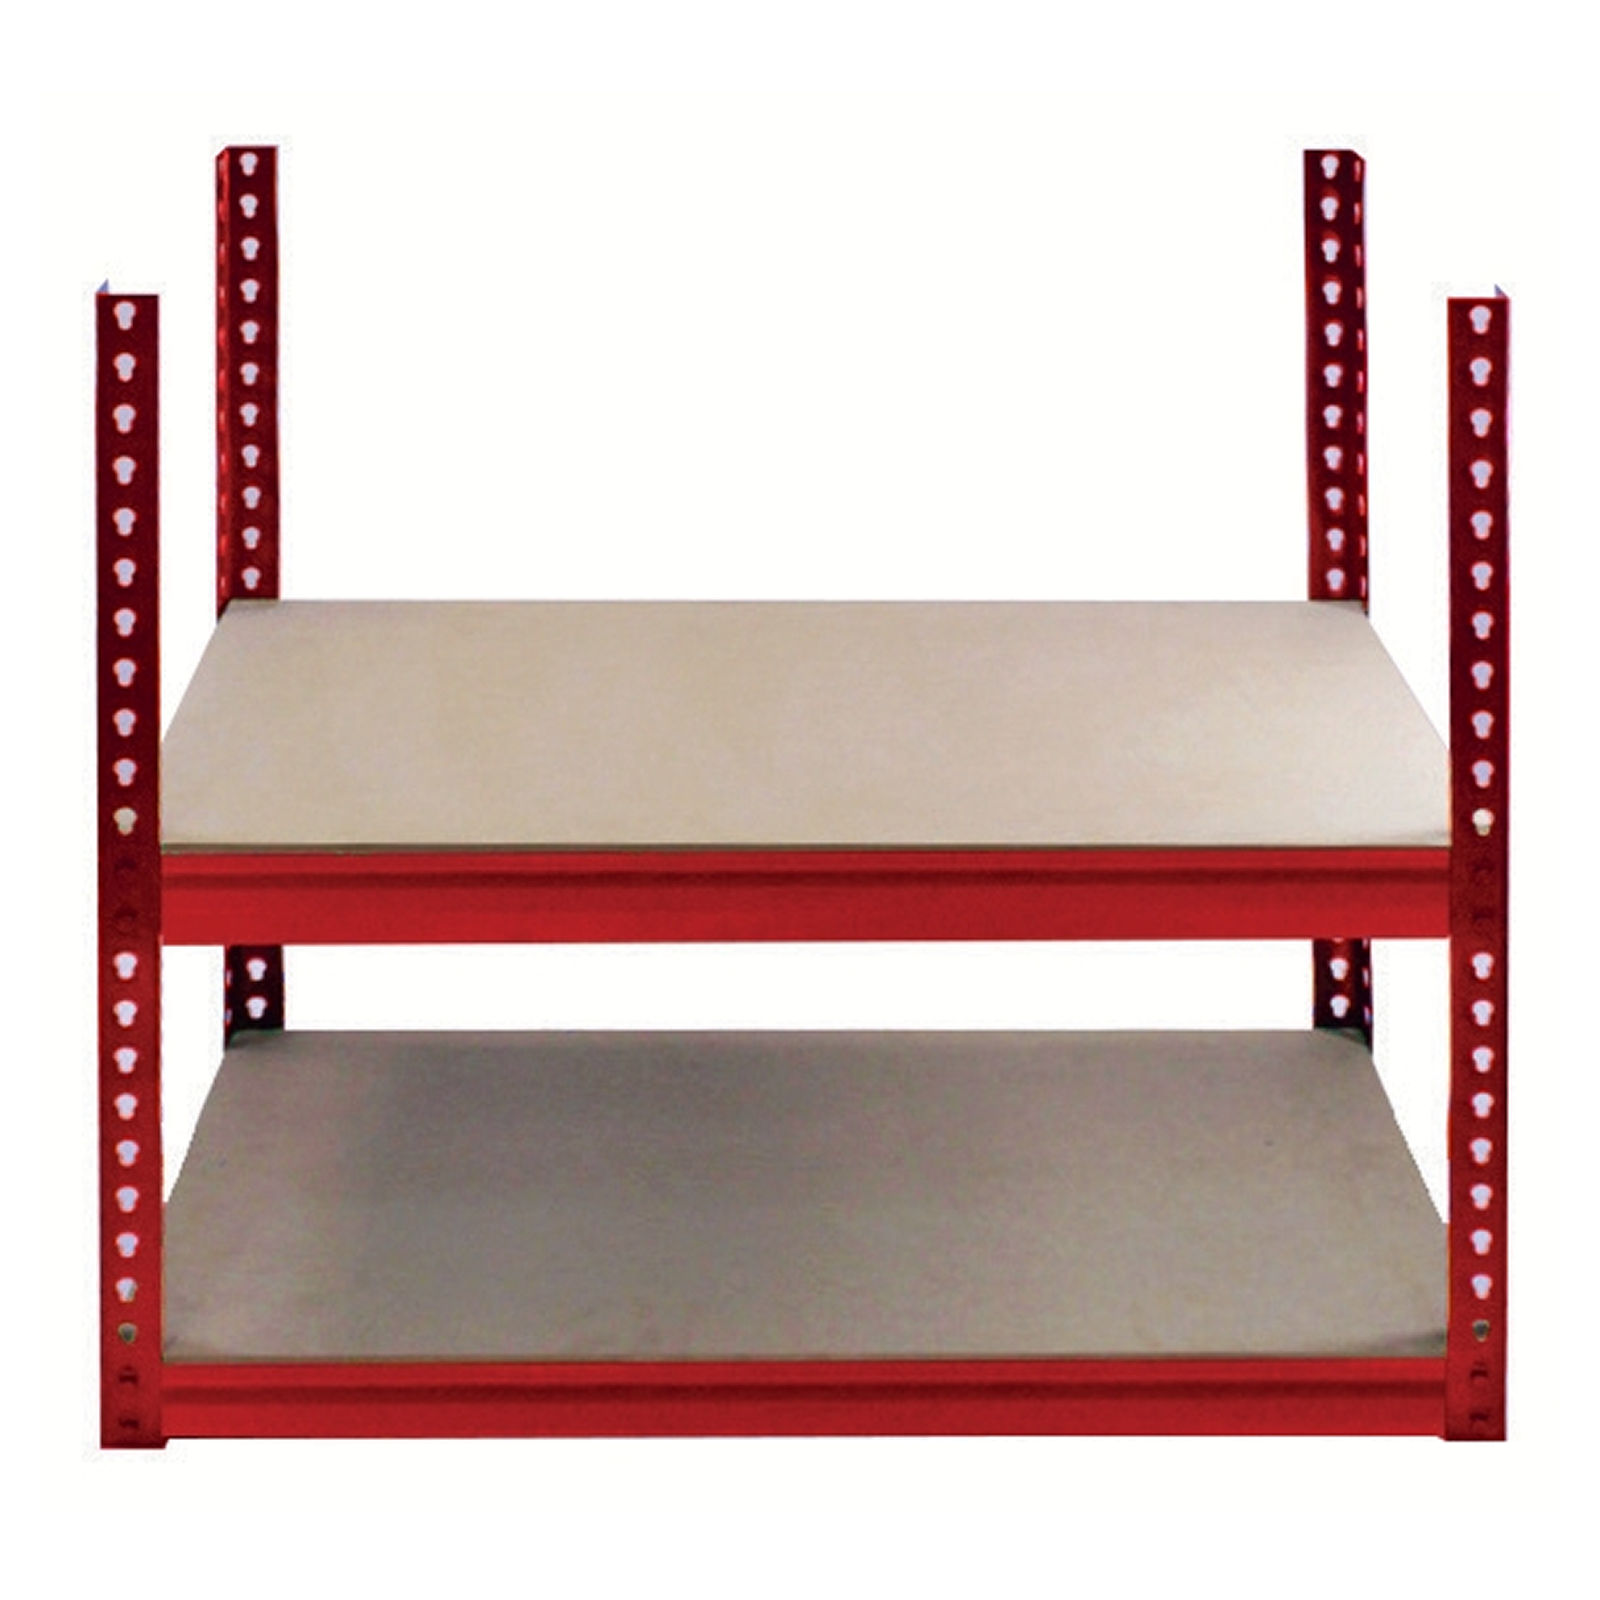
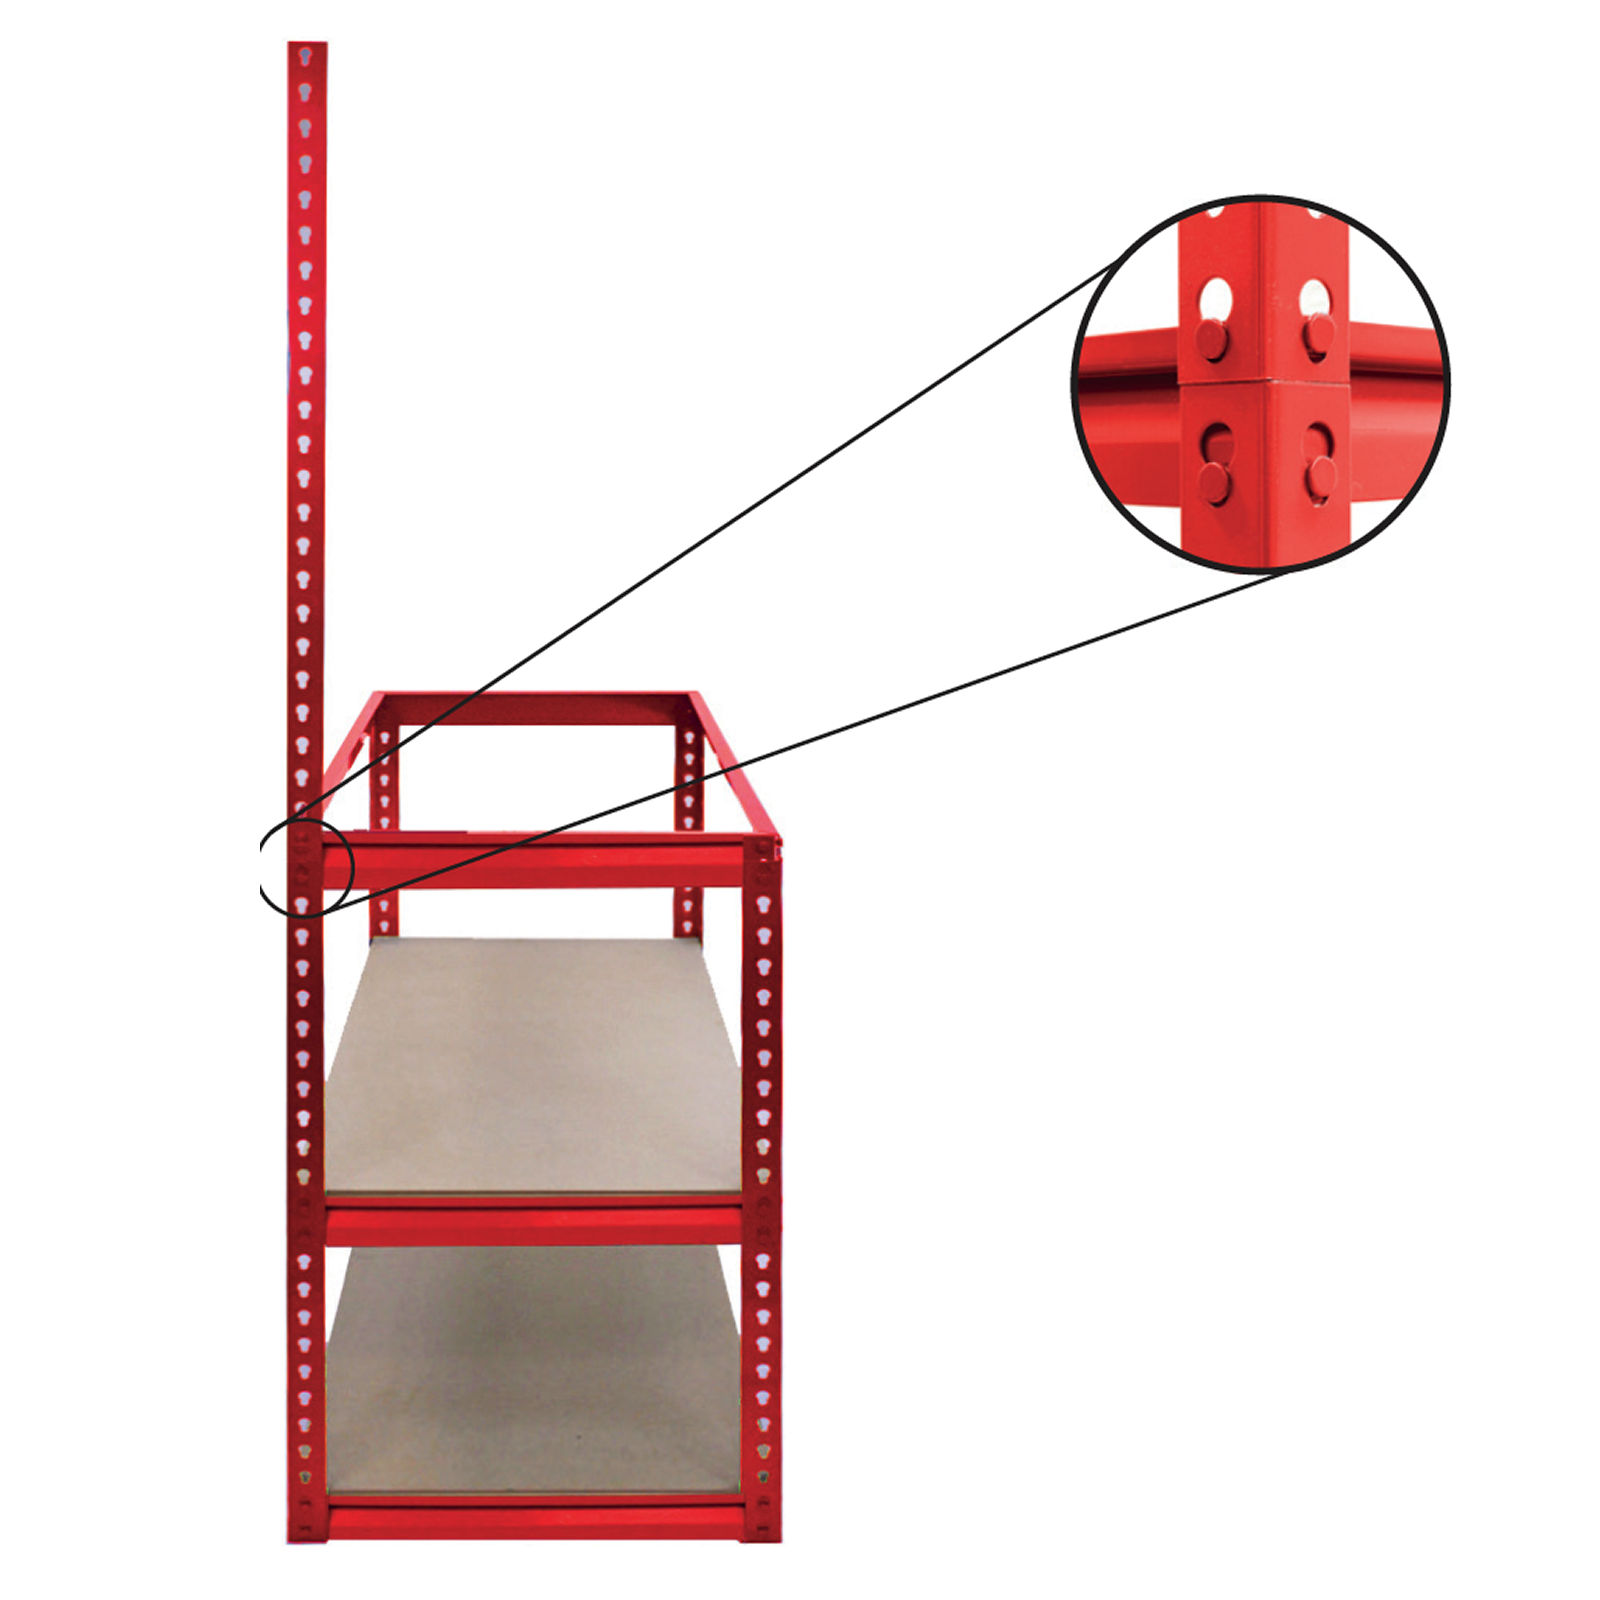
5. Install the Second Shelf
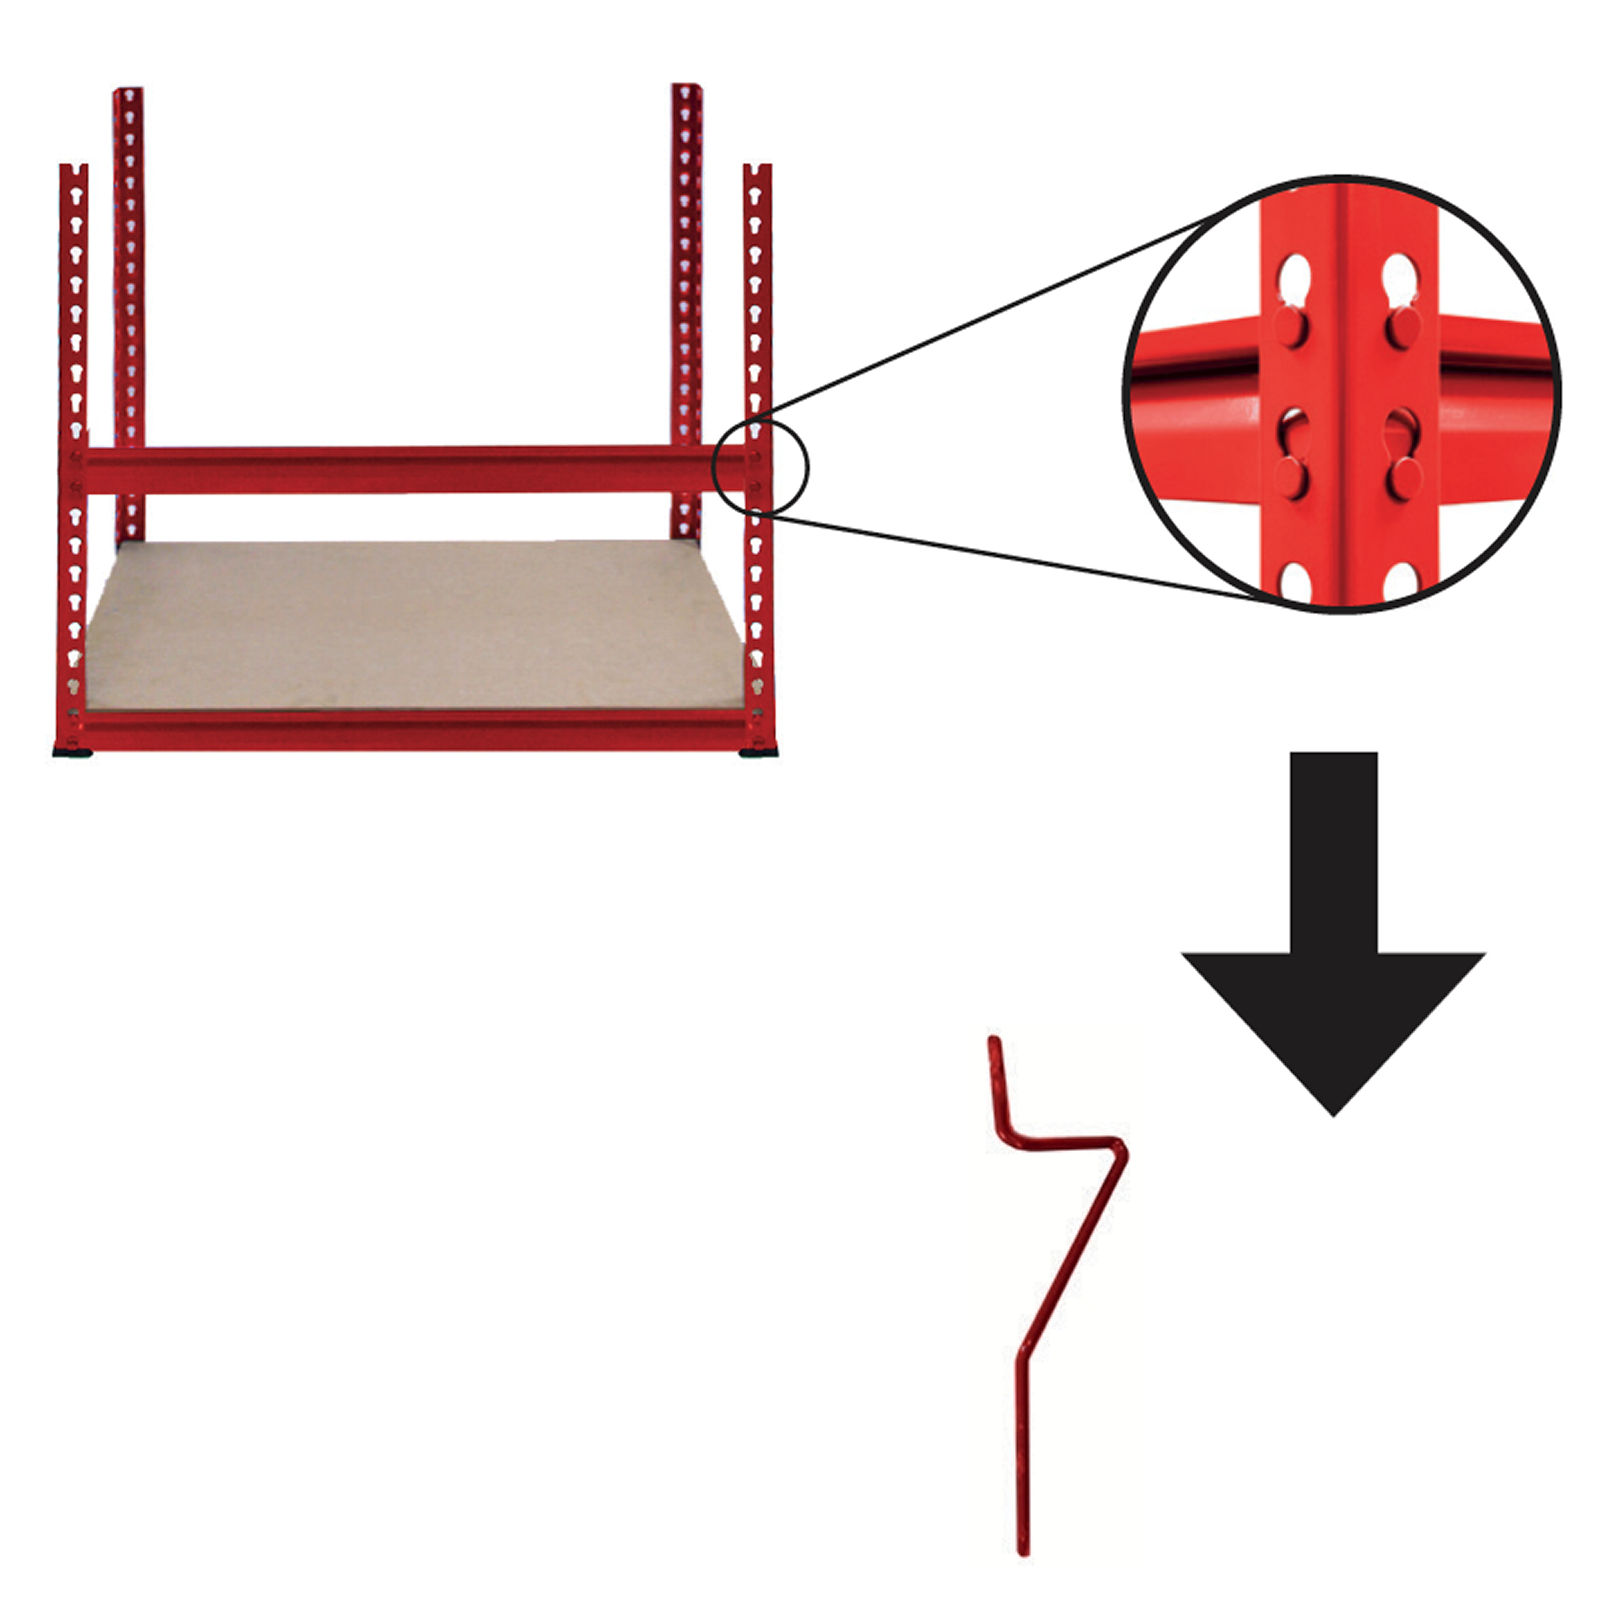
1. Choose your desired height for the next level and align a Long Beam on each side between the upright beams. 2. Insert the rivets into the corresponding keyhole slots and press down to lock them securely in place, as shown in the zoomed-in detail.
6. Add Short Beams
1. Attach additional Long Beam 2. Place the Short Beams on both sides of the upright frame, and lock them in securely. 3. Ensure all beams are positioned evenly across both sides for each level to keep the structure balanced.
7. Place MDF Board
1. Lay the MDF board onto the frame. 2. Ensure the board is securely placed on the beams.
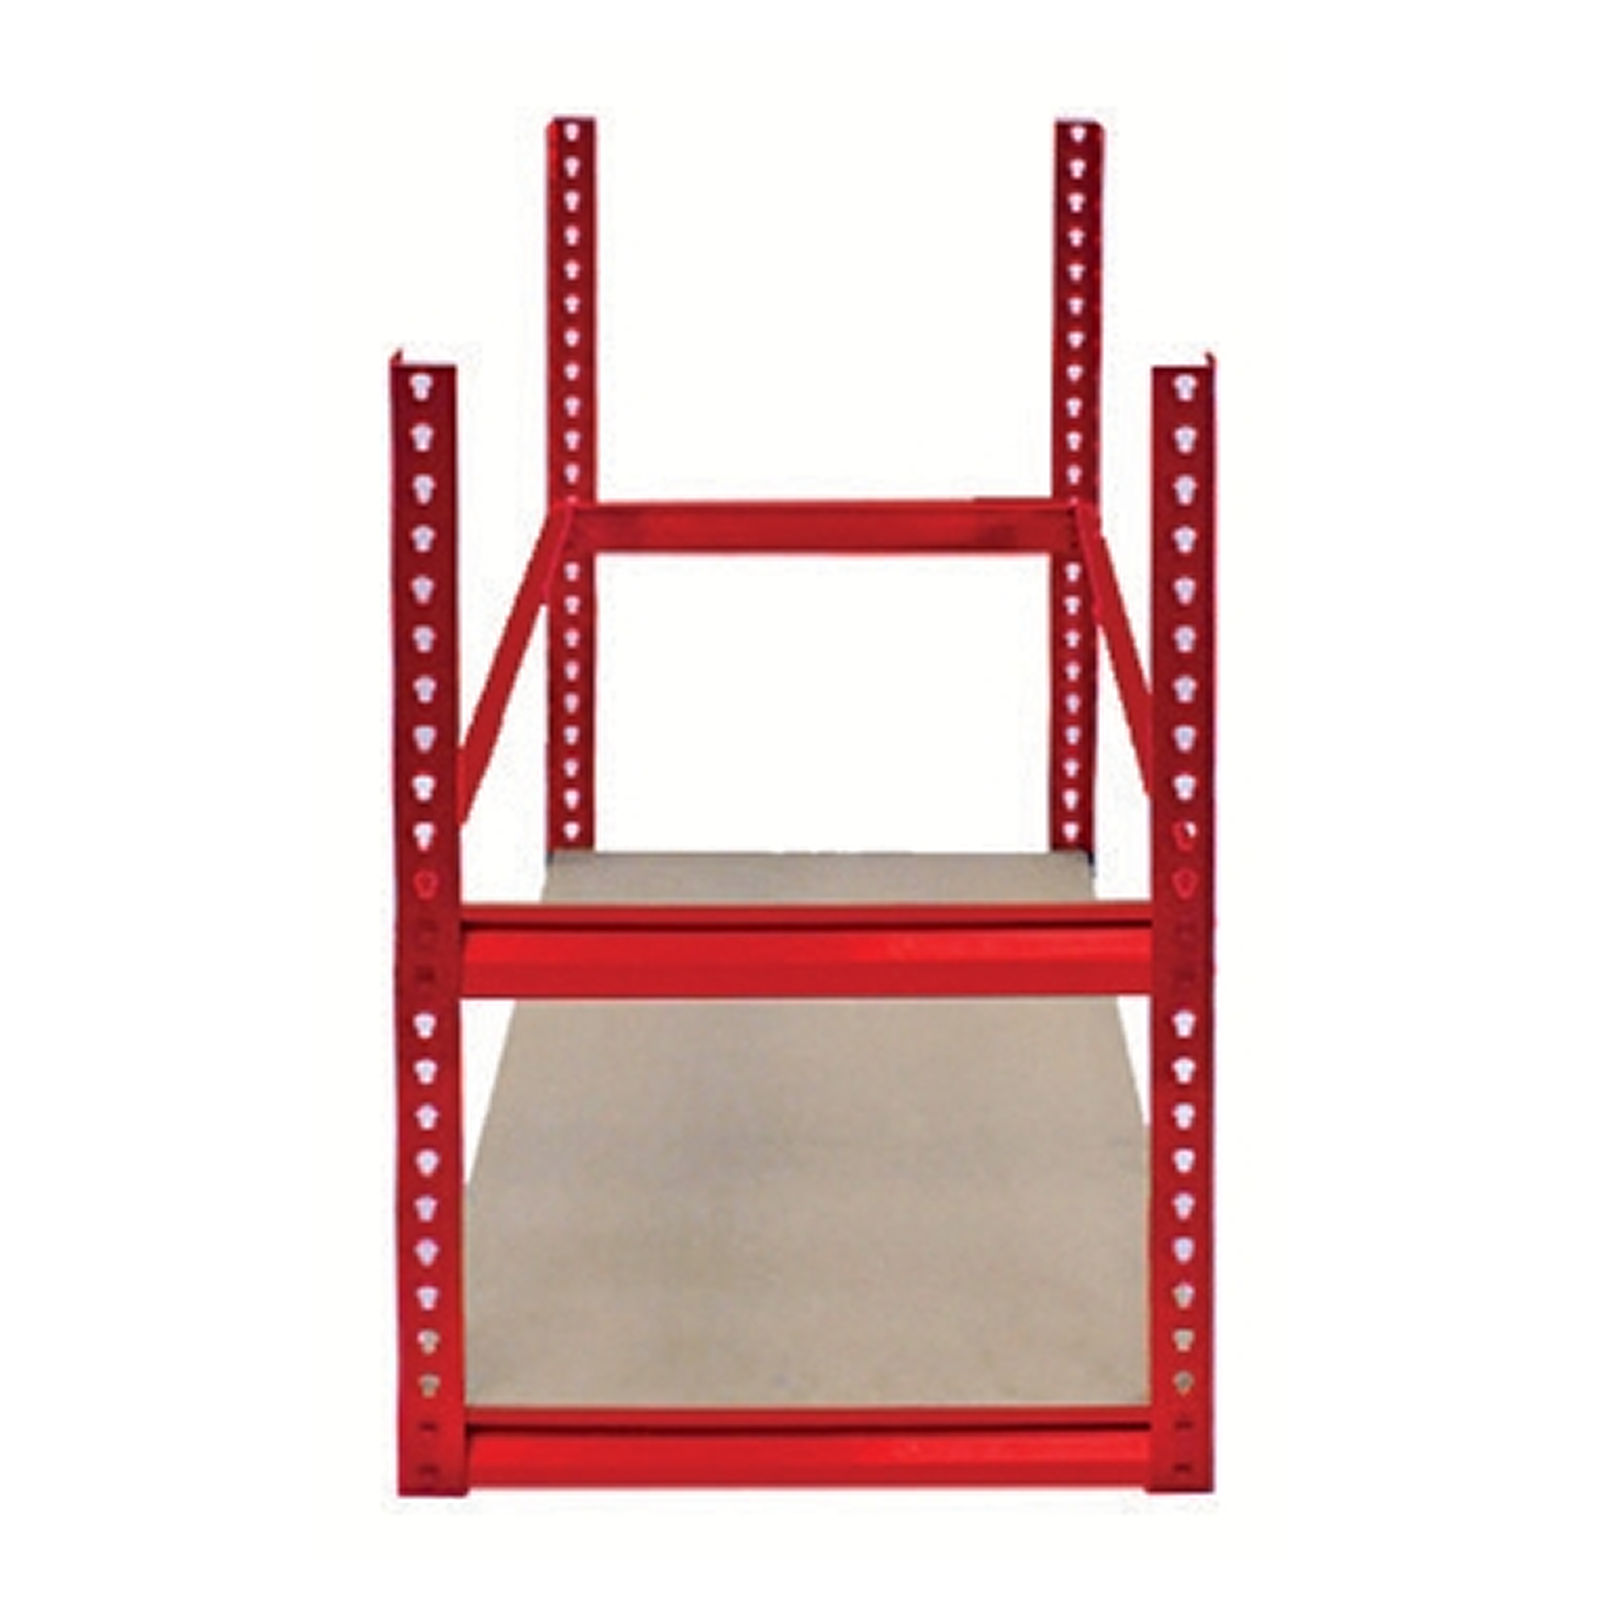
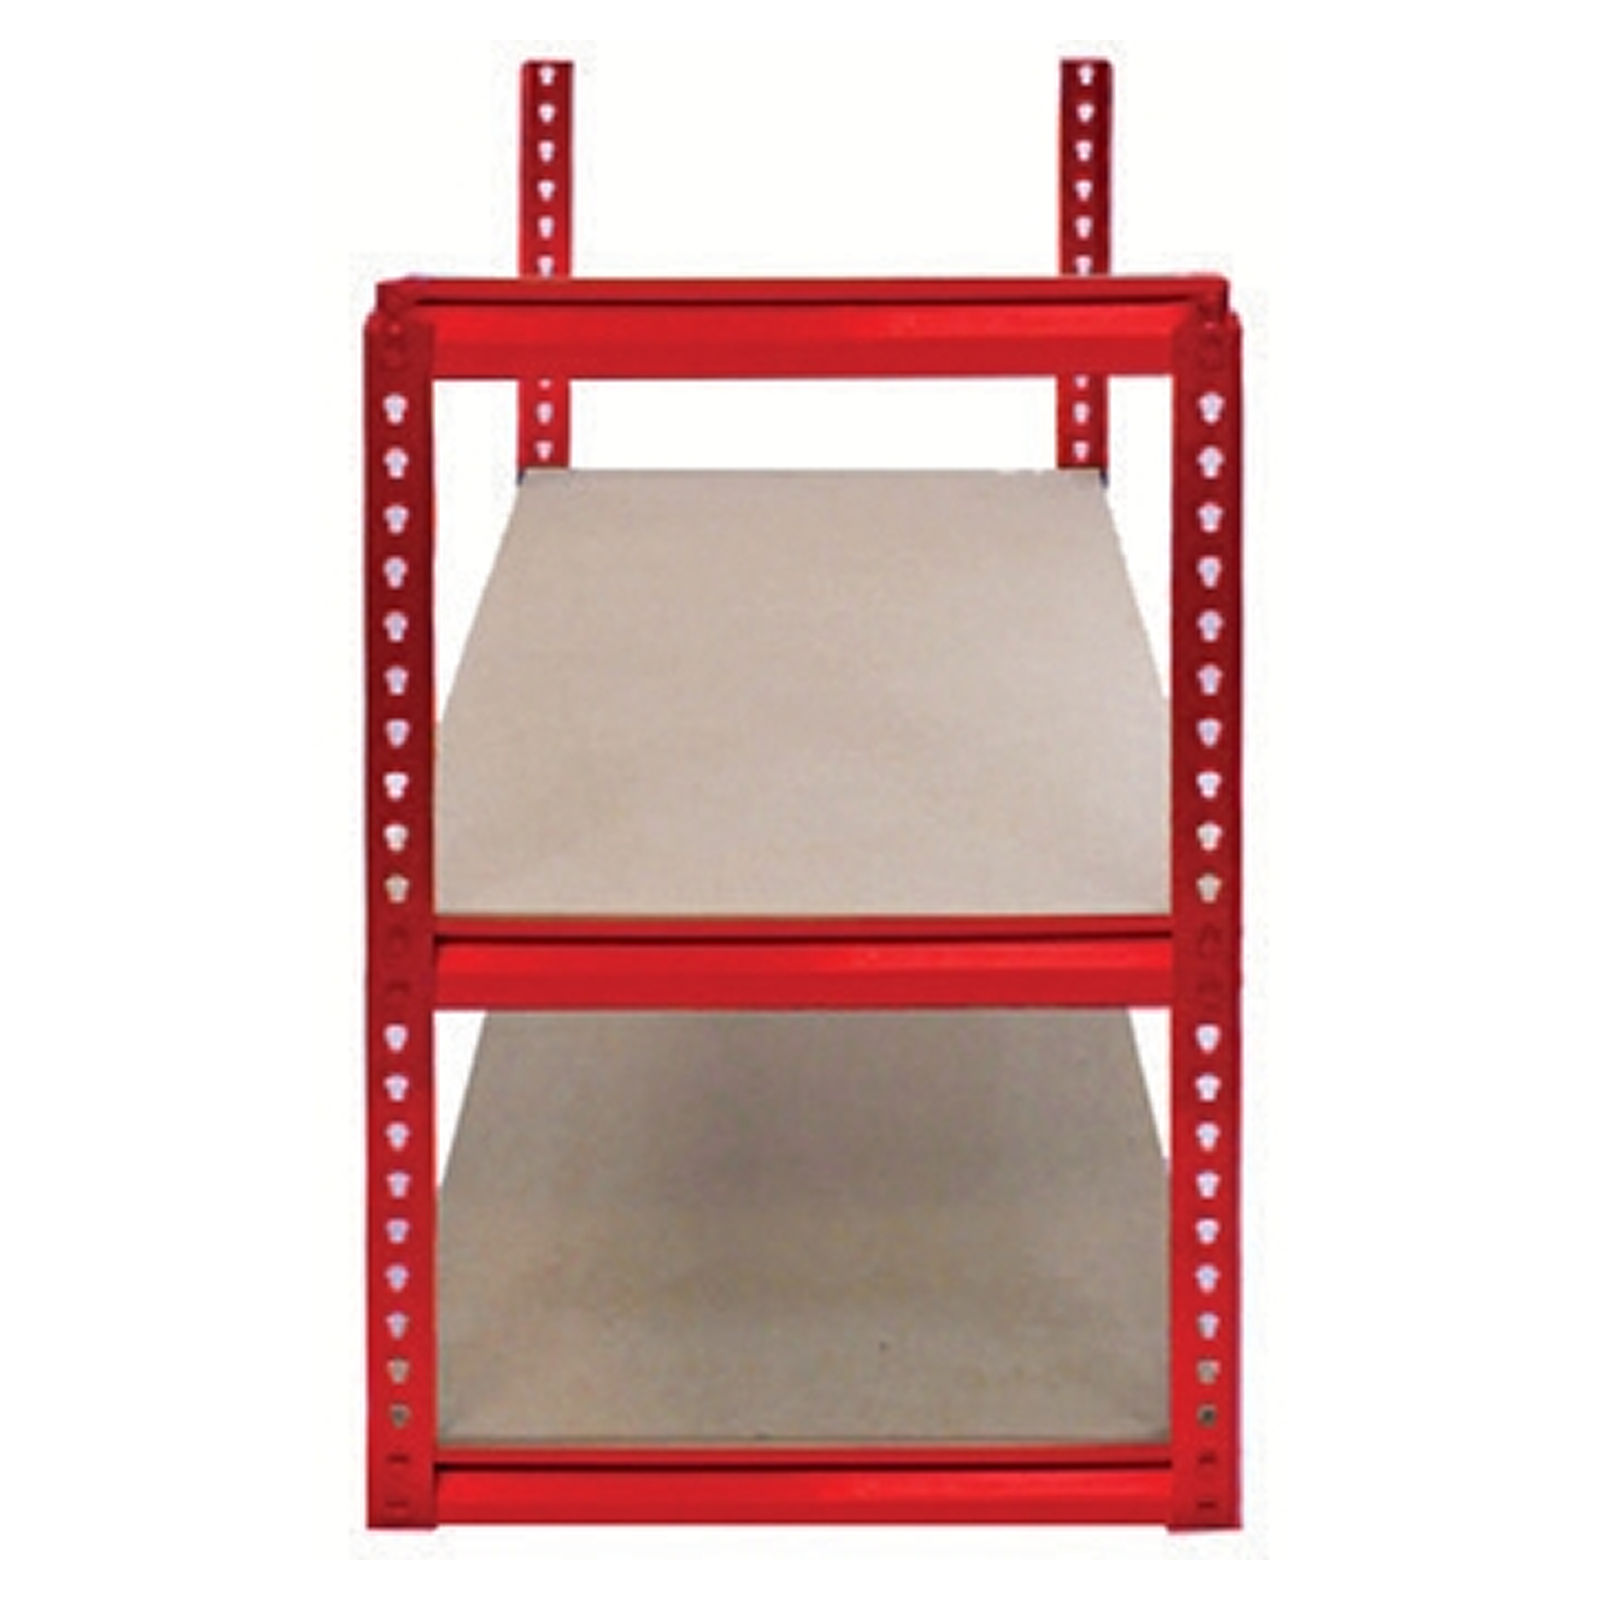
8. Add the Next Shelf Level
1. Decide where you want the next shelf to be positioned. 2. Attach Short Beams between the upright beams on both sides at the selected height. 3. Also connect the sides by adding Long Beams at the front and back to complete the rectangular frame for the shelf. 4. Make sure all beams are level and securely locked into the rivet slots before proceeding
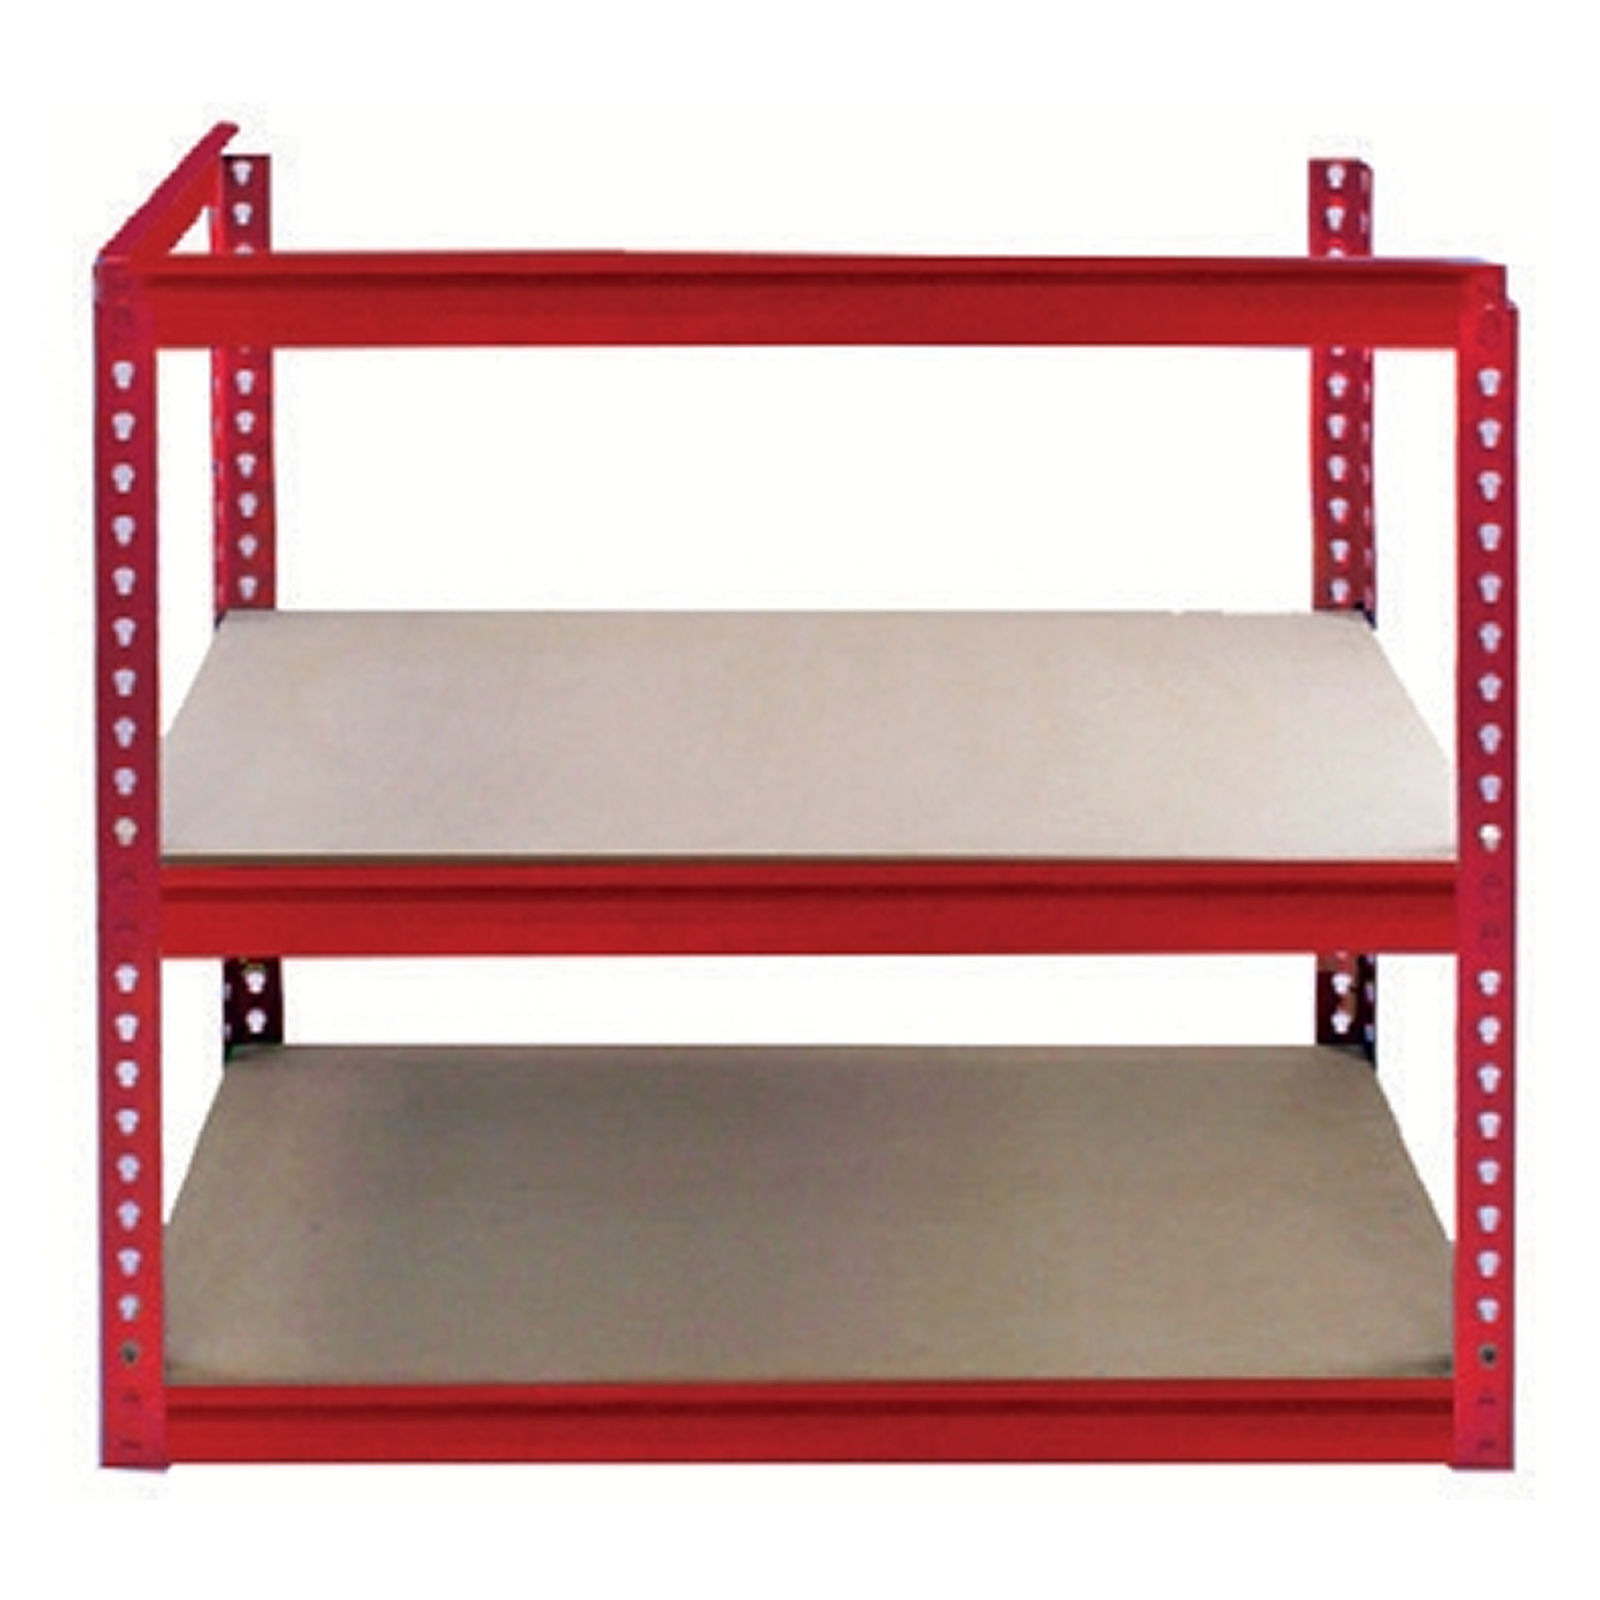
9. Extend the Uprights
1. Take the L-Shaped Upright Beams and place one on top of each corner of the assembled frame. 2. Align the keyhole-shaped alignment holes on the Upright Beams with the rivets (locking tabs) that are already part of the top Short and Long Beams of the lower section. 3. Press down firmly to ensure the rivets lock securely into the upright beams. 4. Make sure all four uprights are aligned evenly and securely connected.
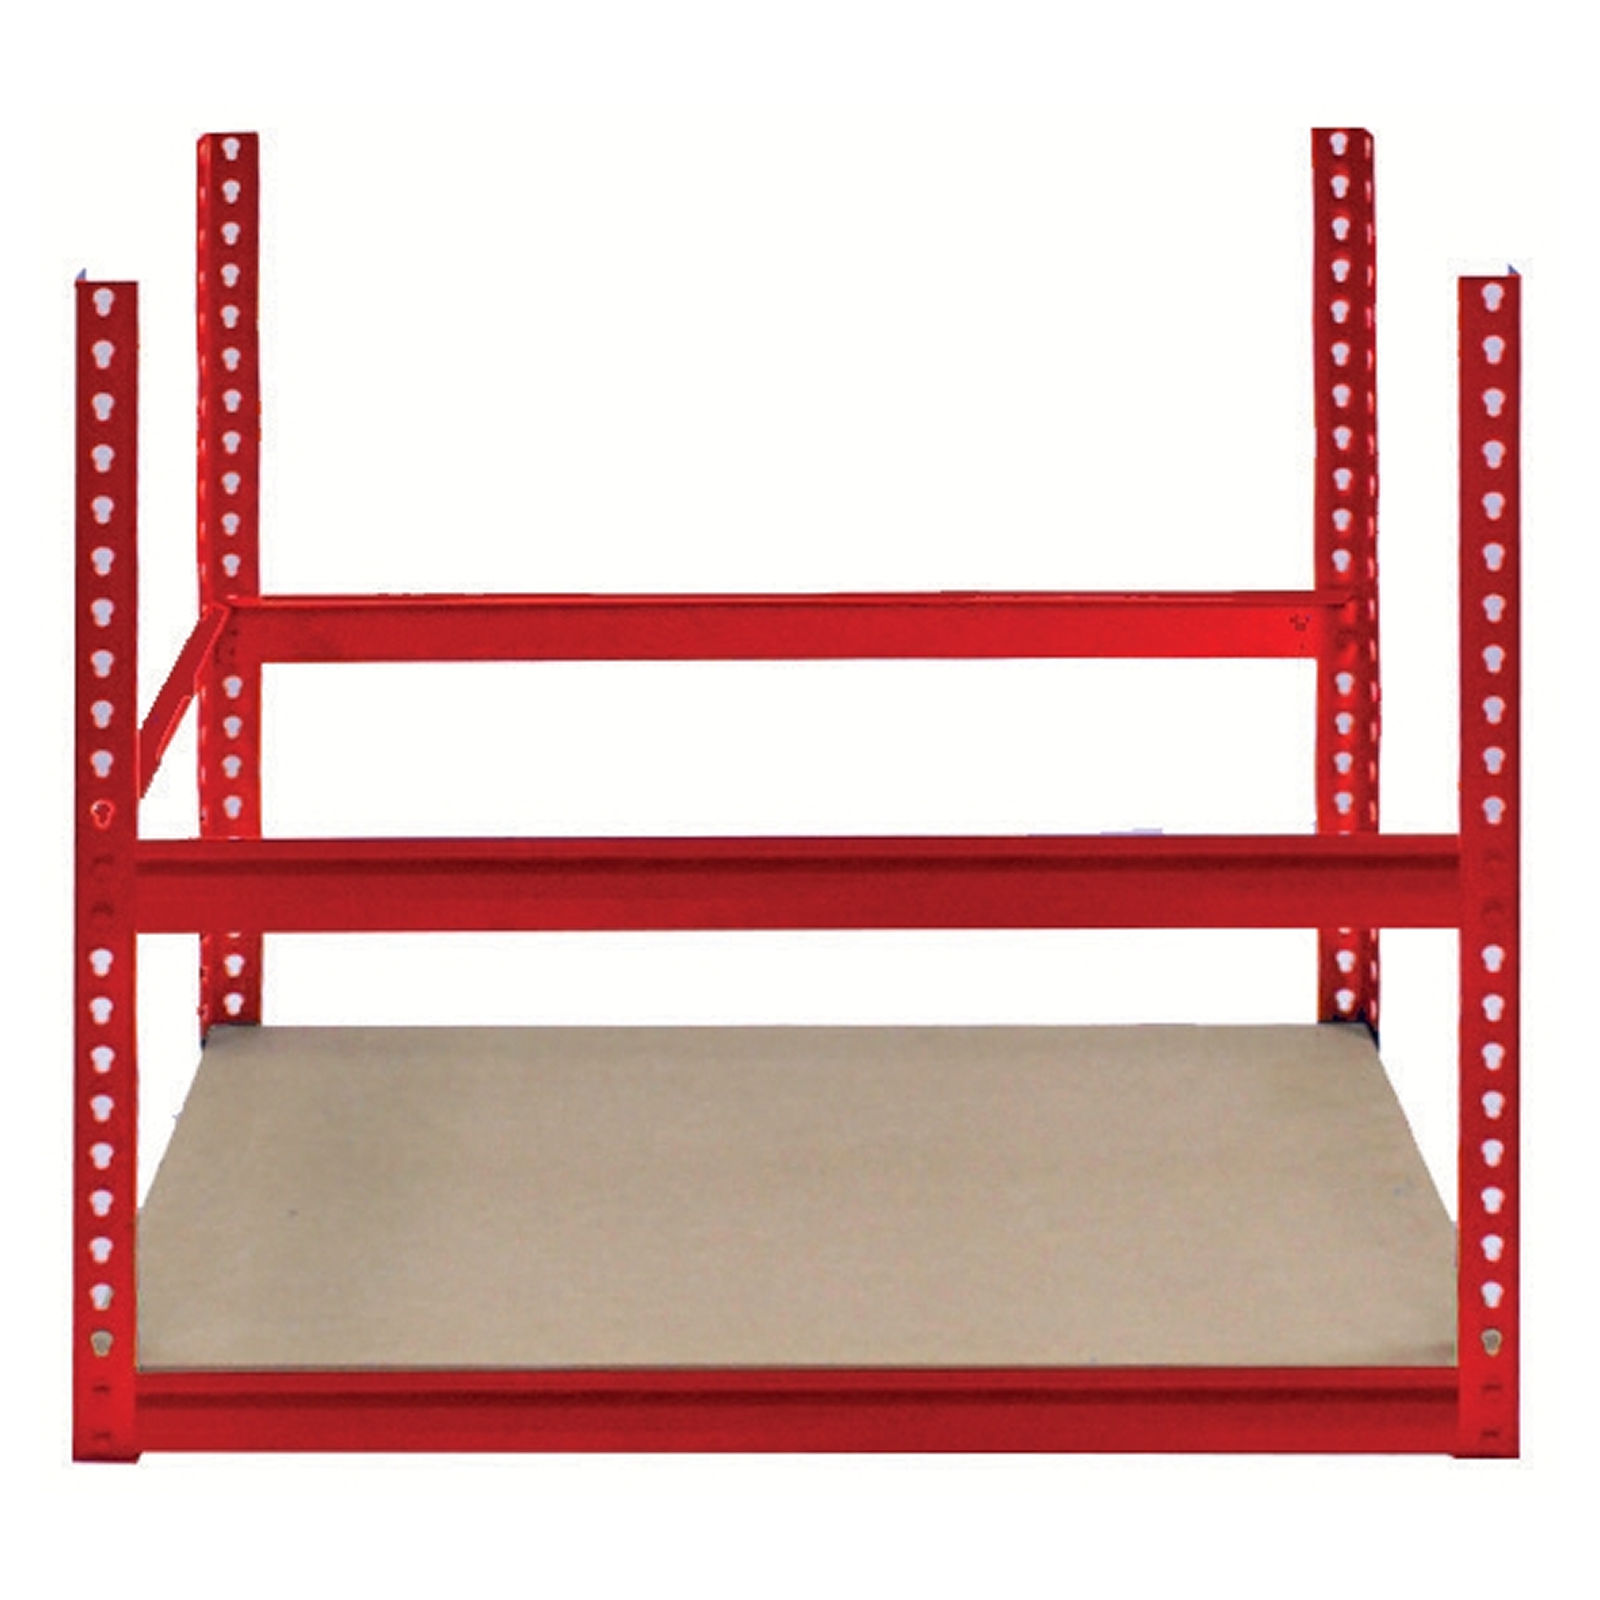
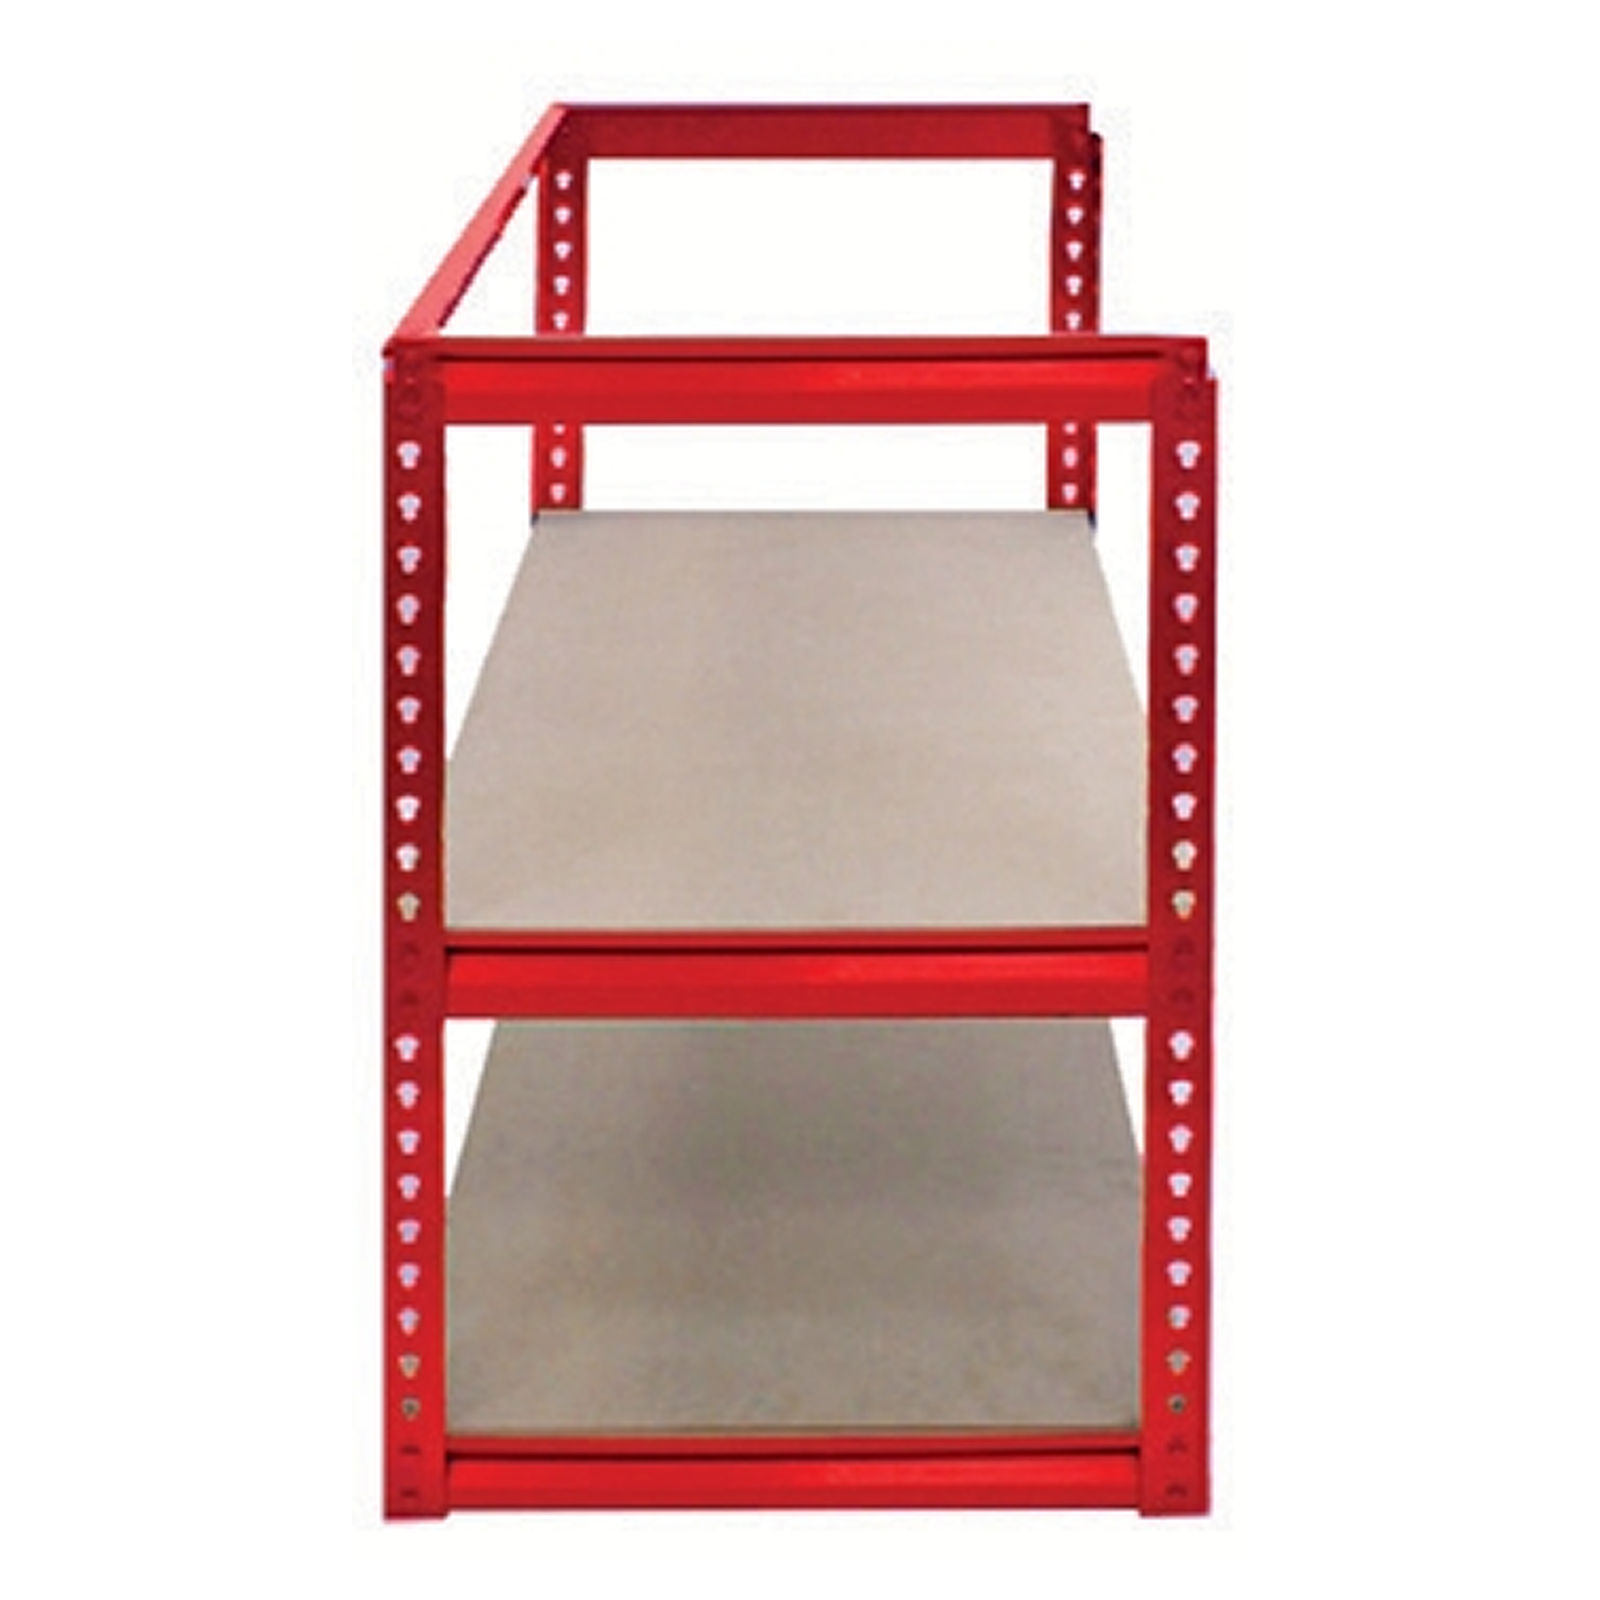
10. Add the Next Shelf Level
1. Decide where you want the next shelf to be positioned. 2. Attach Short Beams between the upright beams on both sides at the selected height. 3. Connect the sides by adding Long Beams at the front and back to complete the rectangular frame for the shelf. 4. Make sure all beams are level and securely locked into the rivet slots before proceeding 5. Lay the MDF board onto the frame and ensure is securely placed on the beams.
11. Add the Last Shelf
1. Decide where you want the next shelf to be positioned. 2. Attach Short Beams between the upright beams on both sides at the selected height. 3. Connect the sides by adding Long Beams at the front and back to complete the rectangular frame for the shelf. 4. Make sure all beams are level and securely locked into the rivet slots before proceeding 5. Lay the MDF board onto the frame and ensure is securely placed on the beams.
12. Resolution Guide
Please read through the guide below if you have any issues or faults with your Z-Rax Heavy Duty Racking System.
There are parts missing from my order.
If a part is missing please get in touch with us within 7 days on receipt of your order. You can call or email our friendly and helpful Customer Support Team. Please see details on the Contact Us page.
The MDF has begun to warp or change shape.
Do not use this Z-Rax Heavy Duty Racking System for storage in a humid environment as the included MDF is untreated and is therefore susceptible to bend in an extremely damp or warm room. Other MDF can be cut and used by the customer.
If you would like to reduce the potential of warping, please feel free to personally treat the MDF with a varnish or paint.
What kind of tools should I use to assemble the Z-Rax Heavy Duty Racking System?
The only tools required to assemble a Z-Rax Heavy Duty Racking System bay is a rubber mallet - available to buy at Monster Shop.
I’m worried the MDF shelves might grow mould in my garage.
We recommend you treat the MDF with mould prevention products. They are very accessible and cheap from good DIY stores.